To access the MySQL database from NetBeans, click on the Services tab in the NetBeans left sidebar and expand the Databases section:
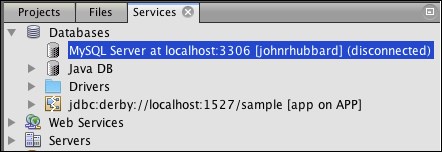
Figure A-26. Locating the MySQL database in NetBeans
Then, right-click the MySQL Server icon and select Connect:
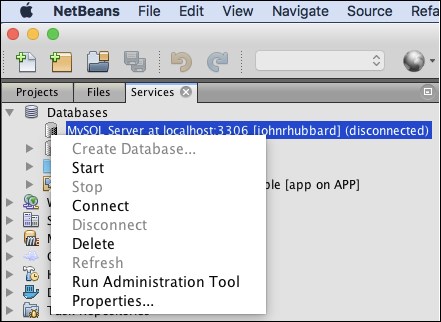
Figure A-27. Connecting to the MySQL database
When asked about editing your MySQL Server connection properties, click Yes.
Use your MySQL username and password to connect to the database. Then, expand the MySQL Server node to see the accessible schema, as shown in Figure A-28:
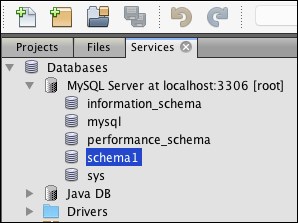
Figure A-28. Connecting to schema1
Then, right-click on schema1 and then on Connect in the pop-up panel.
Next, expand the node whose icon shows a solid (not broken) connection, as shown in Figure A-29:
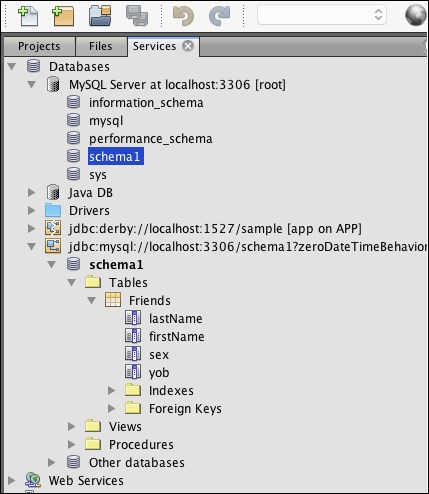
Figure A-29. The expanded connection node in NetBeans
This shows the details of the Friends table that you created and loaded in MySQL Workbench.
Right-click again on the jdbc:mysql node and select Execute Command…, as shown in Figure A-30.
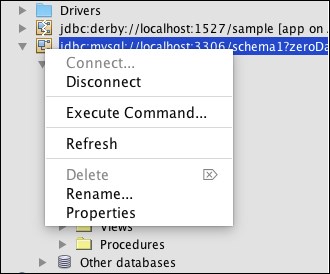
Figure A-30. Executing a SQL command
This opens a new tabbed pane, labeled SQL 1 [jdbc:myscl://localhost:33…].
Now, type the same SQL select query that you used before in MySQL Workbench. (see Figure A-25). The output is displayed at the bottom of the window, as shown in Figure A-31:
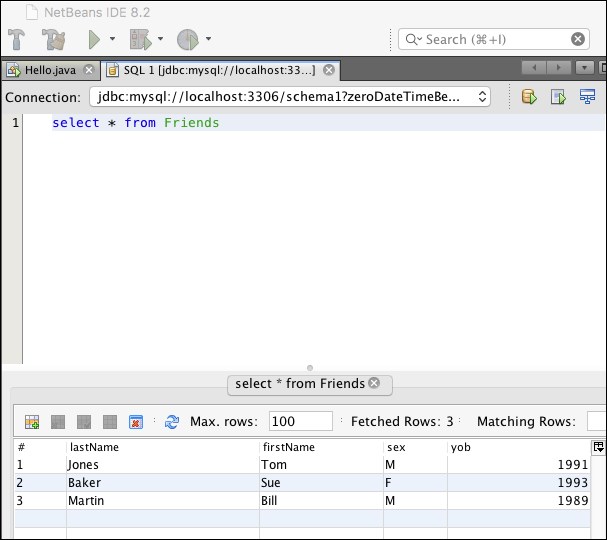
Figure A-31. Executing a query on a MySQL database from NetBeans
This shows that SQL access to a MySQL database in NetBeans is very similar to that in MySQL Workbench.