Follow these steps to define our controllers:
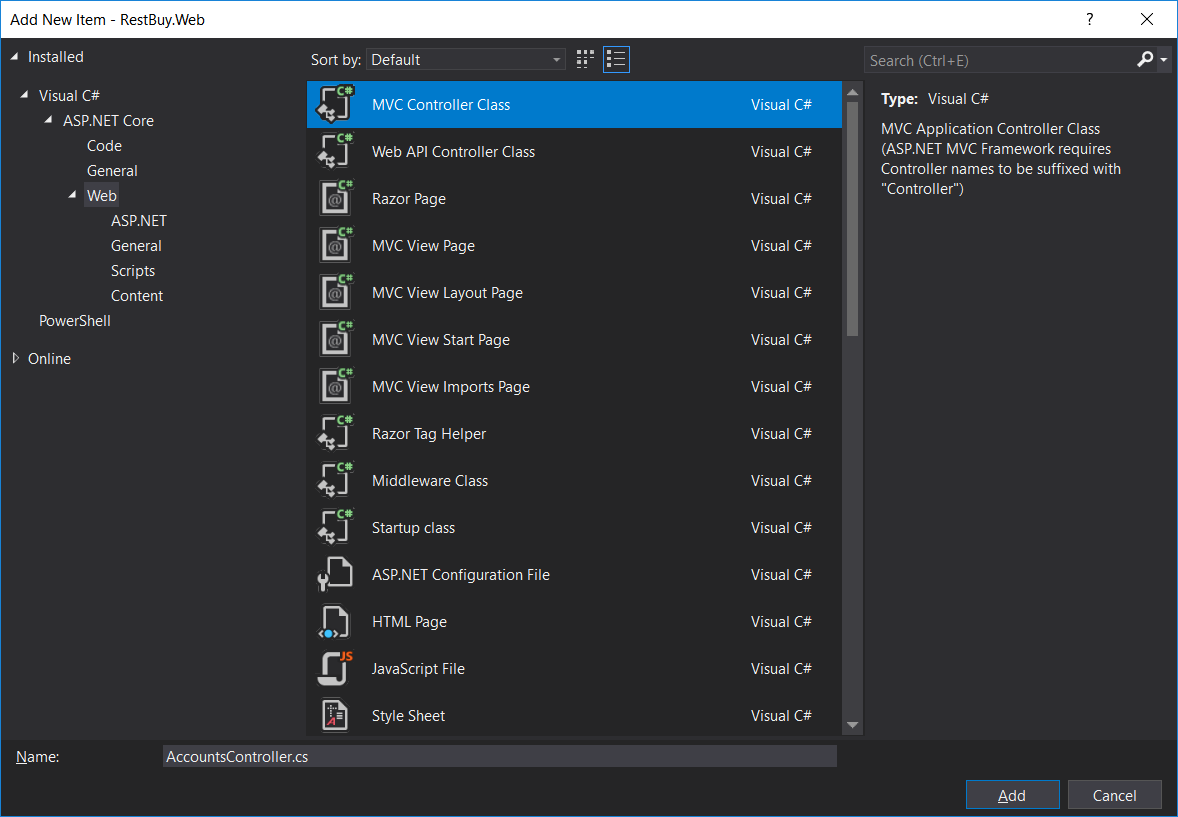
- Create a new controller in the Controllers folder by right-clicking on the Controllers folder, adding a new item, and then selecting the MVC controller class:
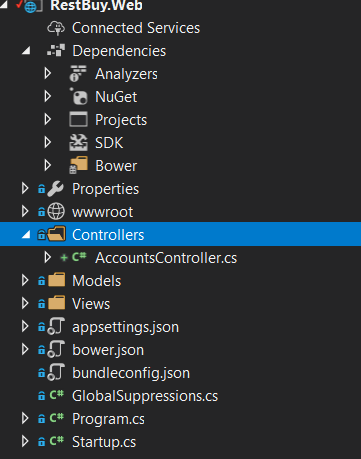
And our Web project looks as follows:
- As for RESTful practices, when a GET request comes to our Accounts controller, we will return a registration form. Use this code:
using Microsoft.AspNetCore.Mvc;
namespace RestBuy.Web.Controllers
{
  [Route("[controller]")]
  public class AccountsController : Controller
  {
    [HttpGet]
    public IActionResult RegistrationForm()
    {
    return View();
    }
  }
}
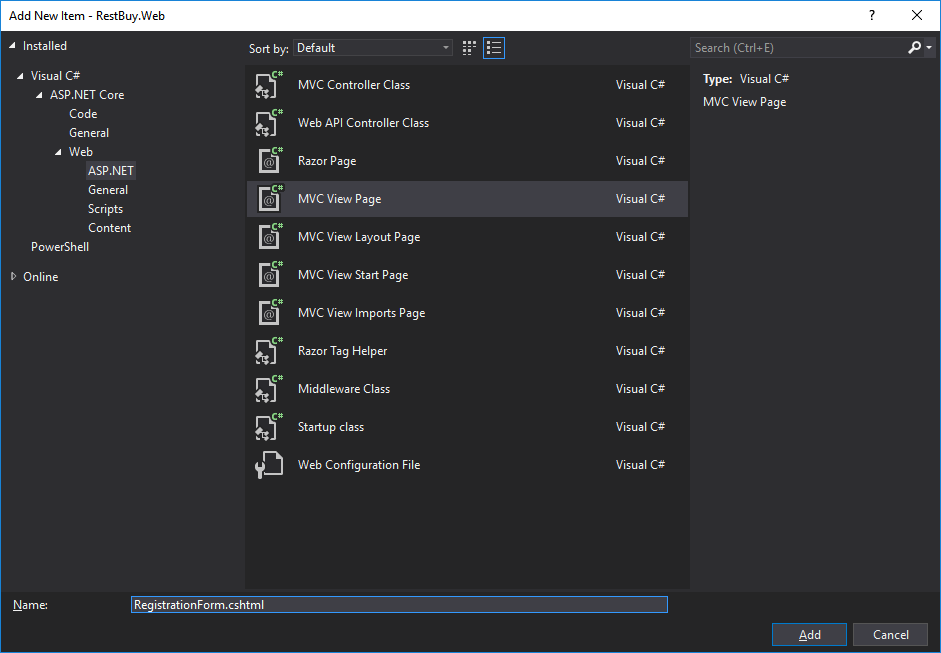
- Define our view:

- Add the following code into it:
@model RestBuy.Application.ViewModels.NewUserViewModel
@{
 ViewBag.Title = "Register";
}
<h1>Register</h1>
<form method="post" >
 <div asp-validation-summary="ModelOnly"></div>
...
...
 <div>
 <input type="submit" value="Register" />
 </div>
</form>
We have not specified any path for posting in our form, because we will post to the same URL as with this page.
Now if we run our application and try to visit our AccXounts page from http://localhost:49163/Accounts (your port number might be different), we will end up with the following form:

Obviously, the form doesn't look aligned but that's something we will fix later.
We also need a landing page when the registration is successful.