With Google Sites, organizations are not limited to creating a single site for the entire organization; sites can be created as much as needed, and they can be used for public purposes, such as promoting a new product, or for private ones, such as documentation and reports.
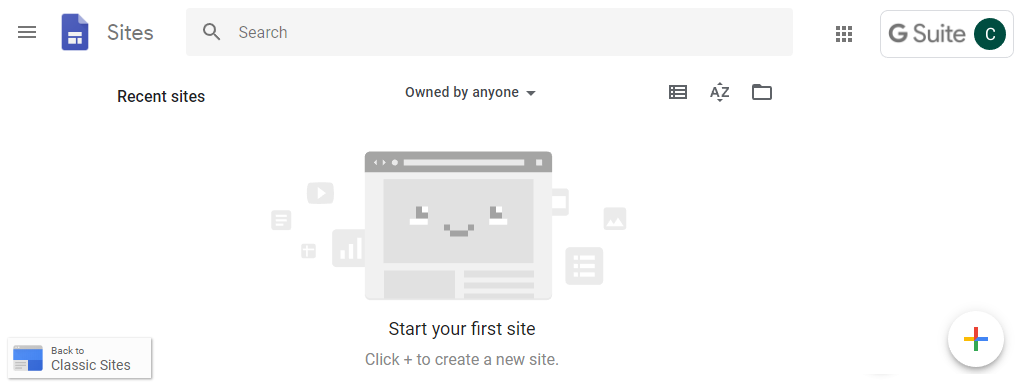
To access Google Sites, open https://sites.google.com on a browser tab. The Google Sites home screen allows you to access your current site projects by selecting them from the list, or to create new ones with a single click:
Instead of creating a PDF and sending a report by email, you can create a private website that will always be showing the latest reports, and doesn't worry about security and access management; it works just like Google Drive.
If you created a new account at the beginning of this book, that means you have no sites for this account yet, so let's create one by clicking the Create new site icon on the bottom-right corner:

This will create a new Untitled Site, as shown in the following screenshot:

Let's explore the main components from the top menu, from left to right:
- Click
 to go back to your sites list.
 - Click Untitled Site. Type the name of the site you are creating.
- Click
 to undo your last action.
 - Click
 to cancel the last undo.
 - Click
 to see a preview of the site for mobiles, tablets, and large screens.
 - Click
 to share the site project with other G Suite users. It works even with free account users.
 - Click PUBLISH to launch the site.
Now that our site has a name, let's give it a theme by following these steps:
- Click Themes on the right-hand side menu
- Select a theme you like:
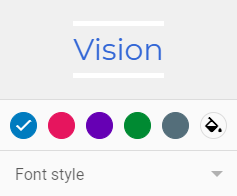
- Select an accent color
- Select a Font style
To give it a more personal touch, let's change the image at the header of the site:
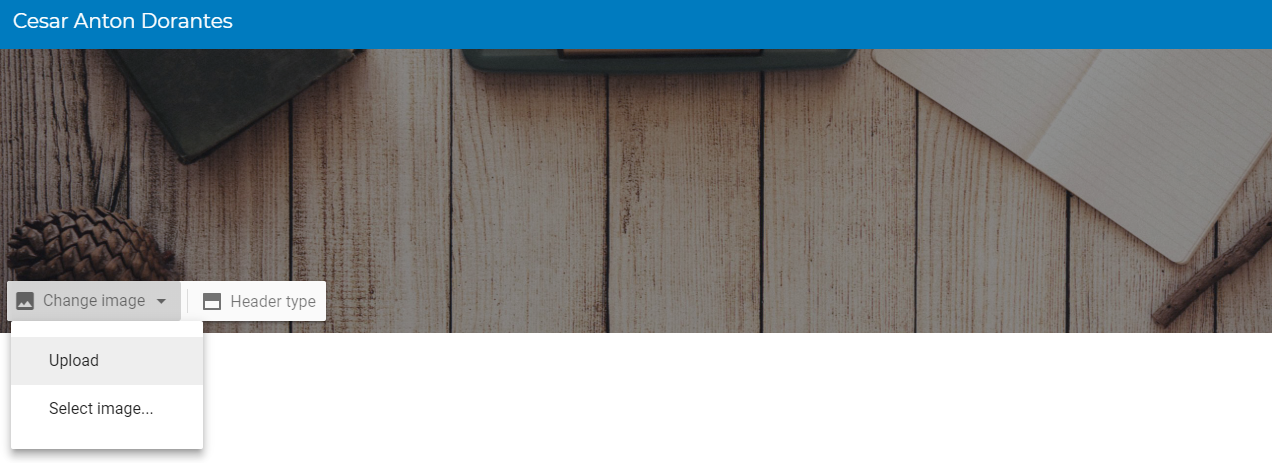
Click on Change Image and select a source for the new background by using one of the following options:
- Upload to use a file stored on the device
- Select Image... to use images from the web or drive
Now, let's select a header type we like for our site:

- Select Cover to use a very tall header
- Select Large banner to use a tall header
- Select Banner to use a normal header
- Select Title only to show the title without images
In this section, you learned how to create new sites and how to apply a theme and style; new pages of your site will also have the elements we defined in this section by default. This will make it easier to keep the site consistent.
Now, it's time for you to start adding content, so continue to the next section to learn how.