Understanding the Book Cover Templates
You can load the PNG file into any image software, but one that works with layers is recommended. Adobe Photoshop Elements is ideal if you have it. I use Affinity Designer for my covers.
Areas Marked on the Templates
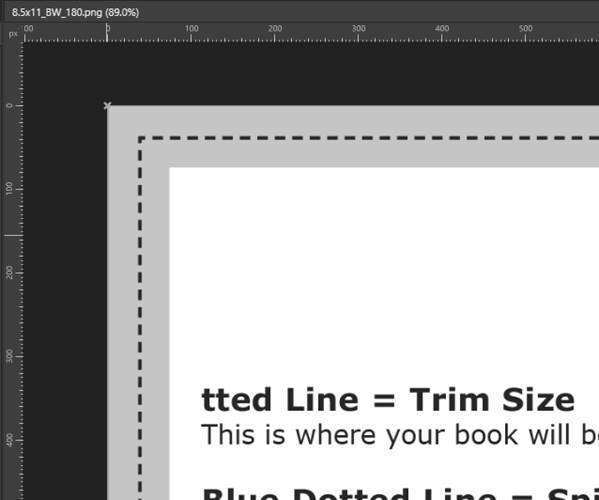
The areas marked on the template are very important because they show you which parts will be used for the front, back, and spine of the cover. If we zoom into the template, we can see this border all around the template perimeter:
The white parts of the template show you the main content area for your cover. We need to make sure all of the important text, graphics, etc., are contained within the white area.
The black dotted line is where the printers will be trying
to cut the edges of the cover
.
The red areas on either side of this black dotted line are “bleed” areas. These areas MUST not contain anything essential to your final cover design, but they MUST be filled with part of your cover design. When the covers are cut, the cut maybe a little to the left or right of the dotted line. By making sure the bleed area is not empty, the cover will look good even if the cut isn’t exact.
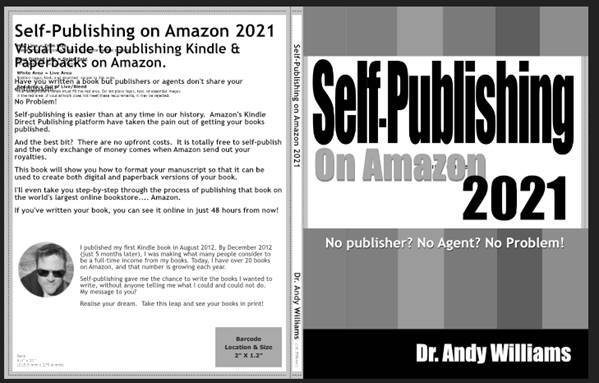
Here is an example from one of my own covers:
You can see on the right where the printer should be cutting the cover (the dotted line), but a little to the left, or a little to the right, won’t make any difference to the final cover design
.
The Spine
Depending on how many pages your book contains, you may be able to fit the title and your author name on the spine of the book. This is what the spine looks like in the template:
There are two parallel dotted lines running down the middle of the template. These mark the position of folds in the book cover that define the spine of the book. The white area in the middle is the printable area of the spine. Include title and author name inside here if you can. The spine has red bleed areas as well because the fold in the cover may be a little to the right or left. Therefore, text in the spine must not touch the bleed area.
Here is the spine from one of my book covers:
You will notice that the spine text does not touch the bleed area. To the right of the spine, you can see part of the front cover design.
Here is the entire book cover, with elements positioned over the template:
By adding a white background layer over the top of the PNG template, we get to see what the cover will look like on the book:
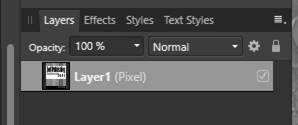
When the cover is complete, you need to hide the PNG layer before continuing with the processing. That is as simple as unchecking the layer in your editor:
Depending on what tool you are using, the next step is to flatten (& merge) the layers of your image. In Affinity Designer, the first step is to create a Group and drag all the layers inside that group.
You can see that in the above screenshot. I have a group called Book Cover
, and all other layers (some contained inside groups) are dragged inside the group. I can collapse that Group to be left with just this:
All of the layers making up my image are inside there.
We now need to rasterize this group, which we can do by right-clicking and selecting rasterize:
This will create a single layer containing all elements in our design:
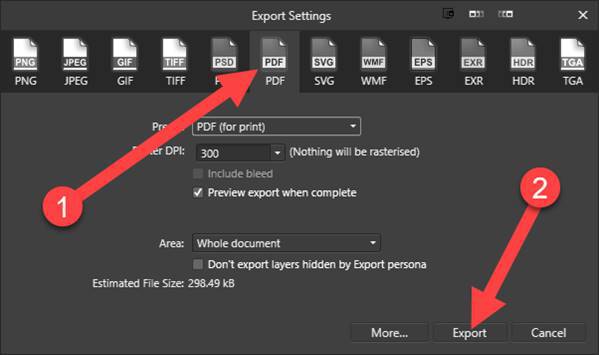
Finally, we can export the cover as a PDF. To do this, select Export
from the File
menu.
Choose PDF
as the format, make sure PDF (for print) is selected as the Preset
, and click on Export
.
The exported PDF is “print-ready.”
Once you have your print-ready PDF cover, click on the Upload a cover you already have (print-ready PDF only)
radio button, then click the button to Upload your cover file
.
You’ll get the message that the cover was uploaded successfully and, of course, that KDP is processing the file. Be patient.
When you are happy that the file has been processed, click on the Book previewer button to see what your book will look like.
A print-ready PDF is created for you to view, but it can take several minutes, so you guessed it. Be patient.
On the left-hand side of the screen is a list of issues you need to work through. The previewer actually does a good job of fixing most issues, so you may be good to go.
A typical error I get is that fonts were not properly embedded. KDP will do this for you, so it is not something to get overly stressed about. When we saved the PDF, we did tell Word to embed the fonts, so we did all we could there.
Another issue is with non-printable markup:
I am not entirely sure about this either, but KDP tells me the page numbers where it removed non-printable markup. Click each page number to make sure your book still looks as it should. If it does, don’t stress over this. Everything will be OK.
Go through the entire document in the previewer. Check TOC page numbers against a few of the page numbers in the book to make sure these are all OK. Check everything.
I recommend you download a PDF proof and check it on your computer very carefully. To do that, click the link top right:
Go through the PDF and re-check everything. This is how your book will look when printed.
Once you are happy, you can Approve
the book by clicking the button at the bottom right of the previewer.
If you decide you need to make more edits, click the exit previewer button to close the previewer and go back to the Paperback Content
section.
You will need to approve your submission before you continue.
Once you click on the Approve
button, you’ll be taken back to the Paperback Content
tab. At the bottom of the page, you’ll see the actual printing costs for the various marketplaces:
OK, click on the Save and Continue
button to proceed with your submission. This will take you to the Paperback Rights & Pricing
screen
.
Paperback Rights & Pricing
At the top of the screen, you need to select the territories you want to publish the book in. If you own the copyright of your book, you can publish to all territories:
You can now enter your desired price for the book, and KDP will crunch the numbers for you.
You’ll see that the royalty rate after printing costs is 60%. So, on my $12.99 book, I’d make $4.77 royalty. That is much higher than traditional printing with a publisher, agent, etc.
You’ll notice that there is a checkbox labeled Expanded Distribution
. There is also a 40% royalty rate shown in that table on the right. The 40% royalty relates to expanded distribution if you choose to use it.
By default, your book will be available on all of the Amazon stores where you hold the rights of the book. The expanded distribution gives you a few more channels for book sales, and it is free.
I have mixed feelings about the expanded distribution options. The biggest problem is that an online seller can buy your books at a discount (you get a much lower royalty on these sales) and sell them at lower prices than you do on Amazon, effectively cutting off your sales.
I recommend you do some research on expanded distribution before checking this box. Leave it blank for now. You can come back later once your book is published and change your options here, so don’t worry about this.
At the bottom of the Pricing & Royalty section, you can see a link to other marketplaces. Click on it.
This opens up a table of several other Amazon stores, where you can override the default prices for those stores (if you want to). Personally, I leave these as they are. Amazon works out the equivalent costs in these other currencies, so everyone pays the same for your book, just in their own currency.
Keep scrolling down the page. At the bottom, you have the option to request a proof copy of your book if you wish. You do have to pay for this, but the costs are much less. For example, with my pricing for the book, people in the UK would have to pay £9.50 (plus shipping). For my proof copy, I pay £2.51 plus shipping (and taxes):
If you decide to order a proof copy, you will then be redirected back to the Pricing & Rights screen.
At this point, you can approve the book if you want to, or wait for your proof copy so you can check it over first. Once you do approve your book, you’ll see a screen like this:
It is a waiting game now. KDP will email you back once they have manually reviewed your book
.
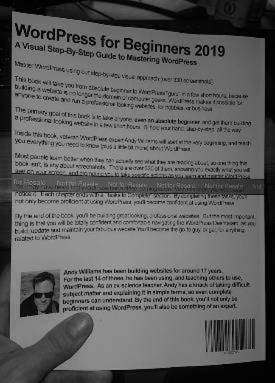
A Proof Copy
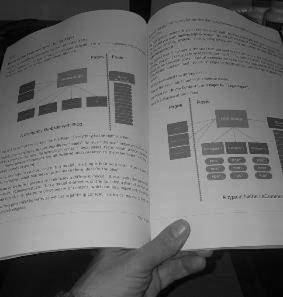
If you order a proof copy, expect it in the post within a couple of days. Here is mine:
The great thing about these proofs is that you can see exactly how the margins, page sizes, font, images, etc., work together in the final book. If you decide to change anything, you can.
You’ll notice that the cover of the proof has a “not for resale” label across the cover (front and back). That reflects the fact you paid a lot less for this copy, with the intention of using it as a proof copy.