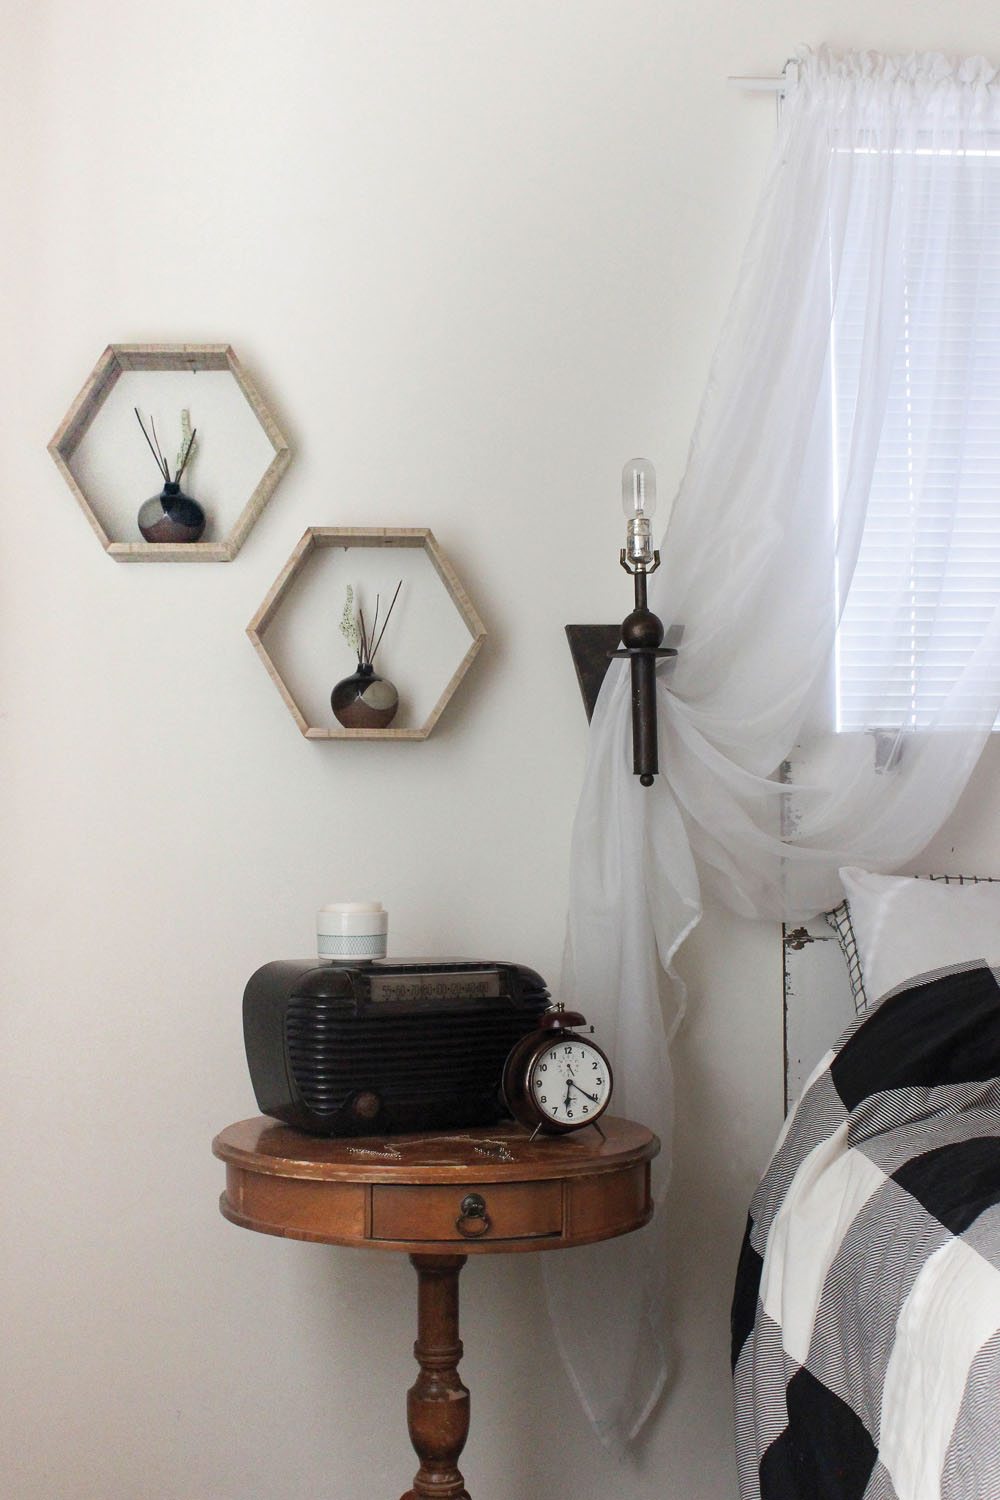
Photo Display Shelf
ON THE WALL
|
Photo Display Shelf |
|
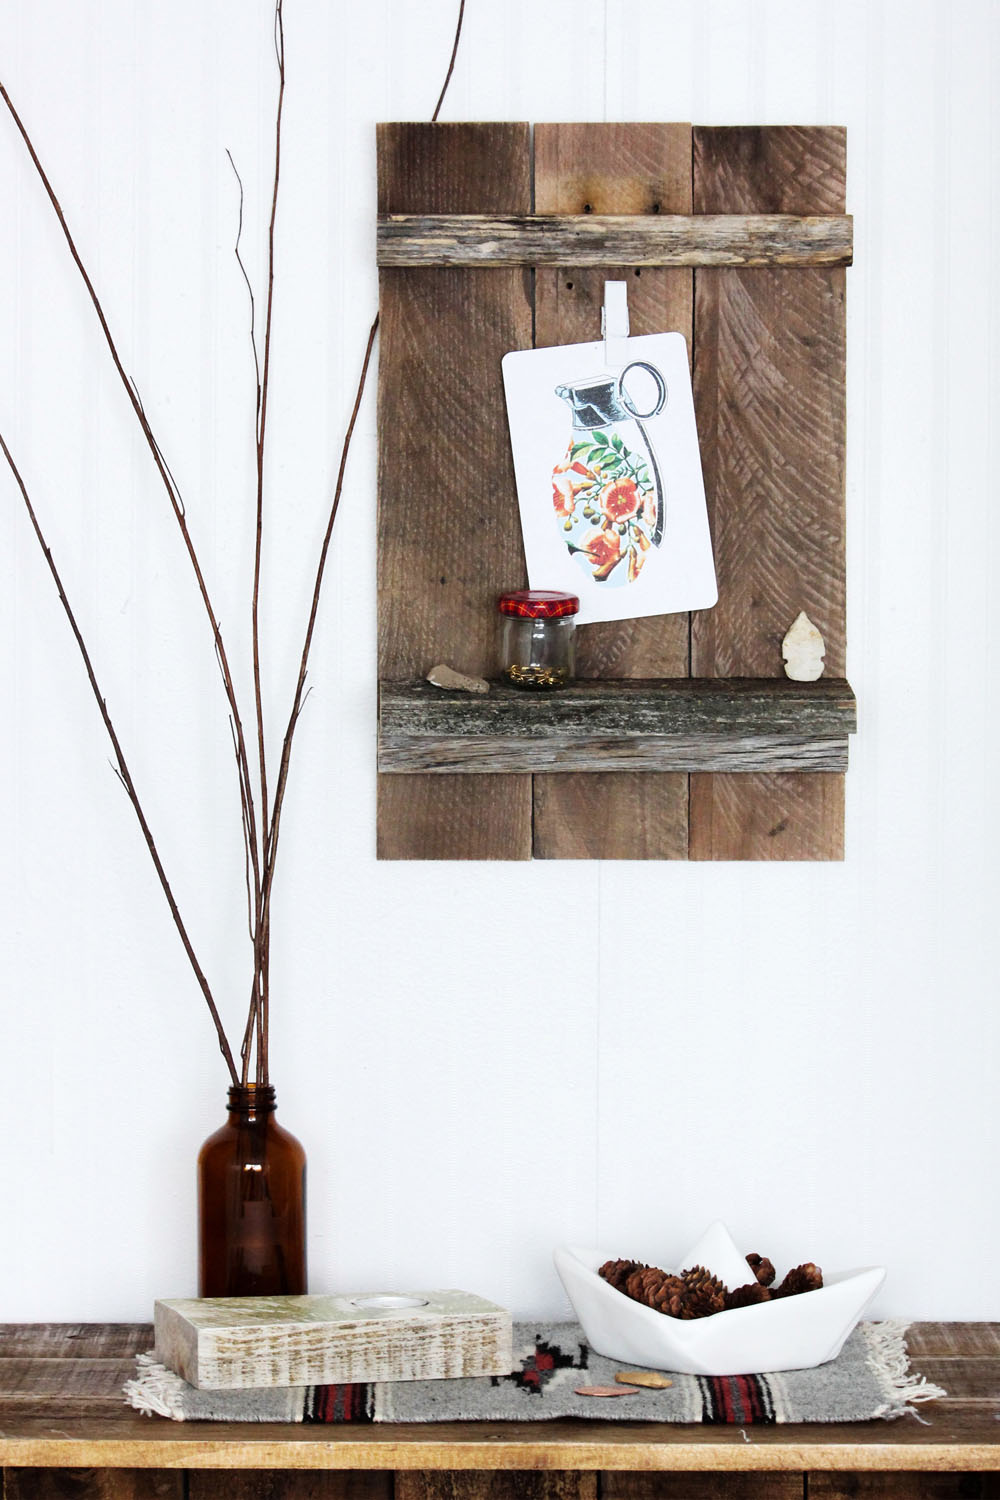
The Photo Display Shelf is a small project that packs a huge punch. Leaving the piece unfinished shows off the true potential of wood pallets, but painting it a solid color makes it a great accent piece for a room. For my shelf braces, I used a scrap of old barnwood I’d been holding onto for a while. It was just the right size for this piece, full of the history and texture I was looking for, and it really complements the natural look of the pallet wood.
Tools • Nail gun or hammer • 1¼" nails • Miter saw • Wood glue • Sandpaper • Table saw |
Materials • Pallet pieces • Two 9¾" pieces (can be a 1×1 or 1×2 from the lumberyard, or an interesting scrap of old wood) • Clip, hook, clothespin, etc., for hanging photos |
Instructions

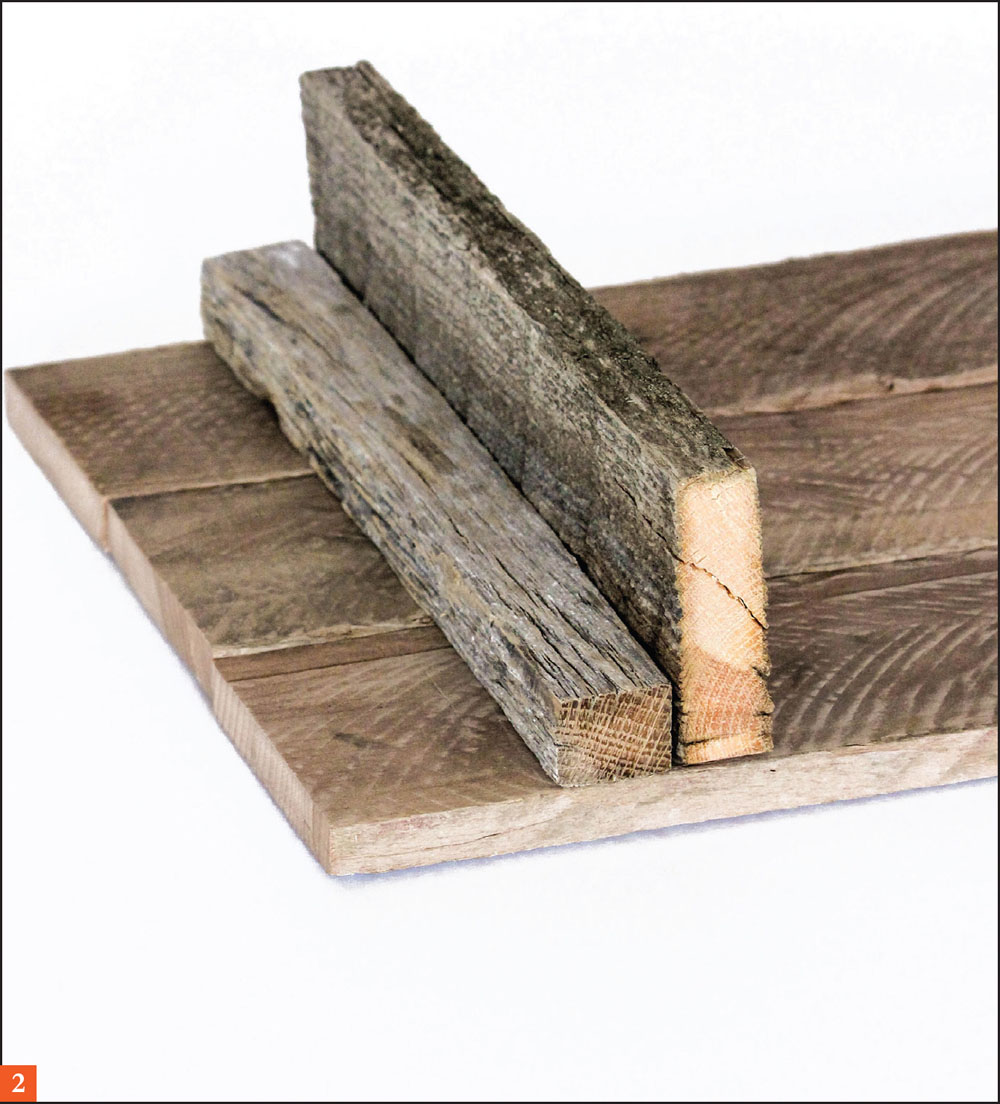
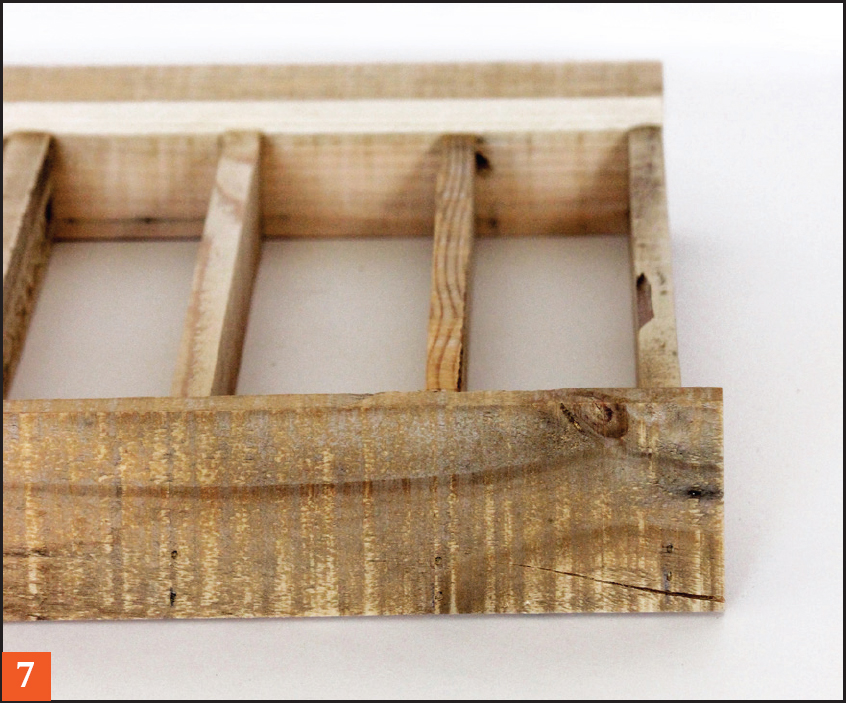
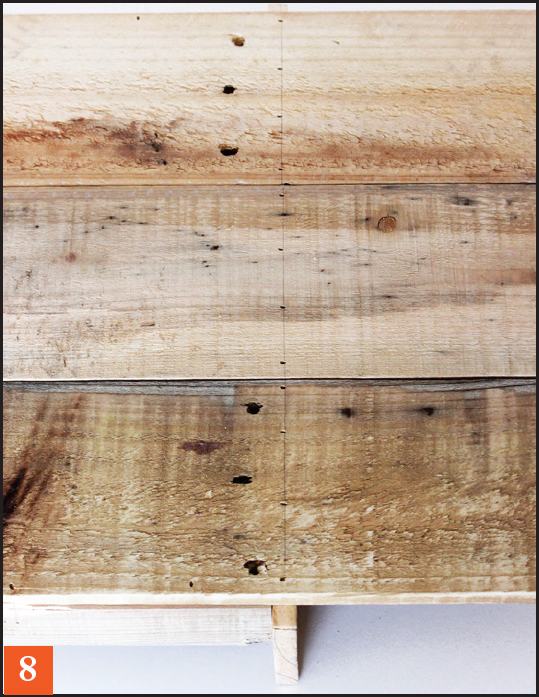
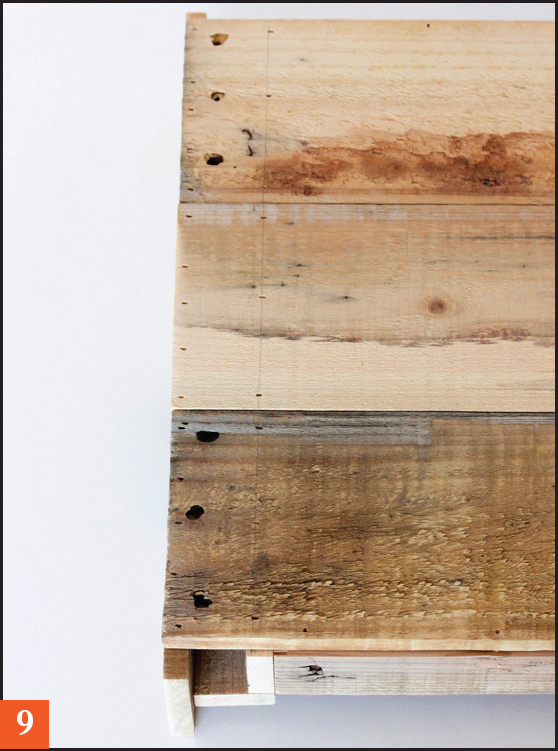
1. Lay out the three back pieces vertically and measure 3" from the top and bottom. Place the two brace pieces on the inside of those lines and glue and nail in place from the front.
2. Lay the shelf piece on top of the bottom brace and secure from the top with nails. Be sure to also add a few nails from the back.
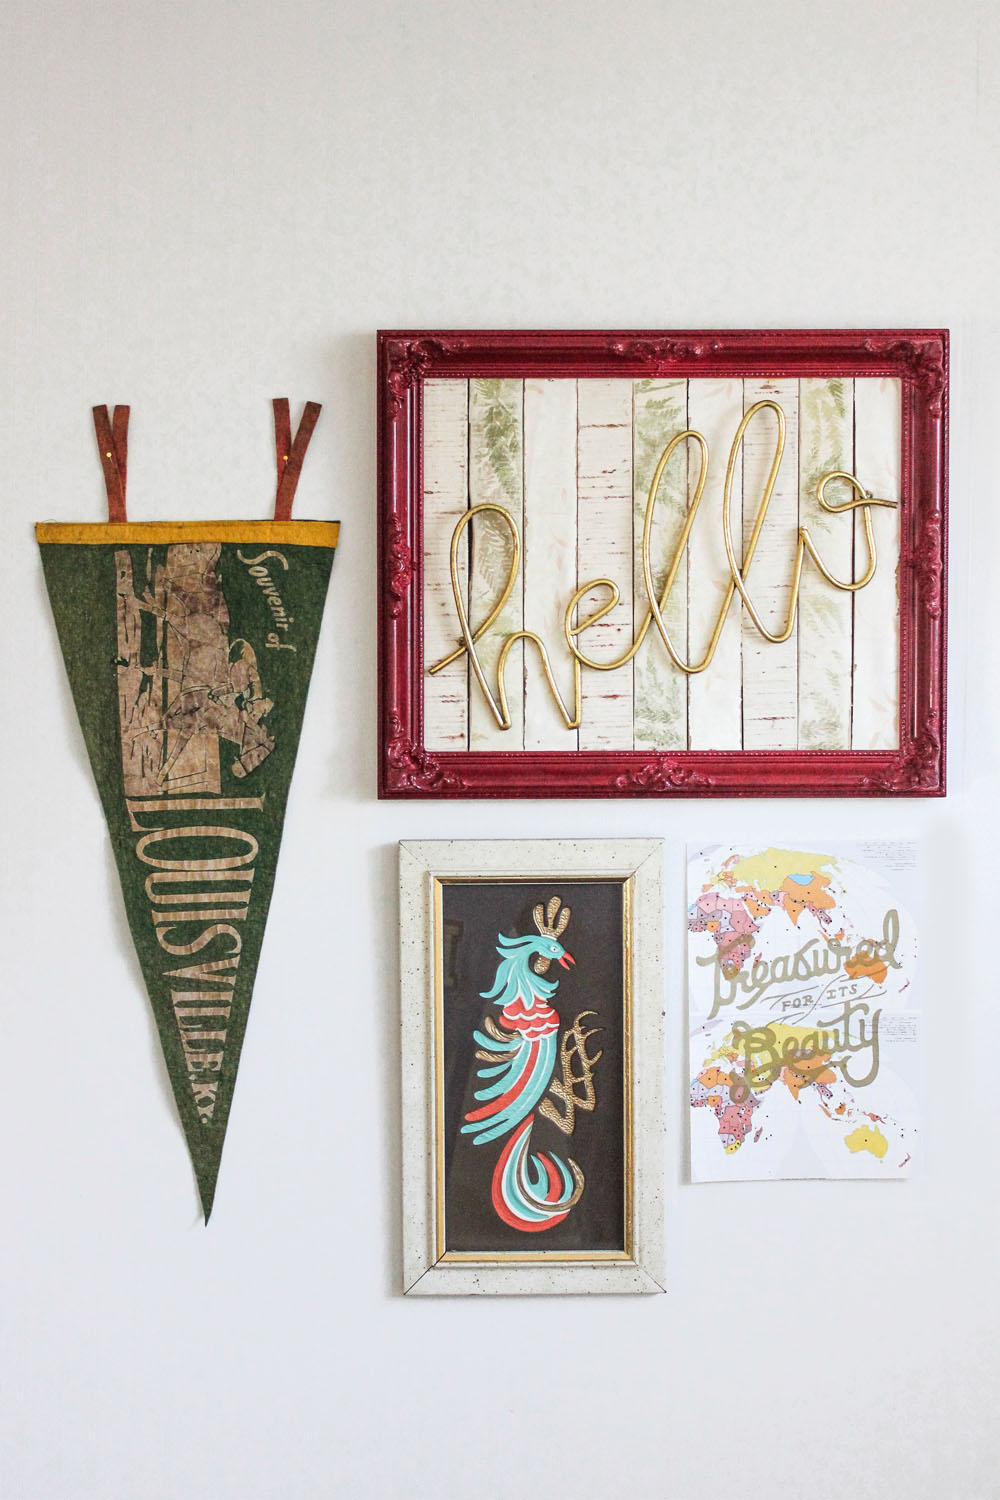
3. Find a unique hook to hang photos. I attached one large decorative clothespin with hot glue for a simple shelf, but several mini clothespins would work well for holding multiple photos or mementos. A large binder clip would be great for holding a notepad for groceries, or a hook can be used to hang a small picture frame.
|
Medicine Cabinet |
|
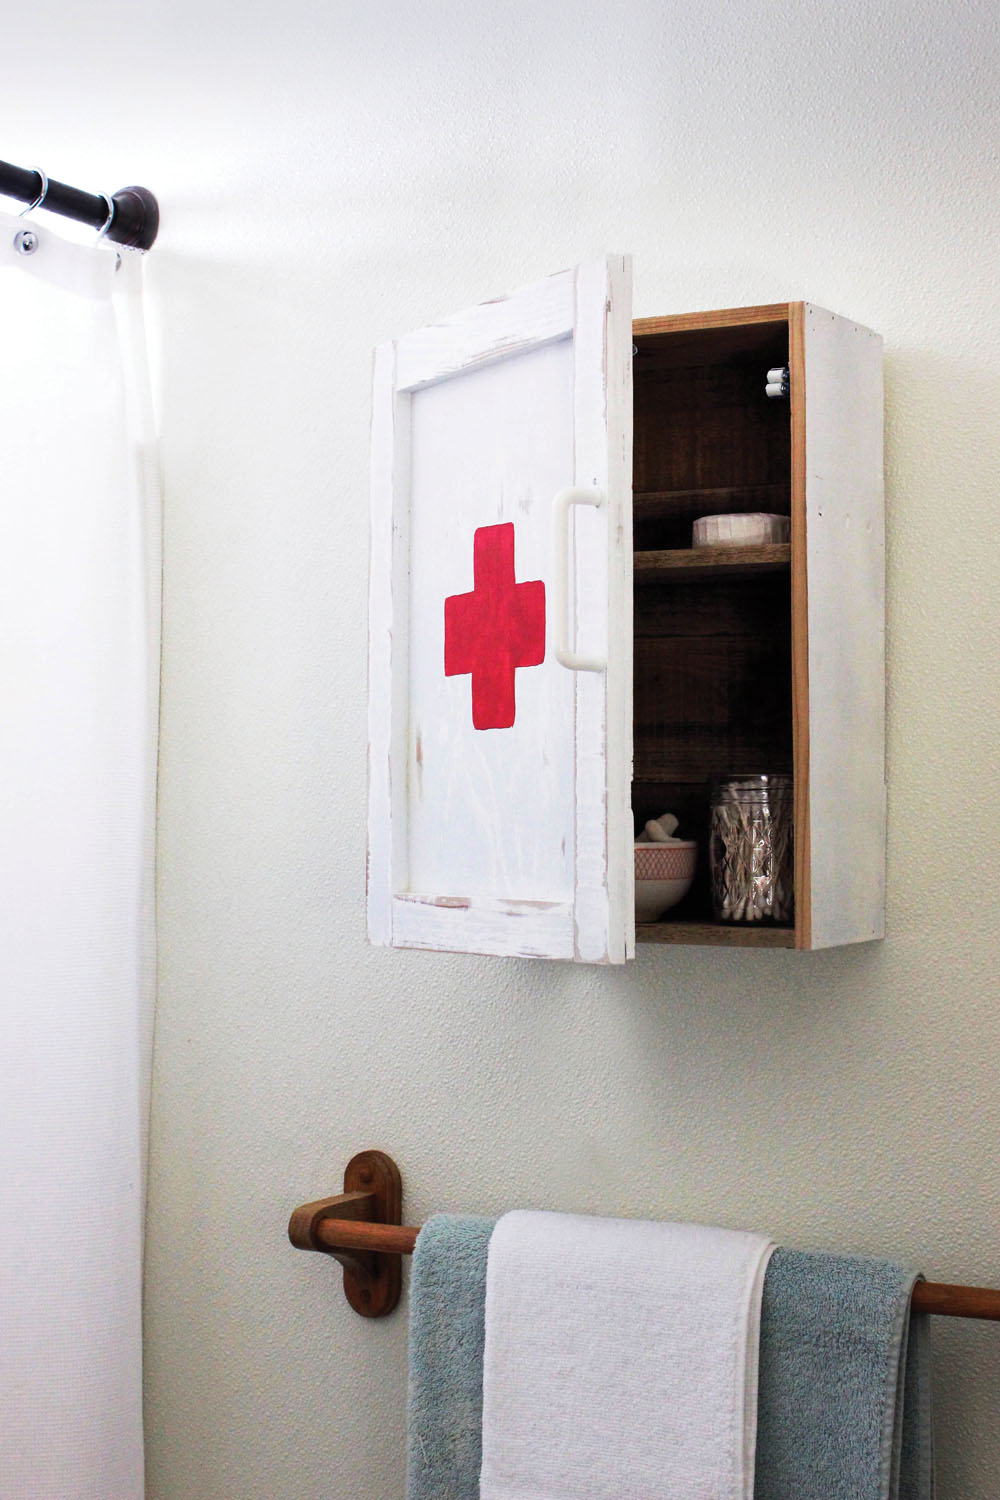
I originally created this Medicine Cabinet as additional storage for a small bathroom, and you’ll be surprised at how much you can stow away in it. It’s perfect for holding not only vitamins and medicine but also makeup brushes or a decorative jar of cotton balls. This piece can easily be resized to insert more shelves, and could be finished in a high-gloss white for a modern look.
Tools • Nail gun or hammer • 1½" nails • ¼" screws (16) • Miter saw • Wood glue • Sandpaper • Table saw |
Materials • Pallet pieces • One 12" x 16" piece of lauan or thin plywood • Handle or decorative knob • Two 1" metal hinges • Magnetic clasp (optional) |
Instructions
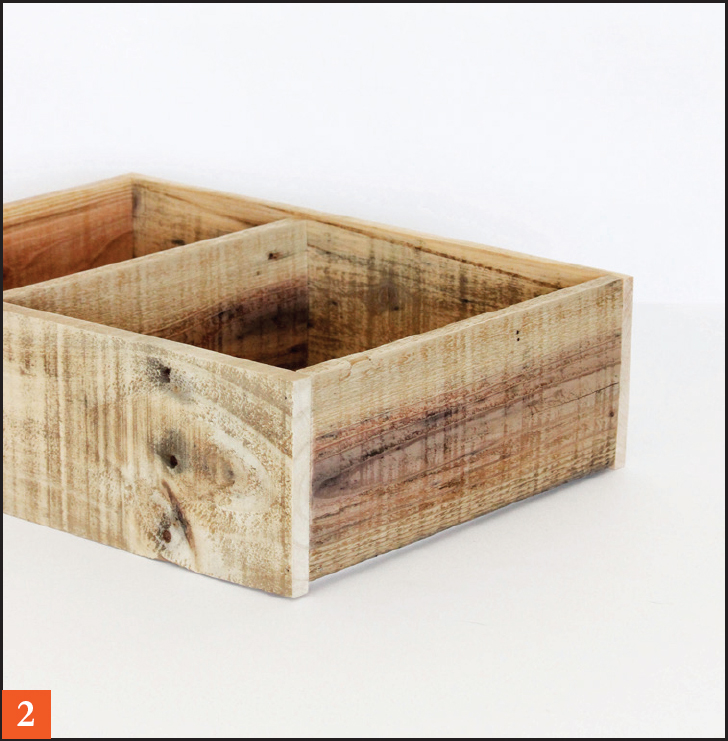
1. Lay out the four sides to form a box and secure together with glue and nails, making sure the long boards are on the outside of the two shorter sides.
2. Measure down an equal distance inside the box on each long side for the shelf. I positioned mine a little higher up than center to allow room for larger jars on the bottom and smaller items on top. Attach using glue and 1½" nails, inserting them in from both sides.
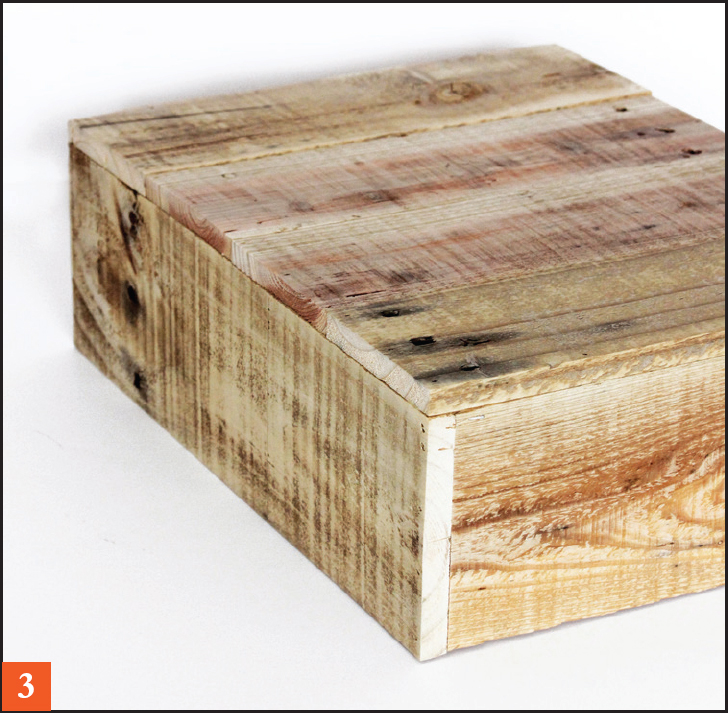
3. Attach the four back boards across the back with glue and nails. Set aside.
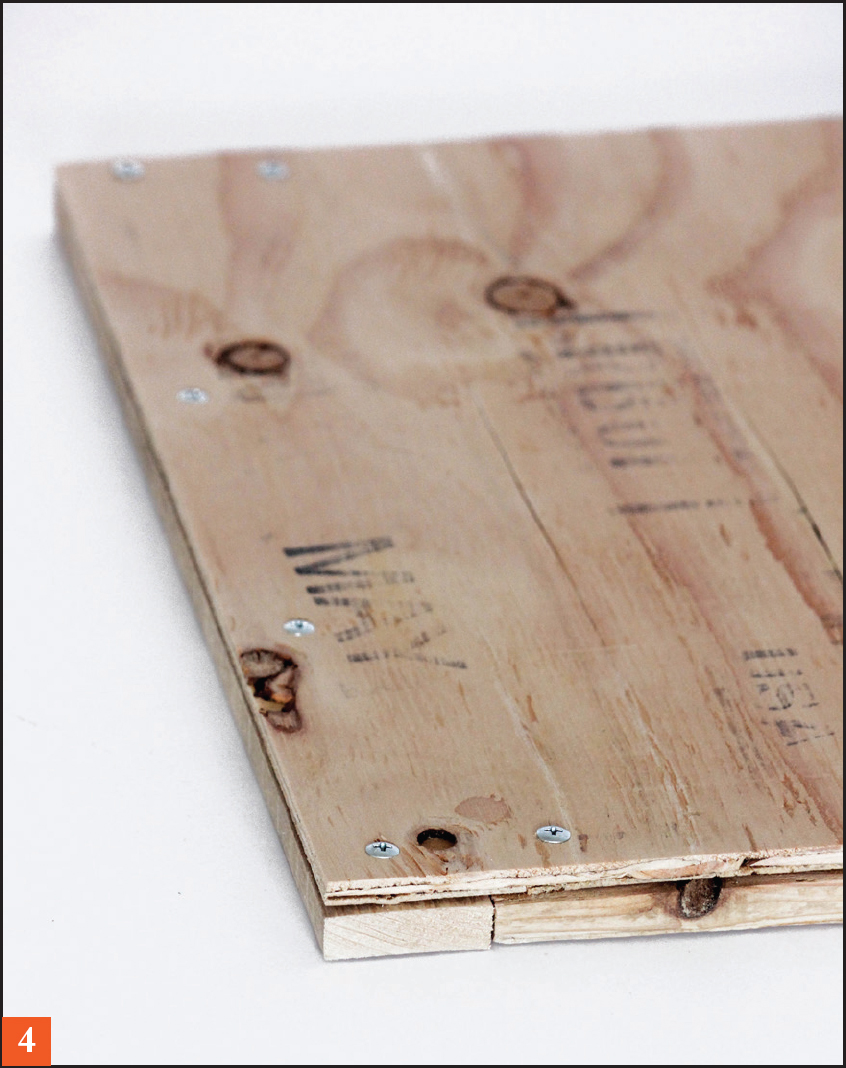
4. Take one of the 12" pieces for the door and apply glue to one of the long faces. Lay the piece of plywood on top, lining up the long edges, and screw in place using four of the screws. Repeat with the other 12" piece, and then with the two 9" pieces for the top and bottom of the door.
5. Sand the cabinet smooth and paint it white. I left the inside of mine natural and distressed the door for a unique look. Paint a red cross on the front and let dry.
6. To finish, attach a handle or knob on the right side of the door. Attach the door to the cabinet with the hinges, measuring 3" from the top and bottom. You may also wish to add a magnetic clasp to the inside of the door to keep it shut.
|
Knickknack Cubby Shelf |
|
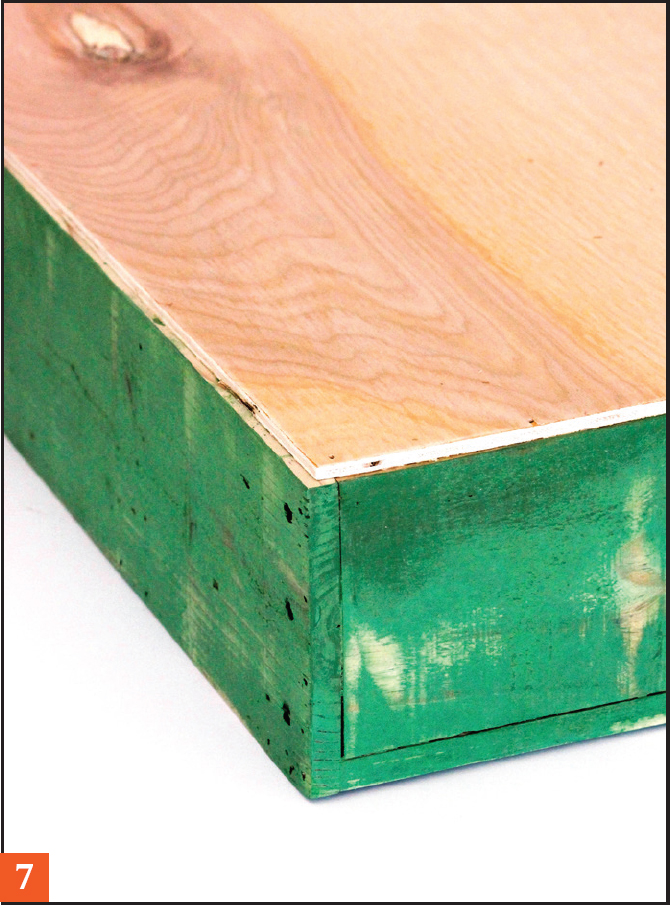
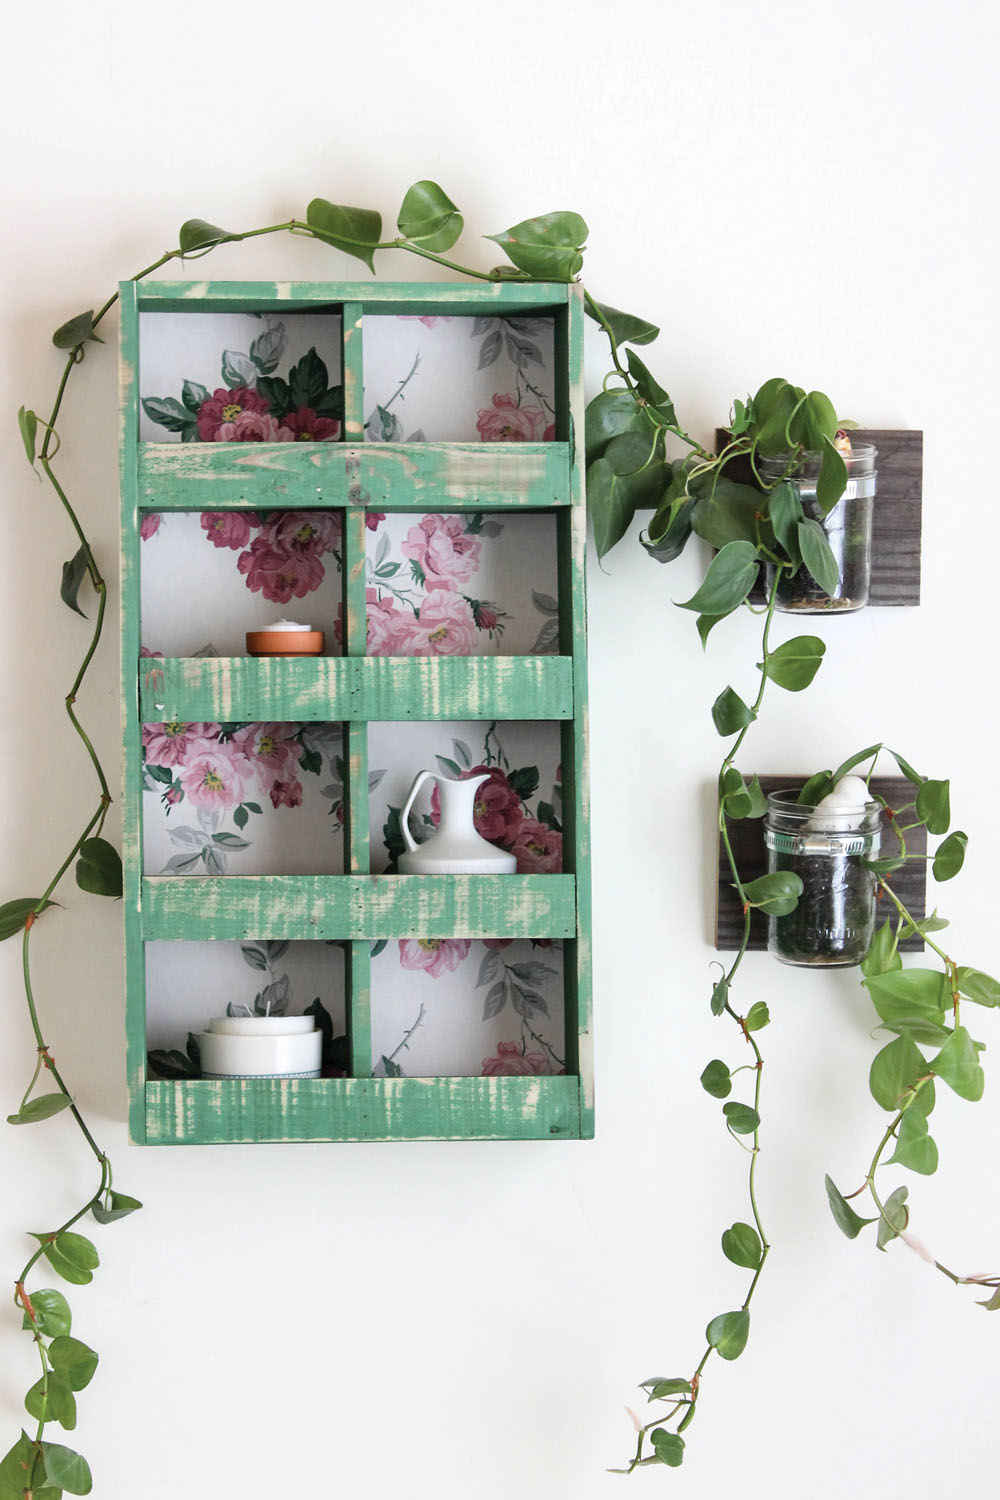
When designing this project, I imagined a shelf that would be perfect in a rustic outdoor greenhouse, packed full of terra cotta pots, seed packets, and twine. In reality, I used this shelf in a guest bedroom to hold small trinkets but finished it in a way that would tie in with the space I created in my mind, using green chalk paint and a vintage floral wallpaper I’d picked up from an estate sale a few years ago.
Tools • Nail gun • 1½" nails • Miter saw • Wood glue • Sandpaper • Table saw |
Materials • Pallet pieces • One piece of 12½" x 24" plywood • Spray mount • Wallpaper • Sawtooth hanger |

Instructions
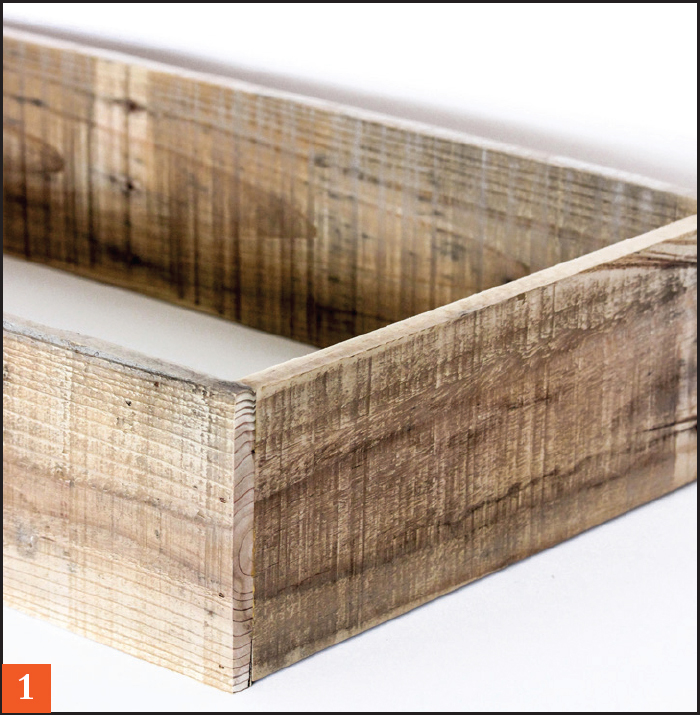
1. Lay out the four sides to form a box and secure together with glue and nails, making sure the long boards are on the outside of the two shorter sides. Be sure to note the bottom board, which is 4" deep and sits ½" shallower than the other three sides.

2. Find the center of the two short sides of the box created in Step 1 and attach the 23" shelf board using glue and nails. Be sure the center shelf board is flush with the bottom of the box.
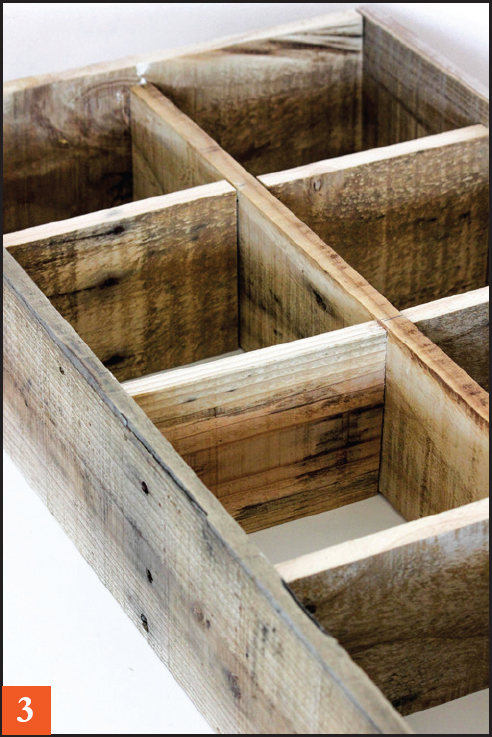
3. On each of the two long sides and the center shelf, divide the length up into quarters and mark off where the cross shelves will go. Attach all six shelves, gluing and nailing in from the outside.
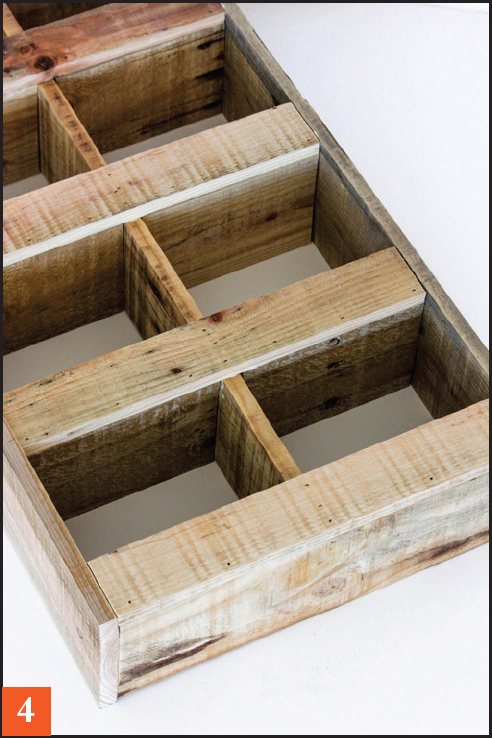
4. Lay the four front pieces across the shelves to create the cubbies, making sure that the bottom piece is positioned at the bottom. Glue and then nail across the shelves, as well as in from the sides, to hold in place.
5. If you’re going to paint the piece, do so now after sanding it smooth. Set aside to dry.
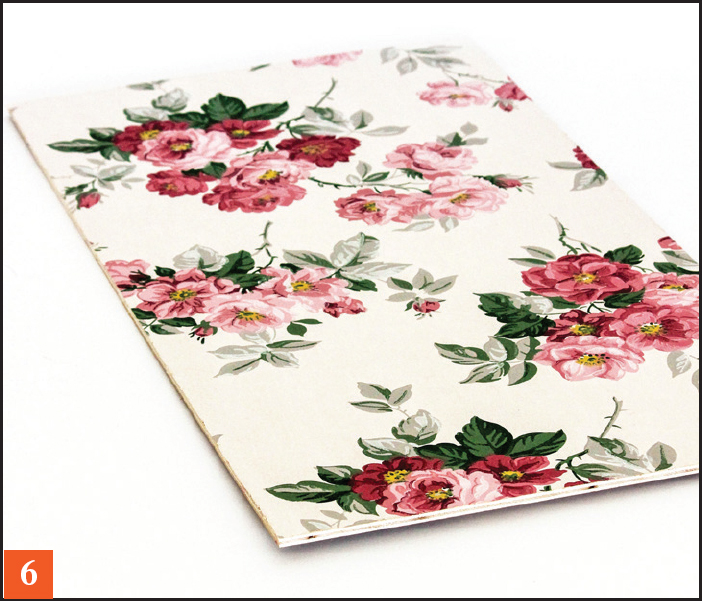
6. Take the piece of plywood for the back and spray it with spray mount. Let it dry around a minute until tacky and lay on a piece of wallpaper. Smooth out any wrinkles and press to adhere. Trim any excess paper from the edges and let dry.
7. Flip the cubby shelf over and attach the back, carefully gluing and nailing all around the exterior. Center a sawtooth hanger on the back for mounting.
|
Farmhouse Spice Rack |
|
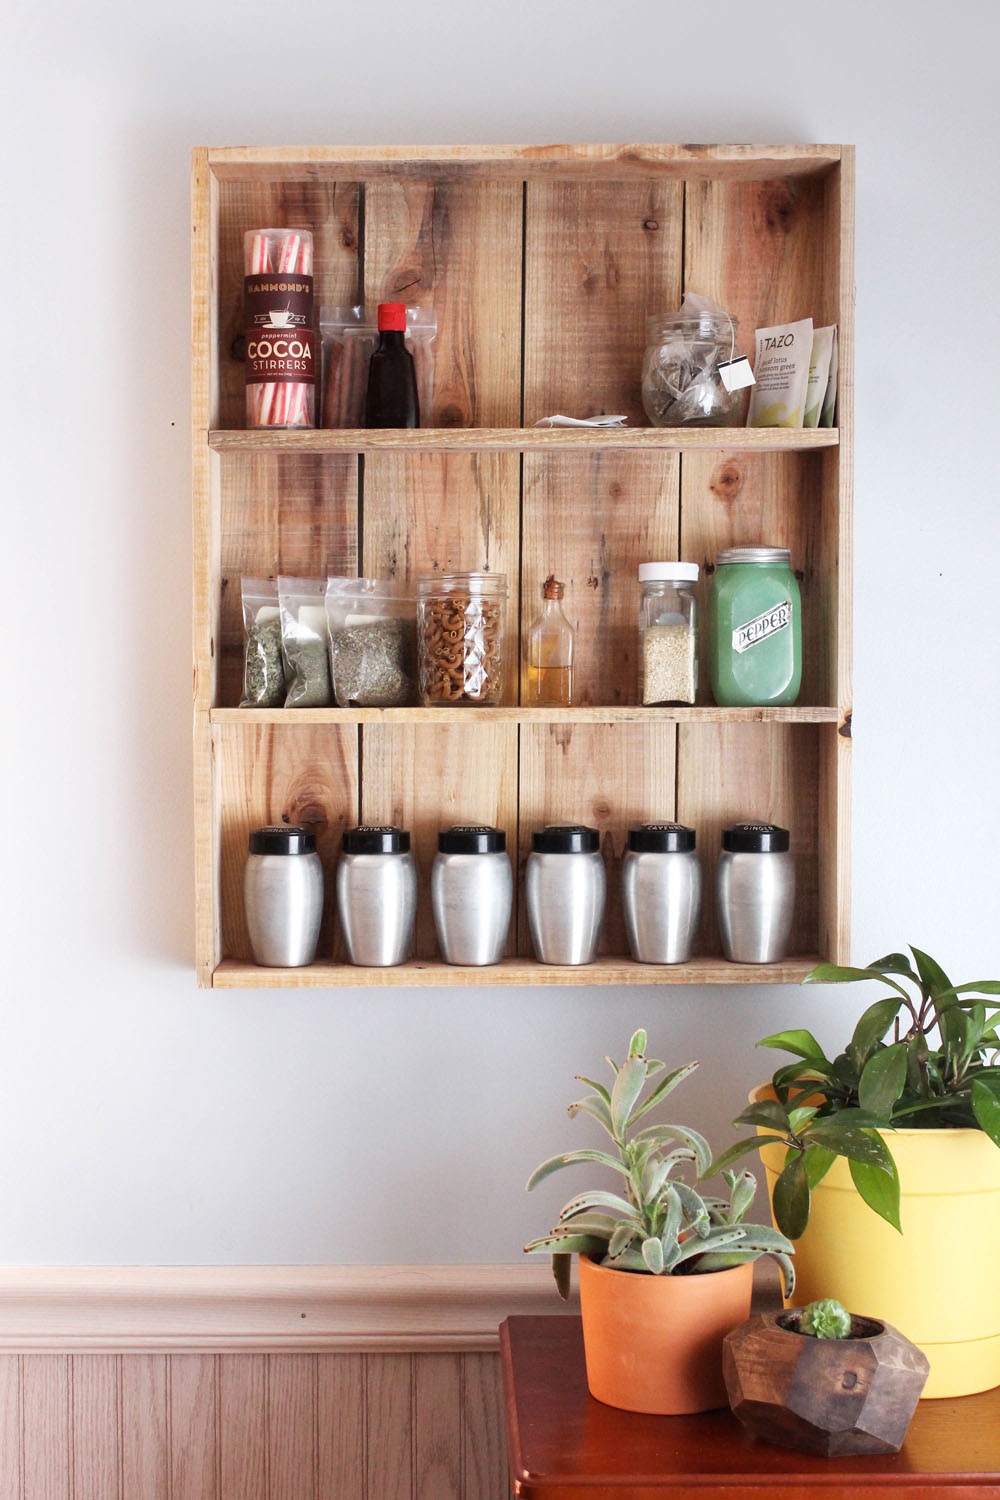
After an unsuccessful search for the perfect spice rack for my kitchen, I decided to make one of my own. I kept the design relatively simple, and I love the way the vintage metal canisters and jars full of dry goods look against the natural finish of the pallet wood. The rack can also be used for other purposes around the house, such as displaying seashells from various trips, storing jars of buttons, or holding miscellaneous screws and nails.
Tools • Nail gun or hammer • 1½" nails • Miter saw • Wood glue • Sandpaper • Table saw • Ruler or square |
Materials • 10 pallet boards at least 24" long • Sawtooth hanger |
Instructions

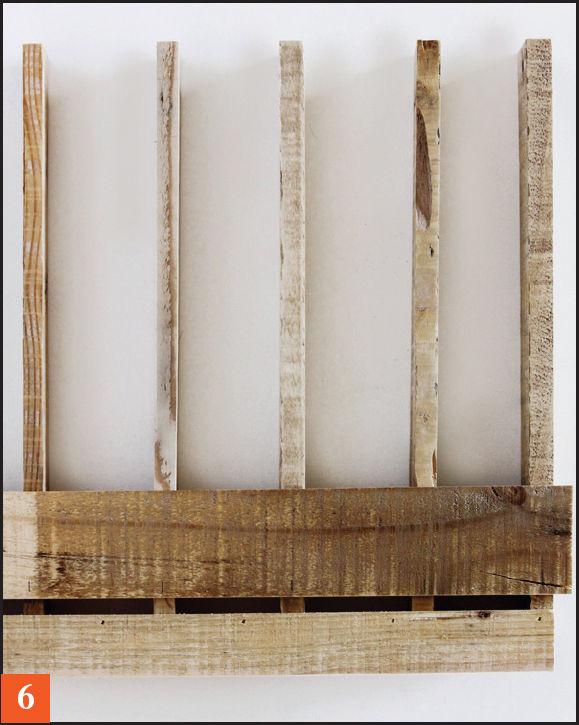
1. Determine the size for your project. Cut six boards to the same length and set two aside. Lay out the remaining four boards and measure the distance across (measurement A). Measure the depth of two boards (measurement B). Subtract B from A and cut the remaining four boards to that length for the top, bottom, and two shelves. Lay everything out and see how it fits together, adjusting accordingly.
2. For my project, I wanted to put narrower spice jars on display, so I didn’t make the rack too deep. I ripped the top, bottom, and shelving boards down to 3" using a table saw, but if you have larger items, such as mason jars, you would want to leave them wider. Sand the boards smooth.
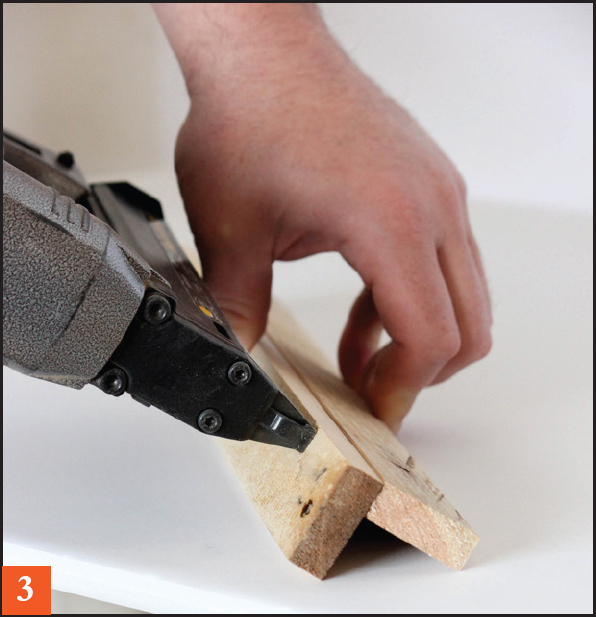
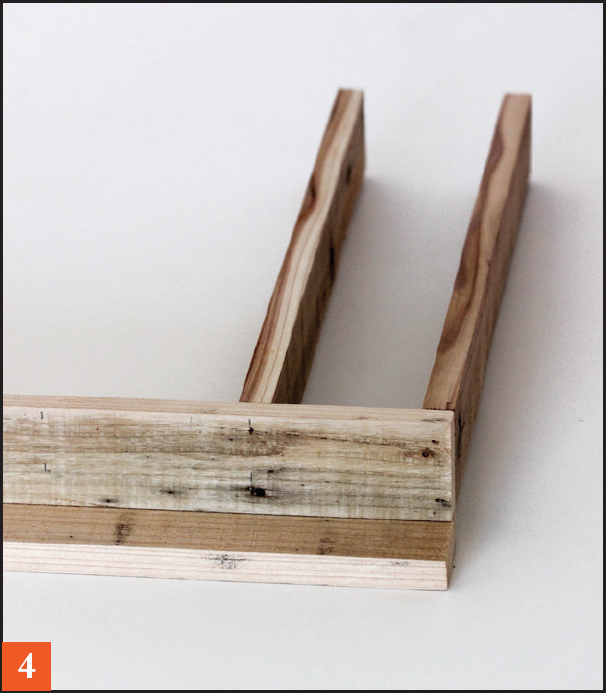
3. Take two of the longer boards and two of the shorter boards, and then glue and nail them together, making the rectangular front of the rack. The shorter boards should be on the inside of the longer. Be sure to line up the nail gun straight with the board you are shooting into.
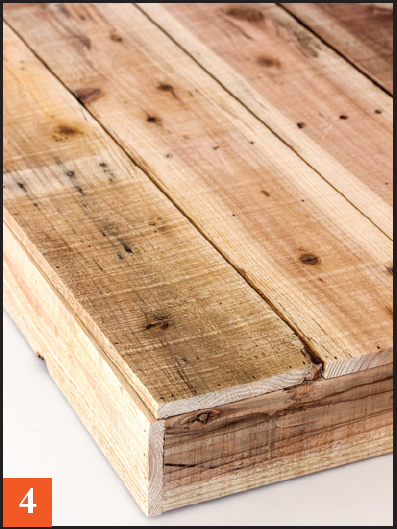
4. Flip the rectangle over and put a bead of glue all the way around. Lay the four back pieces on it and nail all around the outside.
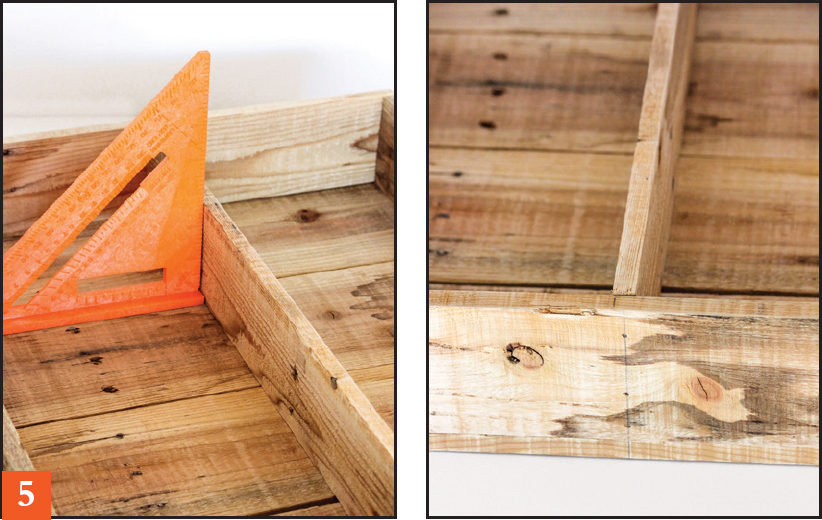
5. Flip the piece over to the front. I put two shelves in mine, but you’re free to add as many as you would like. Measure down equally on both sides and mark where they’ll go. Place one shelf in and put a nail in each side to hold it in place. Use the ruler or square to make sure it’s level, and then use it to lightly draw a line on the outside of the rack to line up the nails. Finish securing the shelf in place, and then repeat with the other shelf.
6. Once more, flip the whole piece back over. Using the ruler, connect the lines you drew in Step 5 across the back of the rack. This will give you the center of each shelf to help you to finish nailing it all together. The lines will easily sand off when you’re finished.
7. Now that the assembly is finished, paint or stain the piece however you like. I chose to leave mine natural because I really liked the characteristics of the wood, so I just lightly sanded it with a finer-grit paper and installed a sawtooth hanger on the back for hanging.
|
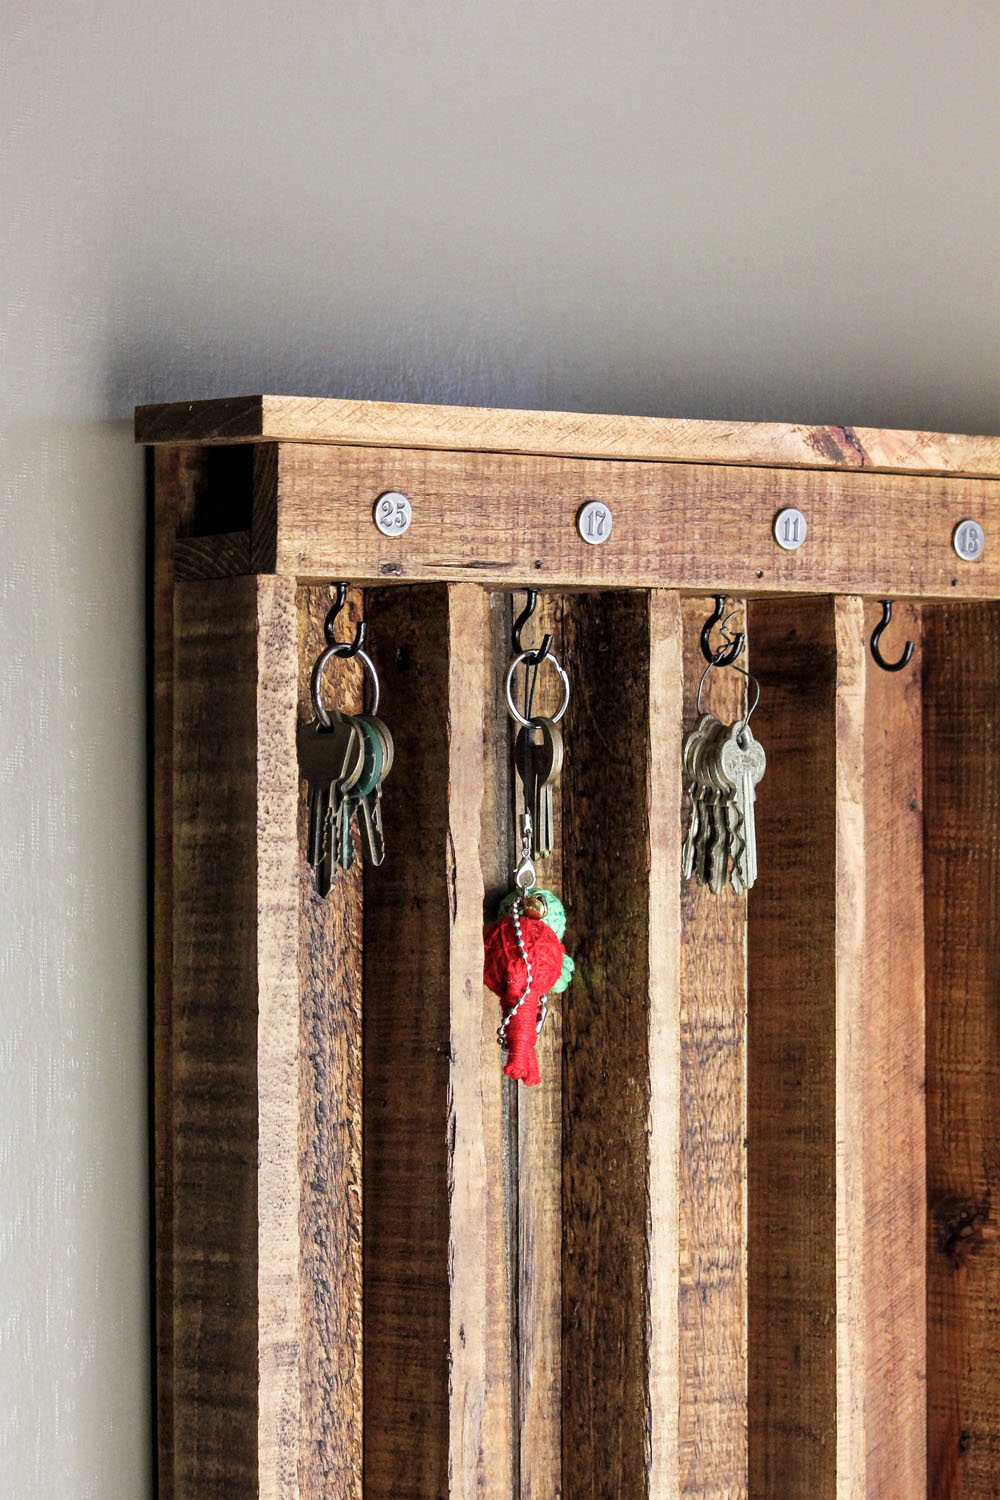
Entryway Key Rack |
|
Inspired by old hotel-style key racks, this smaller version brings a bit of vintage charm to your home. Any type of basket can be used for the letter holder at the bottom. I picked up a simple closet storage basket from Target, cut off the wire hooks, and spray-painted it black. Not only does this work perfectly, but it fits the style of the piece as well.
Tools • Nail gun or hammer • 1½" nails • Miter saw • Wood glue • Sandpaper • Table saw • Ruler |
Materials • Pallet pieces • Five hooks • Five decorative numbers, such as scrapbooking brads • Wire basket around 12" x 4" |

Instructions
1. Sand all of the pieces smooth.
2. Lay the three back pieces next to each other. Take one of the 15¼" pieces for the top and stand it up on one of the short sides, lining it up with the top of the back pieces, leaving ½" on each side. Flip the whole thing over, and then glue and nail the top piece in place. Set aside.
3. Take the two key slot brace pieces and nail them together in the shape of an “L.”
4. Take the piece from Step 3 and attach one of the 13" key slot strips to the end, keeping the piece square with the board it’s being nailed into. Repeat for the other end.
5. Measure and mark where the four remaining 13" key slot strips go, evenly spacing them across the board from the last step. Attach with glue and nails.
6. Take the 15¼" bottom piece and lay it across the six key slot boards. Mark off the center of each to indicate where to nail.
7. Attach the bottom piece, making sure both it and the key slot boards are flush with the table.
8. Place the piece from Step 7 on the back piece from Step 2, making sure the L-shaped piece is at the top. Flip it all over. Using the ruler, trace a line across the center of the bottom piece to show where to glue, nail, and attach.
9. Do the same across the top, as well as shooting a few nails in through the top of the entire piece to hold it all together.
10. Finish the piece in the color of your choice. I used a Rustic Pine colored wax to highlight the natural tones of the wood. I spray-painted the hooks and basket black to match the number brads. Screw in the hooks, gently nail or superglue the numbers above the key slots, and attach the basket with wire, nails, or hooks, as appropriate.