
Hexagon Shelf
DECORATE YOUR SPACE
|
Hexagon Shelf |
|
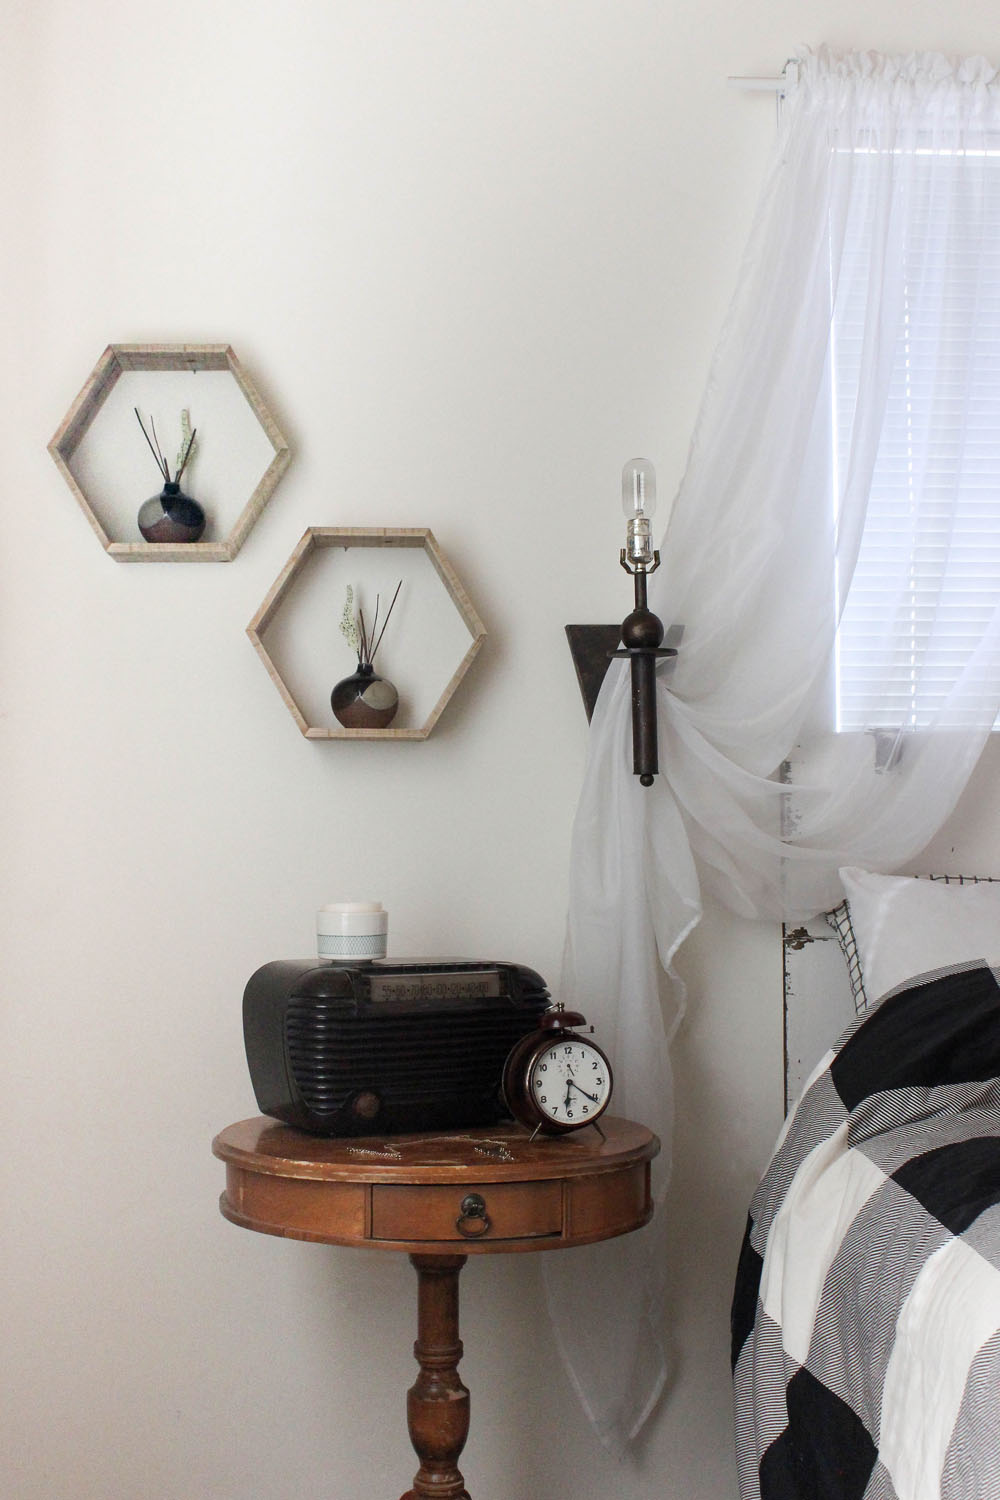
A set of Hexagon Shelves is a great way to display your favorite knickknacks or tie together a gallery wall. The measurements in this project create a shelf that’s about 13" across, but it can easily be adjusted to make different sizes. To figure it out, take your desired hexagon width and divide it in half to get the length of the cut sides (for example, for shelves that are 10" wide you would cut 5" long boards). It may vary slightly depending on how thick your pallets are, but that should give you a general idea. These shelves are easy enough to whip up in an afternoon, yet they look like they took hours to create.
Tools • Nail gun or hammer • 1½" nails • Miter saw • Wood glue • Sandpaper • Orbital sander |
Materials • Three pallet boards at least 20" long (this is more than needed to allow for nail heads in the boards or trimming off split edges) • Sawtooth hanger |
Instructions
1. Begin this project by setting your miter saw to a 30-degree angle. Be sure to note the size of your saw blade so you know what width boards you can cut. For example, the blade on my saw is 12", so I’m able to cut boards that are 5" when standing up vertically against the fence. If your blade is smaller, you’ll need narrower boards.
2. Cut the end of each board at a 30-degree angle, then lay them on the table so the long side is facing up.
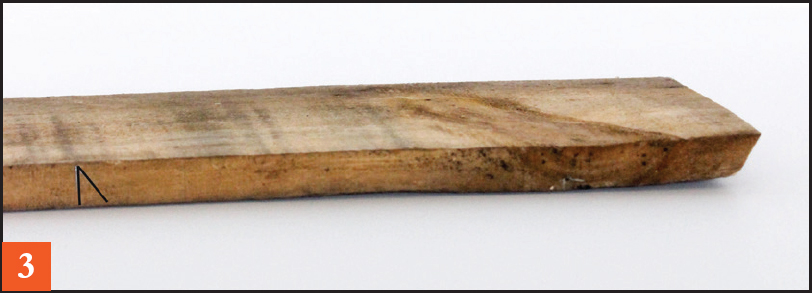
3. Measure 6" from the outside angle of the cut side and mark it off on the edge closest to you. I also like to draw a small angle so I remember which way to cut. In this case, you will want to angle the cut toward the one you already made so they’re pointed toward each other.

4. Stand the board up vertically. Cut on the outside of the line, then set the 6" piece aside.
5. Flip the remaining portion of the board over and repeat Steps 3 and 4.
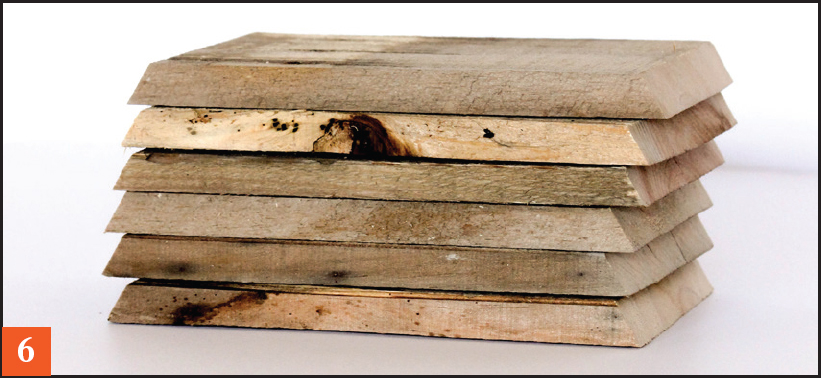
6. Once you’ve cut six pieces, it’s time to think about your desired finish. I opted to leave mine natural, so I sanded the boards really well with 100-grit sandpaper and an orbital sander. If you would like them rough, skip this step.
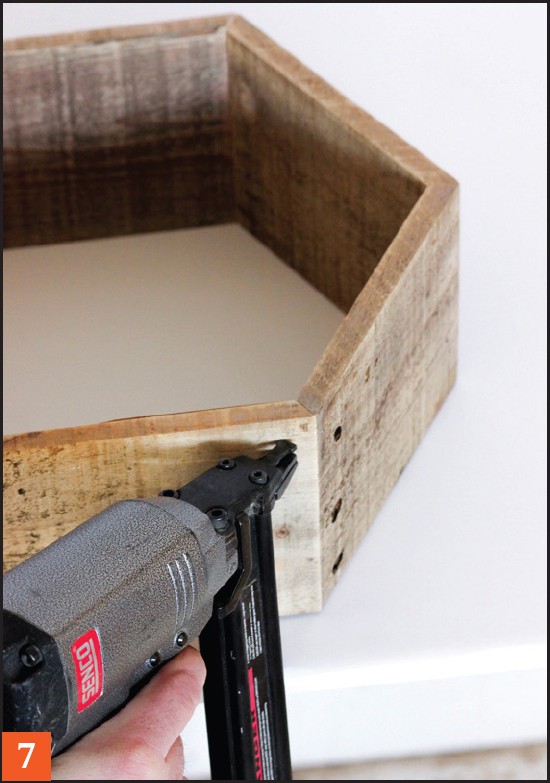
7. Apply glue on one of the angles and put two of the pieces together. Hold them together for about a minute, and then nail them together. Be sure to hold the nail gun straight on with the board you’re nailing into so the nail doesn’t pop through the side. Repeat this process with the remaining pieces until the hexagon is assembled.
8. If you’d like to paint or stain the shelf, now is the time to do so. I gave mine one final sanding with 220-grit sandpaper to make it nice and smooth.
9. Finally, attach a sawtooth hanger on the back, centering it on one of the sides, and your shelf is ready to hang.
|
Chicken Wire Message Board |
|
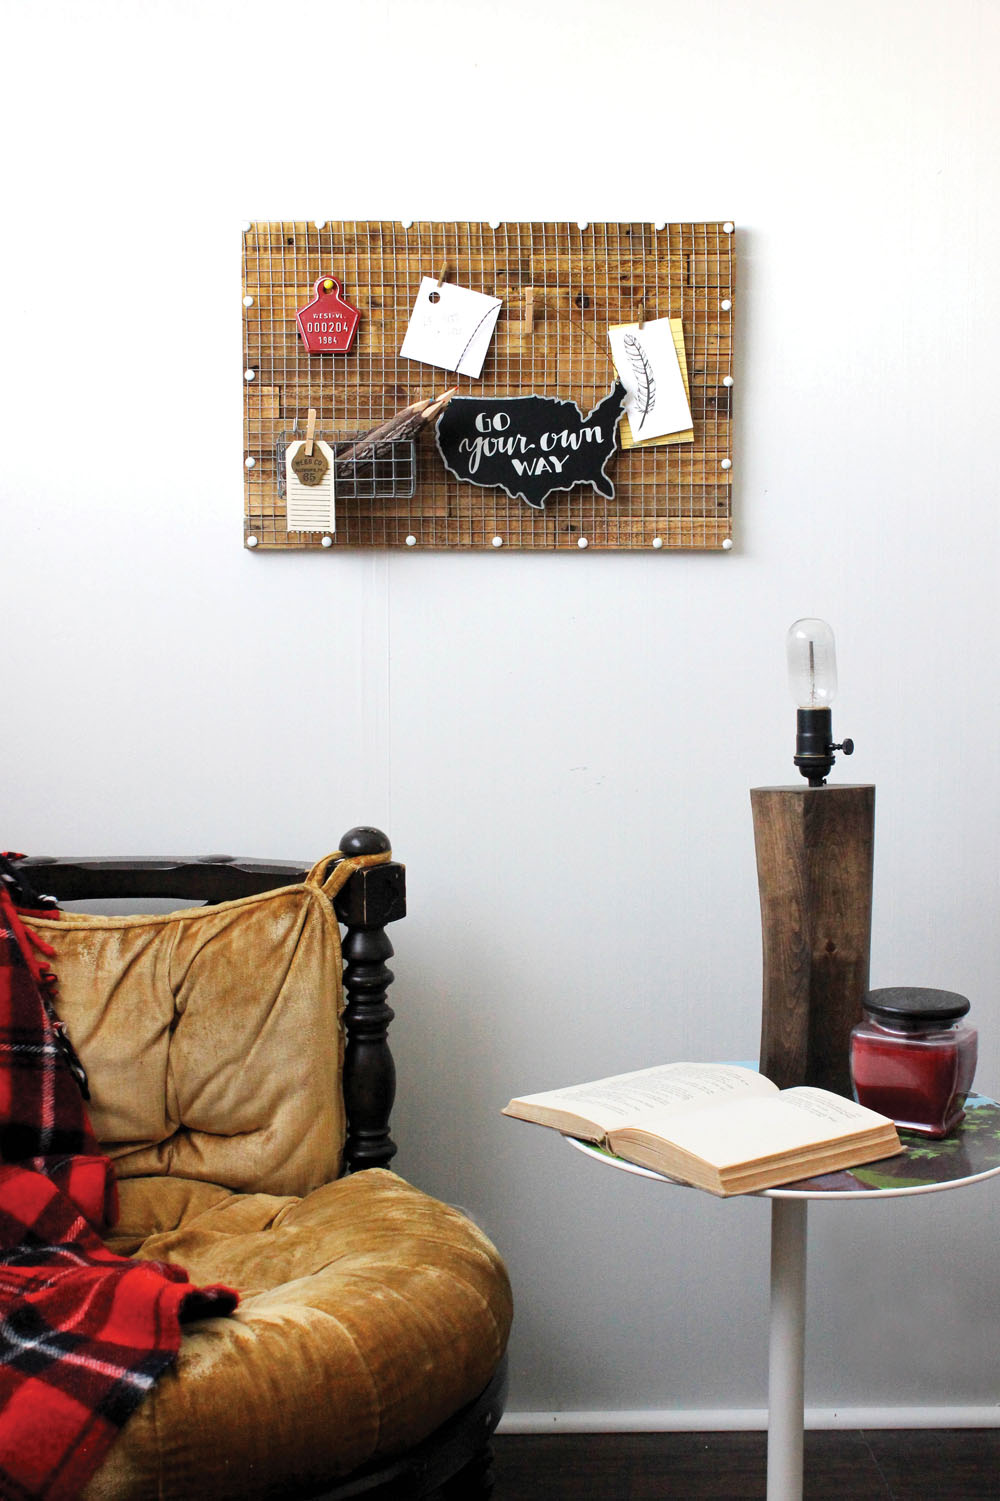
Another great project for using up scraps, the Chicken Wire Message Board is a simple but unique way to display notes, memos, and small trinkets. Chicken wire comes in several patterns and sizes, so feel free to choose whichever best fits your style. Small hooks or tiny clothespins work best for hanging items, and decorative thumbtacks look great stuck directly into the wood.
Tools • Miter saw • Wood glue • Sandpaper • Table saw • Tin snips or pliers • Hammer • Thumbtacks or upholstery tacks |
Materials • At least eight pallet boards, 28" x 1¼" • 22" x 13¼" piece of lauan or thin plywood • 22" x 13¼" piece of chicken wire |
Instructions
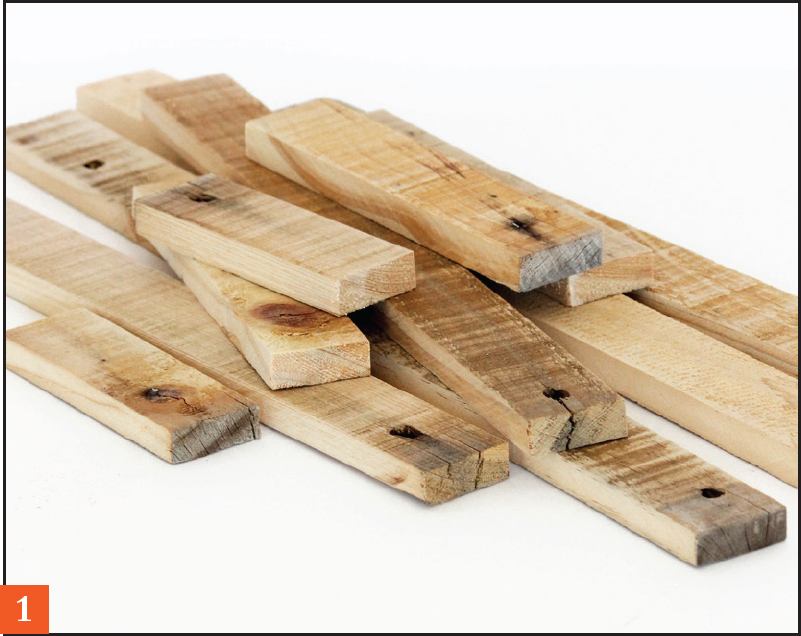
1. Cut the boards into several pieces, varying in length. Sand the pieces until smooth.
2. Sand the edges of the lauan or other plywood. Starting at the top left corner, begin to lay out the strips in a visually appealing pattern.

3. When you get to the right side, lay a piece in place and mark off where the edge of the plywood is. Cut with a miter saw. Repeat for the rest of the rows.
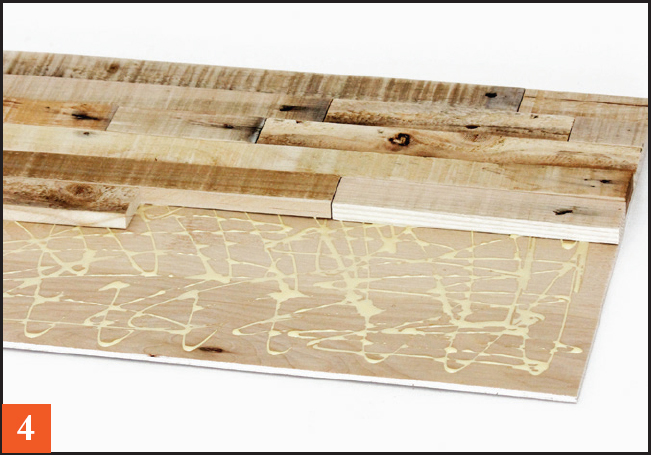
4. Once you have a pattern that you’re happy with, tilt the plywood up and gently slide the boards forward onto the table, keeping the pattern intact. Spread glue all over the board and reassemble the pieces. Place something heavy on top and let dry.
5. Using the tip snips or pliers, cut a piece of chicken wire to fit the wood. Be sure to wear gloves, because the edges of the wire can be sharp.
6. If you wish to stain or seal the wood, do so now. I finished mine with a Light Brown wax, applying more to some spots to create a variety of colors. You may also spray-paint the chicken wire.
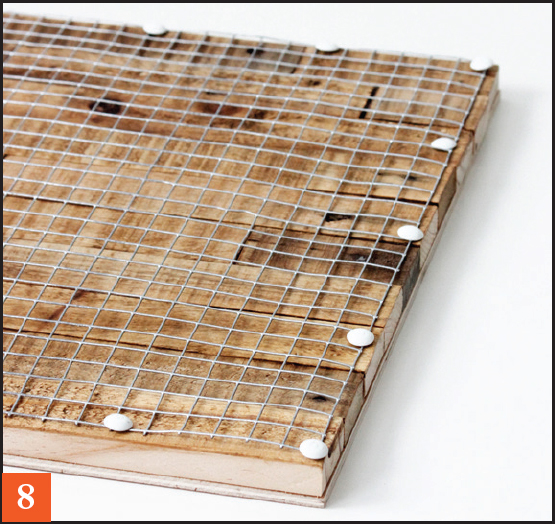
7. Attach each corner with a tack and then go all around the outside, adding as many as you wish.
8. When everything is dry, lay the chicken wire over the top. Because it usually comes in a roll and will not lie perfectly straight, be sure to place it with the bend toward the ceiling so it’s not tight against the board and there’s room for hanging things once the wire is attached.
|
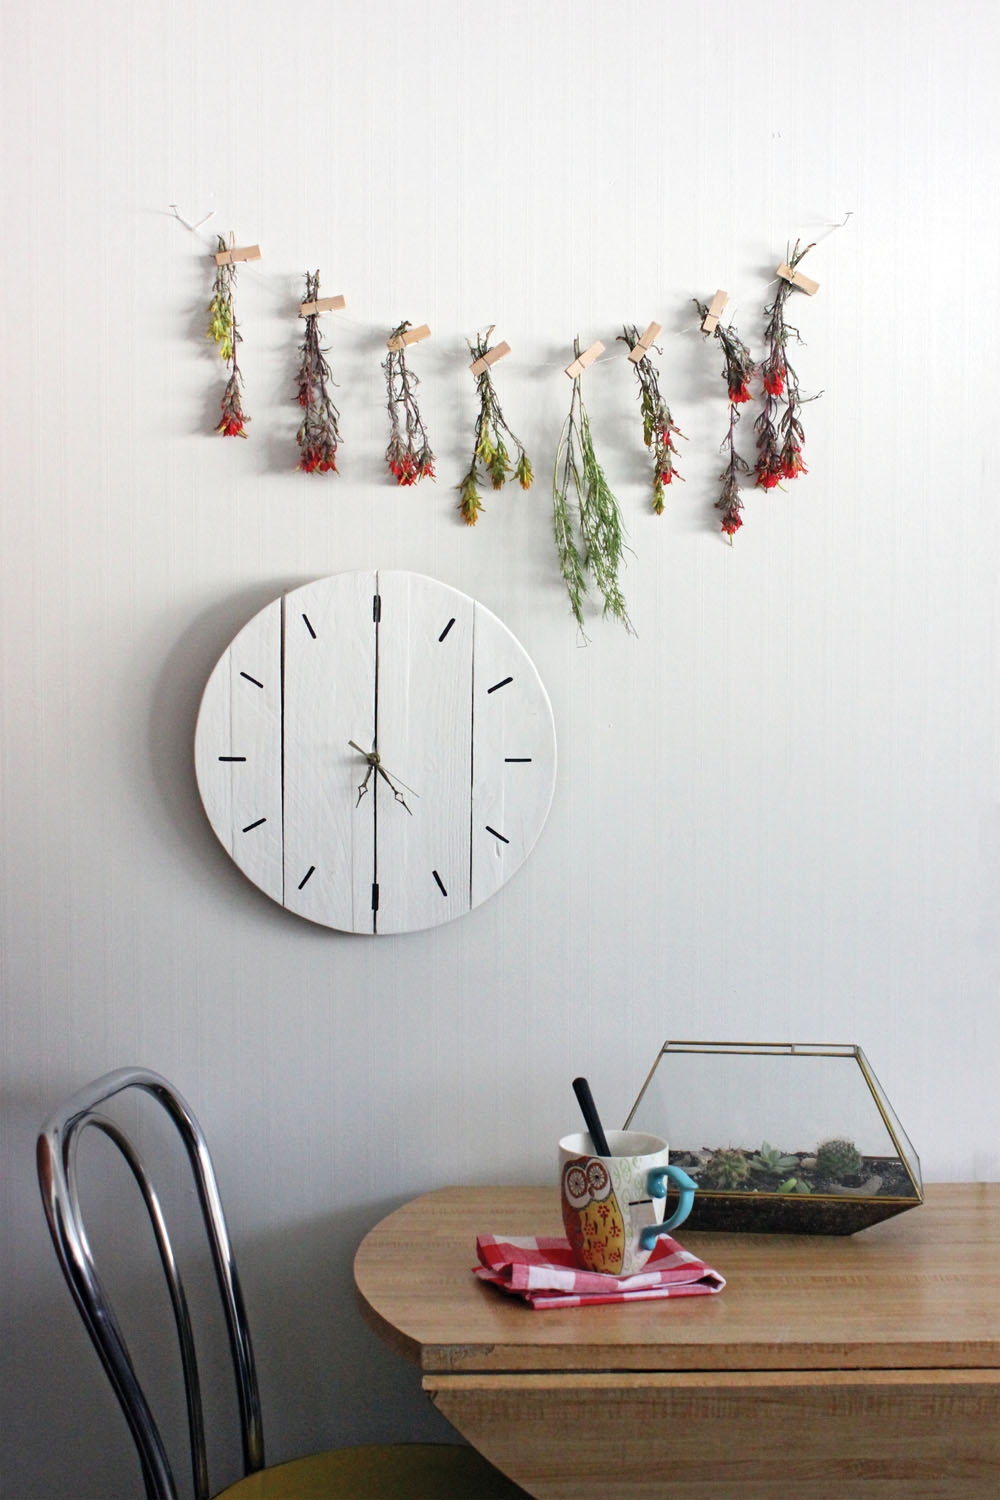
Farmhouse Wall Clock |
|
I have to admit, I love vintage clocks. Every time I go to an antique store or an estate sale, I look for an old alarm clock to bring home and add to my collection. Needless to say, when I’m looking for a decorative piece for literally any room in the house, I always turn to a clock. They are timeless pieces (no pun intended) that will always have a use and can be found in a variety of styles and colors. Creating your own clock is a great way to personalize a space with a functional item that will never go out of style.
Tools • Nail gun or hammer • 1" nails • Miter saw • Wood glue • Sandpaper • Table saw • Jigsaw or bandsaw • Sharp #2 pencil • String • Thumbtack (optional) • Drill or drill press • ⅜" drill bit |
Materials • Pallet pieces (4): 15" x 3¾" • Two 11" x 1½" x ¾" pieces (standard 1x2 from lumberyard) • Clock movement kit made for ¾" surfaces |
Instructions

1. Lay out the four 15" boards so the edges are even. Place the clock mechanism in the center of the boards and trace around it.
2. Set the clock mechanism aside and take the two 11" pieces. Center them across the boards, placing one on the outside of each of the marks. Test fit the clock in the space, and then attach the two pieces with glue and nails.
3. Flip the piece over and use a tape measure to find the center. Drive in an extra nail just far enough to be sturdy, or push the thumbtack in place. Take a piece of string at least 12" long and tie it to the nail or thumbtack.
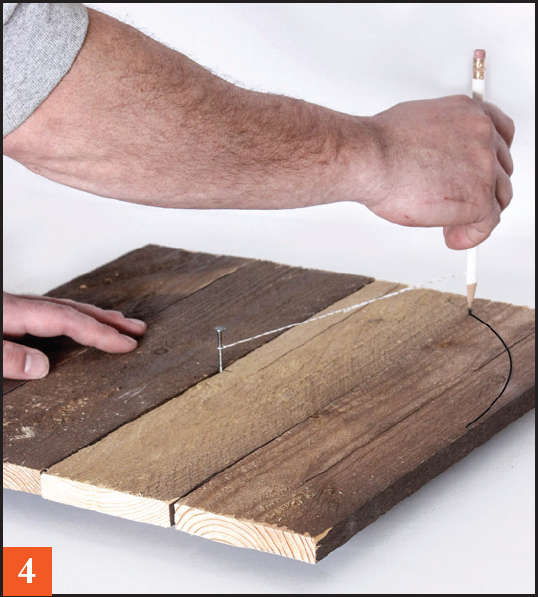
4. Pull the string out horizontally so it’s almost at the edge of the board and tie it to the pencil. Keeping the string pulled tight, hold the pencil up straight and draw a circle around the center marker. Remove the nail or tack and set aside.
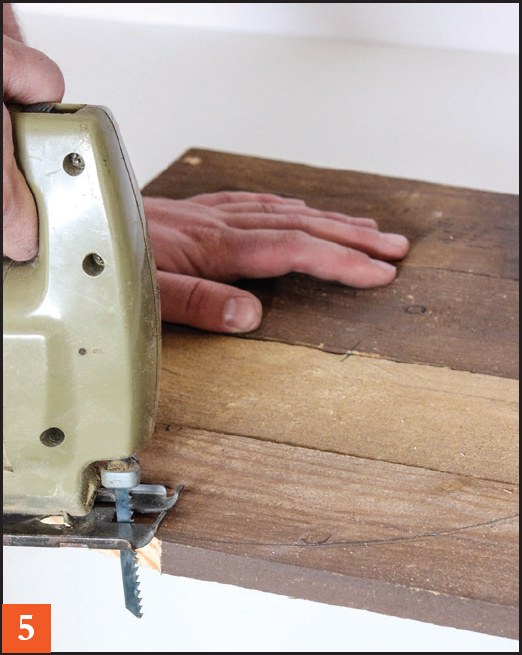
5. Use the jigsaw or bandsaw to cut out the circle.
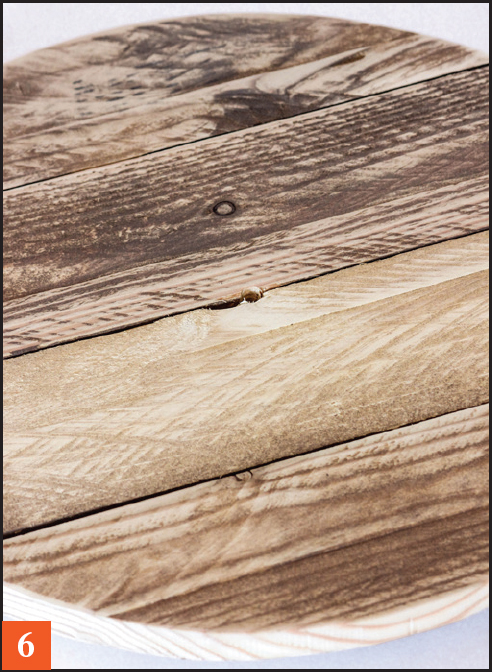
6. Drill a hole in the center, using the ⅜" bit, to create a place to insert the clock. Test fit the clock mechanism and sand everything smooth, making sure the edges are even.
7. Paint the clock and set it aside to dry. Making sure the braces on the back are lying horizontally, divide the front up into 12 equal sections and paint the numbers on using a stencil, rub-on decal, freehand, or however you choose.
8. Once everything is dry, insert the clock mechanism and assemble according to the directions on the package. Attach a hook to the top back brace for hanging.
|
Picture Frame Wall Art |
|
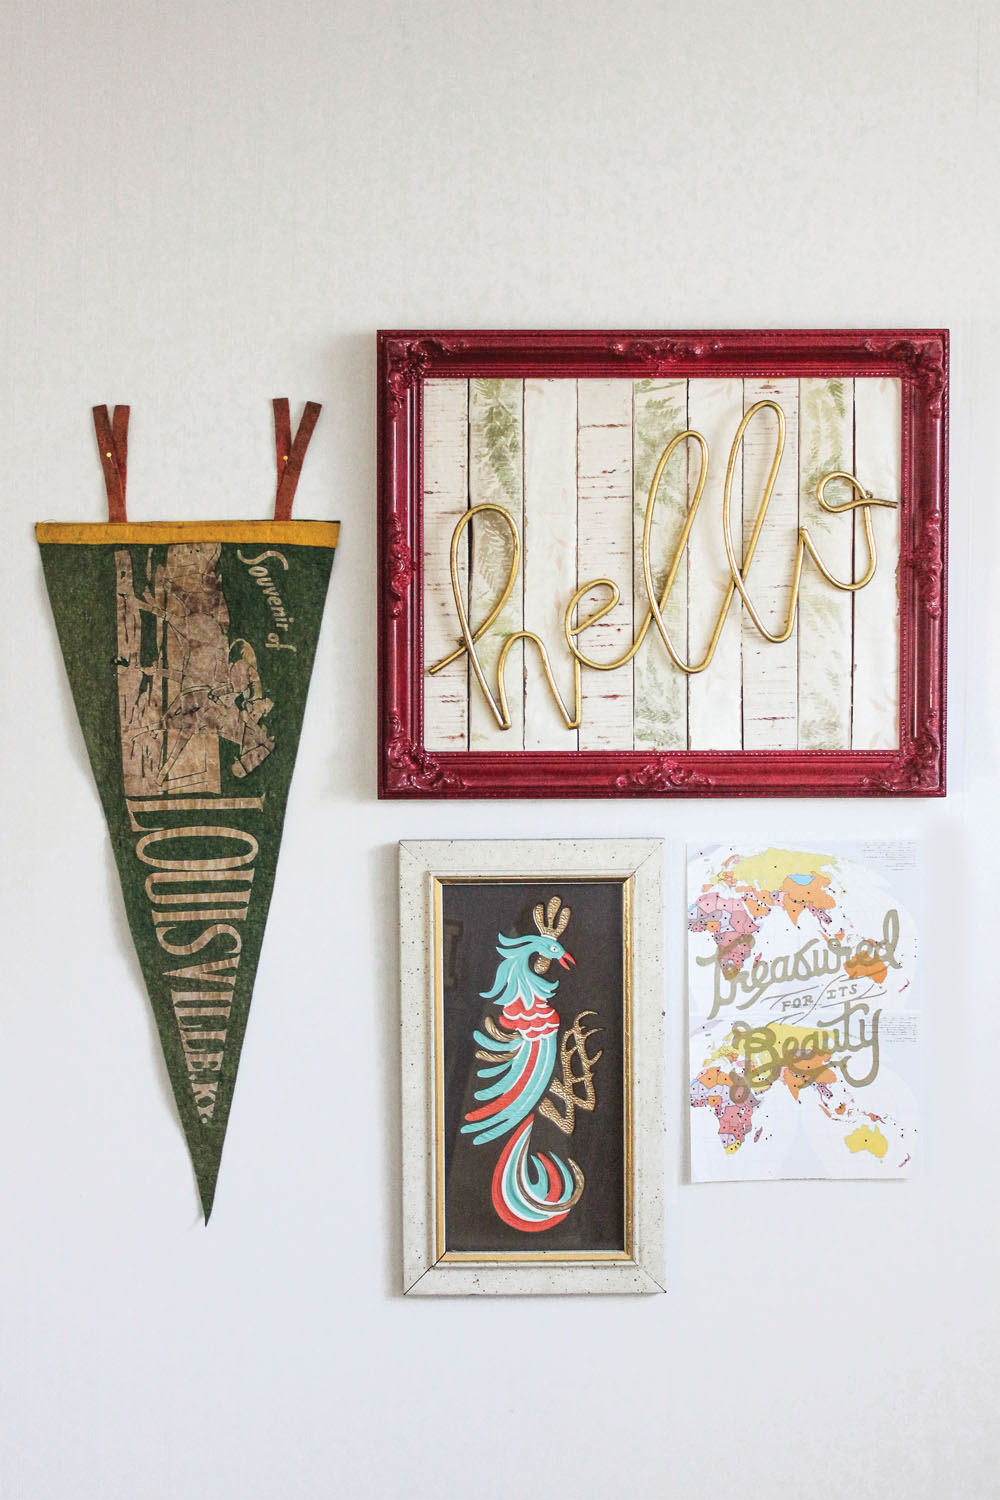
Beautiful and customizable, this Picture Frame Wall Art can be created entirely from materials lying around the house. I based my design on a metal “Hello” I found at a craft store and chose three vintage wallpapers with floral designs that would highlight the gold word. Some other ideas include using patterned papers with kitchen designs and cardboard letters to spell out “Eat,” using beach scrapbook paper and a cursive metal word that says “Relax,” or using vintage pink-and-red wallpaper and wooden letters to say “Love.” Use your imagination and get creative to make a piece that matches any room in your house.
Tools • Miter saw • Wood glue • Sandpaper • Spray mount • Table saw • Craft blade, such as X-Acto • Hammer |
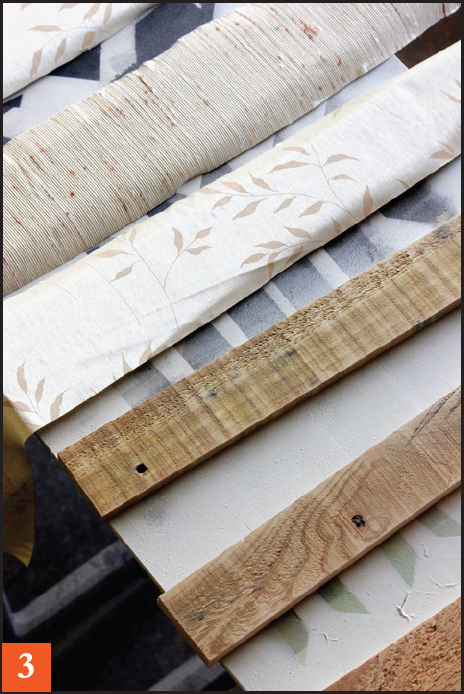
Materials • Picture frame • 8 to 10 pallet boards • Variety of wallpaper or scrapbook paper • Decoration such as a wooden or metal word • Small finishing nails, wire, or hooks |
Instructions
1. Measure the back of the picture frame where the glass would go. My dimensions were 18" by 14", so I cut nine boards that were 14" x 2", but you’ll need to adjust the measurements based on your frame. Sand the pieces smooth.
2. Spray-paint the frame and set aside to dry.
3. Spray each piece with spray mount and wait about a minute until tacky. Lay a piece of paper over each board and rub it to smooth out any wrinkles and firmly attach it. Let dry.
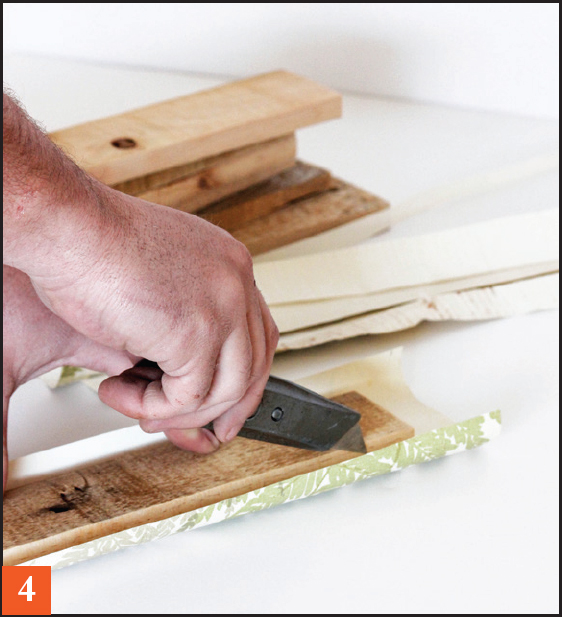
4. Flip each board over so the paper is facing down and cut off the excess using the craft blade.
5. Flip the boards back over and sand the paper until it looks weathered and distressed.
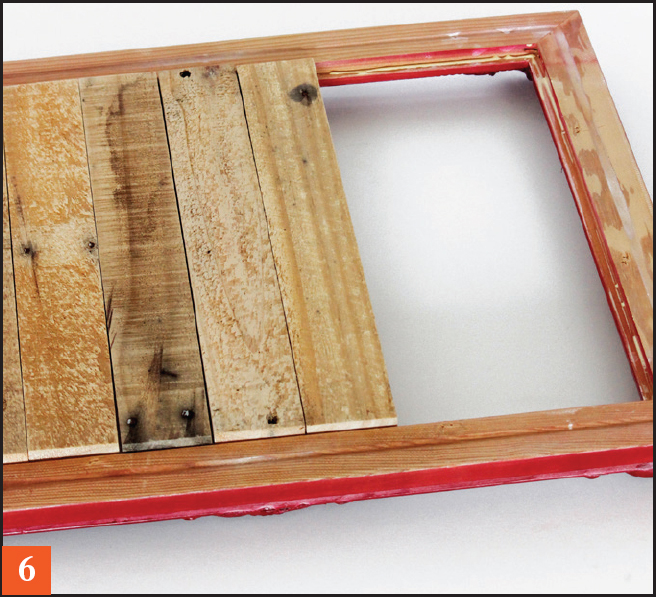
6. Apply a bead of glue in the track of the picture frame where the glass would go. Insert each board, paper side down, alternating the patterns. Place a heavy object on top and let dry.
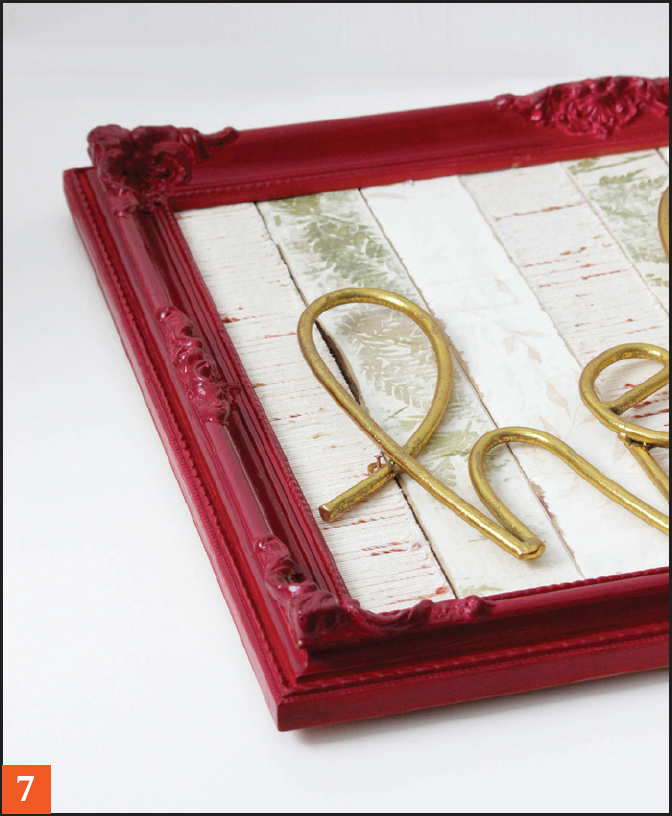
7. To finish, attach the decorative piece to the front of the frame. My metal “Hello” had two holes for nails, but you can use wire or hooks as appropriate.
|
Tealight Candle Holders |
|
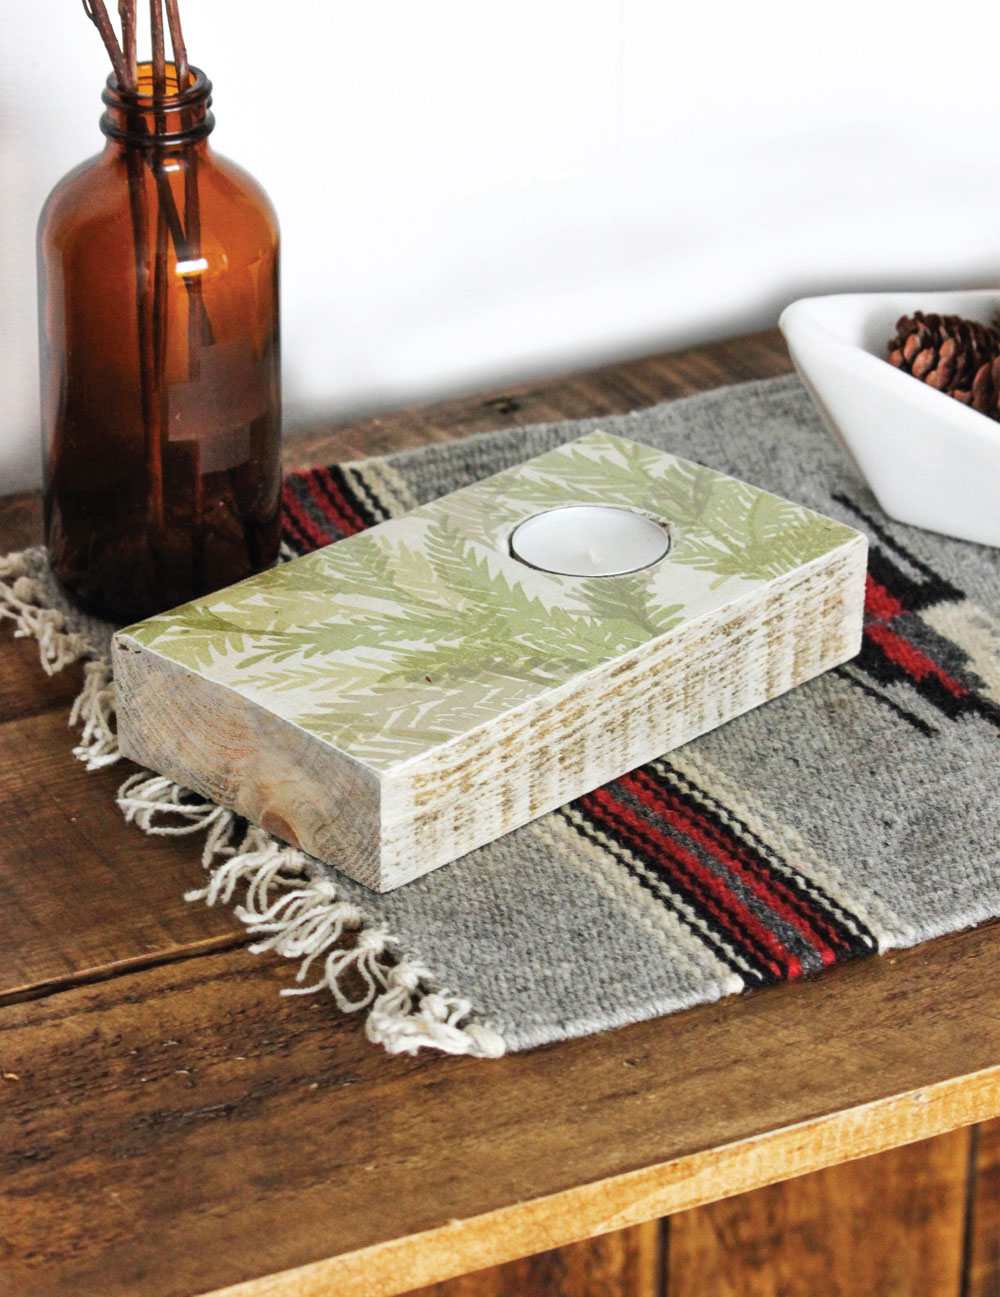
Simple and sweet, these Tealight Candle Holders are a great way to use up the extra-thick boards left over from other projects. Not only can they be customized to match any décor, but they make great gifts for even the hardest people to buy for on your list. Use an extra-long board with several candles to decorate a Thanksgiving tablescape, or a single tealight painted gold for a high-end accent in a living room. Use your imagination to create a unique piece, but as with any candle, please do not leave it to burn unattended.
Tools • Drill or drill press • 1½" paddle bit • Miter saw • Sandpaper |
Materials • Various lengths of the thick legs from a pallet • Tealight candles • Paint, wallpaper scraps, wax, etc., to decorate with |
Instructions
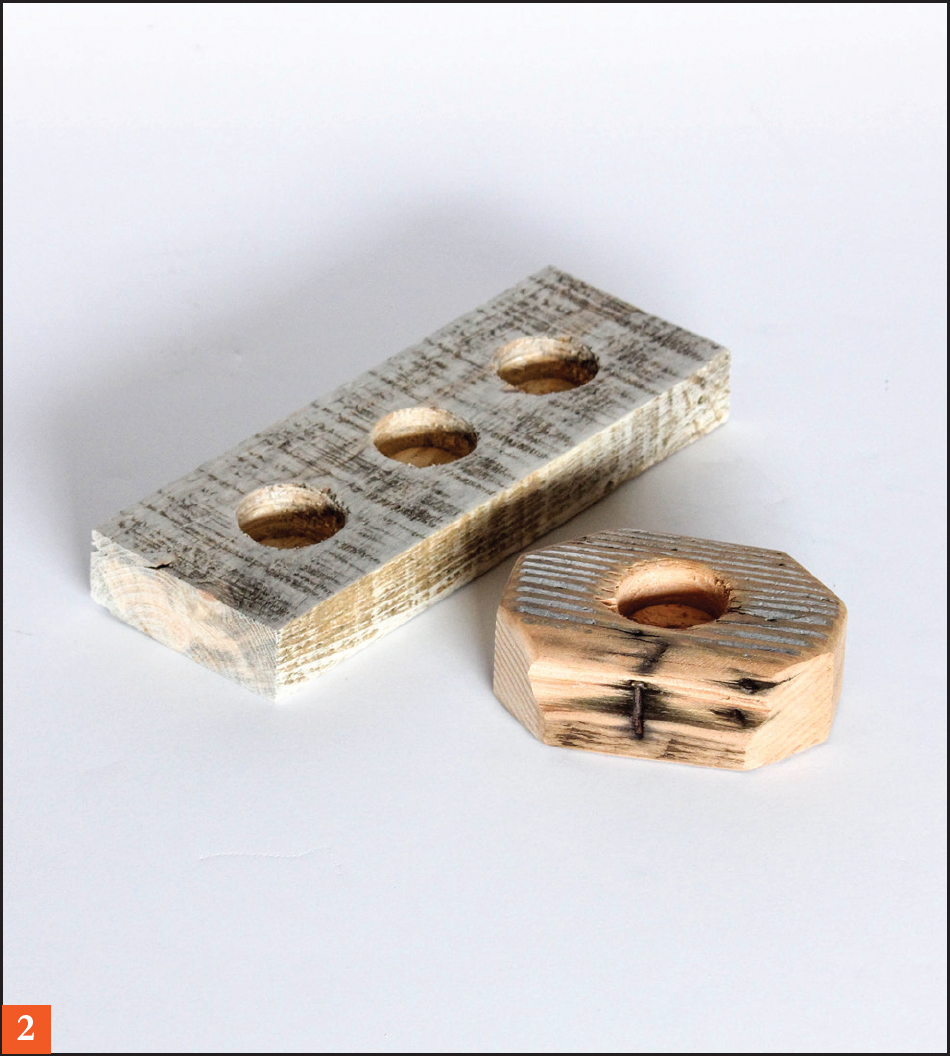
1. Begin by cutting various lengths of the pallet legs. Some ideas include pieces that are 4" long for a single tealight or 12" long to hold several to display on a dining room table. Sand them smooth.
2. Mark off on the board where you want the tealights, and use the paddle bit to drill straight down into the board about ½". Once you drill a few you’ll be able to get a feel for how deep to drill so the tealight is flush with the top of the board. When starting out, it’s easiest to drill down a bit and test the candle to see how it fits, and then drill again if needed.
3. Once all the holes are drilled, sand them inside and wipe away all of the dust.
4. To add some character, use the miter saw, for example, to cut the corners off or cut one side on an angle.
5. Finish the candle holders with stain or wax, painted accent sides, or wallpaper or scrapbook paper attached to the top with spray mount. Do not feel limited by these ideas, though—be creative!
