putting it on the map: techniques to create lines and shapes
I respond to maps that are beautiful and informative. Beautiful fiber-art maps are like any art in that they use the basic elements of design, especially lines and shapes. I am in awe of the sinuous lines on a road map, the lines that cover the surface of a furrowed field, or the curve of a footbridge across a canyon. Shapes can be just as artful. A series of shapes can suggest stepping stones across someone’s front yard, while expressive circles can represent apple trees in an orchard.

In this chapter we’ll focus on ways to create lines and shapes—the design elements at the heart of the map that communicate the information that brings the map to life. These lines and shapes are added on top of the background or landscape layer that you learned to create in the previous chapter.
When creating a fiber-art map based on a real or imaginary place, a good exercise is to imagine how lines and shapes on the map will symbolize the natural and human-made ingredients that are the heart of the map. These lines and shapes can be so appealing and create such beauty; together they send messages about what you want the work to say about a place.
There are many ways to make the lines and shapes of a map. You may already be familiar with some of the techniques, such as hand and machine sewing. Various mixed-media techniques such as painting, fusing, and collage are good alternatives. Based on this chapter, you might want to make a series of samples with the various techniques. It will serve as a valuable reference tool for map making.
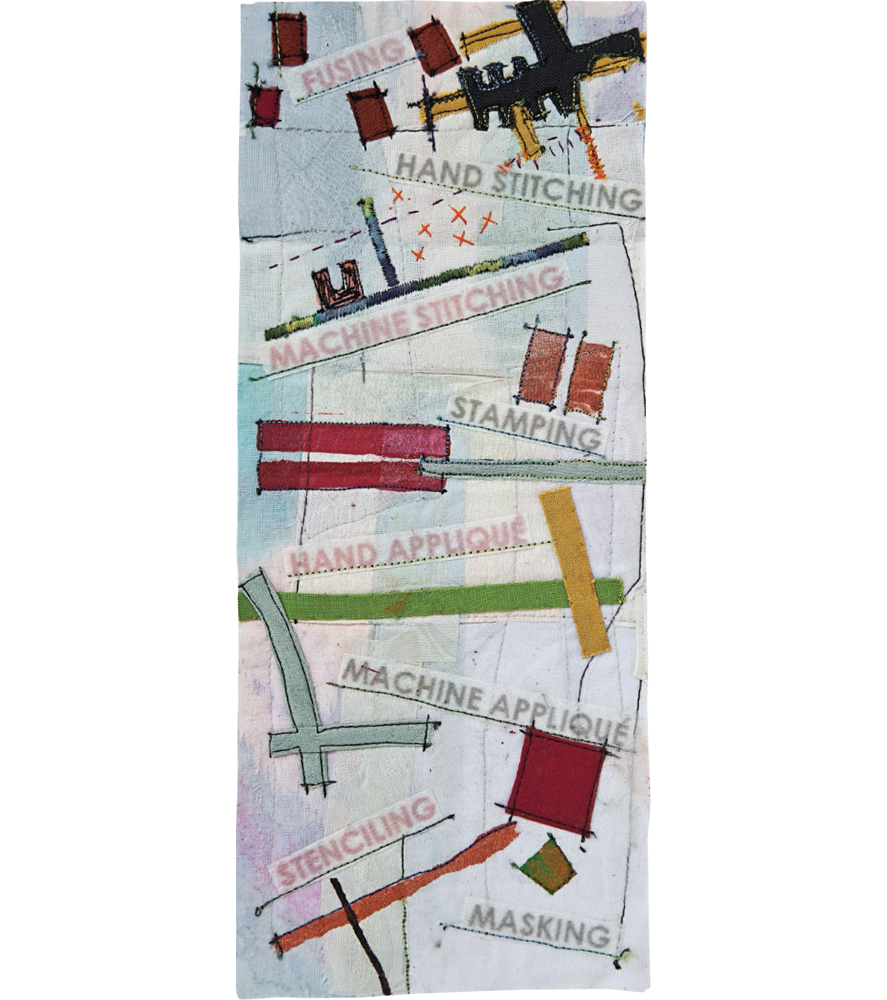
Putting It on the Map by Valerie S. Goodwin, 2012, 3˝ × 11˝
Lines and shapes
MATERIALS
• Basic equipment and supplies for sewing, cutting, and fusing (page 20)
• Fabrics and stabilizers: crinolines, solids, silk organzas, and sheers (page 21)
• Painting supplies (page 22)
• Transfer and stencil supplies (page 21)
• Stamping supplies (page 22)
THE BASICS
A map uses several important aspects of the elements of design: value, color, form, shape, line, space, and texture. However, lines and shapes are the heart of a map because they are fundamental to communicating the valuable information that brings a map to life, so this chapter focuses on techniques for making lines and shapes using various media.
Lines and shapes give a map meaning and beauty. They also create different feelings and perceptions. For instance, they can be angry, strong, delicate, anguished, and more. Close examination of the things around you exposes noteworthy discoveries about these elements that can be used in your work.
LINES AND SHAPES ON THE LANDSCAPE
Lines
Lines can be vertical, horizontal, diagonal, straight, curved, bent, angular, and free form.
Lines can represent streams, furrows, ridges, riverbanks, brooks, creeks, watercourses, estuaries, channels, straits, roads, paths, fences, streets, tracks, lanes, gateways, alleys, passages, walkways, sidewalks, trails, footbridges, gouges, grooves, gullies, gutters, raceways, routes, and runways.

Lines
Drawing by Dario McPhee
Shapes
Shapes can be circles, ovals, triangles, squares, rectangles, parallelograms, trapezoids, pentagons, hexagons, and octagons; they can be asymmetrical, irregular, and amorphous.
Shapes can represent buildings, huts, cabins, barns, castles, churches, temples, hovels, shacks, shanties, sheds, cottages, wells, benches, pavilions, stepping stones, ponds, lakes, trees, basins, lagoons, pools, garden patches, vegetation areas, meadows, fields, crop circles, pastures, patches of land, plots, tracts, bayous, coves, inlets, and sinkholes.

Shapes
Drawing by Dario McPhee
Techniques for Creating Lines and Shapes
FUSING
The smaller the element, the more likely I am to fuse it down. It is just a more practical technique than hand or machine appliqué for detailed work. As an added precaution, I secure these pieces to the background with free-motion stitches.
Before you start fusing, be sure to read the fusible web manufacturer’s instructions. Prepare fabric for fusing by ironing the fusible web to the wrong side of the fabric. Cut out the shapes and iron/fuse them to the fabric background. To add a pop of detail, sew all around the fused fabric with contrasting thread.
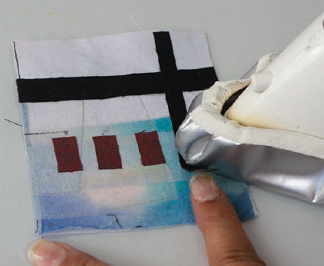
Fusing fabric
 TIP
TIP
Use a nonstick appliqué sheet or Silicone Release Paper to protect the ironing board when you are using fusible webs.
HAND STITCHING
The expressive nature of the hand-sewn stitch is a wonderful tool at your disposal. Why not try representing a thin line such as a path with a lovely hand-stitched line? Make the edge of a pond the same way. Try varying the length and width of the stitches for different effects.
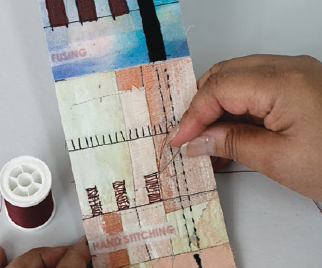
Hand-stitched lines and shapes

Fused lines and shapes

Hand-stitched lines and shapes
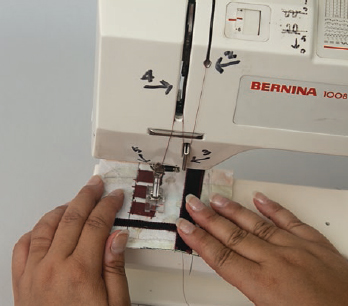
MACHINE STITCHING
Machine stitching is good for making lines and outlining shapes. Use a straight stitch or try out the decorative stitches on your sewing machine. I love using a simple satin stitch, adjusting the width for different results.
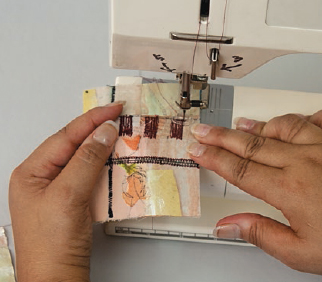
Machine-stitched lines and shapes
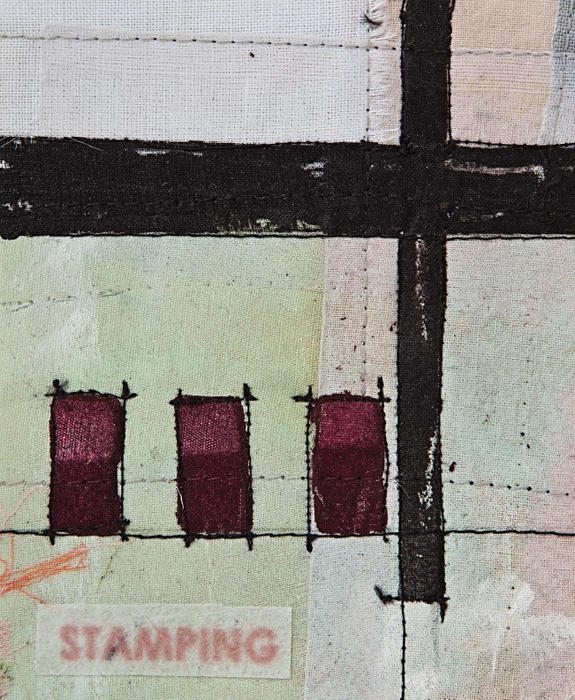
STAMPING
Make your own stamp or use everyday objects to create shapes and lines. Refer to Stamping Supplies (page 22) for a list of stamping objects and materials as a starting point. Stamping is an easy way to add detail to a map. Apply full-strength paint to the stamps using a foam brush and then press firmly onto the fabric.

Stamped shapes
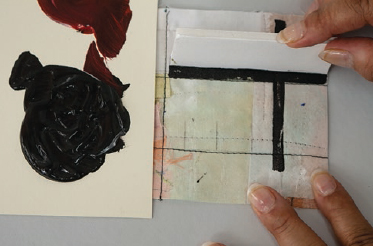
Stamped lines

Machine-stitched lines and shapes
Stamped lines and shapes
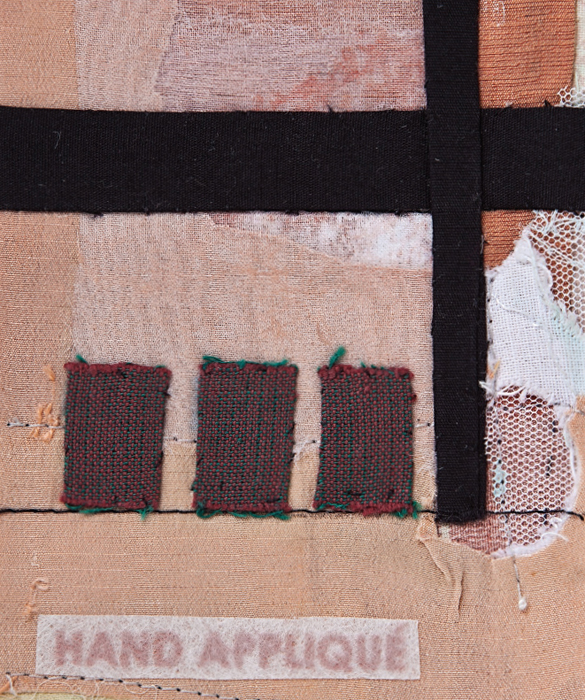
APPLIQUÉ
Appliqué works well for larger shapes and lines. It adds a bit of depth to a map. I use it occasionally for large roads and landscape elements. Choose your favorite method of appliqué, whether by hand or machine. Finish machine-appliquéd elements by using zigzag or satin stitches of various widths or even raw-edge appliqué to secure the fabric pieces in place.

Hand-appliquéd lines and shapes
Machine-appliquéd lines and shapes
Hand-appliquéd lines and shapes
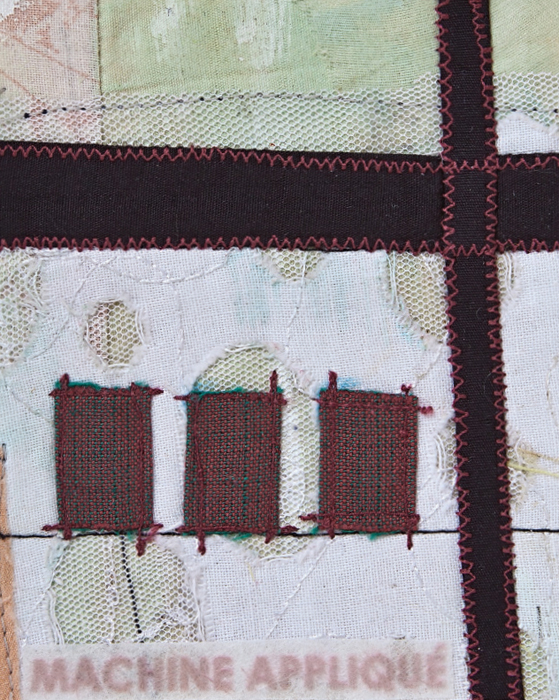
Machine-appliquéd lines and shapes
STENCILING
Stenciling sometimes works best if you are making a map from an existing drawing or map.
To make a stencil, use wax-free tracing paper to transfer the drawing onto poster board, cardstock, or another material appropriate for stencils. Consider scanning the drawing and printing it onto cardstock. Use a craft knife (such as an X-Acto) to cut out the stencil. This technique requires patience and careful cutting, but it is very effective. The holes that you cut are used to paint shapes on the background.
Select fabric paint that contrasts with the background, and make sure you have aligned the stencil properly before you begin painting. Use a small brush, sponge, or stencil brush to carefully paint the shapes. When the paint is dry to the touch, slowly peel away the stencil. Using a free-motion foot, outline the painted elements using thread.
Outlining the painted areas with machine stitching provides definition.
Refer to Adding Stones and Shadows (page 53) for another example of stenciling.
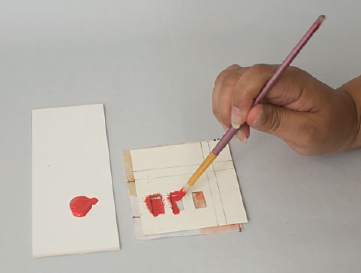
Paint shapes using stencil.

Stenciled shapes
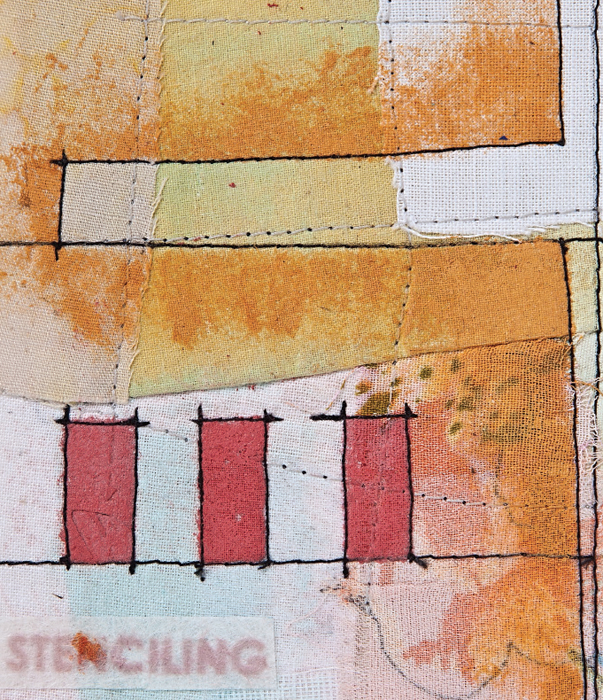
Stenciled lines and shapes
MASKING
Almost any line or shape can be added to a map by taping off an area using painter’s tape. You can opt for a clean, sharp edge or a torn edge. Remember to apply the paint parallel to the tape as much as possible to avoid having the paint seep under the tape. Allow the paint to dry and then carefully remove the tape. Sew an outline around the painted area.
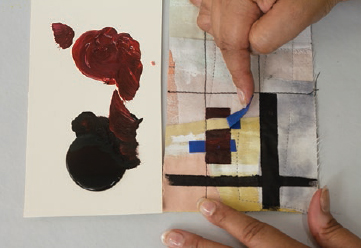
Masked areas on background
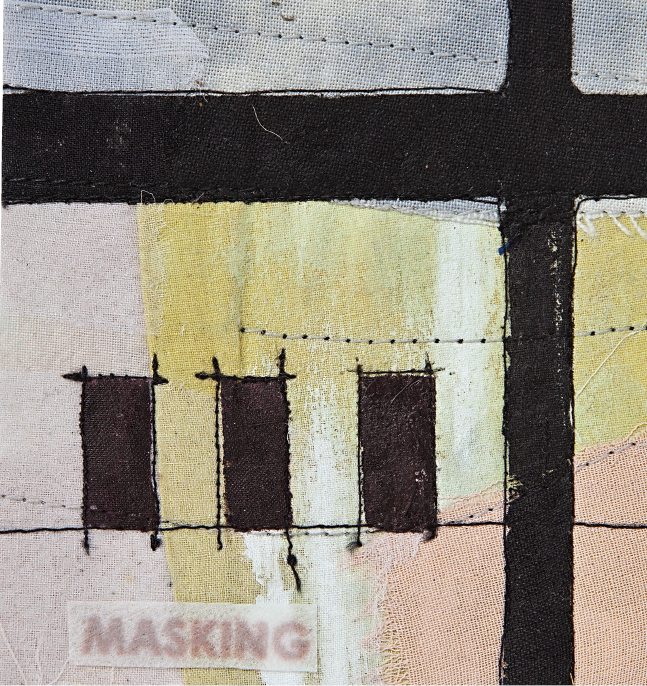
Masked lines and shapes
Overview of Techniques for Making Lines and Shapes
| FUSING | Quick and effective way of applying lines and shapes, especially for small elements |
| HAND STITCHING | Gives a delicate and beautiful human-made quality to the surface |
| MACHINE STITCHING | Satin stitches are great for bold lines but can be hard to make expressive. Free-motion stitches provide an interesting texture. |
| STAMPING | Quick and simple way of adding repetitive lines and shapes |
| HAND APPLIQUÉ | Good way to apply larger lines and shapes. Hand appliqué stitches do not show, keeping the elements crisp and pure. |
| MACHINE APPLIQUÉ | Good way to apply larger lines and shapes, with the machine stitching that holds downthe appliqué adding emphasis to these elements. You can control the degree of emphasisthrough the color you choose for the stitching. |
| STENCILING | Great way to make crisp lines or shapes |
| MASKING | Great way to make crisp lines or shapes |
OTHER TECHNIQUES FOR MAKING LINES AND SHAPES
• reverse appliqué
• drawing with permanent pens
• beading
• couching
GALLERY OF LINES AND SHAPES
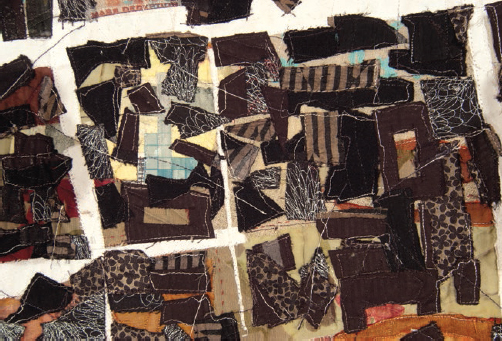
Detail of Rattler Country (full quilt on page 80)
Fused lines and shapes

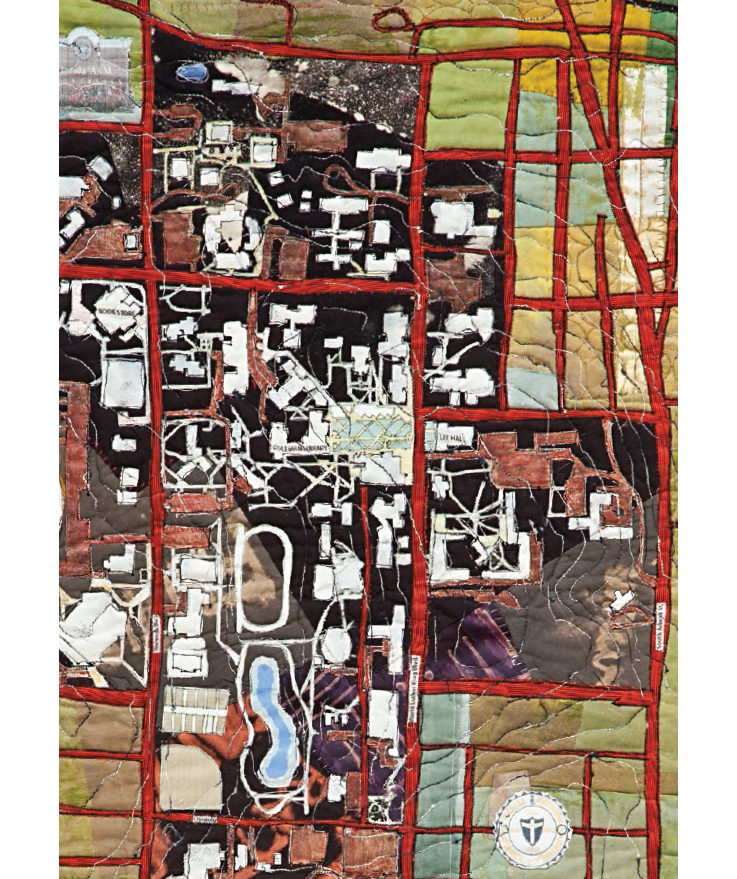
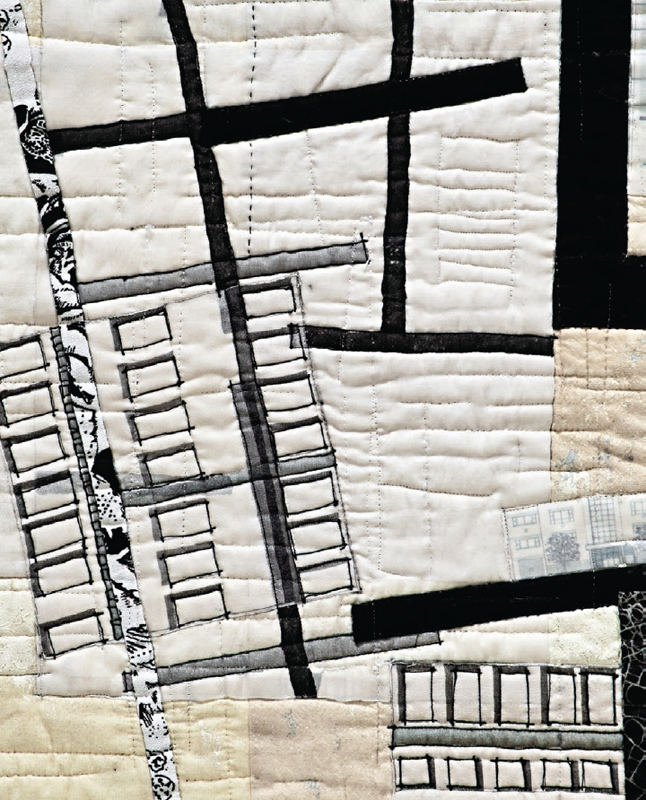
Detail of City Grid IV (full quilt on pages 13 and 72)
Hand-appliquéd and masked lines, machine-stitched shapes
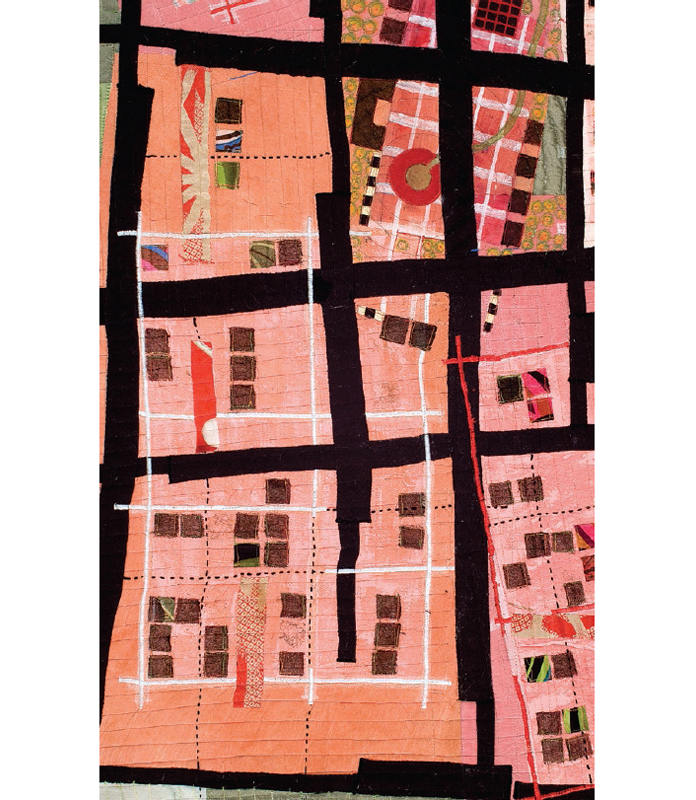
Detail of City Grid III (full quilt on page 72)
Combination of machine- and hand-stitched lines as well as hand-appliquéd lines

Detail of African Burial Ground II (full quilt on page 76)
Machine-appliquéd lines
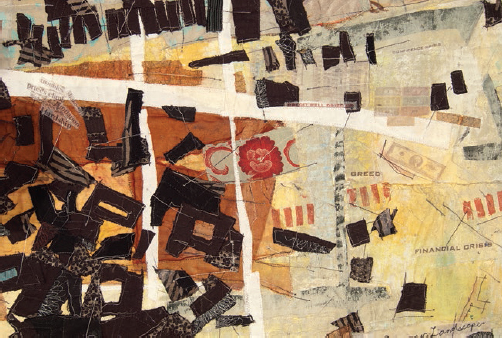
Detail of The Economic Landscape (full quilt on page 77)
Stamped and fused lines and shapes
Detail of The Economic Landscape (full quilt on page 77)
Fused shapes
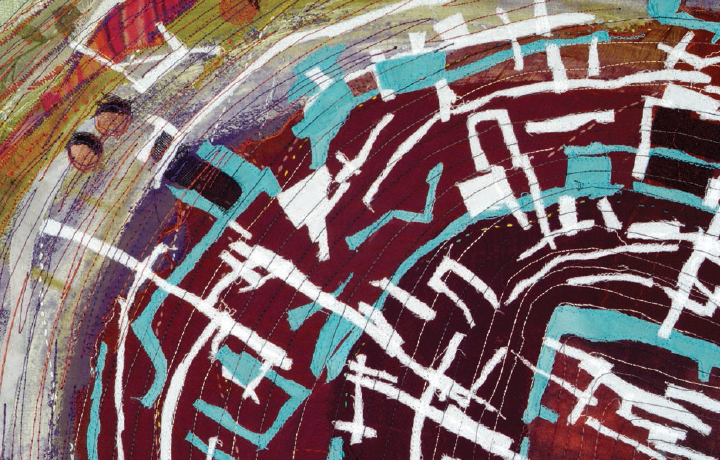
Detail of Labyrinth of the Hidden Goddess (full quilt on page 71)
Fused lines and shapes
Detail of ArchiTEXTural cARTography (full quilt on page 75)
Machine-stitched, masked, and hand-appliquéd lines