13. Taped-off Designs 13. Taped-off Designs
Simple techniques using painter’s masking tape can help you create stripes and geometric designs of all kinds. Select a professional-quality tape that prevents paint seepage and can be removed easily without damaging the base coat. For best results, apply the paint in light coats, but be careful not to thin the paint too much.
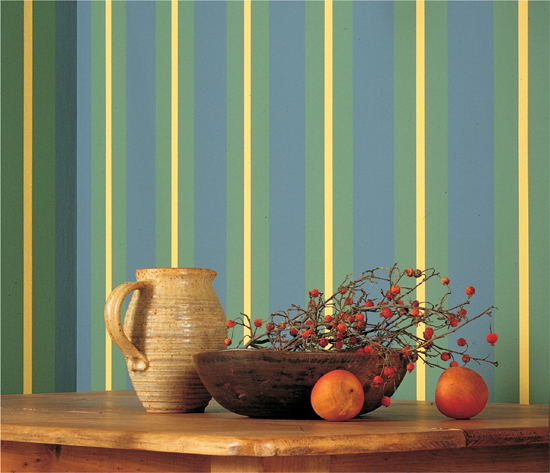
Alternating colors produce striking results; so does alternating between flat paint and a gloss finish. Whatever type of design you choose, measure the room and plan the pattern so it works out evenly around the room.
A laser level makes applying tape for the stripes practically foolproof. If you plan on doing a large project or several taped-off designs throughout your home, consider purchasing one.
Tools & Materials 
Carpenter’s level
Pencil
Tape Measure
Small paint roller
Sponge applicator
Paintbrush or paint roller, for base coat
Latex or craft acrylic paints
Painter’s masking tape
 How to Paint A Striped Design
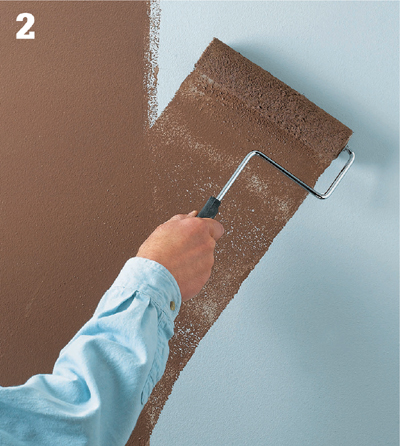
Apply a base coat in the desired color. Allow the paint to dry completely.
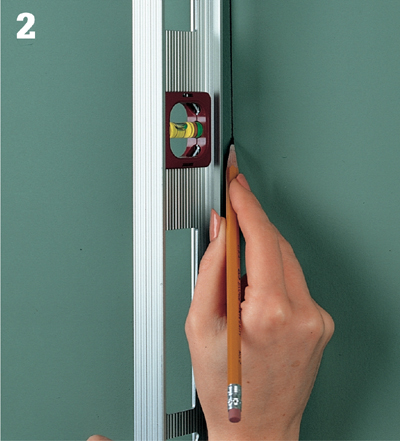
Mark light plumb lines for the first stripe, using a pencil and a carpenter’s level. Apply painter’s masking tape along the lines, and press the edges firmly to ensure a good bond.
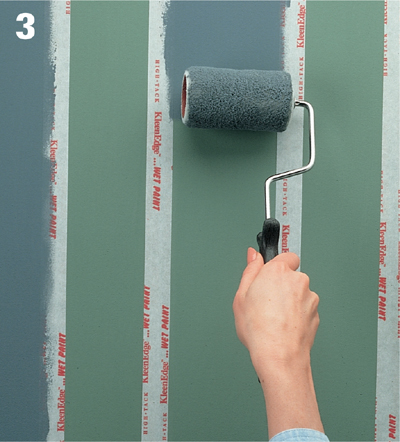
Measure from the first stripe, and draw parallel lines for the remaining stripes of the first color. Use the level to plumb each line. Apply the masking tape. Paint the stripes, using a paint-brush, small roller, or sponge applicator. Allow the paint to dry.
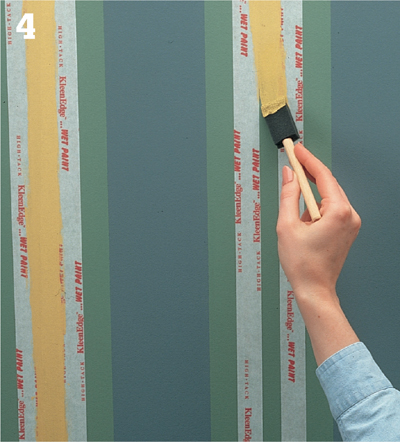
Remove the masking tape from the painted stripes. Repeat the process for any additional colors.
How to Apply an Alternating Matte and Gloss FinishTools & Materials
Large paintbrush
1" paintbrush
Flat, square artist’s brush
Pencil
Straightedge
Laser level or carpenter’s level
Matte latex paint
High-gloss acrylic varnish
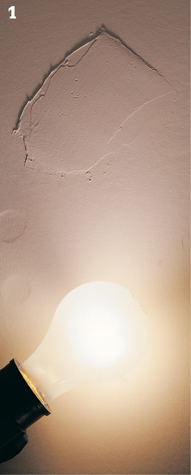
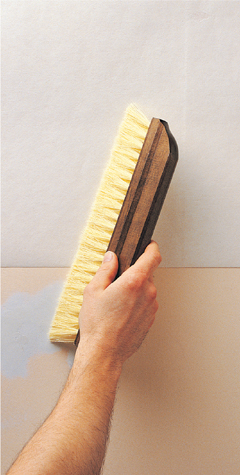
Fill all dents and holes, and sand away any bumps or ridges on the walls. (The gloss finish will magnify any surface flaws, so the walls must be perfectly flat and flawless.) Check the surface with a strong sidelight.
Variation
If a flawless surface cannot be achieved on the walls, hang heavy-duty lining paper before starting the project.
Apply two coats of matte latex paint over the walls. Let the paint dry according to manufacturer’s instructions.
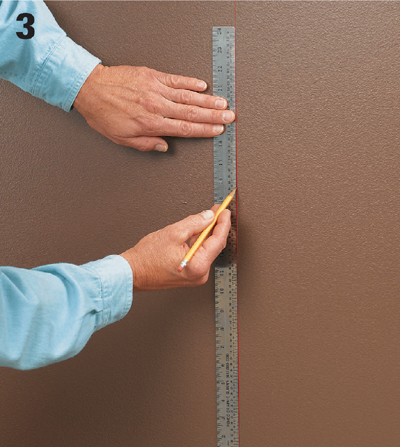
Measure walls and plan the design. Divide the height of the room until you find dimensions that will result in full squares at the baseboard and ceiling. Use a laser level or carpenter’s level and a straightedge to draw the vertical and then the horizontal lines of the design.
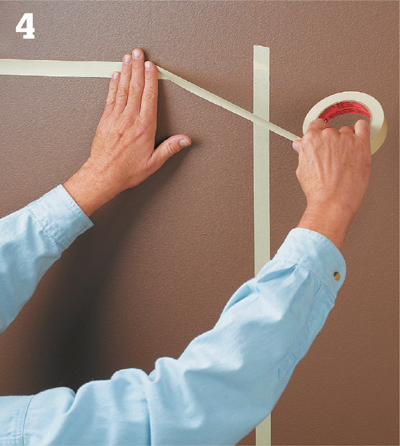
Tape off the outline of every other square. Press the edges of the tape to ensure a good bond and seal the edges.
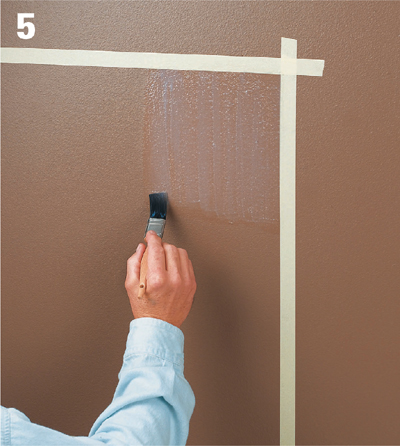
Apply a coat of high-gloss varnish within the taped-off squares. Allow the varnish to dry, and then apply a second coat. Remove the tape.