Postman is a great UI client that allows Windows, Mac OS X, and Linux users to make HTTP API requests. You can download it from here: https://www.getpostman.com/product/api-client. Instead of making an API request with curl, let us use the Postman tool. We will pick the simpleAuth example from the previous section. See the following steps:
- Post-installation, open the Postman tool, then try a www.example.org URL in the Enter request URL input text. You can select the type of request from the dropdown (GET, POST, and so on). For each request, you can configure many settings such as Headers, POST body, and other details as a menu under URL. Play with the options and get comfortable with them.
Take a look at the following screenshot:

The Builder is the top-level menu item, where we can add/edit requests. The preceding screenshot shows the empty builder, where we try to make requests.
- Next, run the main.go file in the preceding simpleAuth project and try to call the /healthcheck API. Click on the Send button. You will see that the response is 403 Forbidden, as shown in the following screenshot:
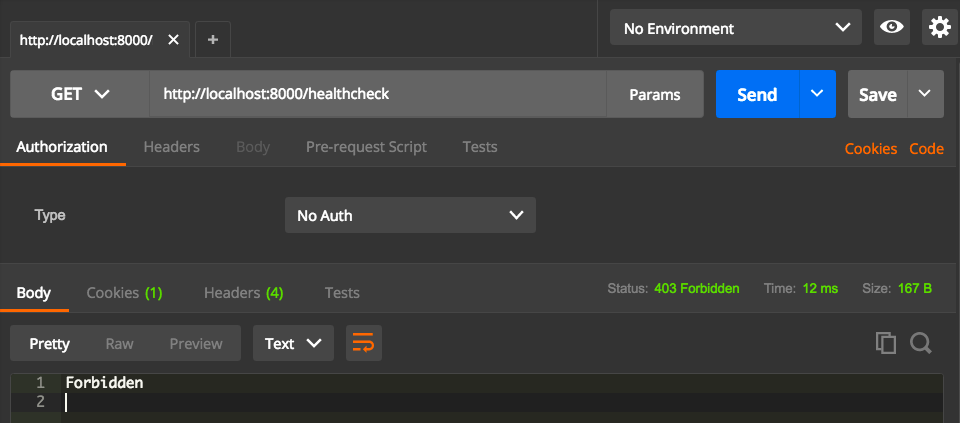
This is because we are not logged in yet. Postman automatically saves the cookie once authentication is successful.
- Now, call the login API by changing the method type from GET to POST, and the URL to http://localhost:8000/login. We should pass the credentials as multipart/form-data. We should see the following:
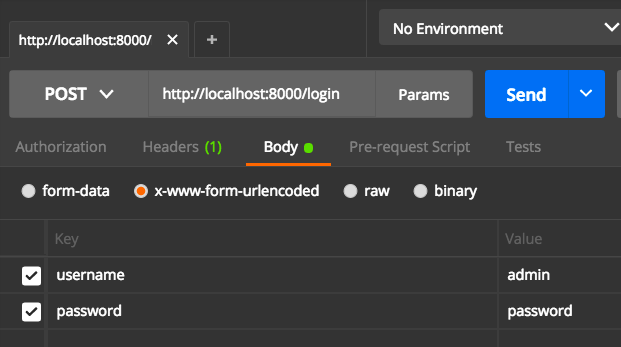
- Hit the blue Send button. This makes a login request to our previously run server. It returns a message, saying Logged In successfully. We can inspect the cookies by clicking on the Cookies link, just following the Save button on the right-hand side.
It shows the list of cookies saved, and you will find a cookie called session.id there for the localhost site. The content will look like this:
session.id=MTU3NzI4NTk2NXxEdi1CQkFFQ180SUFBUkFCRUFBQUpmLUNBQUVHYzNSeWFXNW5EQThBRFdGMWRHaGxiblJwWTJGMFpXUUVZbTl2YkFJQ0FBRT18Be0S-fIy6T7U-hnASBnPxLU2gFJ0jnAdaKWI6X04GPo=; path=/; domain=localhost; Expires=Fri, 24 Jan 2020 14:59:25 GMT;
- Try to call the /healthcheck API again, which returns the system date and time as a response, like this:
2019-12-25 16:00:03.501678 +0100 CET m=+169.811215440
Let's say a client makes another GET request to the logout API, like this:
http://localhost:8000/logout
If this happens, the session will be invalidated, and access to the resource will be forbidden until another login request is done.
The admin and password credentials used in our examples are only for illustration purposes and should never be used in a production environment.
Always use randomly generated strong passwords!