On Ubuntu 18.04, use these commands to install Nginx:
> sudo apt-get update
> sudo apt-get install nginx
On Mac OS X , you can install it with brew:
> brew install nginx
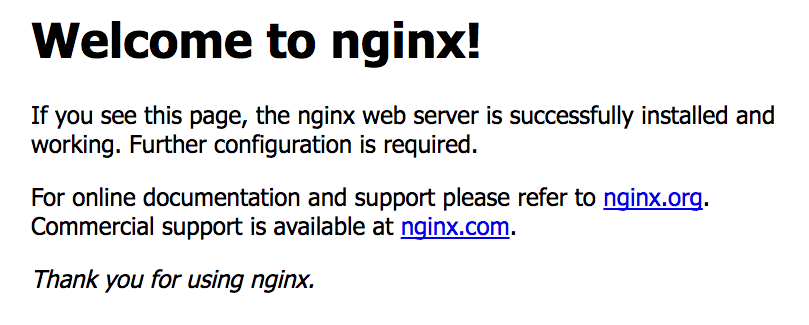
brew (https://brew.sh/) is a very useful software packaging system for Mac OS X users. My recommendation is that you use it for installing software. Once it is successfully installed, you can check it by opening the machine IP in the browser. Open http://localhost/ on your web browser. You should see this:

If you see the preceding message, that means Nginx has been successfully installed. It serves on port 80 and serves the default page. On Mac OS X, the default Nginx listening port will be 80:
> sudo vi /usr/local/etc/nginx/nginx.conf
On Ubuntu (Linux), the file will be on this path:
> sudo vi /etc/nginx/nginx.conf
Open the file and search for a server block. If it is listening on port 80, everything is fine. However, if it is on some other port, for example 8080, then change it to 80:
server {
        listen 80; # Nginx listen port
        server_name localhost;
        #charset koi8-r;
        #access_log logs/host.access.log main;
        location / {
            root html;
            index index.html index.htm;
        }

        ...
}
Now, everything is ready. The server runs on the 80 HTTP port, which means a client can access it using a URL (http://localhost/). This basic server serves static files from a directory called html. The root parameter can be modified to any directory where we place our web assets. You can check the status of Nginx with the following command:
> service nginx status
We can also get a Docker image that has Nginx installed already. In the next section, we will demonstrate how to install it as a Docker container.