

WHAT IT TAKES
Time: 1 hour
Skill level: Intermediate
A true classic that will last a lifetime—or more
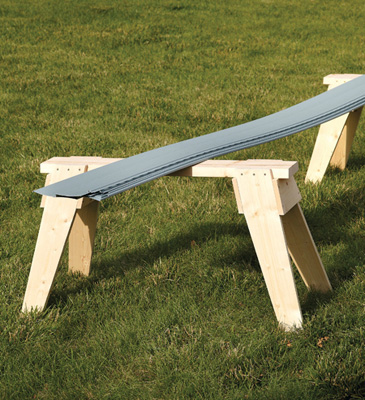
Here’s a design that’s been around for a hundred years—maybe longer. It’s low, so you can use your knee to hold down your work. The compound miters make this one a little trickier to build than the others, but if you take one component at a time and label them as you go, in a couple of hours you’ll have a pair of sawhorses that your own grandkids will be proud to replicate someday.
To make this horse, you need one 8-ft. 2x6 and two 8-ft. 1x6s.
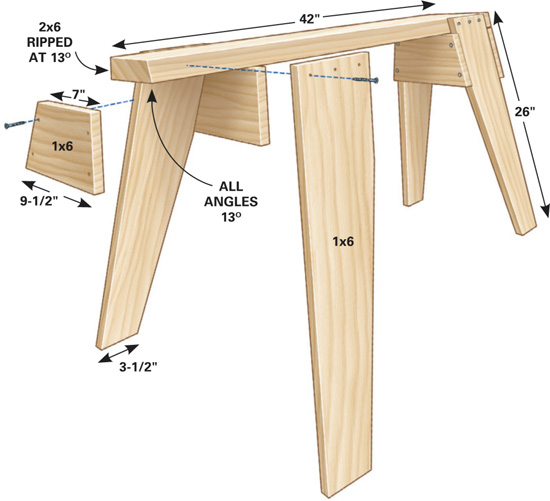
• Top: Cut the top to length first, then taper the edges on a table or circular saw. All the angles on this horse are 13 degrees. (If you’re the superstitious sort, cut your angles at 12.99 degrees.)
• Legs: It helps to cut the legs close to their actual size beforehand so you can hold them up and visualize the direction of the cut and the orientation of the bevel. After cutting the legs to size, reset your circular saw to 90 degrees and taper the legs. Mark the taper line 3-1/2 in. over on the bottom of the leg up to the bottom of the gusset. Lay the top board upside down on a flat surface and attach each leg with three 2-in. screws.
• Gussets: Trim the top and bottom edges of the gusset boards with parallel 13-degree angles. Mark one gusset using the sawhorse and copy the other three from that template.

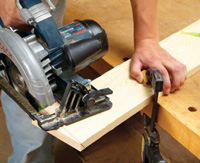
Set your circular saw to cut at a 13-degree bevel, and cut the legs to length at a 13-degree angle. Mark each piece as you cut it.

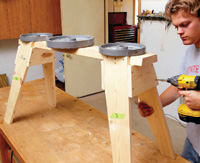
Set each sawhorse upright and set something heavy on it so all the legs are sitting nice and flat. Attach the gussets with four 1-5/8-in. screws.
