WHAT IT TAKES
Time: 1 weekend
Skill level: Intermediate

WHAT IT TAKES
Time: 1 weekend
Skill level: Intermediate
World-class workbench in a weekend

HOLD LONG STOCK! Clamp one end in the face vise; hold the other end with a pipe clamp under the bench top.

POUND AWAY! The 2-1/4-in.-thick solid maple top will never flinch.

SECURE BIG STUFF! An easy-to-build bench jack supports large work.

KEEP IT FLAT! A dead-flat top keeps your glue-ups flat and true.

HOLD STOCK! The centuries-old bench dog design secures work for machining.
If you’re looking for a “real” woodworking bench but don’t want to spend a year and a thousand bucks building one, here’s a great design for you. It’ll grow with you as your skills improve; it’s flat and solid enough to help you do your best work; and it’s sturdy enough that you can proudly pass it on to your grandchildren. One weekend and the simplest of tools are all you need to build it.
Time-tested features
This bench includes the signature features of a traditional woodworking bench: a thick, flat top designed to take a pounding; a tail vise and a face vise, mounted one at each end, for securing stock; and an overhanging top that allows you to clamp stock to the edges.
We eliminated the traditional tool tray because it’s more of a housekeeping hassle than an effective place to keep tools. Leaving it off gives you a larger work surface. And since most of us are short on workshop space, we added a cabinet base for storage. The sliding doors are a cinch to make and mount, and they keep the contents free of sawdust.
The base is made from inexpensive 2x4s and plywood. The torsion box legs provide incredibly strong support and a place to mount trays and hooks to hold bench brushes, electrical cords and tools.
What it costs
You can spend as little as $250 if you mount only one vise (you can add the second later) and you make the top yourself (see “3 Top Options”). If you go all out like we did with two vises and a massive solid maple top, your cost will be closer to $800. The 2-1/4-in.-thick maple top we used comes prefinished. Check online for suppliers and prices, or order through a lumberyard. All you have to do is drill the dog holes, mount the vises and you’re done. You can also find 1-3/4-in.-thick tops for $200, but if you go this route, you’ll need to put spacer blocks under the vises so they fit properly. You can buy unplaned maple for about half the cost of these tops, but you’ll face many hours of surfacing, gluing and finishing—and getting the top dead-flat is tough, even for an expert.
To build a bench
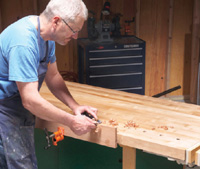
Building this bench couldn’t be easier. The base is made with 2x4s, fir plywood and a little maple trim. Start with the torsion box legs. Torsion boxes are strong yet don’t add a ton of weight, and they’re super easy to make (Photo 1).
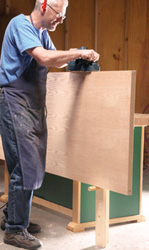
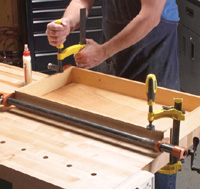
Cut the plywood shelves and back and the shelf cleats (K, L, H, R). Screw the base together to check the fit. Disassemble the bench and paint the pieces. It’s a lot easier to paint all the plywood pieces before final assembly. After the paint’s dry, attach the shelves to the legs. Cut the 2x4 supports (D). Add the feet to the bottom supports and attach them to the legs with screws. Turn the base upright and attach the back (Photo 2). Add the top supports and the maple trim (M, N, P, Q). The trim piece Q is glued and nailed to the exposed edge of the back. Then secure the door tracks in the cabinet opening to complete the base (Photo 3). Cut the doors to fit.
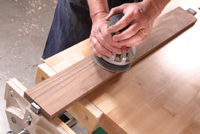
Now turn your attention to the top. No matter what top you use (see “3 Top Options,”), the following steps are the same. Set the top on a pair of sawhorses and lay out the bench dog holes. Use a guide to drill the holes so they’re square to the top (Photo 4). We spaced the holes on 4-in. centers, 4-3/4 in. from the edges. Skip one hole in the front left corner, where it would interfere with the vise.
Flip the top over and mount the vises (Photo 5). Line up the metal dog on the vise with the dog holes in the top. To protect wood that will be held in the vise, make wooden faces and attach them to the vise jaws. Use a soft wood such as basswood or pine.
Mount figure-eight or other tabletop fasteners to the top supports. They may need to rest in a shallow hole in the support. These will allow the top to expand and contract without cracking. Get someone to help you set the top onto the base, then secure with screws through the fasteners. That’s it. Your bench is ready for your first furniture project!
Buyer’s guide
Search online for “maple workbench top;” “quick-release vise, 9 jaw”; and desktop fasteners.