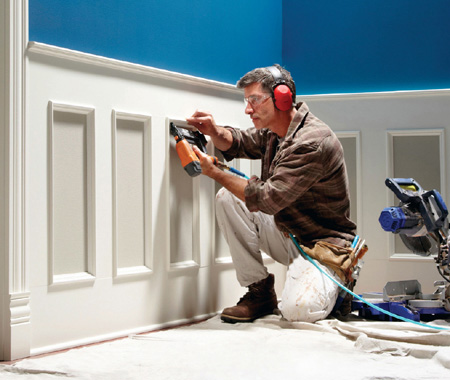

Traditional elegance, home-center materials
For this room, we wanted a frame-and-panel wainscoting that matched the doors and traditional trim. Well, we wanted it until we saw the price tag. That’s when we came up with a design that we could make quickly and cheaply, using stock material.
Here’s the basic idea. The frame is made from 1/2-in. MDF; this thickness makes a better transition where the wainscoting meets the door or window trim. Instead of a traditional panel, the frame has rectangular openings, through which you see the wall. This gives some interesting options: another paint color (our choice), a decorative paint texture like rag-rolling, or even wallpaper. Moldings frame the openings and also form the cap along the top edge.
Wainscoting has to be fit to the length of your walls, so we can’t give you complete dimensions. You’ll have to adjust the width of the openings so they’re the same all along the wall. The simplest way is to figure out how many openings fit along the wall. Then take the leftover and spread it out between them. Draw your proposed wainscoting on the wall to check your layout.
Once you have a layout that works, cut your MDF and moldings. Prime all the parts, then nail the MDF to the wall. Attach to studs when possible, but if it’s not, use a little construction adhesive and nail at an angle to give some grip. Attach all the moldings, fill the nail holes and then paint. Bob’s your uncle!