 Two 8-foot closet poles, 1½ inches in diameter (larger if you can find it)
Copyright © 2006 by International Marine. Click here for terms of use.
Since your sails are your primary method of propulsion, the outboard motor must be considered alternative propulsion. So let's talk about an alternative to the alternative. Even when motors aboard sailboats were uncommon, the prudent mariner usually carried some form of backup in the form of a pair of sweeps (fairly large oars) or a single sculling oar. The lower freeboard and narrower beam found on older boats made rowing more practical, but this still works on most trailer sailers to a degree. Larry and Lin Pardey routinely sculled their engineless Seraffyn (at over 24 feet long and 10,600 pounds displacement), so I imagine that I could do the same on my 22-footer.
The easiest way to get a pair of oars is to trot down to the chandlery and buy some, but where's the pleasure in that? You can go to the Internet, search for "making oars," and come up with a few pages of instruction that would produce some nice oars with a few afternoons of work, though in general these oars are lighter than their commercial counterparts. I think the design that I like best came from an early issue of Yachting magazine, via Bill Wallace at www.boat-links.com/CheapOars/. For the shaft, he uses closet poles available from any building-supply yard, and then he adds plywood blades. A few coats of epoxy and glass makes a nice, strong blade. Here are the materials you'll need:
Two 8-foot closet poles, 1½ inches in diameter (larger if you can find it)
Two panels of ¼ -inch exterior plywood, 24 by 8 inches
Your favorite waterproof glue
A few flathead wood screws
Fiberglass and epoxy resin (Optional)
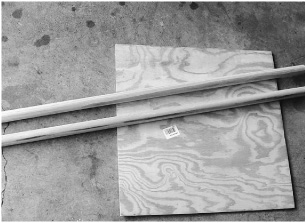
Oar materials from a builders' supply.
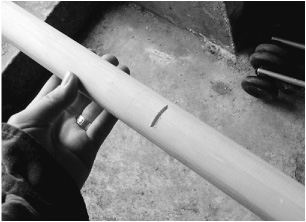
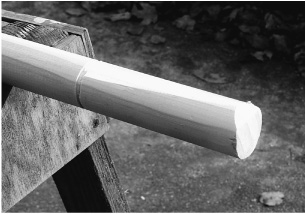
I started with the handles by cutting a small groove, about 1/8" deep, by rotating the pole.
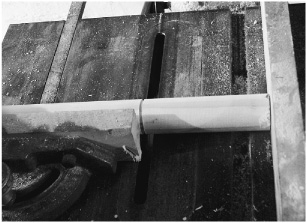
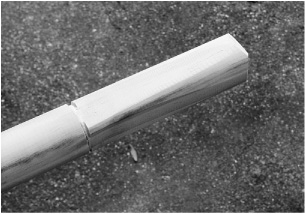
At the blade end, cut a ¼ " notch.
And cut at an angle. This was done freehand on a table saw, but a band saw would be better.
The handles are shaped with an angle grinder fitted with a coarse sanding disk, affectionately known as a "boat eater."
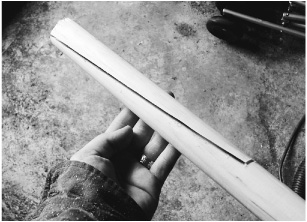
The handles are sanded at the groove but left round at the outboard end. First, sand opposite sides, and then make it square. Then sand the corners to make the handle octagonal.
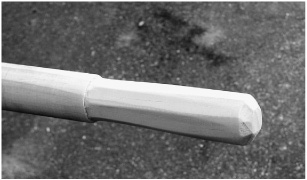
The handle is finished by hand-sanding with 180-grit sandpaper. When the sharp corners are softened, this makes a very comfortable handle. Be careful with the boat eater; over-sanding will weaken the loom at the handle. It requires a light touch.
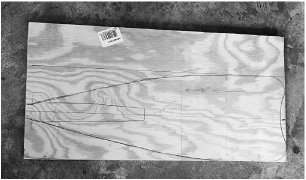
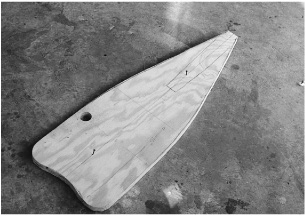
The blades are cut from two pieces of ¼ " plywood stacked together. Actual size and shape is up to you. My blades were about 8" x 24". The concave shape allows you to use the oar to fend off pilings, while the notch allows you to pick up lines in the water. This is not as strong as, or a substitute for, a proper boat hook, but the unique blade shape is useful nonetheless.
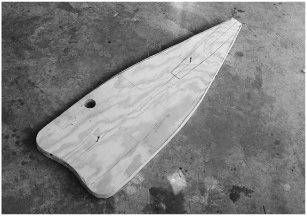
The blades were shaped with a table saw and angle grinder, then drilled with a 1" hole.
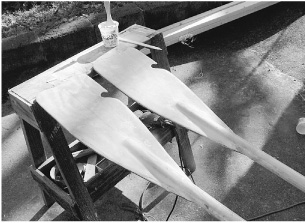
After rounding the edges and sanding, the blades were glued and screwed to the poles. Actually, you could paint them and use them at this point for light-duty oars, but I never can leave well enough alone, so . . .
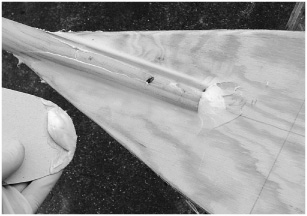
. . . out comes the epoxy. I made fillets at all the joints.
Then I laminated both sides of the blade with epoxy and fiberglass cloth.
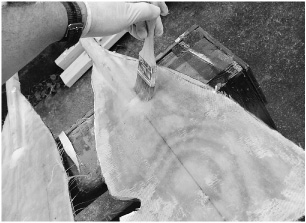
The fiberglass is easy to wet out with a chip brush.

When properly laminated, the glass cloth should have a transparent quality. Avoid bubbles.
The laminated edges were cleaved up with a sanding disk.
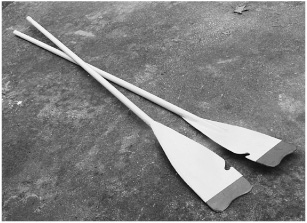
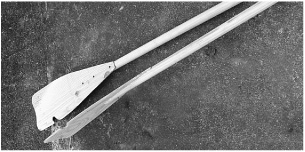
Here are the new oars with a coat of paint. Epoxy is very sensitive to UV rays, so paint any epoxy that will see a lot of sunlight.