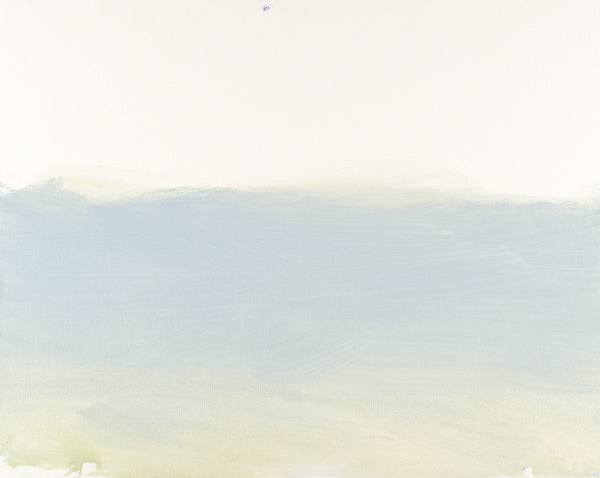
It’s fun to try to capture clouds’ ever-changing character. Keeping in mind the placement of the light source in the top right will help you create clouds with a three-dimensional quality. A photographed sky may look like a single flat color, but a painting expresses a sky best as an expanse of space that changes in both value and color. In this demonstration the sky is a midvalue French Ultramarine at the top graduating to light Cerulean Blue and Sap Green at the bottom.

With a mixture of Titanium White, Cerulean Blue and Sap Green, paint the sky using a no. 12 flat. Start at the bottom of the canvas and paint just past the middle. To mix the colors, start with Titanium White because the dominant blue and green will want to take over, making the sky color hard to tame. Add a drop or two of water or thinner to the paint to improve the flow. Create a thin application, but not as thin as a wash.
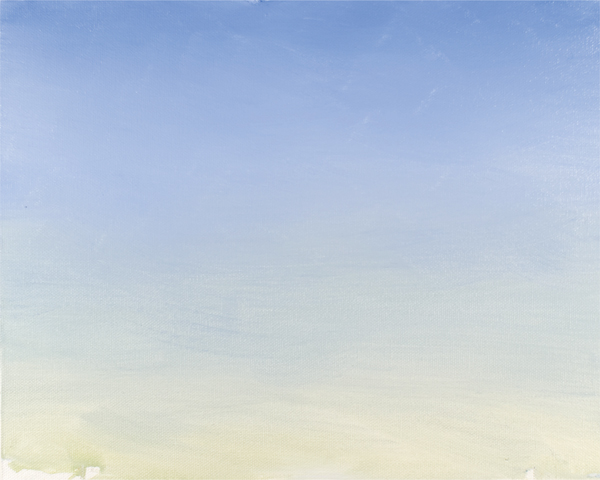
With a mix of Titanium White and French Ultramarine, start painting from the top down, gradually adding Cerulean Blue as you work down to meet up with the bottom half of the sky. With a clean brush, work over the entire sky, top to bottom, to blend it more evenly.

Using a no. 4 filbert, add the cloud shapes with a mixture of Titanium White, Cerulean Blue, French Ultramarine, Sap Green and a hint of Permanent Rose. As you apply the paint, it’s OK if this mixes with the paint previously laid down for the sky.
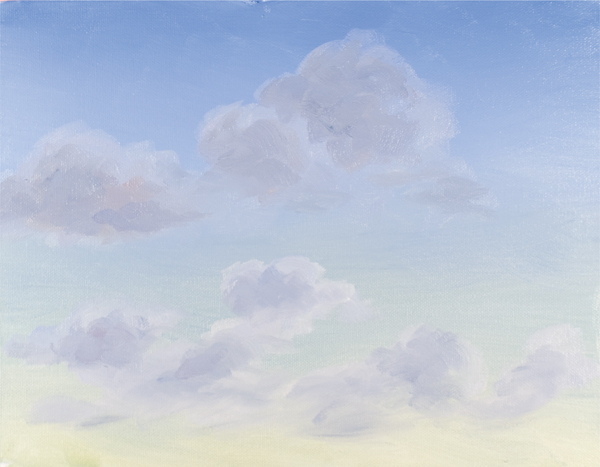
Mix the step 3 colors using less white to create a darker bluish gray, then paint the shadowed areas of the clouds. The light source is coming from the upper right, so the clouds will be mostly dark in the lower left areas.
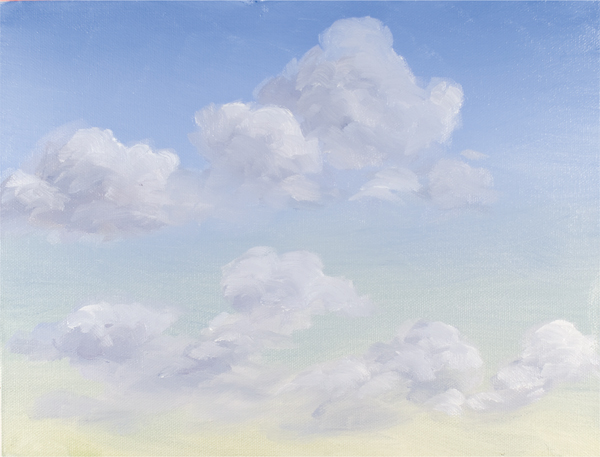
With Titanium White, mix in the lighter areas of the clouds. The brightest areas will be in the upper right of individual clouds. Clean your brush and replace the brush wash water for the best results.
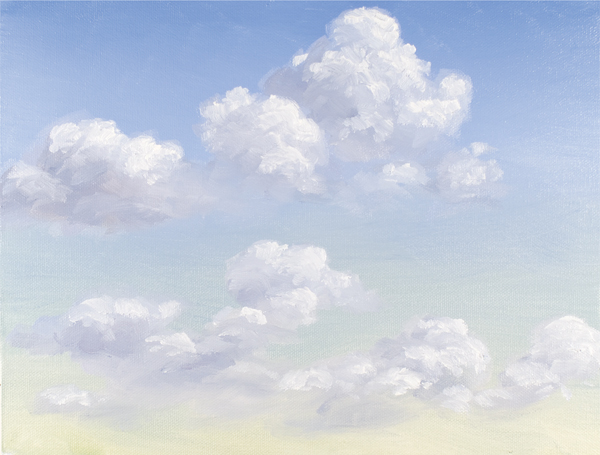
Apply thick Titanium White for highlights in the top right of the individual clouds. Do not mix the white highlight with the previously laid colors. The Titanium White should remain pure.