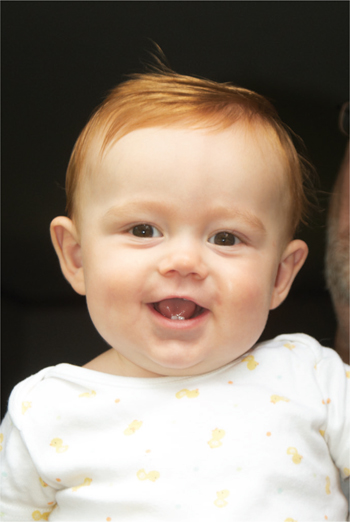
Not only is the placement of the facial features different for babies than for adults, but the overall form and proportions of the head are also different. Babies’ heads are short and wide. Notice that the widest part of the head is only about one third of the way down from the top of the head. As the head develops with age, it becomes longer, lengthening the features such as the nose and ears.
The lighting is coming just left of center, creating subtle value transitions.

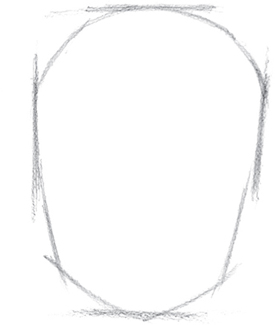
With the 2B pencil, proportion the top, bottom and sides of the head. Form the basic shape of the head, following the proportion lines.
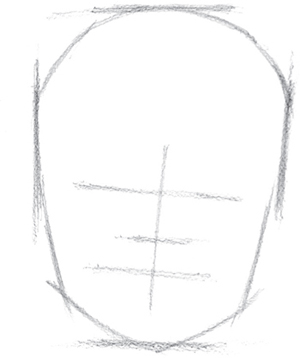
Continuing to use the 2B pencil, sketch horizontal lines, slightly angled, for the placement of the eyes, nose and mouth. Sketch a vertical line, slightly angled, for the center of the face.
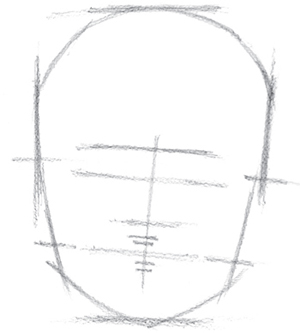
Sketch placement lines following the same angles as the previous lines for the brows, lips and ears. Notice that the tops of the ears line up below the brows and the bottoms of the ears line up with the mouth.

Sketch short lines to indicate the width of the eyes, nose, mouth and ears. Sketch a line for the position of the shoulder.
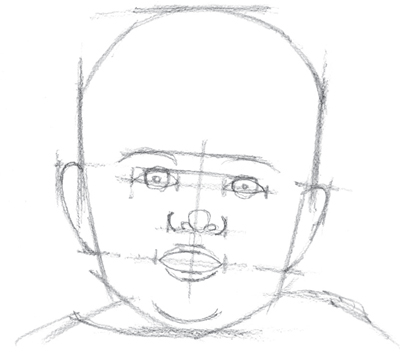
Define the brows, eyes, nose, mouth, chin and ears. Add the shirt and collar.
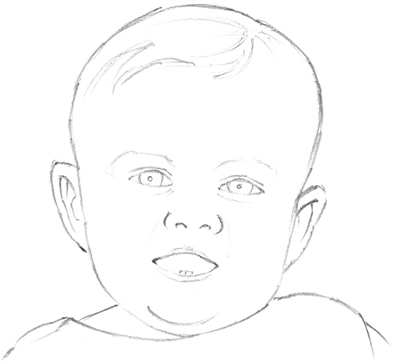
Add details including hair, eyelid creases, folds of the ears and two cute little bottom teeth. Erase unwanted lines if working directly on the drawing paper, or trace or transfer the image onto drawing paper using the 2B pencil.

Continuing with the 2B pencil, start shading the lighter regions. Notice that the light source is from above, left of center, making the tops of the forehead, cheeks and nose some of the lightest places on the face.
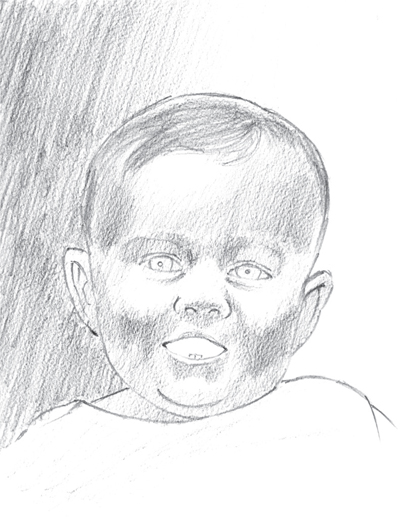
Add the middle values to the subject, using the same pencil. Add values to the background, shading the area so there are middle values on the left, gradually lightening to the white of the paper on the right.
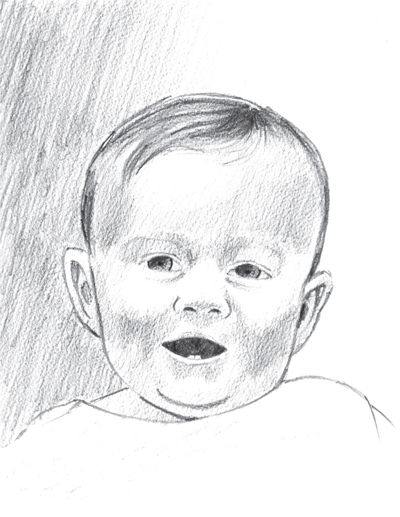
With the 4B pencil, add the most noticeable darks, including hair, irises, pupils and the inside of the mouth.

ELI
graphite pencil on drawing paper
12" × 9" (30cm × 23cm)
Make adjustments, including darkening some areas with both 2B and 4B pencils. Lighten some areas if needed with the kneaded eraser, and add details. Sign and date your portrait.