
Practice makes perfect! The more you practice drawing portraits, the better you will become. After practicing on your friends and family, you may feel you have run out of models for your portraits. Consider taking photos of people when you are out and about. This portrait is of an actress at a historical festival.

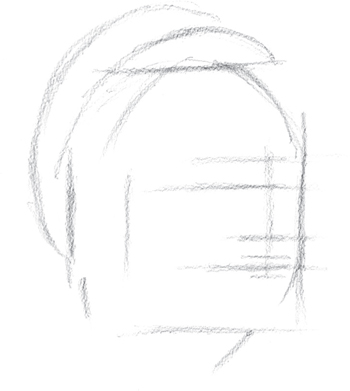
With the 2B pencil, proportion the top, bottom and sides of the head with horizontal and vertical lines. Start to form the shape of the head using the proportion lines for guidance.
Jewelry, props and costumes included in a portrait can add another chapter to the story about the subject. If the person has an interest or hobby, consider having a prop in the drawing that suggests the interest.

Continuing with the 2B pencil, sketch horizontal lines for the placement of the eyes, nose and mouth. Add a vertical line for the center of the face.
Sketch horizontal placement lines for the brows and lips, and a vertical line for the ear. Sketch lines for the basic form of the hat and lines for the neck.

Sketch short vertical lines for the width of the eyes and mouth. Form the nose and side of the mouth. Sketch a curved line for the shoulders.

Define the eyes, brows, lips, ear and hair.

With the 2B pencil, add details to the features including the hair and hat. Erase unwanted lines if you are working directly on the drawing paper, or trace or transfer the structural sketch onto drawing paper.

Start shading the lighter regions with a 2B pencil. The light source is coming from the top right, making the right side of the face lighter than the left side.

Add middle values to the subject with a 4B pencil.
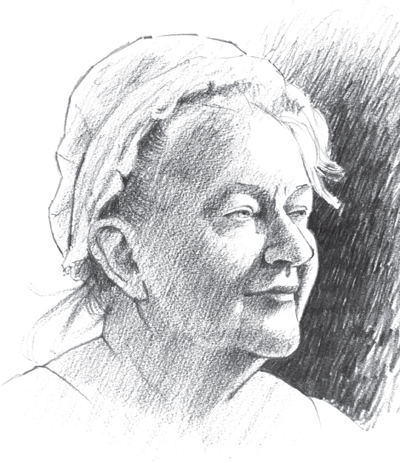
With a 6B pencil, add dark values to the subject and to the right side of the background.

REBECCA
graphite pencil on drawing paper
12" × 9" (30cm × 23cm)
With the 2B, 4B and 6B pencils, make adjustments and add details to features such as the hair and the hat. Use the kneaded eraser to lighten if needed. Sign and date your portrait.