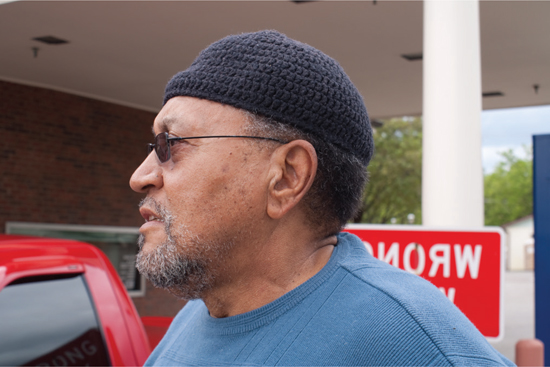
The light source for this subject is primarily coming from the upper left, causing the face to be lighter than the back of the head.
Use charcoal pencil to obtain the values in this demo. Charcoal lines can be blended using facial tissue and a blending stump to create smooth shading and transitions, but the medium can also cause unintentional smearing. Place a slip sheet under your hand to avoid unwanted smears and fingerprints.


With a 2B graphite pencil, sketch the height and width proportions of the head on a sheet of sketch paper. The curved line for the left side will be the basis for the profile. You can make this line with a 2B charcoal pencil directly onto the drawing paper if you choose not to trace the structural sketch onto the drawing paper at a later stage.
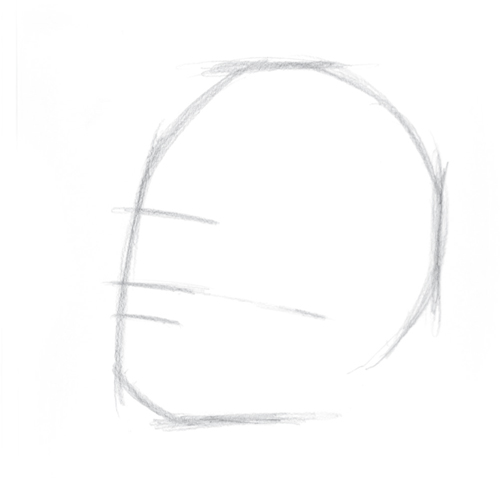
Sketch the overall form of the head, following the proportions previously determined. Add lines for the placement of the eye, nose and mouth.
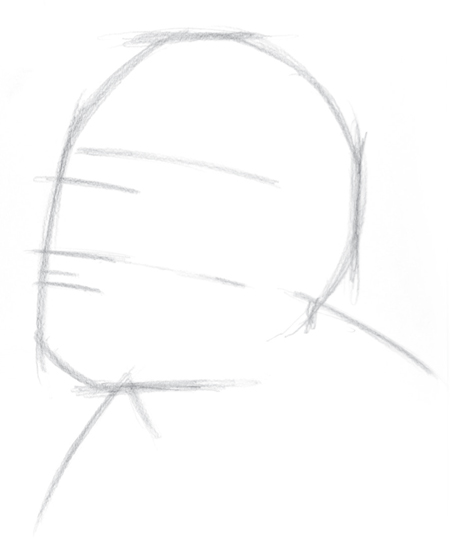
Sketch lines for the placement of the brow and upper lip. Sketch lines for the neck and shoulders.

Define the profile of the face by shaping the forehead, brow, nose, lips and chin. Sketch the eye as a triangle shape and form the ear.
When viewed from the side, the eye shape is triangular, formed by the top and bottom eyelids and the cornea. Placement of the eye from the nose bridge is important for the correct appearance. The cornea appears as a narrow elliptical shape.
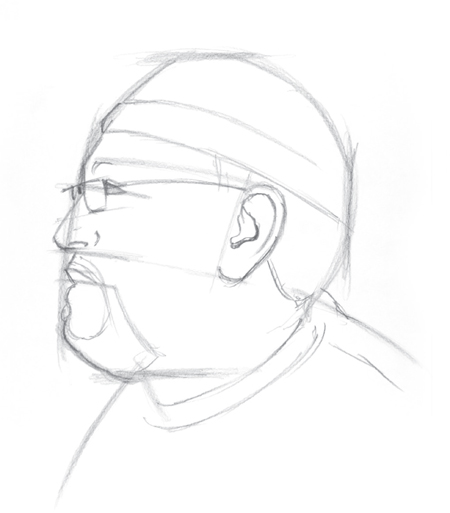
Add and define the features that make up the structural sketch including the eye, nose, top lip, ear, eyeglass frames, goatee, hat and shirt.
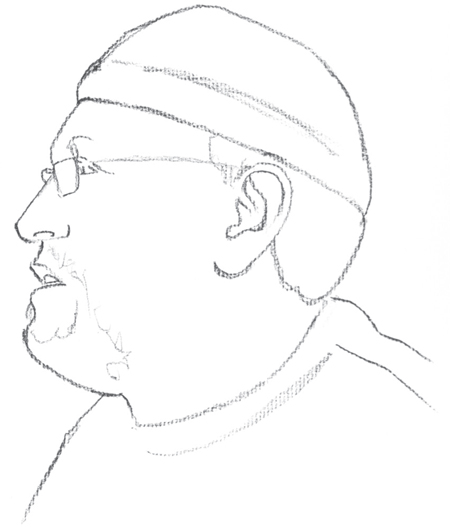
Using a lightbox, trace the necessary lines of the image onto drawing paper with a 2B charcoal pencil, or erase any unwanted lines if you chose to work directly on the drawing paper with the 2B charcoal pencil.
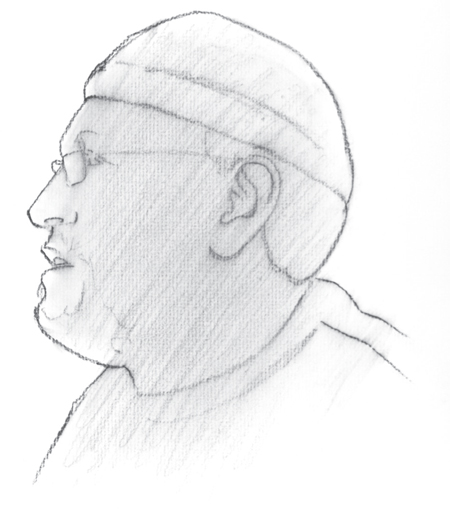
With light side-by-side strokes of the 2B charcoal pencil, add values to the image. The pencil strokes can be smeared with a facial tissue to soften the values. You’ll make the highlights by lifting off the charcoal with a kneaded eraser at a later stage.
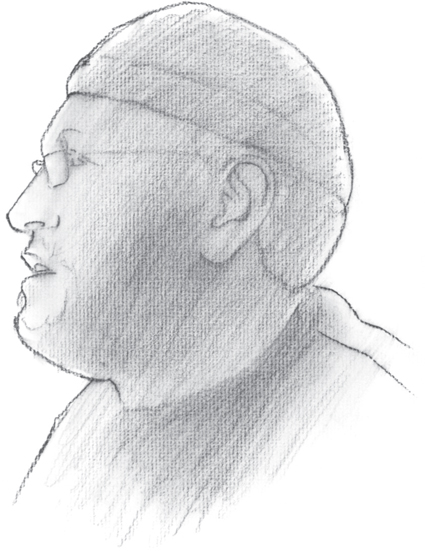
Add the middle values with more charcoal pencil strokes, with the left side of the face being somewhat lighter because of the light source. Lightly smear the charcoal with a tissue. Remember to rest your hand on a slip sheet to avoid unwanted smears and fingerprints.
Remember to use a slip sheet under the hand you’re drawing with to avoid unintentionally smearing your drawing as you are working.
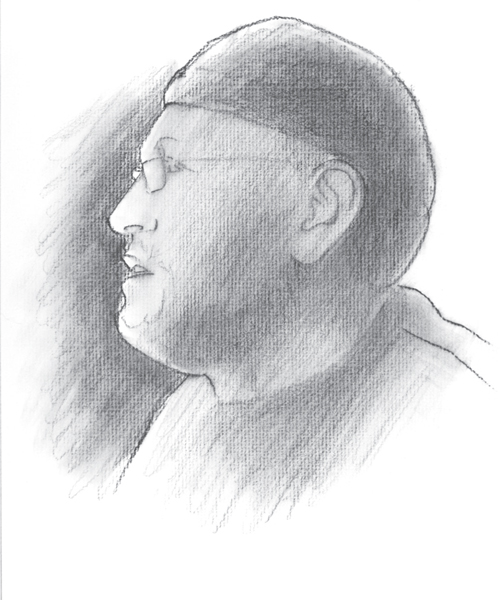
Add darker values to the face, hat and left side background. Smear with a tissue.
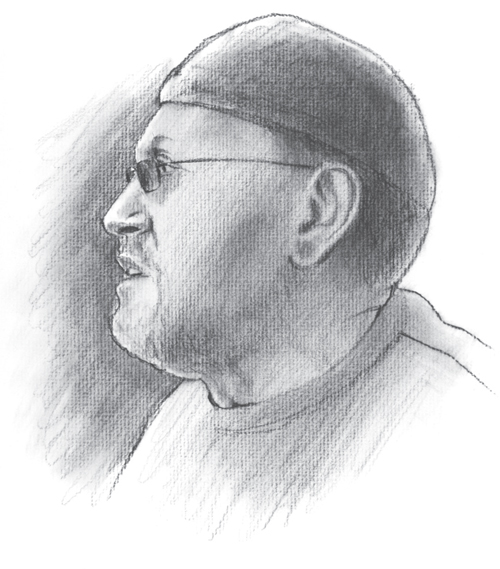
Add detailed darks to areas including sunglasses, eye, ear and mouth. For more detailed blending of values, use the blending stump.

EARL
charcoal pencil on drawing paper
12" × 9" (30cm × 23cm)
Add final details and make adjustments, including removing graphite with a kneaded eraser to make highlights and lighter whiskers. Darken some areas and make some dark whiskers. Sign and date your portrait.