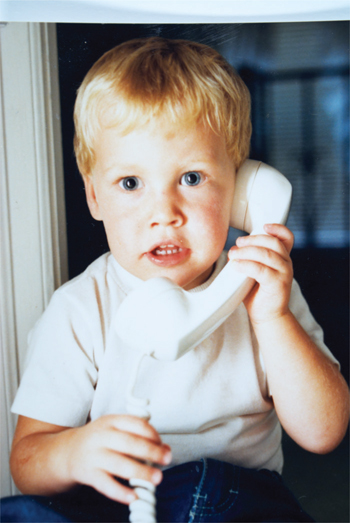
To help simplify the process of drawing this portrait, think of the structural sketch as three elements placed together: the head and torso, the telephone, and the hands and arms. To make the portrait look believable, it’s important to get these elements proportioned and positioned accurately.
The light is coming from the left, causing the right side of the subject to be darker.


Use a 2B pencil to proportion the top, bottom and sides of the head. Follow the proportion lines to form the shape of the head. Notice how the top of the head is wider than the lower portion of the head.
Facial proportions and features of boys and girls are very similar. It isn’t until young adulthood that the face displays features more specific to being male or female.
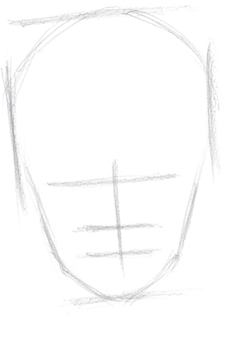
Continuing with the 2B pencil, sketch slightly angled horizontal lines to place the eyes, nose and mouth. Sketch a slightly angled vertical line for the center of the face.
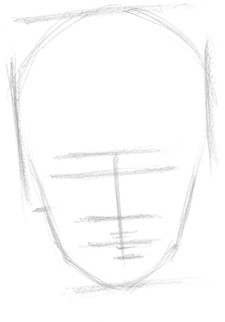
Sketch more lines for the placement of the brows, lips and ear.
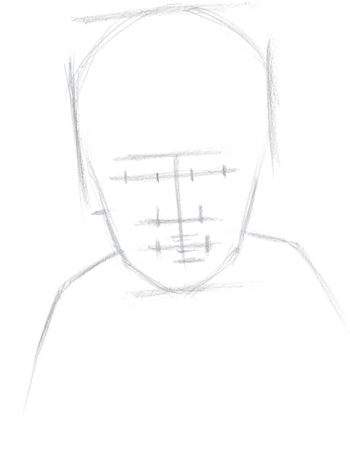
Indicate the width of the eyes, nose and mouth with short vertical lines. Sketch lines for the shoulders.
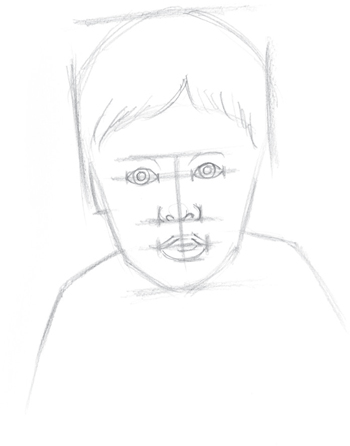
Add definition to the features, including the hair, brows, nose, mouth and ear.
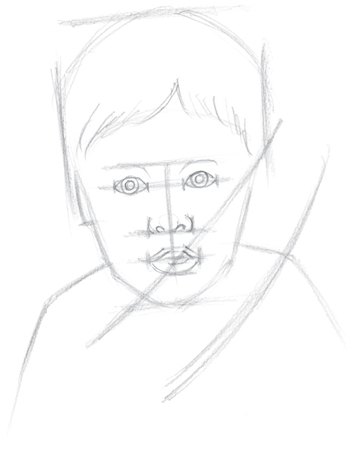
Start sketching the shape of the phone, making the long curved lines of the handle and a similar line connecting the receiver and mouthpiece. Make sure these lines are in the correct position to the face.
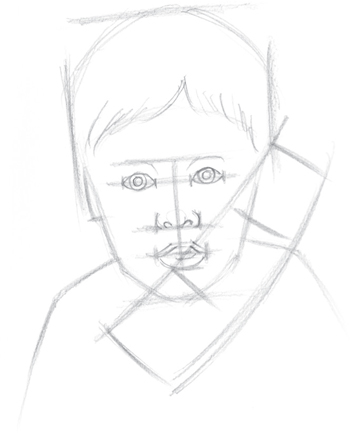
Sketch lines for the receiver and mouthpiece of the phone.
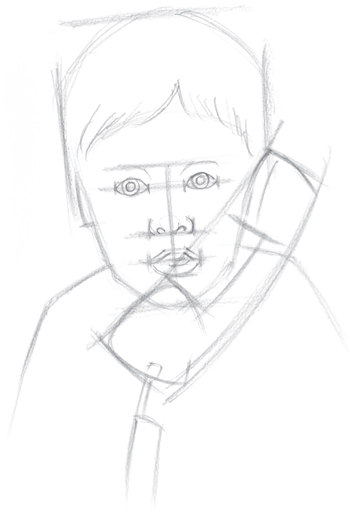
Define the curved forms of the phone including the cord.
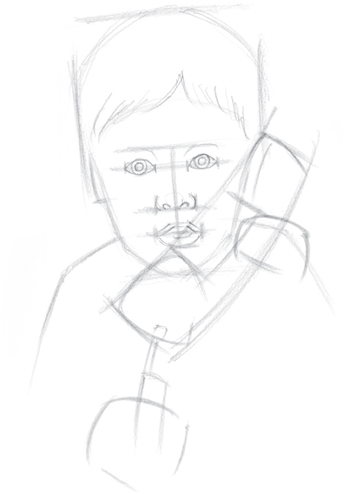
Sketch the hands with basic mitten shapes for the fingers in contact with the telephone handle and cord.
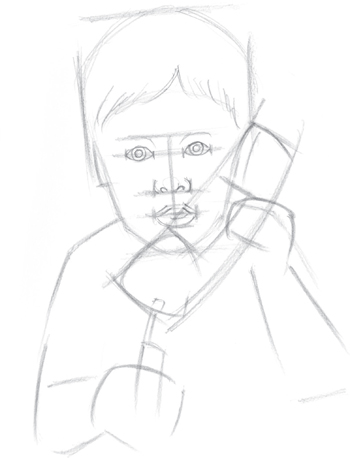
Sketch the basic shapes of the arms in relationship to the hands.
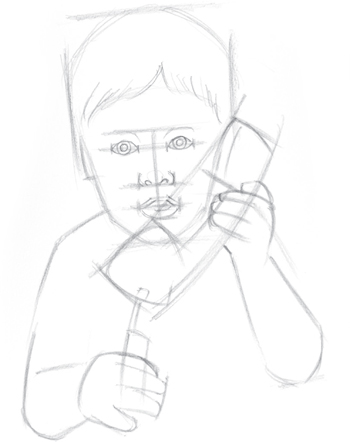
Sketch the individual fingers to develop the hands, and complete the right arm.
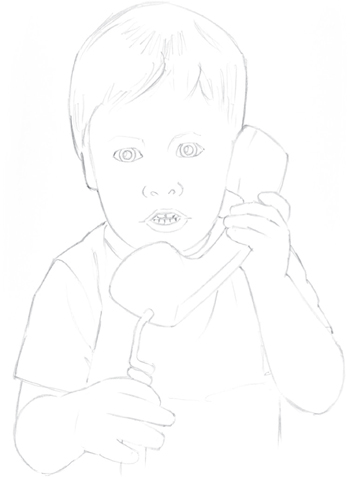
Add details including the hair, teeth and shirt. If working directly on the drawing paper, erase unwanted lines. Otherwise, trace or transfer the image onto drawing paper using the 2B pencil.
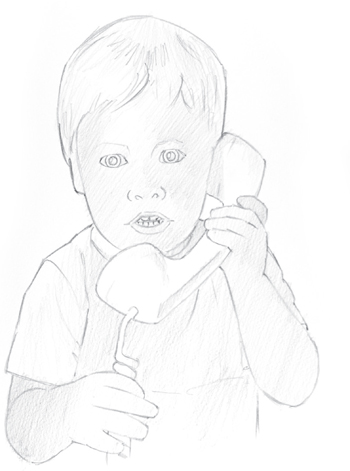
With a 2B pencil, start shading the lighter areas of the subject. Most of the phone handle can be kept white. The darker form of the shirt will distinguish it from the shape of the phone.
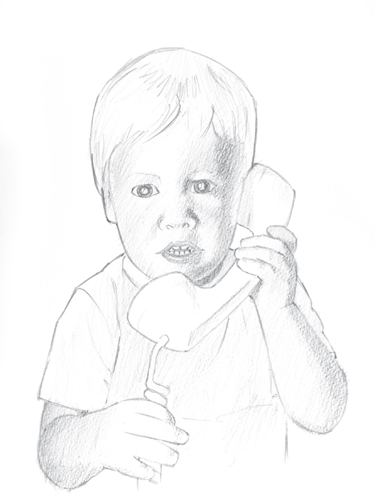
With a 4B pencil, add middle values to the face. Most of the light is coming from the upper left with some reflected light on the right side of the face. Add middle values to the hands and arms.

Continue adding middle values to the hair, phone and shirt.
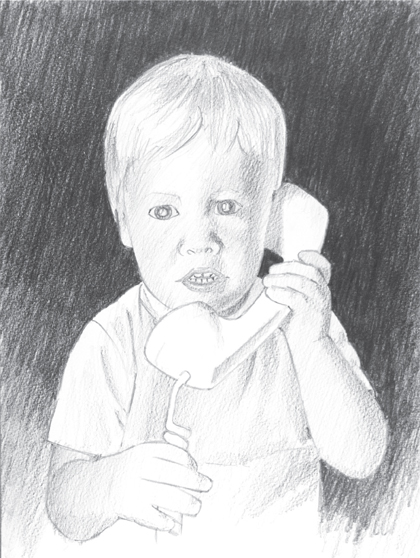
With the 6B pencil, add dark values to the background. Notice that the darkest areas are toward the top around the head.

With 4B and 6B pencils, add darks to the hair, eyes, nose, mouth and fingers of the subject.

J.T.
graphite pencil on drawing paper
12" × 9"A (30cm × 23cm)
Adjust by erasing and darkening different places, and add details. Sign and date your portrait.