
Nature provides many simple subjects that are interesting to draw. For this demonstration, the structural sketch can be made directly onto the drawing paper or done on a separate sheet of paper, then traced or transferred onto the drawing paper to avoid unwanted lines and erasing. Sketch the whole rock, not just the part that is seen, so that you can be more accurate with the shape of the rocks. Duplicating the size and shapes of the rocks is as important as keeping the light and shadows consistent.
The light source is coming from the upper right, causing the rocks to be lighter at their upper right and darker at their lower left. The dark regions are well defined and can be established at the beginning of the values stage.
The values of your drawing can be compared to the finished demonstration in the book using your value scale.
With a 2B pencil, start the structural sketch with the biggest rock, paying attention to its shape and its placement on the paper.
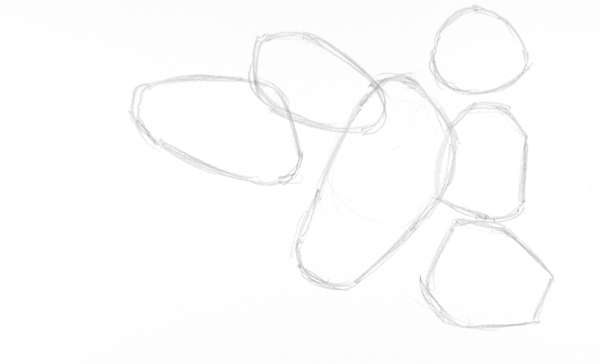
Sketch the rocks that are on top of other rocks. Though the full shape of some of the rocks may be obscured by other rocks, sketching their complete shape will ensure accuracy.

Add more rock shapes until all are sketched in. Add lines for showing the cracks and crevices.
To avoid erasing on the drawing paper, work up the structural sketch on a sheet of sketch paper, then trace or transfer the structural sketch onto the drawing paper, leaving out any unwanted lines.

Erase any unwanted lines or transfer the sketch onto drawing paper by tracing it if you are working from a separate sketch. Add lines indicating shadowed regions on the individual rocks.
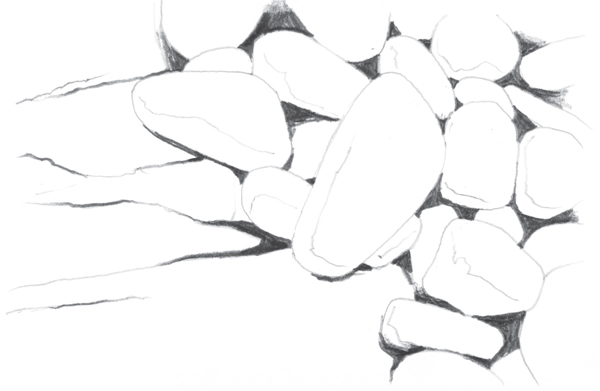
With an 8B pencil, place the darkest regions using the handwriting grip for controlled linework. Avoid drawing a heavy line around the rocks. Look for the darkest, most recessed places and add darks according to what you see.

With a 4B pencil, start adding middle values with a pencil grip that places the lead flat against the paper’s surface for wide, smooth linework. You may want to rest your hand on a slip sheet to avoid smearing the paper surface.
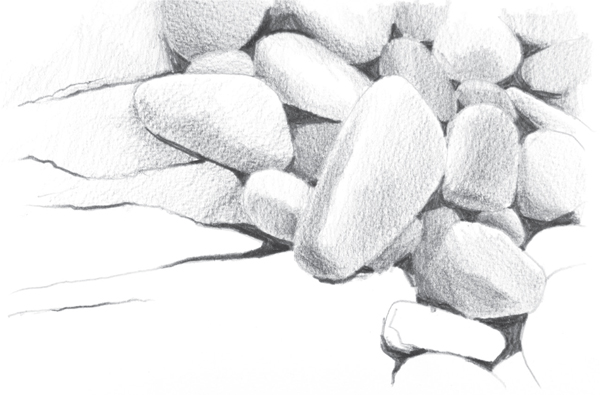
Continue adding the light and middle values. The rocks that rest below other rocks may appear darker.
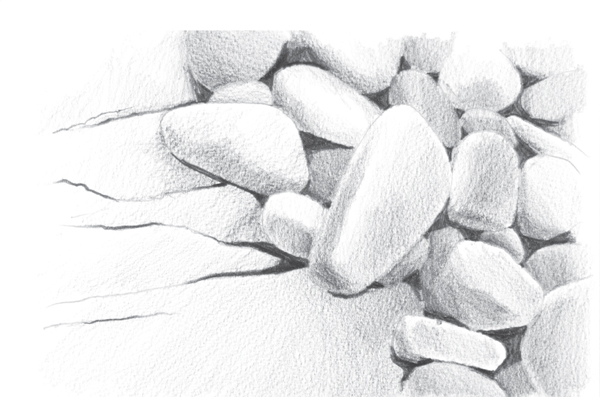
Finish adding the light and middle values to the rock surfaces.

ROCKS
graphite pencil on drawing paper
6" × 9" (15cm × 23cm)
Make adjustments, darkening some areas with 4B and 8B pencils and lightening other areas with a touch of a kneaded eraser. Use your value scale to compare the lights and darks. Add your signature to the front and the date on the back.
Rest your hand on a separate piece of paper when adding the values to keep from smearing the graphite of your drawing.