For this drawing, the structure of the chipmunk is worked out before the tree stump because it is easier to adjust the tree stump to the chipmunk than the chipmunk to the tree stump. The light source is coming from the upper left and affects the lights and shadows of the chipmunk and tree stump. The background varies in values to contrast with the elements in front.

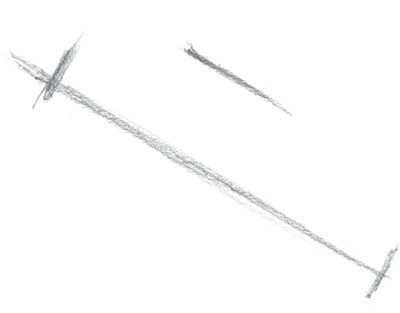
With a 2B pencil, sketch a diagonal line for the underside of the chipmunk. Add lines to place proportions for the length and width of the body.
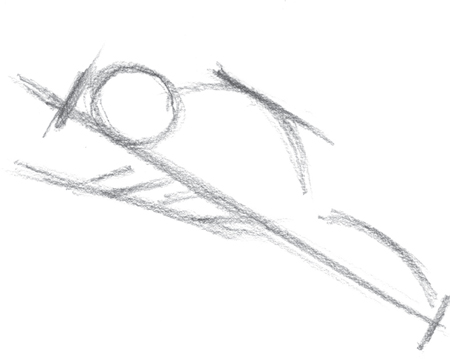
Following the proportions, sketch the basic shapes of the body, head and tail. Add a baseline for the feet, then the basic shapes of the legs.
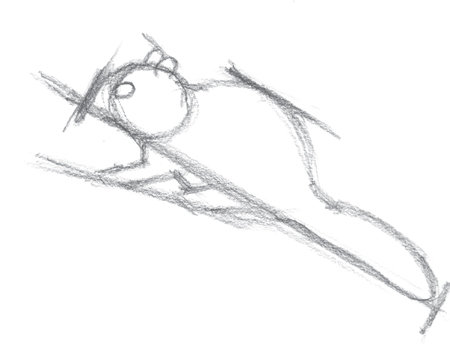
Develop the form, following the basic shapes including adding the eye and ears.
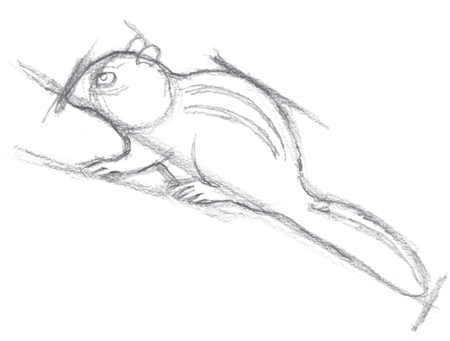
Start to add details, including stripes in the fur and defining features such as its paws.
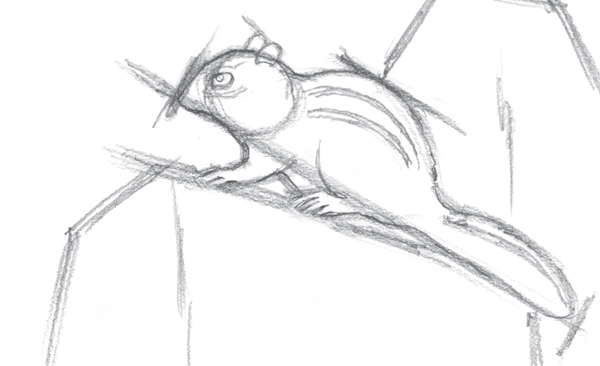
With simple linework, sketch the form of the tree stump.
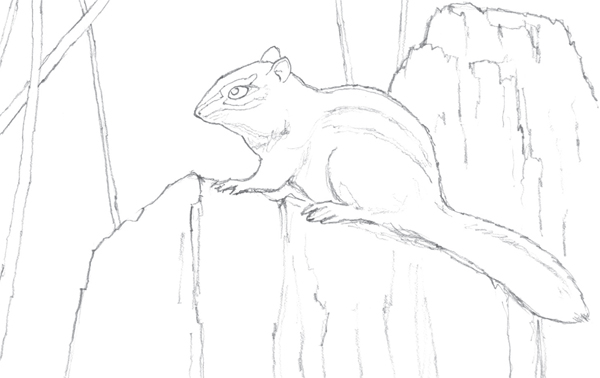
Erase any unwanted lines or transfer the structural sketch onto the drawing paper, leaving out unwanted lines. Add structural details to the chipmunk, tree stump and background.
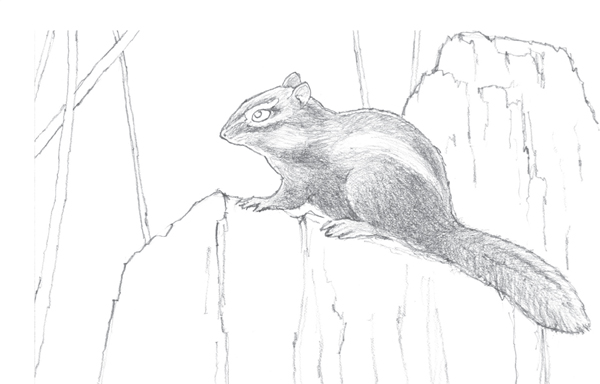
With the 2B pencil, add light and middle values to the chipmunk. The short pencil strokes can follow the direction of the fur.
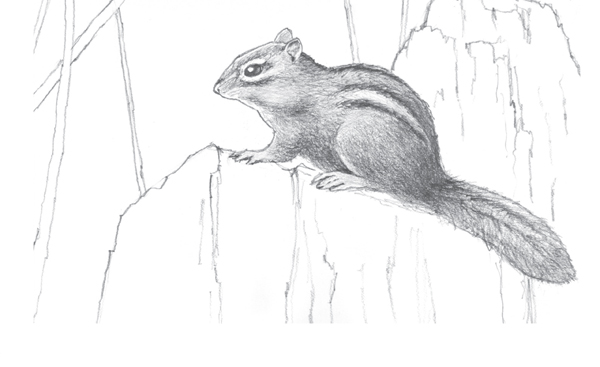
Continue working on the chipmunk, adding darker values that will add depth to the form and distinction to the features.
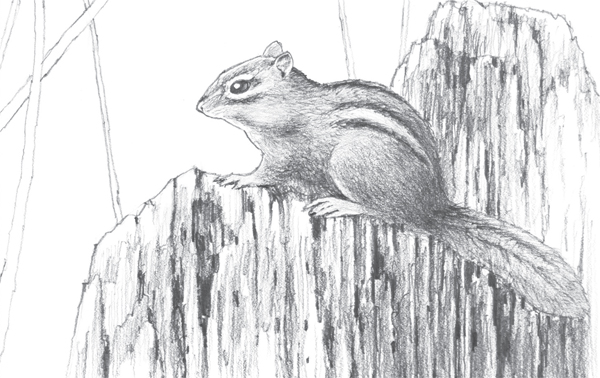
Start adding the range of values of the tree stump with vertical pencil strokes that display its texture.
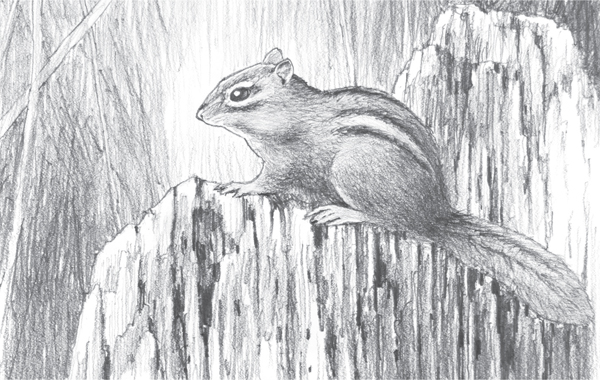
Add a range of values behind the chipmunk and tree stump.
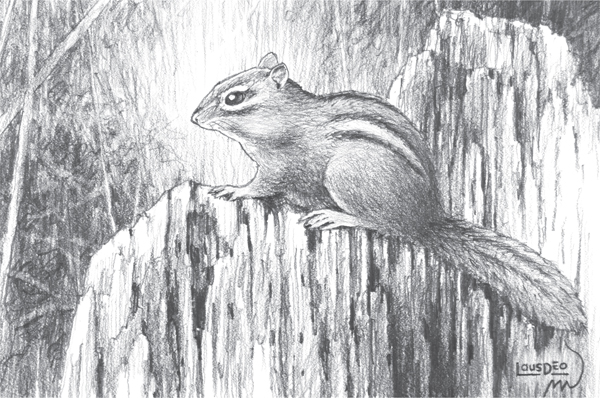
CHIPMUNK ON A TREE STUMP
graphite pencil on drawing paper
6" × 9" (15cm × 23cm)
Add details throughout, making some areas darker with a 4B pencil. Make adjustments such as lifting graphite from the background with a kneaded eraser. Add your signature to the front of the drawing and the date on the back.