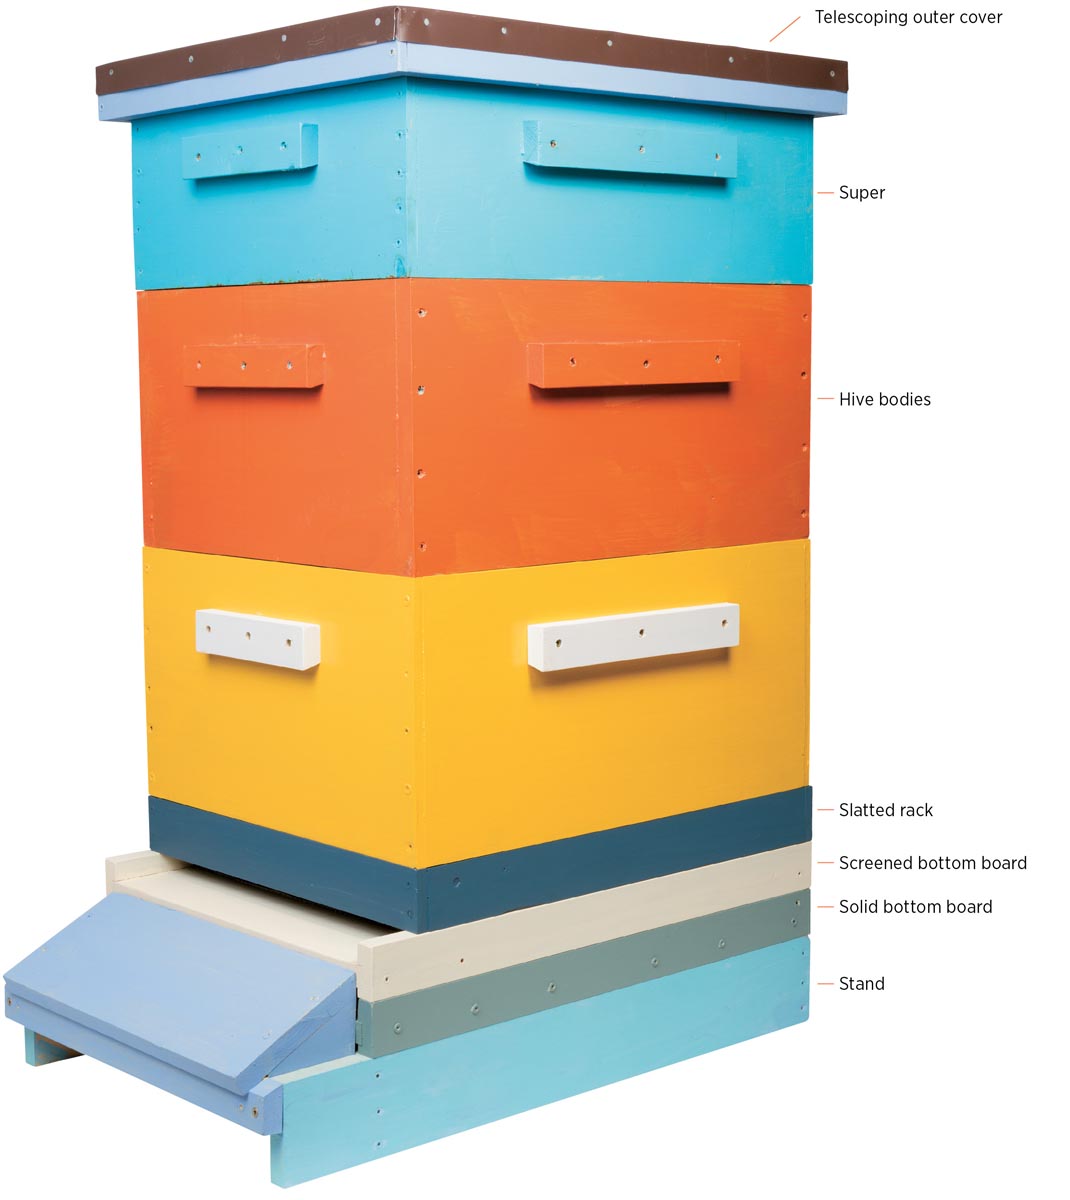
A finished hive.
A finished hive.
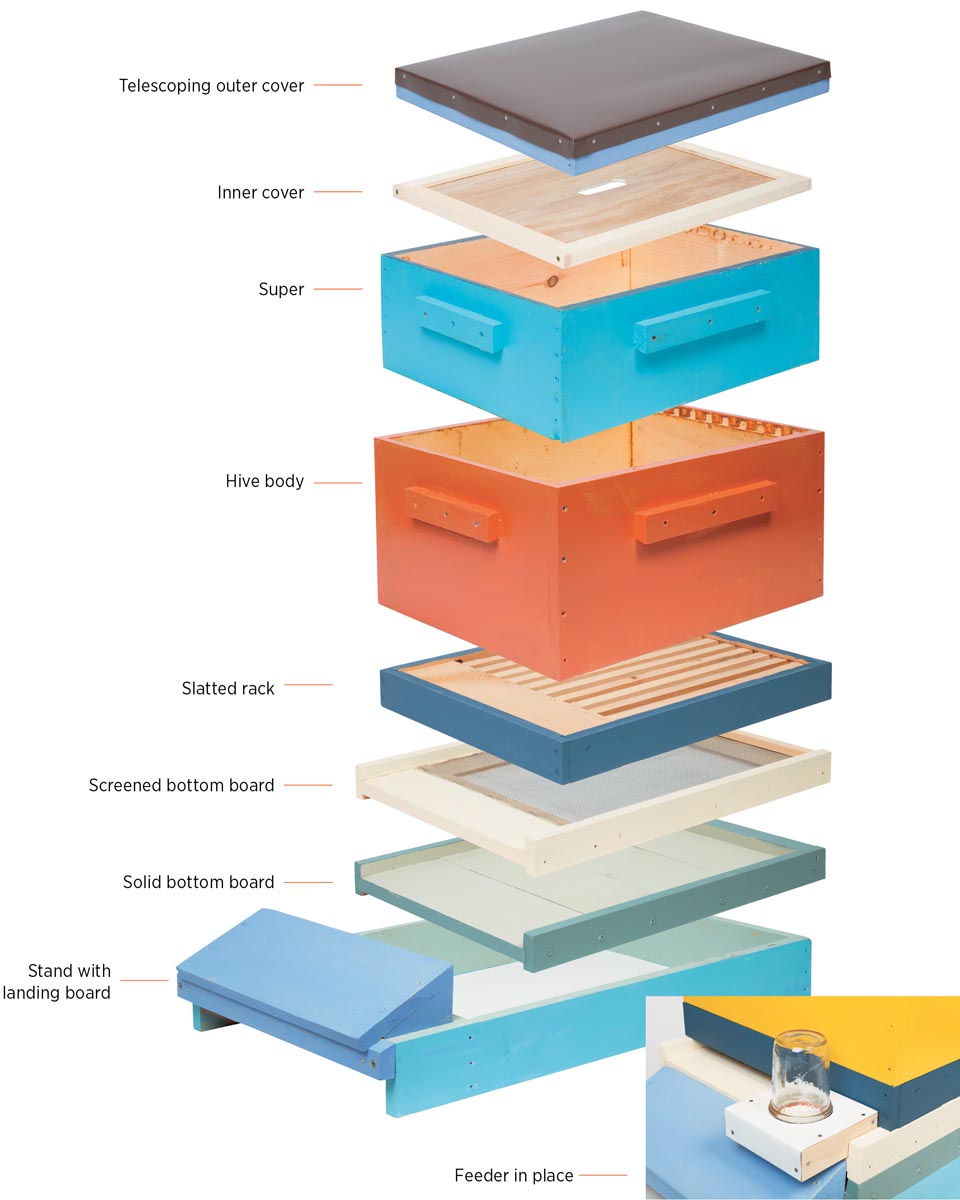
Exploded view of a hive.
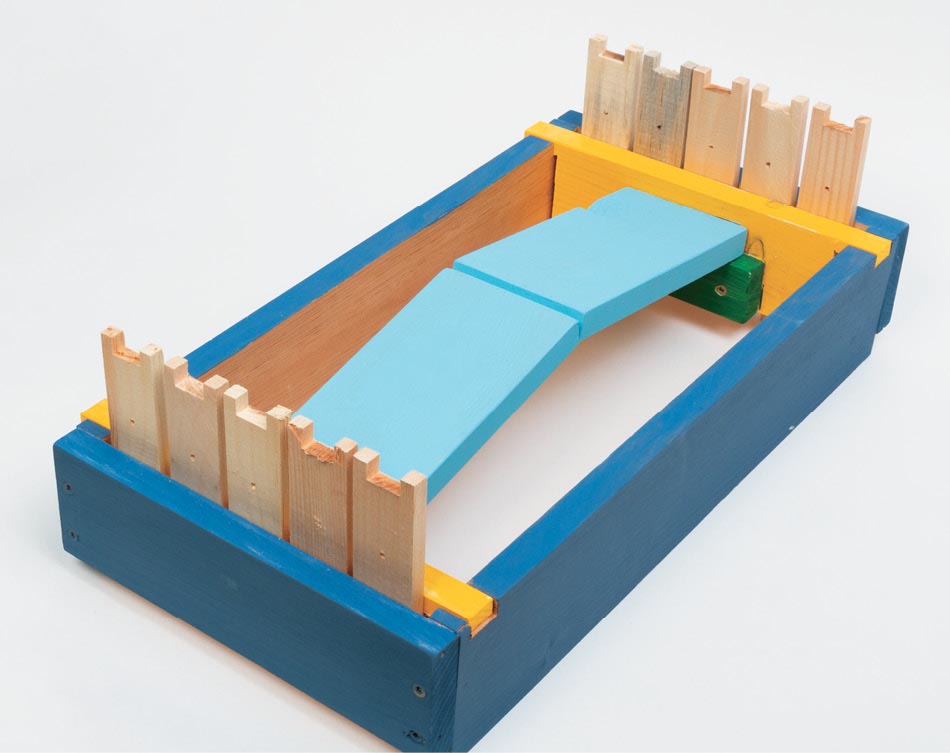
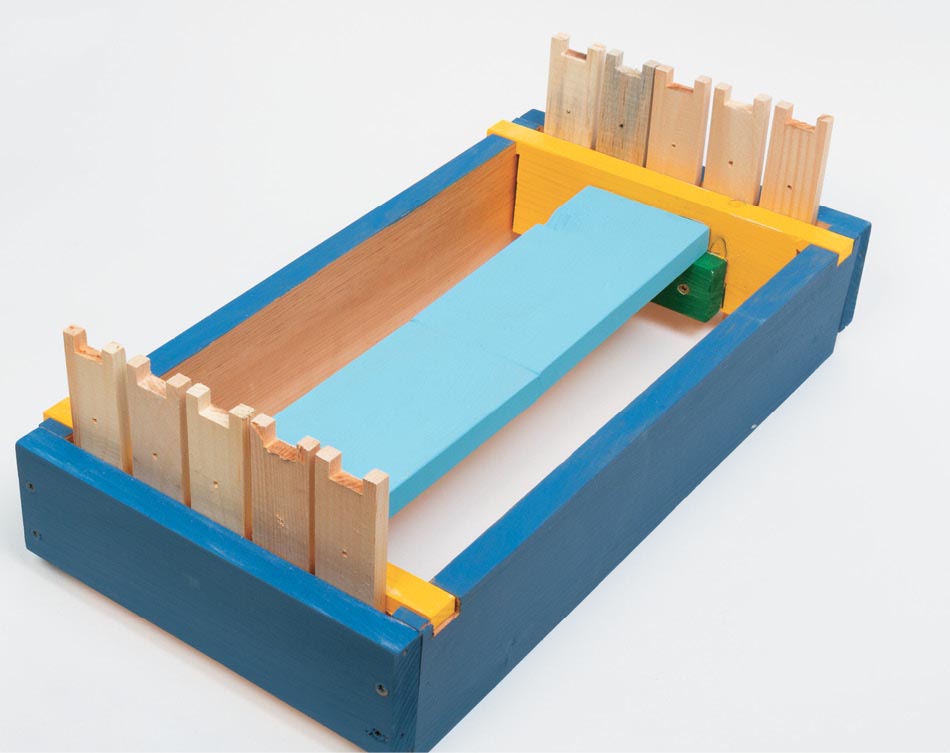
The escape board is easy to use. Place it under your full honey supers with the screen side facing down. Be sure there are no openings where robber bees can get in. Come back the next day and remove the supers from the hive.
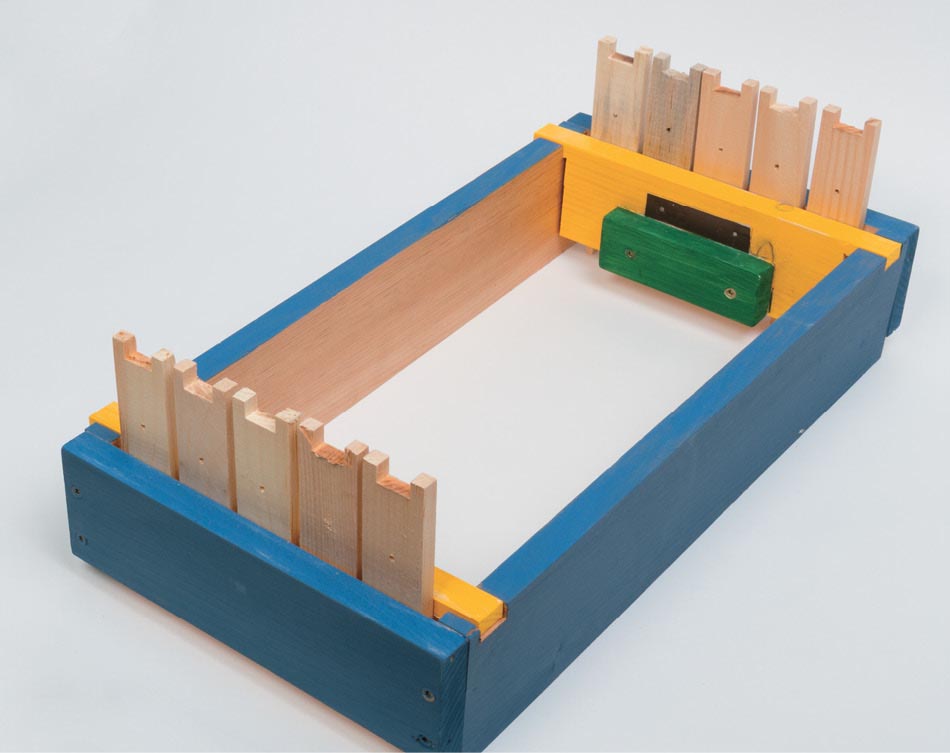
10-frame escape board set on top of super.

Underside of escape board.
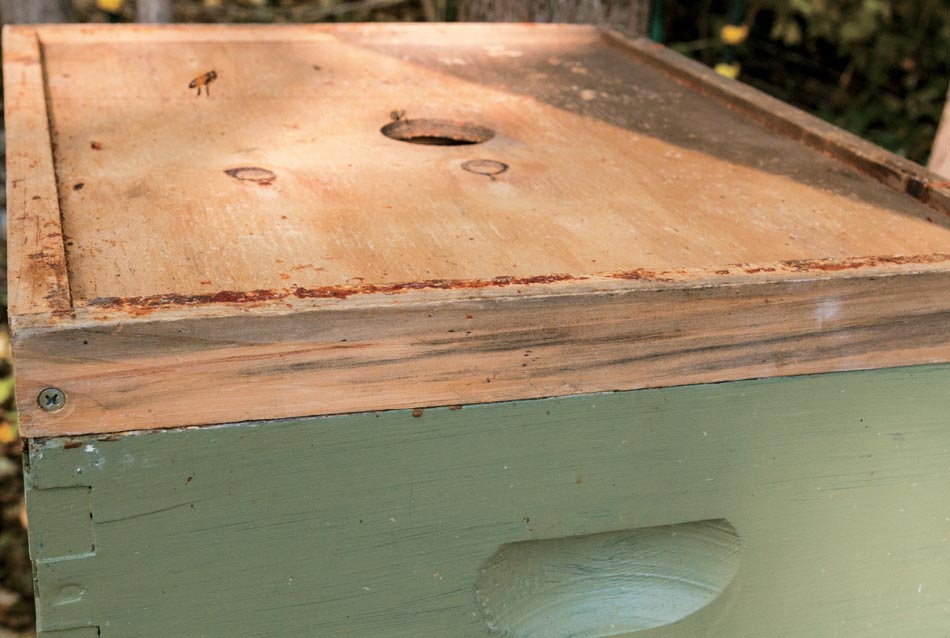
The demonstration hive is a great teaching tool in the classrooms and for presentations. It’s also nice when you are promoting honey sales. (See tips on page 157.)
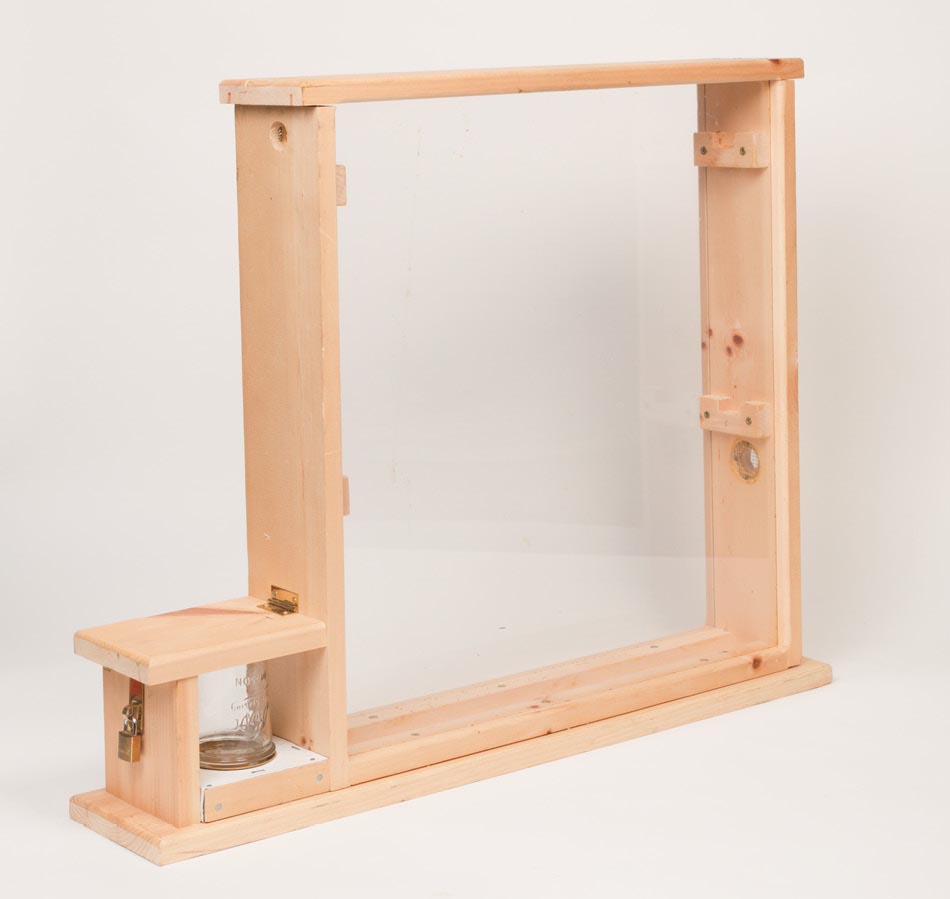
A brand-new observation hive (without a frame in place, it’s hard to see the Plexiglass sides).
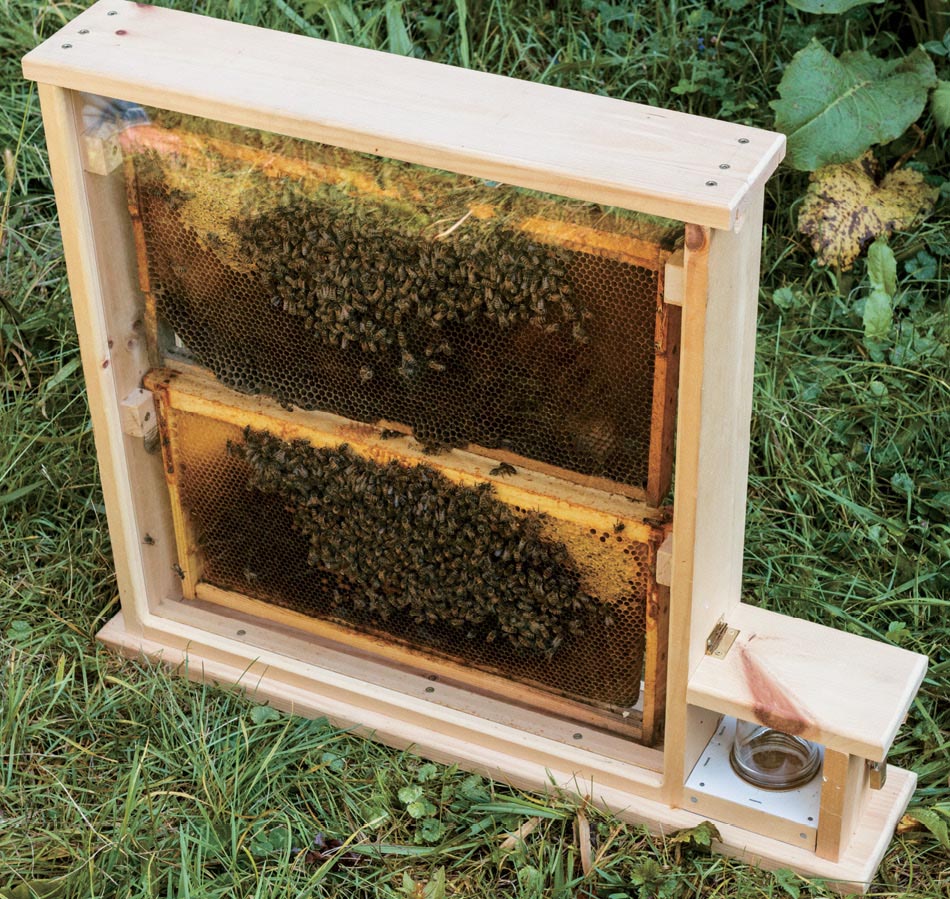
An observation hive in use.
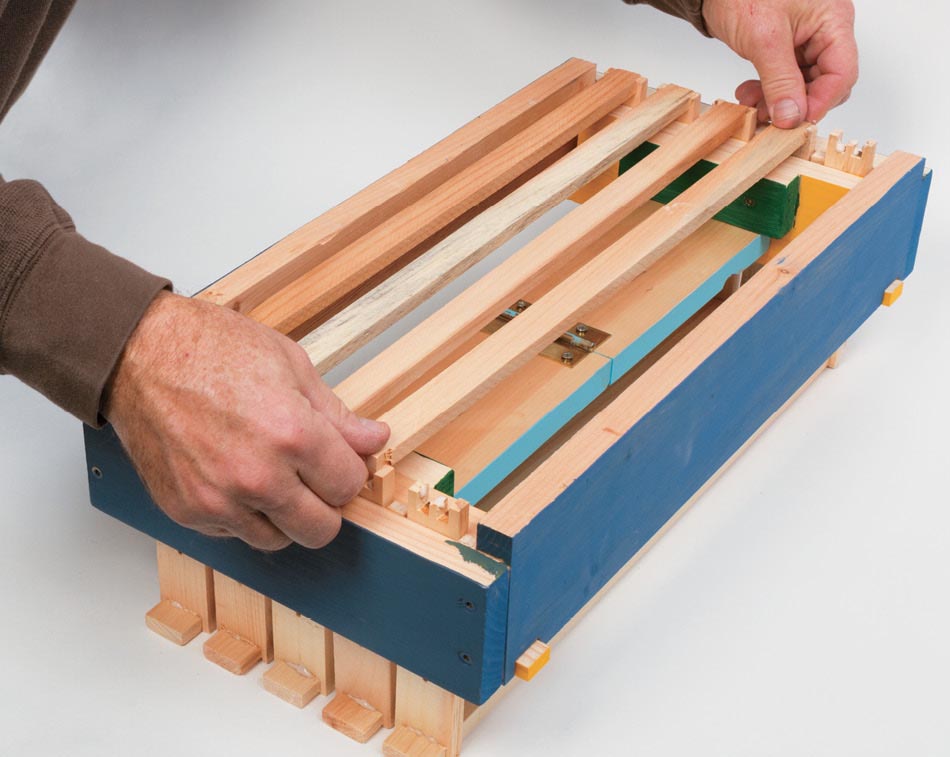
The frame-assembly jig frees up both hands for gluing and nailing frames. You can put together a whole hive’s worth of frames in no time, without having to mess with screw clamps or rubber bands to hold the parts in place.
1. Set the frame ends in the two ends of the jig.
2. Set the clamp in place on the clamp rests.
3. A simple push with one hand locks the clamp, holding the frame ends in place.
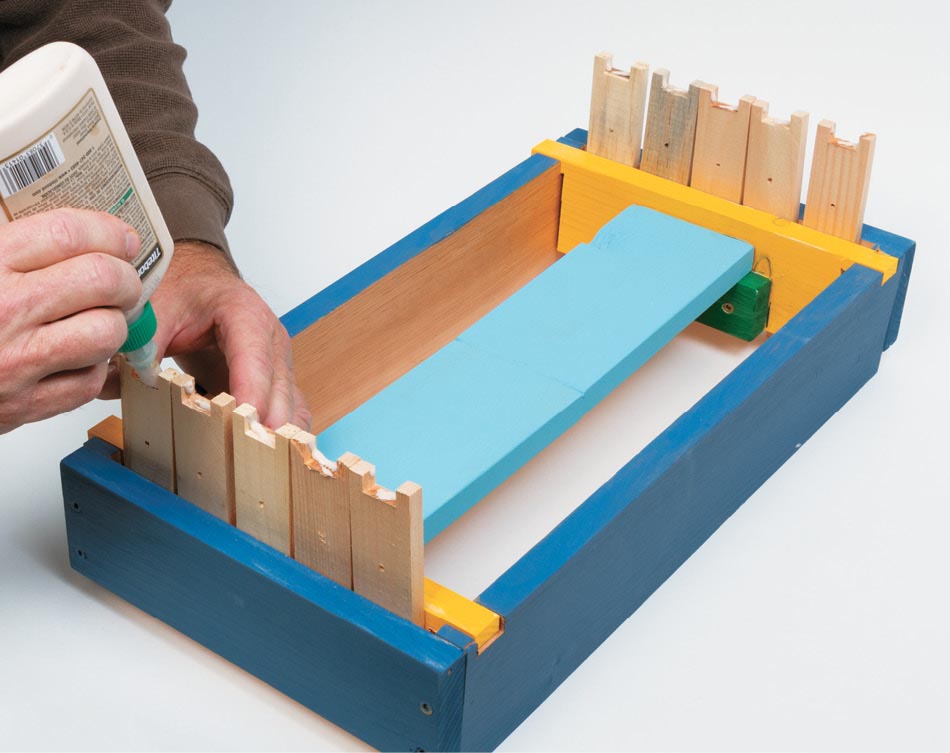
4. Put a small amount of glue in the cut-out section of each frame end.
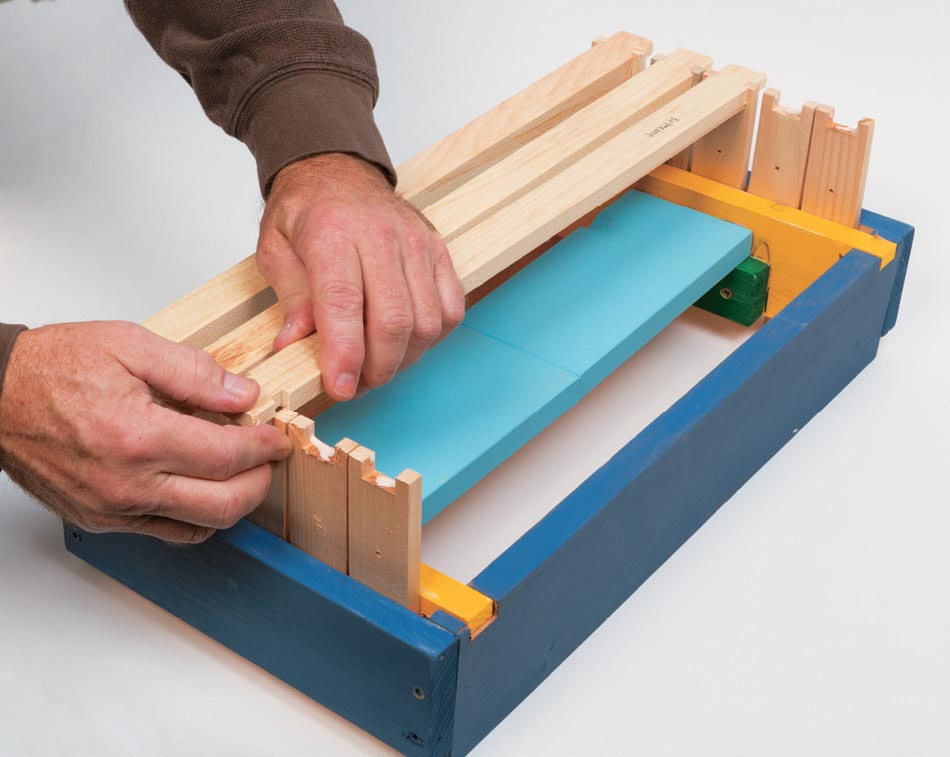
5. Put the top bars into place in the slots.
6. Nail each bar to its end piece using two brads.
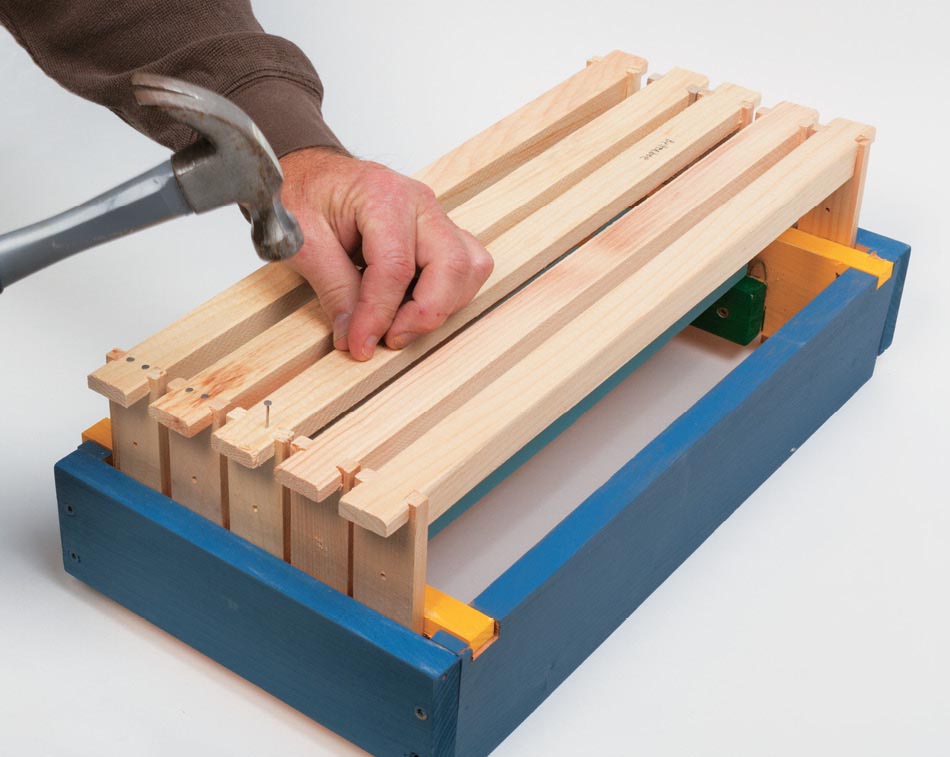
7. Flip the whole thing over, apply glue to the end pieces, and put the bottom bars in place.
8. Nail in the bottom bars, and ta-dahh, you have 5 new frames for your hives!.
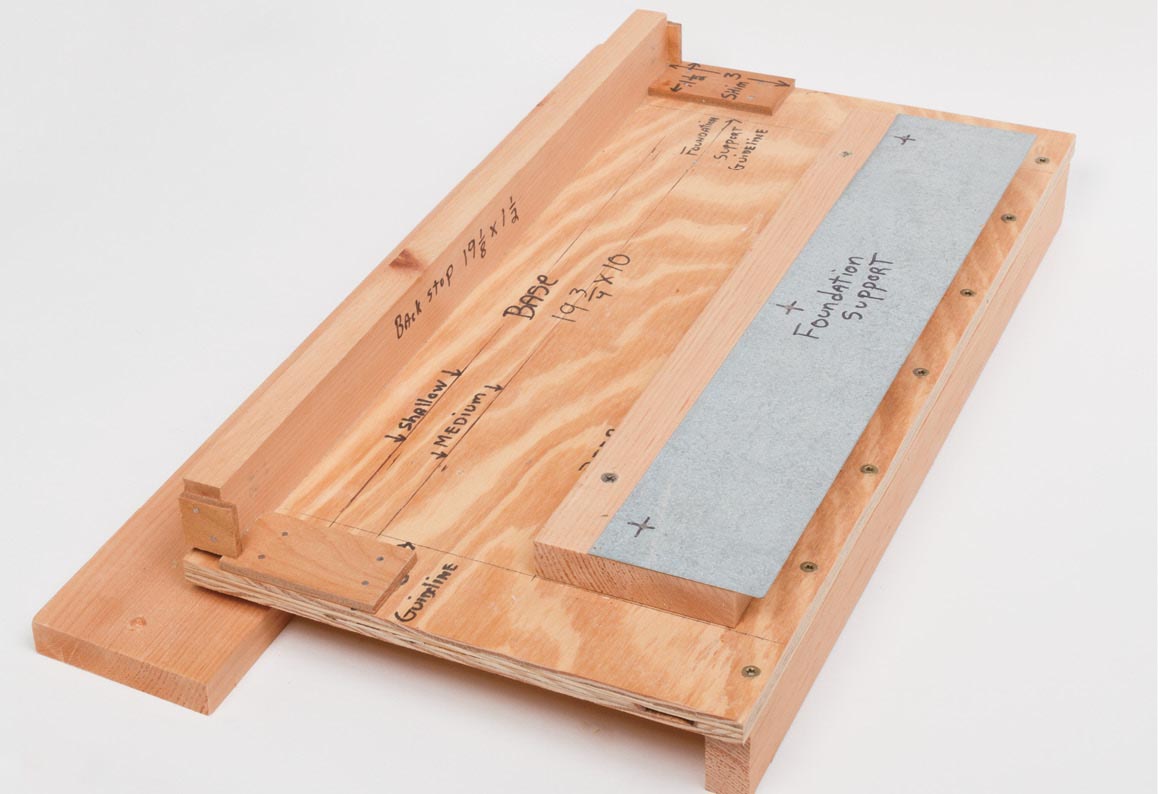
1. Here the jig is set on a tabletop for photographing. For normal use, you’ll want to clamp it to the edge of your workbench or even screw it into place.

2. Fit the frame on the jig. This is a simple matter of slipping the slot in the bottom of the frame over the metal guide.
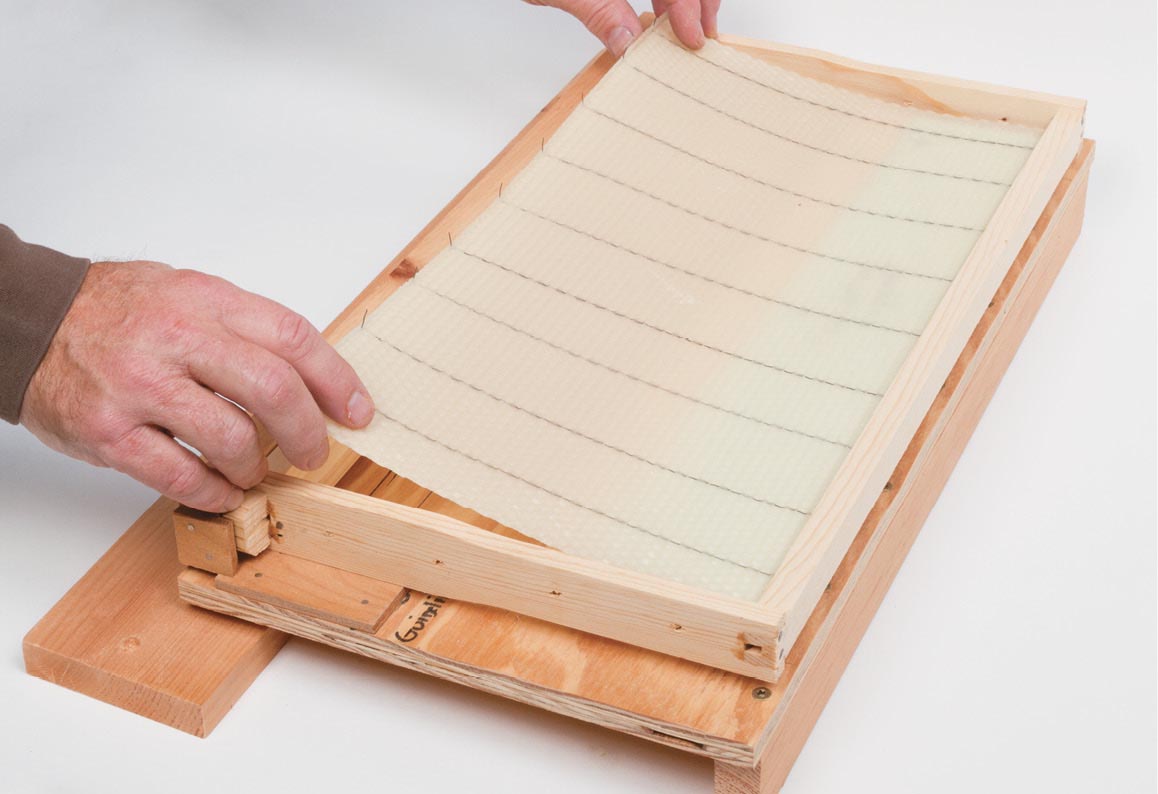
3. Slide the foundation into the bottom of the frame. Press down on the top bar, and the foundation slides right into the bottom of the frame.

4. Tuck the foundation into the top of the frame.
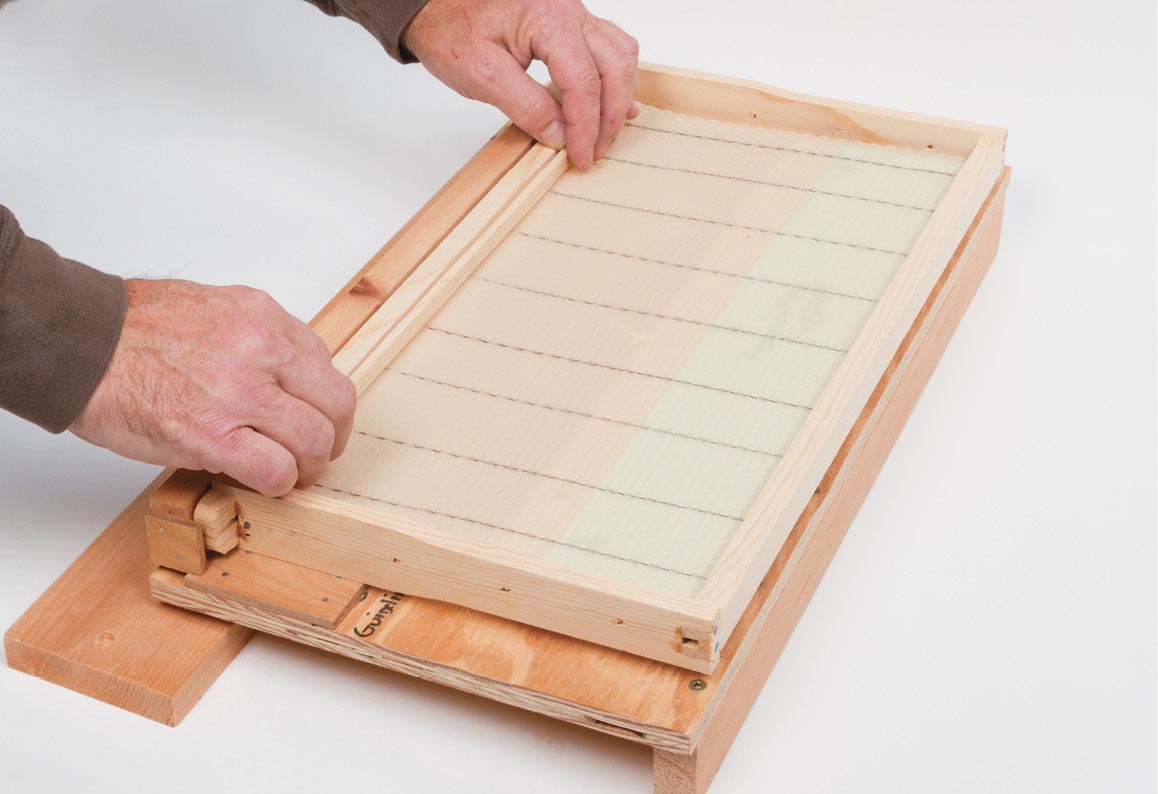
5. Fit the slat into the top of the frame.
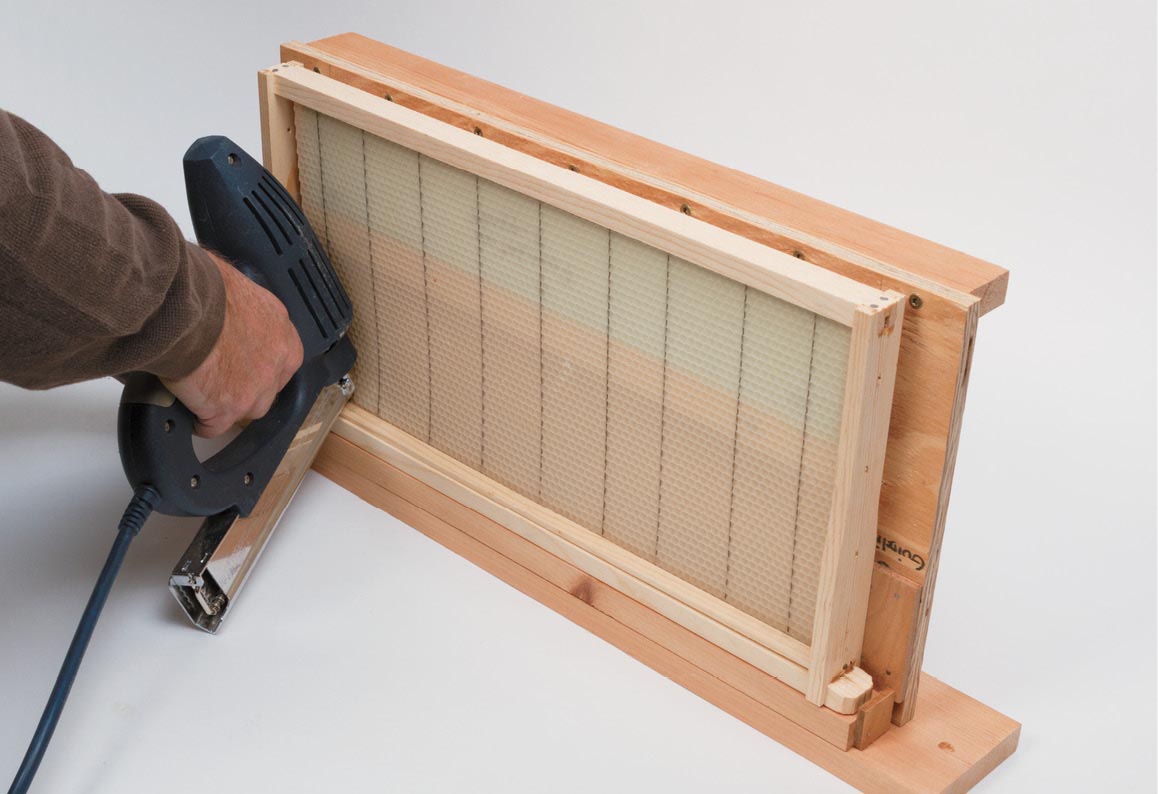
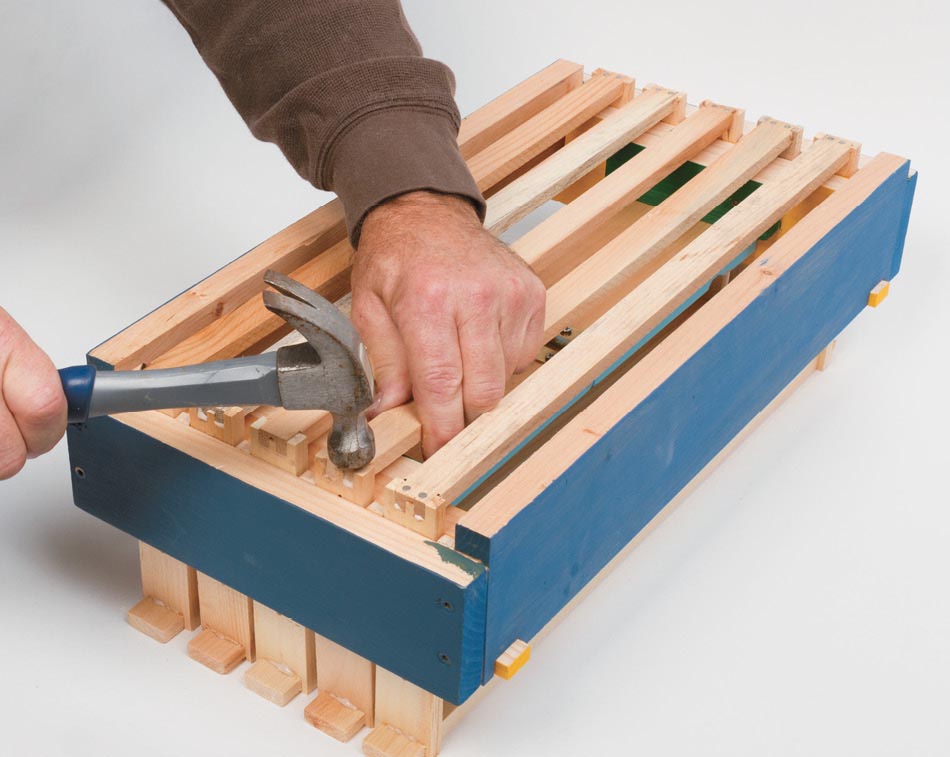
6. Staple the slat into place. The jig pivots into a vertical position, making it easy to nail the wedge in place with an electric brad nailer or by hand.
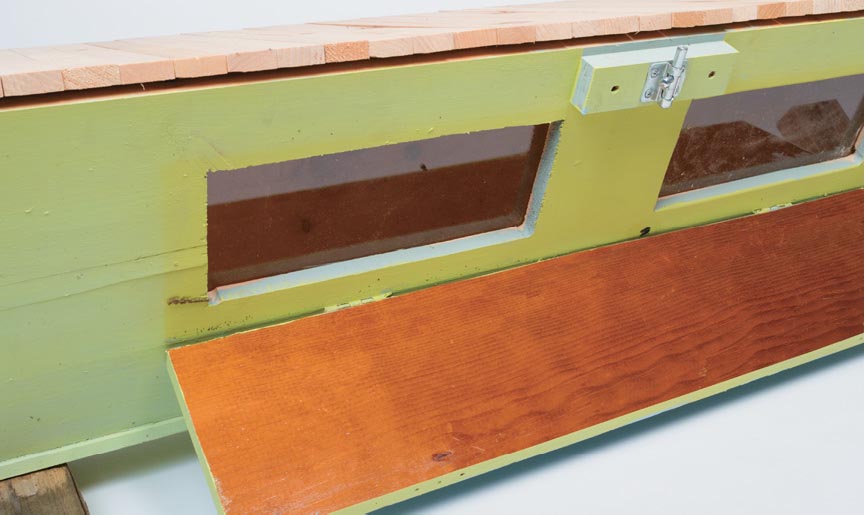
Observation windows.
Top-bar hive with the roof off and top bars in place.
A few top bars in place.
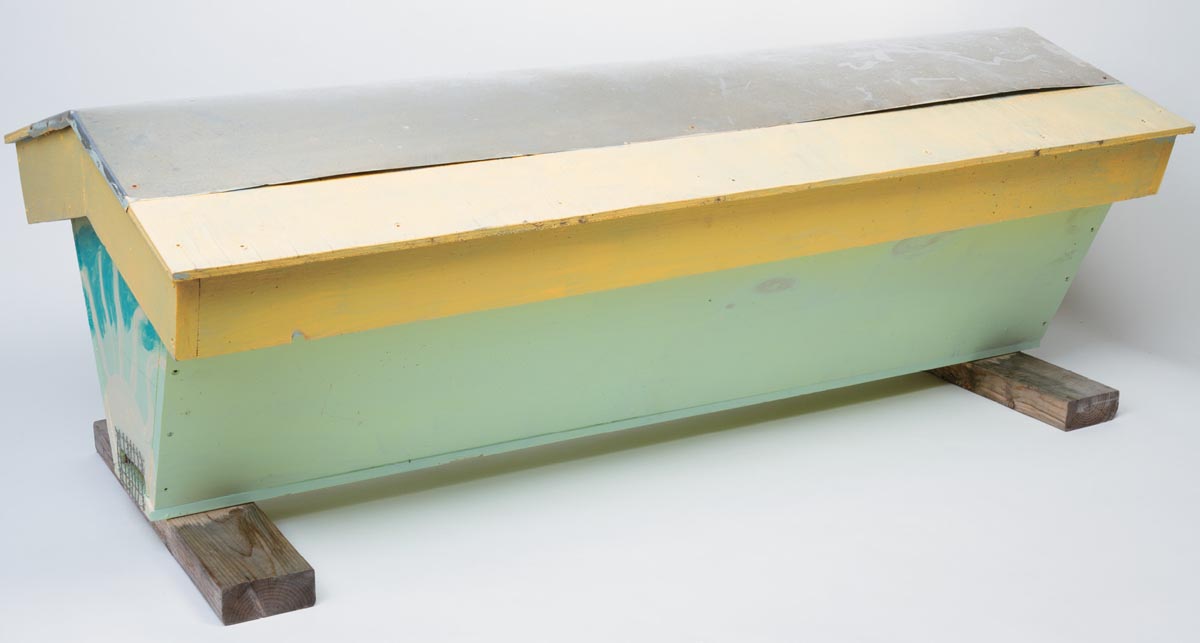
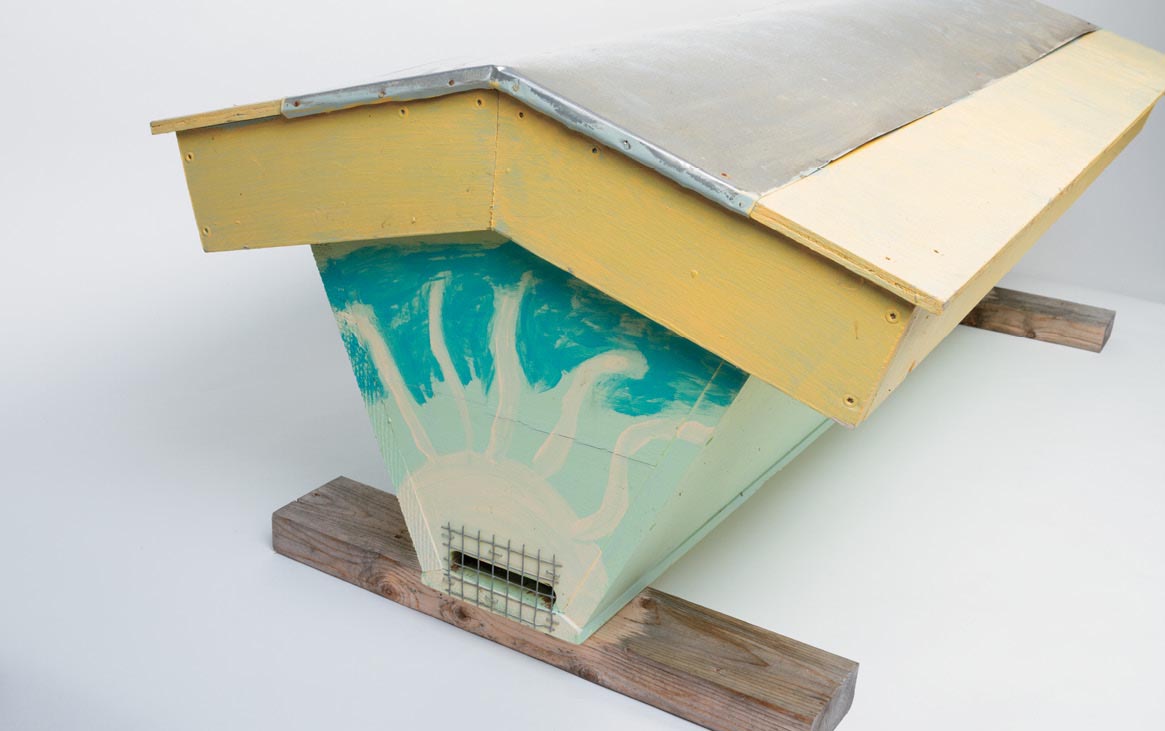
End view with roof on (note mouse guard).