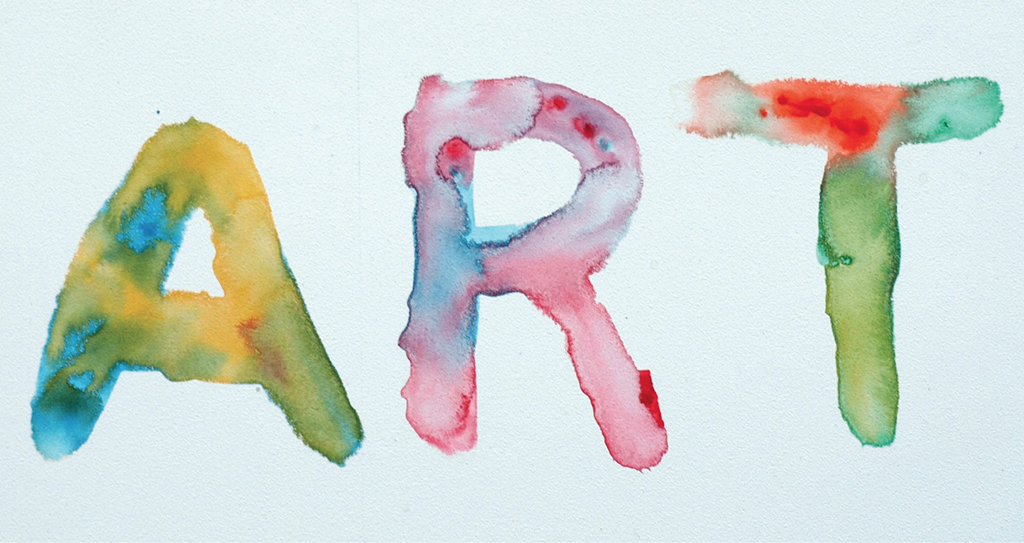
Combine chaos with control using wash pours for wild color blending effects and a method to maintain hard edged shapes. See Technique 38 for another way to combine hard and soft edges with pouring.
Paint
One or more acrylic paint colors (or acrylic inks, high flow or airbrush colors)
Substrate
Any primed painting surface
Tools
Paintbrush or eyedroppers, mixing palette or containers
Products
Acrylic gesso
For Cleanup
Water, water container, paper towels or rags

STEP 1 Prepare the Surface
A satin or semi-absorbent surface works the best for this technique obtained with one coat of a good quality gesso, or using a pre-primed surface. If your surface is glossy, apply a thin coat of matte medium or acrylic gesso. Let dry.
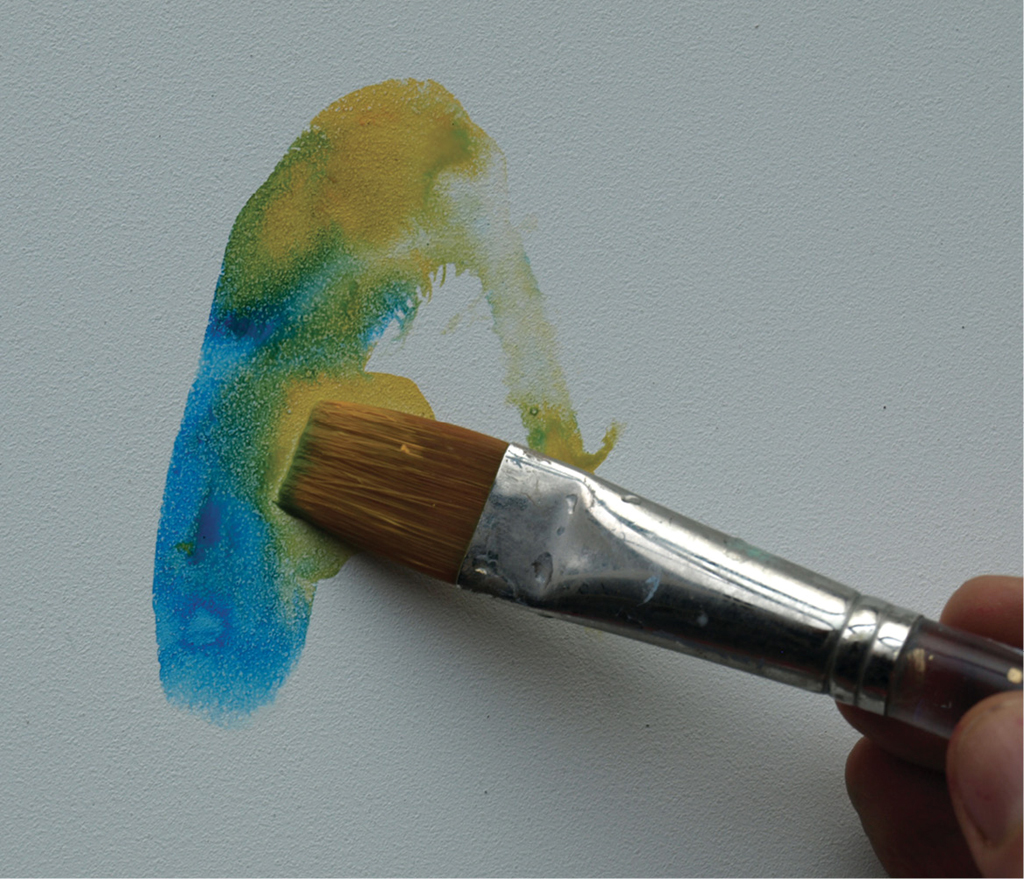
Dip a brush in water, then apply onto the surface thinly in areas and shapes wherever you will want color. Here a letter is being painted onto the surface with water. Immediately proceed to the next step while wet.

STEP 2 Add Color
Select a few paint colors and dilute with water in a 1:1 ratio for fluid paints, more water for heavy bodied, and no water for inks or other thin acrylics. Dip a brush into the colored washes or suction into an eyedropper and apply color in one or more places in the wet areas on the surface. The color immediately moves outward on its own, filling in the wet shape. If the watered shape on the surface dries before you get the chance to add color, reapply water. Best results are obtained by letting the paint and water do its own thing without overworking. Let dry.

Finished Example

Coated pours create the background while shaped edge washes create the horse.
NIGHT RAIN (DETAIL)
Sandy Keller
Acrylic on panel
42" × 12" (107cm × 30cm)

A dirty-mix pour (Technique 26) creates an interesting glossy background. Iridescent Copper and Silver wash pours using shaped edge washes create the horse shape and highlight.
CATCH A FALLING STAR (DETAIL)
Sandy Keller
Acrylic on panel
20” × 20” (51cm × 51cm)