CHAPTER 4
ALCHEMY FOR THE HOME
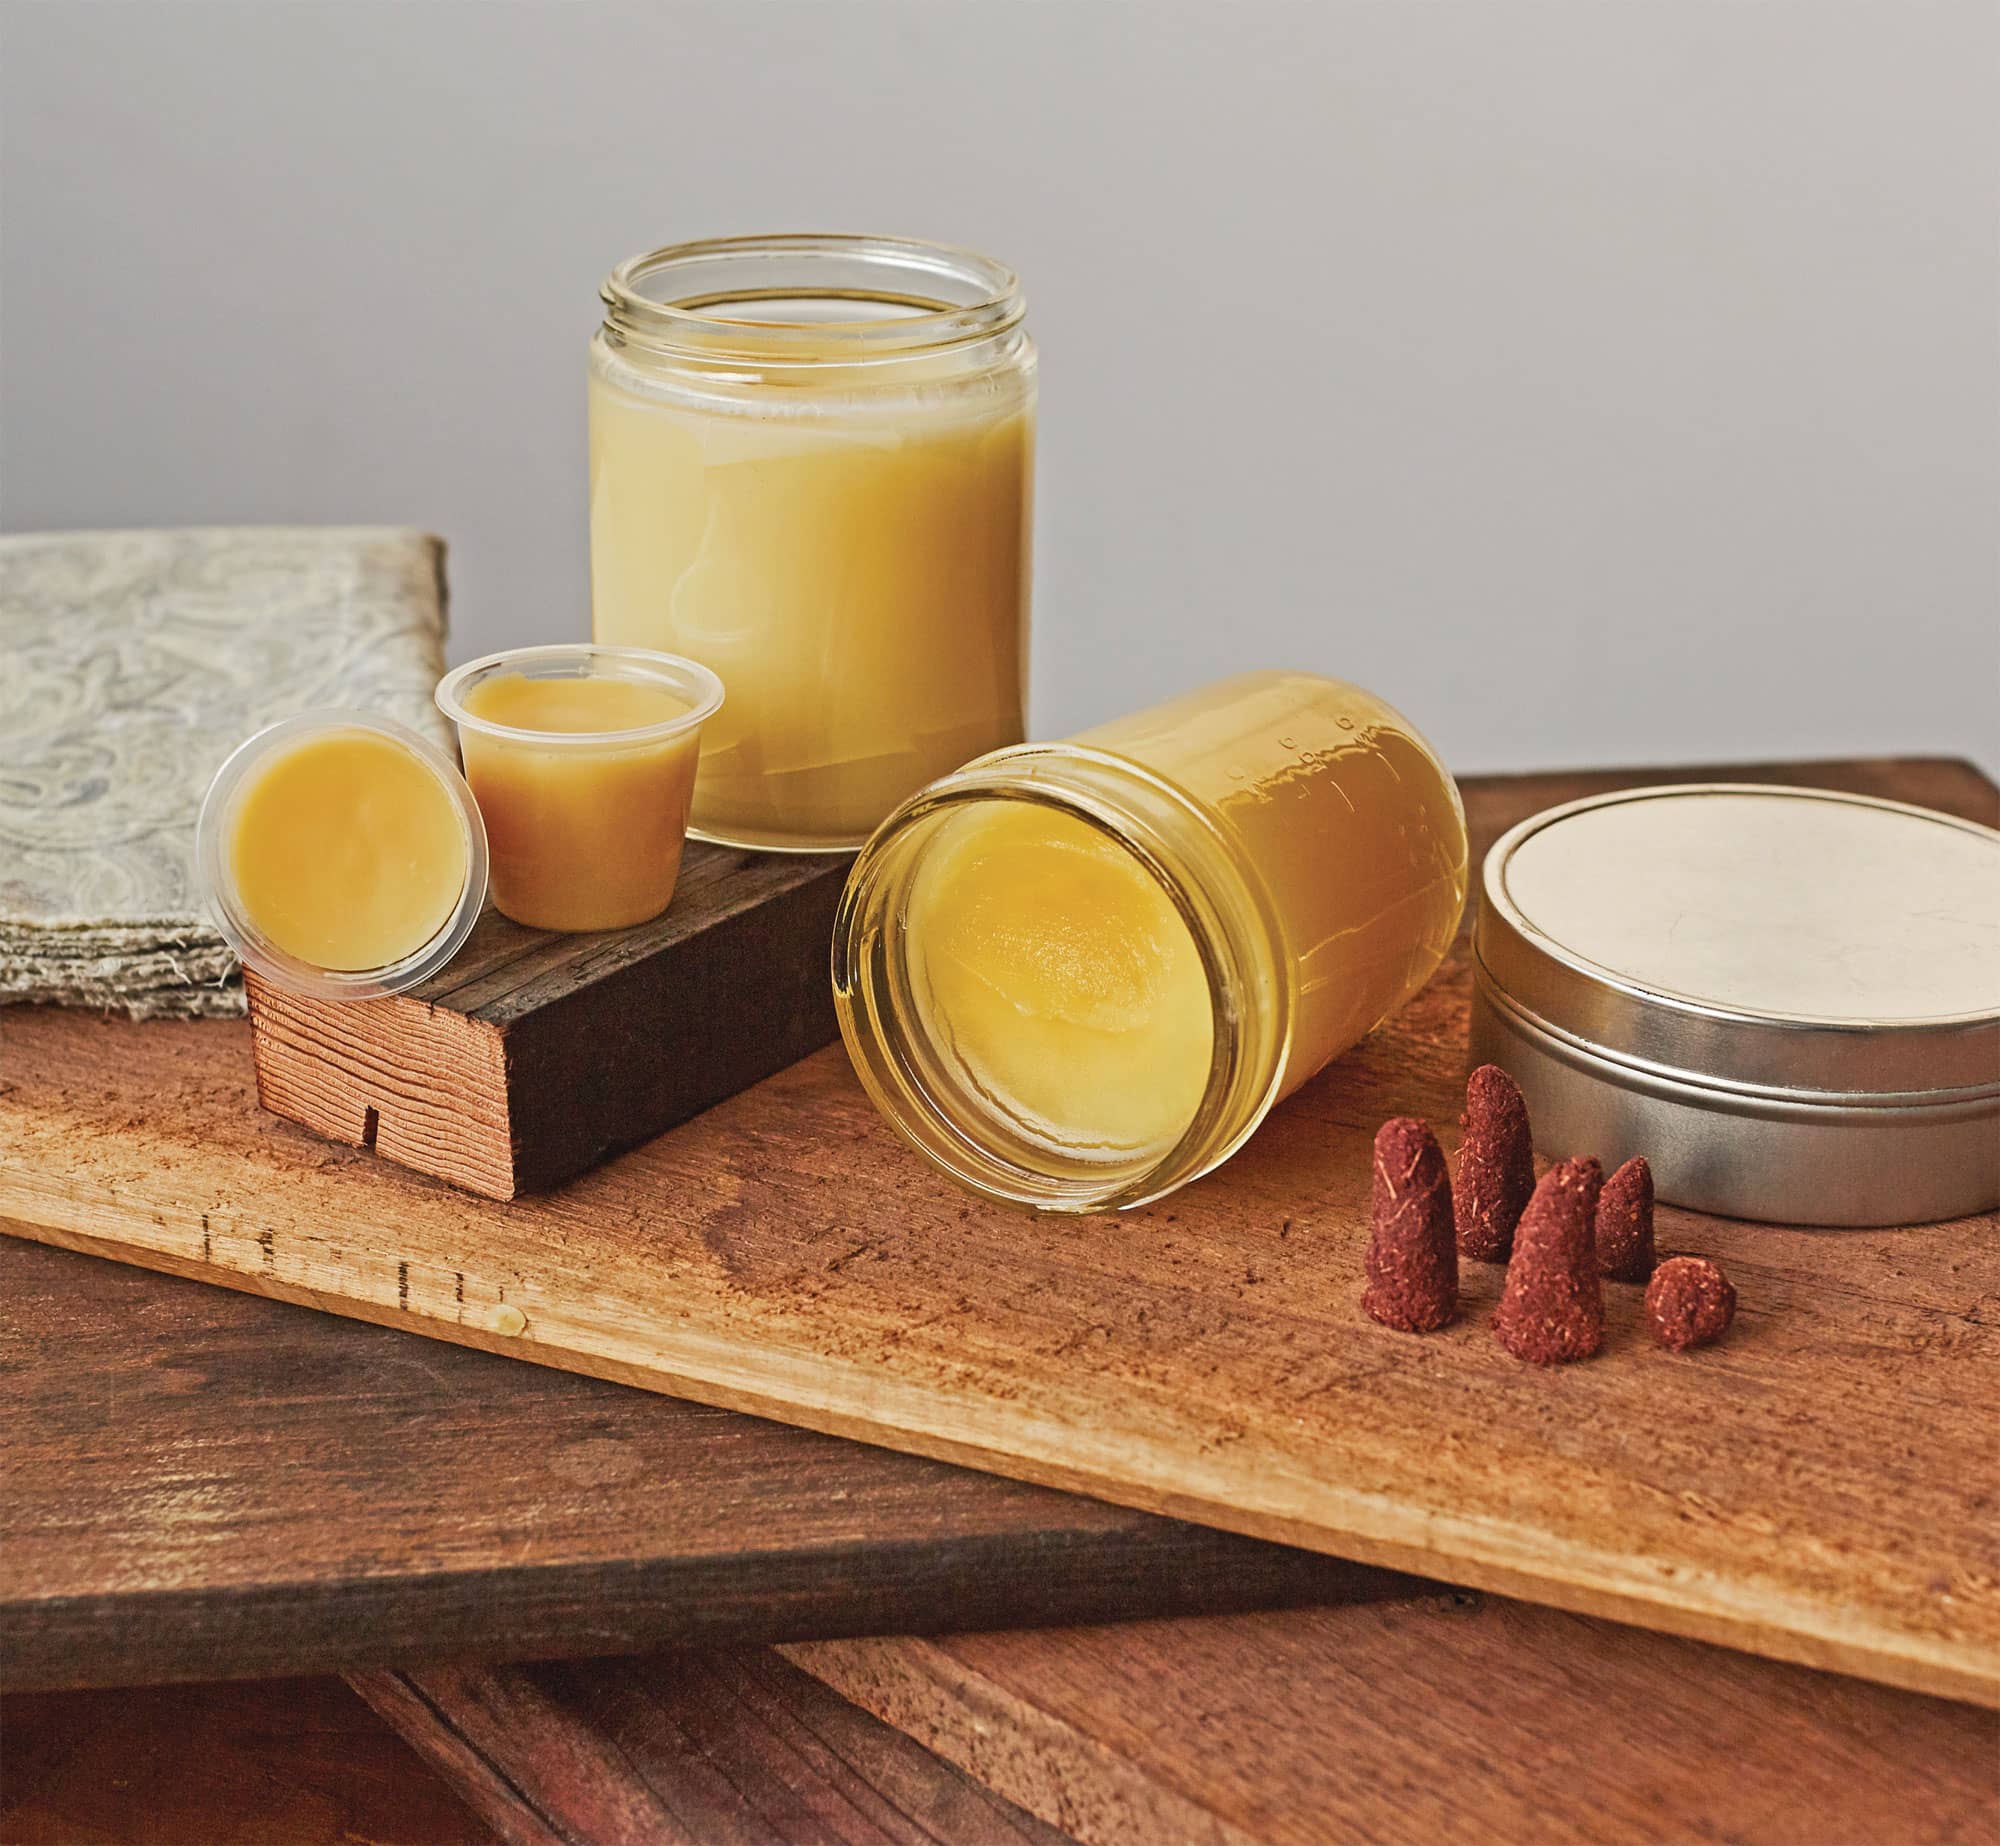
For items that are used around the house, beeswax reigns supreme. It shines, both figuratively and literally, as a furniture and wood polish or conditioner. It also transforms fabric into a reusable food protector. The sole outlier in this section is the Woodcutter Incense, which uses propolis as one of its star ingredients.
EASY
FURNITURE POLISH 
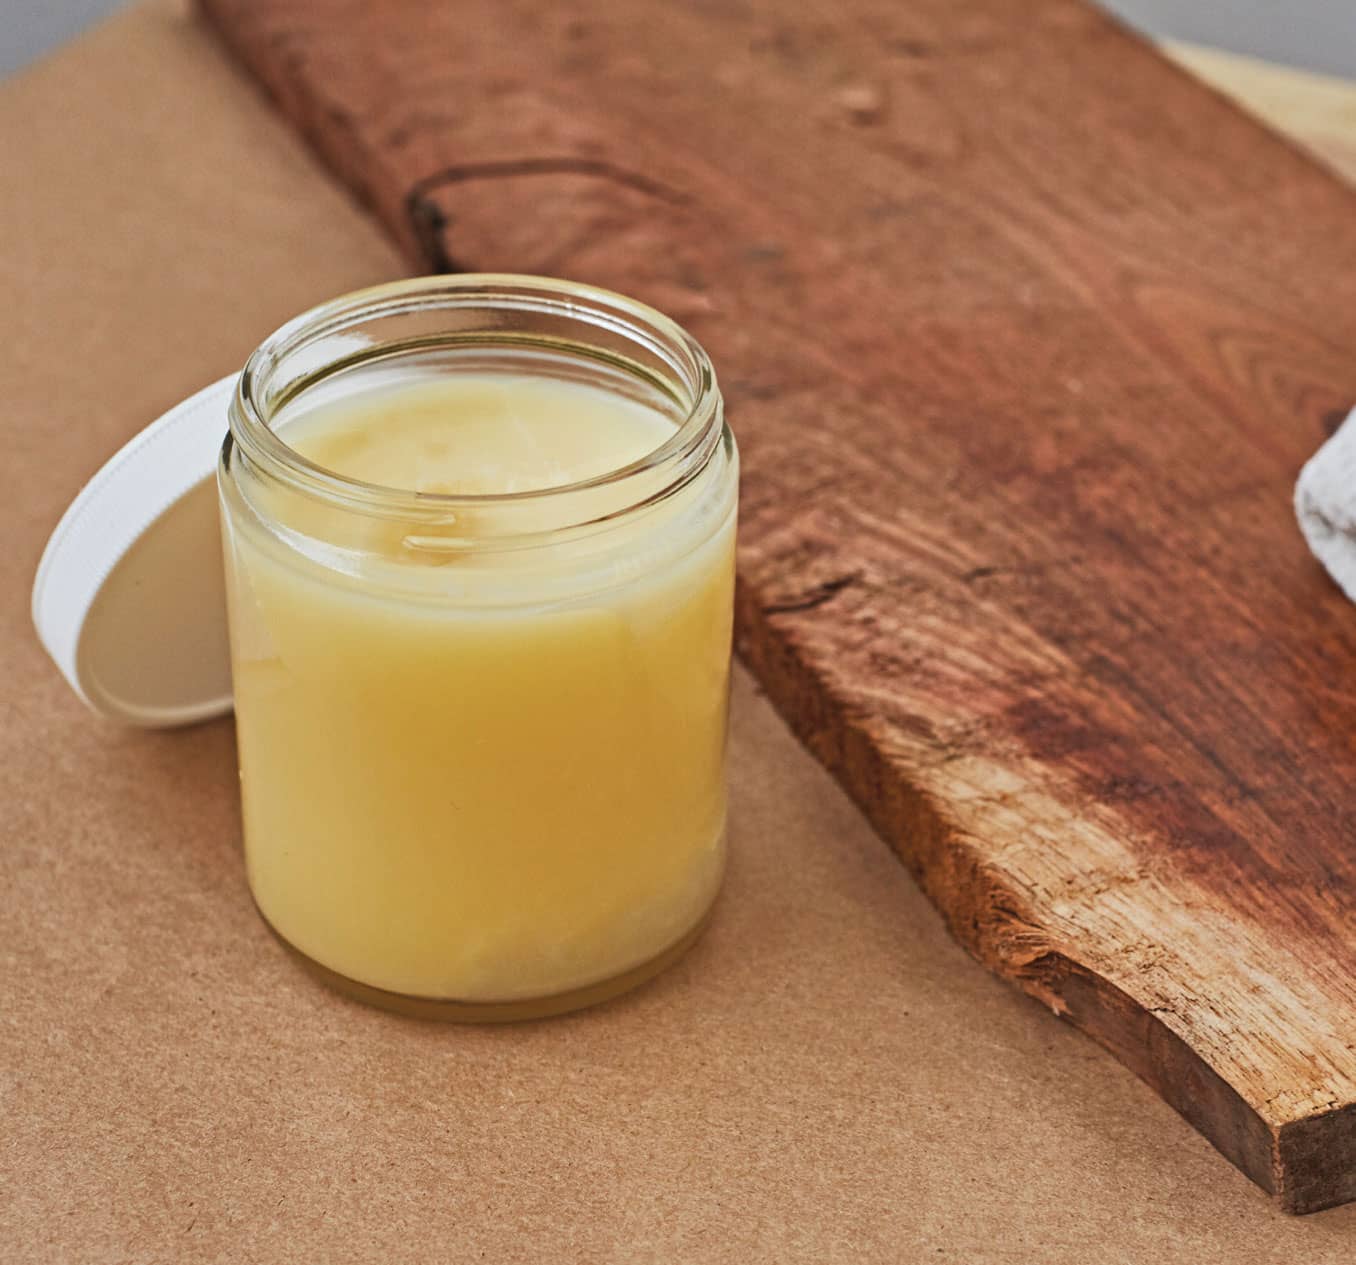
Beeswax furniture polish is considered the ultimate in wood care, due in part to its soft, satin shine. The touch of carnauba wax results in a harder, shinier finish.
1. Melt the waxes in a double boiler.
2. Remove from the heat and stir in the turpentine.
3. Once it is completely mixed, pour into wide mouth jars.
4. Apply the polish with a clean cloth and rub in small circles. Turn the cloth as it becomes dirty. Allow the polish to dry and then buff the same area with a clean cloth. If more than one coat is desired, wait two days between applications.
EASY
SALAD BOWL CONDITIONER 
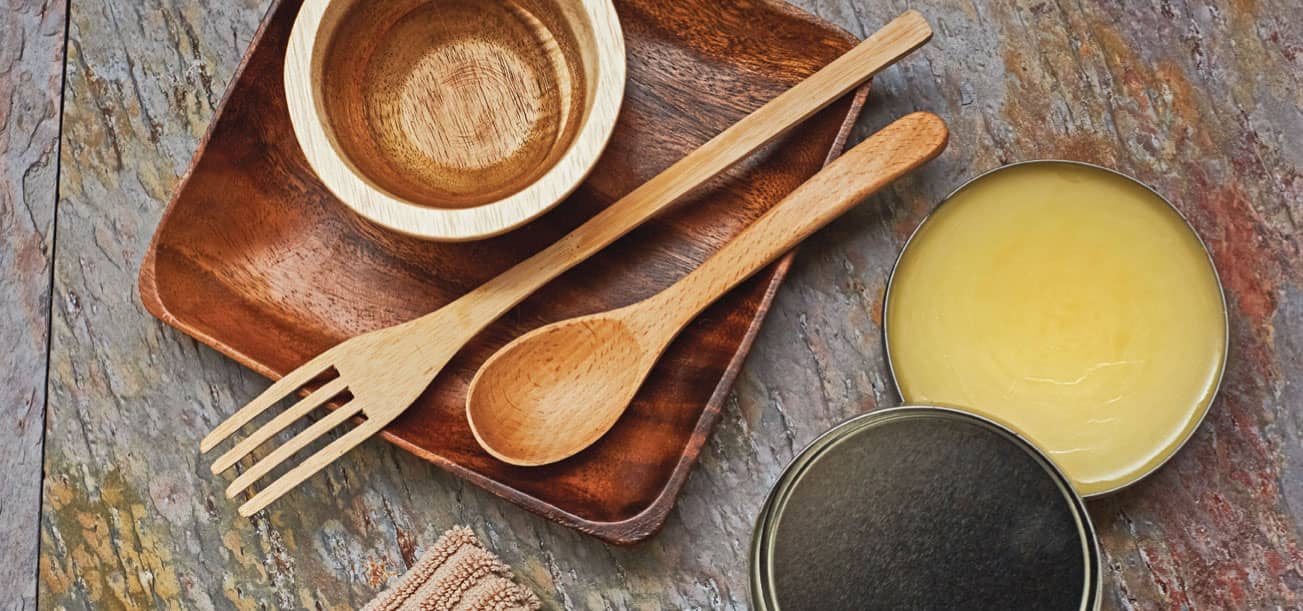
For food related utensils, such as salad bowls and wooden spoons, a more food-friendly concoction is required. I swear by mineral oil, which has an almost indefinite shelf life and won’t go rancid. Recently, however, I have tried some of the other suggestions, such as walnut oil, and I have to say it is nice. With this recipe, either oil works fine.
1. In a double boiler, combine the beeswax and oil and heat until the beeswax is completely melted. Stir until thoroughly mixed.
2. Pour into small wide-mouth jar or tin.
3. To use, simply rub a small dollop into the salad bowl with hands or a clean cloth and wipe with a dry cloth.
EASY
WOOD CONDITIONER CREAM 
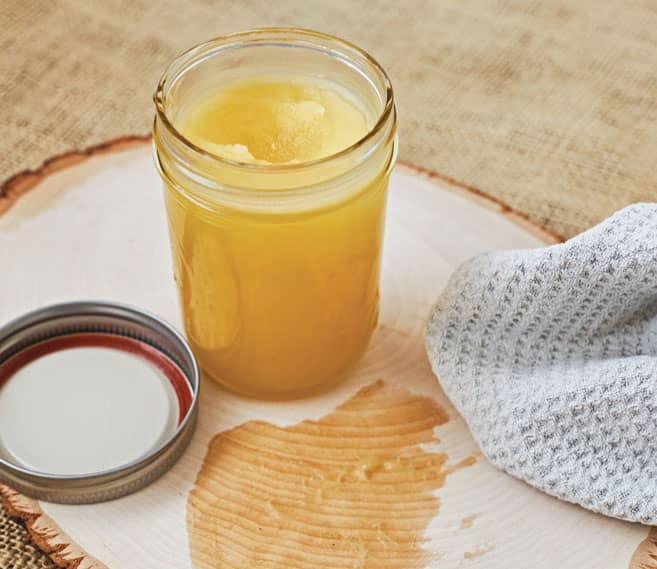
This recipe is perfect for nourishing the wood. It cleans and protects in one step.
1. Melt the wax in a double boiler.
2. When melted, remove from the heat and stir in the turpentine.
3. Mix well and pour into a wide mouth jar.
EASY
WAXED COTTON FOOD WRAPS 
I have included two recipes for food wraps: one uses just beeswax, while the other utilizes a blend of beeswax, resin, and oil. The technique for waxing the fabric are the same. I personally prefer the beeswax-only recipe for sandwich wraps, but as a substitute for plastic cling film, I prefer the beeswax/resin blend.
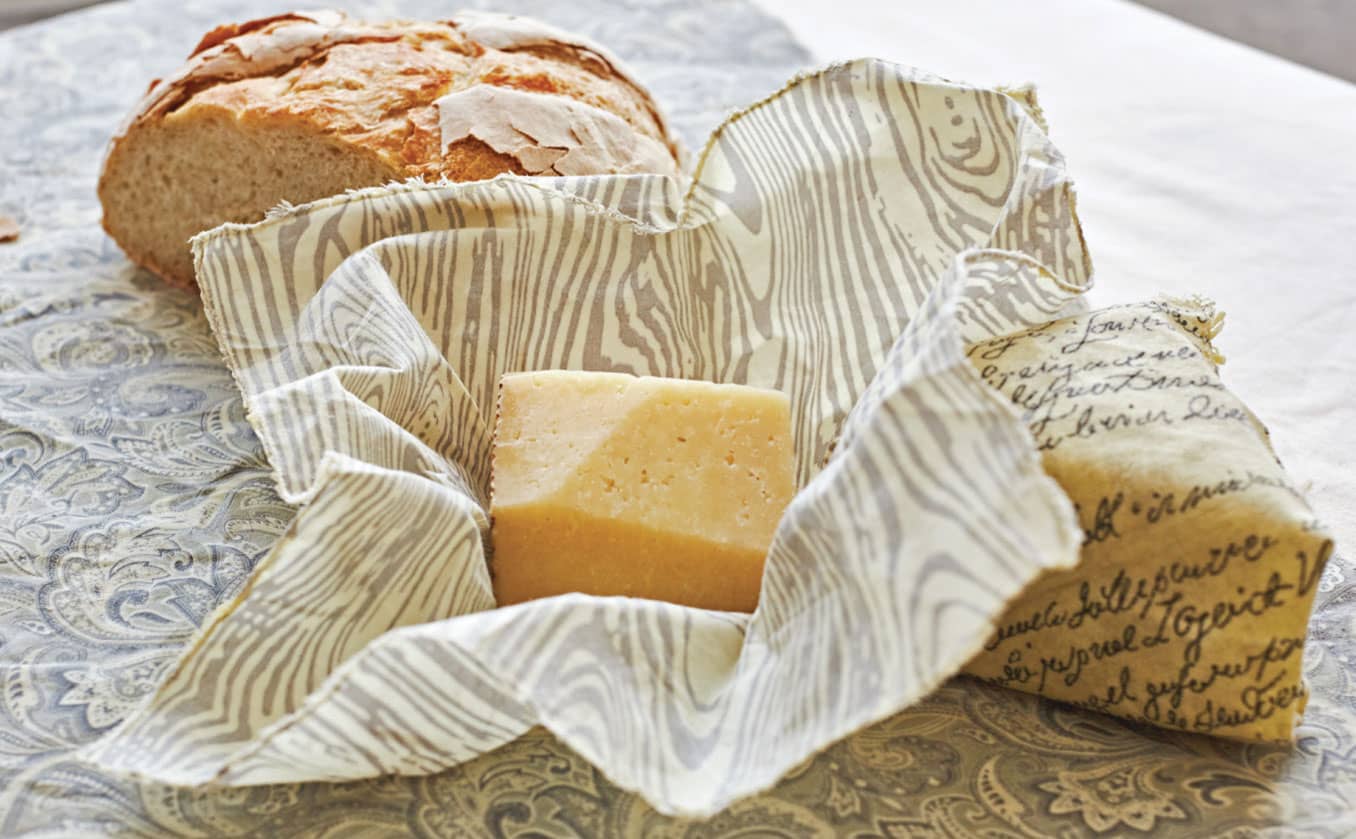
1. Melt all the ingredients in a double boiler or small electric skillet over low heat. Stir to ensure ingredients are thoroughly combined. Take care not to overheat. The mixture is now ready for fabric waxing.
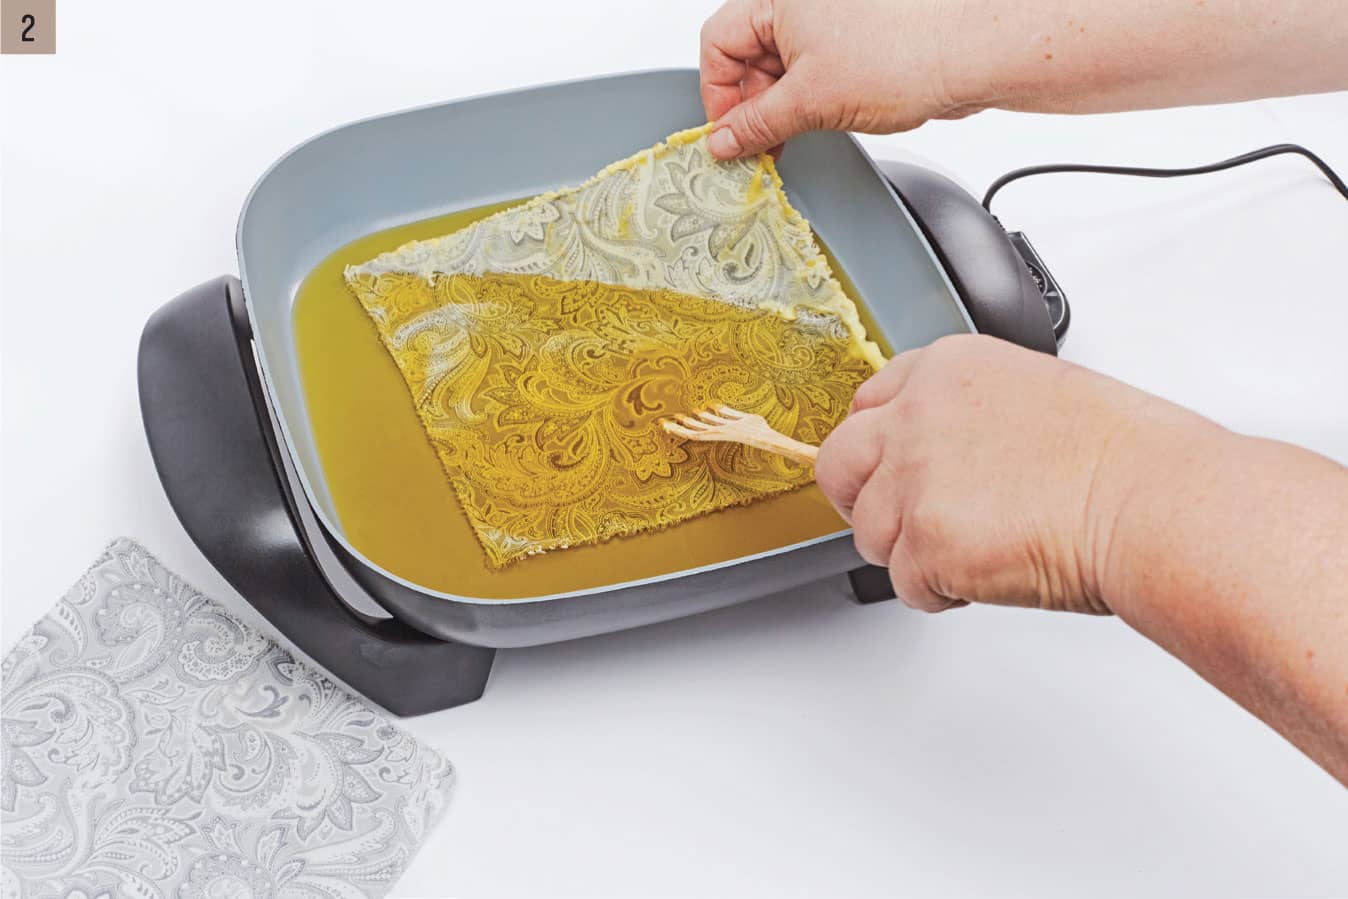
2. Holding on to one corner, dip part of the fabric into the wax. Use a wooden stir stick to help submerge the fabric if needed, continuing to hold one corner up out of the wax. Pull the fabric out of the wax and allow the wax to drip off and the fabric to cool slightly.
3. Now, dip the unwaxed portion of the fabric into the wax. Lift it out and allow it to drip and cool slightly.
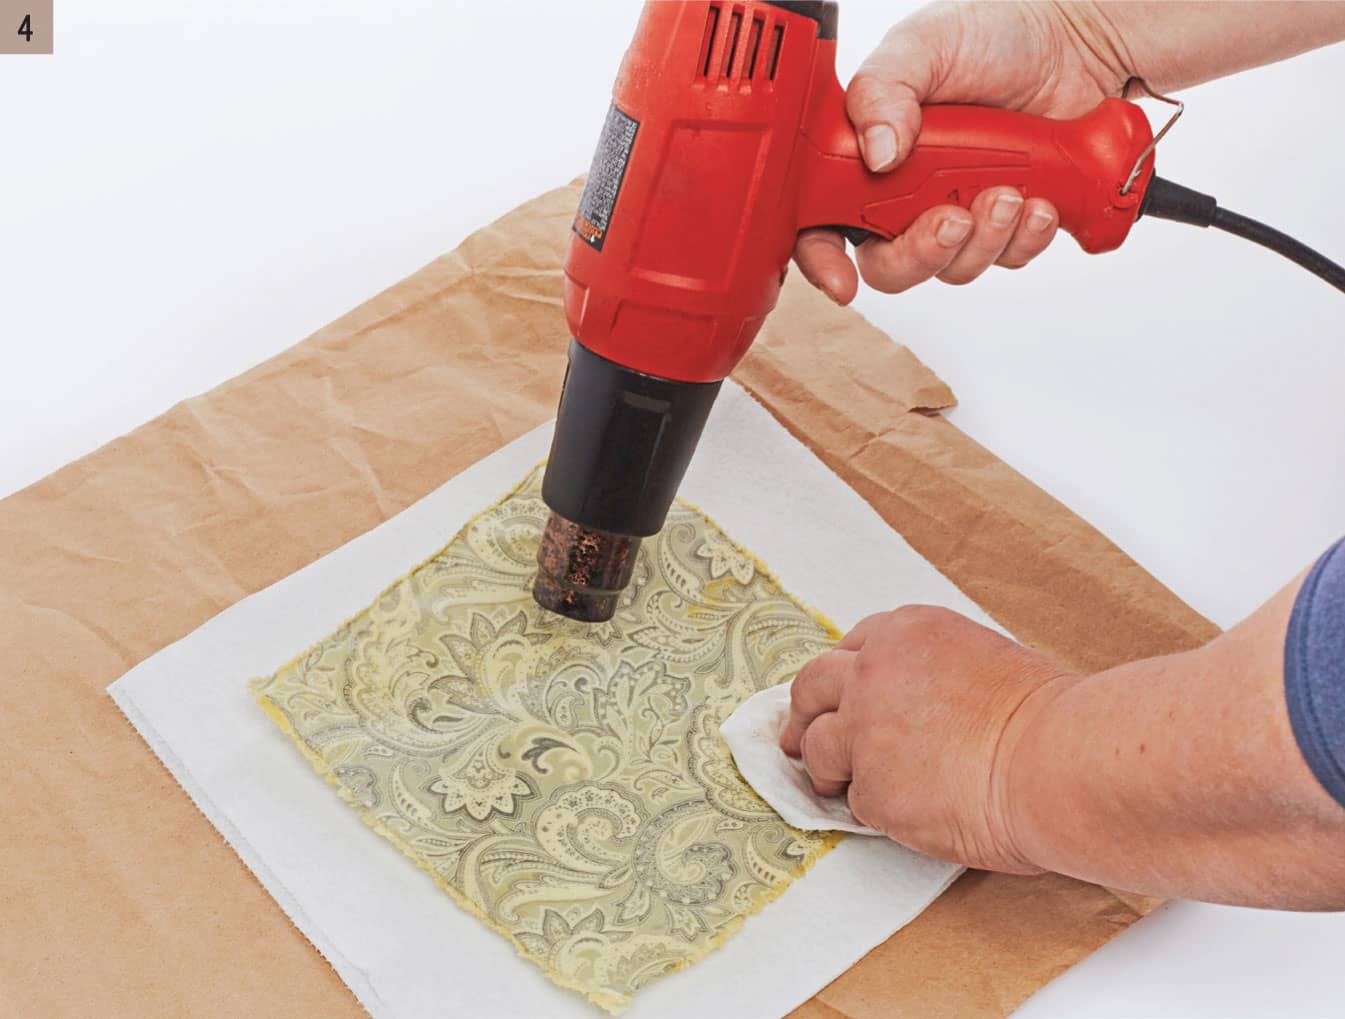
4. Before the fabric cools completely, stretch and lay the fabric flat on a work surface. At this point, there is probably a surplus of wax on the fabric. Go over the fabric with a heat gun and some paper toweling to absorb some of the excess wax. While it’s still warm, pull the fabric in all directions to straighten the grain of the fabric. Allow to cool completely.
MODERATE
WOODCUTTER INCENSE 
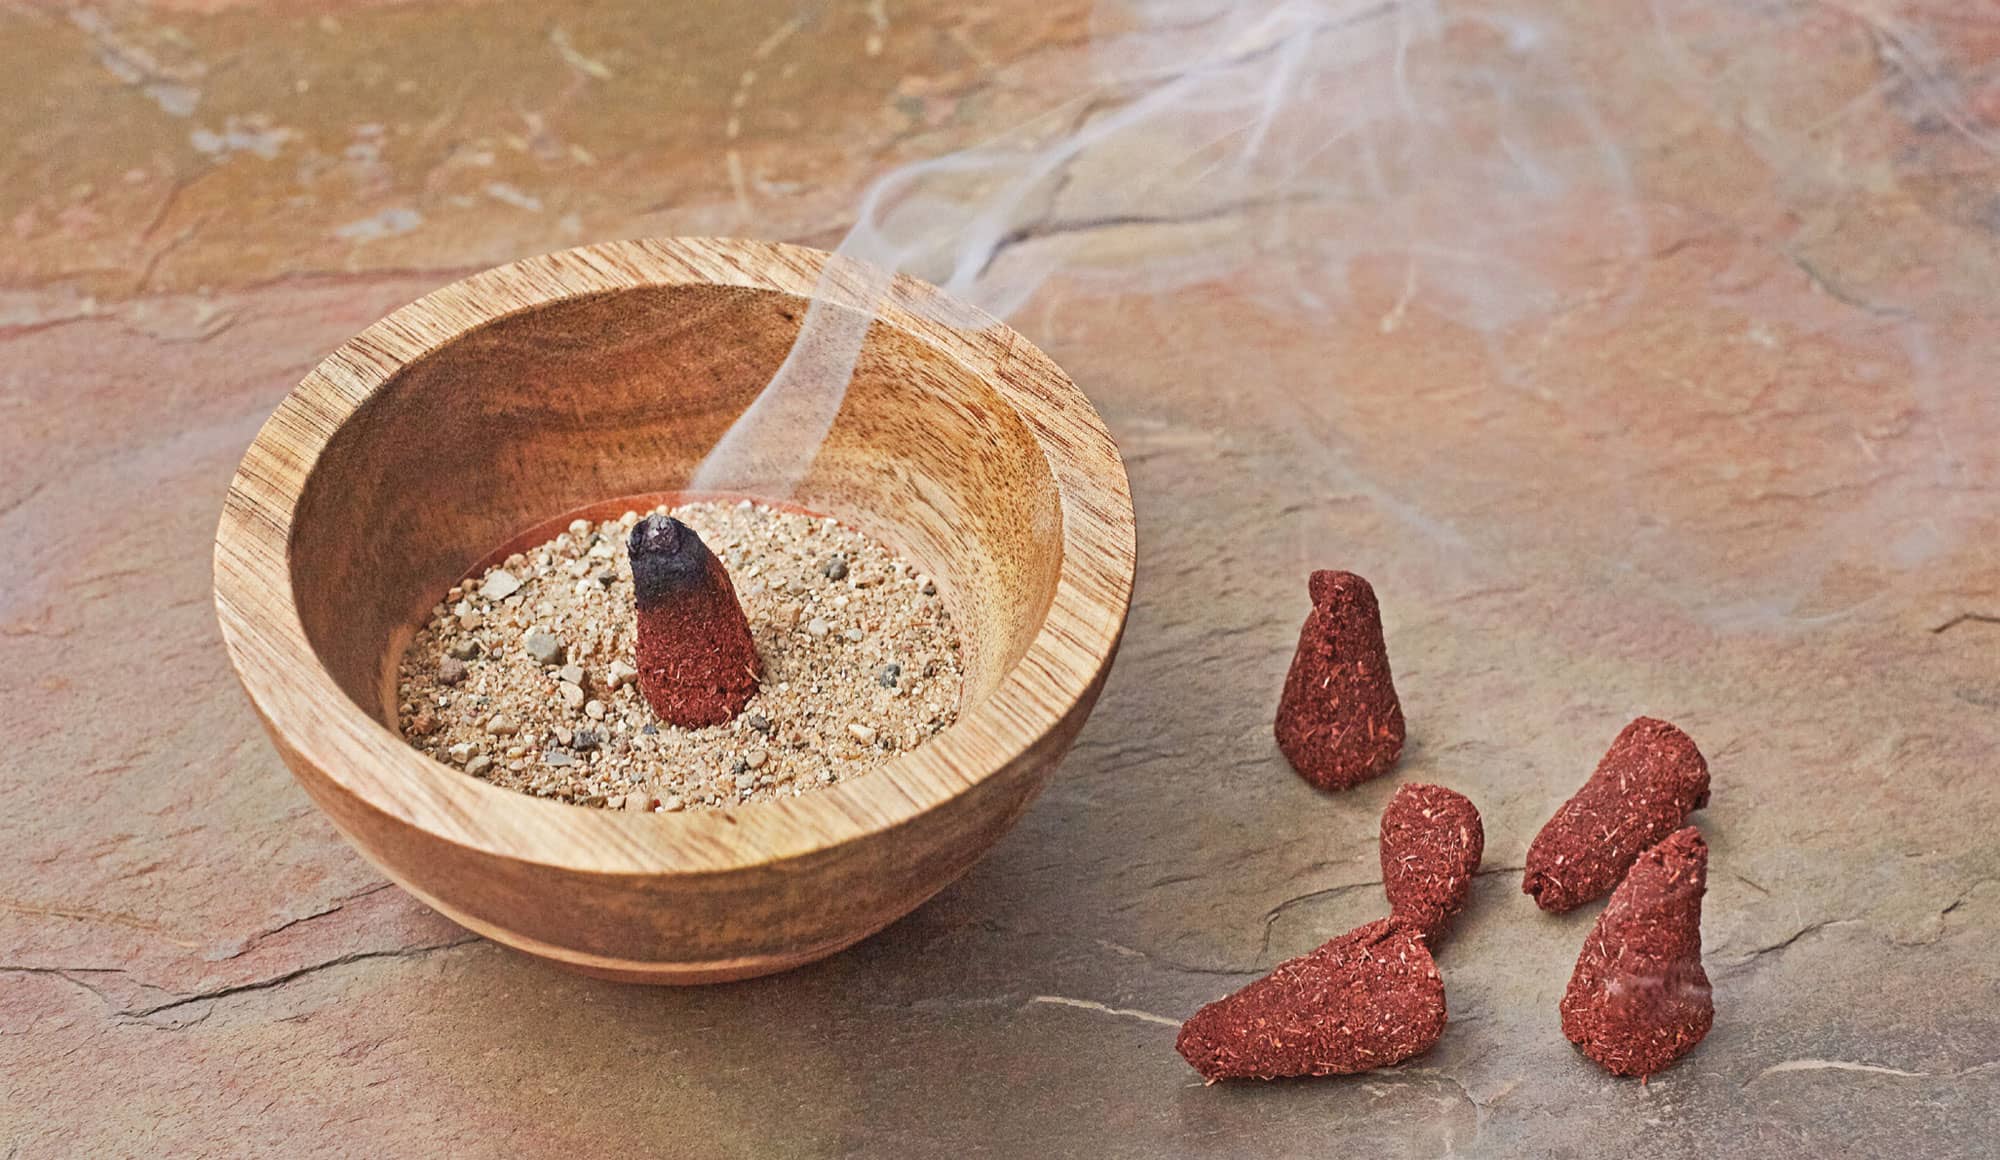
Growing up, my only real exposure to incense was the German woodcutter incense smoker my family used over the holidays. It used incense cones, which gave off a lovely, woodsy aroma when burned. Later in college, I had friends who occasionally burned incense sticks. They smelled horrible and gave me a pounding headache. At the time, I thought perhaps my memory of the incense from my childhood was wrong, and that all incense smelled like the sticks. What I know now is that there is a huge difference between well-made incense that rely on natural resins, woods, and other botanical ingredients and the cheap incense for sale at the convenience store.
A few years ago, I learned that honey and propolis are both really good ingredients for incense. I decided to try my hand at making them. I’m not sure if I achieved what I remembered from childhood, but I am happy with my results. I also revel in the collecting of local materials, such as pine needles and rose petals, for my incense and the grinding and molding of cones that reflect who I am today and the world in which I live. The following recipe is the one I call my Woodcutter Incense. Enjoy!
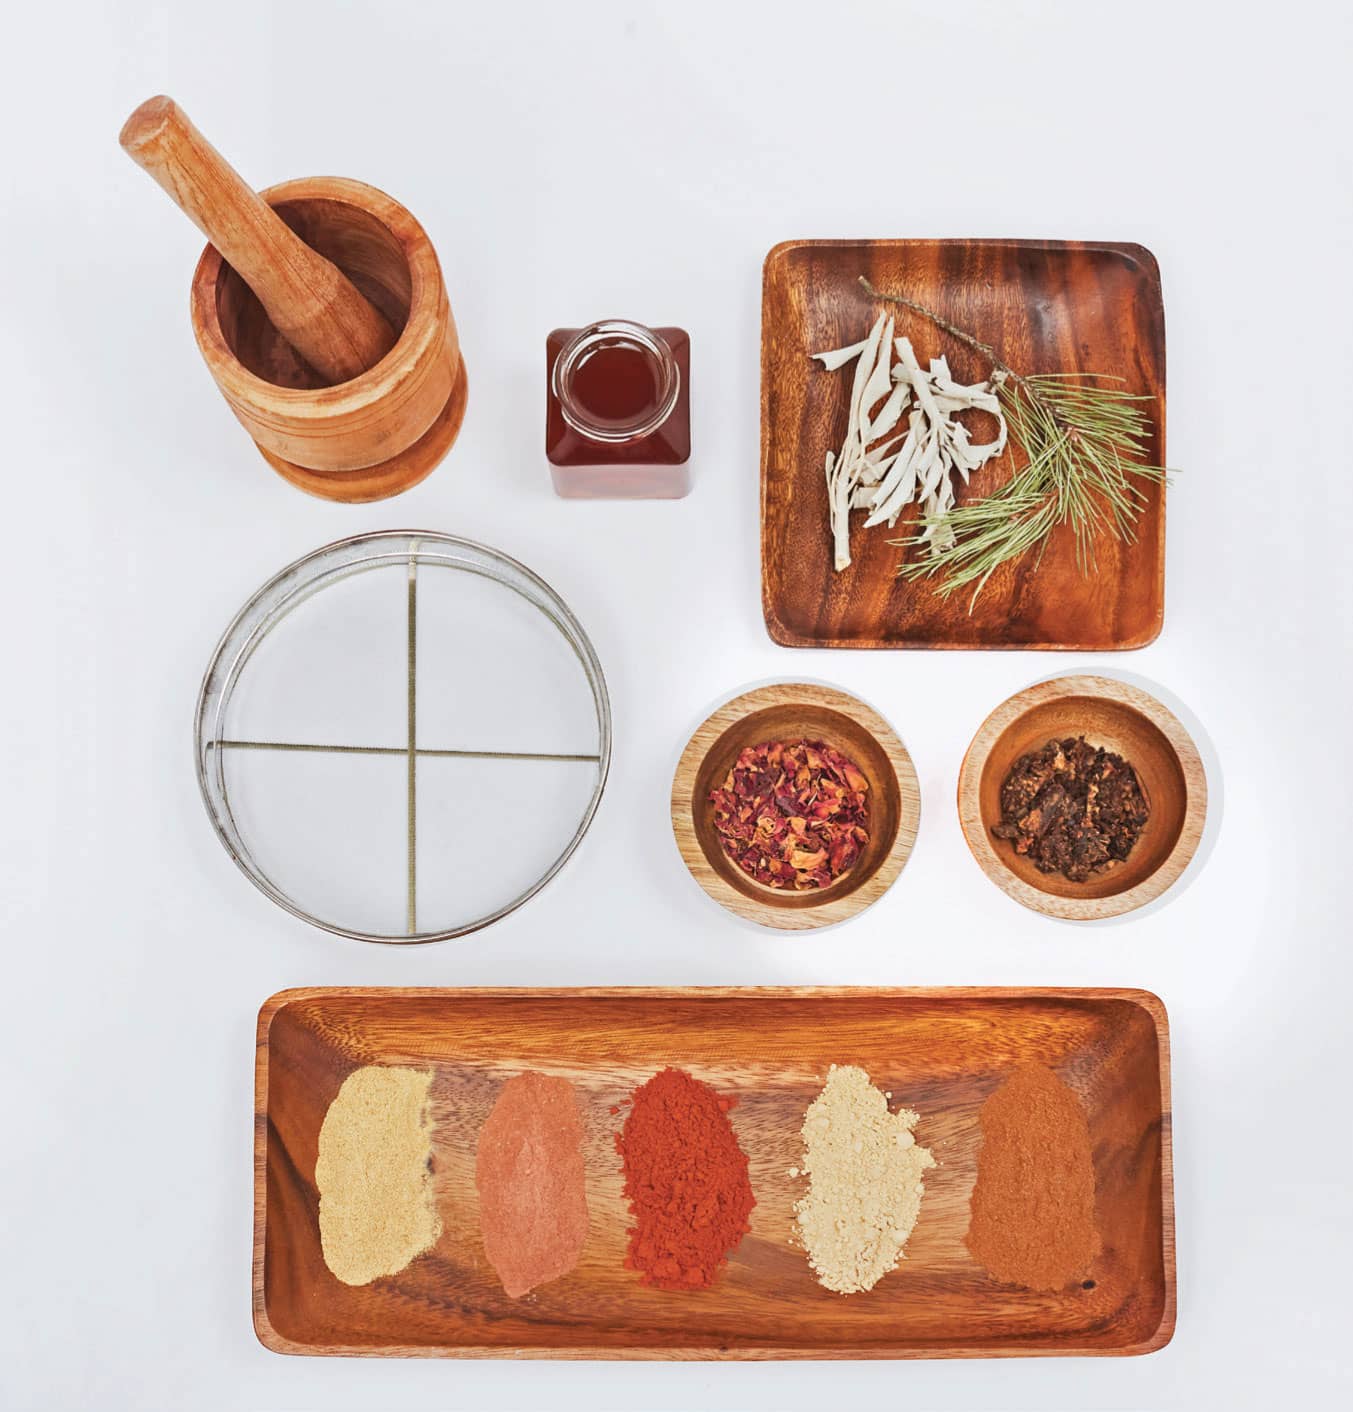
1. Make sure all dry ingredients are finely ground. For wood and tougher items such as pine needles, chopping them first in a spice grinder helps. Once all the ingredients are at least a rough powder, grind them together to create a relatively homogenous powder.
2. Pour most of the powder onto the wax paper. Reserve just a little in case too much liquid is added. Create a well in the middle of the powder and add a couple drops of honey, but not too much or the incense will smell like burnt sugar. The honey is usually not enough to make a dough, so I add water in very small amounts until a malleable dough is formed. Add in the remaining powder and a drop or two of water and the dough should be ready for forming.
3. The cones are best when made proportionately tall and narrow. This shape allows them to dry out quickly and thoroughly and is a good shape for burning. Each cone uses approximately 1/4 teaspoon of dough.
4. Stand the incense cones upright on the wax paper and place them in an out-of-the-way place to dry out for at least 2 days. Once dry, store them in an airtight container until ready to use.
EASY
SCENTED BEESWAX MELTS 
Melts or tarts are chunks of scented wax that melt easily over a tea light candle (my preference) or a specially-made electric warmer. The idea is that the heat from the candle melts the wax, which in turn scents the air. I prefer scenting wax in this way rather than adding scent to candles directly. One reason is that I prefer to use essential oils rather than fragrance oils. Essential oils aren’t really made to be burned. At best, the scent can change or dissipate. At worst, the essential oil can separate from the wax and cause the flame to flare up. With beeswax melts, that isn’t a problem. The warmth of the tea light flame is just enough to allow the wax to release the wonderful scent.
In order to produce a melt that is hard enough to keep its shape when cool yet soft enough to melt readily over a small flame, the beeswax needs to be mixed with an oil. For this, I like to use palm kernel oil. It is solid at room temperature, but melts easily at 75°F (24°C).
I like to mold these into individual deli cups, but they can also be molded in small silicone molds.
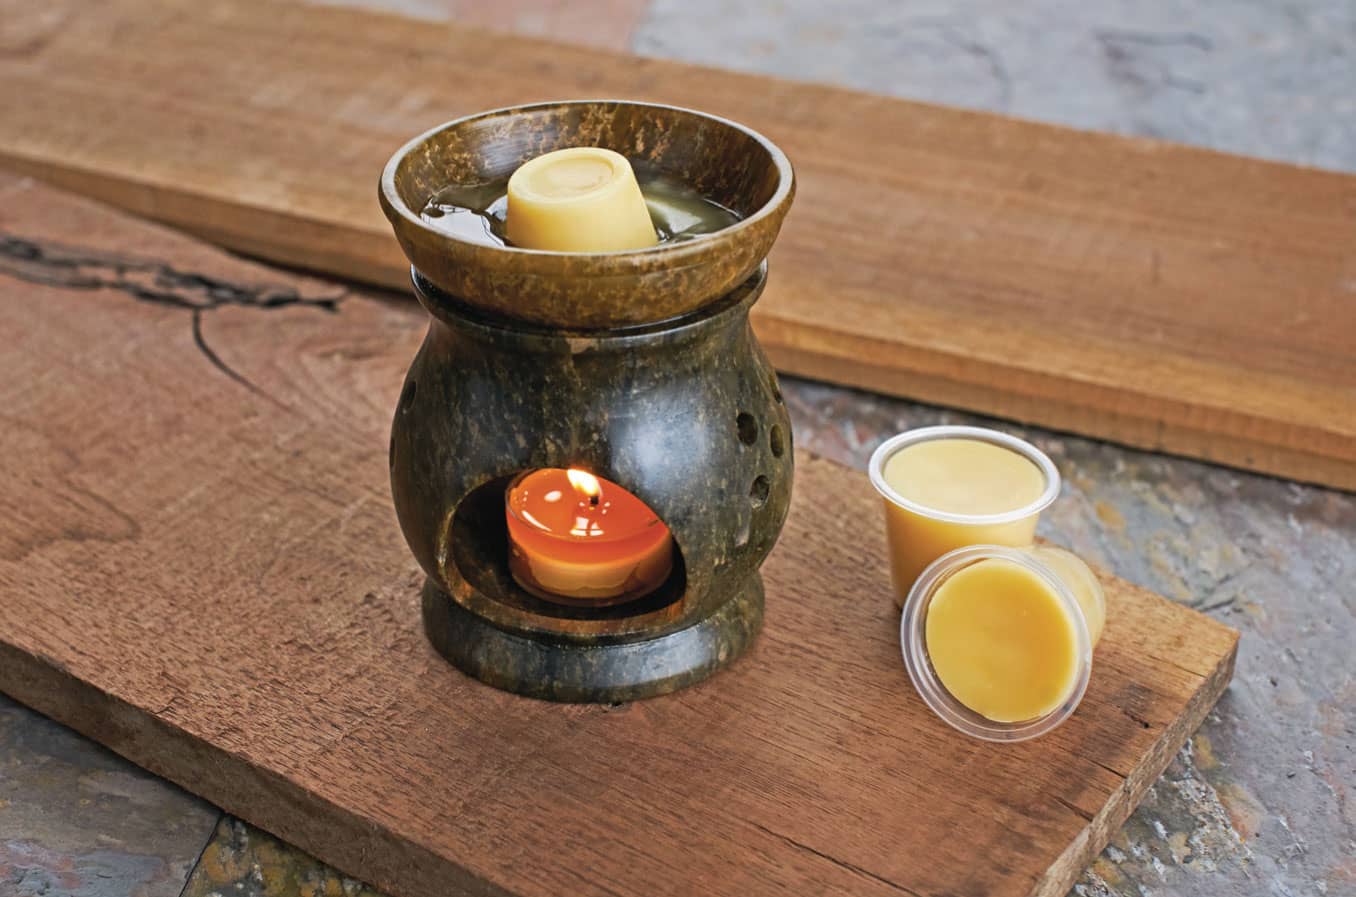
1. Heat the palm kernel oil in a double boiler or in the microwave until completely melted.
2. Add the beeswax and continue to heat until it is also melted. Remove from heat and allow to cool to about 125°F (52°C). It should still be liquid, but not hot. Add the scent and stir well.
3. Pour the mixture into silicone molds or deli cups.
MODERATE
SEALING WAX 
I always thought of sealing wax as something archaic or something that might be used only for wedding invitations. Then, I had an idea: instead of using plastic shrink bands on our honey jars, how about using sealing wax? It took quite a few trials to get it right, but I finally achieved the effect I was after. It is a fun way to use a traditional technique. To mold them, look for silicone molds used to form ice sticks for water bottles.
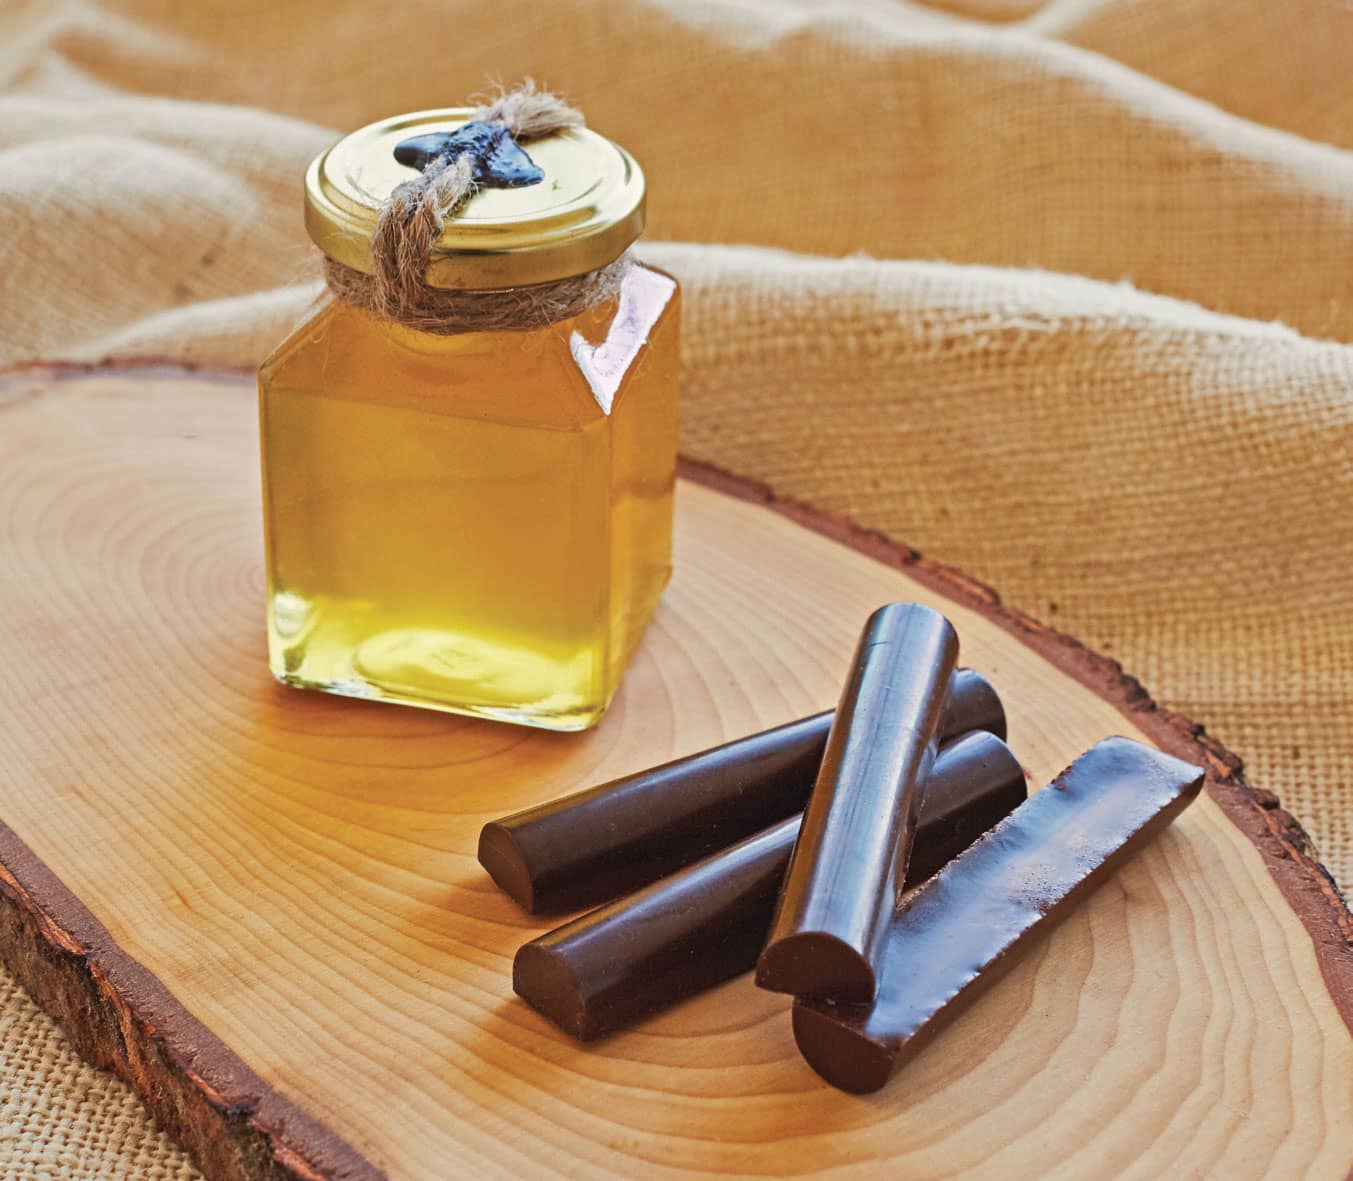
1. Weigh the beeswax, resin, and shellac and add to the top of a double boiler. Warm over low heat until the resin has melted. They are incompatible materials, so there will be separation between the shellac and the other ingredients. This is okay.
2. Begin to sprinkle in the marble powder, going slowly and stirring to avoid creating clumps. The marble powder facilitates the bonding of all the ingredients.
3. When the layers have started to homogenize, begin sprinkling in coloring pigment of your choice. How much color depends on the color intensity of the pigment. Each pigment will require a different amount. Color can be tested by dabbing some hot wax on piece of scrap paper. The hardened seal will be slightly less vivid than the molten wax.
4. Pour the wax into molds or aluminum foil.