Chapter 4
Compostology Step-by-Step
What earth produces, earth accepts
And puts to new uses.
October’s waste will in due time
Enliven April’s juices.
Composting is pretty simple, whether it’s done in a modest pile or a fancy purchased bin. Ingredients are combined in a good nutritional balance to keep microorganisms and other compost-dwellers happy, the pile or bin is kept well-aerated, and the ingredients are kept moist but not soggy. After that, for the most part, the compost microorganisms can be left to do the rest.
Creating the right mix of ingredients is an easy matter. Read here for details on the best way to combine compostables to ensure good decomposition, and for information on the two general approaches to composting—cold and hot. Cold composting takes more time to produce finished compost but requires far less work. Hot composting takes more work but produces finished compost more quickly.
1. Make the Right Mix
While plants need nitrogen, phosphorus, and potassium to thrive, the secret to having a healthy compost pile is understanding what keeps the microorganisms in it happy. Whether they are living in a compost pile or in garden soil, beneficial microorganisms need adequate carbon and nitrogen to sustain their life processes. Organic matter is the sole source of carbon for soil organisms, which give off carbon dioxide as they respire. Nitrogen, a basic building block of cell structures, is also important to microorganisms, because they need it to reproduce.
Microorganisms don’t just need some carbon and some nitrogen, though. They operate most efficiently—and thus break down the ingredients in a compost pile most quickly—when they get just the right balance of the two. Materials that are added to the compost pile contain both carbon and nitrogen, and the proportion of carbon to nitrogen in a material—or in a compost pile—is called the C:N ratio. For most compost microorganisms, the ideal C:N ratio is about 25 to 30 parts of carbon to each part of nitrogen (written 25:1 to 30:1).
The C:N ratio is a useful benchmark for mixing materials to build a compost pile. If the C:N ratio of a compost pile gets too high, meaning too much carbon is present for the amount of nitrogen, microorganisms run out of nitrogen and won’t be able to reproduce. As a result, microorganism populations will drop quickly, the composting process will slow down, and materials in the pile will simply sit and not decompose. And there is another problem associated with compost that is too high in carbon: Not only does it make the composting process inefficient, but when high-carbon compost is used in the garden, it may pull nitrogen from the soil to continue its decomposition, taking the nitrogen away from growing plants.
On the other hand, if the C:N ratio in a pile drops too low, meaning there is too little carbon for the amount of nitrogen, the microorganisms won’t have enough carbon and carbon compounds to “eat” to keep functioning and reproducing. When the C:N ratio drops too low, unused nitrogen in the pile commonly escapes into the air as ammonia, causing unpleasant odors.
So keeping the C:N ratio in balance makes composting both more efficient and more pleasant. Each compostable has its own C:N ratio. Here are some examples.
|
Material |
C:N Ratio |
|
|
Alfalfa hay |
12:1 |
|
|
Cornstalks |
60:1 |
|
|
Fruit wastes |
35:1 |
|
|
Grass clippings |
19:1 |
|
|
Kitchen scraps |
15:1 |
|
|
Leaves, dry |
40:1 to 80:1 |
|
|
Manure, fresh, no bedding |
5:1 |
|
|
Manure, rotted |
20:1 |
|
|
Paper |
170:1 |
|
|
Pine needles |
60:1 to 110:1 |
|
|
Sawdust |
400:1 |
|
|
Seaweed |
19:1 |
|
|
Straw |
80:1 |
|
|
Timothy hay |
25:1 |
|
|
Vegetable wastes |
12:1 |
|
|
Weeds, fresh |
30:1 |
A Simple Recipe for Compost
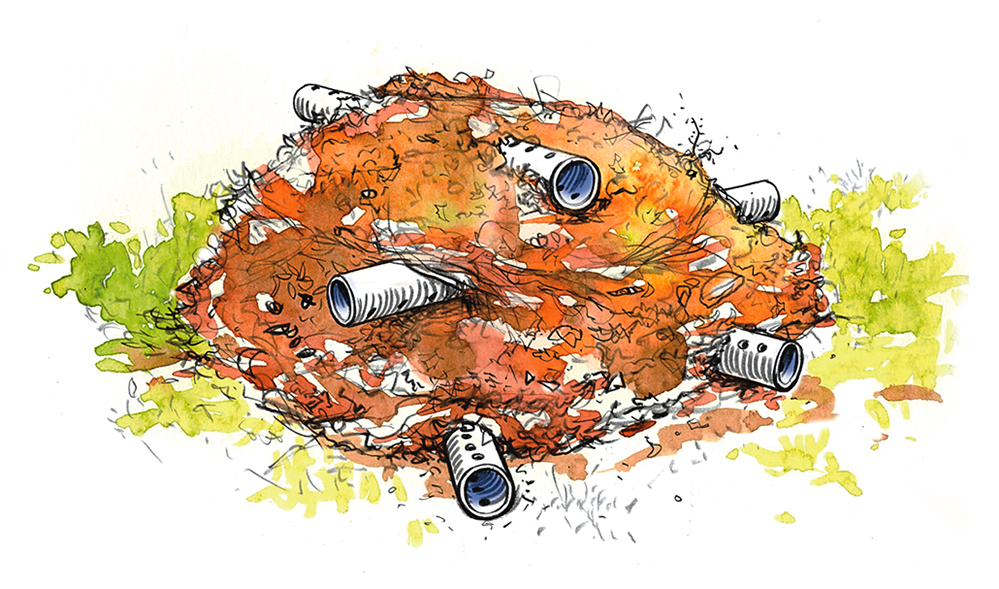
Industrial composting operations depend on fancy calculating to figure out the ideal mix based on what raw materials they have available. Thankfully, home gardeners can use a much simpler method: dividing materials for composting into “browns” and “greens.” Here’s how the simple system works. High-carbon compostables are classified as “browns,” since many of them are brown. High-nitrogen compostables are called “greens,” because many of them are green. Gardeners who use this system aim to add roughly two parts “browns” to one part “greens,” which usually creates a pile with roughly the ideal C:N ratio.
Browns. Commonly available “browns” include shredded paper, cornstalks, dead garden plants, and dry leaves. Short on browns? Buy bales of straw or wood-shaving bedding at a feed store or collect and shred old newspapers. As “browns” are often abundant in fall, many gardeners stockpile them dry in bags to use in spring and summer when greens tend to be more abundant and browns are in short supply.
Greens. Commonly available “greens” are kitchen scraps, weeds, fresh grass clippings, faded flowers, and manure (even though it isn’t green in color). Gardeners who are short on readily available green ingredients for a compost pile can buy alfalfa hay or alfalfa pellets at a feed store or ask a local pet groomer for hair.
Cold or Hot Composting?
Cold Composting
Pros:
- Needs little maintenance
- Spares disease-suppressing
- Conserves nitrogen
- Allows materials to be added a little at a time
Cons:
- Allows nutrient loss though extended exposure to the elements
- May take 6 months to 2 years to produce finished compost
- Fails to kill pathogens or weed seeds
- Pile continuously needs a balance of carbon and nitrogen, as well as wet and dry materials
- Produces compost with more undecomposed bits of high-carbon materials
Hot Composting
Pros:
- Produces finished compost quickly
- Uses space efficiently
- Builds fertility quickly; ideal for new garden locations
- Kills most weed seeds and pathogens
Cons:
- Is labor intensive
- Requires careful control of moisture and C:N ratio
- Must be built all at once, requiring storage of kitchen wastes before starting a new pile
- Conserves less nitrogen
- Produces compost with reduced ability to suppress soil-borne diseases
2. Easy Cold Composting
To make compost using this method, just add compostables to the pile or bin as they become available. The method is called cold or cool composting, because the pile doesn’t heat up as much as a hot compost pile does. That’s because cold compost piles are not turned, or aerated, so the microorganisms in the pile don’t build up the large heat-generating populations that give hot compost piles their name.
When building a pile for cold composting, be sure to maintain the proper C:N ratio of 25:1 to 30:1. To do this, use about twice the volume of brown ingredients to green ingredients when adding compostables to the pile. For example, when using shredded leaves and kitchen scraps, maintain a balance of twice as much leaves to kitchen wastes. Plus follow these other basic steps for successful cold composting:
Shred, tear, or chop. Because smaller pieces have more surfaces for microorganisms to work on, they compost faster—but gardeners shouldn’t overdo it. Pieces that are too small can actually slow the composting process by packing together too tightly and preventing air from moving in and out easily. If making compost (rather than simply reducing waste to as little residue as possible) is the goal, slightly bigger pieces will yield more and better compost. Two-inch pieces are a good size to start.
Mix and toss. For a long time, experts (including Organic Gardening magazine!) recommended piling up ingredients like a layer cake, with separate layers of kitchen scraps, leaves, chopped up cornstalks, grass clippings, and so forth. Now we know it’s much better to make a compost pile more like a tossed salad—mixing all the goodies together, so brown and green materials are touching each other as much as possible. If one day’s addition is mostly browns or mostly greens, mix it into the previous days’ additions.
Season with soil, compost, or wood chips. Mix in a shovelful of finished compost, good garden soil, or partially decomposed wood chips (see “Wood-Chip Compost,” Chapter 2) with every few inches of new compostables. This helps add microorganisms to get the pile “cooking.”
Manage moisture. Too much or too little moisture in the pile or bin will slow or even prevent materials from decomposing. Fortunately, keeping the level just right is usually pretty easy. Start on a well-drained site. If necessary, build the pile or put the bin on top of a raised platform, such as a shipping pallet topped with a scrap of fine metal mesh or cardboard, to make sure the compost never sits in a puddle. Sprinkle each addition with a watering can or garden hose while constructing the pile, especially if the materials are dry to start with. Don’t sprinkle very wet, sloppy materials such as fruit wastes—mix in dry brown materials, such as shredded dry leaves or paper, to soak up the extra moisture instead. Cover the pile or bin to keep moisture inside in dry climates or to keep rain out of the pile in very wet ones. For uncovered piles, make a sunken top to help rain soak into the pile in dry or moderate climates or build a rounded top to shed excess water in rainy climates.

Incorporate Passive Aeration

Once the bin is full or the pile is at least 3 to 4 feet tall, stop adding new compostables and start putting fresh materials into another bin or onto another pile. This will let the microorganisms in the first pile do their work undisturbed, except for an occasional moisture check. Every couple of weeks, reach a hand down into the top few inches of the composting materials and give them a squeeze—they should be a little moist, but not wet. If dry, sprinkle the pile with water. A convenient way to add moisture to a compost pile is to install a loop of soaker hose on top of it. When the pile needs to be moister, turn on the hose slightly, so the water can slowly seep down and moisten the materials in it.
Depending on what went into the pile, the size of the pieces, the outdoor temperatures, and moisture levels, all but the top few inches (and outside layer of any exposed sides) should turn into compost in a few months to a year.
3. Speedy Hot Composting
Although hot composting takes more work than cold composting, it pays big dividends: The compost is ready much faster—generally in less than 8 weeks after the pile is built. (Cold weather will slow or stop the process, so don’t expect compost started in late fall to be ready for early spring use.) Frequent turning is the secret: It keeps the compost well aerated, so that the microorganisms can work efficiently to decompose the materials.
Even in cooler climates, it’s possible to finish six or more batches of hot compost in a single season. Thus, hot composting is a good way to quickly generate a lot of compost. Plus, the high temperatures in a hot compost pile can kill most weed seeds and pathogens. (Even though hot composting can kill most pathogens, it is generally best not to include diseased plants, seed-bearing weeds, and the rhizomes of vigorous weeds in the pile. Even in the hot center of a well-managed pile, weeds such as Canada thistle can sprout readily from small pieces of root.)
The main disadvantage of hot composting is the labor involved in turning the compost multiple times. Hot composting is also a less forgiving process, because the pile’s efficiency is reduced if the moisture level or C:N ratio is wrong. It’s important to pay close attention and make adjustments as needed. In addition, it works best if the whole pile is built or the bin is filled within a few days, so a lot of material needs to be available or stockpiled (which is not how most backyard gardeners compost). Hot composting conserves less nitrogen than cold composting, and each time the compost is turned, some beneficial fungi structures are destroyed, leading to lower-quality finished compost.
Hot-Composting Basics
Start by collecting compost materials, keeping in mind that the pile as a whole should have a C:N ratio of 25:1 or 30:1. A hot compost pile is constructed in the same way as a cold compost pile: Shred, tear, or chop the materials into small pieces; mix and toss them together; and season with soil, compost, or wood chips. It’s also essential to keep the pile moist but not sopping wet. Check its moisture level each time it’s turned, and add water as necessary. Although too large a pile interferes with aeration, it needs to be at least 3 feet wide and 3 feet tall; otherwise it will not heat up properly.
Easy Aeration
Efficient composting generates heat, so as soon as the pile has been built, begin to monitor the temperature of the ingredients. It should heat up quickly, and then in about a week, will start to cool down again. Turn the pile as soon as the temperature drops below 120°F, but no more than once a week (to help preserve the microorganisms). A compost thermometer is helpful but not essential, since 120°F is about as hot as most people can comfortably touch with a bare hand. If material several inches deep in the pile doesn’t feel hot to the hand, it’s time to turn the pile. Another option is to stick a metal rod into the pile. If it feels hot to the touch after a few minutes in the pile, the compost is heating properly. Once it cools down, it will be time to turn the pile again.
For easiest turning, open the front of the bin or remove it completely, if possible. (Some bins are designed to come apart to make this easier; others need to be lifted off the pile entirely, with the help of a strong assistant.) Place an empty bin next to the composting materials and use a fork to transfer them into it, fluffing them up and making sure the dry outer layer (if any) ends up in the center and is well covered. When using a two- or three-bin composter, move materials from one bin to another. Empty any finished compost and use it in the garden to make room to start a new pile.
Cold-Weather Compostology
Tumbler Compostology Basics
A compost tumbler is filled in the same way as a cold or hot compost pile. Materials should have a C:N ratio of 25:1 or 30:1, and they should be shredded, torn, or chopped into small pieces. Seasoning with soil, compost, or wood chips is a good idea. Give the unit a good tumble after each addition. Once the tumbler is two-thirds to three-quarters full, stop adding new materials and start putting new additions into a second tumbler. (Overfilling a tumbler prevents ingredients from being mixed easily.)
Give filled tumblers a turn every few days or once a week, checking the moisture level inside each time and adjusting it if needed. Sprinkle some water to moisten it or add some dry “browns,” such as shredded paper, to soak up excess moisture. Once the compost is finished, empty it out of the tumbler and store it in bags or covered buckets until it’s ready to use. Now the tumbler is ready to be reloaded.