
On the Day of the Show
“Time waits for no man.” A simple phrase, and perhaps a cliché, but true nonetheless, so on the day of a show, give yourself plenty of time. Once you know your times for each class or phase, sit down and make a schedule. Plan sensibly: do as many chores the day before as you can. If you’re competing the same day you travel, provide extra time for loading mishaps, leave your stable before the traffic starts, and fill your truck with gasoline the night before. Figure in an extra hour for emergencies. Then you’ll have extra time, and you won’t be rushed. Estimate your arrival time, and give yourself a block of time to walk the course, warm up, and get dressed. If you’re confident that you have enough time to accomplish each task, you’ll be able to concentrate on your plan of action instead of obsessing about rushing to warm up your horse.
Walking the Course
At a one-day event, the course isn’t as long as it is at a three-day competition, and you may not have enough time to walk it more than once. A three-day is another matter. Plan to walk the course many times to make certain you are prepared. Take note of every tree you line up with, every route you take for every fence. If your horse doesn’t go very well or if you aren’t feeling very confident, you’ll know for sure what the alternative route is. Routes are important when you’re walking the course. Know the direct route, and be aware of all the alternatives so if you have a stop you’ll know the route to take. If there is no alternative, decide what you’ll do if you have a stop.

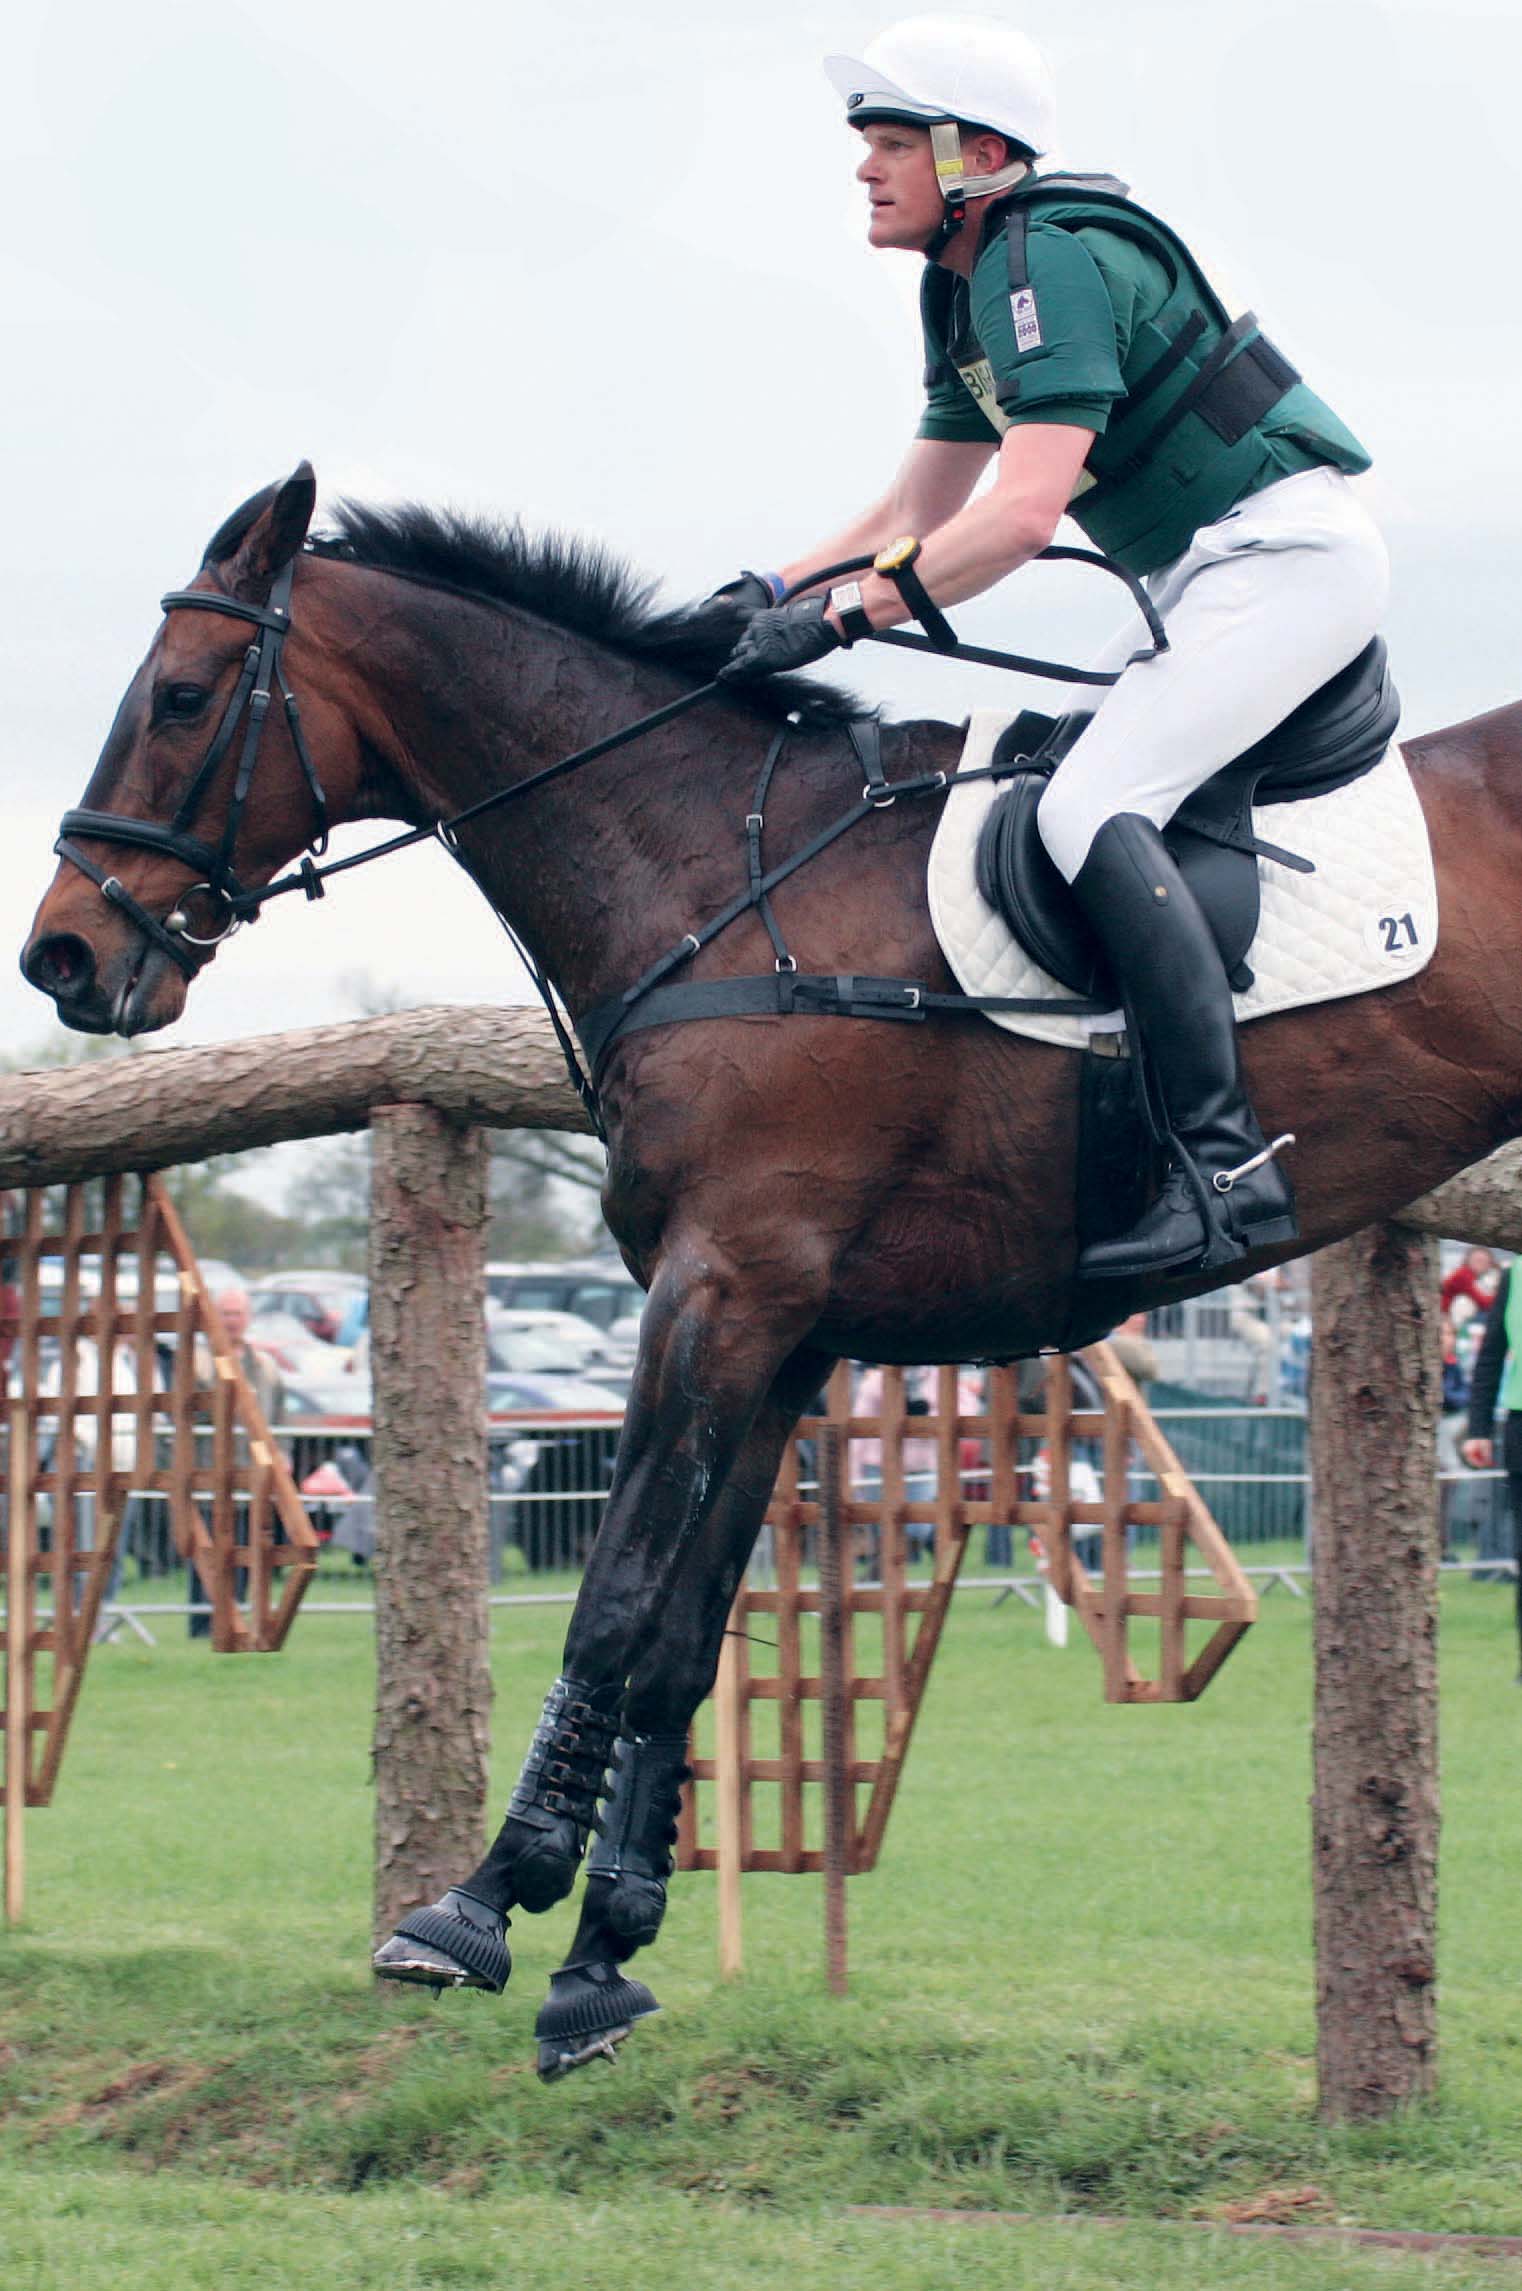
A rider considers the alternatives at this water jump.
It’s important, at whatever level you are riding, that you jump the fence in the correct place, either right in the middle for a straightforward fence or the right line for a corner. Be aware of the best ground conditions, and know where the boggy patches are.
Riders share their knowledge, and the best way they can do that is while walking the course. Don’t be shy about going up to seasoned riders and asking if you can walk along with them. At some events, the organizers will announce a course walk with a particular rider at a particular time. The rider will meet a group of people, and they’ll all walk the course together.
Hunter riders don’t walk a course; instead, they study the course map posted at the back gate. Look at the measurements on the course diagram. Since strides at a show are measured in twelve-foot increments, the course designer will usually (always at larger shows) write down how he or she measured the lines when the course was initially set. So a line measured at seventy-two feet will ride in five strides (twelve feet is used up with six feet for landing in a line and six feet for taking off out over the last element). Usually, only a few different courses are used throughout the day, so by watching a few rounds, even in divisions other than your own, you can see how the course rides and what the strides are like. In other words, the wise hunter rider watches and learns how to ride the course.
Walking a course is critical to the jumper rider. In fact, you will be at a serious disadvantage in a major class if you don’t walk it. A diagram of the course will be posted, but it will not specify the distances between the jumps that are related; this is something you will discover yourself.
To work out the distances between your jumps, you must stride it out. To do this, you must first know the length of your own stride, which is individual to you. Figure out your personal stride by putting a tape measure on the ground and walking out in a large, but not exaggerated, stride. Measure between the spaces from toe to toe; a normal stride is about three feet. So, when walking the course, stand with your back on the landing side of the jump, in the middle of the fence, and take one stride out (to allow for the horse to land), then stride out in multiples of four (which would be one average canter length). Remember to walk the way you want to ride it; in corners and curves, if that’s your plan.
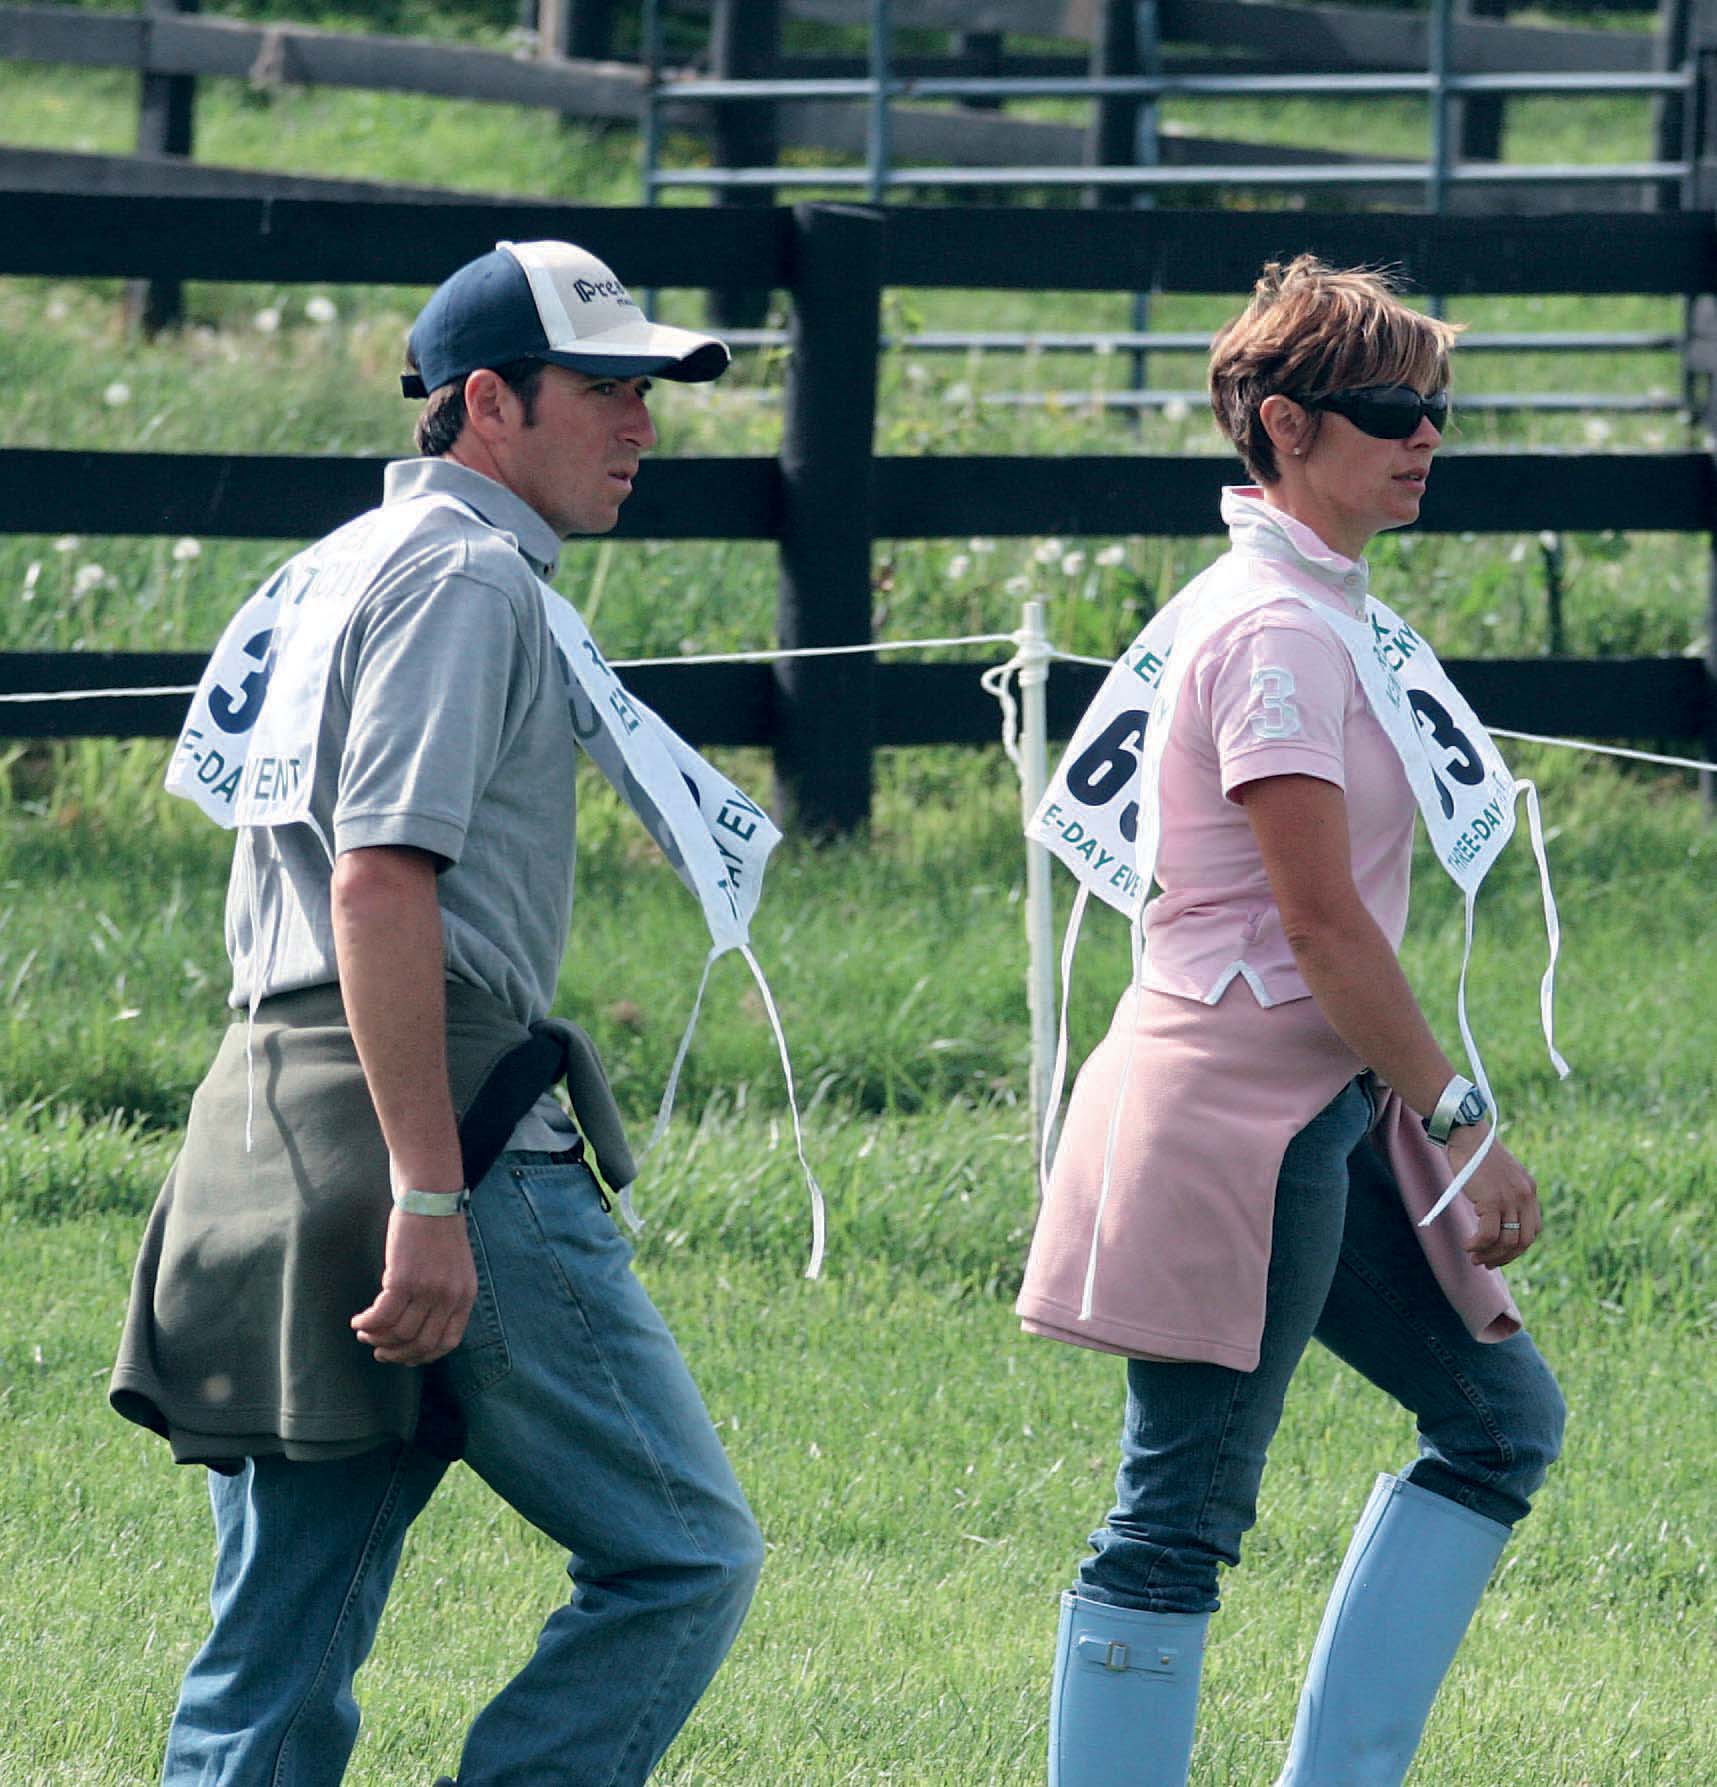
Two competitors walk the course together to check the ground conditions and to strategize their individual rides.
When walking the course, you must take several things into consideration. Does the ring have terrain, and if so, how does it relate to the jumps? What are the distances between the fences that are related? Are they on a straight line to one another or on a bend? Another common design in jumper courses is distances on the half stride, so, for instance, fence three to four is 61/2 strides. You must consider the jumps (whether they are oxers or verticals) and how your own horse goes. There is no absolute answer to this type of course question; although a one stride is always a one stride, it may require you to ride it steady or normal or forward.
You must also take into account the relationship of a jump that requires a forward ride (like the water jump) to the next fence. Harder courses will have the water followed by a relatively short distance (six or seven strides) to another jump, often a vertical, where the rider has to be able to immediately get the horse back after making a forward, stretching effort over the water and to collect and reengage to then jump the vertical with control and cleanly.
Combinations, either one stride or two strides, can be a double combination (two jumps) or a triple combination (three jumps). During your walk, see if the strides are normal, steady, long, or a combination of the three—for instance, a normal two stride followed by a steady one stride. And what are the fence types, verticals or spreads (oxers), and what is their relationship to one another? Are you jumping into the combination over an oxer and then one stride to a vertical and then out over an oxer? Or is it vertical to vertical to a huge, square oxer?
Next, think about how the jumps are constructed, including elements of trickery. For instance, there might be bright rails up high with a dark black plank down low that will draw the horse’s eye down and possibly make him think he is jumping into a hole. The jump may be constructed all of poles, or the top element may be a plank. Although the cups are fairly shallow to begin with, planks are usually set on an absolutely flat cup and come down with the lightest touch.
You also need to know the time allowed, which will be posted on the course diagram. Plotting it against the course will help you decide if the allowed time will be tight, normal, or generous. If you feel it is tight, try to work out some track options that will make the time allowed more generous and give you more time riding some of the tougher sections of the course. Think, as you walk the course, where you can save yourself time. Or perhaps you will decide you’ll have to ride aggressively throughout the entire course to stay within the time allowed.
This fence is constructed of planks set in shallow cups that can easily be knocked down with the slightest rap.
These are some of the basic thoughts that go into planning your ride. Going later in the order allows you to watch earlier rides and make minor adjustments. However, some riders swear by walking the course, making the best plan they can for their horses, and then not considering (or watching) earlier rides. The one time you might want to consider other results is when their times in general are playing out differently than you anticipated.
Warming Up
The bigger shows usually offer two warm-up arenas: one to lunge in, and one to ride in. Smaller shows, where space is an issue, normally provide one arena with the center reserved for lunging. This can be tricky because the riders on the rail must watch out for those horses lunging. Someone invariably tries to get between the horse and the handler who’s lunging. You have to realize that there’s not a lot of control with the horse on the end of the lunge line—he can buck or kick out, so you’ve got to give him a little bit of room, at least a horse’s length.
Jumping
For all jumping disciplines, make sure your horse is well warmed up before you start to jump; do lots of canter work and transitions, lots of bending, turning right and left in canter and in trot so you’ll know your horse is warmed up in his back. Once you’ve done this for about twenty to thirty minutes, depending on your horse, jump a cross rail a couple of times, then add a vertical, and finish over an oxer. Remember that the goal is not to school your horse but to get him thinking about the task at hand. Good riders do not overjump their horses in the warm-up. It is warm-up, not training. Some flatwork can be done hours before the class, especially when there is an afternoon class. This allows the horse to get out and stay loose.
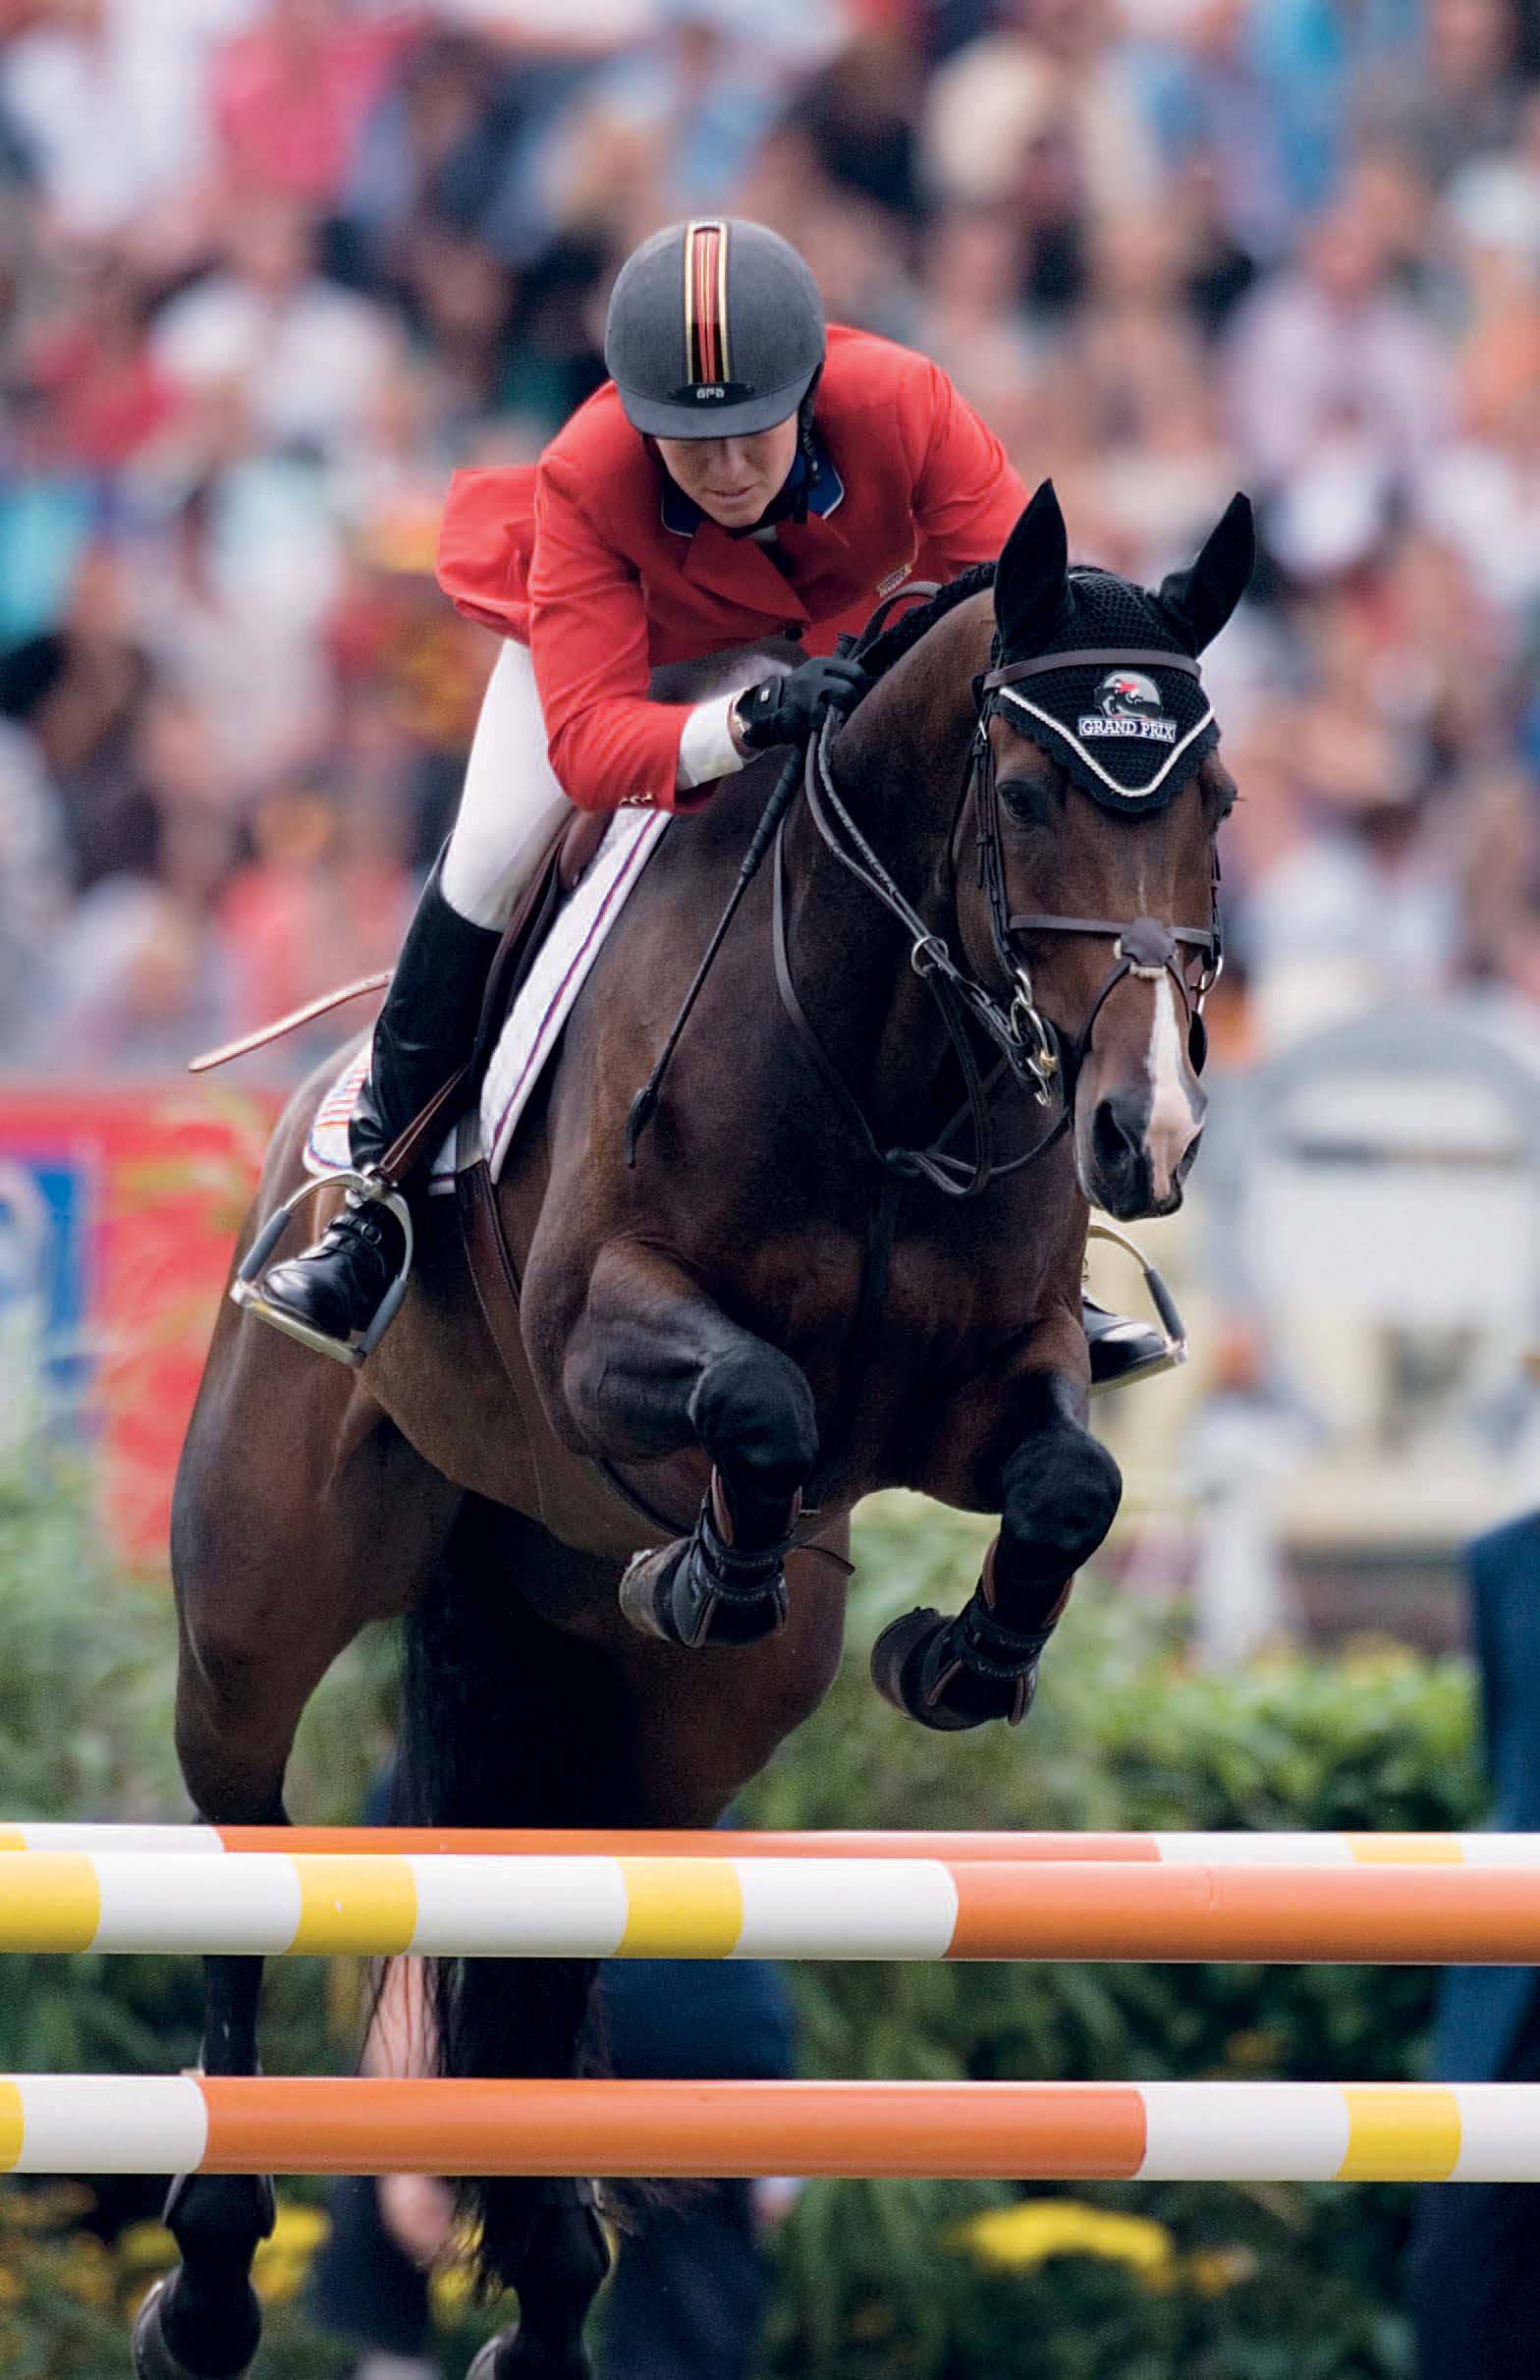
A show jumping competitor and her horse warm up before their class.
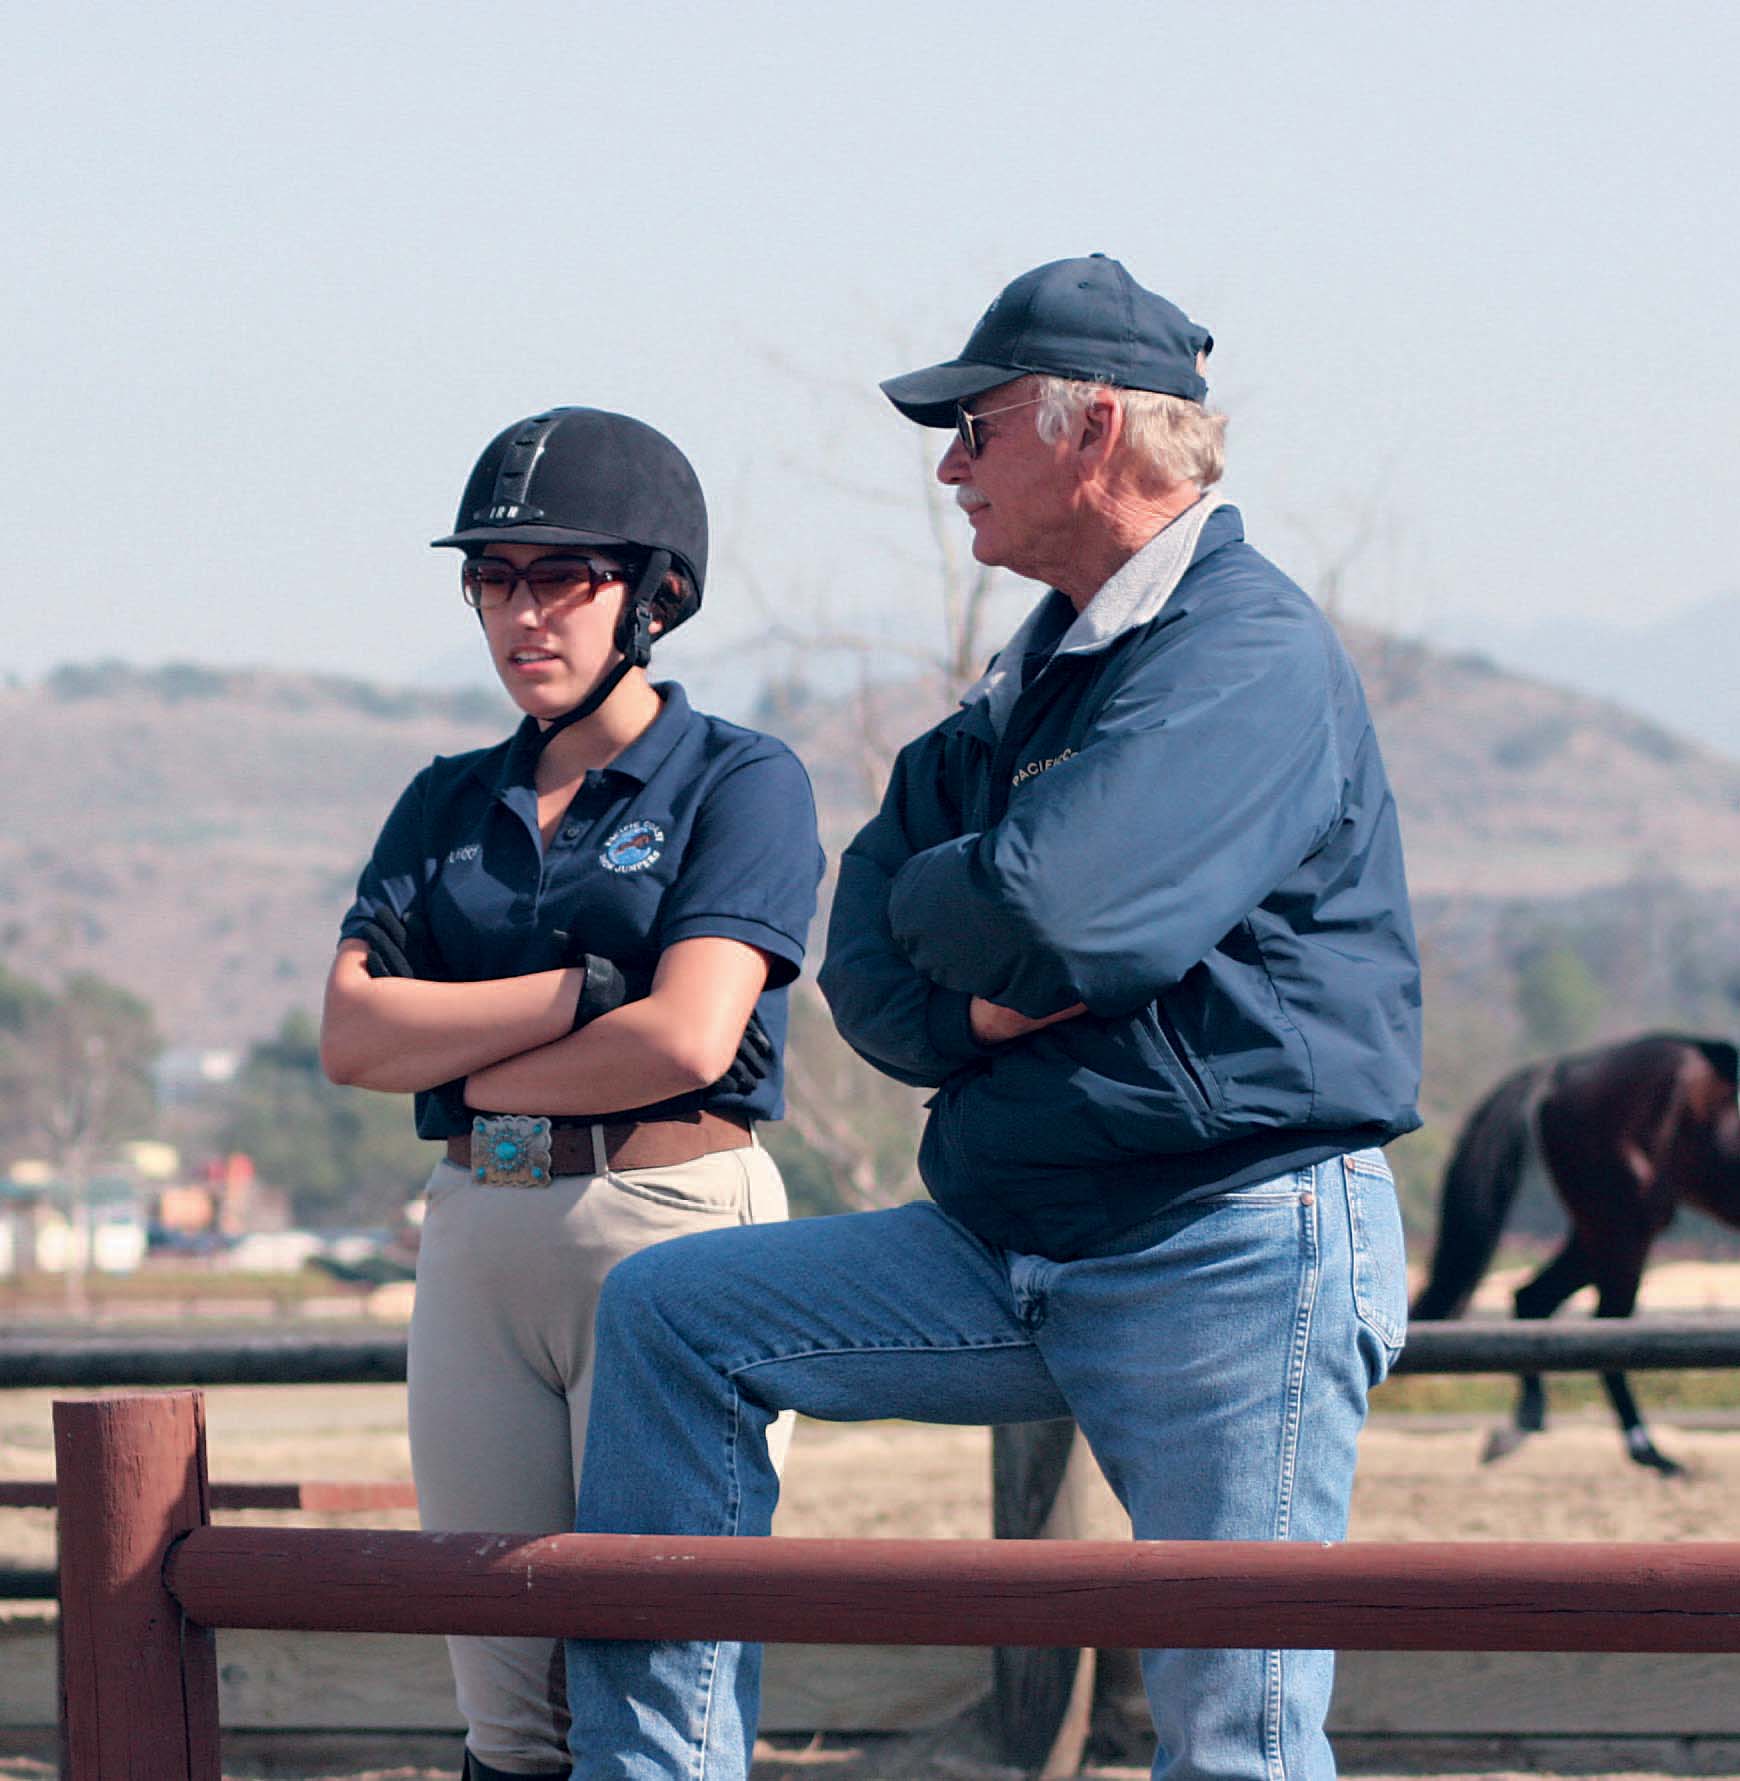
A competitor and coach watch other riders navigate a show jumping course to make minor adjustments.
Cross-Country
The main goals of cross-country warm-up are to get your horse going forward and to make sure he is alert and concentrating. In a one-day event, you may do your stadium jumping first, and you won’t have a lot of time before you’re off on your cross-country. Your horse won’t have enough time to switch off. So go back to your trailer, change into your cross-country gear, then get back on, have a spin around the warm-up ring, jump the practice jump four or five times, and head out to the course.
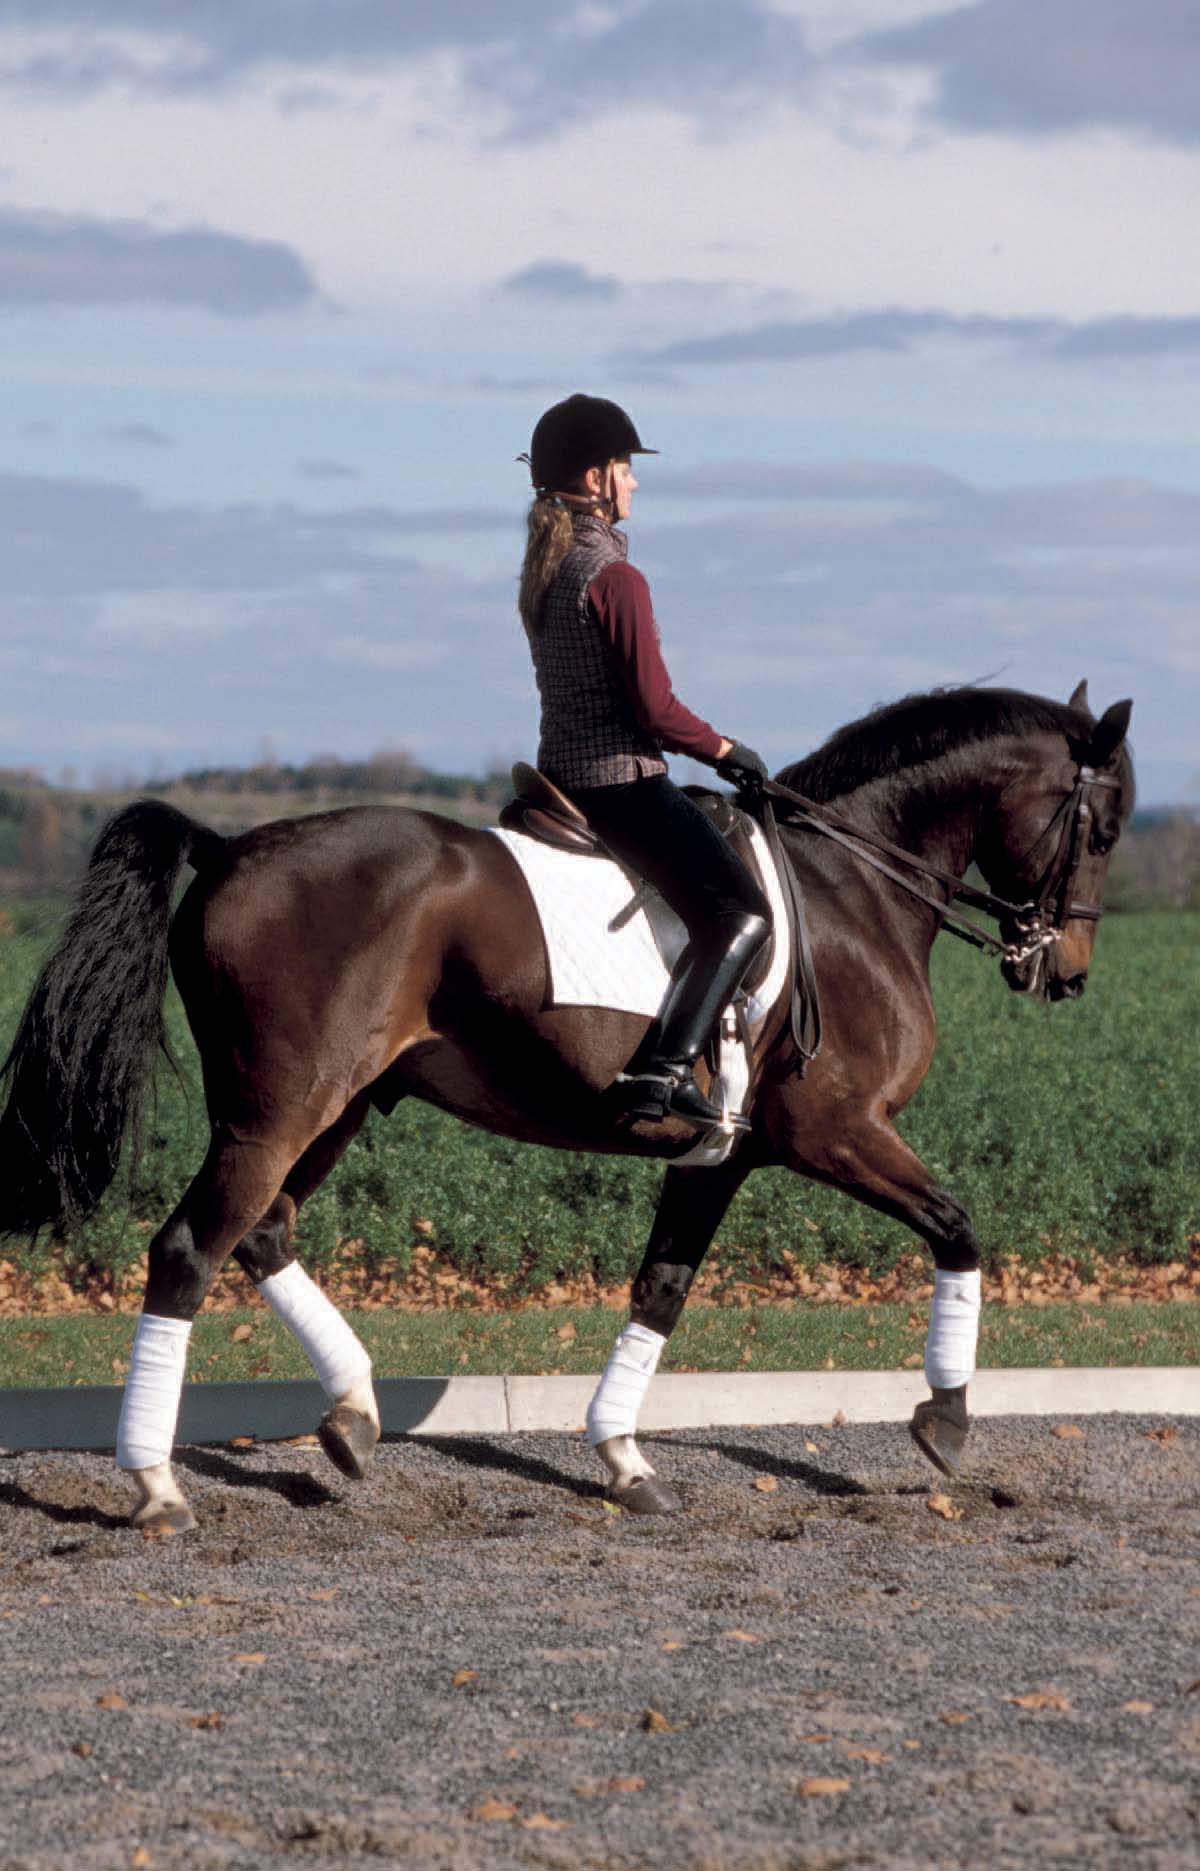
A dressage horse and rider warm up before a competition.
Dressage
For dressage, get out into the warm-up arena early to bring your horse’s energy level down, about an hour before, particularly if you want to lunge and ride. But some horses need more time and some need less; all riders should know what their horse requires. If your horse hasn’t been to a lot of shows, he’s going to be more excitable. If he’s an old campaigner, he might not need much calming. Also, remember that the show is not the place to train your horse. If your horse doesn’t know his work, you’re not going to teach him in the warm-up arena. So treat the warm-up as a time to loosen your horse’s muscles, sharpen his focus, and get ready to work.
Rules of the Warm-Up Arena
Here is a list of rules to follow when riding in the warm-up arena:
• Pass left hand to left hand. However, the best thing you can do is keep your head up. There may be a rider who needs some extra room and who may not be able to pass on the left side, or perhaps there might be a rider on a really green horse. If you keep your head up and you’re making eye contact with a rider, you can tell which way the traffic is moving.
• Someone may call out “rail, please” in an effort to get you to give way. You don’t have to move out of the way, but that person may be in trouble and need the space, so respect the request. Always give way to the inexperienced person, the young horse, or a child.
• Horses at the slower gait have the right-of-way on the rail. Just as on the freeway, faster drivers pull out onto the far lane and pass. The slower horse stays on the rail and keeps his position. However, rail riders should to be aware of people attempting to pass and avoid swinging out into the faster traffic.
• If you see someone working a pattern in the center of the arena, show consideration. Don’t ride into his pattern.
• At jumping competitions, a vertical and an oxer are usually provided by the organizer. Warm-up arenas with jumps can be a free-for-all, but using etiquette can make things go more smoothly. Ask the other riders if they mind if you adjust the jump height, but then put it back the way you found it. Have a groundsperson replace the rail if you drop it. Don’t cut across riders’ tracks, and make sure you know who is going next. The key is to be friendly and communicate with the other riders.
• Don’t be intimidated by trainers and their riders. You have just as much right to warm up your horse as any other rider does. Expect that a bigger trainer may try to push you around or try to bully. Just hold your space, say “excuse me,” and go on with your warm-up.
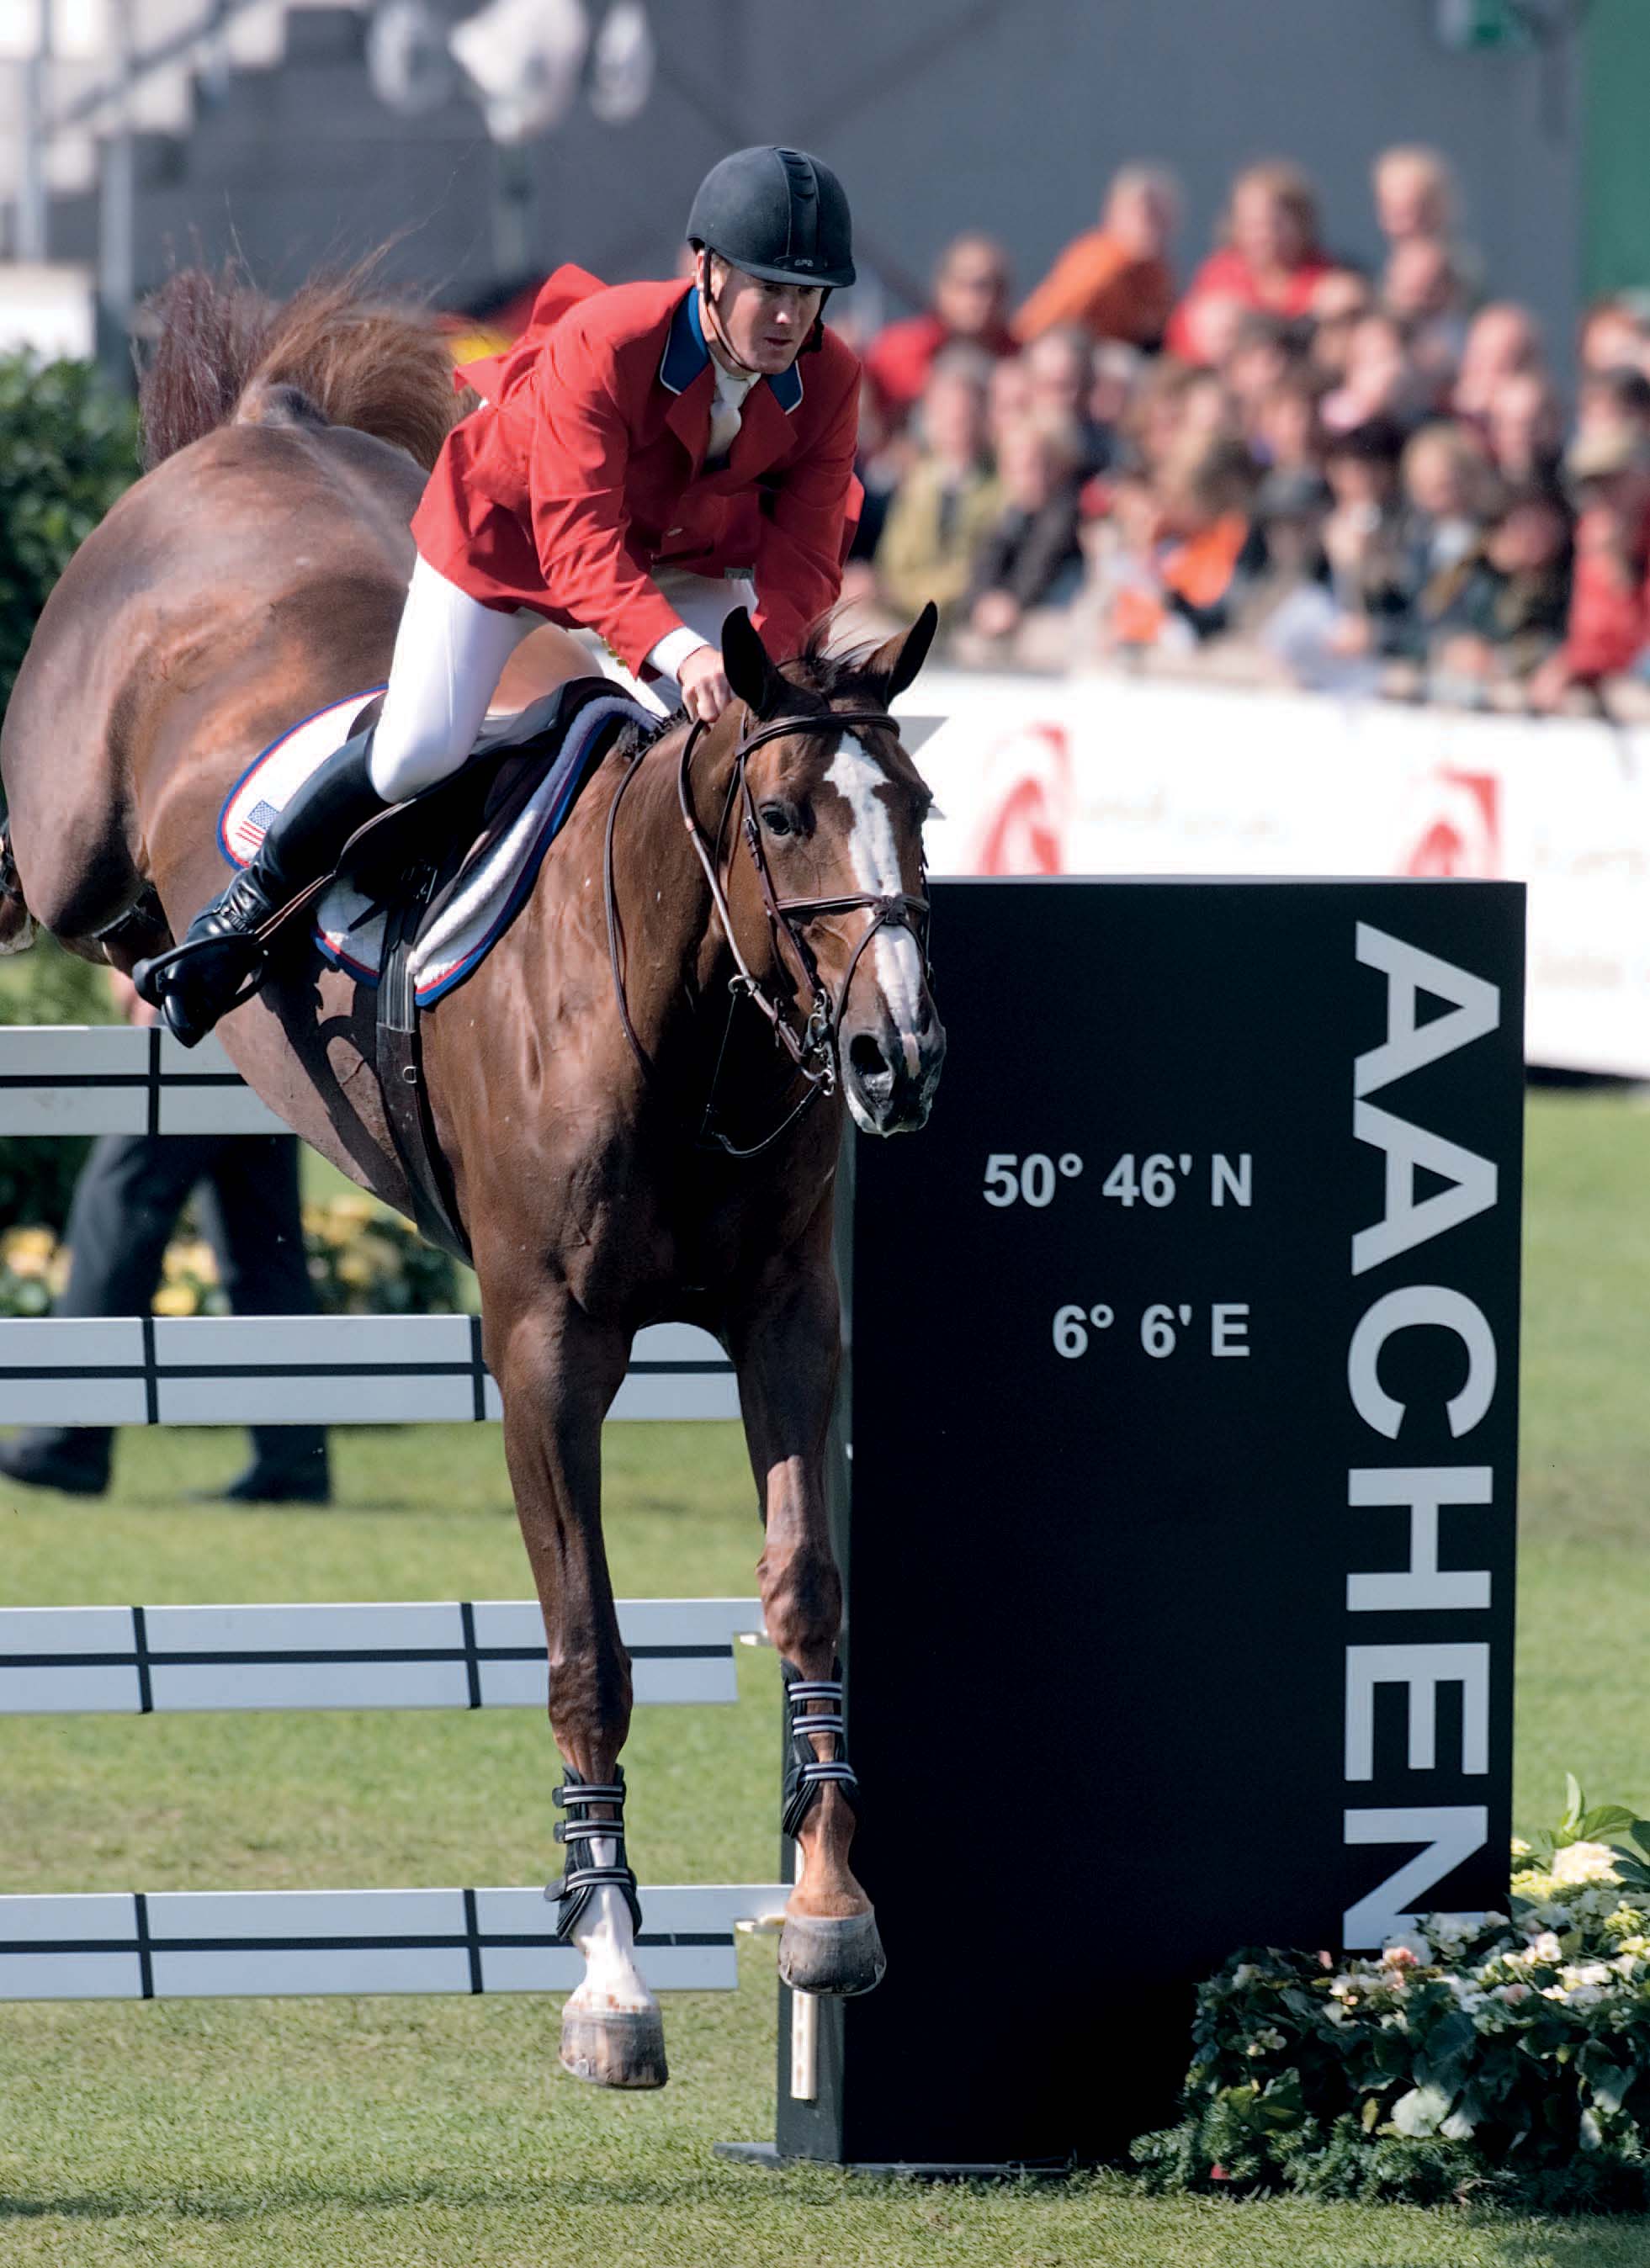
After the warm-up, this horse is able to focus on the task at hand: jumping the course.