ADDITIONAL RESOURCES
What to Do with the Dregs of Your Honey Pot
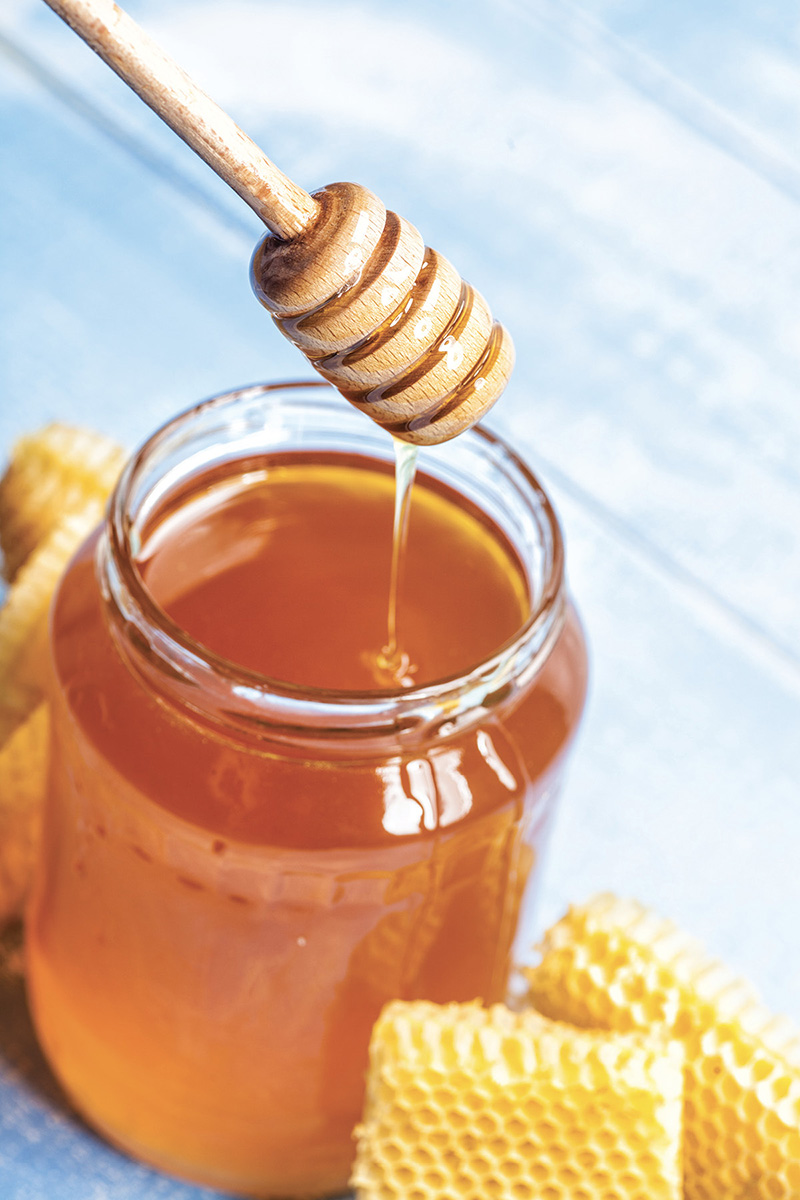
By this point, you’re probably feeling that you’ve used honey in just about every imaginable way. You’ve slathered it on your face, squeezed it in your eyes, sipped it in a cocktail, and baked it in a cake. And now, sad as it may be, your honey pot hath runneth dry. Well, almost. See that layer of honey coating the bottom of the jar? It might be crystallized at this point, but it’s definitely in there. That’s still good, usable honey! Don’t recycle the jar just yet. Here are five beyond-toast-or-tea uses for the remains of the day:
• Make the All-Purpose Sweet and Tangy Salad Dressing (page 83).
• Scrape it into a small bowl and serve it as part of a cheese plate.
• Drizzle it over roasted vegetables.
• Make a sweet and savory dip: Mix together 4 tablespoons of tahini or nut butter, 2 tablespoons of warm water, what’s left of your honey, the juice of one lemon, a minced garlic clove, and a small handful of minced fresh mint. Season to taste with salt.
• Mix a cocktail—right in the jar! Stir in a tablespoon of hot water to make a syrup, then add a tablespoon of lemon juice, an ounce of gin or bourbon, and a splash of seltzer. Grab a straw, and it’s 5 o’clock. somewhere!
How to Substitute Honey for Sugar in Baking Recipes
You can substitute honey for sugar in most baking recipes with decidedly awesome results, but there’s a catch: it’s not an even trade. To make a successful swap, follow these simple rules:
1. Cut down on volume. Honey is much sweeter than sugar, so for every cup of sugar, substitute ½ to ⅔ cup of honey.
2. Reduce liquids. Honey is wet—made up of about 20 percent water—and sugar is, obviously, not. Therefore, you’re going to need to adjust the total amount of liquid in a recipe to compensate for the extra moisture in honey. For every cup of honey you’re using, subtract ¼ cup of other liquids from the recipe.
3. Lower the temperature. Honey burns faster than sugar. To be sure you’re browning instead of burning, lower your oven temperature by 25°F and keep a close eye on whatever you’re baking.
4. Add baking soda. Even if the recipe doesn’t call for it. It helps balance the flavor and, because honey is acidic, it the baking soda–acid reaction offers a good rise. Add ¼ teaspoon of baking soda for every cup of honey in a recipe.

Growing a Bee-Friendly Garden
You don’t have to become a beekeeper to do your part to help the ecosystem. Simply planting bee-friendly plants in your yard or garden will create a welcoming habitat for bees and may even help reverse the decline in their population! Follow these easy tips to add beauty and buzz to your surroundings:
Be a Grower, Not a Mower!
One of the easiest and most effective ways to make your yard more pollinator-friendly is to ditch the outdated notion of a manicured lawn; a sprawling expanse of grass is effectively a desert for bees. Even if you only carve out a small part of your property for flowering, pollen-producing plants, you’re making a big difference for bees and other local pollinators. Such plants as dandelion, clover, chickweed, milkweed, and goldenrod—typically categorized as pesky weeds—are very important food sources for bees. Let them grow and flower in your yard! Consider your lawn a sort of a beautiful blooming meadow instead of a high-maintenance living carpet. Mow it less often, with your mower’s height set a notch or two above the norm, and you’ll create a much friendlier, much less bland-looking wildlife habitat.
Go Native and Go Easy
Bees love native wildflowers, flowering herbs, berries, and many flowering fruits and vegetables, so plant as many as you can! A wide variety of locally indigenous flowers will boost pollinator efficiency and help a diverse species of pollinators thrive. Single flower tops, such as daisies and marigolds (as opposed to double-headed flowers, such as double impatiens, which contain extra petals that have replaced some or all of the reproductive parts of the flower), produce the most nectar and offer bees easy access to pollen. Flowers clustered into clumps of one type will attract more pollinators than individual plants scattered through your yard. Also, try to think about staggering plants that flower through spring, summer, and fall, so that you can support a range of bee species that fly at different times of the season. And—hopefully, it goes without saying—fungicides, herbicides, and pesticides are harmful to wildlife: bees, in particular, bring those substances back to their homes, sometimes with disastrous results. Please don’t spray your garden with that stuff!

Provide Water
Make sure your garden includes a source of water for the bees. A birdbath, a little pond, even a fountain is a great way to offer bees the hydration they need to digest their food, and to regulate humidity and temperature back at the hive.
So, Like . . . What Exactly Should You Plant?
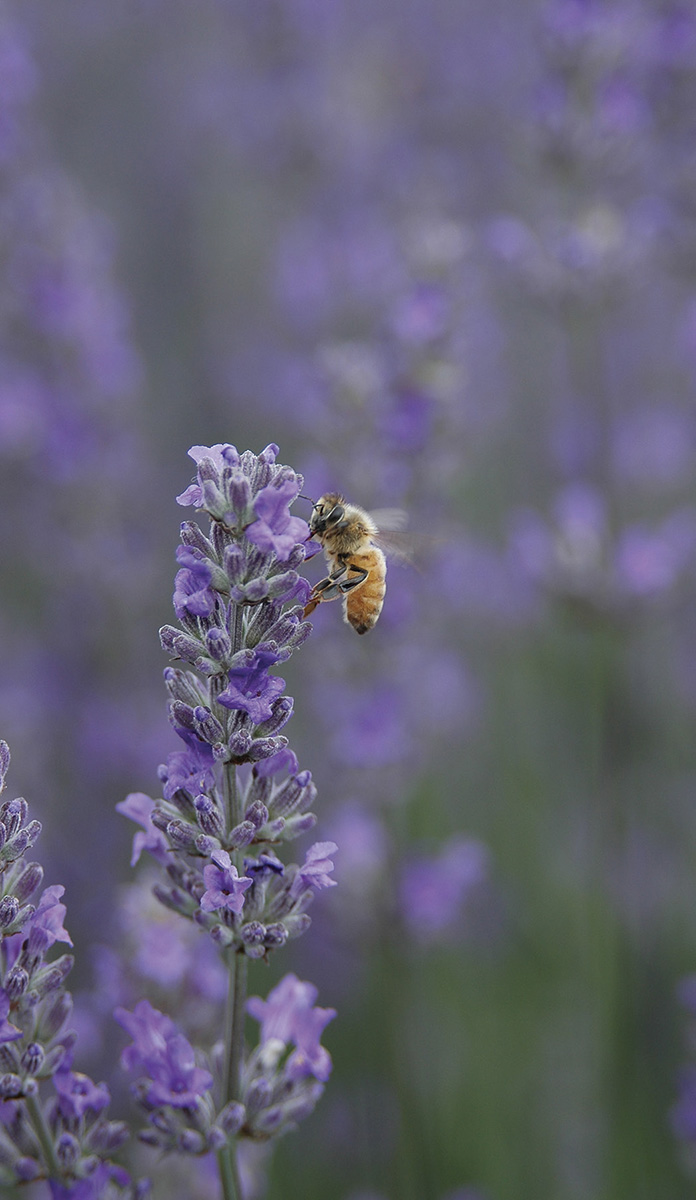
Bees have good color vision—they especially like blue, purple, white, and yellow blossoms. Studding your garden with those colors is an excellent starting point. Here is a short list of various plants that tend to attract a range of beneficial pollinators, but do some research to find out what’s indigenous to your area and focus on those blooms.
FLOWERS
Cornflower
Cosmos
Daisy
Forget-me-not
Geranium
Marigold
Nasturtium
Poppy
Sunflower
HERBS
Borage
Calendula
Catnip
Lavender
Lemon balm
Marshmallow
Rosemary
Sage
Thyme
FRUIT/VEGETABLES
Berries
Broccoli
Carrot
Cauliflower
Fennel
Stone fruit, all varieties
Yellow mustard
Zucchini
A special note for apartment dwellers and other small space residents: Don’t feel left out! Even if you only have room for a small planter or a window box, a few wildflowers or herbs, such as thyme and lavender, provide a nice foraging habitat for bees.
Becoming a Backyard Beekeeper
Can’t get enough of that sweet, sweet honey and wondering whether you have what it takes to become a bona fide beekeeper? There’s a lot to contemplate when it comes to the business of bees. Here are three things to do and consider before you get started:
1. Educate yourself. There are many excellent books, organizations, and online resources about how to keep bees. But the best place to start is by getting to know other local beekeepers. They are perhaps your most valuable resource. Check out the local beekeeper directory on Bee Culture Magazine’s website to find experts near you (www.beeculture.com/directory).
2. Assess your environment. This may seem obvious, but you need to consider whether your foray into beekeeping will be welcome by those around you. Will your neighbors and family members be okay with your having bees around? Is anyone close to you allergic to bee stings? You also need to look into the legality of keeping bees where you live. Some municipalities prohibit backyard beekeeping. So, check on local laws before you zip up your bee suit. And if you live in a condo or apartment building, obviously, you’ll need to check with your landlord or homeowners association before you take the plunge. After that, you’ll need to make sure you have a hive location that gets both sun and shade and that has a source of water (which can be as simple as a birdbath) and access to flowering plants.
3. Think about the investment—time and money. Beekeeping isn’t a “set it and forget it” kind of undertaking. To do it correctly and responsibly, you’re going to need to make somewhat of a significant financial investment upfront (for your hive and all the necessary equipment) as well as a considerable investment of time on an ongoing basis. Expect to plunk down a minimum of several hundred dollars to get yourself set up, and plan on at least an hour of your time per hive per week. And know that, in all likelihood, you won’t get honey your first year. It takes bees a long time to get going, so expect to have plenty of golden, flowing honey in year two.
4. Get all the right gear. You don’t need all that much in the way of stuff to get going, but you do need more than just a bunch of bees. For starters, you’ll need to get a hive, a bee veil and/or jacket, long leather gloves, a frame lifter, a bee brush, pliers, a smoker, and a hive tool. Many of these items are sold together in starter kits that are easily found online. Oh, and bees. You’re going to need some. As tempting as it may be to buy your bees online like a new pair of shoes, it really isn’t recommended. Instead, purchase them from a local backyard beekeeping enthusiast, someone who knows what he or she is doing, as the colony will already be accustomed to your area and you’ll know something about the health of the hive.
5. Get a handle on bees. Knowing what you are getting yourself into and what it takes to keep a hive alive will be the key to your successful beekeeping.