HONEY LEMON ROAST CHICKEN (IN THE SLOW COOKER. OR NOT.)
A good roast chicken is one of life’s great delights. Deeply browned, with salty, crackly skin; moist, juicy, tender meat; and an incomparable smell that is the aromatic equivalent of a warm hug, it is, without a doubt, my most favorite way to make chicken. And sometimes all it takes is some heavy-handed salt and peppering to get the job done. But when I have the urge for a bird with a little more depth and flavor, I opt for marinating the chicken in lemon juice for a few hours before roasting it and then burnishing it with honey toward the end of its cooking time. The acid in the lemon not only adds a subtle counterbalance to the honey’s deep sweetness, but it also actually tenderizes the meat.
This recipe is 90 percent hands-off, save for the mixing of the marinade and brushing-on of the honey. Then, it’s just a matter of letting your oven do the work. Still, there are times when you just can’t hang around to babysit a roast chicken, and that’s when the set-it-and-forget-it beauty of the slow cooker comes in, allowing you to go about your day and come home to a comforting roast chicken. Truth be told, the skin will not crisp much in the slow cooker, but for crackly skin devotees, there’s a reasonably acceptable hack that will satisfy: simply transfer the slow-cooked chicken to a baking dish and pop it under your oven’s broiler for three to five minutes before serving.
Serves 4–6
One 4-pound chicken
Kosher salt
1 cup fresh lemon juice
Freshly ground black pepper
A few sprigs of fresh herbs, such as thyme or rosemary
2 tablespoons olive oil
¼ cup honey
½ lemon, cut into wedges
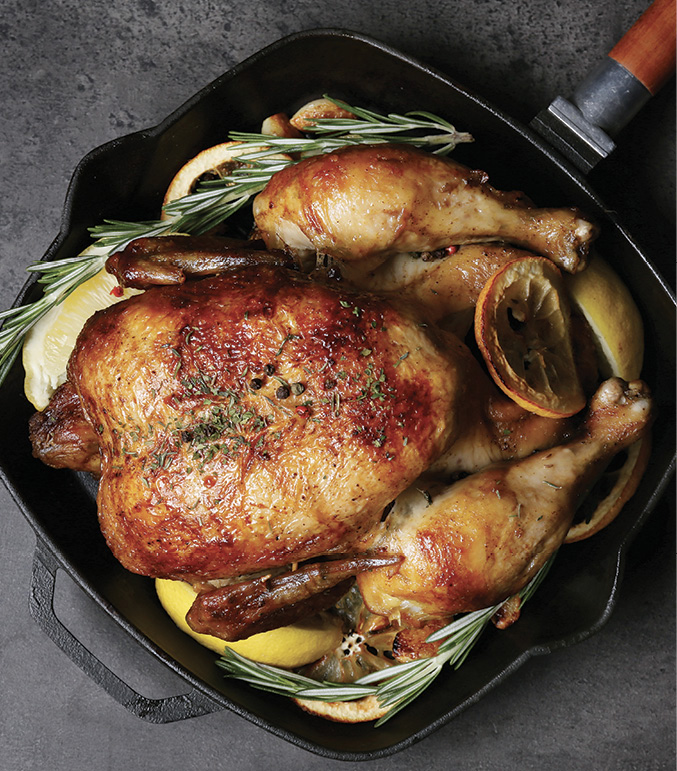
1. Rub the entire surface of the chicken with about 2 teaspoons of kosher salt. Place the salted chicken and lemon juice in a resealable plastic bag, seal the bag, and shake it gently to distribute the lemon juice. Refrigerate for 2 to 8 hours to marinate.
2. Remove the chicken from the marinade and gently pat dry. Season the cavity generously with salt and pepper, then stuff with fresh herbs. Rub the skin with olive oil, then season generously all over with salt and pepper. Truss the chicken or tie the legs with twine.
To roast in a slow cooker:
1. Roll aluminum foil into three balls, each about 2 inches in diameter, and place them in the bottom of your slow cooker. Place the chicken, breast side up, on top of the foil balls so that it’s not sitting directly on the bottom of the slow cooker.
2. Cover the slow cooker, set it to HIGH, and cook for 2½ to 3½ hours; or set to LOW and cook for 5 to 7 hours, until the chicken is cooked through and an instant-read thermometer inserted into the thickest part of the thigh reads 165°F.
3. Heat the honey in the microwave or in a small saucepan until liquefied, then generously brush it onto the top and sides of the chicken. If the slow cooker is set to low, turn it to high and continue to cook for another 10 to 15 minutes.
4. To crisp the skin, carefully transfer the chicken to a baking sheet or baking dish and place under the broiler for 3 to 5 minutes, keeping an eye on the honey, which can burn if left for too long.
5. Remove the twine and transfer the chicken to a platter or carving board. Allow to rest for 10 minutes.
6. Serve with lemon wedges.
To roast in the oven:
1. Preheat the oven to 450°F.
2. Place the chicken in a small roasting pan fitted with a rack or in a large cast-iron skillet. Roast for 20 minutes, then lower the oven temperature to 350°F and roast for another 45 minutes.
3. Heat the honey in the microwave or in a small saucepan until liquefied, then generously brush it onto the top and sides of the chicken. Roast for another 10 to 15 minutes, until an instant-read thermometer inserted into the thickest part of the thigh reads 165°F.
4. Remove the twine and transfer the chicken to a platter or carving board. Allow to rest for 10 minutes.
5. Serve with lemon wedges.
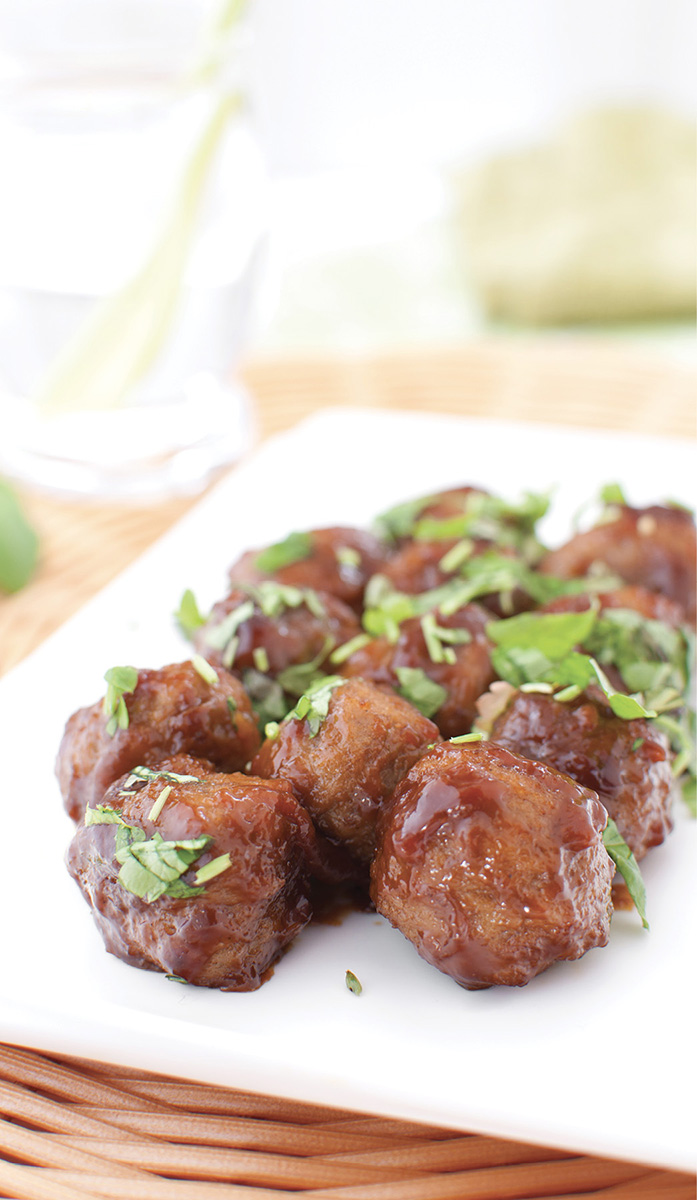
HONEY-HOISIN MEATBALLS
These meatballs are the little black dress of the ground meat world. They just work, no matter what. What I mean is this: they make a great weeknight dinner—add rice and some steamed greens—but they’re also fabulous party fare, served on toothpicks alongside a cocktail. Plus, they’re great finger food for little ones who are just getting going on the self-feeding front. Sweet, savory, complex, and super simple to make, they’re ready in less than half an hour. You can make them big; you can make them small. You can double the batch and freeze half, because they reheat like a dream and will undoubtedly save your butt one day when you find yourself faced with a hungry family and—somehow—no dinner plan. Oh, and the leftovers? Well, if you have any, they’ll definitely find a good home in a sandwich.
Makes about 24 meatballs
MEATBALLS:
1 pound ground beef, pork, turkey, or a combination
1 tablespoon hoisin sauce
2 tablespoons soy sauce
1 tablespoon minced fresh ginger
2 garlic cloves, minced
1 scallion, thinly sliced
1 teaspoon toasted sesame oil
1 tablespoon honey
½ cup panko bread crumbs
1 large egg, lightly beaten
GLAZE:
¼ cup hoisin sauce
1 tablespoon ketchup
2 tablespoons honey
2 tablespoons rice vinegar
1 teaspoon toasted sesame oil
1 tablespoon soy sauce
1. Adjust the oven rack to the center position and preheat the oven to 375°F.
2. Place all the meatball ingredients in a large mixing bowl and, using your hands, mix together until blended.
3. Form the meat mixture into 1- to 1½-tablespoon-size meatballs.
4. Place the balls about an inch apart on a parchment-lined baking sheet. Bake for 15 to 20 minutes, until cooked through.
5. Meanwhile, combine all the glaze ingredients in a small saucepan. Bring to a simmer over medium heat, stirring frequently, and cook for 5 to 7 minutes, until the mixture is slightly thickened. Set aside.
6. Brush or pour the glaze over the meatballs. Serve.
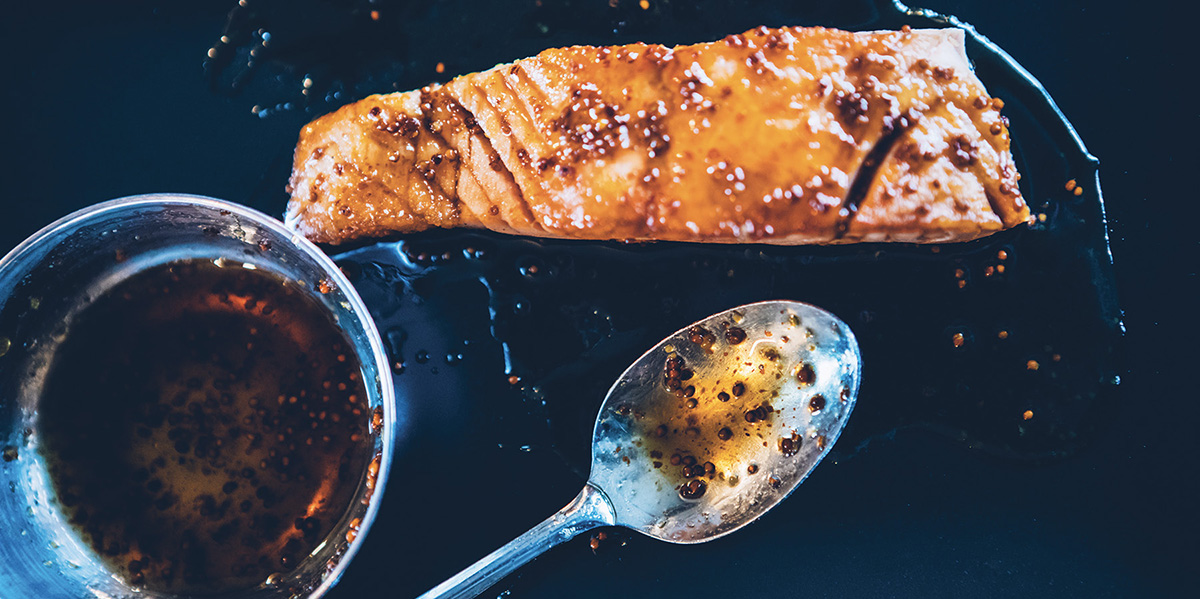
SHEET-PAN HONEY MUSTARD SALMON
I dig one-dish meals. Dinner in the slow cooker, one-pot pasta suppers, casseroles, and main dish soups—I love ’em all. It may not seem very chef-y of me to say so, but my favorite of the one-stop-dinnertime-shopping methods just might be the sheet-pan dinner, wherein all of a meal’s components are dumped onto a sheet pan, roasted to perfection, and served. It’s a fast and healthy way to get a meal on the table and—the best part—there’s almost no cleanup. One pan, people. One. Pan. Here I suggest pairing sweet and tangy salmon with thinly sliced potatoes and green beans, but feel free to swap them out for accompaniments that suit your taste, such as asparagus and sweet potatoes or zucchini and chickpeas. Just make sure to select ingredients that will cook at roughly the same rate as the salmon.
Serves 4
¼ cup honey
3 tablespoons Dijon mustard
1 tablespoon apple cider vinegar
1 teaspoon kosher salt
Freshly ground black pepper
Four 6-ounce skin-on salmon fillets, preferably about 1 ¼ inches thick
1 pound green beans, trimmed
8 red potatoes (really, any potato will work), cut into ¼-inch-thick slices
1 tablespoon olive oil
1. Preheat the oven to 425°F. While the oven is heating, place a foil-lined rimmed baking sheet on the center rack of the oven.
2. Place the honey, mustard, vinegar, ½ teaspoon of the salt, and pepper to taste in a small bowl and whisk. Pour into a resealable plastic bag and add the salmon. Seal the bag and shake gently to distribute the marinade. Refrigerate for 10 to 15 minutes.
3. When the oven comes to temperature, carefully remove the hot baking sheet and place the green beans and potatoes on the foil. Toss the vegetables with the olive oil and remaining ½ teaspoon of salt. Using a spatula or large spoon, gently slide the vegetables to the sides of the pan to make a space for the salmon in the center of the pan. Remove the salmon from the marinade and place, skin side down, on the pan.
4. Roast for 10 to 12 minutes, until the salmon is cooked through and flakes easily.
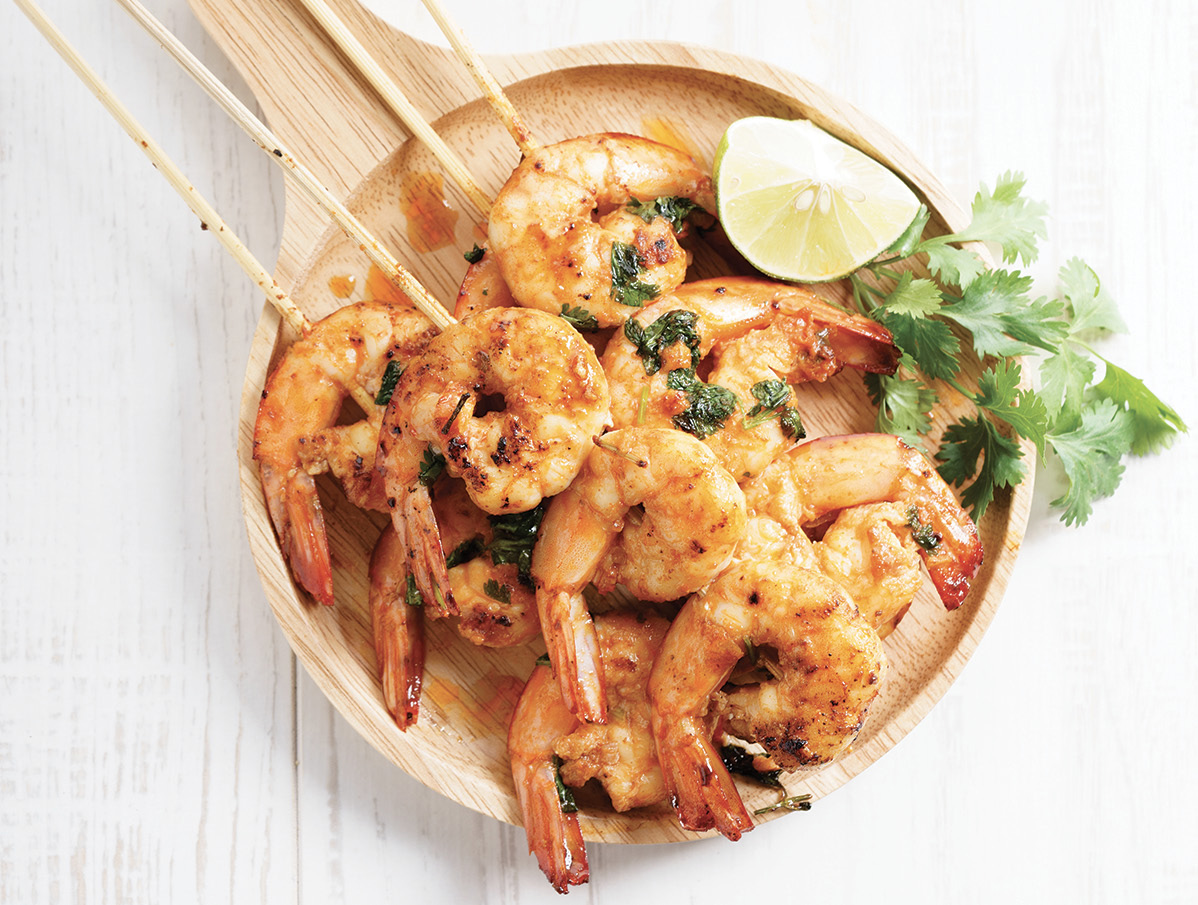
GARLIC HONEY SHRIMP SKEWERS
It is an indisputable fact that food on a stick is more fun to eat than food not on a stick. It is also an indisputable fact that shrimp gone wrong is more wrong than many other kinds of wrong. Right? Shrimp that’s rubbery, tough, dry or mushy—it’s just so very bad. But these shrimp? These shrimp are flavorful, plump, tender, sweet, and spicy. And they’re on a stick, so they’re fun. Fun shrimp! Woo-hoo! The sauce is what I’d call Korean-ish, as I suggest using gochujang, a Korean red pepper paste, to get the hot part of the sweet-hot thing happening. If you can’t get your hands on gochujang (available at just about any Asian market and well-stocked grocery store), feel free to sub a tablespoon of red pepper flakes mixed with ¼ teaspoon of soy sauce and ¼ teaspoon of honey. You could even just give it a healthy squirt of sriracha. The flavor won’t be exactly the same, but it’ll still be damn good. One quick tip when grilling shrimp: packing the shrimp tightly together on the skewers helps to keep them from drying out, so don’t be afraid to get cozy while kebab-ing.
Serves 4
1½ pounds large shrimp, peeled and deveined (frozen and thawed is okay)
¼ teaspoon baking soda
1 teaspoon kosher salt
1 tablespoon gochujang (see headnote)
1 tablespoon honey
2 teaspoons rice vinegar
2 teaspoons soy sauce
½ teaspoon toasted sesame oil
1 small clove garlic, minced
½ teaspoon grated fresh ginger
Olive oil for brushing
1 teaspoon sesame seeds
2 tablespoons thinly sliced scallions
1. Have ready eight long metal or wooden skewers. If using wooden, soak in water for at least 2 hours to prevent their burning on the grill.
2. Combine the shrimp, baking soda, and salt in a medium bowl. Toss to coat. Thread the shrimp onto paired skewers (both skewers should pass through each shrimp, to keep it flat), pushing the shrimp together along the skewers so that no space remains between the shrimp. You should have four sets of shrimp-laden skewers in all. Refrigerate for 30 minutes.
3. Meanwhile, combine the gochujang, honey, vinegar, soy sauce, sesame oil, garlic, and ginger in a small bowl. Mix well.
4. Heat a cleaned and oiled outdoor grill to the highest heat setting (or heat a grill pan on your indoor stove for 10 minutes). Place the shrimp directly onto the grill and cook, turning occasionally, until the shrimp are just beginning to char, about 3 minutes. Brush the glaze onto both sides of the shrimp, and cook for no more than 60 to 90 seconds more, until the shrimp are opaque and just cooked through.
5. Transfer to a platter, brush with any remaining glaze, and top with sesame seeds and scallions. Serve immediately.
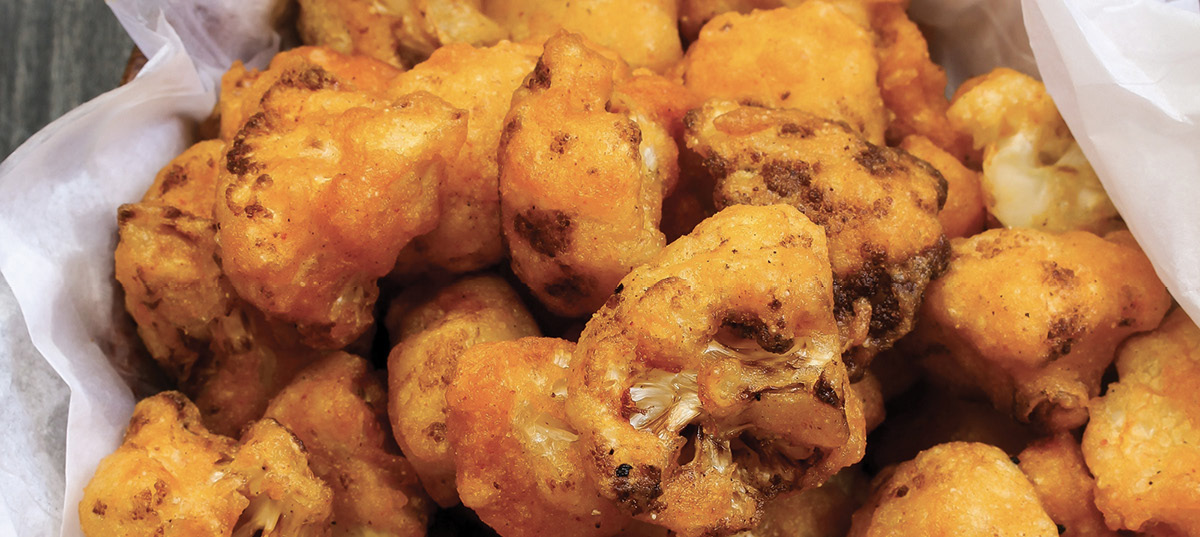
CHICKEN-FRIED CAULIFLOWER WITH HOT HONEY DRIZZLE
We’ve been trying to eat a more plant-based diet in our house lately. Health, the environment, yadda yadda—it’s a good idea. And it seems to suit us, as we are—in general—a household of willing fruit and vegetable eaters. We haven’t eschewed animal products altogether, but we’ve definitely cut way back. On animal products. Not on flavor. Take this cauliflower dish, for example. I spent some formative childhood years living in the South and have a love for fried chicken that runs deep, so I know when it’s good. I also know that to fry something other than chicken—say, cauliflower—and then claim it’s “as good as fried chicken” is completely ridiculous. I’m not making that claim. (I’m not ridiculous!) But this cauliflower—fried a bit as one would fry chicken—is delicious: crunchy, salty, surprisingly meaty, and, thanks to the hot honey drizzle, sticky, tangy, spicy, and—dare I say it—finger lickin’ good.
Serves 4
1 cup buttermilk
1 tablespoon salt
¼ cup hot sauce (optional)
1 head cauliflower, cut into 1½-inch florets
3 large eggs, lightly beaten
1½ cups all-purpose flour
2 teaspoons freshly ground black pepper, or more to taste
¼ teaspoon cayenne pepper
½ teaspoon garlic powder
½ teaspoon onion powder
½ teaspoon smoked paprika
1 teaspoon dried oregano
1 tablespoon baking powder
Vegetable or corn oil for frying
HOT HONEY DRIZZLE:
¼ cup honey
¼ teaspoon cayenne pepper, or more to taste
1. Combine the buttermilk, 1 teaspoon of the salt, and the hot sauce (if using) in a large, airtight container. Add the cauliflower florets; turn to coat. Cover and refrigerate for 2 hours or overnight.
2. When ready to fry, set up a dredging station: Put the beaten eggs and flour into separate shallow bowls or plates. Mix the remaining 2 teaspoons of salt and the pepper, cayenne, garlic powder, onion powder, paprika, oregano, and baking powder with the flour. Dip the cauliflower florets, a few at a time, into the flour mixture until coated completely. Toss the flour-coated cauliflower pieces into the eggs until they’re well coated, then return them to the flour mixture and toss again. Shake off any excess, then transfer the coated pieces to a platter or baking sheet. Let stand for 30 minutes.
3. Meanwhile, preheat a tabletop fryer or a large Dutch oven filled with 2 to 3 inches of oil to 350°F on a deep-frying thermometer. (Or follow your air fryer’s instruction manual.)
4. Working in batches of four or five pieces (don’t overcrowd the pan), fry the cauliflower for 2 to 3 minutes, until the outside is golden brown and the inside is tender.
5. Use a slotted spoon or tongs to transfer the cooked florets to a paper towel–lined tray to drain. Once all the pieces are cooked, transfer to a serving platter.
6. Prepare the honey drizzle: Place the honey in a small saucepan and warm over low heat. Stir in the cayenne, adding more if desired. Drizzle the warm honey over the cauliflower. Serve immediately.
Note: This recipe is not 100 percent plant-based, but can be easily converted as follows: instead of 1 cup of buttermilk, use 1 cup of unsweetened plant-based milk combined with 1 teaspoon of apple cider vinegar; instead of the 3 eggs, use 3 tablespoons of ground flaxseeds combined with 6 tablespoons of water.
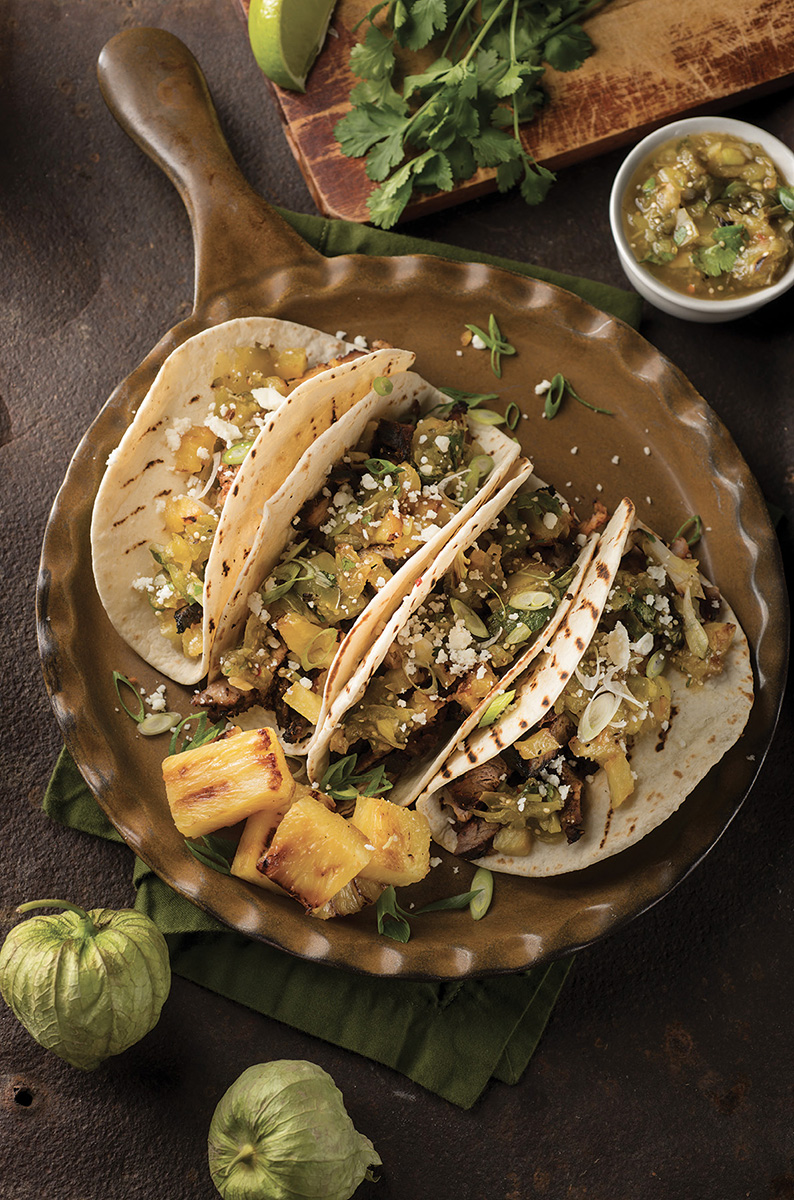
HONEY GINGER BEEF TACOS WITH PINEAPPLE SALSA
My family is pretty into tacos. I wouldn’t go so far as to describe us as “obsessed,” but I think it’s safe to say that we’re taco superfans. I make tacos for dinner at least once a week and the mere sight of the toppings spread on the table never fails to elicit actual squeals of delight from my kids upon realizing that tacos are coming. Somewhat recently, however, I realized I was in a bit of a taco rut, rarely veering away from my children’s—ahem—“selective” preference for the ground turkey/shredded chicken filling I was making all the time. My people would occasionally go for ground beef or maaaaybe an egg taco here or there, but the chicken/turkey pothole was real and I was B-O-R-E-D. These complex, faintly Asian-y, thoroughly delicious tacos saved me from myself and brought back the excitement to taco night. I’m a big fan of a long, slow braise on a Sunday afternoon, especially when the days are shorter and the weather is crisp. The smell! Mmmmmm. And this recipe certainly scratches that itch. But, in case you’re wondering, yes—this dish is definitely slow cooker–friendly, so it’s also thoroughly doable on a weeknight (Taco Tuesday isn’t just for the school cafeteria menu, you know) and is a welcome no-oven summertime supper. See the recipe notes for a how-to.
Serves 4 to 6
BEEF:
One 2- to 3-pound boneless beef chuck roast, or 2 to 3 pounds boneless short ribs
Kosher salt
Freshly ground black pepper
2 tablespoons olive oil
1 small onion, thinly sliced
5 garlic cloves, minced
1 tablespoon grated fresh ginger
1 cup beef or chicken stock
1/3 cup soy sauce
¾ cup honey
Corn or flour tortillas
SALSA:
2 cups fresh pineapple, peeled, cored, and diced small
1 teaspoon finely minced jalapeño pepper
¼ cup diced red bell pepper
¼ cup minced red onion
½ cup cilantro, roughly chopped
Zest and juice of 1 small lime
⅛ teaspoon kosher salt
1. Preheat the oven to 325°F.
2. Season the beef generously on all sides with kosher salt and black pepper.
3. Heat the olive oil in a large Dutch oven over medium-high heat until shimmering. Cook the beef until well browned on all sides, 8 to 10 minutes total. Transfer to a plate.
4. Add the onion to the Dutch oven and cook until it begins to soften, about 5 minutes. Add the garlic and ginger and cook for another minute.
5. Return the roast to the Dutch oven. Add the stock, soy sauce, and honey and bring to a simmer.
6. Place the lid on the pot and transfer to the oven. Cook, turning occasionally, for 3½ hours, or until fork-tender.
7. To prepare the salsa, place all the salsa ingredients in a small bowl. Toss well to combine.
8. Remove the beef from the oven and allow it to rest for 10 minutes, then shred with two forks. Serve with warm tortillas (heated in a dry skillet for 30 seconds) and pineapple salsa.
To prepare in a slow cooker: Lightly grease the bottom and sides of a slow cooker. Add the beef (seasoned generously with salt and pepper), then add the onion, garlic, ginger, soy sauce, honey and only ½ cup of stock to the slow cooker and cook on high for 3 to 4 hours, or until fall-apart tender.
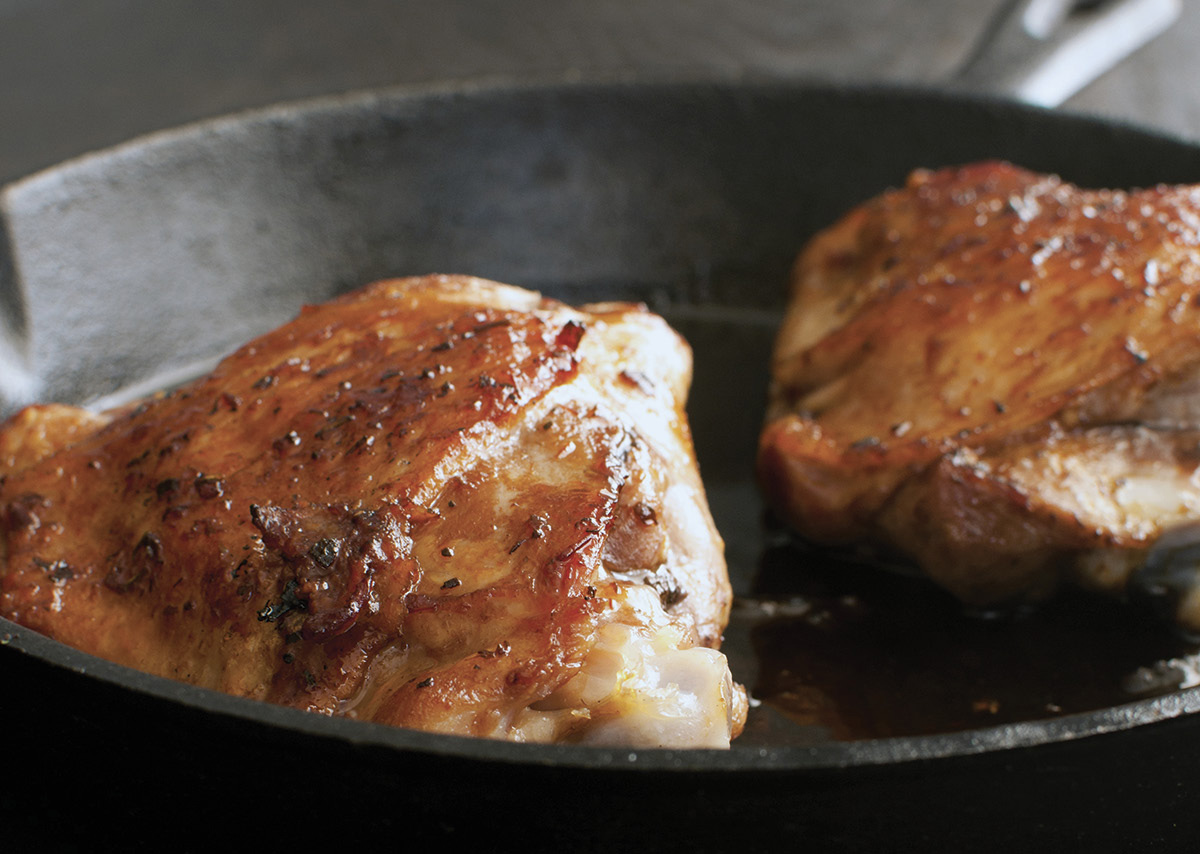
HONEY LIME SKILLET CHICKEN THIGHS
I’ve never really understood the popularity of chicken breasts. Sure, people say they’re “healthier” than dark meat (because they’re lower in fat, but the difference is so negligible, people!) and some would argue in favor of their versatility, but I have to go with thighs when choosing my chicken (and I think you should, too). Here’s why: they’re juicer, much more flavorful, and, frankly, much harder to mess up. Plus, they’re typically less expensive—a bonus. This recipe gives my favorite and too-often-overlooked piece of chicken the love it deserves. Start it, skin side down, in a cold skillet so it gets nice and crispy. Then, hoist up the heat and roast it in the oven until it’s perfectly cooked. Using a single skillet and everyday ingredients, this is definitely a fine answer to weeknight busyness.
Serves 4
2 pounds bone-in, skin-on chicken thighs (4 to 6 thighs)
¼ cup fresh lime juice
2 tablespoons honey
1 tablespoon soy sauce
2 tablespoons olive oil
½ teaspoon salt
Freshly ground black pepper
2 scallions, white and green parts, thinly sliced
1. Arrange a rack in the middle of the oven and preheat the oven to 400°F.
2. Combine the lime juice, honey, and soy sauce in a small bowl. Mix well.
3. Drizzle the chicken thighs with the olive oil and season well with the salt and pepper.
4. Place the thighs, skin side down, in a single layer in a large, cold cast-iron skillet. Place the skillet over medium heat and cook for 14 to 15 minutes, until the skin is crispy and browned. Turn the chicken and pour the honey mixture over the thighs.
5. Transfer the skillet to the oven and roast until the chicken reaches an internal temperature of 165°F, about 15 minutes. Serve immediately, garnished with the scallions.
NEXT-LEVEL GRILLED CHEESE WITH HONEY
Host: Welcome to Food Jeopardy, America’s most popular answer-and-question show! Yes, we give the answers, and then it’s up to you to come up with the questions. Contestants, put your hands on the buzzers, but please don’t ring in until the answer is revealed. Our first category is Comfort Foods and—ready—here’s your first answer: Rainy days, a head cold, a hangover, and a broken heart.
(ding-ding)
Contestant 1: What are “predicaments that can only be cured by a grilled cheese sandwich?”
Host: You are absolutely correct. Congratulations!
Yes, it’s a game show–worthy fact that grilled cheese is pretty much the cure for whatever ails you. And while one could very reasonably argue that classic grilled cheese is a nearly perfect food, requiring little to no improvement, it is actually possible to take this humble fare up a notch with just a few teensy twists. In this recipe, Gruyère and honey combine to bring sweet and savory together in perfect harmony. It’s so simple, but also crazy good. Take this classic even further by stuffing it with caramelized onions or apple slices, or by switching up the cheese for fresh mozzarella, Taleggio, Manchego, or whatever you like.
Serves 4
4 tablespoons (½ stick) unsalted butter, at room temperature
8 slices sourdough bread or another bread of your choosing
1 pound Gruyère, sliced
About 4 teaspoons honey for drizzling
Coarse sea salt
Coarsely ground black pepper
1. Heat a griddle or two large skillets over medium heat until hot.
2. For each sandwich, place one-quarter of the cheese on top of one bread slice, drizzle with 1 teaspoon of the honey, and top with a second bread slice. Spread the outsides of each sandwich with 1 tablespoon of the butter.
3. Place on the griddle, lower the heat to medium-low, and cook until the undersides are golden brown, 3 to 4 minutes. Flip the sandwiches and brown the other side, 3 to 4 minutes more. Serve at once, drizzling with more honey if you like, and seasoning with coarse sea salt and fresh black pepper to taste.

