You need to perform the following steps to complete this recipe:
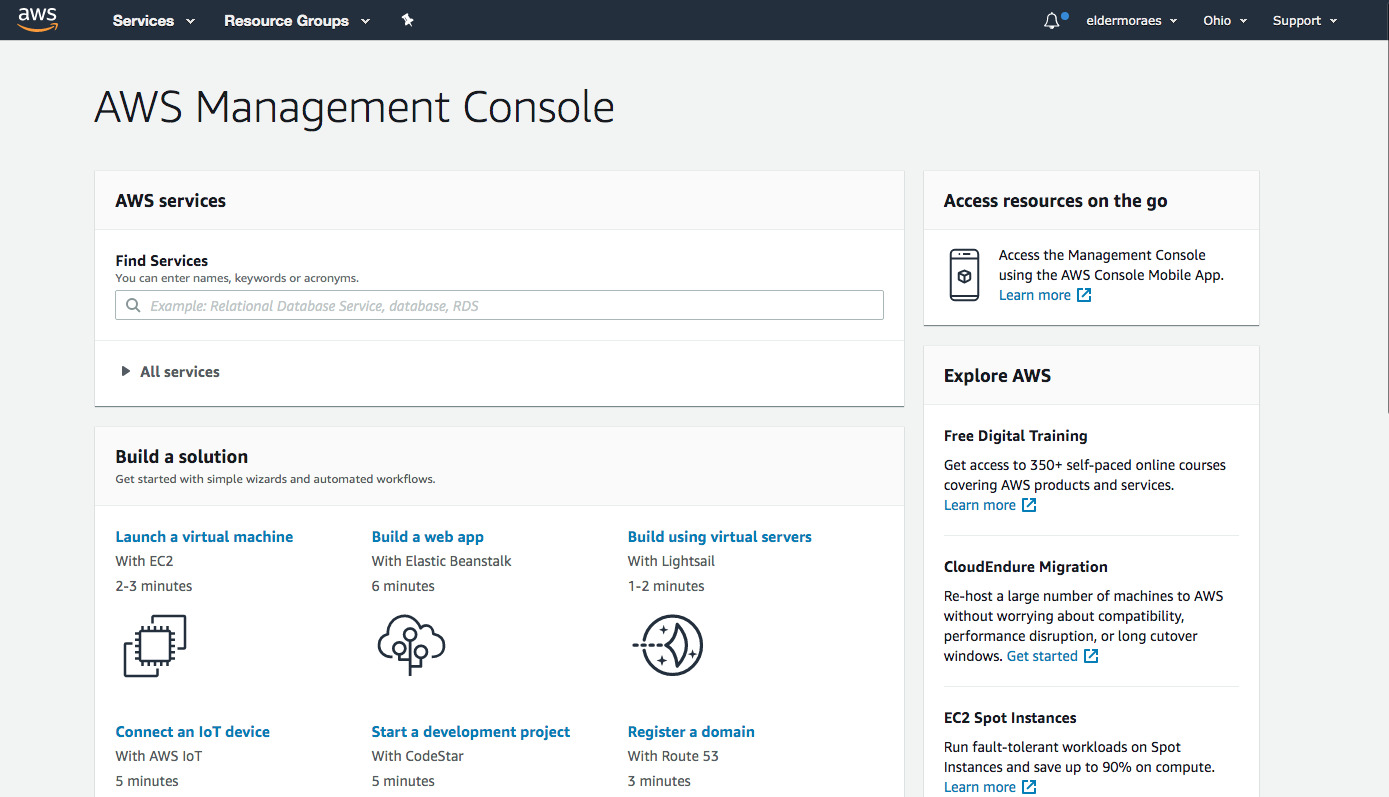
- Once you've logged in, you will see the main page for AWS, as shown in the following screenshot:
- Click on the Services menu (top left) and then Compute | ECS :

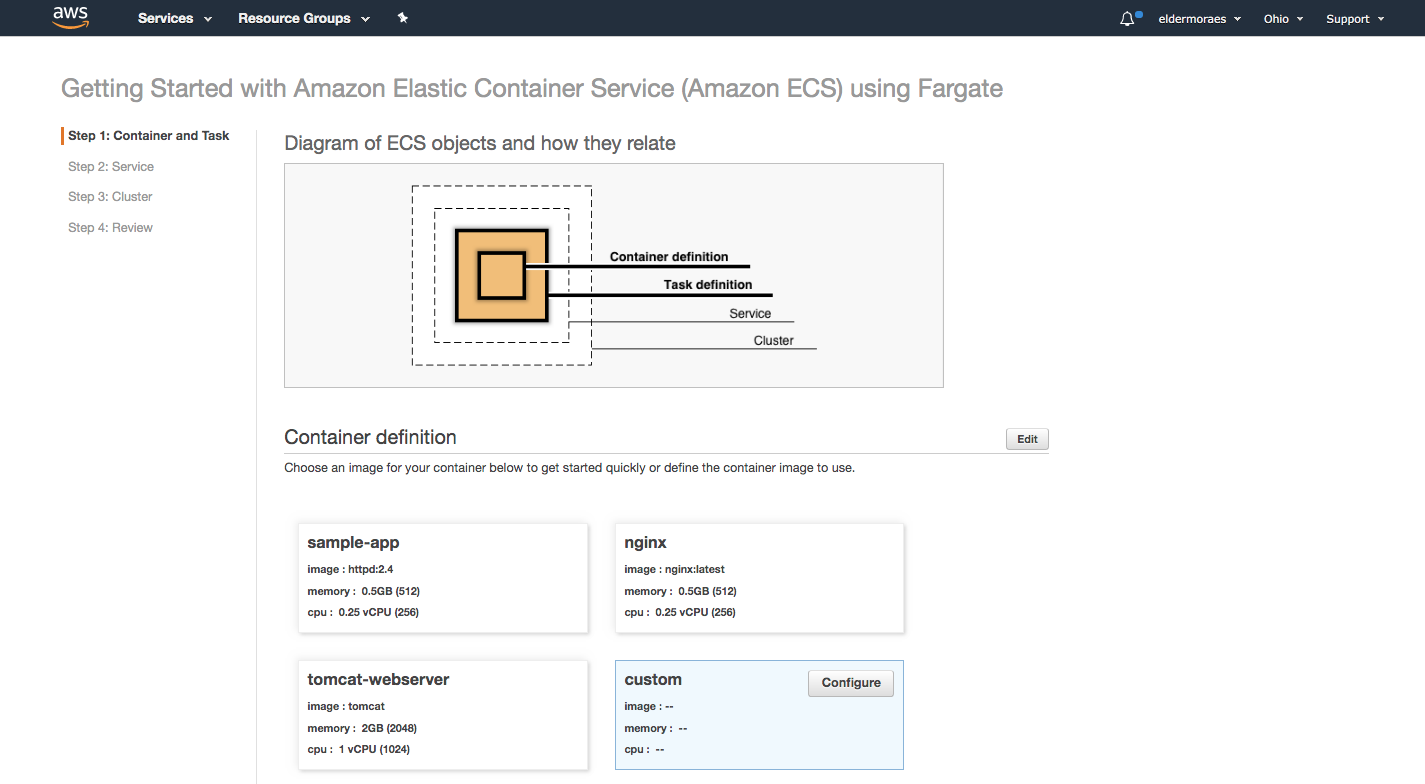
- On the page that opens, click on Get started:

- From the Container definition section, select custom and then Configure:
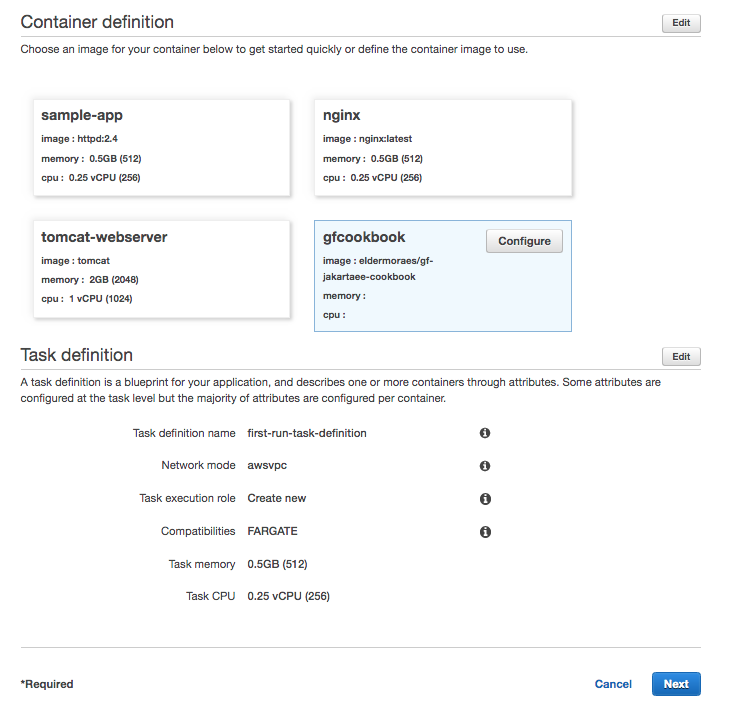
- Fill in the fields that appear. Pay special attention to the Image field, since this is where you will use our prebuilt image. Click on Update:

- Scroll down the page until you get to Port mappings. Click on Next:
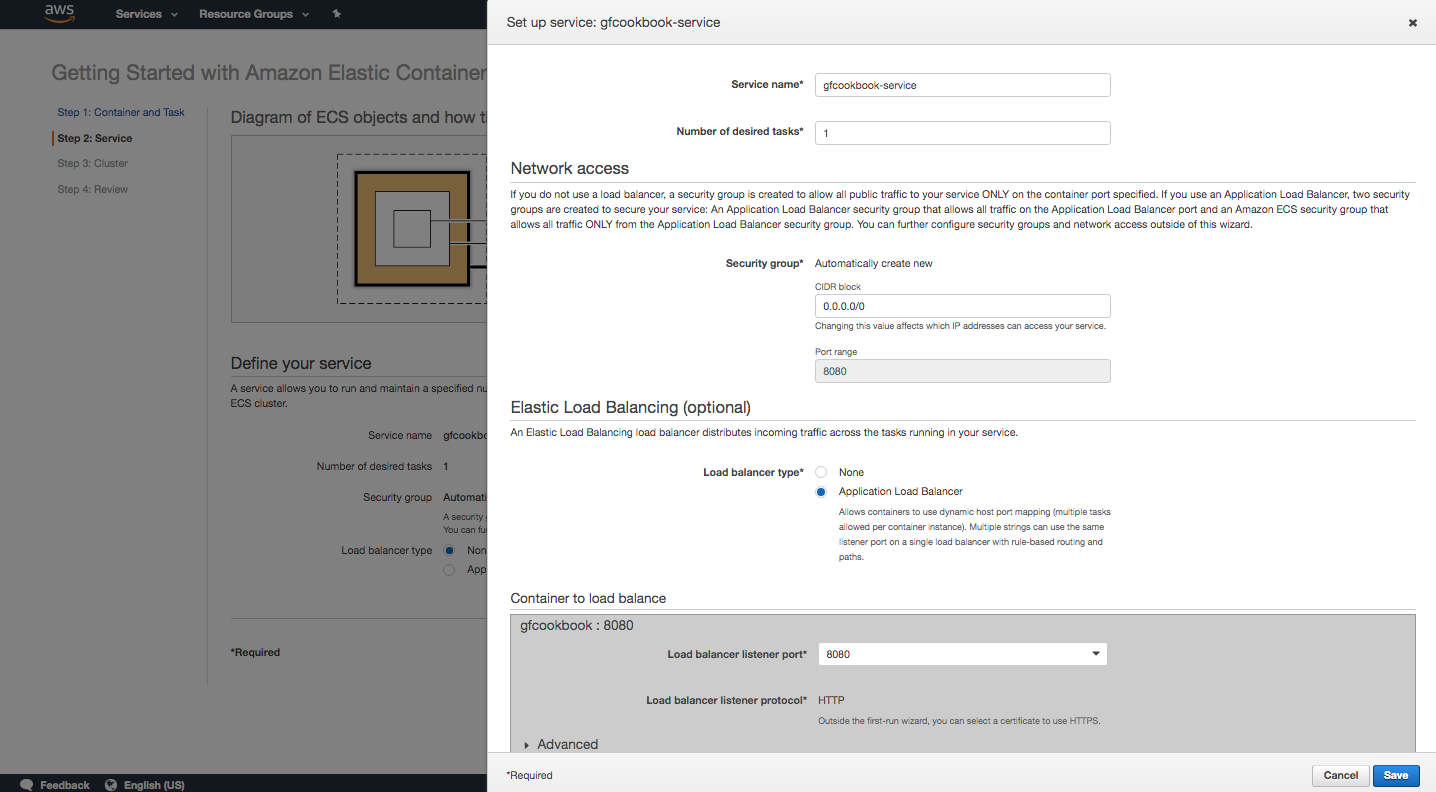
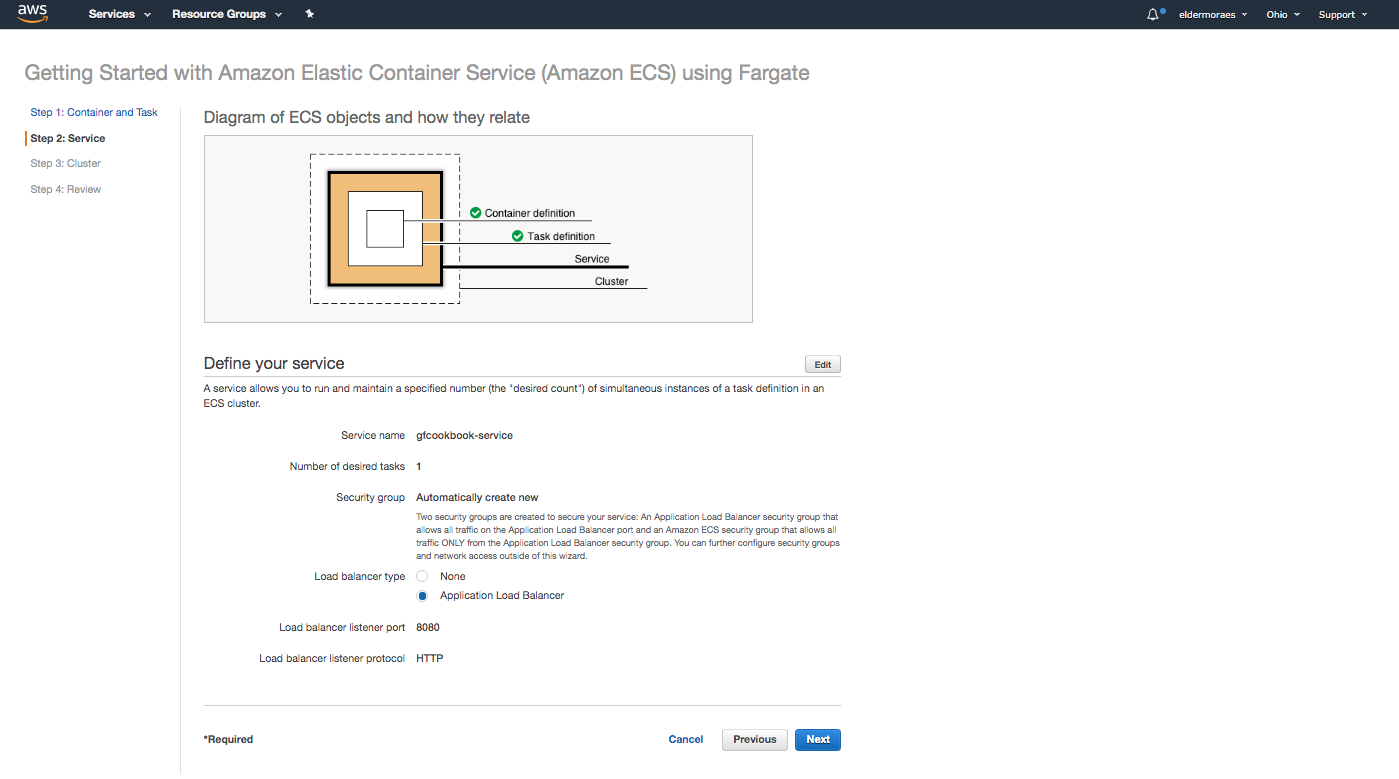
- In the Define your service section, click on Edit. The following screenshot shows the service and its network configuration:

- Select Application Load Balancer and then change Load balancer listener port to 8080. Click on Save:
- After that, click on Next:
- Configure the cluster, as follows:

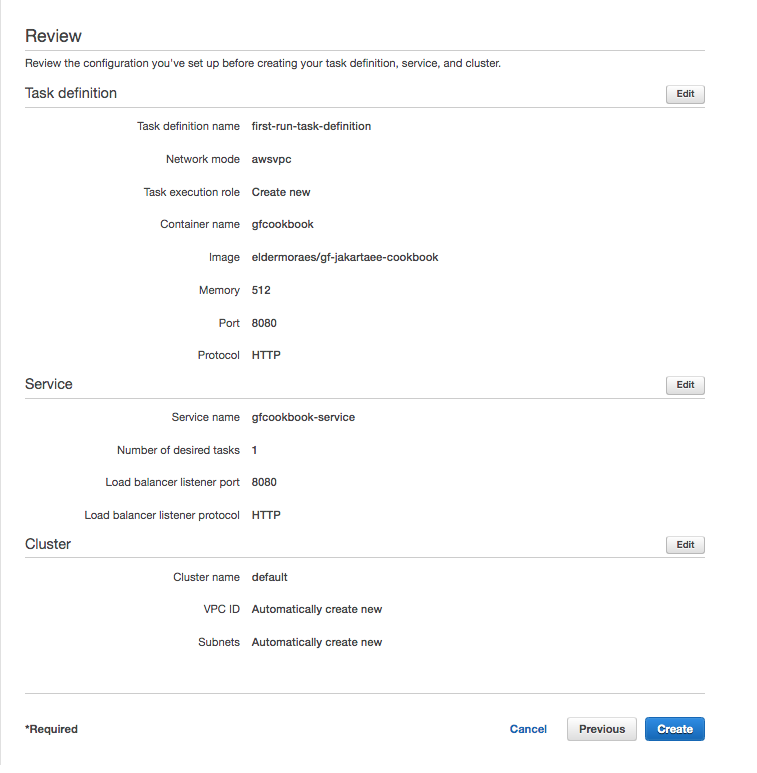
- Scroll down until you get to the launch instance and click on Create:
- You can follow the status of the process on the following page. When it's complete, click on the View service button:

- You'll see the details of your service on the following page. Click on default > label:

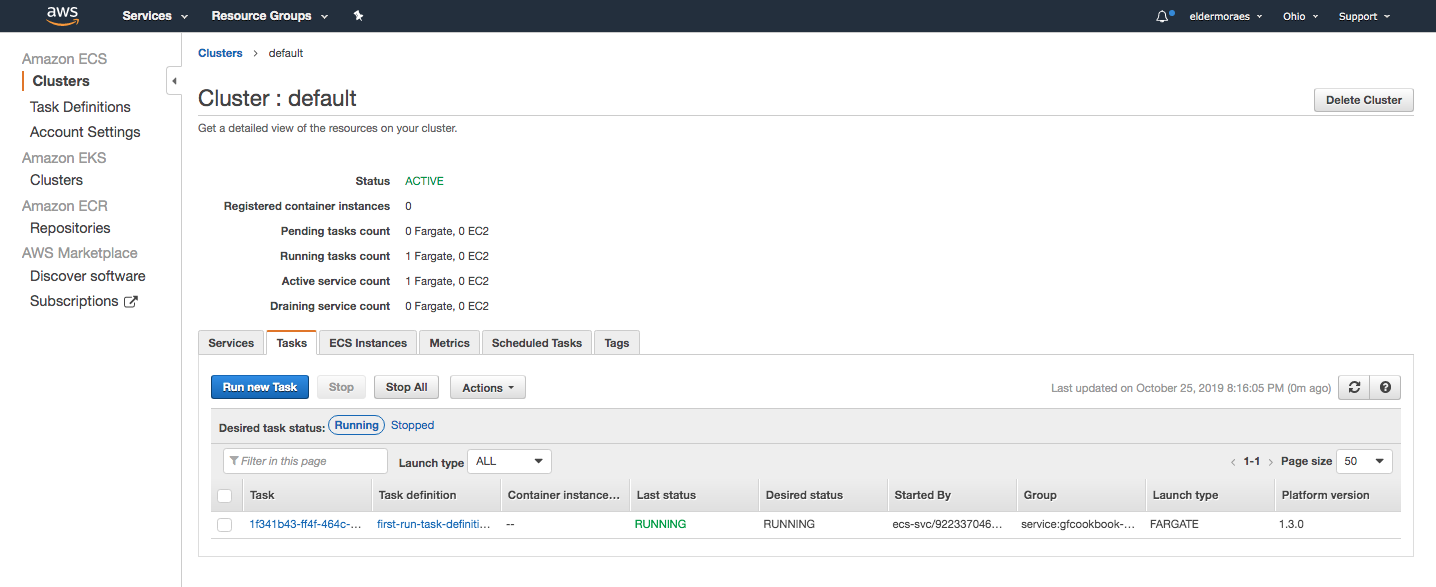
- On the page that opens, you can view more details about the cluster:

- Click on the Tasks tab to see information about the tasks and the containers that were created. Click on the task label (the first column):
- From here, you can see details about the task that has been created. Copy the Public IP address (under the Network section):

- Port 8080 has been mapped, so you will need to use http://[public-ip]:8080/app to try it out:
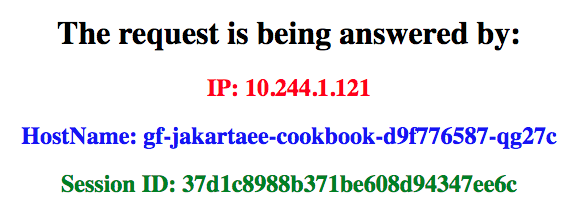
If you can see this page, then congratulations! You are now orchestrating your container in AWS.