To complete this recipe, please perform the following steps:
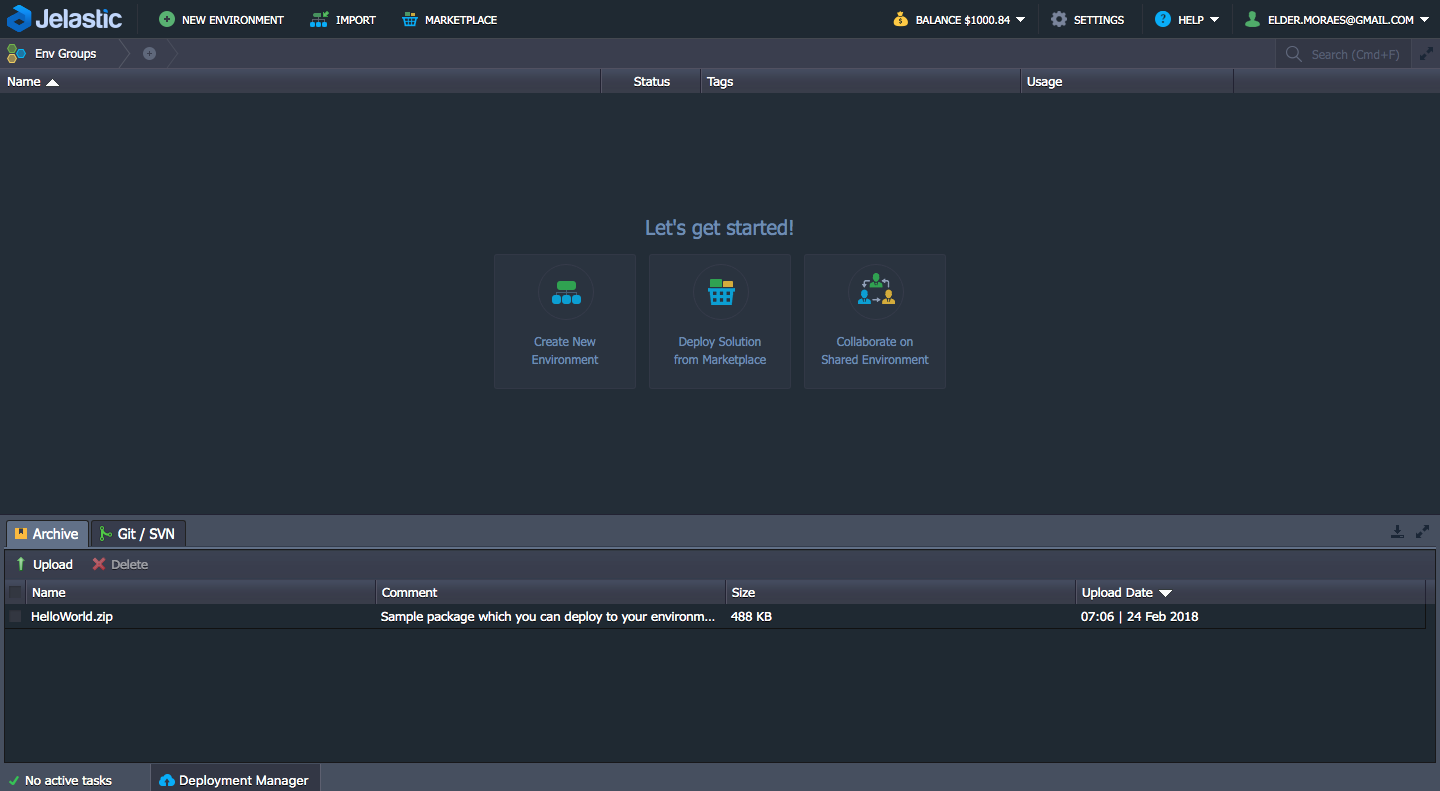
- After logging in, you will be taken to the main page of Jelastic, as shown in the following screenshot:
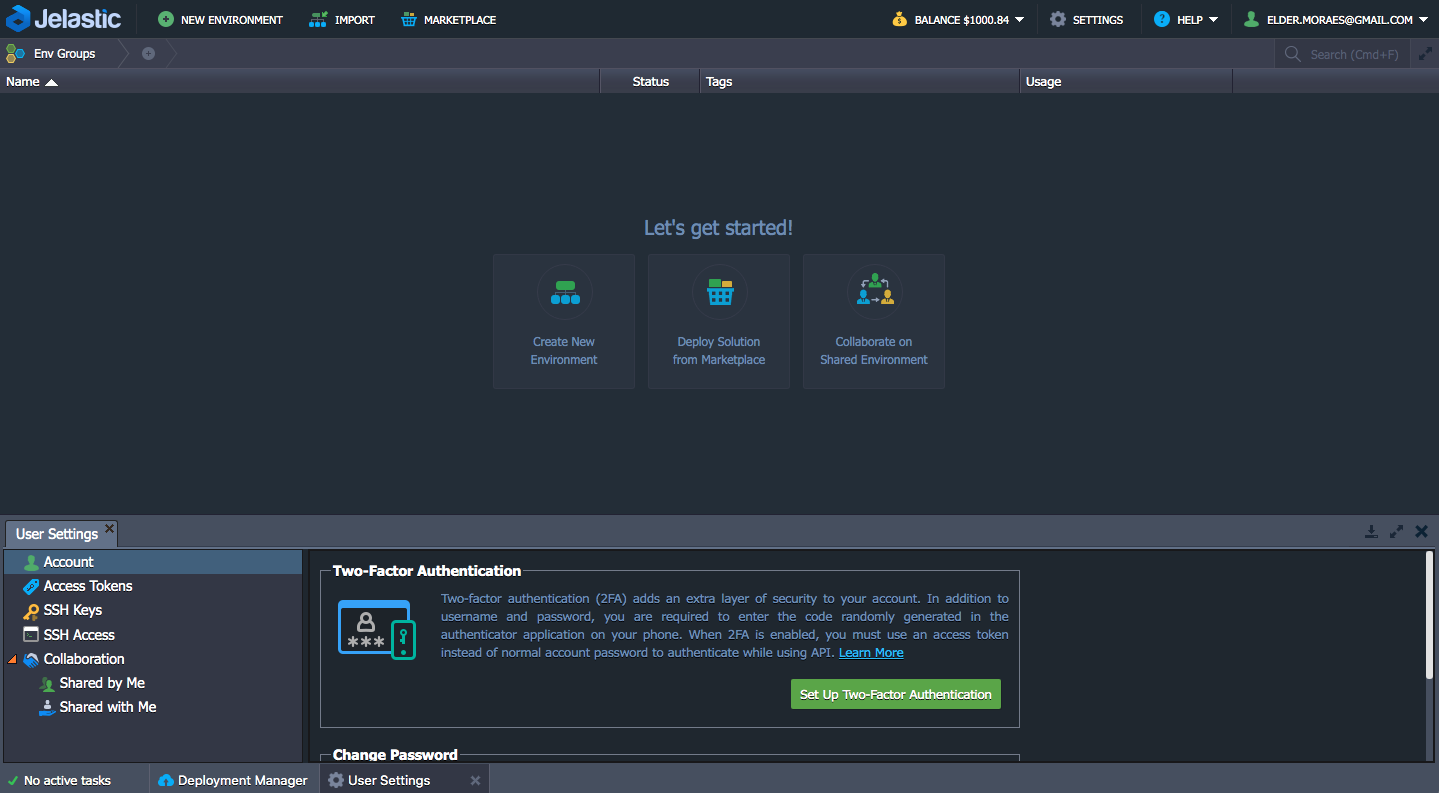
- First things first: click on the Settings button (top right). This will open the User Settings section (bottom left):
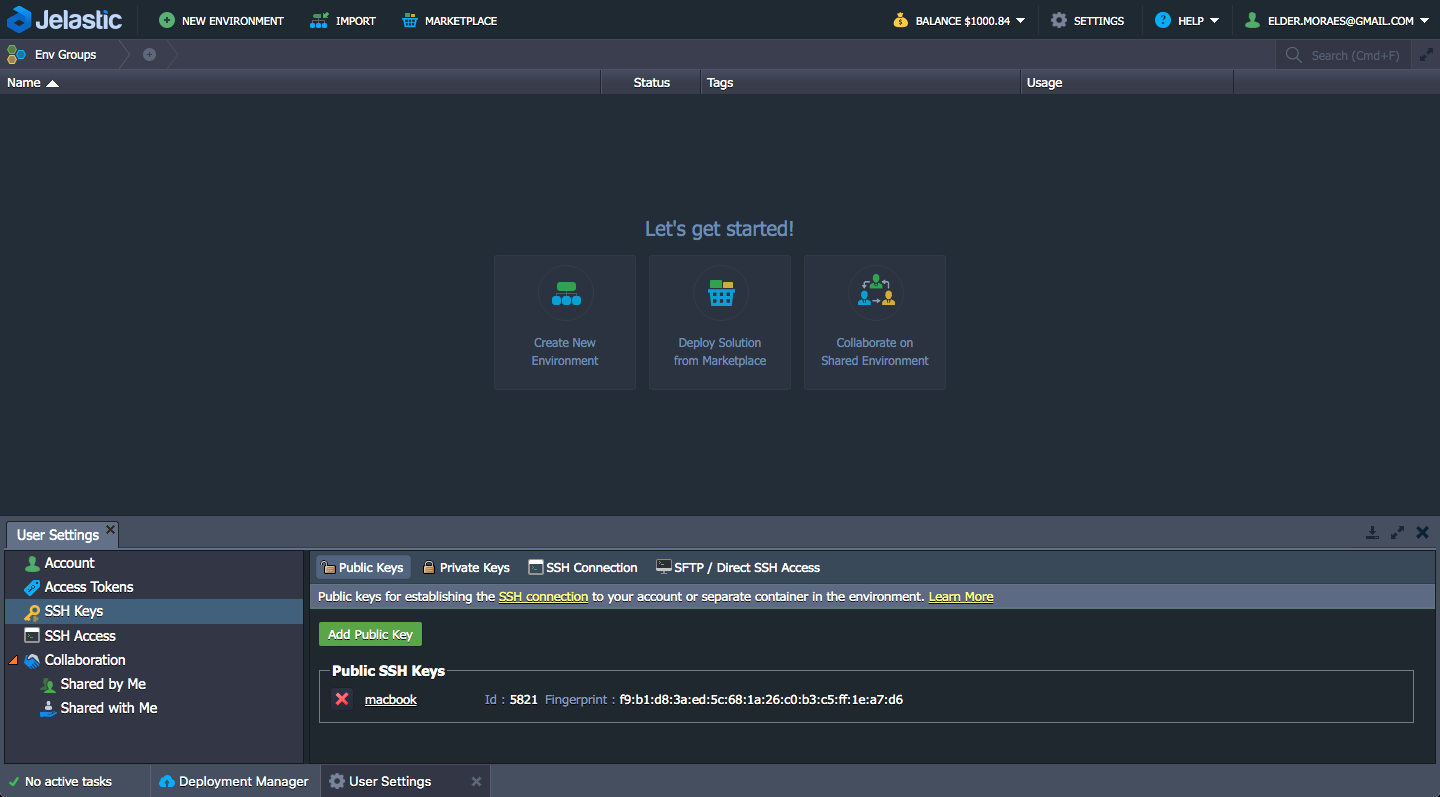
- Click on Public inside SSH Keys and upload your public SSH key:

- Make sure your SSH key has been uploaded; otherwise, you won't be able to log into the platform using SSH:
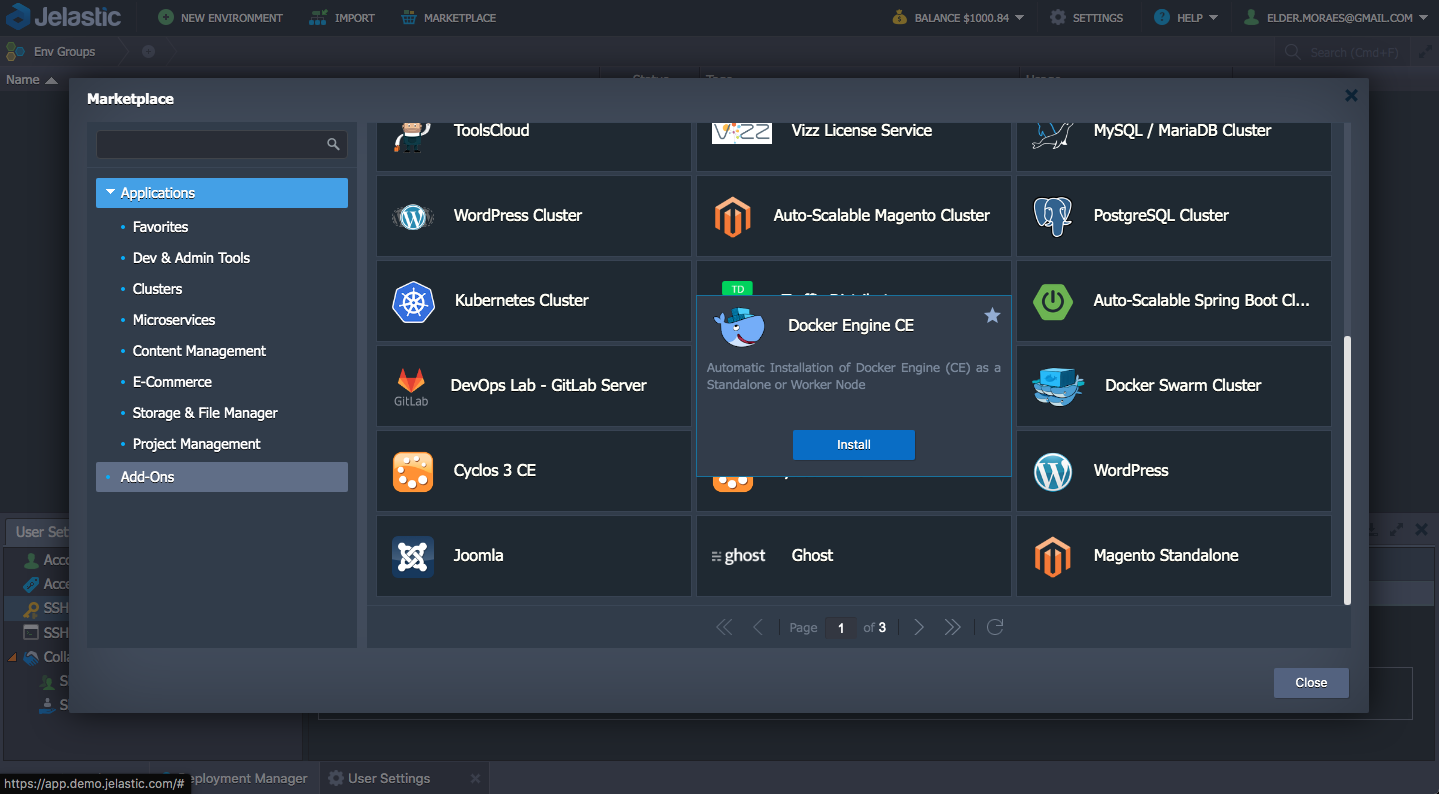
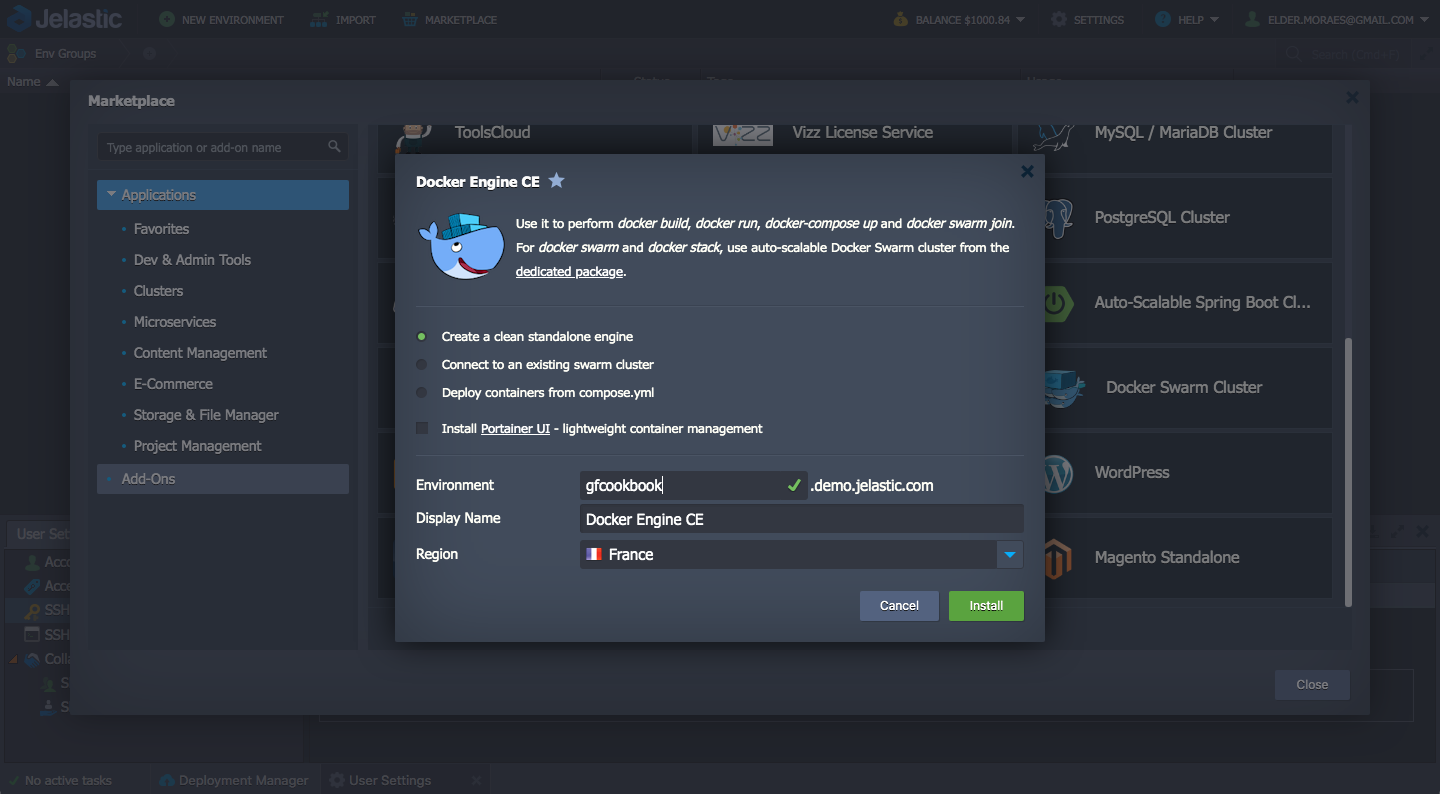
- At the top of the page, click on the Marketplace button. Find the Docker Engine CE option. Then, click on Install:
- Give this environment a name and click on Install. The following screenshot shows the Docker Engine CE configuration pop-up:
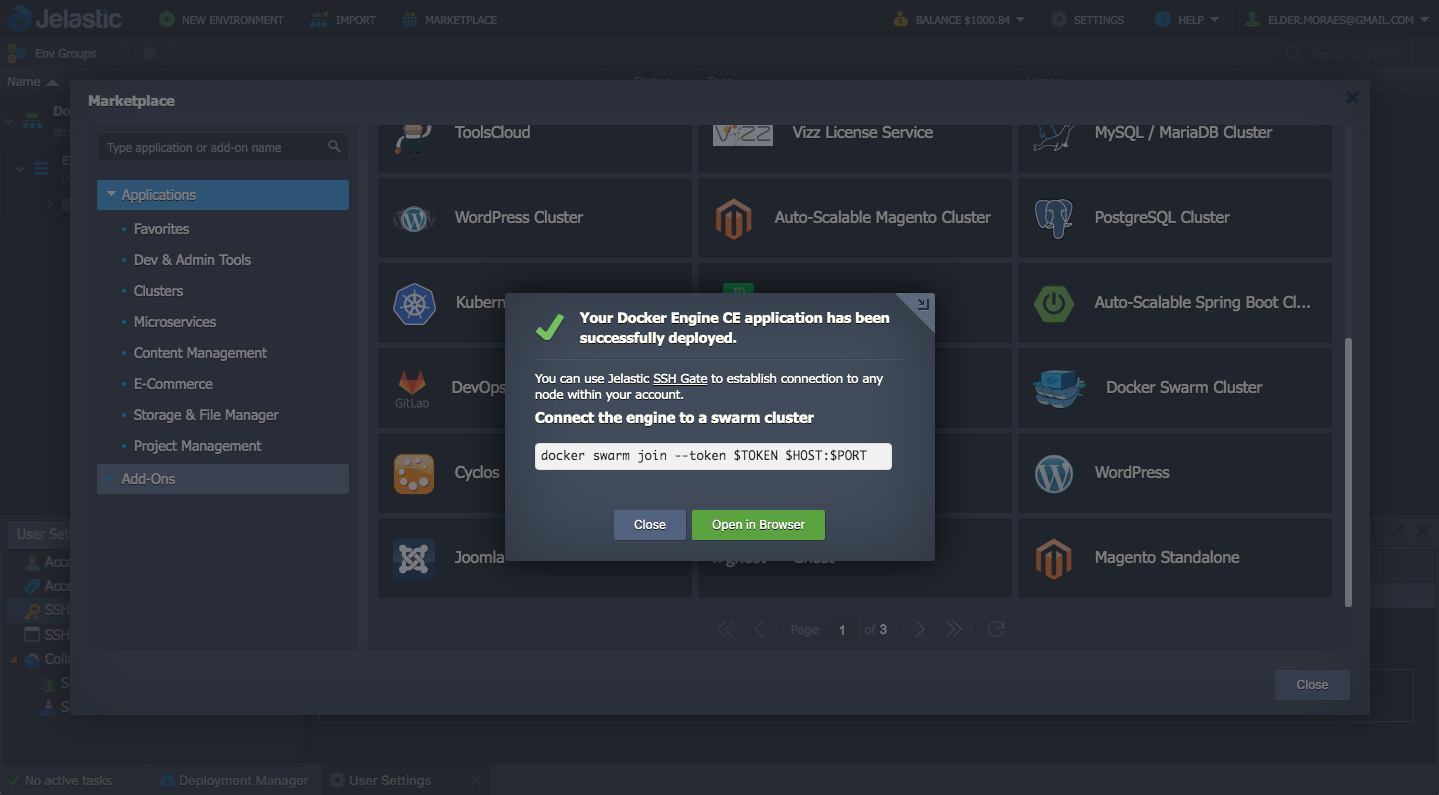
Wait until the installation is complete:

- Once installed, a pop-up will appear and provide you with the command you'll have to use to log into the platform. Copy it. The following screenshot shows the installation confirmation pop-up and the commands for connecting:
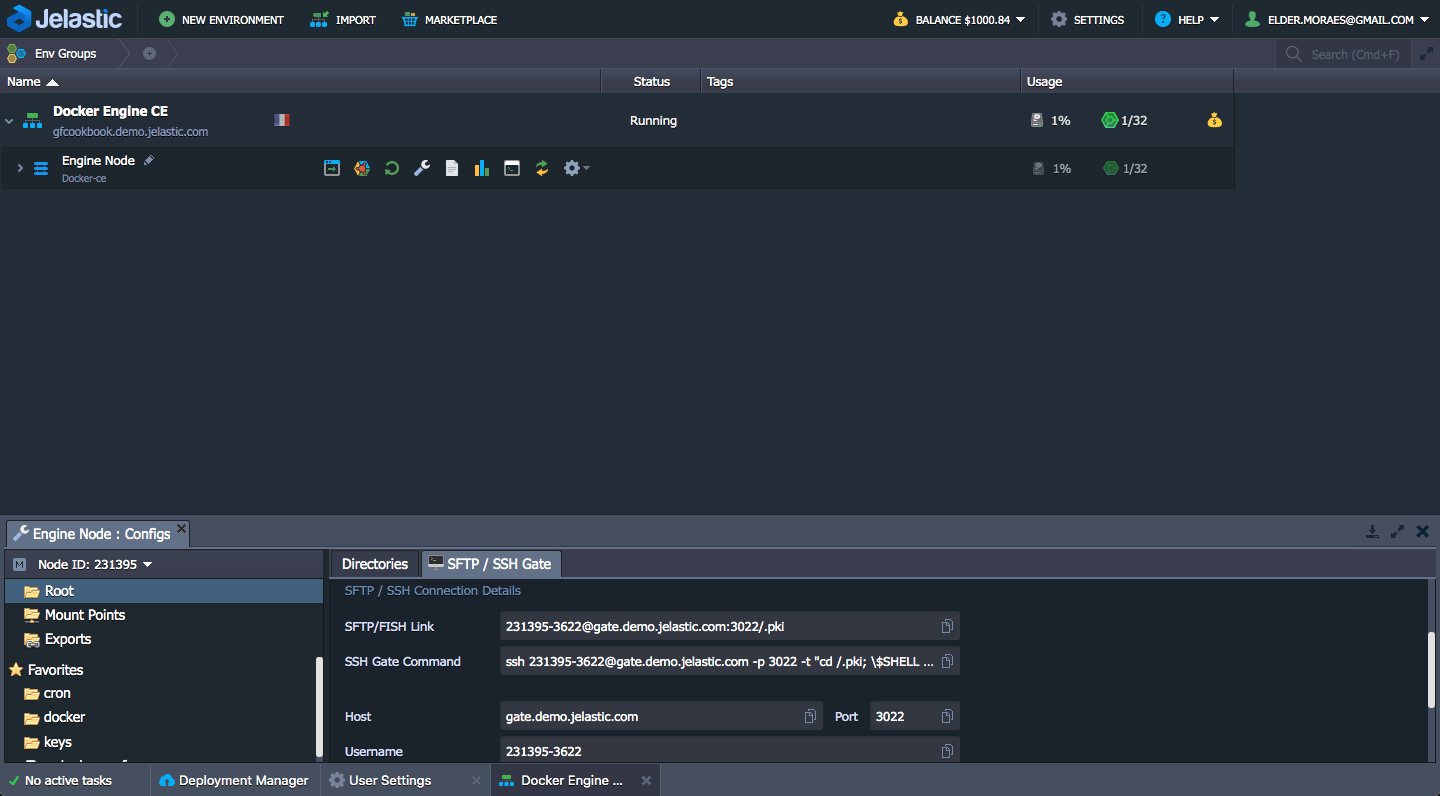
- When you are back on the dashboard, click on Engine Node and then the Config icon:

- This will open a tab panel at the bottom of the page. Click on the SFTP/SSH Gate tab. Copy the command from the SSH Gate Command field:
- Open Terminal (or Command Prompt) on your machine and paste it in:

- Now, you can just run your command to create a container:
docker run -d --name gf-jakartaee-cookbook \
    -h gf-jakartaee-cookbook \
    -p 80:8080 \
    -p 4848:4848 \
    -p 8686:8686 \
    -p 8009:8009 \
    -p 8181:8181 \
    eldermoraes/gf-jakartaee-cookbook
- Check out the container log's output:
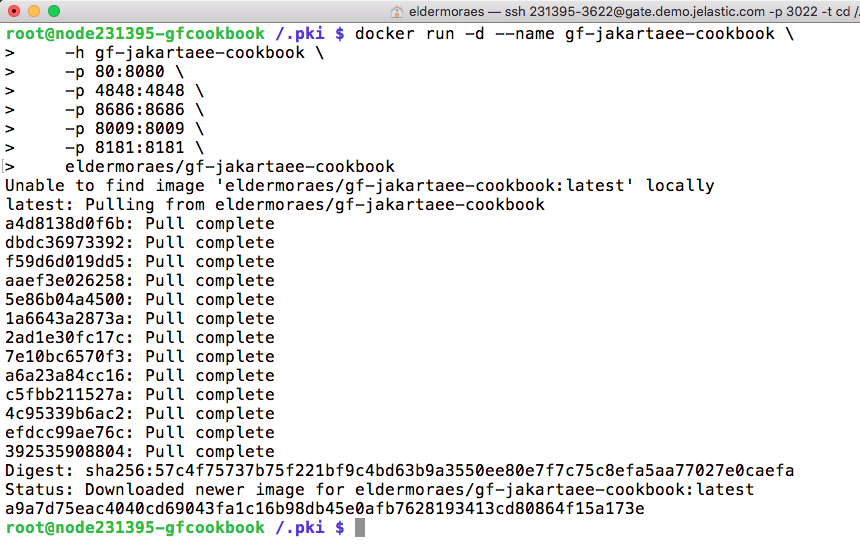
This is similar to if you were running in your local machine, but you are running on the Jelastic platform.
- Now, if you go back to the main page, you will see your environment up and running with the node you created:

- Under the Docker Engine CE label, you can find the URL of your environment. Just click on it and add /app to the end of it:

If you can see this page, then congratulations! Your application has been deployed on Jelastic.