Digital Illustration Materials
Digital illustration can result in highly detailed, fiercely dynamic artwork. Unlike drawing or painting, digital illustration allows you to make dramatic enhancements with just a few clicks of a button. Before working on the projects in this chapter, note that it’s important to have an understanding of the basic tools and functions of your image-editing software (I prefer Photoshop®). However, if you don’t have a background in digital illustration, you can still use these projects as references for drawing or painting—each piece of art begins with a drawing or painting by hand.
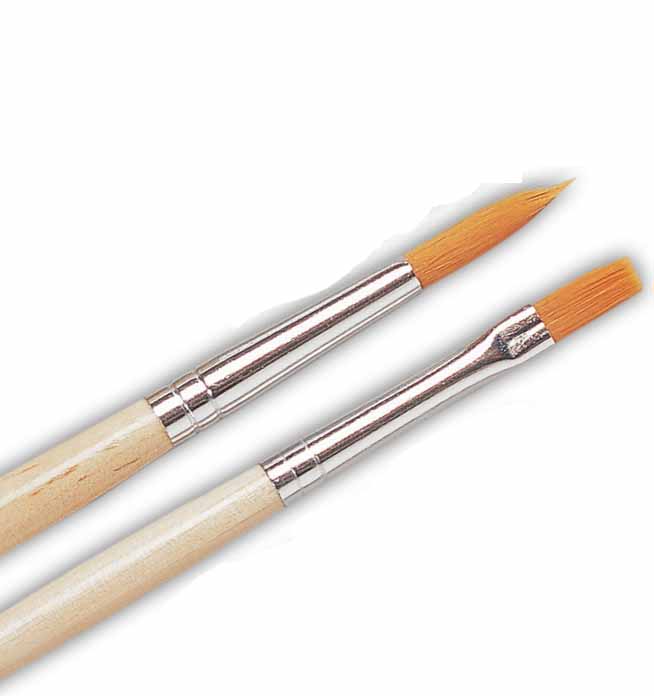
Paintbrushes
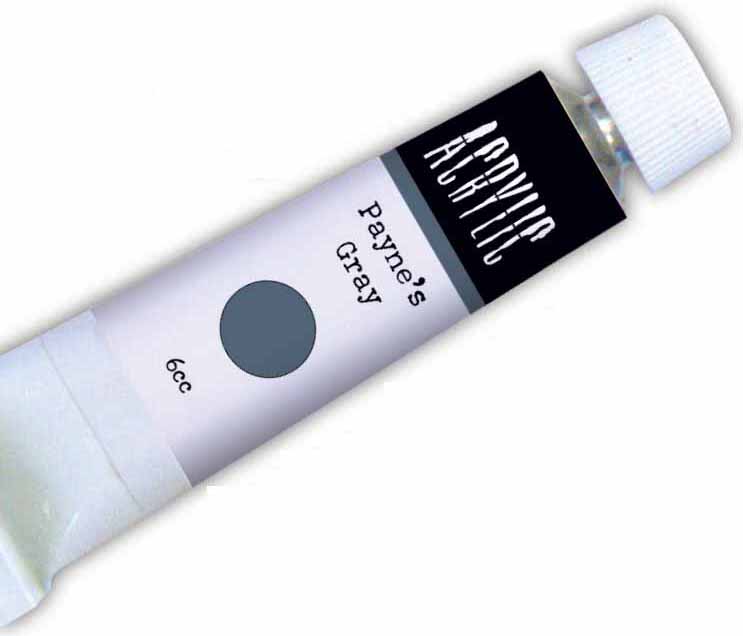
Acrylic paints
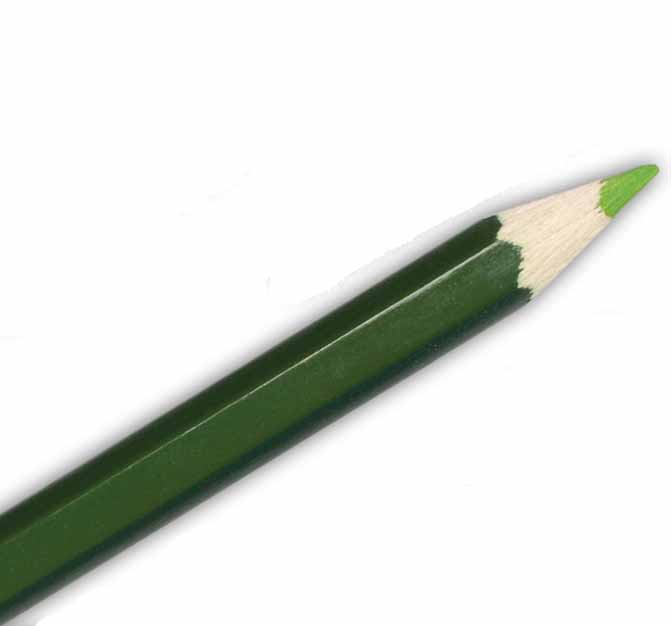
Colored pencils

Paint palette
To embark on your journey in digital illustration, you’ll need a computer system, a scanner, and image-editing software. In the setup at right, you’ll see that you can configure multiple monitors for one computer system. This can help you spread out your work; you can bleed the monitors so that your image crosses over onto multiple screens, allowing you to see much more of the image at once. You can also use the multiple monitors to hold various control panels, so you aren’t constantly minimizing windows to create room on the screen. Although it’s ideal to work with several monitors, all you really need is one.

Image-Editing Software
There is a variety of image-editing software available, but many would agree that Adobe® Photoshop® is the most widely used. Below are short summaries of some basic functions used in the projects throughout this book.
Photoshop® Basics
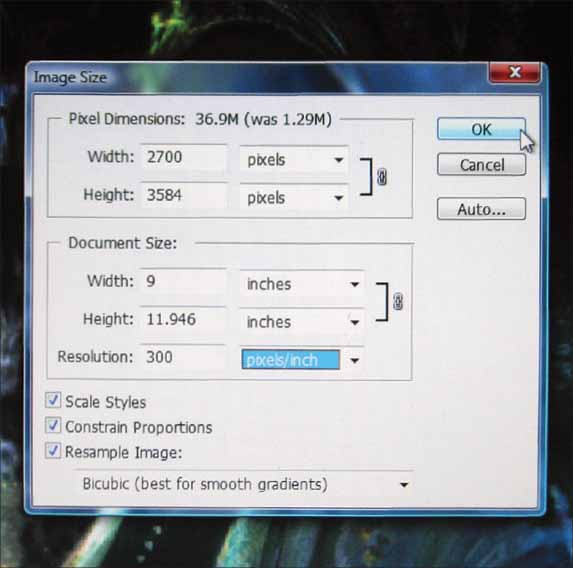
Image Resolution: When scanning your drawing or painting into Photoshop®, it’s important to scan it at 300 dpi (dots per inch) and 100% the size of the original. A higher dpi carries more pixel information and determines the quality at which your image will print. However, If you intend for the image to be a piece of digital art only, you can set the dpi as low as 72. View the dpi and size under the menu Image > Image Size.
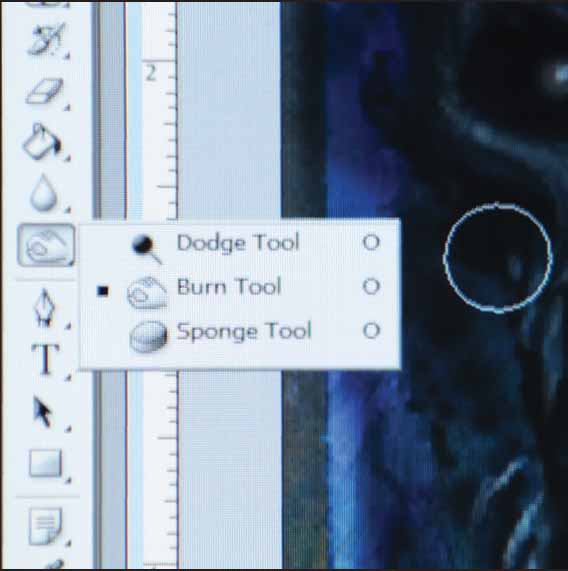
Dodge and Burn Tools: The dodge and burn tools, terms borrowed from the old dark room, are also found on the basic tool bar. Dodge is synonymous with lighten, and burn is synonymous with darken. On the settings bar under “range,” you can select highlights, midtones, or shadows. Select which of the three you’d like to dodge or burn, and the tool will only affect these areas. Adjust the width and exposure (or strength) as desired.
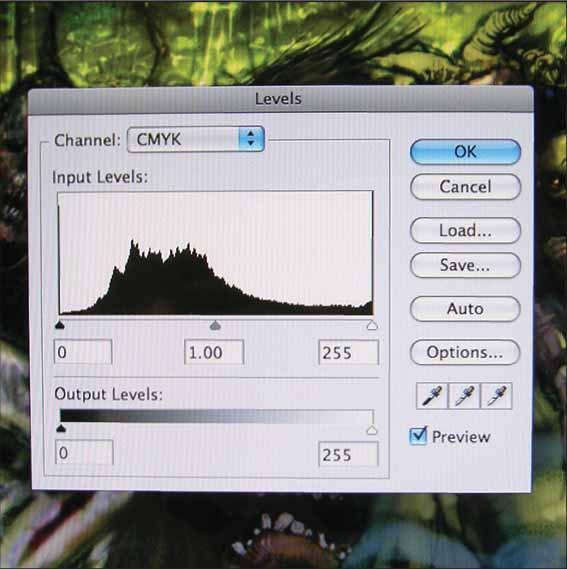
Levels: With this tool (under the menu Image > Adjustments), you can change the brightness, contrast, and range of values within an image. The black, midtone, and white of the image are represented by the three markers along the bottom of the graph. Slide these markers horizontally. Moving the black marker right will darken the overall image, moving the white marker left will lighten the overall image, and sliding the midtone marker left or right will bring the midtones darker or lighter, respectively.
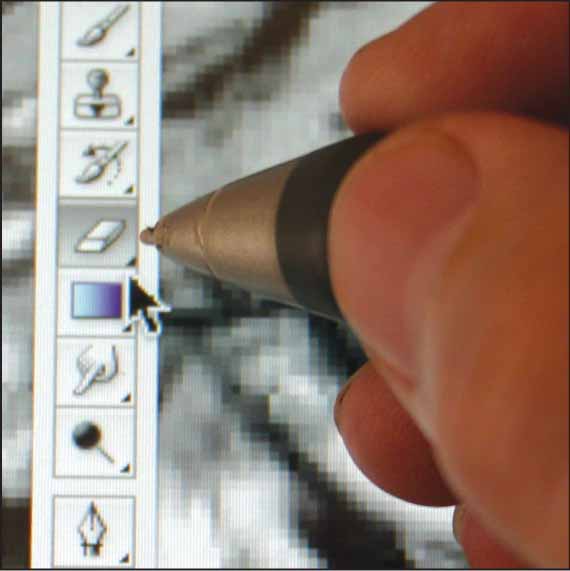
Eraser Tool: The eraser tool is found in the basic tool bar. When working on a background layer, the tool removes pixels to reveal a white background. You can adjust the diameter and opacity of the brush to control the width and strength of the eraser.
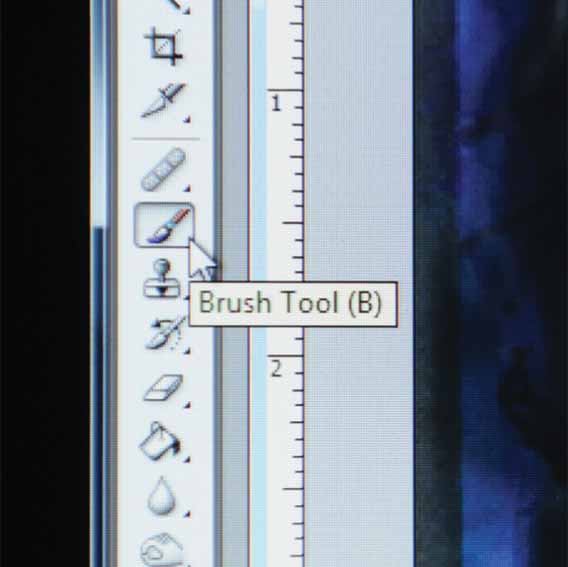
Paintbrush Tool: The paintbrush tool, on the basic tool bar in Photoshop®, allows you to apply layers of color to your canvas. Like the eraser, dodge, and burn tools, you can adjust the diameter and opacity of the brush to control the width and strength of your strokes.
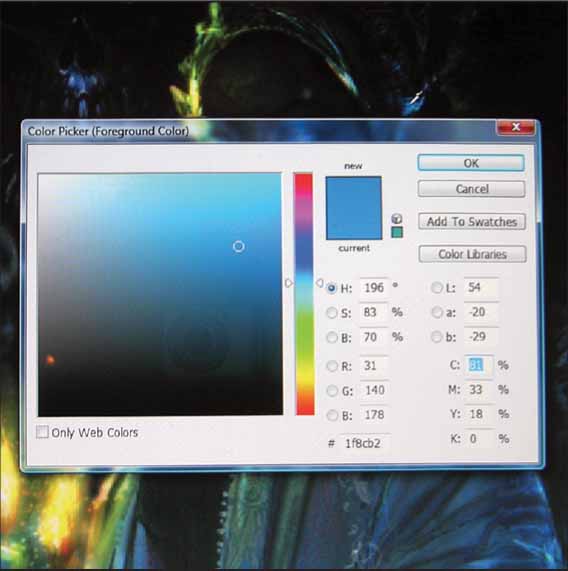
Color Picker: Choose the color of your “paint” in the color picker window. Select your hue by clicking within the vertical color bar; then move the circular cursor around the box to change the color’s tone.
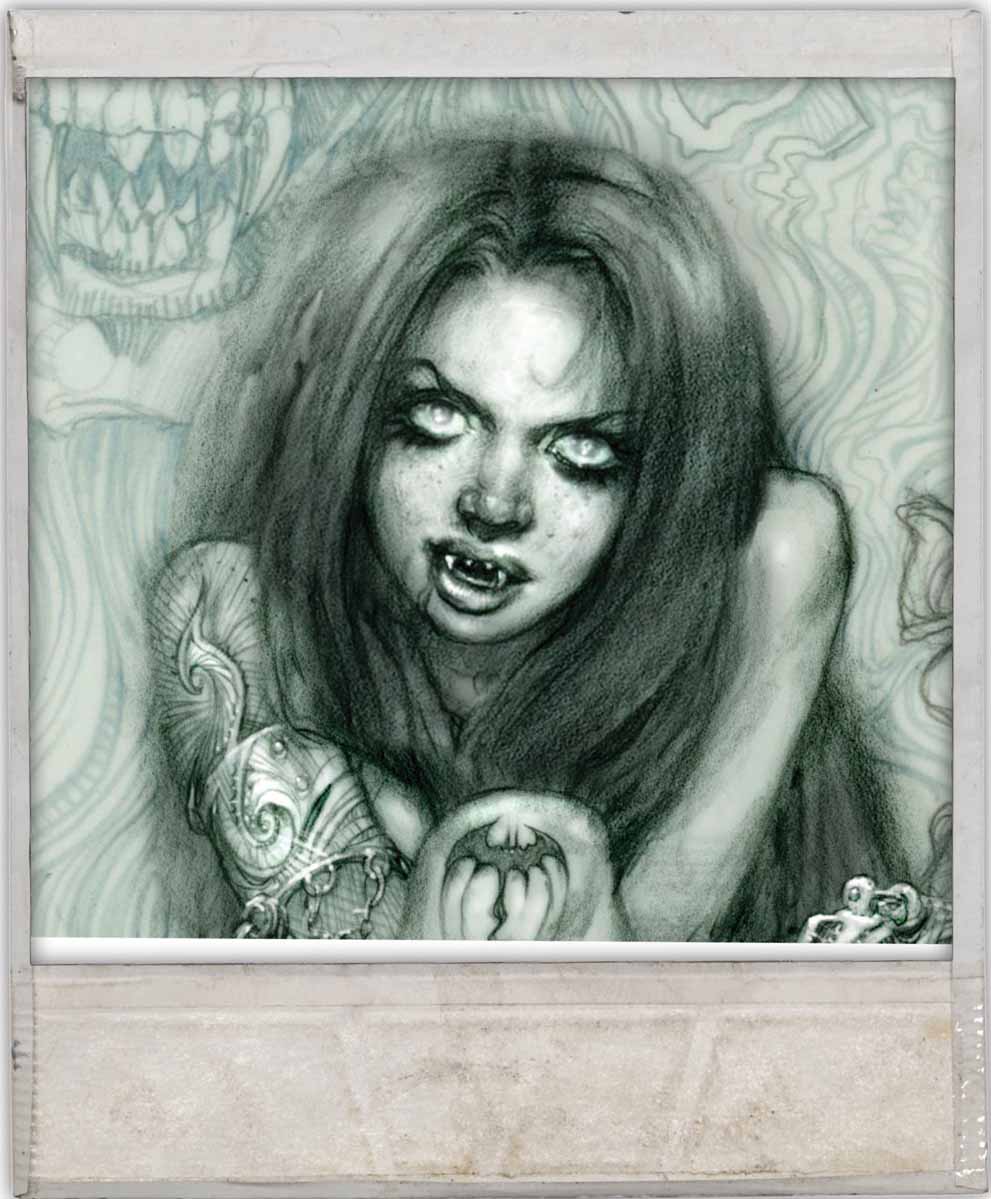
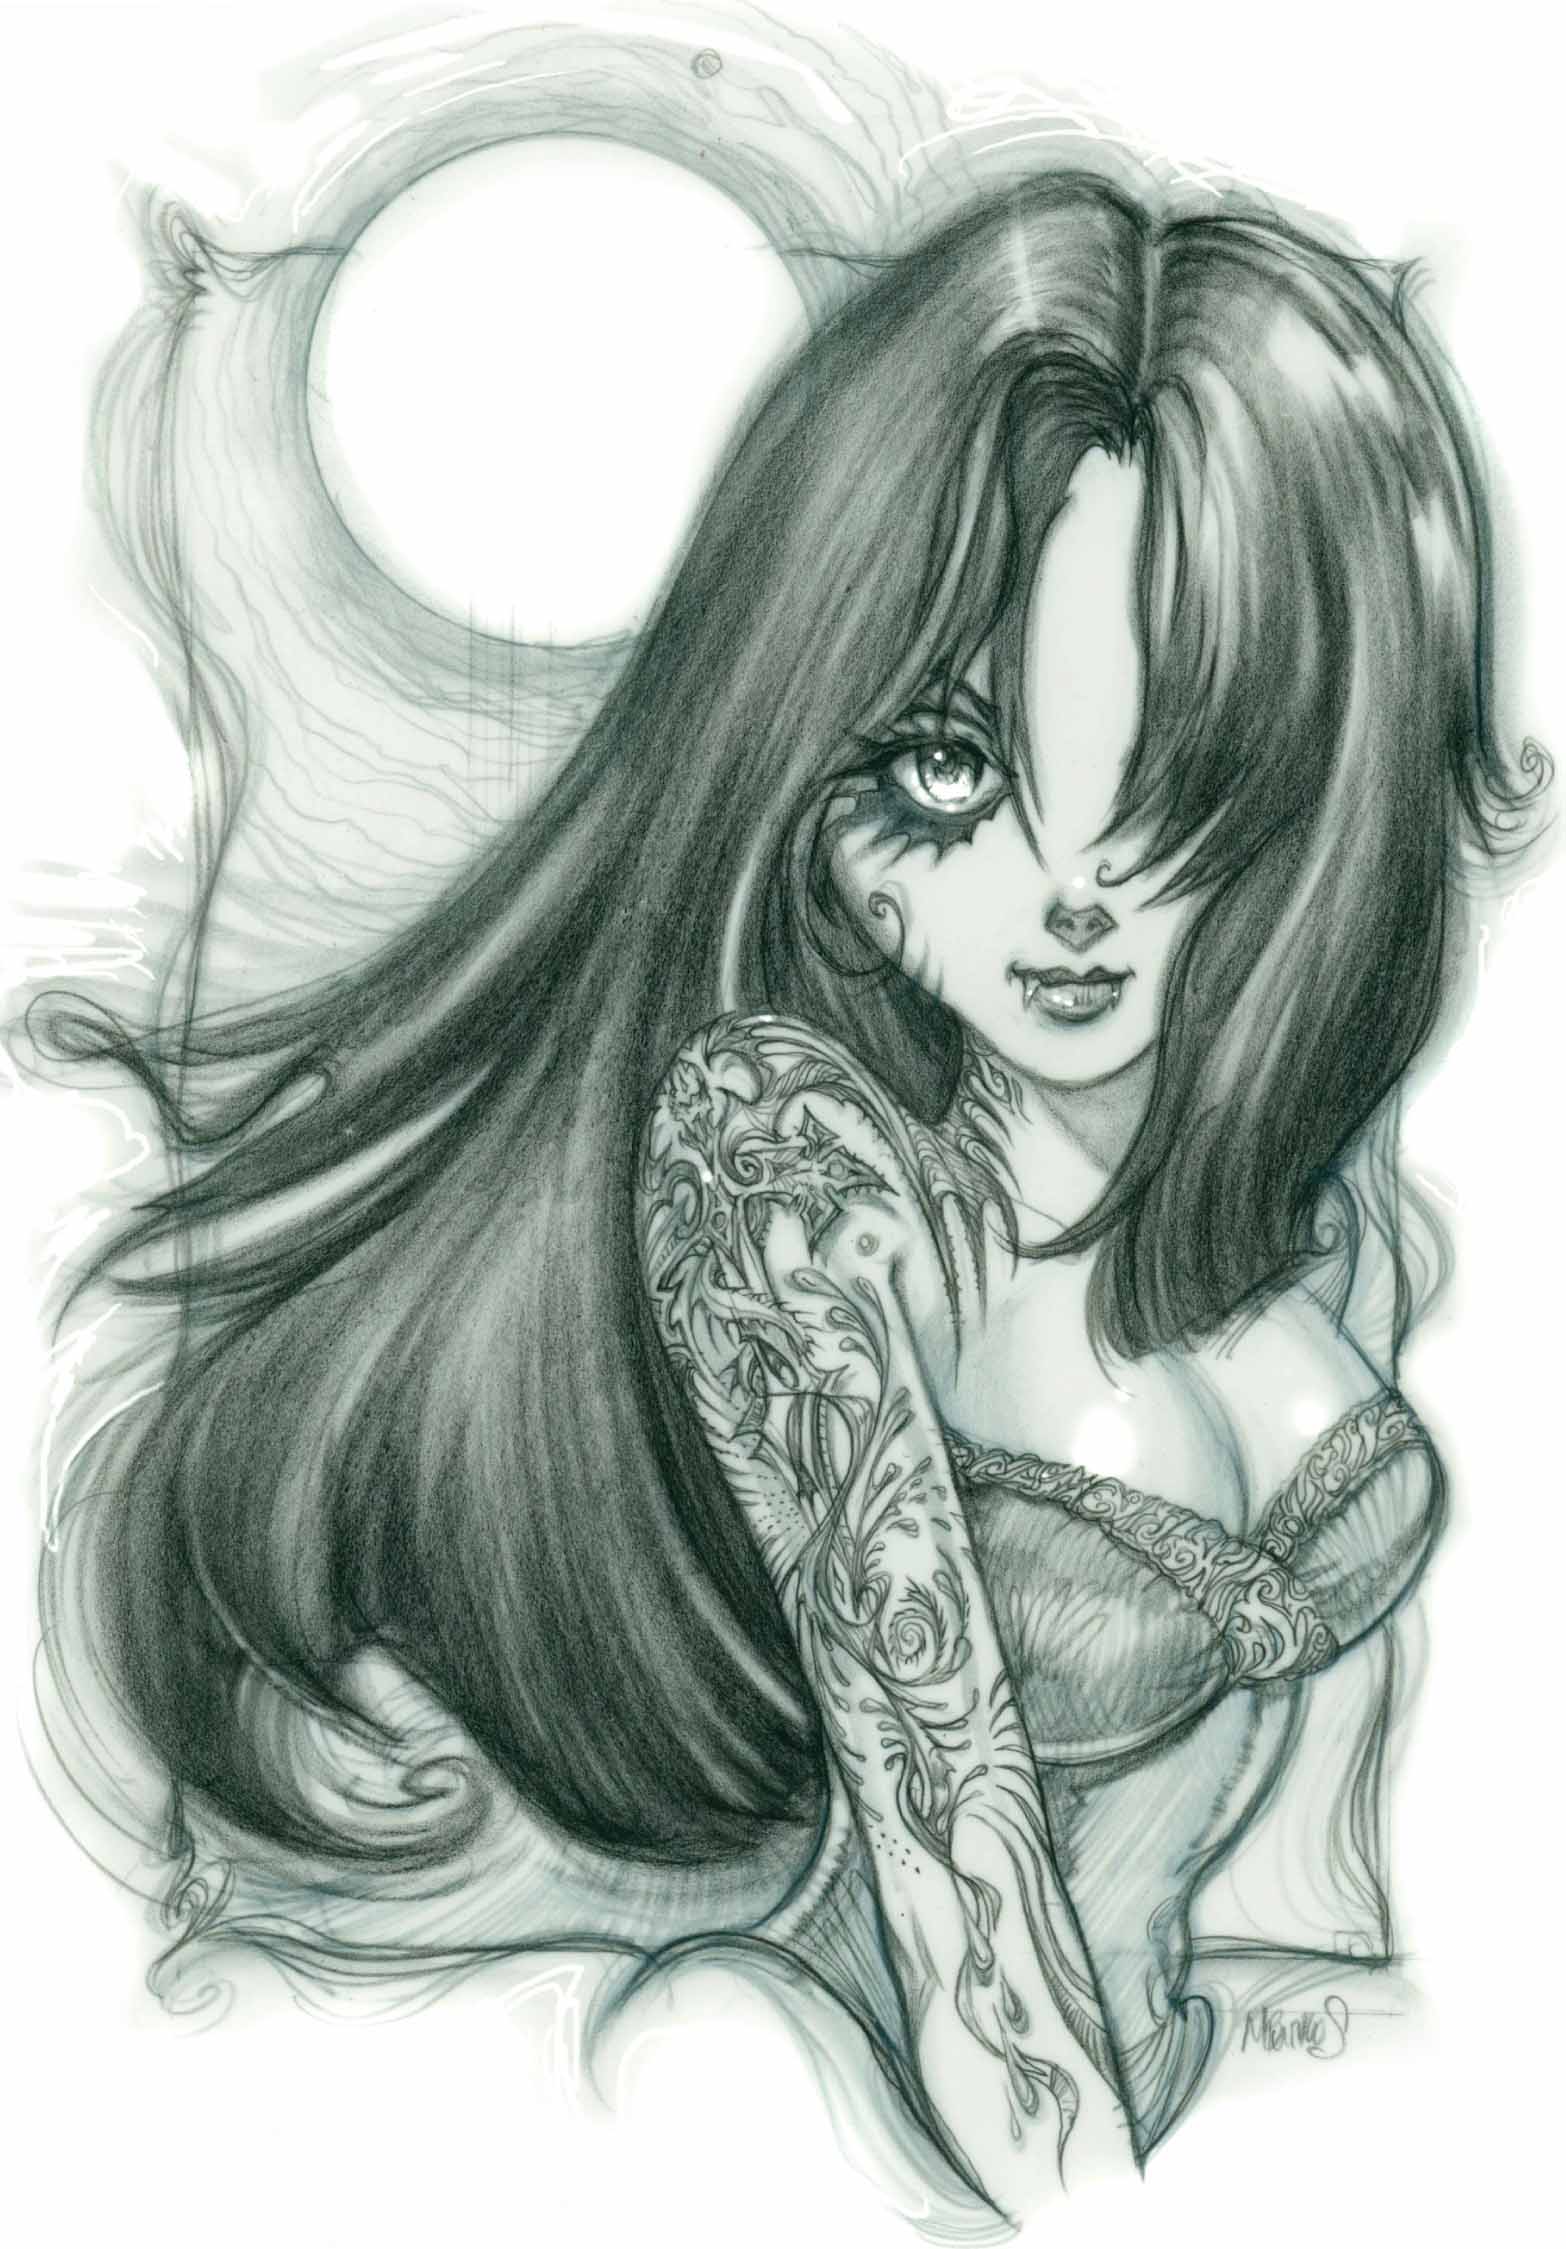
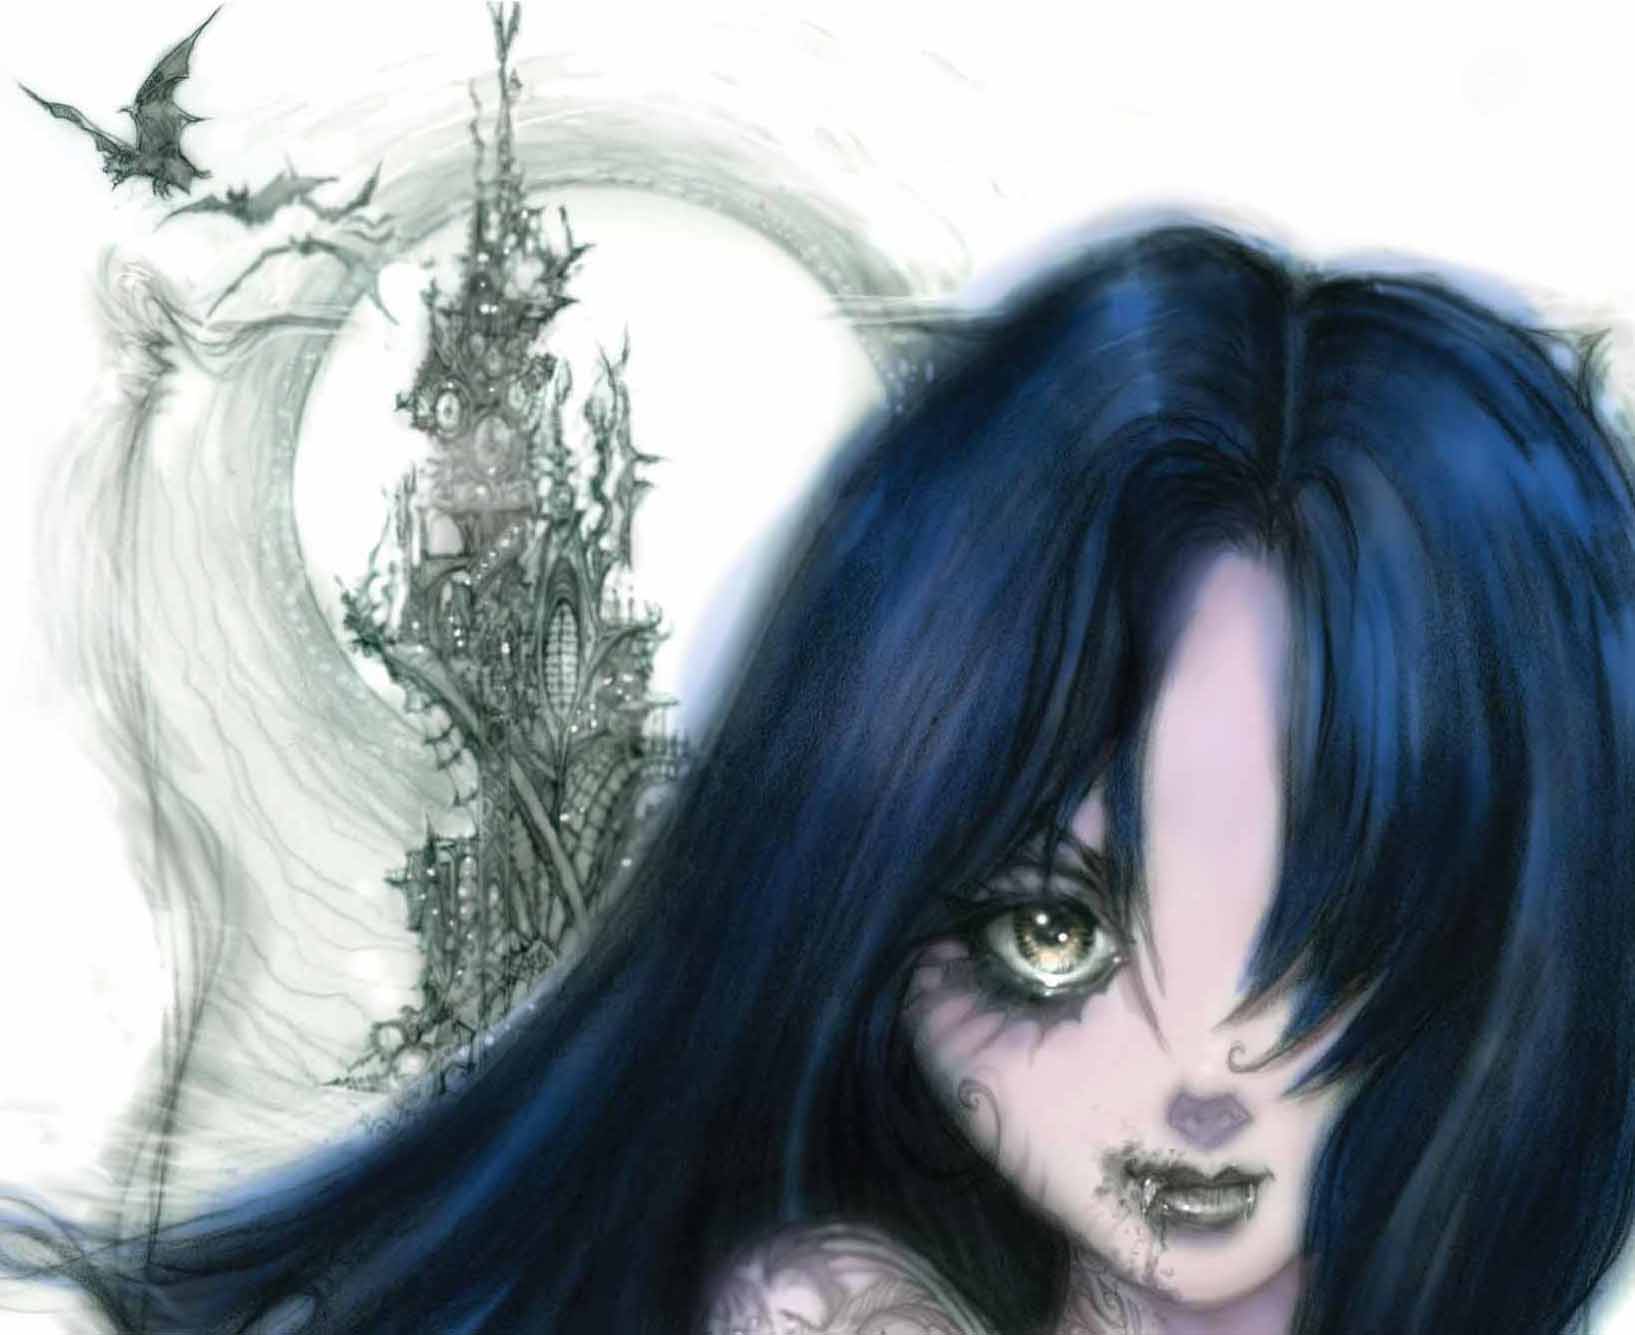
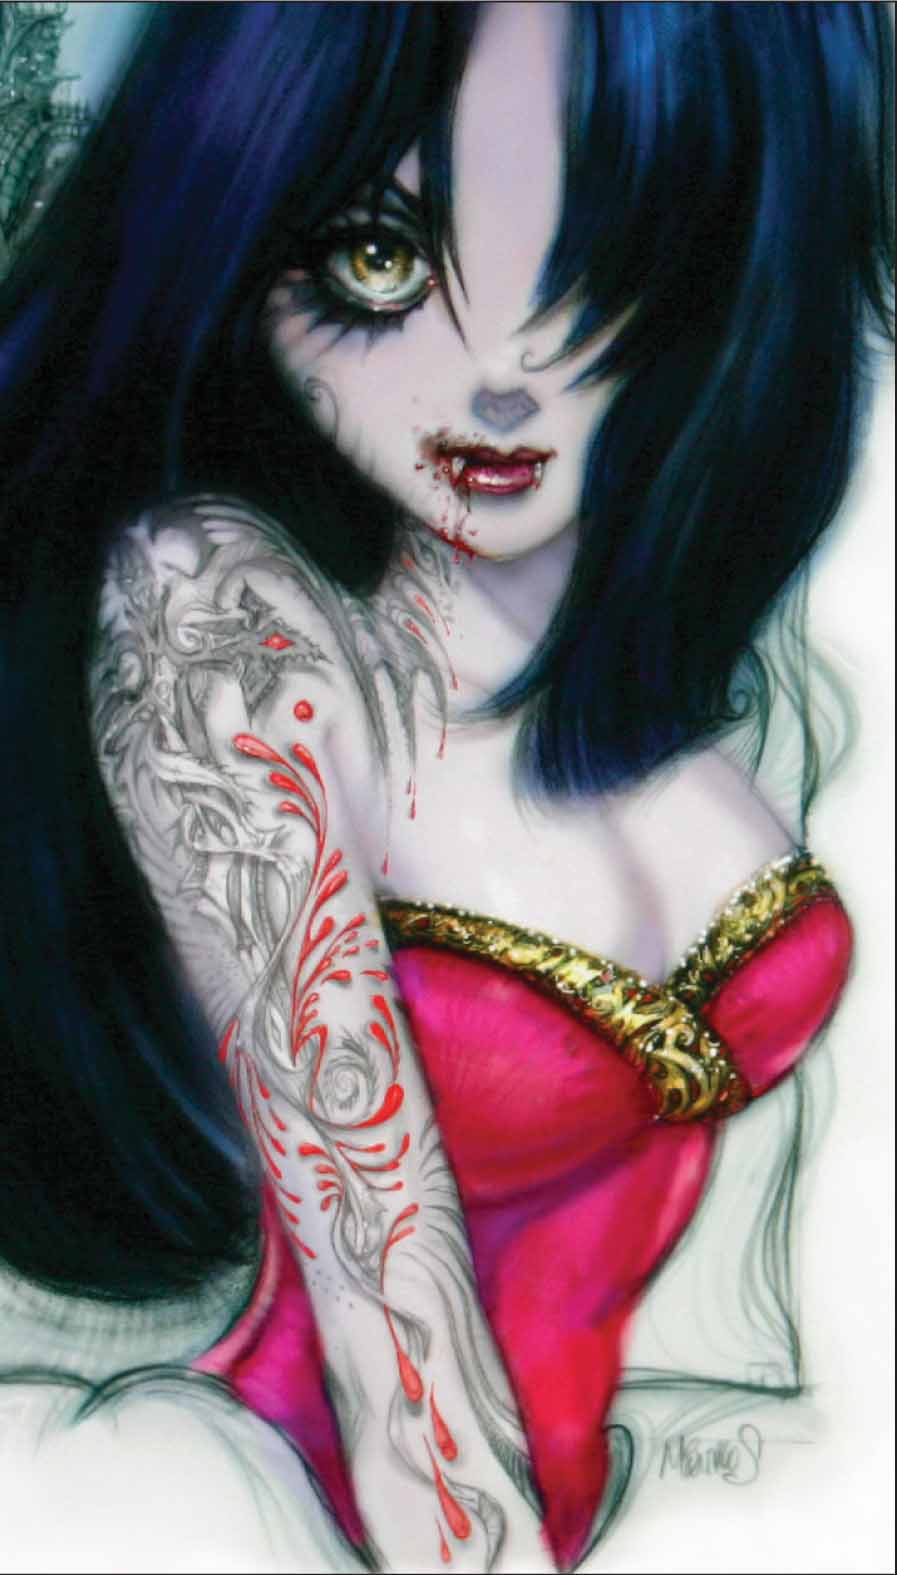
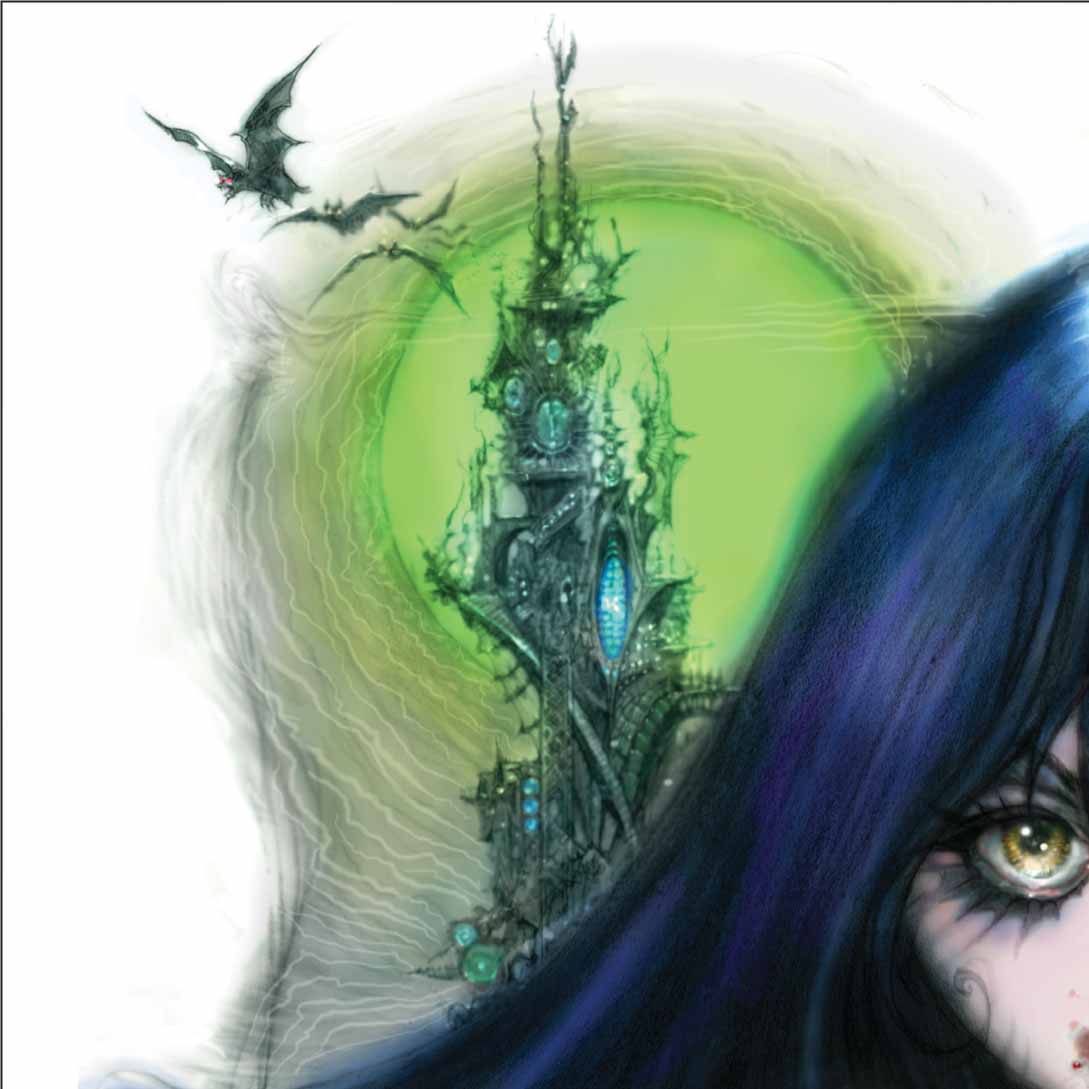
This beautiful and deadly vampire queen inhabits the castle in the Vampire Slayer illustration on page 24. With each kill she makes, she adds another drop of blood to her tattoo—a constant reminder of the hunger that drives her. Inspired by anime illustrations, this character should look sexy and cute—but a bit dangerous too.
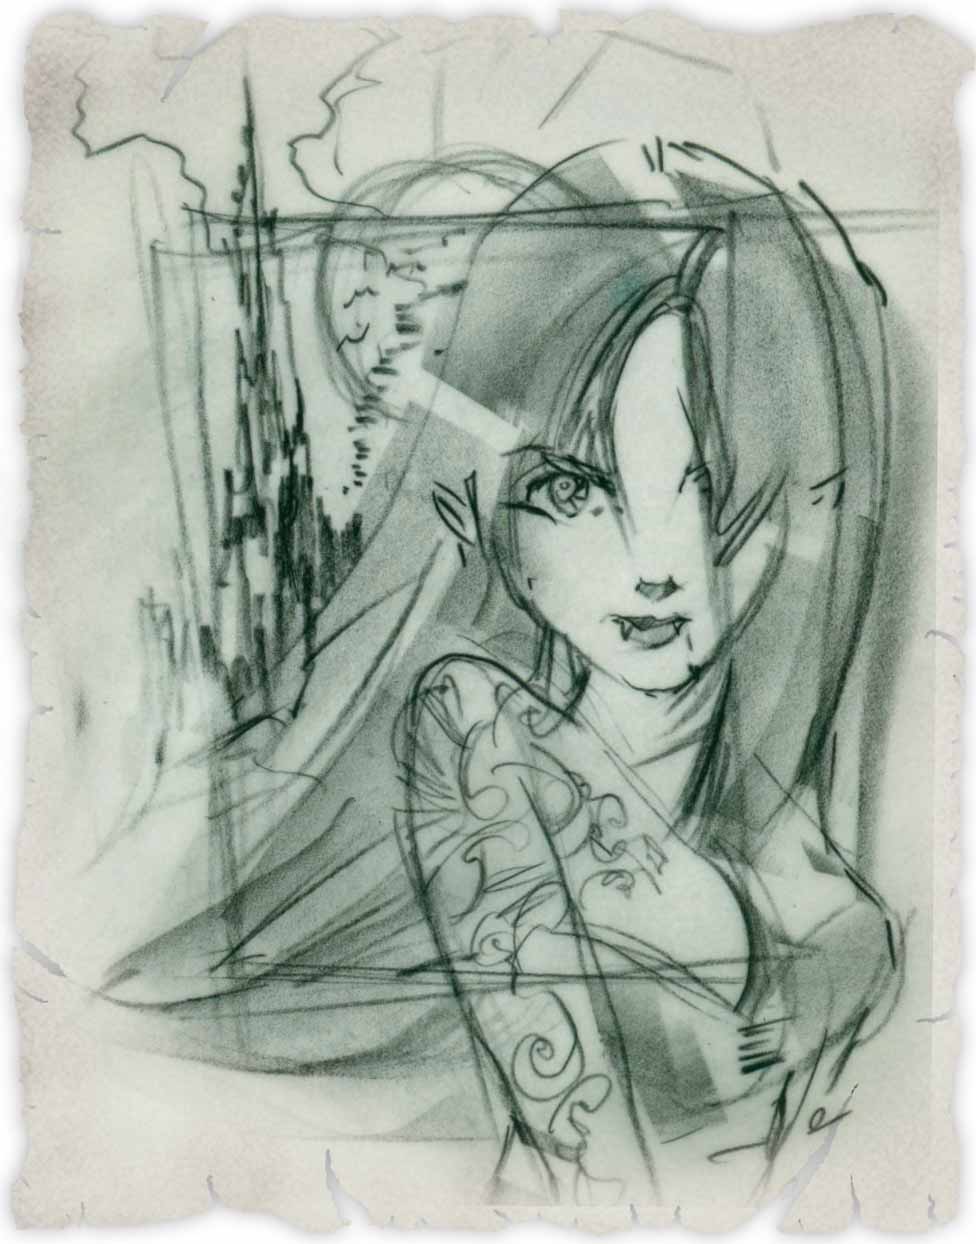
Step One Create a thumbnail illustration with a thumbnail drawn on a sheet of tracing paper with a black colored pencil.
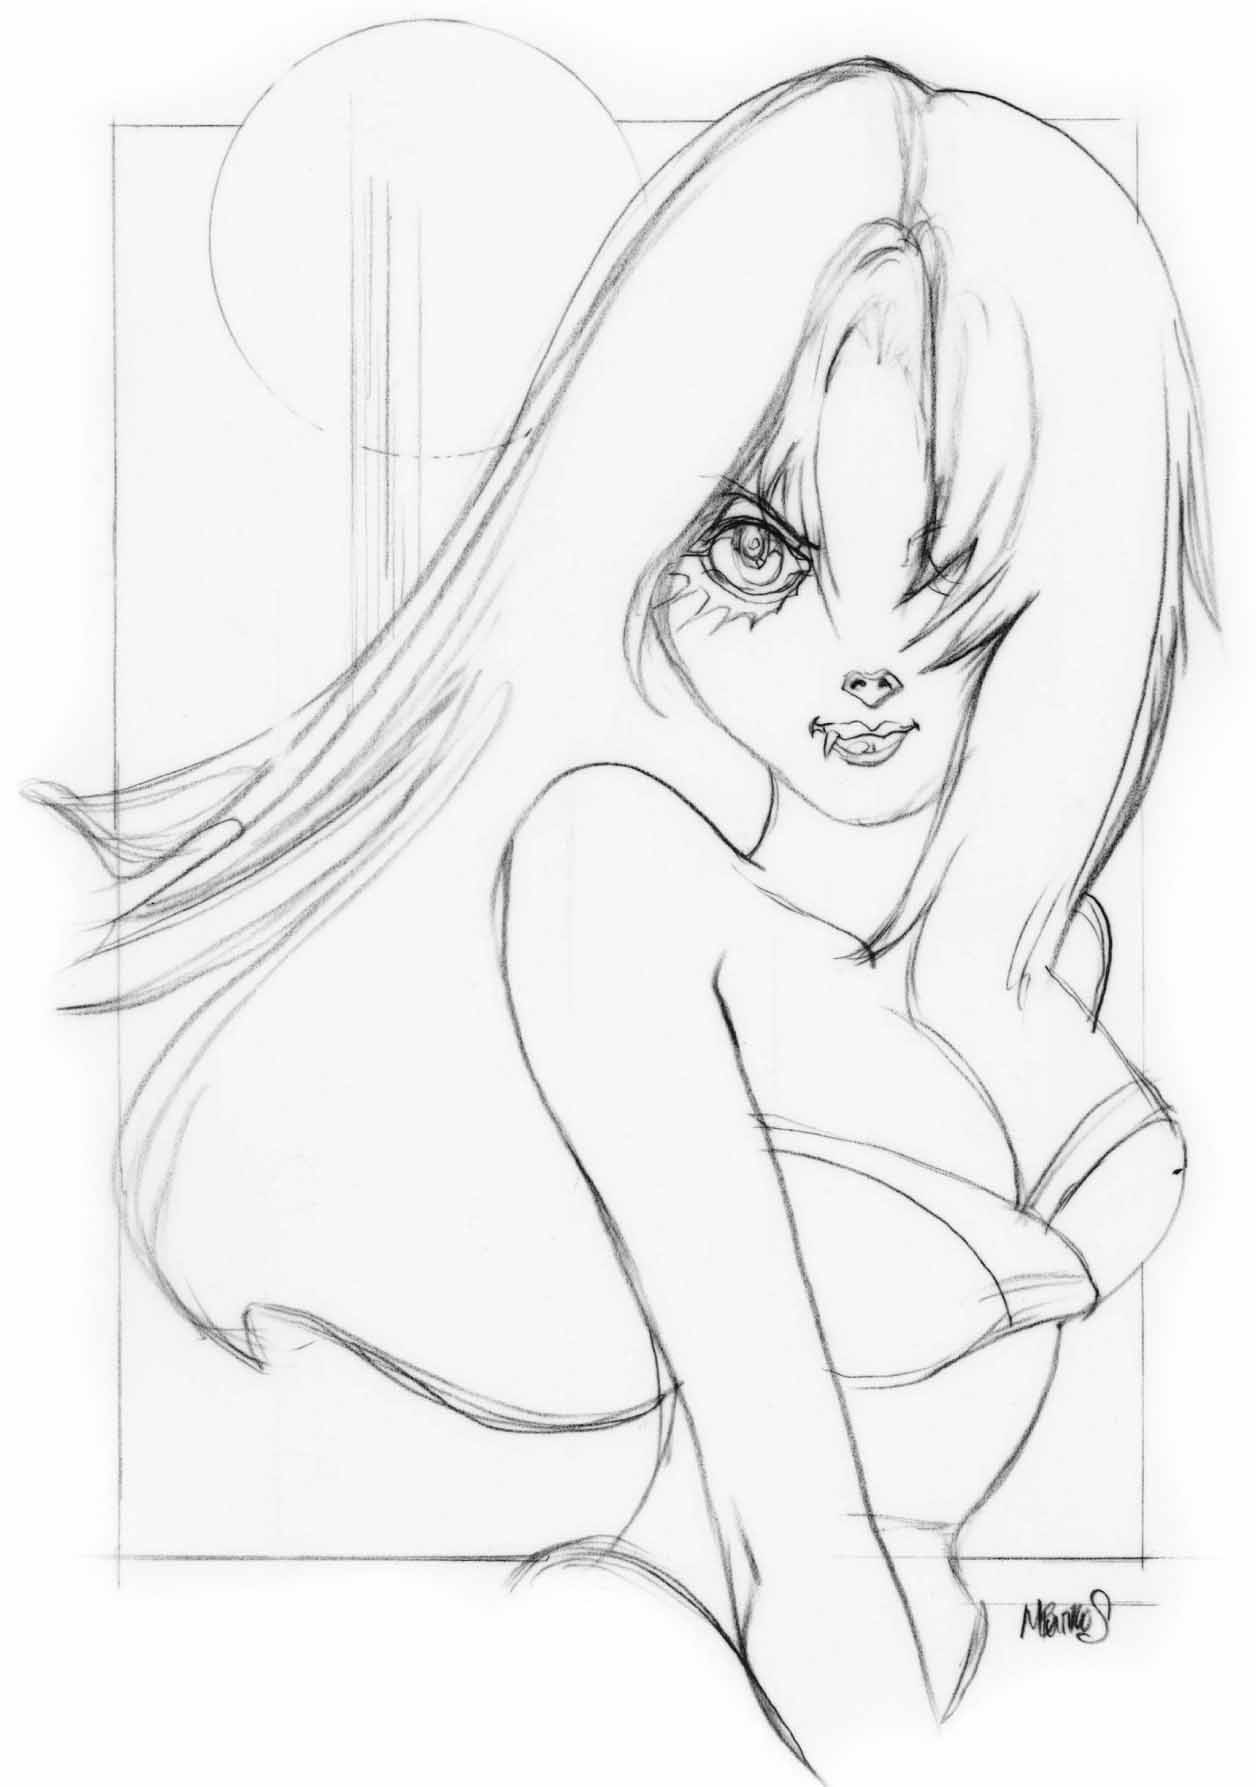
Step Two Once you’re happy with the rough sketch, begin the final drawing on vellum paper, still using the black colored pencil. This will be a classic composition where the main character takes up 90% of the image with a hint of the environment behind her. (You may choose to transfer this sketch; see “Transferring a Drawing” on page 25.)
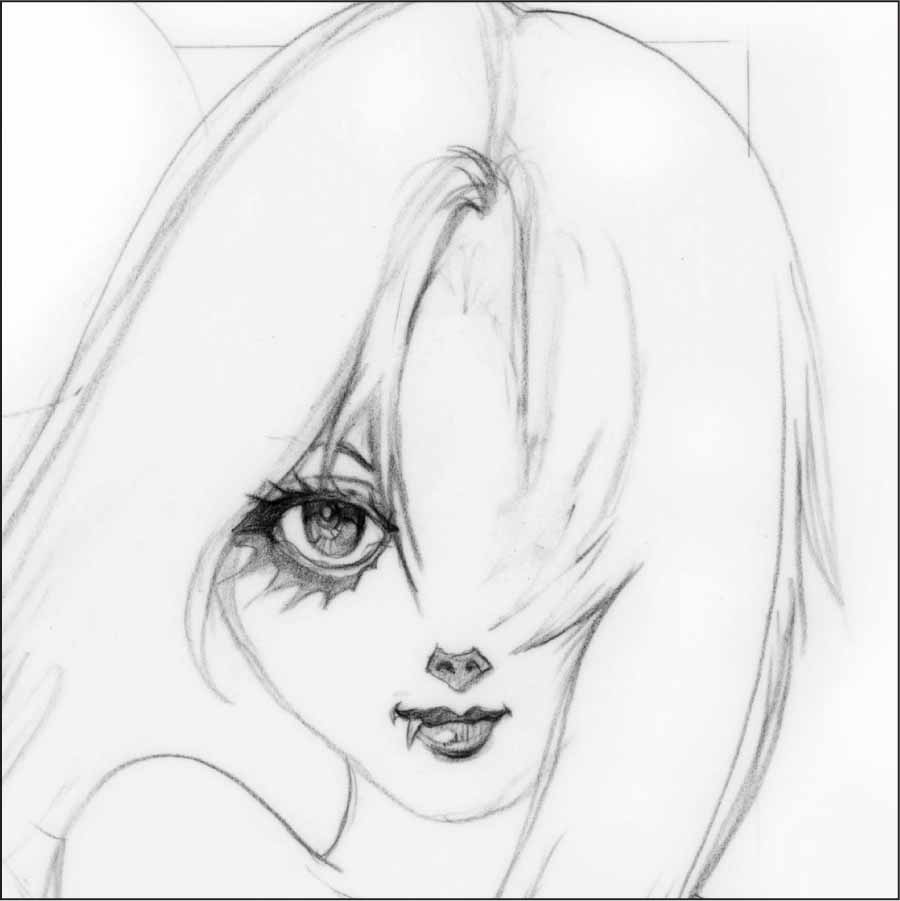
Step Three Next, start working on her facial features. Soften the arch of her eyebrow a bit—most anime characters tend to have a vulnerable, innocent expression. Keep her eyes large, with her nose and mouth tiny in comparison.
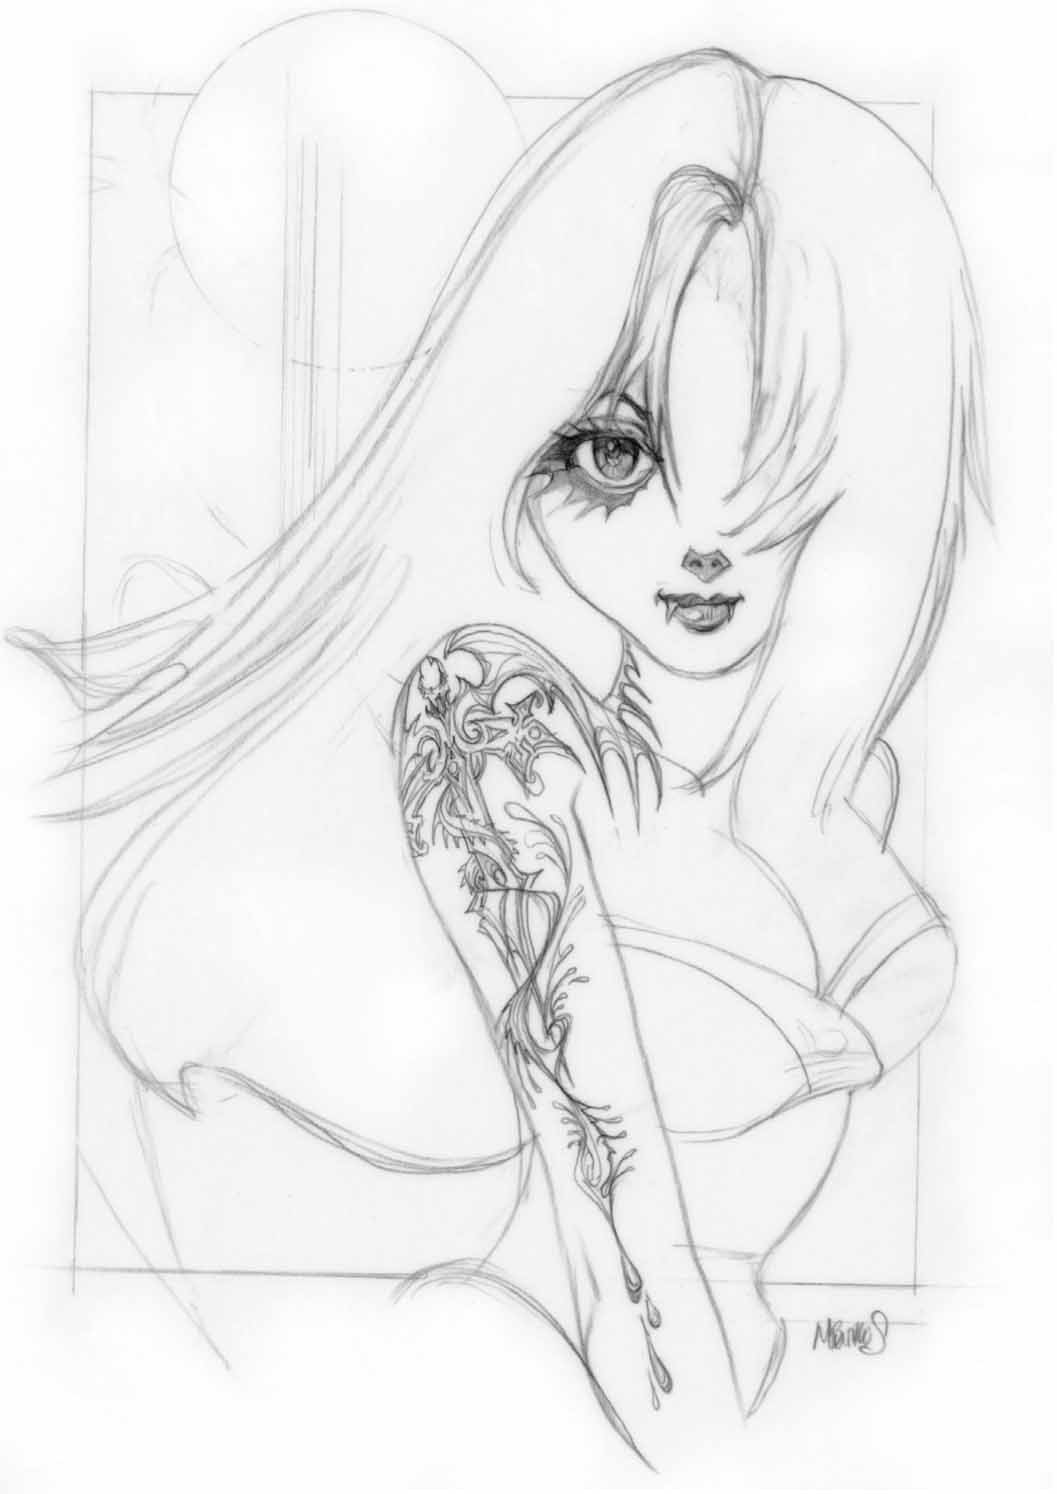
Step Four We want to design an intricate and wicked tattoo that contrasts with the vampire’s soft, feminine appearance. Consider perusing through real tattoo art for inspiration, and then enhance it with your own imagination. The key to drawing a beautiful, believable tattoo is to keep the shapes graphic and make sure they wrap around the form of the body.
Step Five In this step, we’ll shade in her thick black hair, keeping it whimsical and luxurious. Using an eraser, pick out the glowing highlights cast from the moon. Outline parts of her hair for a slight cartoonish look, but then go over it with a soft edge to stay true to the texture of hair.
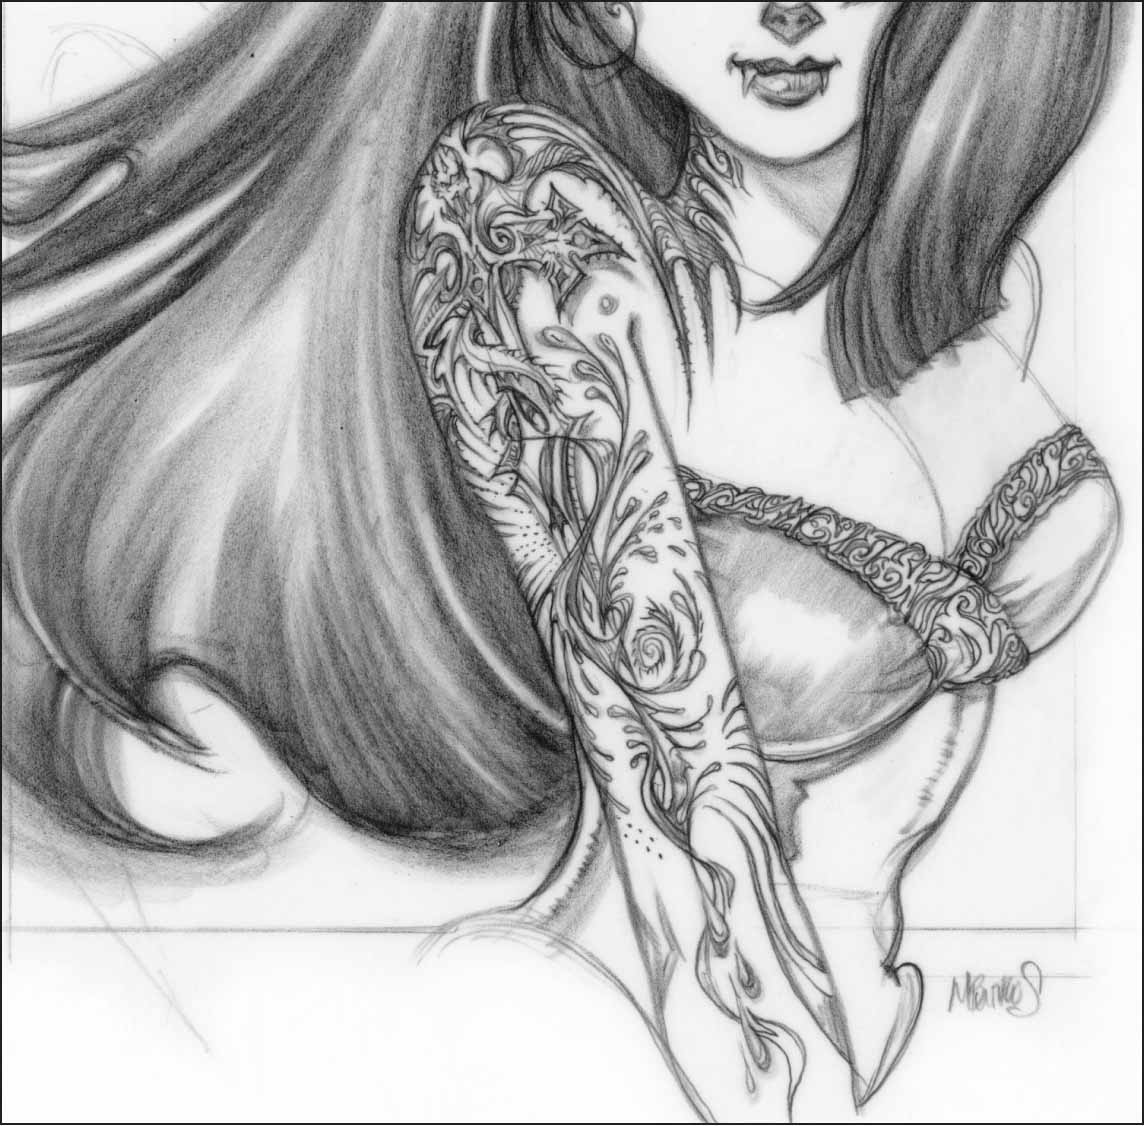
Step Six Now, add more drops of blood and thorny edges to her tattoo. Remember the story behind her tattoo—how she adds a new drop of blood with each kill. Use both soft and hard lines so the design will look three-dimensional on her arm. Indicate some lace embroidery on the upper edge of her bodice.
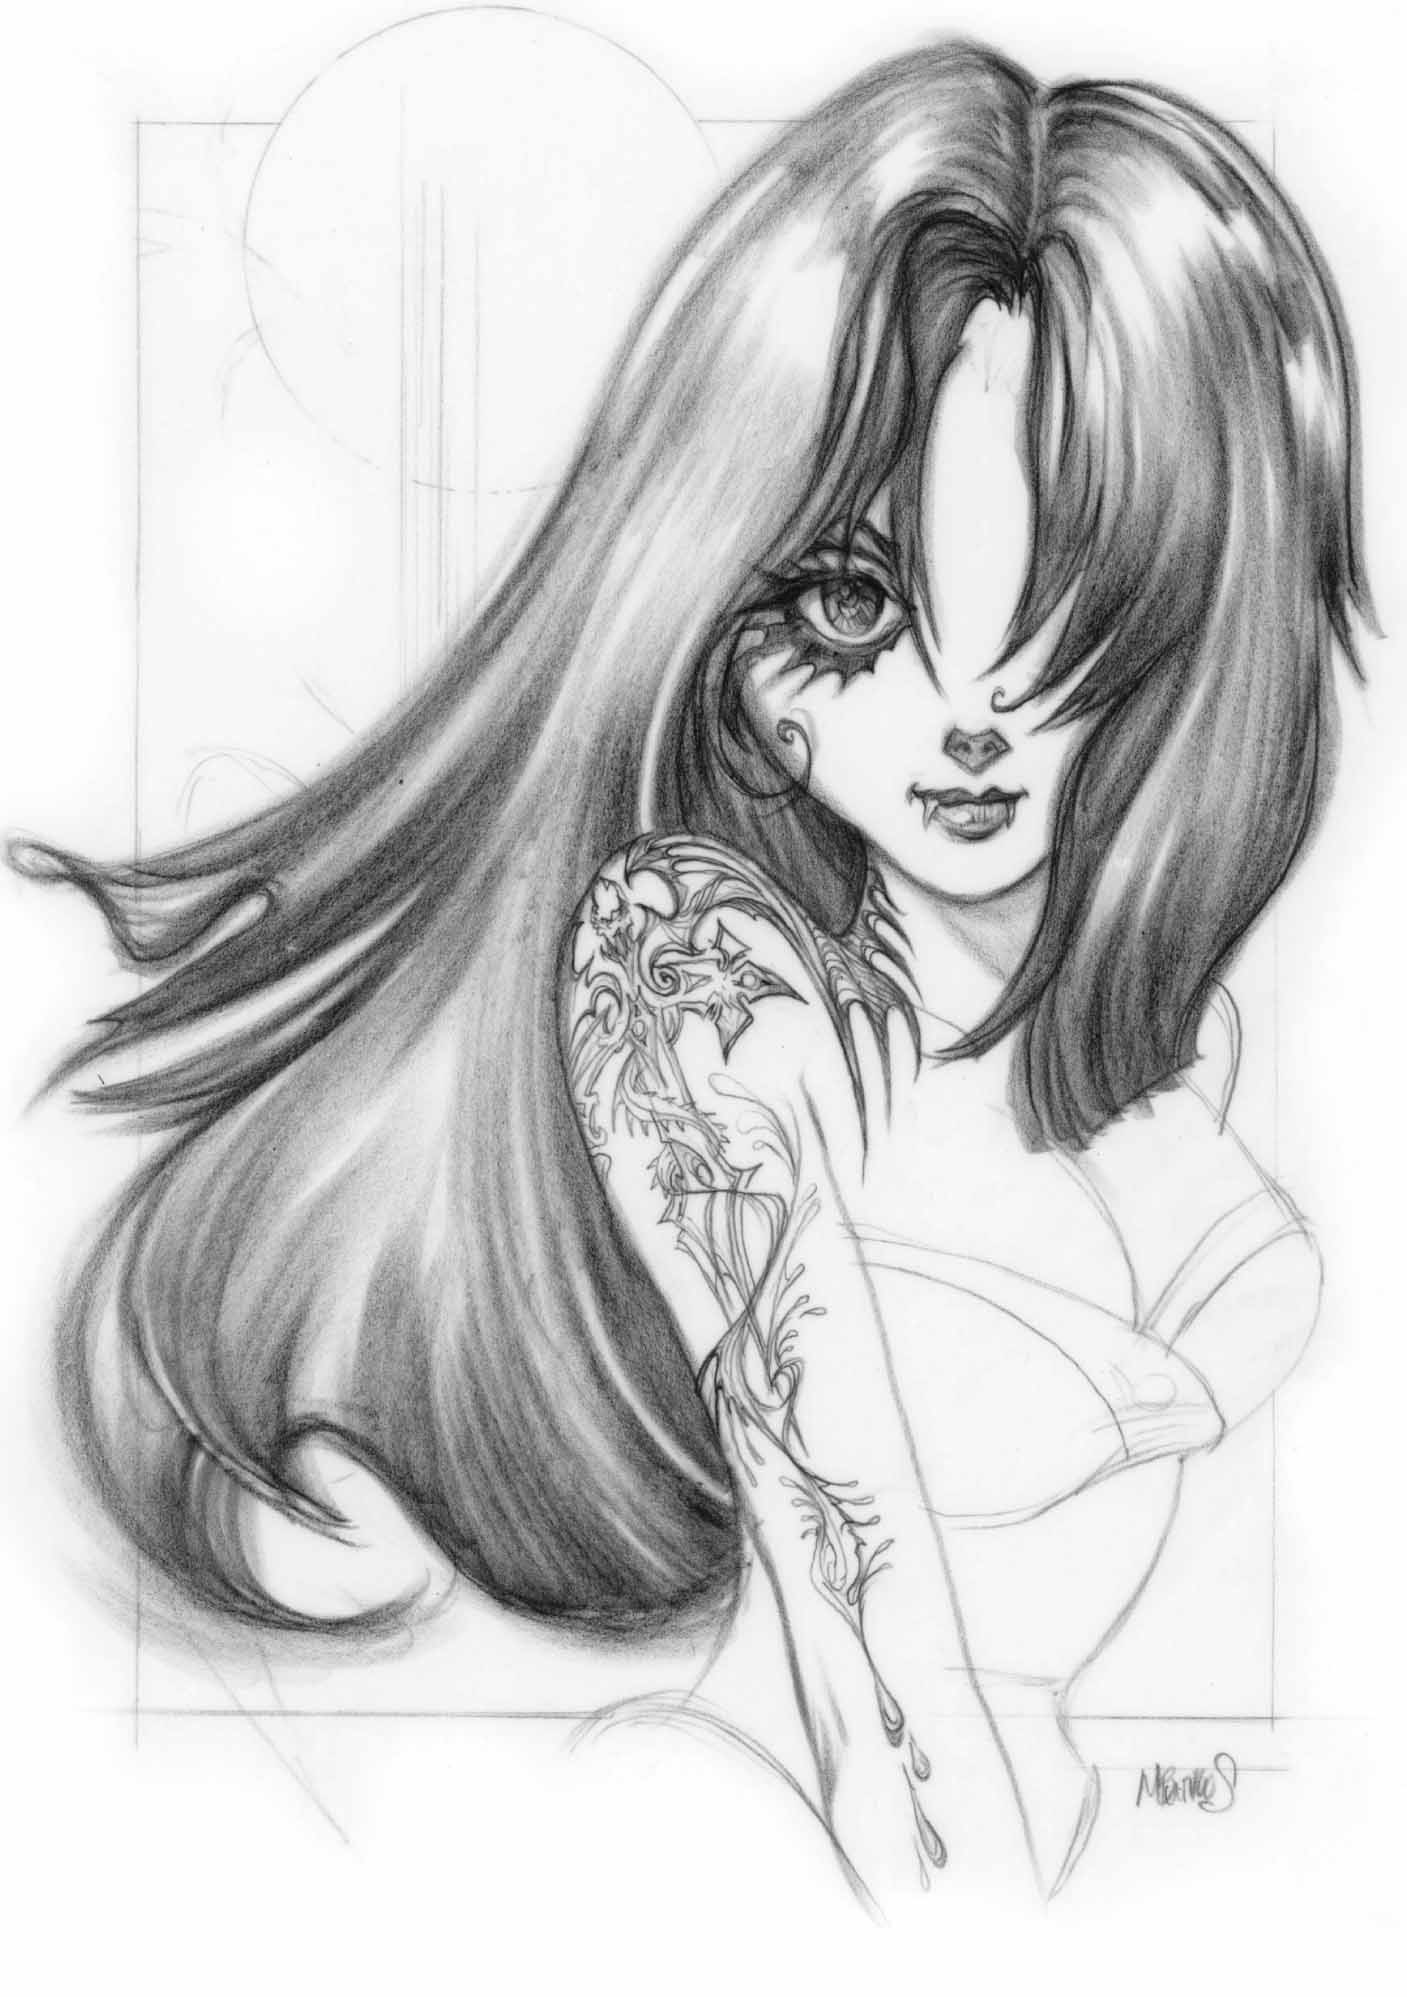
Step Seven Begin darkening all the values in her hair, skin, and dress. Give her skin a light tone, using a cool 30% gray colored pencil; then you can pick out highlights with an eraser. Use firm-edged core shadows on her bodice to indicate the sheen of a silky fabric. We want a romantic, wind-swept quality for the border treatment, making our vampire look almost like an apparition. Use the waves in her hair as inspiration and incorporate soft, sweeping lines into the frame.
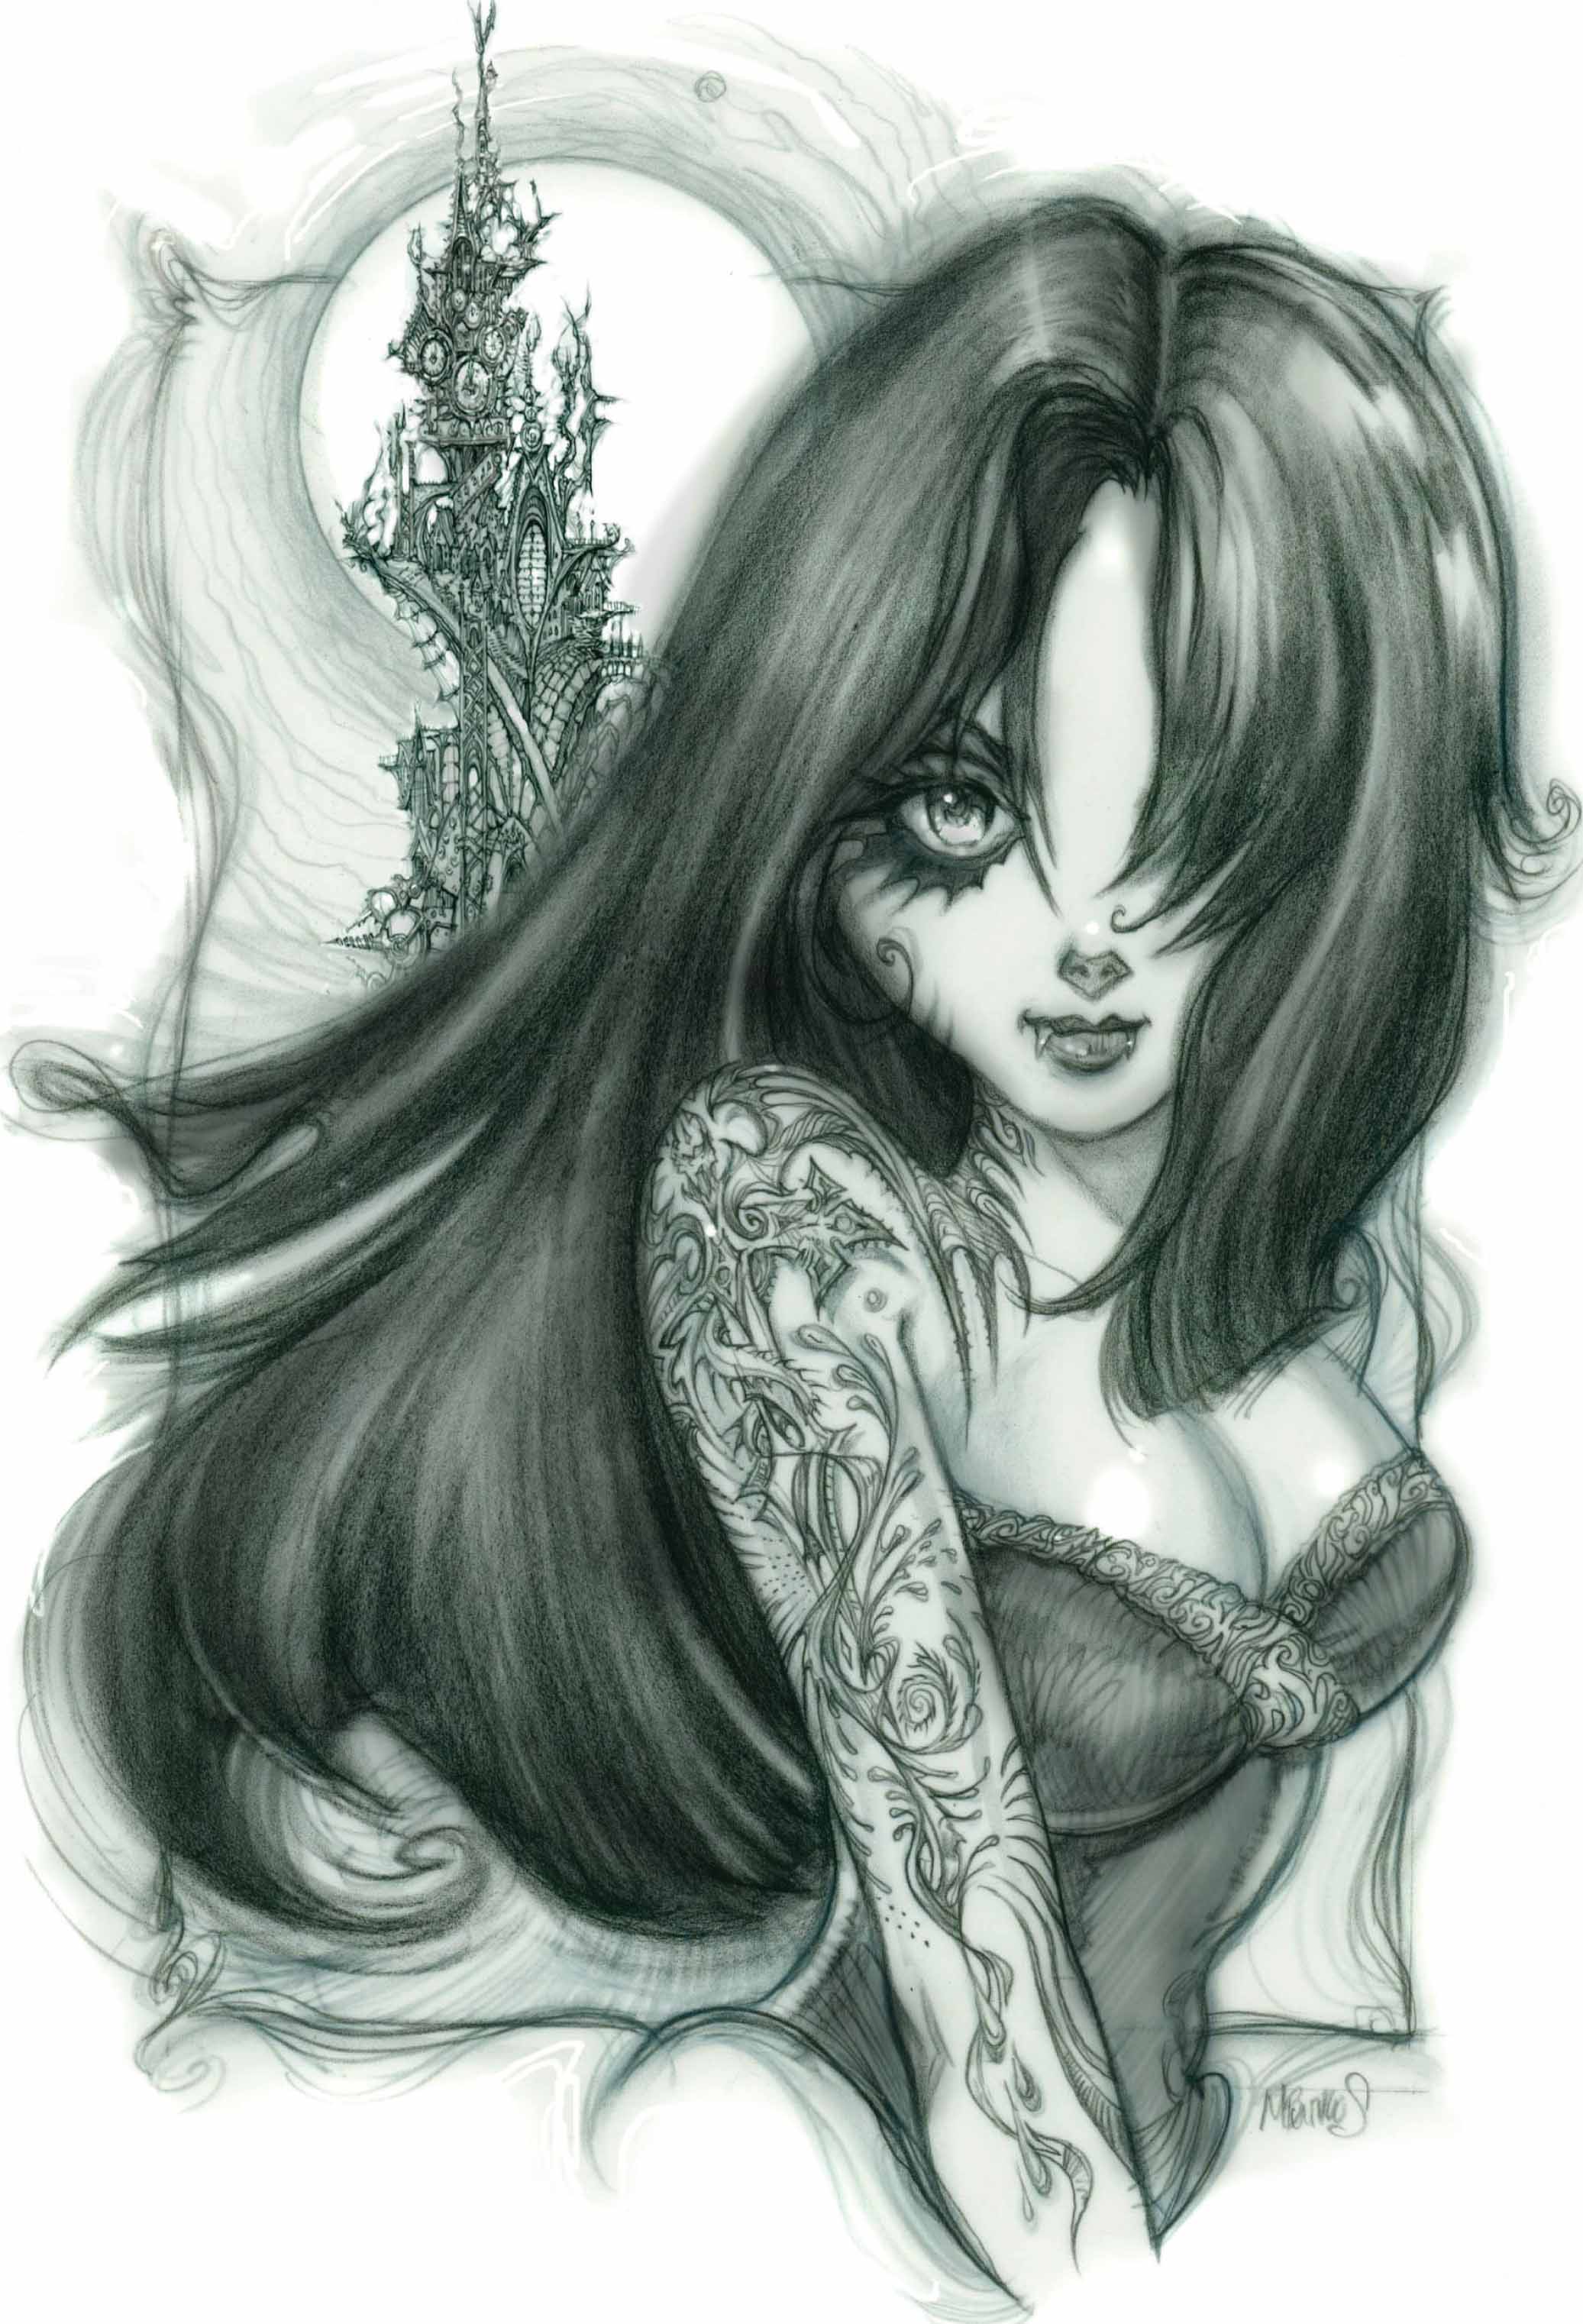
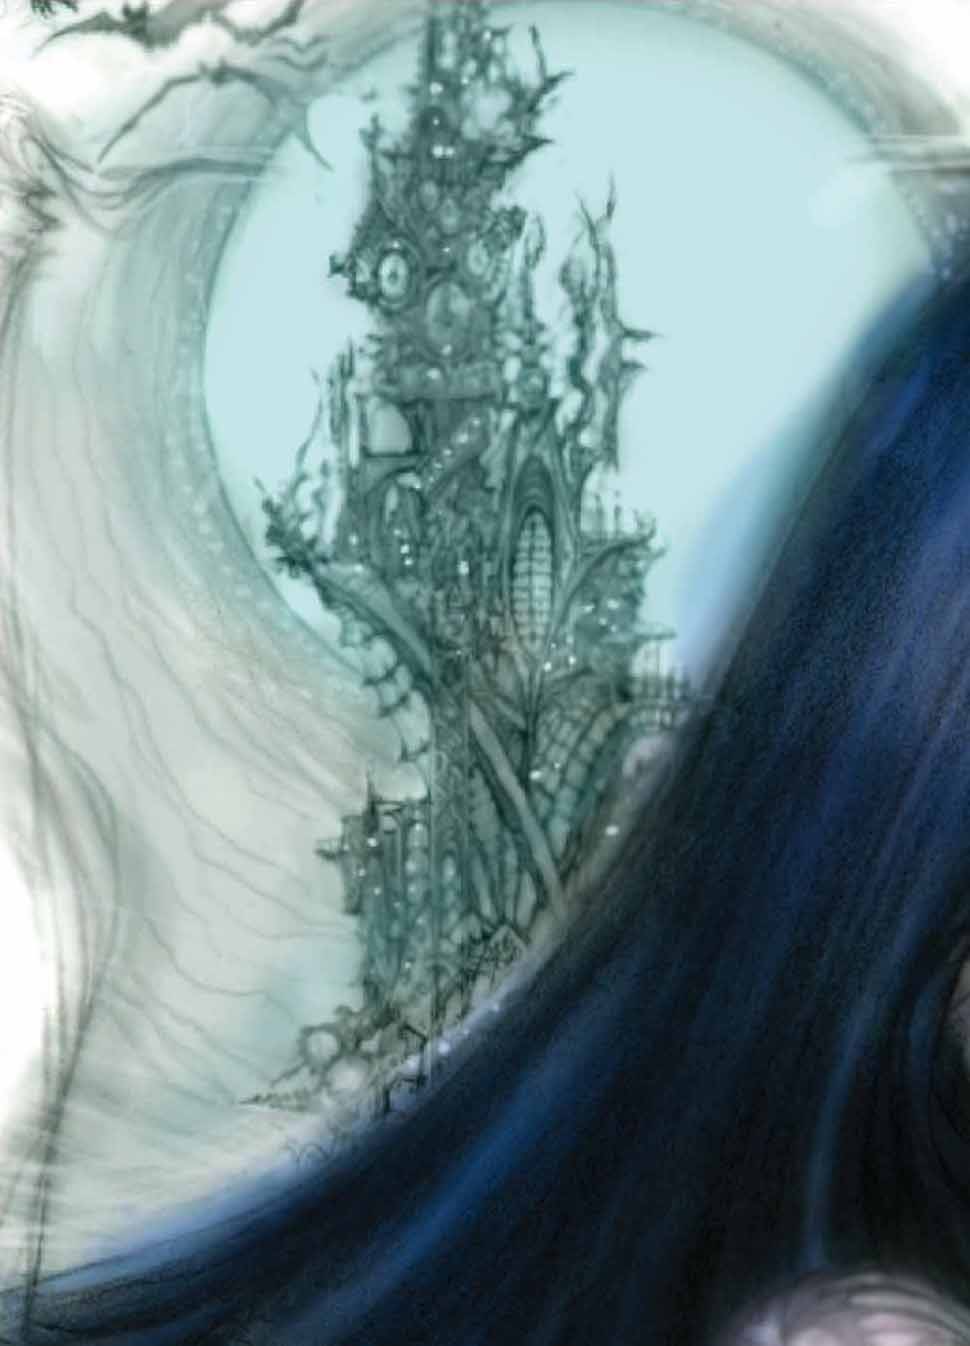
Step Eight We did a full rendering of the vampire queen’s castle in the Vampire Slayer illustration (see page 24). Since these two characters are from the same story, let’s bring the castle into this background as well. To save time, scan both drawings into Photoshop®; then crop out the castle and place it into this illustration.
Step Nine While on the computer, saturate the values using the levels tool. Then, with the eraser tool, pick out highlights in the castle and in the vampire’s eyes, dress, and tattoo. Next, take the blur tool and soften the background. This technique will push the castle further back into distance.

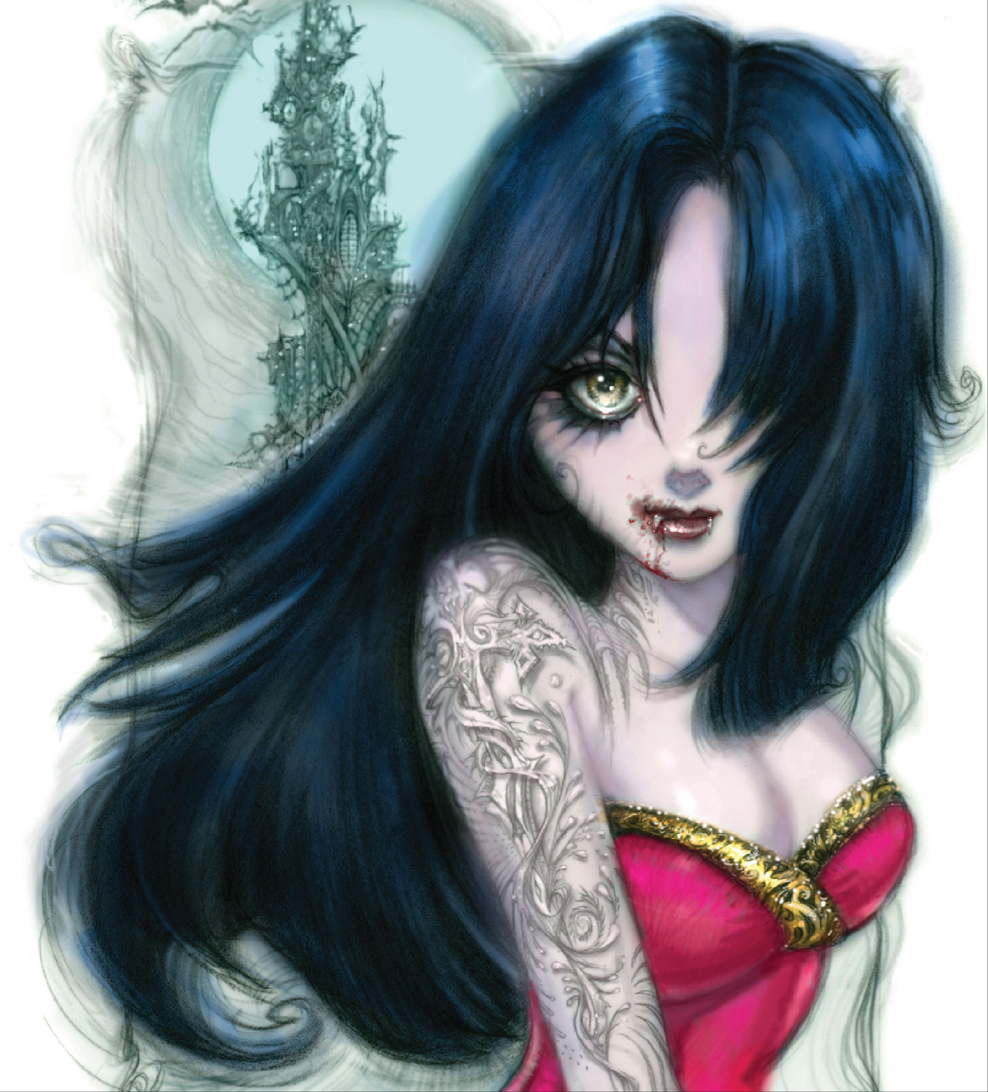
Step Ten Now we’ll begin the color stage. Start with her skin tone and select a light peachy pink from the color picker. Then, choose the brush tool and turn the opacity down to about 10%. Bring the hardness of the brush down as well. Select the “multiply” mode so you have more control over the saturation—this allows the drawing to come through. Continue brushing over her skin until you get the desired effect. Repeat these steps for the hair and dress.
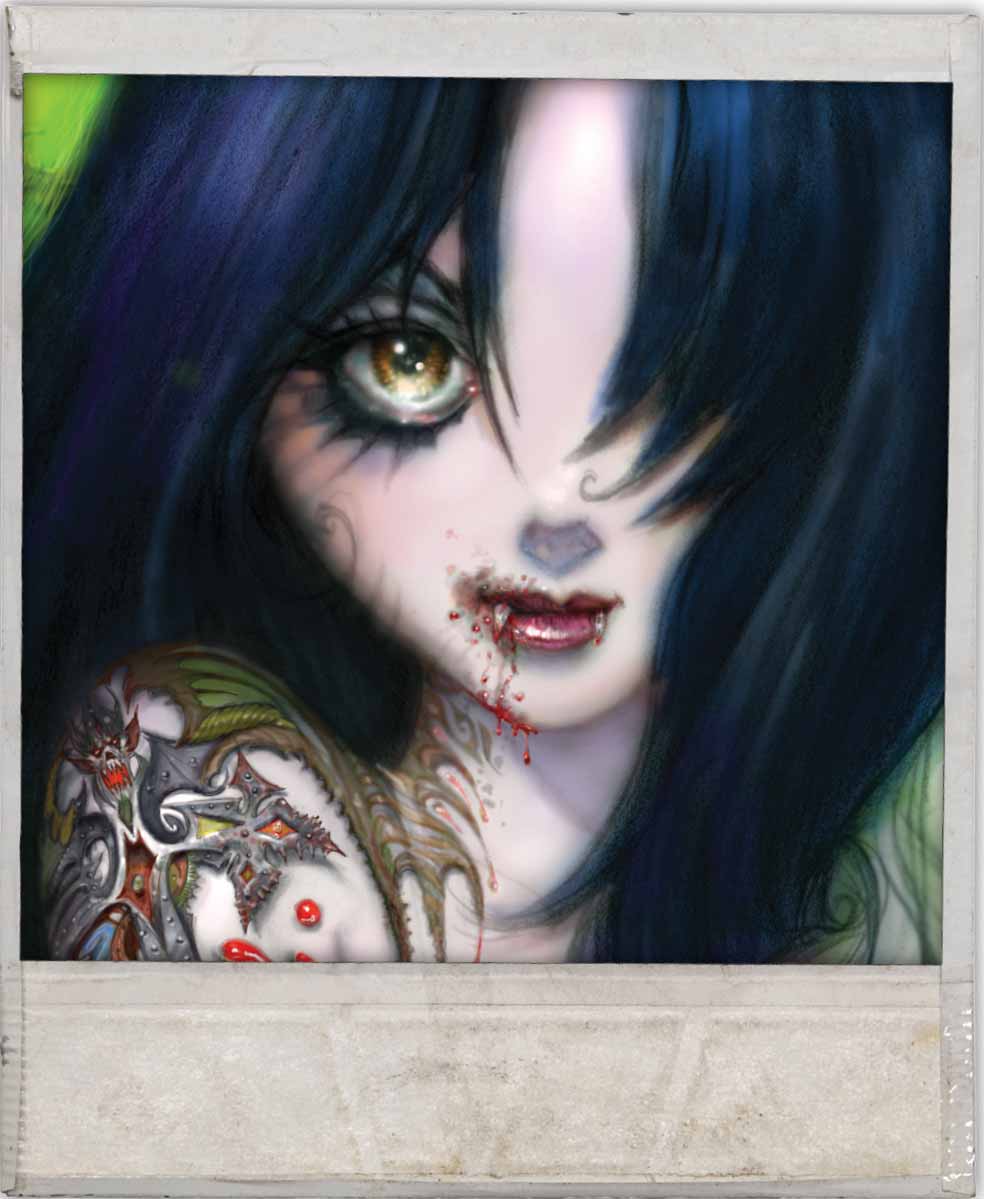
Step Eleven To contrast with her pale, peach-colored skin, choose a dark midnight blue for her hair. With that color selected, increase the opacity to about 50% on your brush tool and then begin to paint the vampire’s hair. Remember to leave a soft edge all around to maintain the energy of the drawing.

Step Twelve Since this vampire is royalty, we want her status reflected in her clothes. Choose hot pink for the light areas of her dress. Bright spots of color next to deep core shadows will give the impression of a luxurious velvet material. Select a deep orange-yellow for the gold embroidery. Then, with the eraser tool set at medium opacity, run a highlight down the middle.
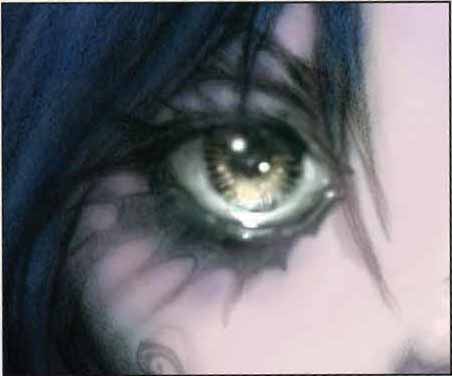
Step Thirteen Anime characters are known for enormous, limpid eyes. With the eraser tool, give your vampire queen small, bright highlights in the pupil and along the bottom rim. Also, give her eye a color that will contrast nicely with her hair.
Step Fourteen We don’t want the saturated blue of her hair to look foreign to the rest of our vampire, so we’re going to bring a bit of this color into her skin tone. Take some of the blue, keep the opacity of the brush tool extremely low, and bring it into her eyes, into the bottom plane of the nose, and into all the shadow areas.
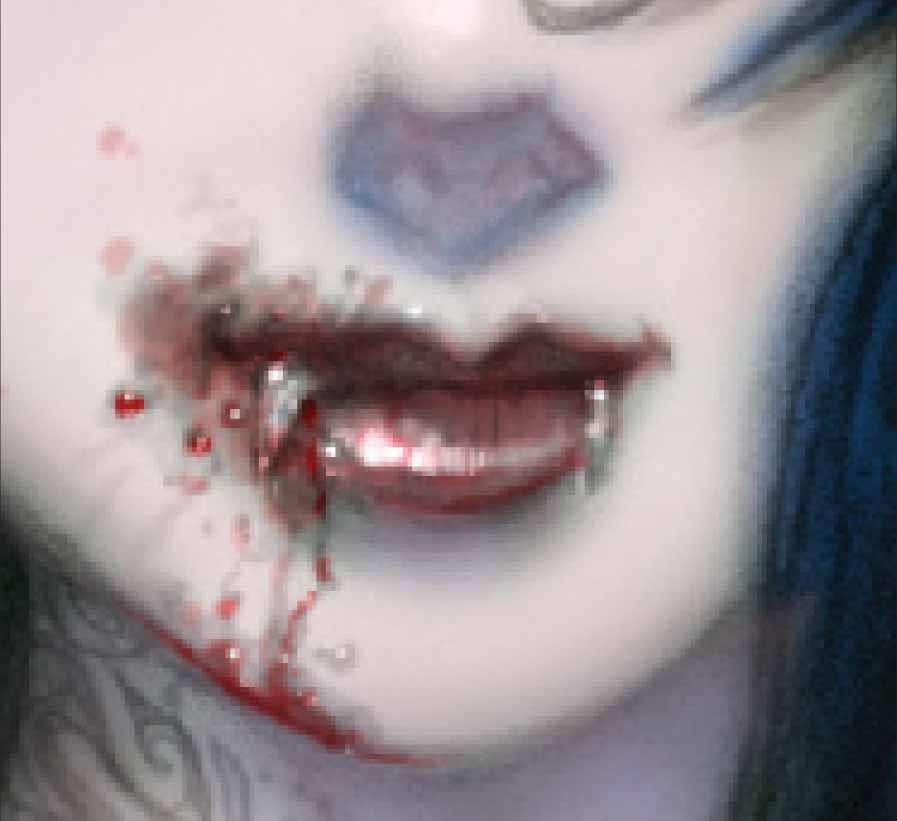
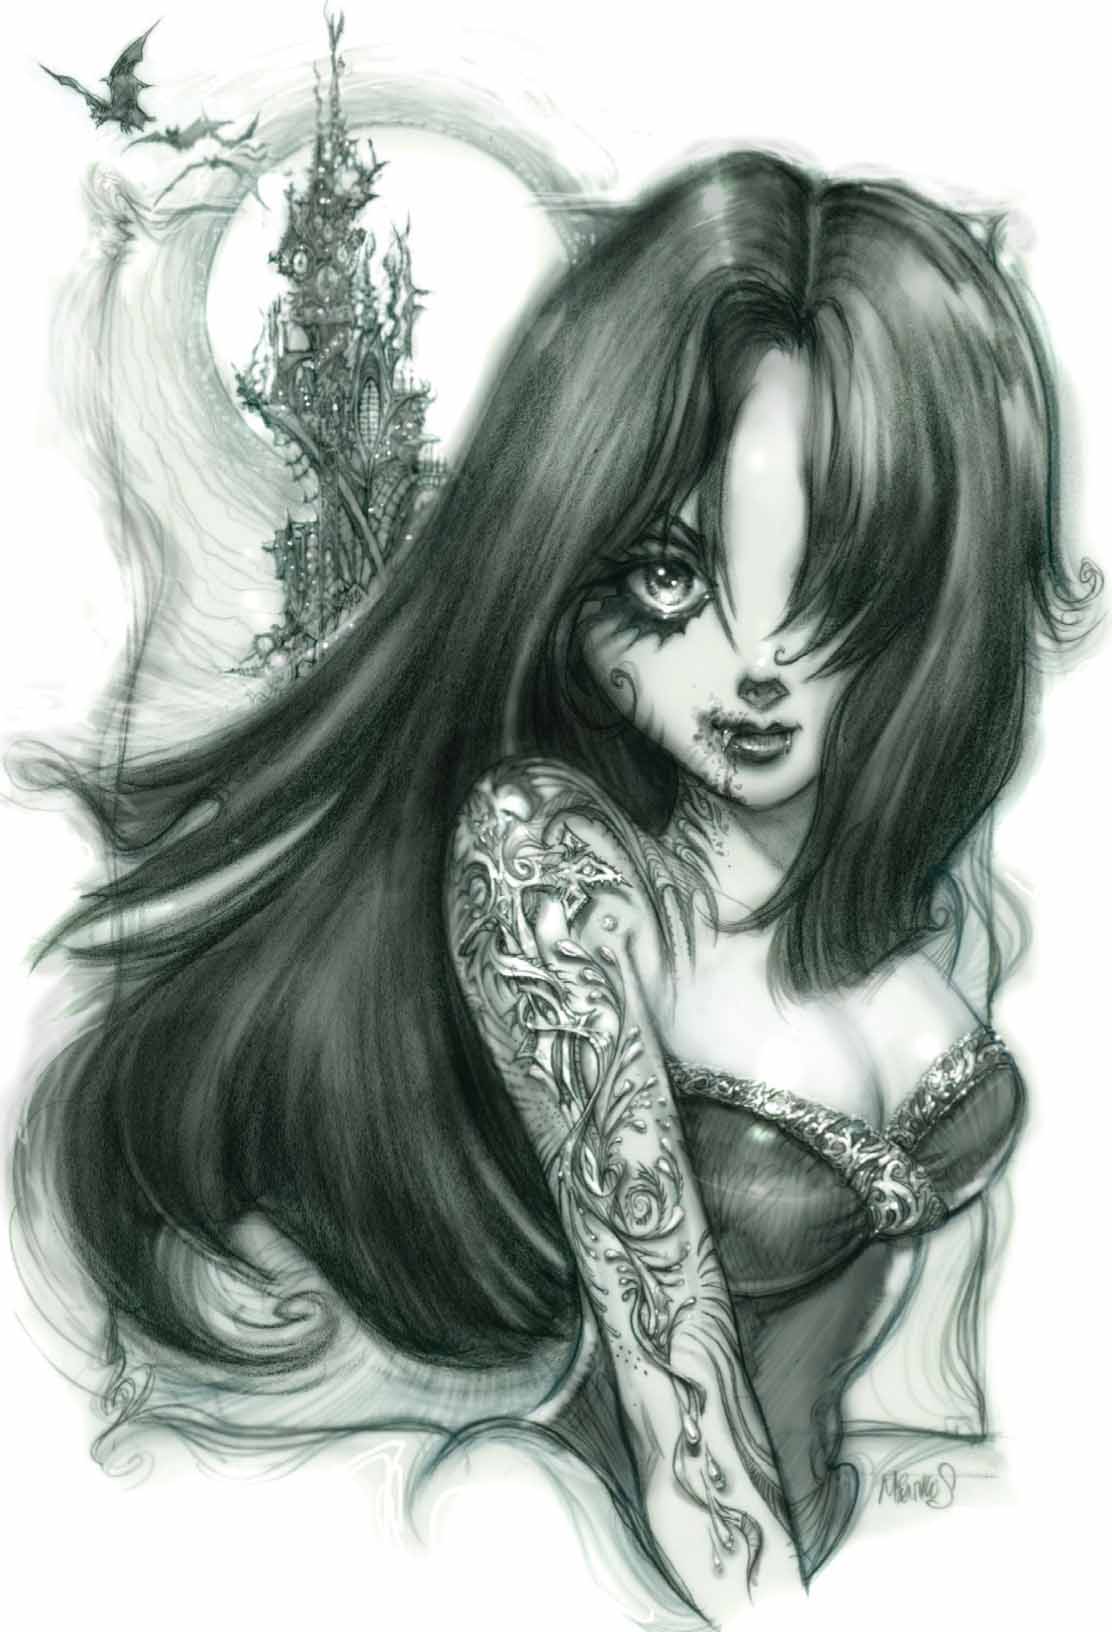
Step Fifteen Next, we’re going to use the brush tool again while we work on the blood and lips. Increase the opacity to about 70% and add smatterings of dark red along the side of her mouth.
Step Sixteen Give the background a tint of turquoise blue. We’re not going to do too much more to it since it’s supposed to be a second read.
Step Seventeen Using the brush tool, start adding color to her tattoo. Select a brighter red, different from the blood on her chin.
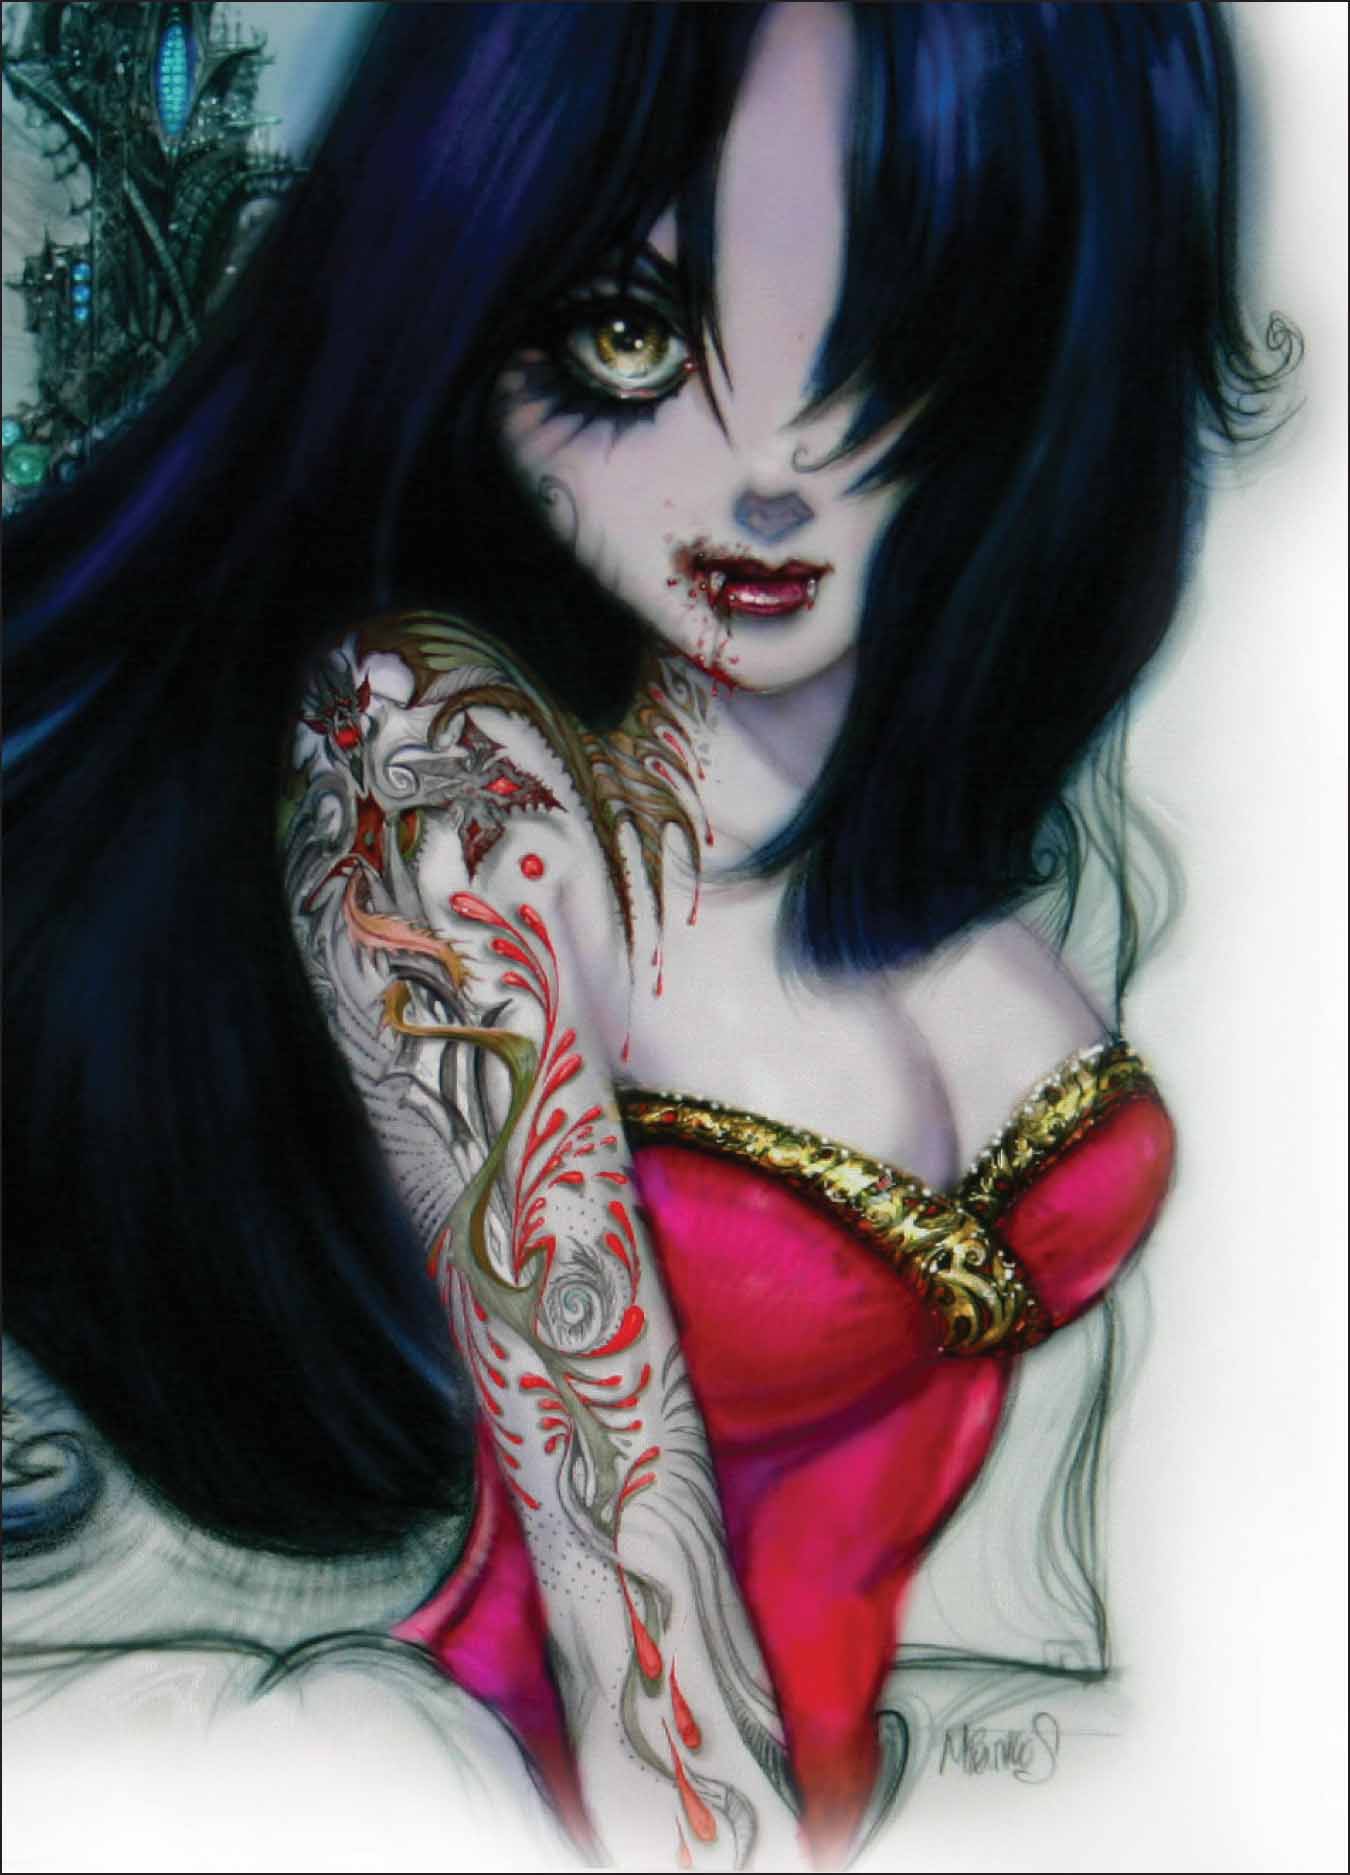
Step Eighteen Now you’re going to tie the illustration together by bringing colors from the eye and dress into the tattoo. Use muted gold, green, and gray to contrast with the bright splashes of red.

Step Nineteen Since tattoos are known for their graphic design, we’re going to finish off the tattoo by outlining all the shapes with a darker holding line. At this point, I add a bit of fun by creating a rainbow that bursts out of the sword.
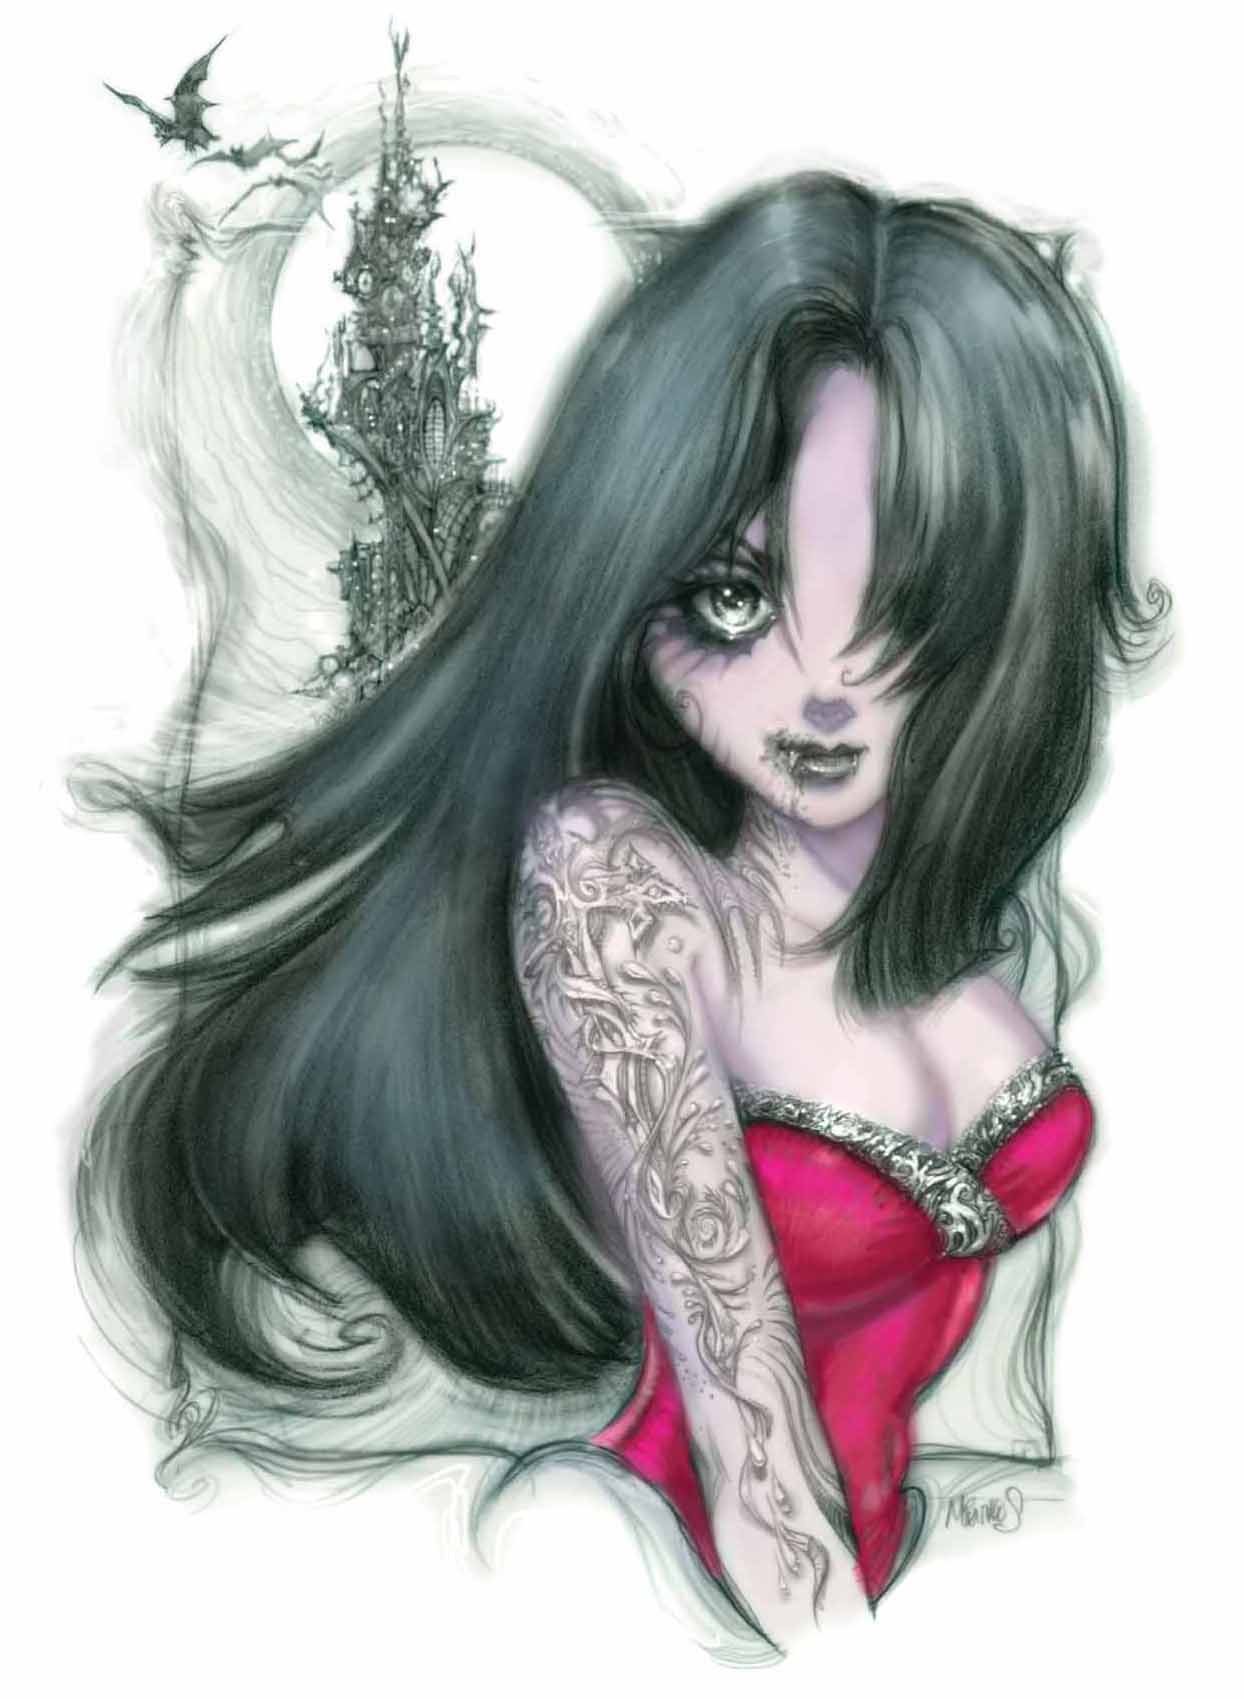
Step Twenty Now we’re going to add more peach tones into her skin. Keep your brush tool on multiply mode and select a warm, off-white color from the palette. Then, brighten all the light areas on her face and chest. Bring in soft, warm violet hues for the shadow areas, such as underneath her nose and chin.
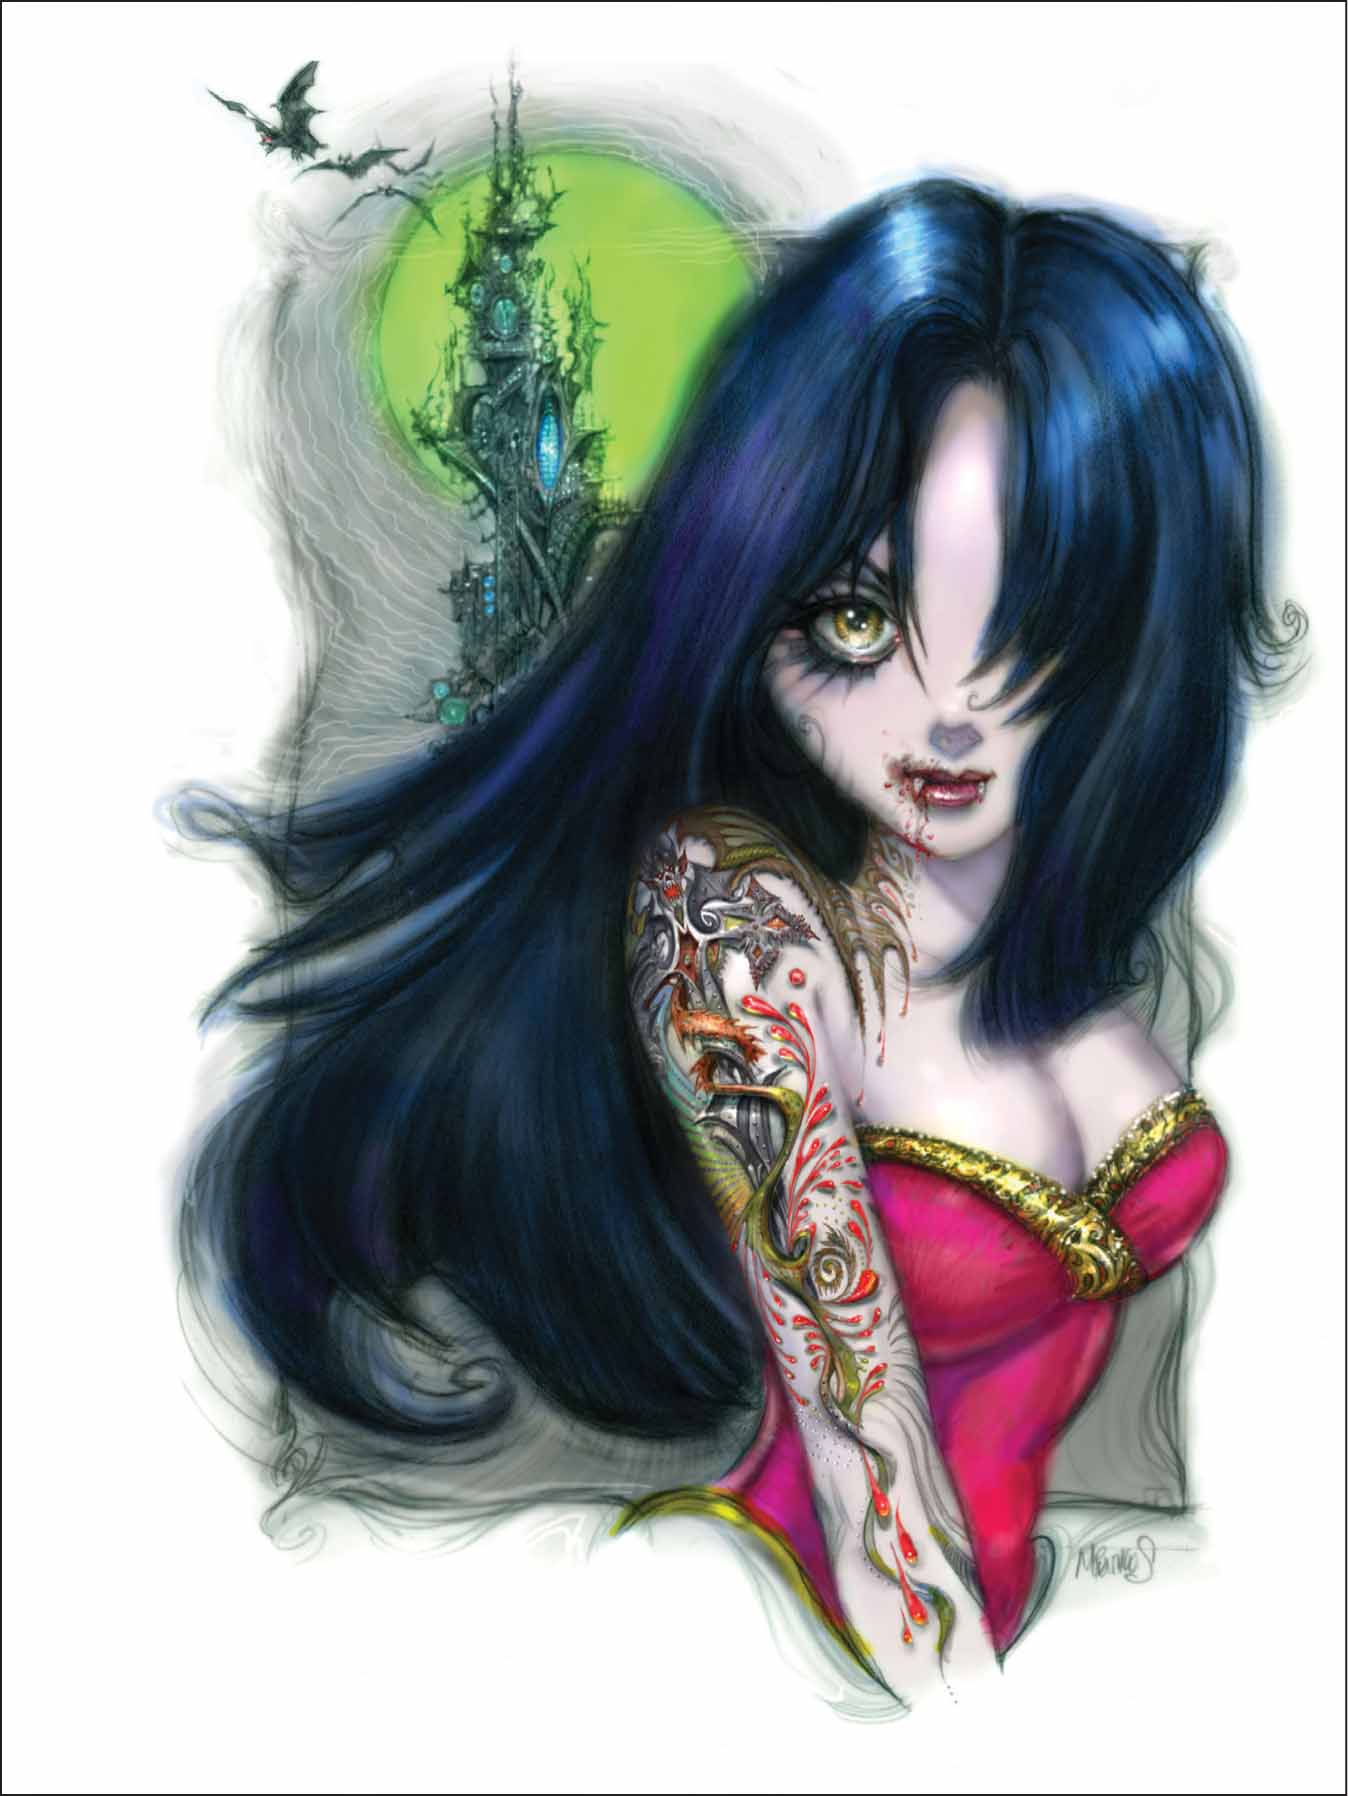
Step Twenty-One Even though the background is a second read, we still want to give it some life. Use the brush tool and choose a vibrant green for the moon and the bats. We don’t want to leave the background completely cool, however, so select a burnt umber and use it to paint parts of the castle. Then, with the eraser tool, add thin, squiggly rings around the moon. This suggests supernatural electrical current pulses radiating from the castle.
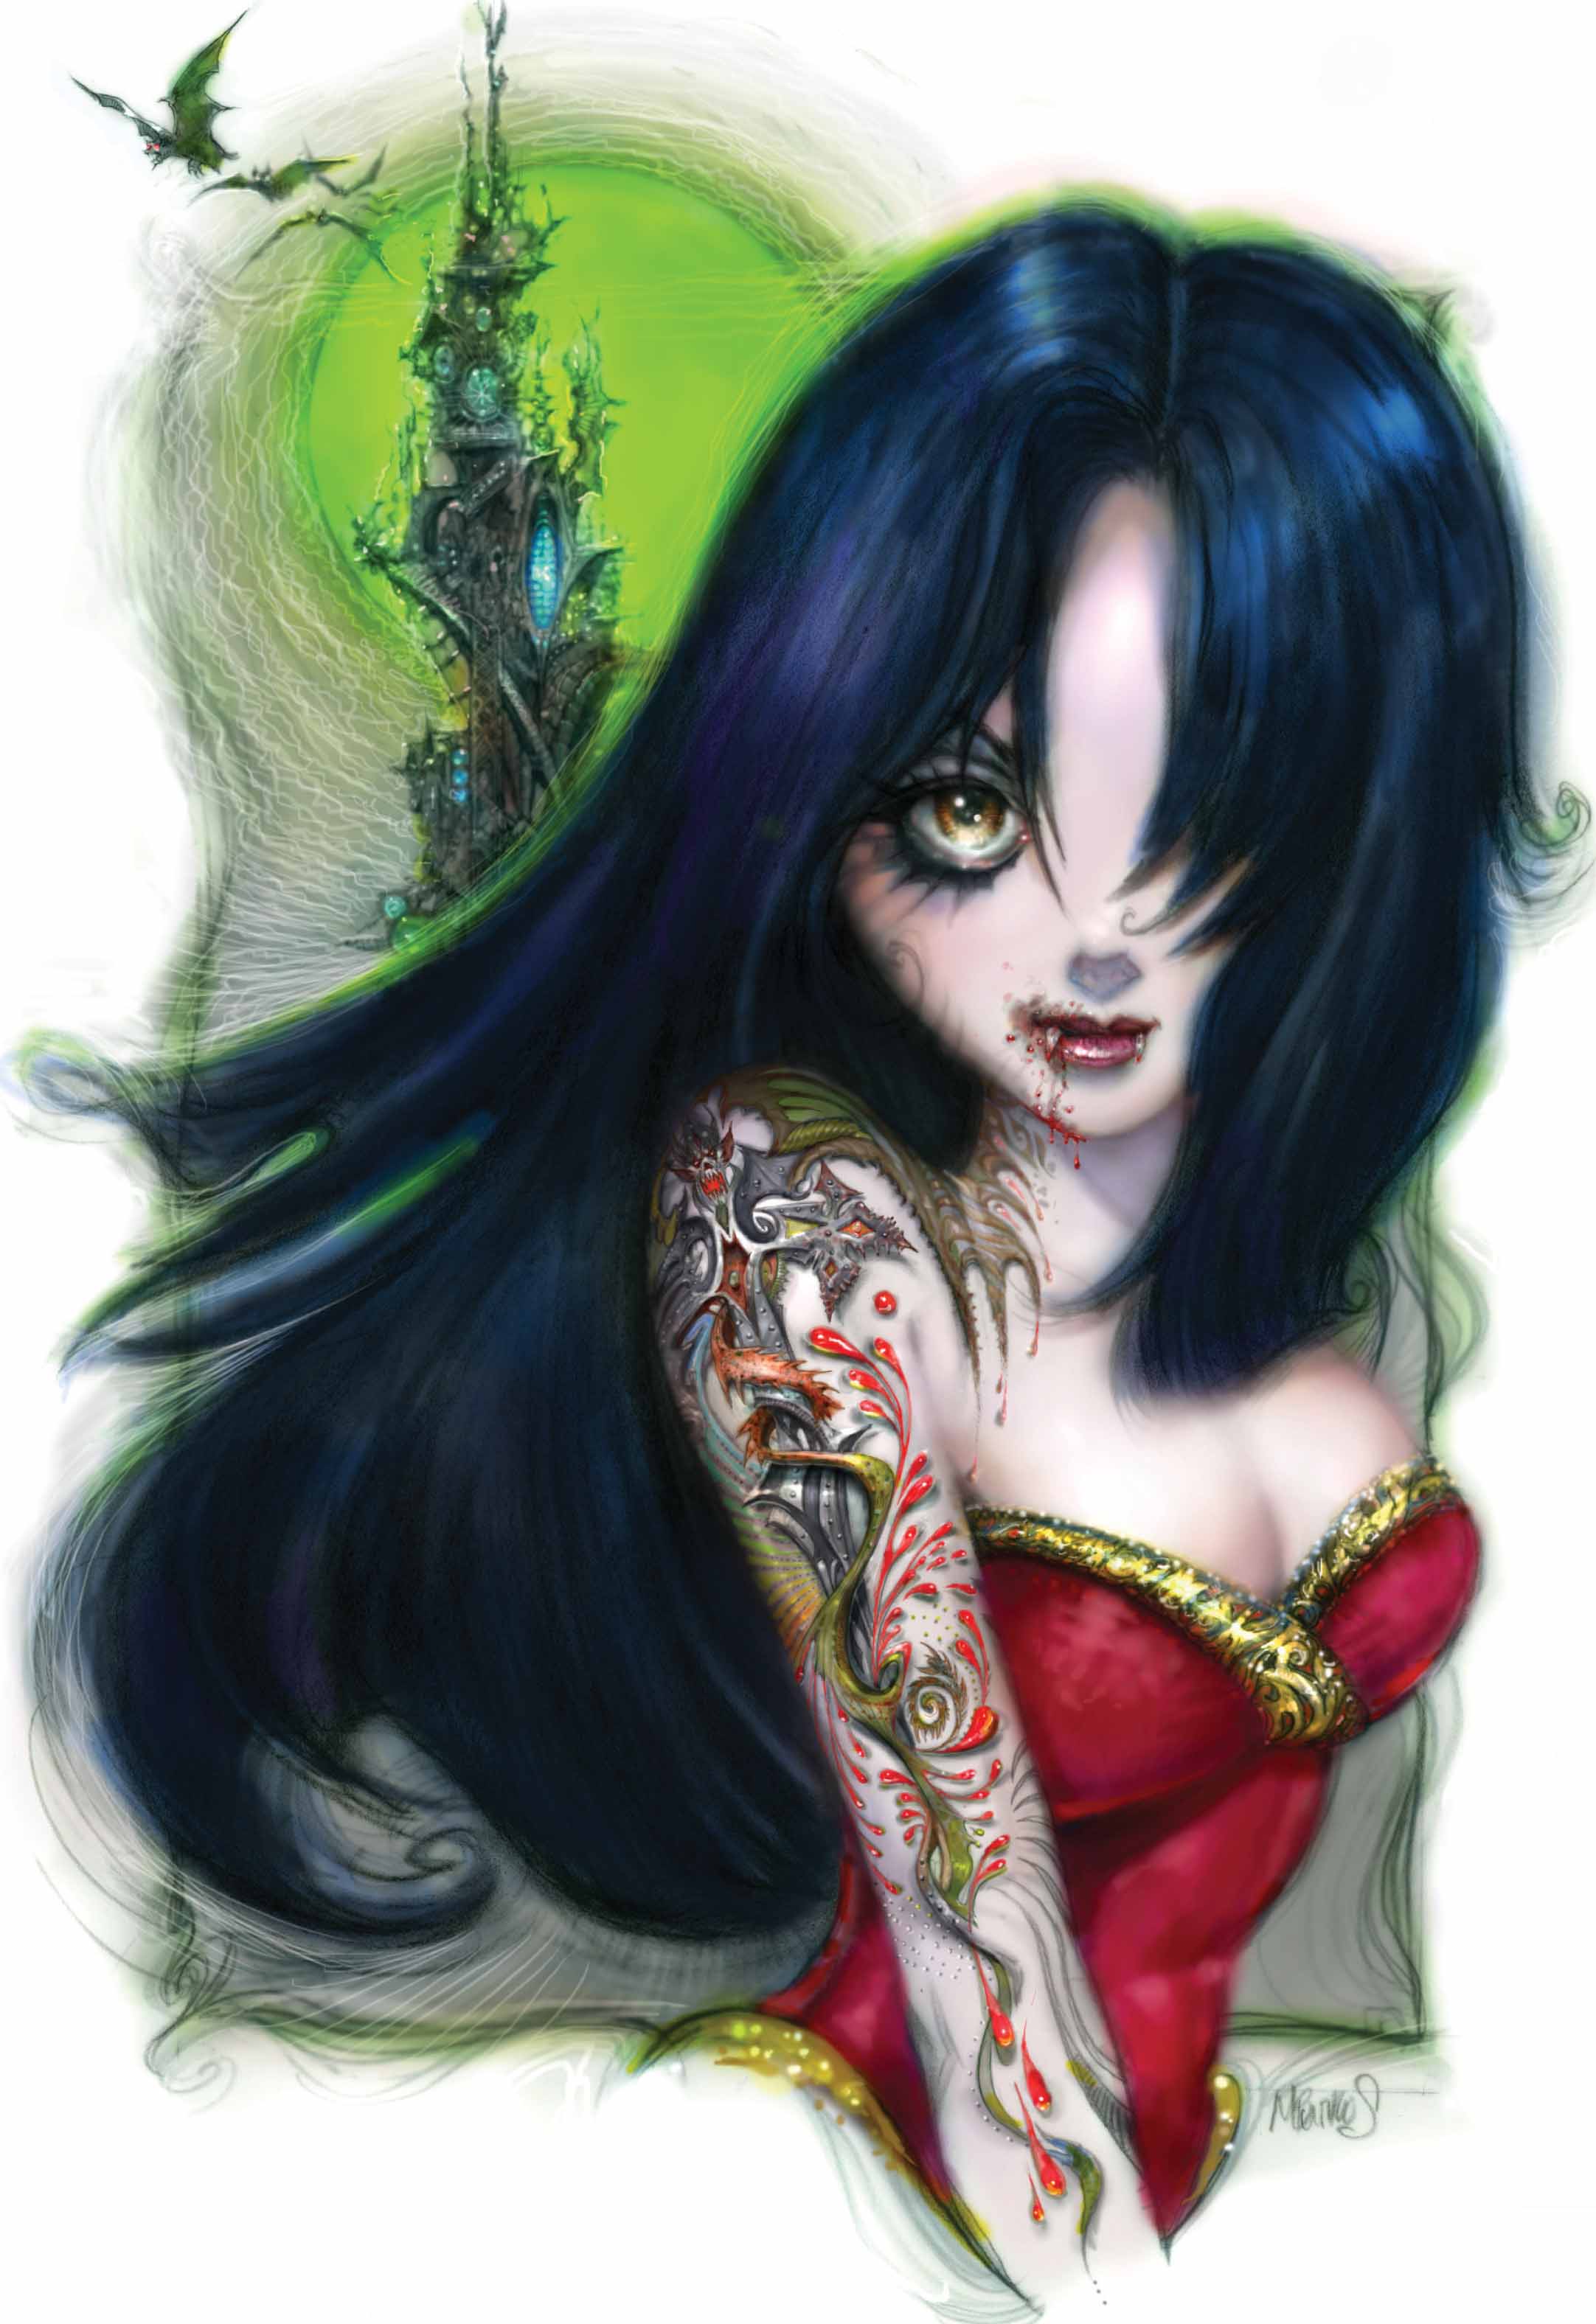
Step Twenty-Two For the final step, use the same green to highlight the edges around her hair. Also use a little bit of this color to frame the whole picture. At this point, you’ll see that I changed the hot pink color of her dress to a deep elegant red, which better mimics the look of fine velvet.
The timeline below shows how our view of the vampire has changed over the past hundred years, transforming him from dreaded monster to civil rights victim to teenage heartthrob. Still hunted after all these years, the vampire is rarely spotted anymore in his natural habitat of Romania or Transylvania. However, he can certainly be found in many movies, television series, and young adult novels.
1813: The Giaour
Poem written by Lord Byron
Inspired by his many travels throughout the Middle East and Europe, Lord Byron’s poem combines the Eastern European vampire legends with the Turkish practice of drowning a woman guilty of an affair with an infidel. As punishment, the giaour—or infidel—in this story was destined to become a vampire who would then feed on his loved ones.
1819: The Vampyre
Short story written by John Polidori
At first credited to Lord Byron, this story by John Polidori tells the adventures of Lord Ruthven, a vampire who mysteriously drains the life from the women he meets. This tale was a turning point in the ancient vampire legends and the first time one of the undead was portrayed as a charismatic and seductive aristocrat. Polidori based his character on the exploits of his one-time friend, Lord Byron.
1897: Dracula
Book written by Bram Stoker
Influenced by Polidori’s The Vampyre and inspired by tales of Vlad Dracula of Walachia, this vampire novel is mainly told through letters and journal entries, as well as newspaper snippets. This is the first time we meet the legendary Count Dracula, his vampire brides, and Van Helsing. In 25 years, this book would be retold in the new media of moving pictures in the film Nosferatu.
1922: Nosferatu
Film directed by F. W. Murnau
Filmed in black and white, this silent German horror film changed the names of all the characters in the classic tale because the studio didn’t have the rights to Bram Stoker’s novel. It’s still one of the best and scariest cinematic portrayals of Dracula to date.
1931: Dracula
Film directed by Tod Browning
Béla Lugosi plays the leading role in this film based on Bram Stoker’s distinguished novel. As Count Dracula, Lugosi changes from a bat to a vampire, hypnotizes his victims, and feeds upon the unsuspecting Lucy Weston.
1954: I Am Legend
Book written by Richard Matheson
A ground-breaking story, this novel was the first to incorporate elements of a vampire plague and a subsequent worldwide apocalypse. This book was made into film at least three times: The Last Man on Earth (1964); The Omega Man (1971); and I Am Legend (2007). Matheson’s vampire tale also inspired director George A. Romero’s Night of the Living Dead, and thus became the progenitor of subsequent zombie stories.
1954: The Vampira Show
TV series directed by Hap Weyman
Played by Maila Nurmi, who in turn drew inspiration from Charles Addams’ New Yorker cartoons, the character of Vampira combined elegance with horror. With her long fingernails and even longer cigarette holder, she sauntered through a bank of fog, and then screamed before introducing the movie of the evening. This show later morphed in 1982 to become Elvira’s Movie Macabre.
1964: The Munsters
TV series created by Allan Burns and Chris Hayward
This half-hour comedy aired on CBS for two seasons. Starring Fred Gwyne as a Frankenstein monster named Hermon and Yvonne De Carlo as the sultry Lily, this sitcom portrayed everyday life within a family of ghouls. With no overt depiction of vampires, De Carlo definitely looked the part of a life-draining enchantress, while Grandpa was later revealed as Count (Sam) Dracula.
1966: Dark Shadows
TV series created by Dan Curtis
Starring Jonathan Frid as the vampire Barnabas Collins, this ABC gothic soap opera was filmed in a castle-like mansion. The setting helped to create the moody and romantic ambiance that became a trademark for the series. The show also featured ghosts, werewolves, time travel, witches, and on occasion, an alternate universe. Fans of the show include Johnny Dep, Tim Burton, and Madonna.
1975: Salem’s Lot
Book written by Stephen King
Like all of King’s books, this story hooks the reader from beginning to end. Main character Ben Mears moves home after the death of his wife. Before long, Mears begins to suspect that the strange deaths and disappearances that take place in Jerusalem’s Lot are the handiwork of vampires.
1976: Interview with the Vampire
Book written by Anne Rice
Once a plantation owner and now a tormented vampire, Louis tells the story of his 200-year life to a journalist. He details his relationships with Lestat, the vampire who turned him, and Claudia, a vampire forever trapped in a child’s body, and reveals the secret world of Parisian vampires. The first in The Vampire Chronicles series, this book subsequently became a movie in 1994, starring Tom Cruise and Brad Pitt.
1983: The Hunger
Film directed by Tony Scott
Catherine Deneuve stars as an immortal vampire with David Bowie as her lover and fellow blood-sucker. Susan Sarandon enters the picture as a doctor trying to help Bowie, who is aging rapidly. The plot takes a chilling twist when Deneuve seduces Sarandon and invites her to partake in eternal life.
1987: The Lost Boys
Film directed by Joel Schumacher
Starring Jason Patrick, Corey Haim, and Keifer Sutherland, this horror classic focuses on an infestation of teenage vampires in a sleepy little California town. The temptation of supernatural powers, eternal life, and forbidden love lure Patrick toward a coven of local vampires who want him to join them.
1991: The Vampire Diaries
Book written by L. J. Smith
Published in 1991, this young adult series currently contains seven books. Featuring a high school girl named Elena Gilbert, the story focuses on her conflicting emotions toward two vampiric brothers, Stefan and Damon. In 2009, this popular book series was made into a television series on the CW Network. Starring Ian Somerhalder as Damon and Paul Wesley as Stefan, the show became an almost overnight hit.
1992: Bram Stoker’s Dracula
Film directed by Francis Ford Coppola
Genres blend in this horror-romance-thriller that stars Gary Oldman as Dracula and Winona Ryder as Mina Harker. This retelling of the classic tale focuses on the suicide of Dracula’s wife, her reincarnation in Mina, and the subsequent vampire triangle that ensues.
1993: Guilty Pleasures
Book written by Laurell K. Hamilton
In this first novel in the series, readers are introduced to Anita Blake, a vampire hunter who lives in an alternate history. Blake’s world is filled with werewolves, vampires, and magic, and the story is written with elements of detective fiction and the supernatural. The series currently contains 19 novels.
1996: From Dusk Till Dawn
Film directed by Robert Rodriguez
Acting as bank robbers, George Clooney and Quentin Tarantino encounter a coven of vampires in a Mexican strip club. There, they battle for their lives from dusk until dawn.
1998: Blade
Film directed by Stephen Norrington
Based on a character in the Marvel Comics, Wesley Snipes portrays Blade—a half-vampire, half-human hybrid who hunts vampires. This character is most likely based on ancient Balkan legends of the dhamphir. The film was followed by Blade II in 2002, a film directed by Guillermo del Toro.
1999: Buffy the Vampire Slayer
TV series created by Joss Whedon
This cult favorite starred Sarah Michelle Gellar as Buffy Sommers, self-proclaimed vampire hunter and high school student. In between classes, Sommers regularly stalked and staked the undead. The TV series Angel was a spin-off from this show.
2001: The Southern Vampire Mysteries
Books written by Charlaine Harris
Set in an alternate history, this series of books stars Sookie Stackhouse and takes place in Louisiana. Werewolves, shape shifters, fairies, and vampires are part of the everday fabric of Stackhouse’s small town, where she works as a barmaid. A key element in the series is the depiction of the vampire as a creature still denied civil rights in some countries. In 2008, the True Blood series began on HBO. Created by Alan Ball and based on the book series by Charlaine Harris, the show has already won an Emmy and a Golden Globe.
2003: Underworld
Film directed by Len Wiseman
Starring Kate Beckinsale, this gothic film series features both vampires and werewolves. Putting a plot spin on the classic vampire hunter, the main character, Selene, is a vampire who hunts and kills werewolves. Followed by the 2006 film Underworld: Evolution directed by Len Wiseman, and the 2009 film Underworld: Rise of the Lycans directed by Patrick Tatopoulos.
2004: Van Helsing
Film directed by Stephen Sommers
With Hugh Jackman playing a legendary monster hunter and Kate Beckinsale as a member of a cursed Transylvanian family, this gothic film shows glimpses of Frankenstein’s monster, Dr. Jekyll and Mr. Hyde, and a werewolf, before focusing on the real monster of the day: Count Dracula.
2005: Twilight
Book by Stephanie Meyer
This young-adult novel tells the epic tale of a 17-year-old girl, Bella, who falls in love with what appears to be a 17-year-old boy, but turns out to be a 104-year-old vampire named Edward Cullen. The plot thickens when the town of Forks is invaded by a rival vampire coven. The series includes the novels New Moon, Eclipse, and Breaking Dawn. Twilight the movie was released in 2008, further cementing this series in the hearts of teens worldwide.
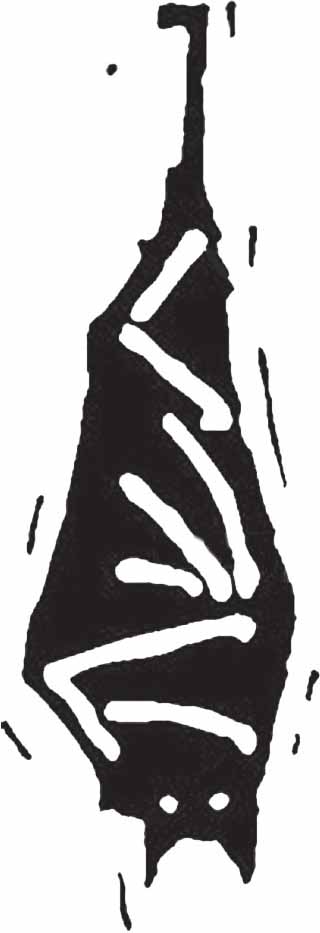
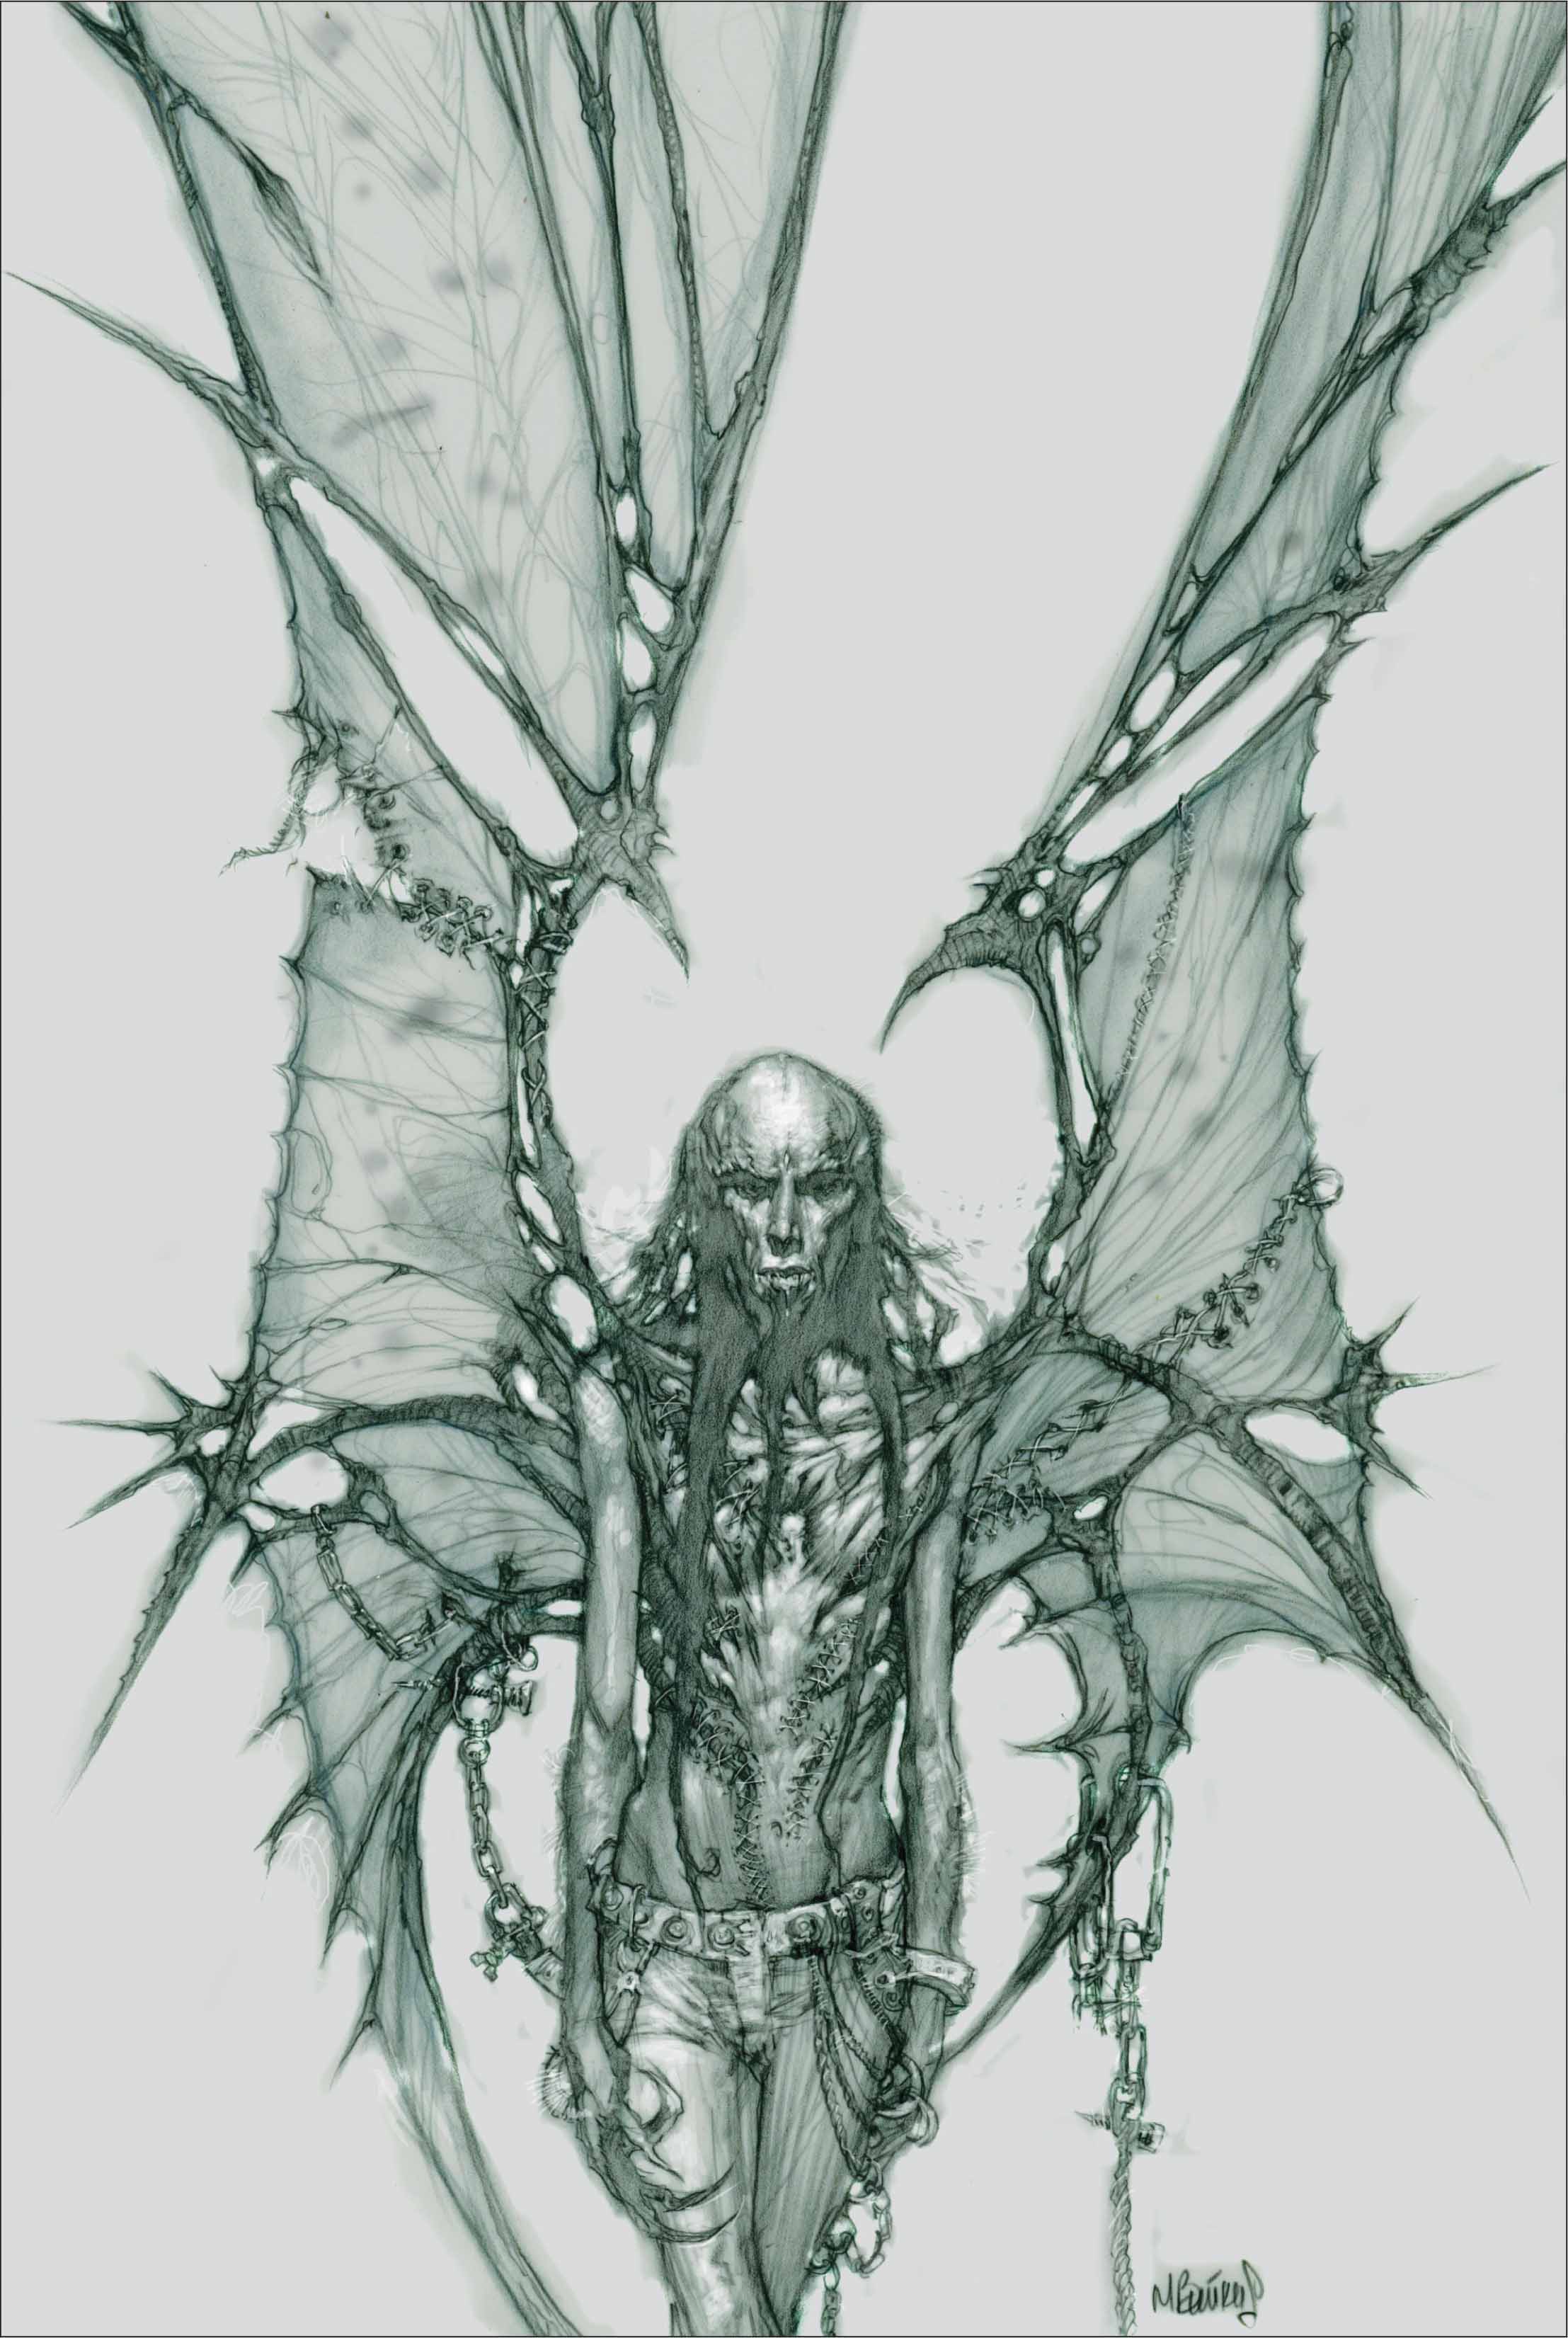
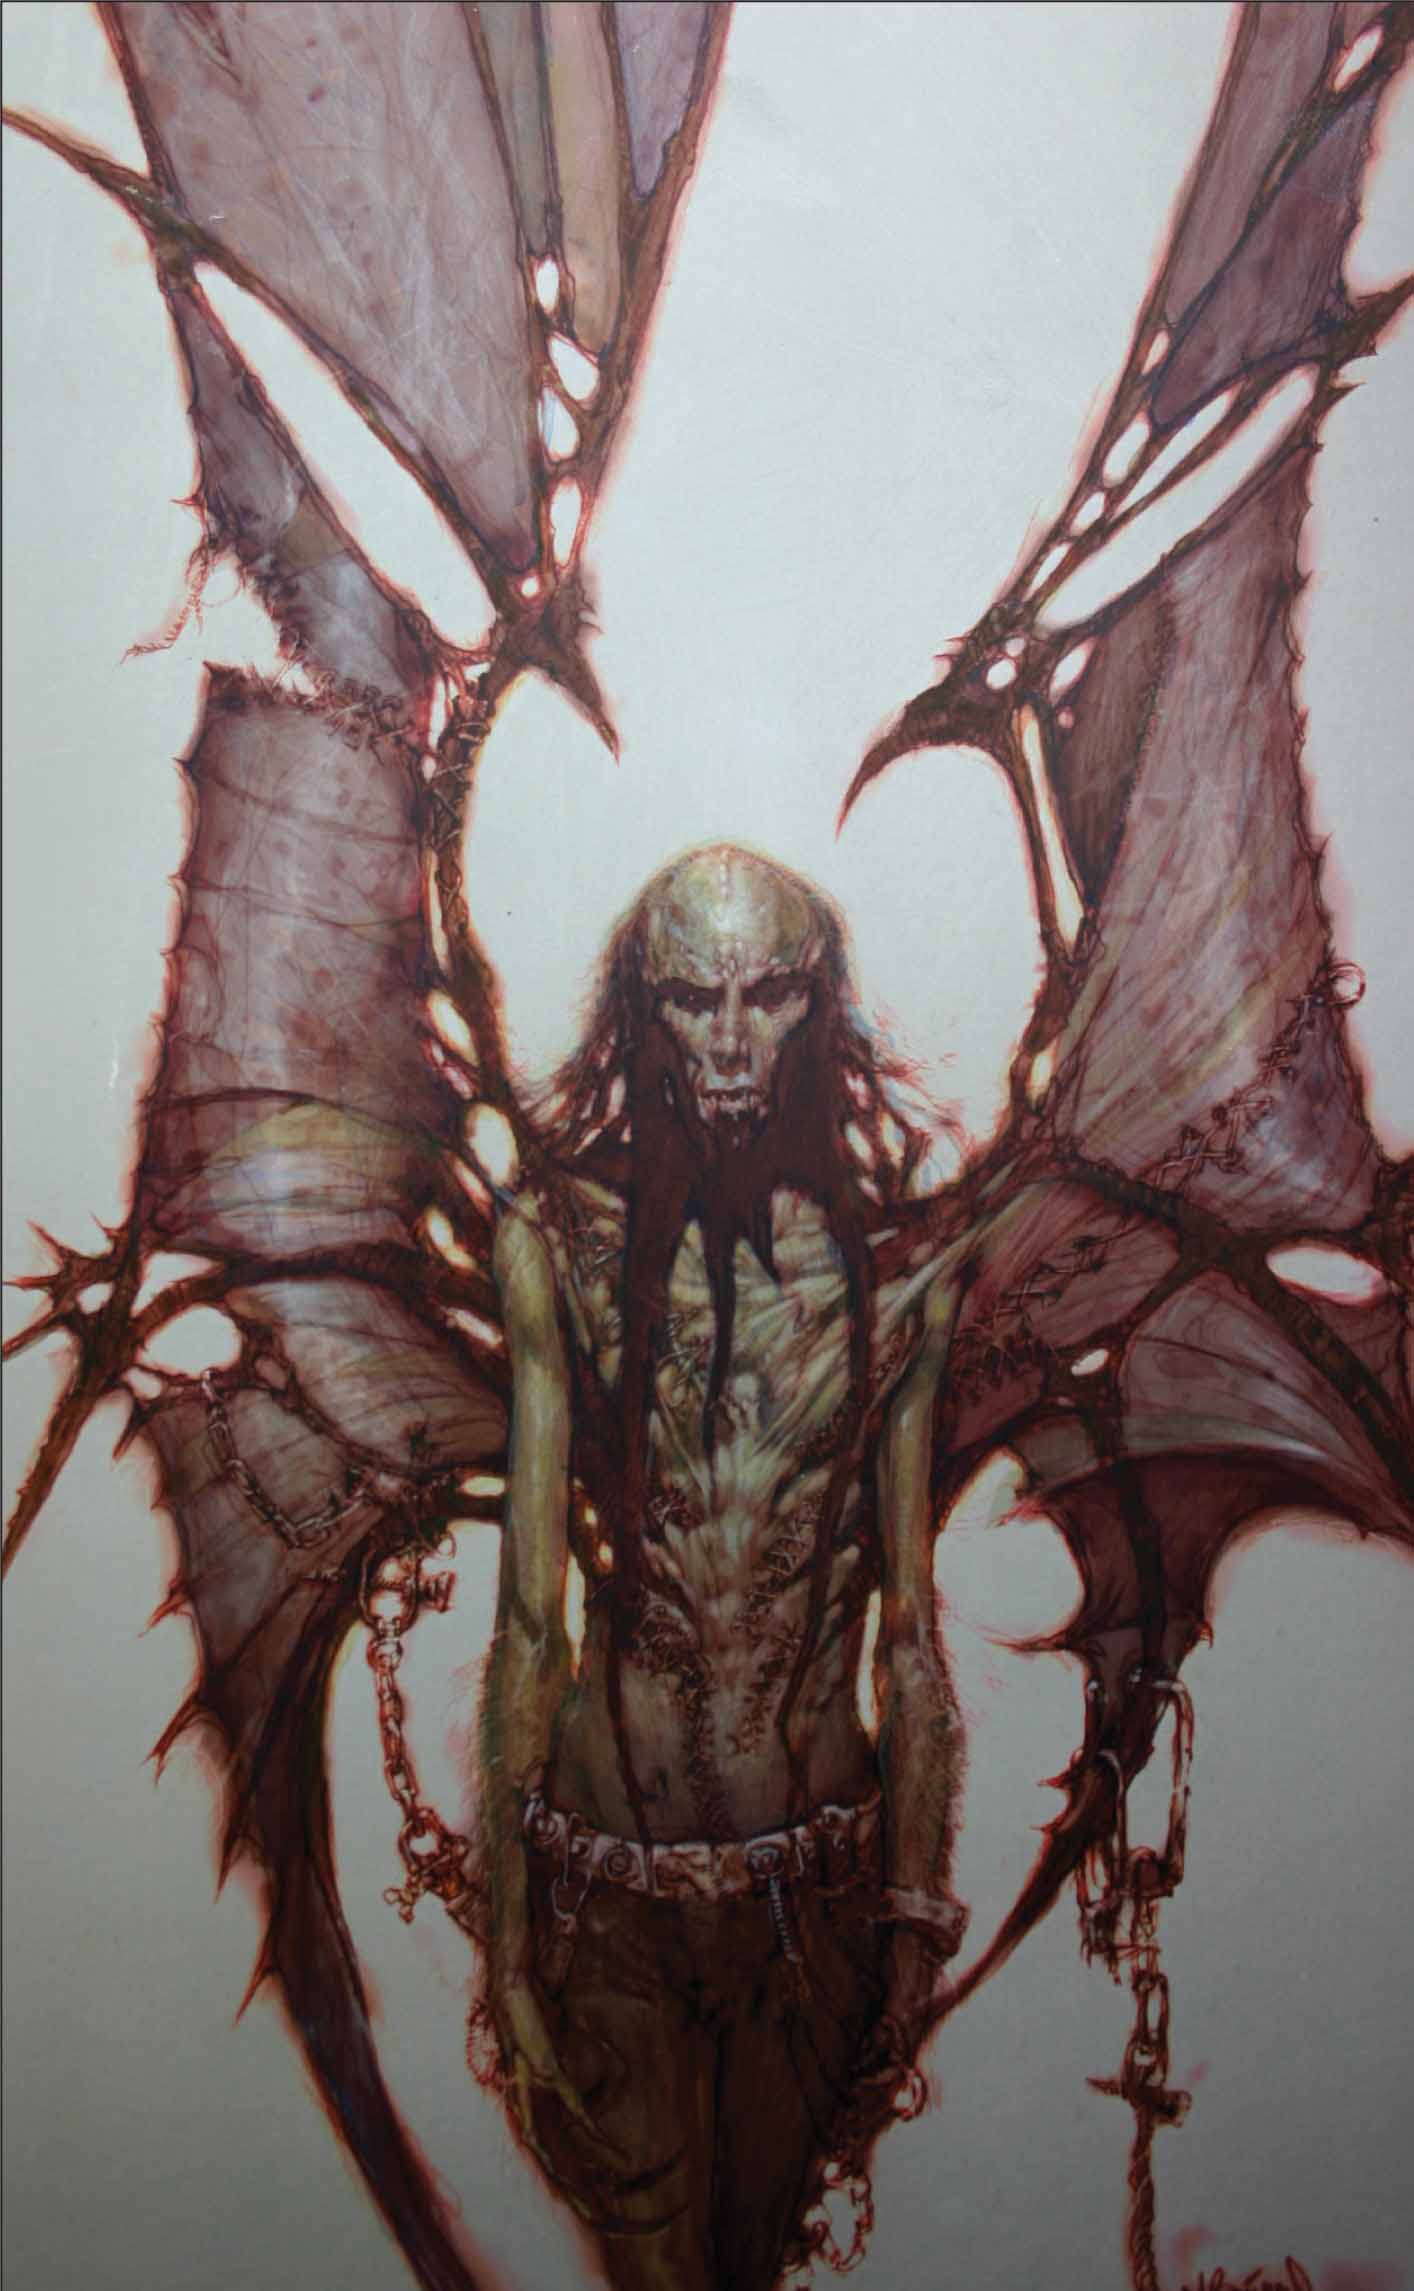
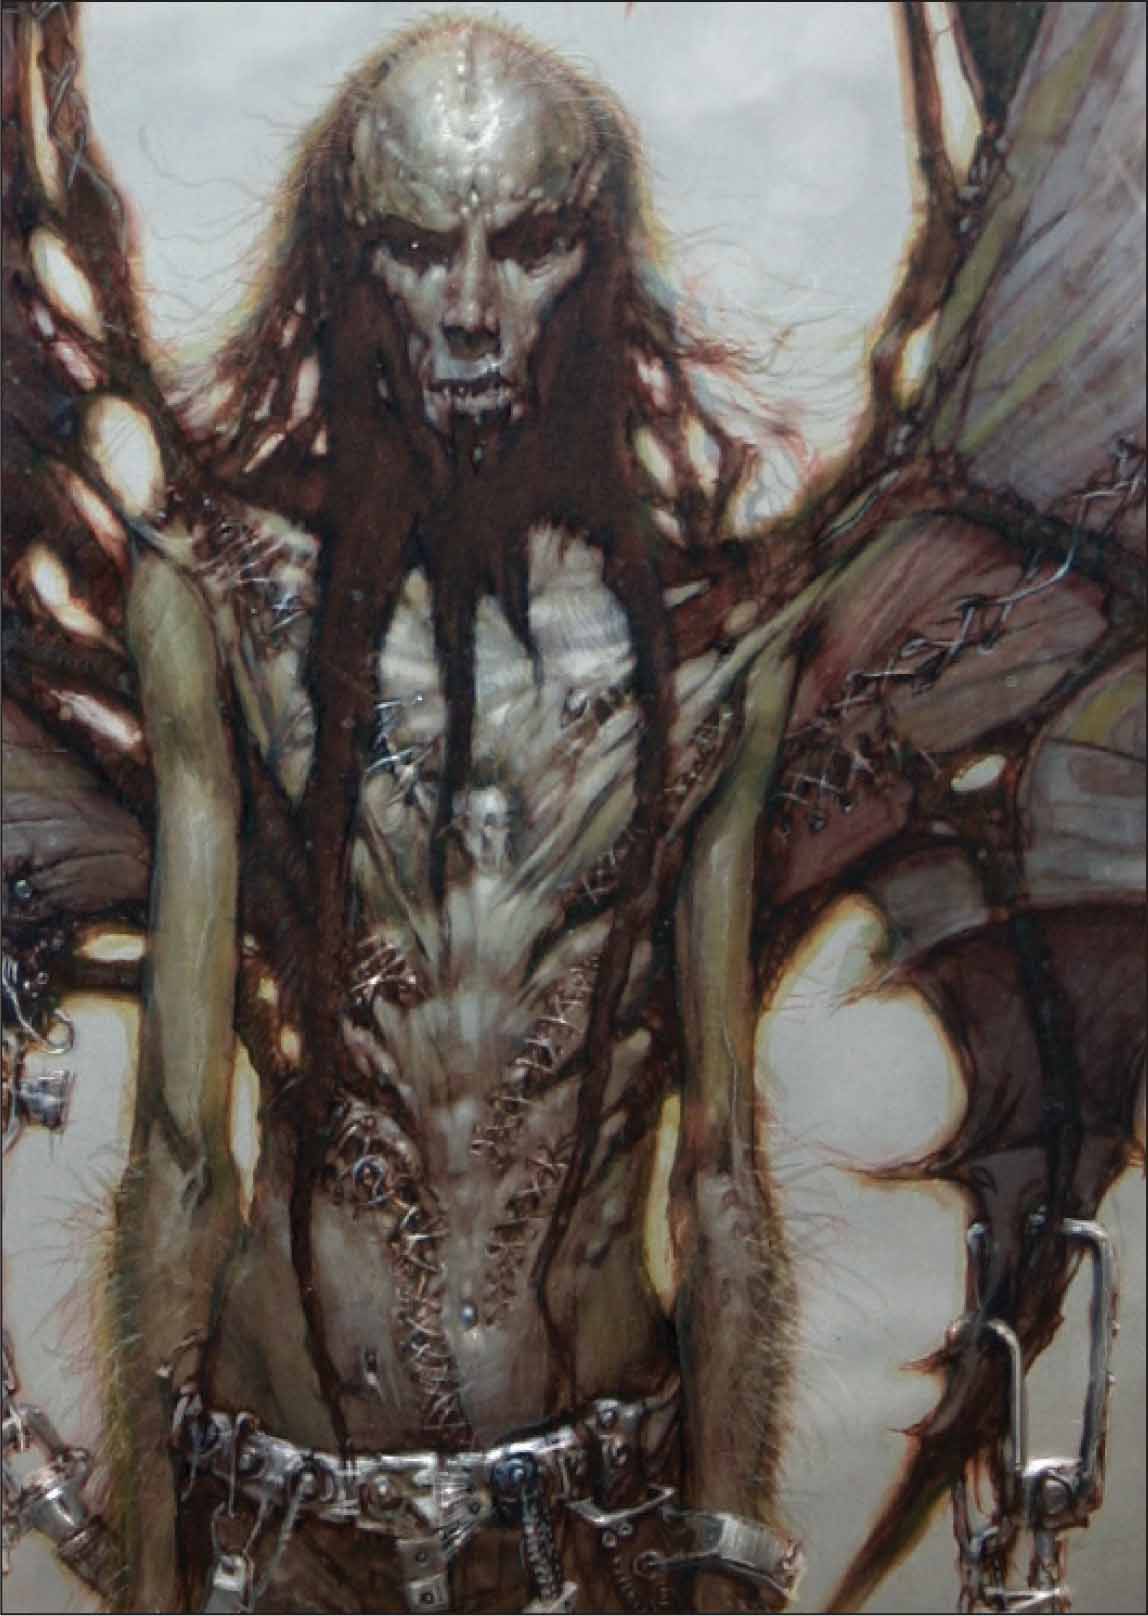
Considered one of the most dangerous predators, this vampire—who can shape shift into a flying winged monster—was captured and chained in the midst of his transformation. Bearing wounds from previous battles like trophies, this warrior knows that the humans won’t have the upper hand for long.
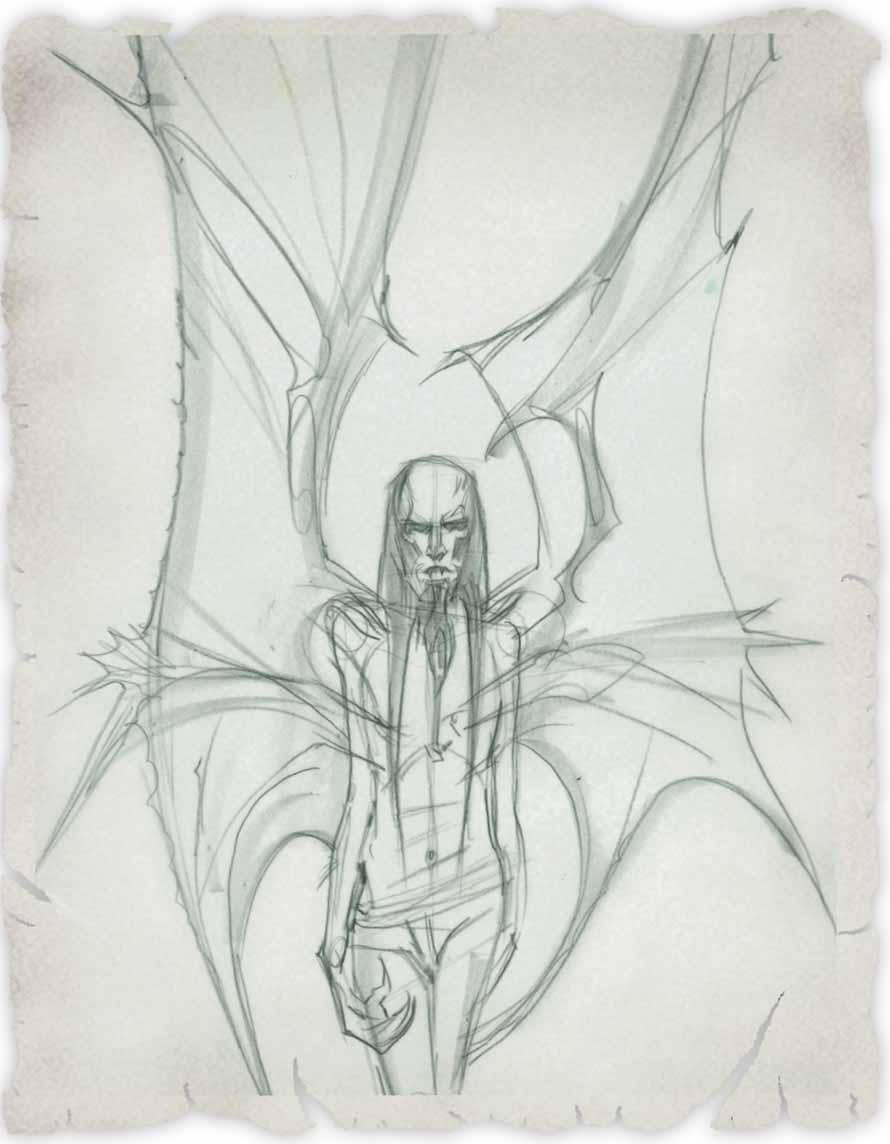
Step One For this project, we’ll be making a portrait of a flying vampire. To begin our drawing, we’ll start off by creating a thumbnail on a sheet of tracing paper, using a black colored pencil. Rough out his body and the position of his wings.
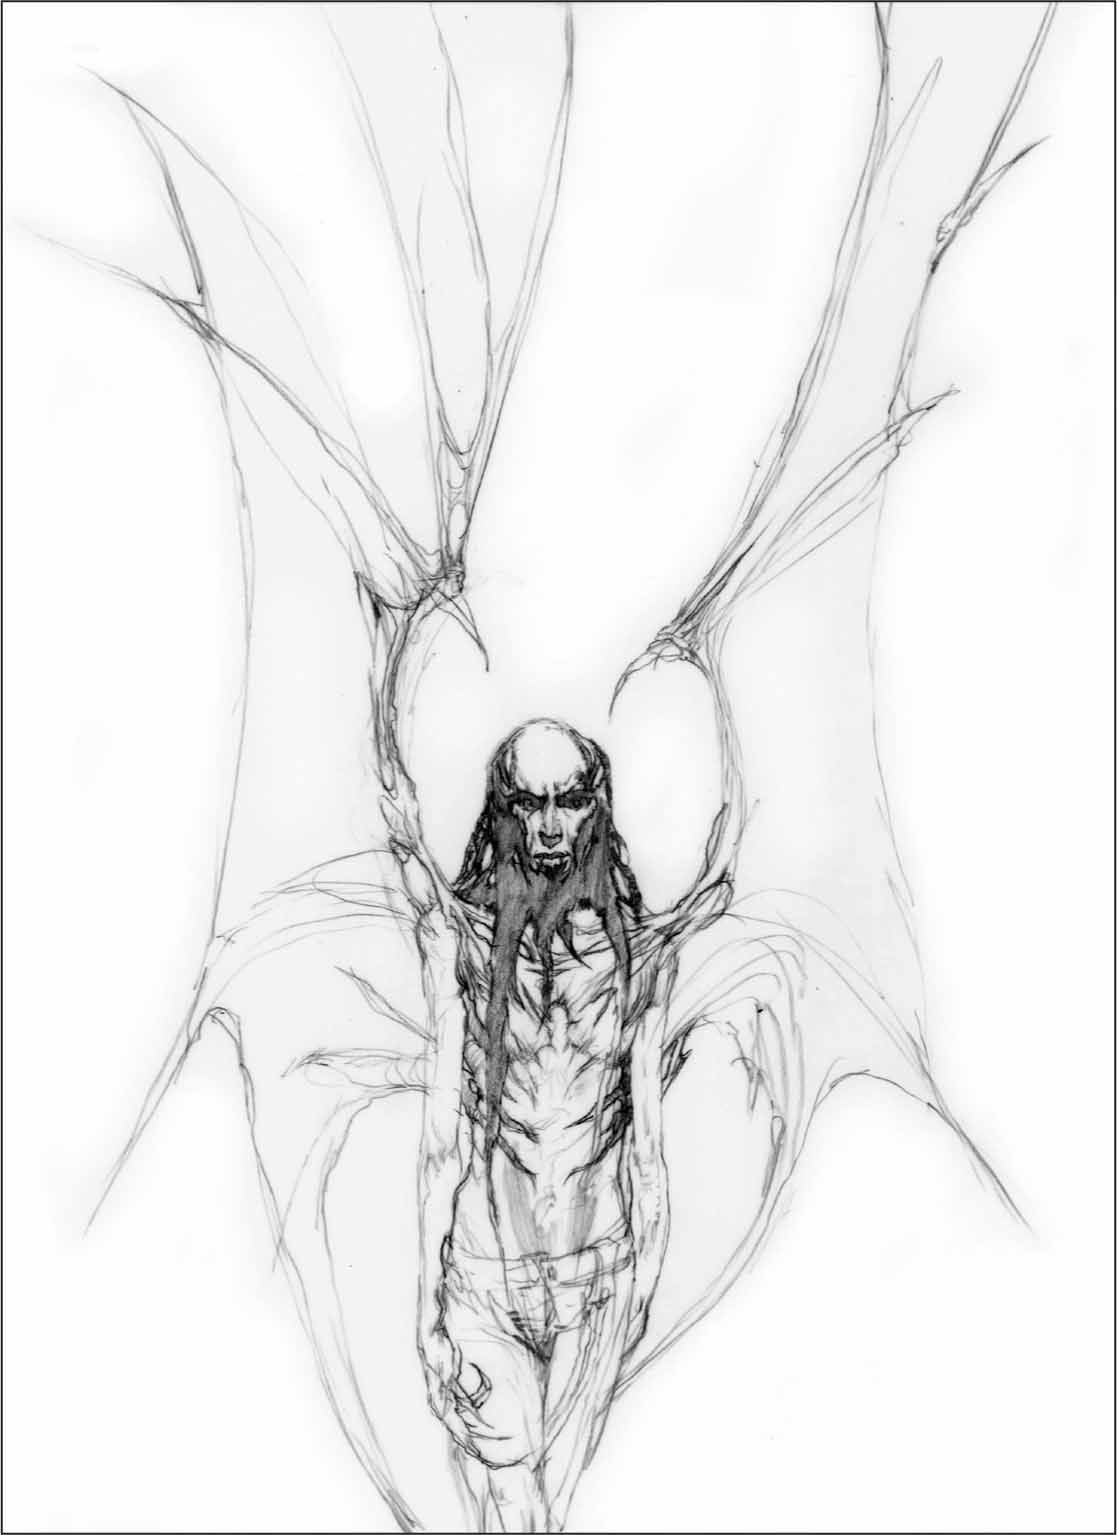
Step Two Next, we’ll begin the final drawing. We want his wings to be even more imposing, so bring his body down in size. With your basic outline in place, start with your dark shadow values first and shade in his beard, hair, and eye sockets. There will be so much detail to come that we want to keep certain areas like these as dark, graphic shapes. (You may choose to transfer this sketch; see “Transferring a Drawing” on page 25.)
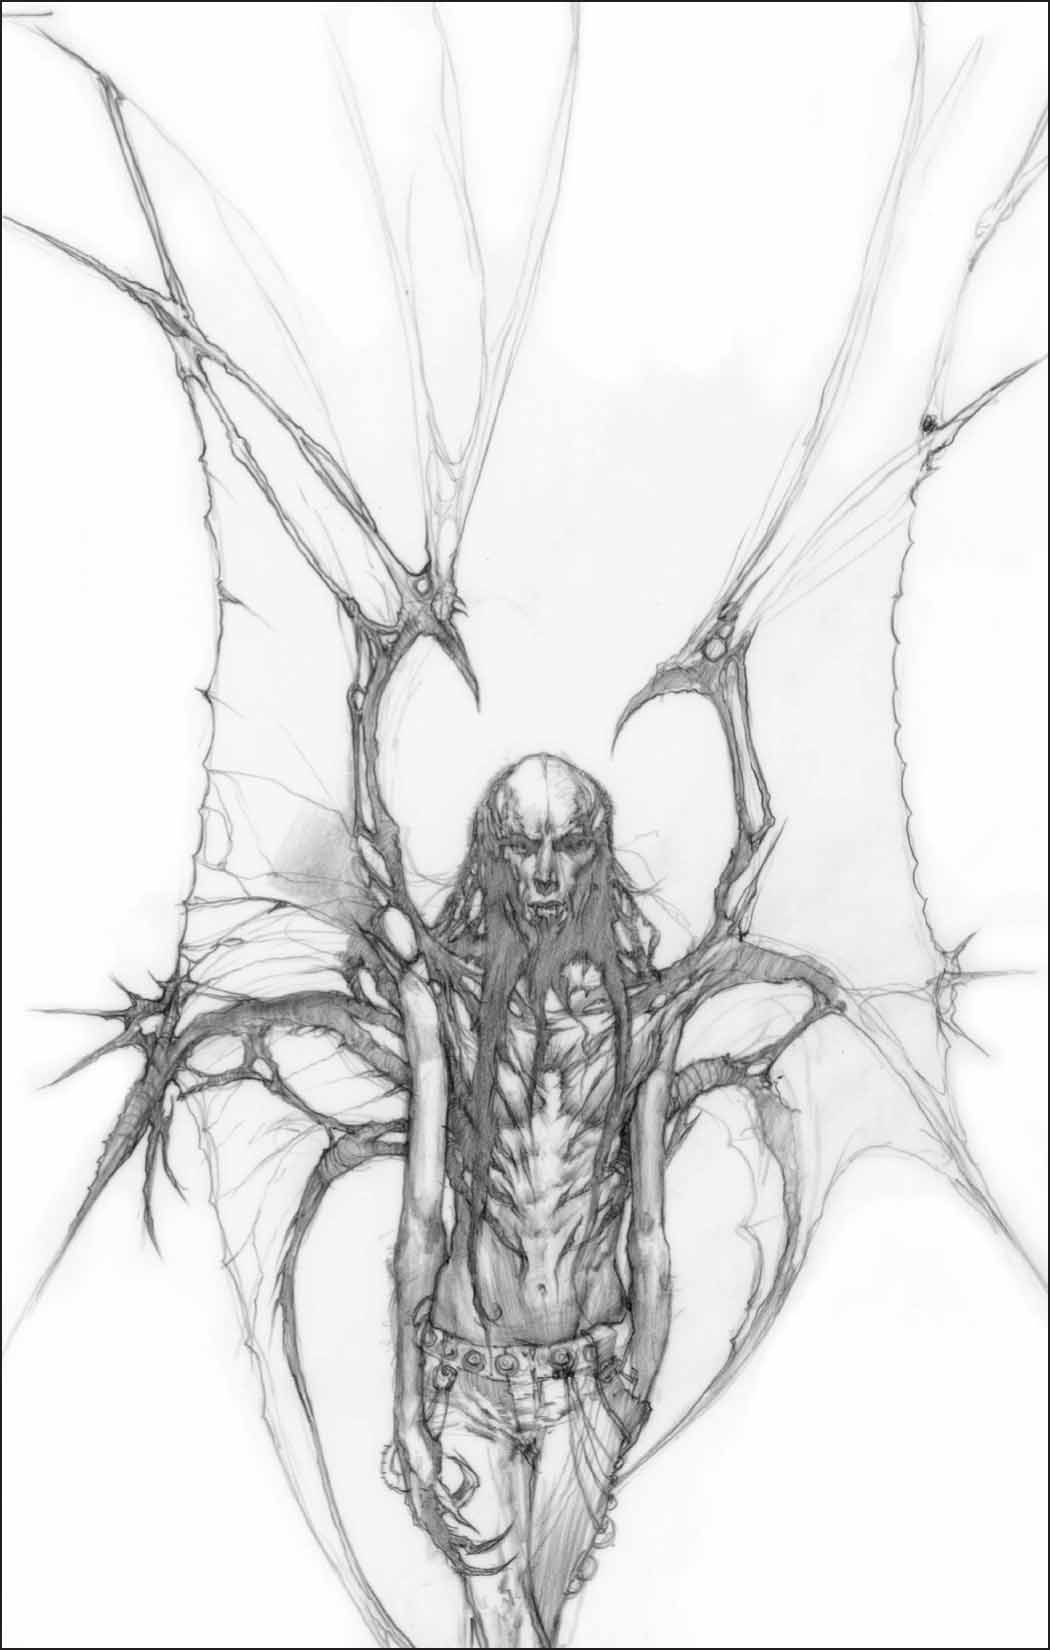
Step Three Using the side of your pencil, begin to chisel out the vampire’s anatomy. Keep your pencil strokes long and clean to accentuate his emaciated body. We want his wings to look intimidating and fragile at the same time. Notice the razor-sharp thorns jutting out from the sides that hold the membrane-like skin together.
Step Four Darken the whole figure using the side of your pencil. Vary the values slightly on the skin of the wings to keep them looking transparent. Then, go over all the edges with a soft value to lend more realism to the drawing. In this step, you’ll also add the chains his captors have put on him. Since they are made up of thick rope, silver, and bolts, he has thankfully remained incapacitated. Well, for the time being at least.
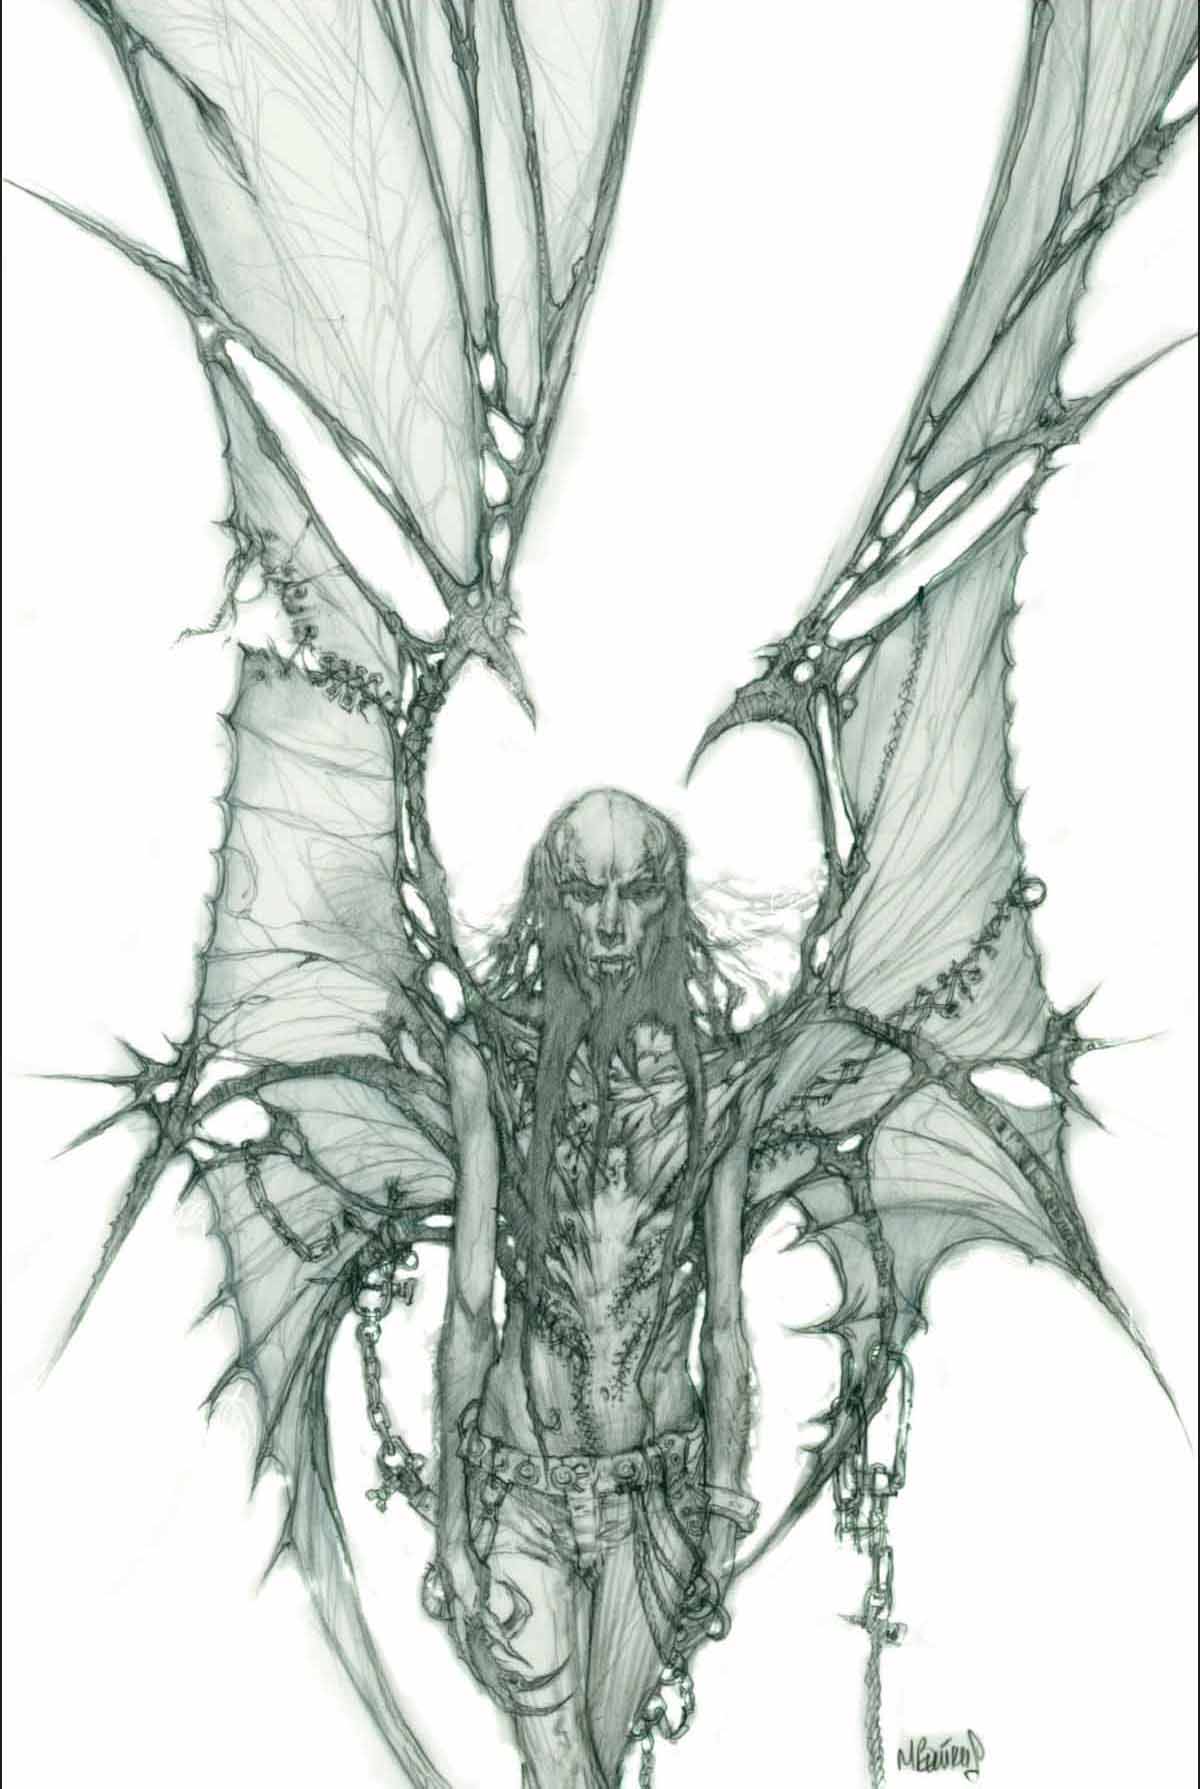
Step Five Wounded during numerous battles with humans, this vampire has had his wings stitched up more than once. Indicate the stitches using uneven “X” patterns and punctuate them with small, dark holes. Make sure to keep a slight curve on each “X” so they conform to his musculature.
Step Six Now, make a duplicate of the drawing on a copy machine using standard copy paper. Using the available options on the machine, adjust the value by darkening it 20%. This immediately gives you the mid value you want for the background. Now you are ready to paint. Note: Using a copy machine is entirely optional. You can achieve the same effect by painting a semi-transparent gray tone to the image once you’ve mounted and spray-fixed it onto the board. You might also choose to begin the drawing on gray-toned paper or TV gray paper.
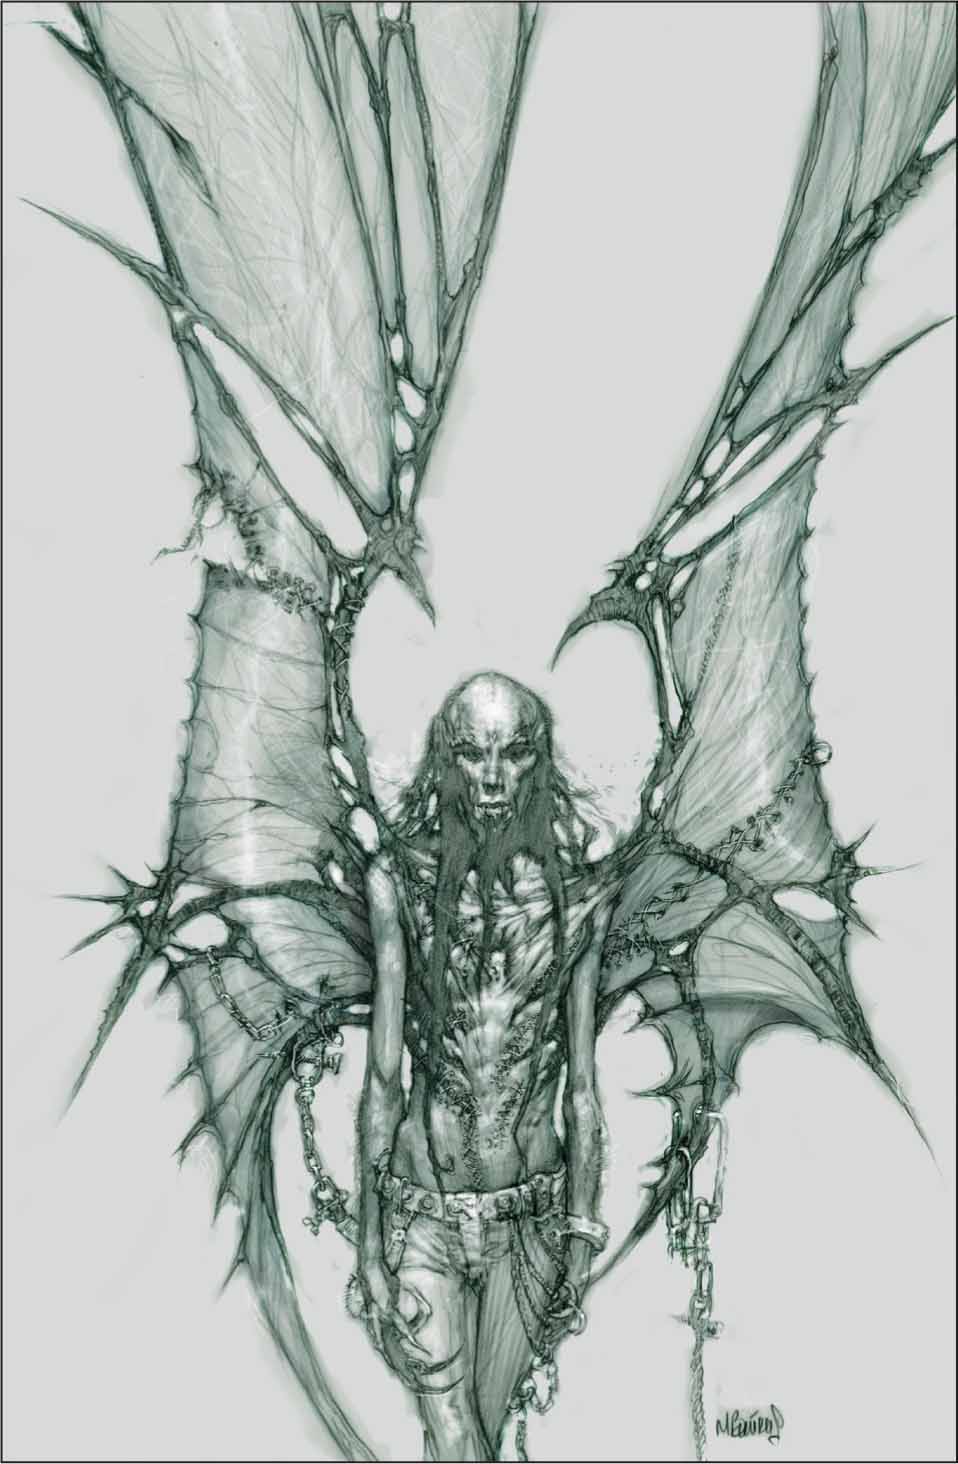
Step Seven Now we can have a little more fun with the drawing. On the copy you’ve made, take a white colored pencil and add some bright highlights down his chest, on his wings, and the top of his head. Also add some long, fuzzy hair around his forearms.

Step Eight At this point, let’s see how the drawing will look in red tones. First, scan it into Photoshop® and adjust the color balance to a warm value. This will make it much easier to achieve the colors we want. Print out a copy. Then, mount it onto a masonite board by brushing it with a mixture of 50% matte medium and 50% water. This seals the copy and allows you to paint over it.
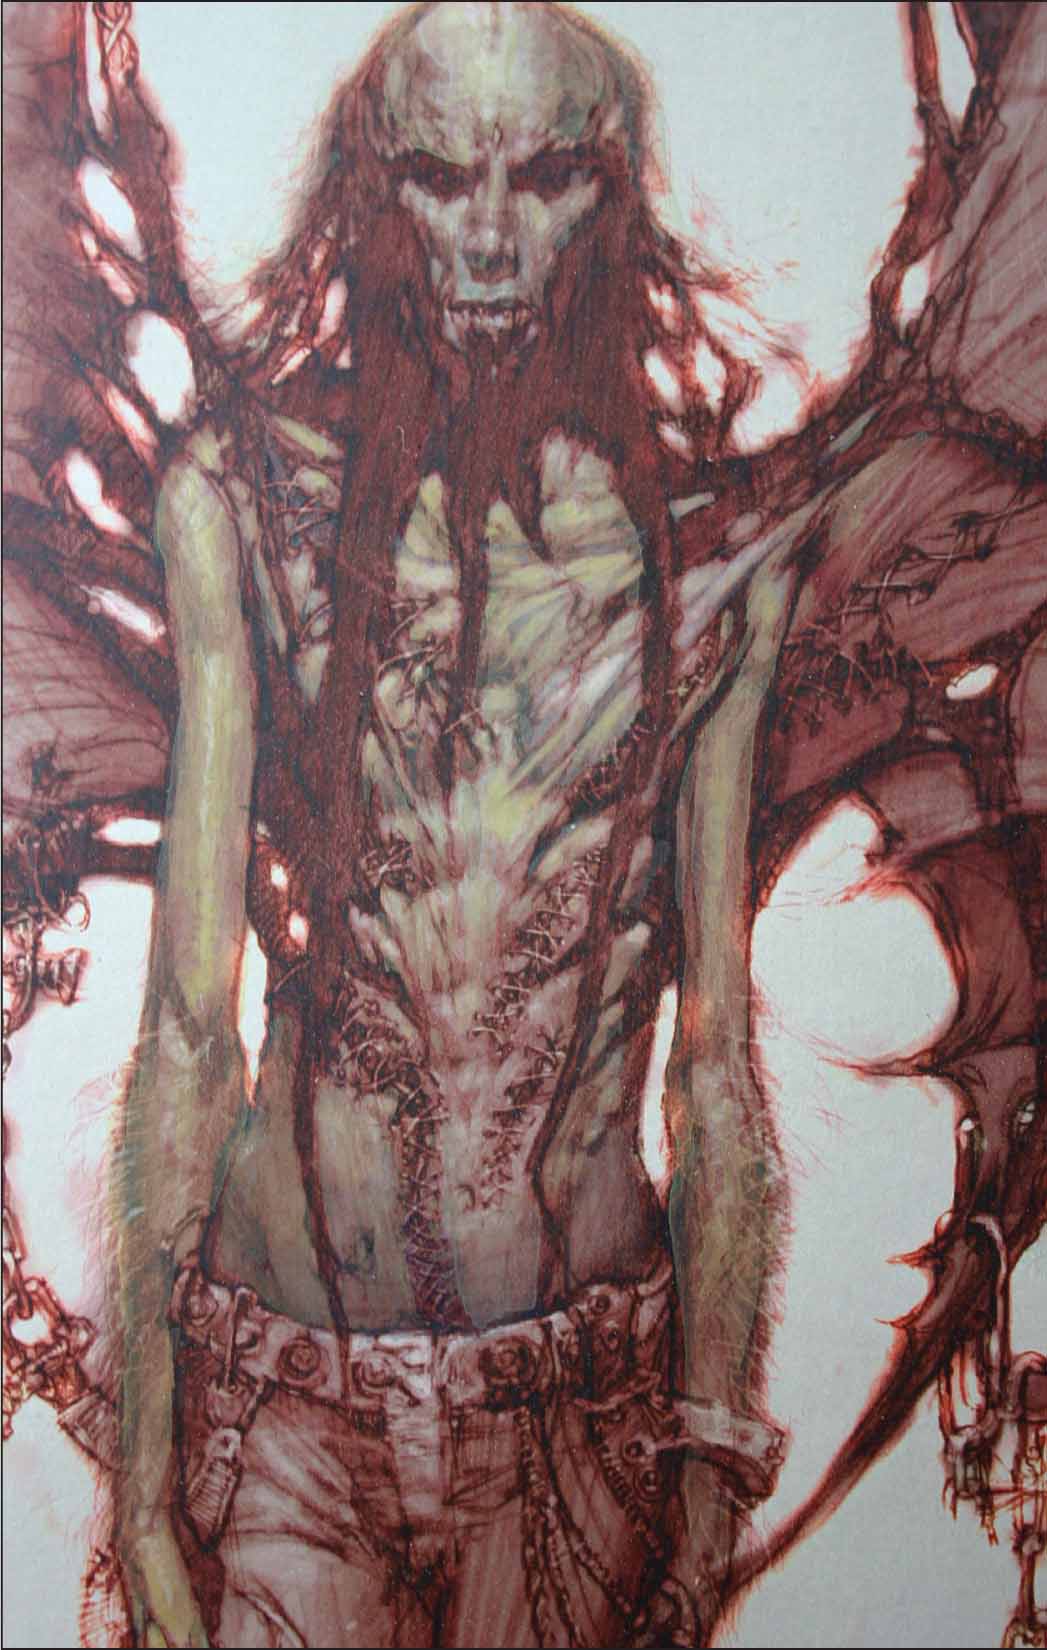
Step Nine Use a mixture of yellow ochre, ultramarine blue, alizarin crimson, and good deal of water for the vampire’s skin. You only need to use light washes of color since you’ll be allowing the red tones of the print to show through. Leave the large shadow areas. They have nice graphic shapes and add a sense of mystery to the piece.
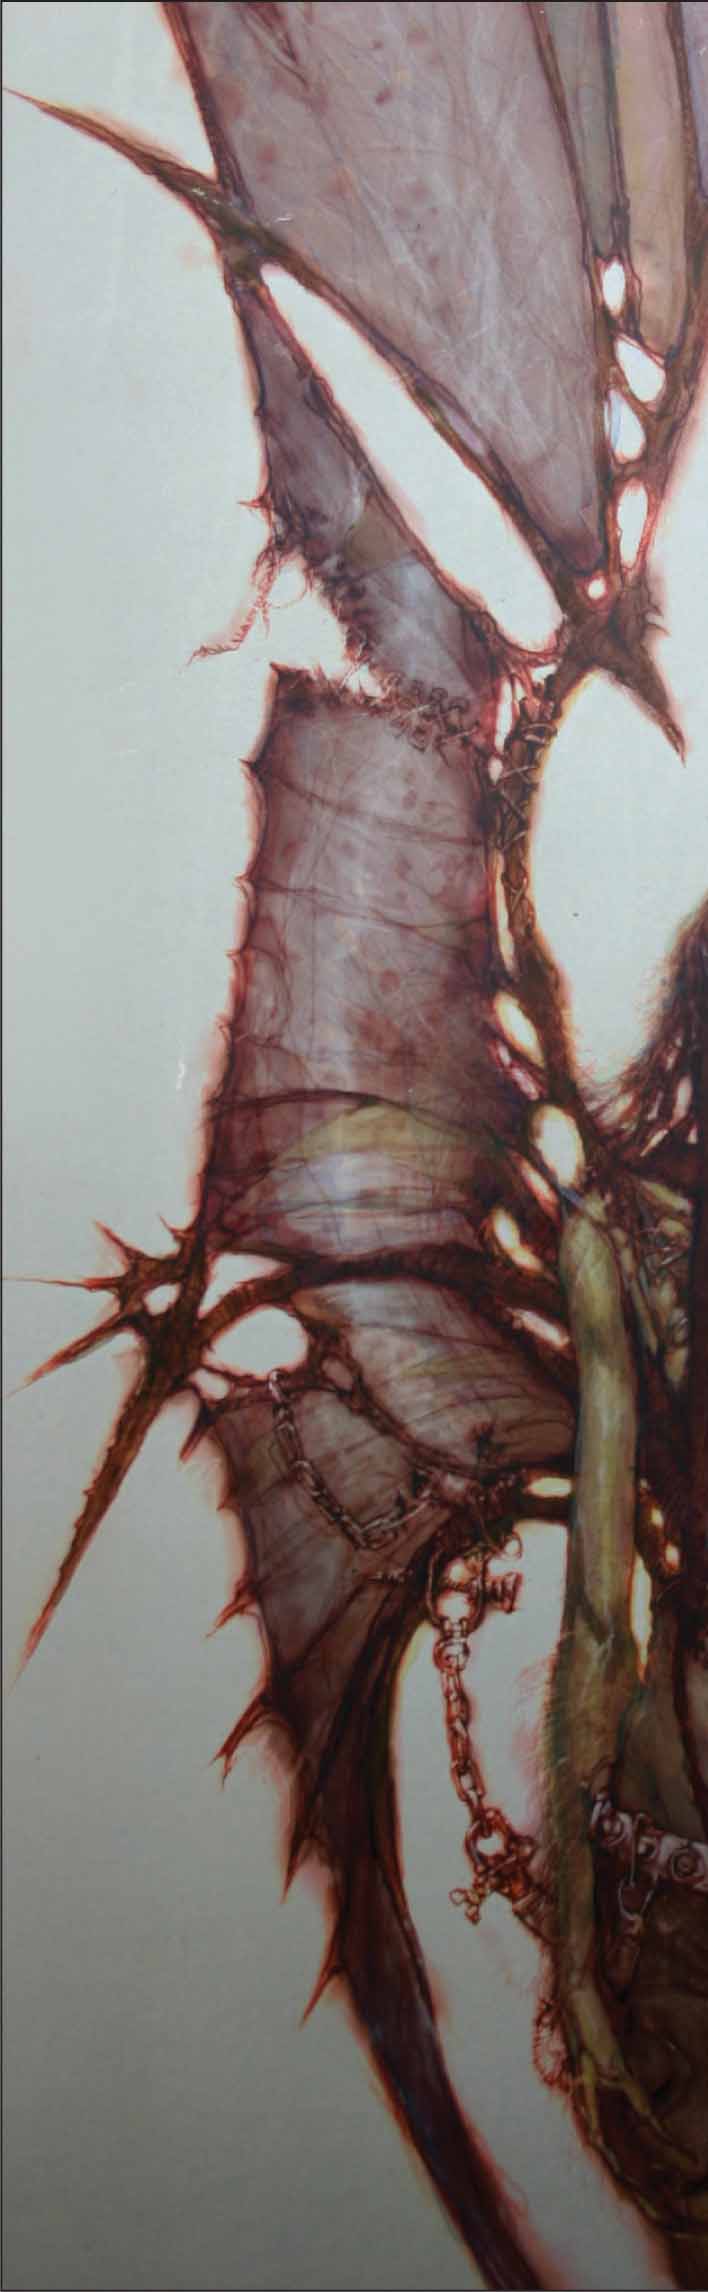
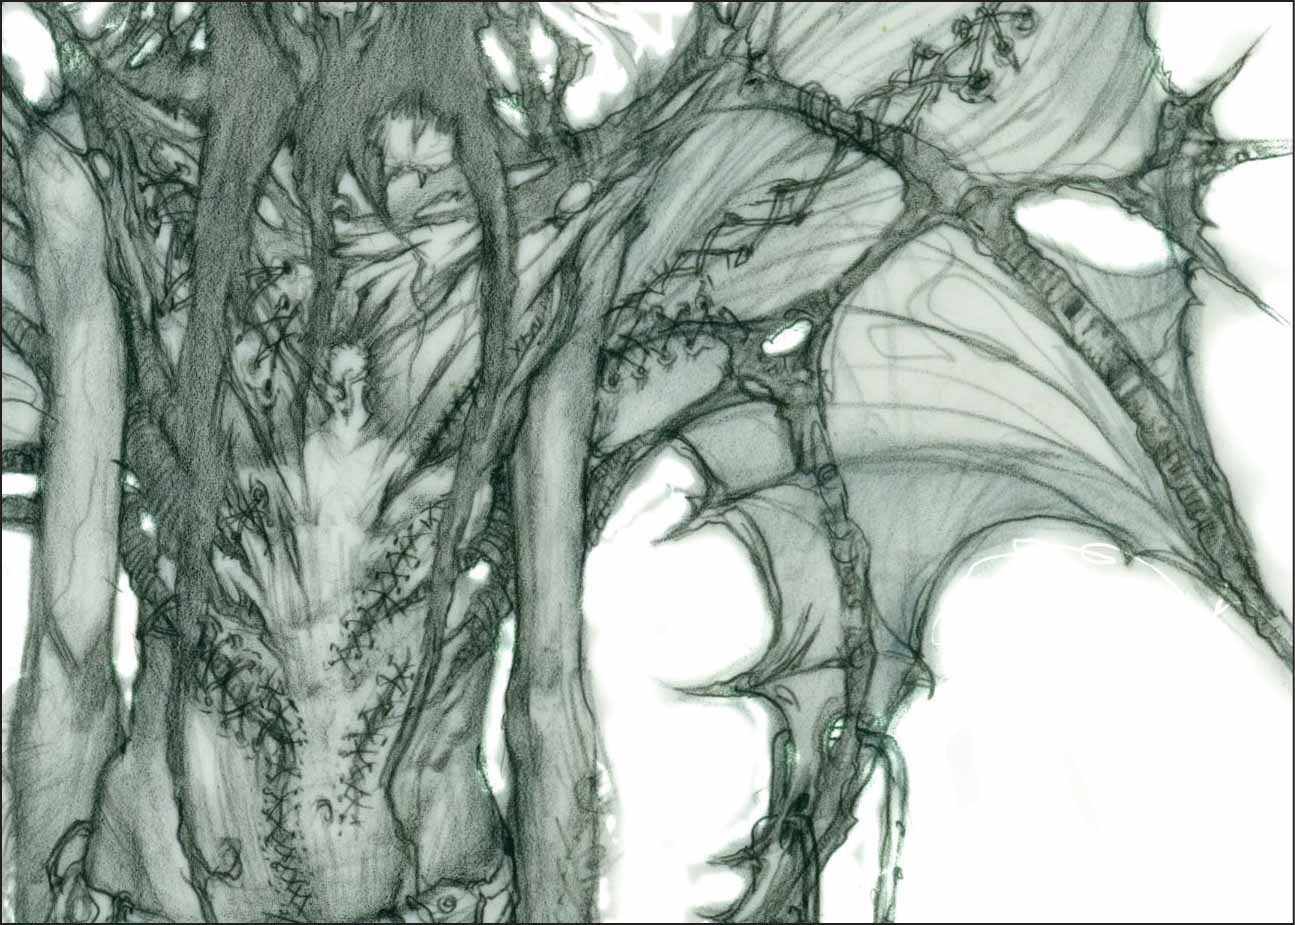
Step Ten Mix warm and cool washes of paint, then allow them to “pool” in certain areas of the wings. This will give them a thin, transparent look. Then, dilute some white gesso with water and use a fine-tip brush to paint striations along the wing. Use the same mixture to lightly brush a highlight down the middle of each wing to create dimension and form.
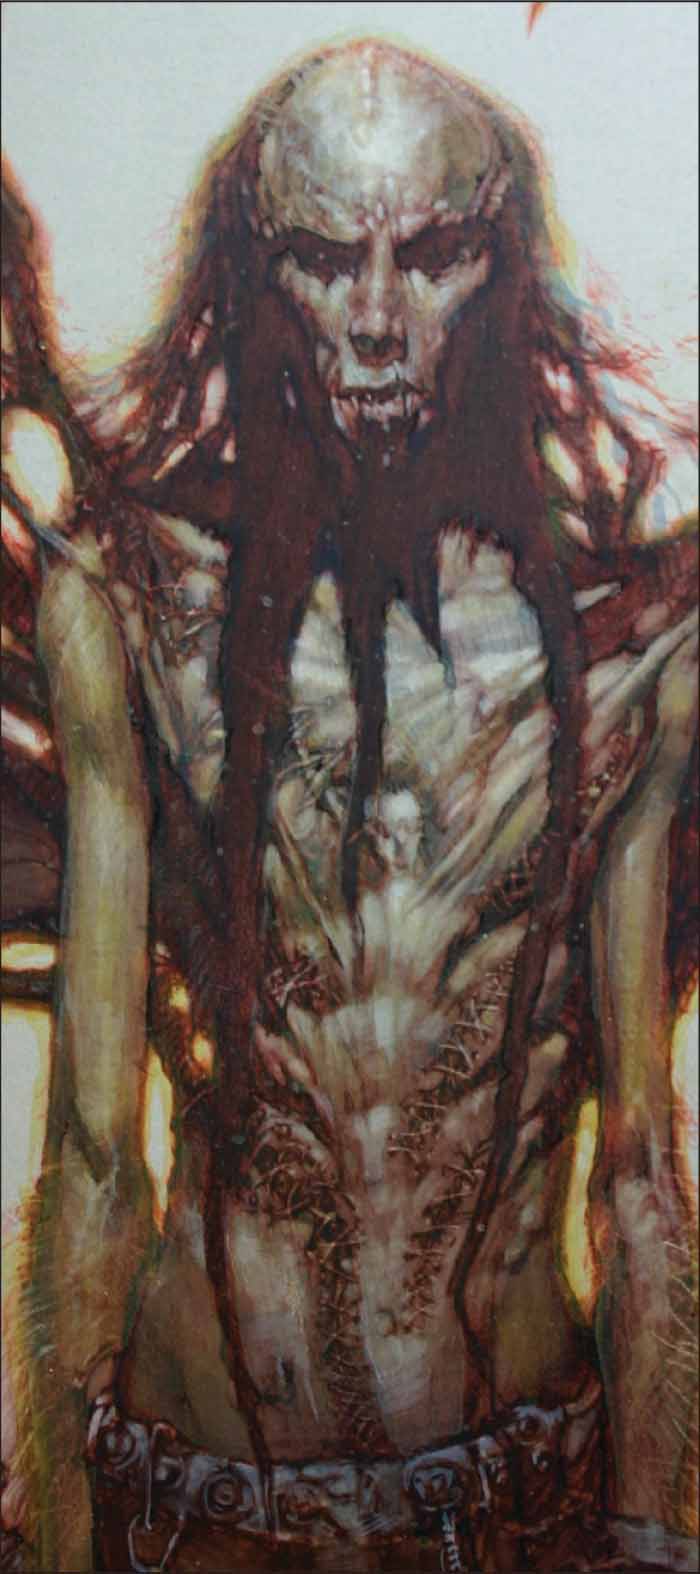
Step Eleven Next, we want to emphasize how the vampire’s skin stretches and pulls over his emaciated form. Take your diluted gesso mixture and use a small brush to paint thin strips across his cranium and chest. To make the shadows along his sternum and ribcage recede even further, use a cool mixture of ultramarine blue with a bit of yellow ochre.
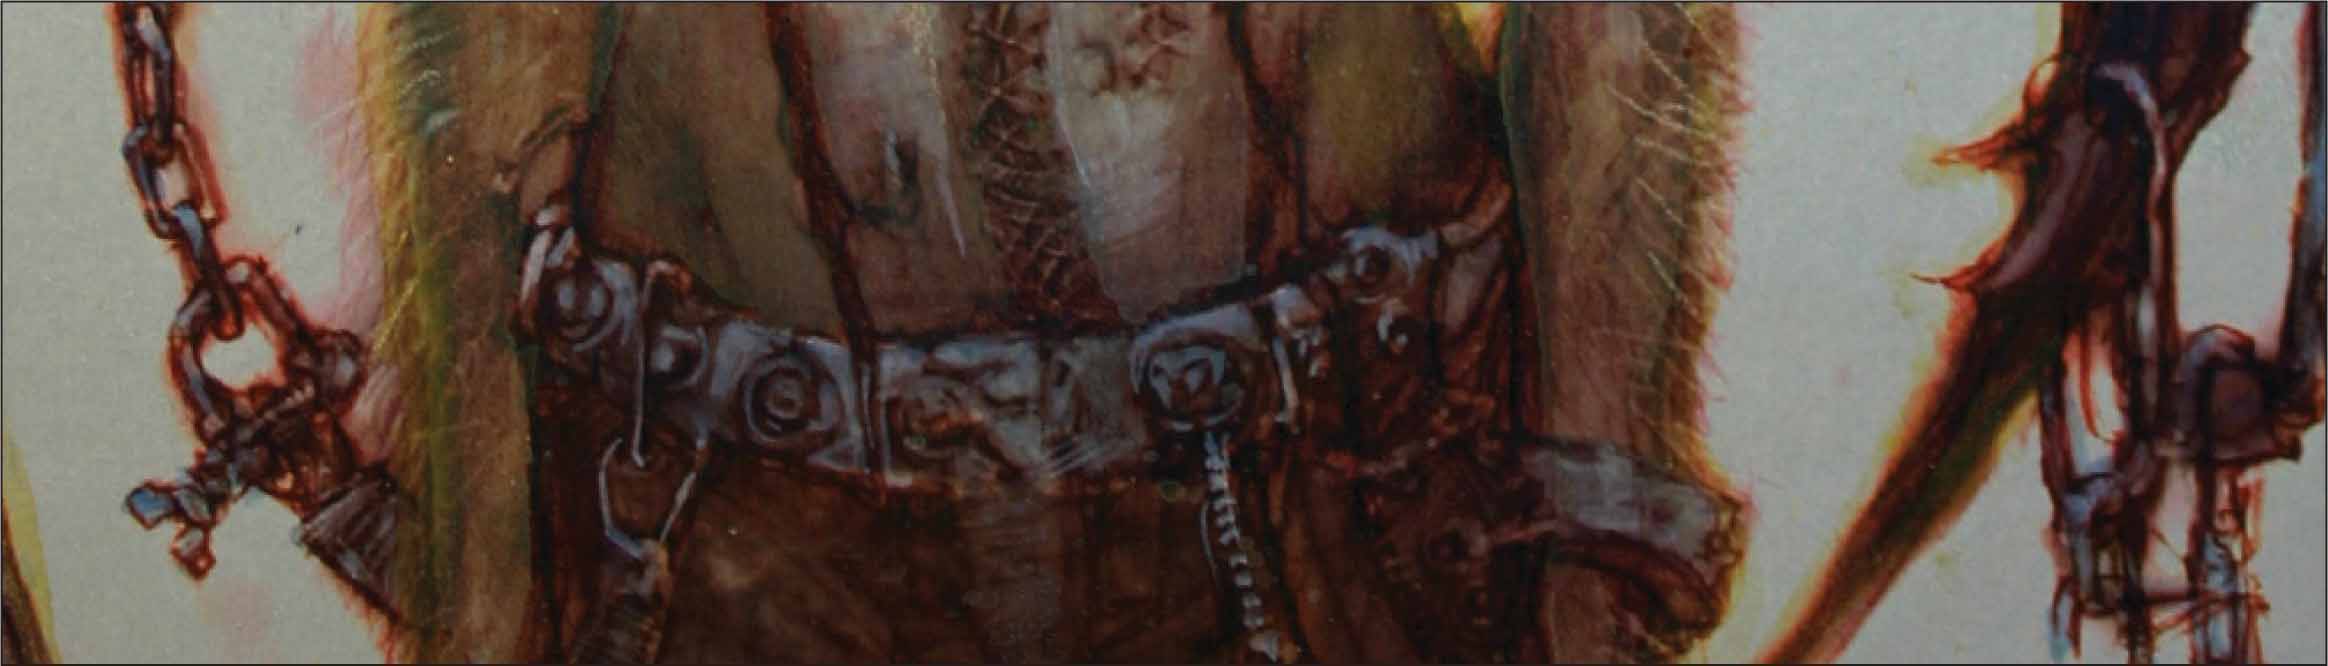
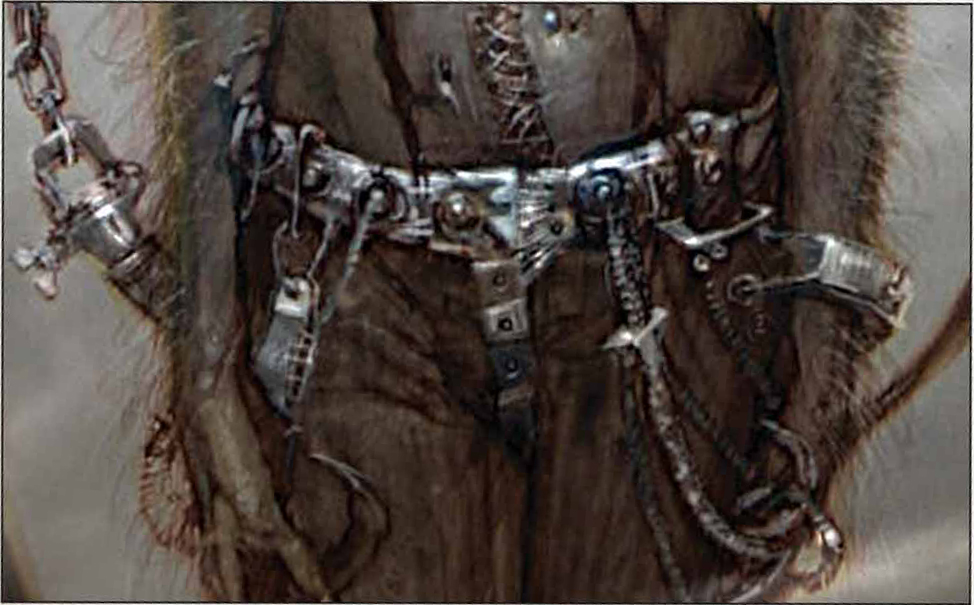
Step Twelve To create the silver chains and buckles, add a little ultramarine blue to the gesso mixture. Then use this to paint the metal forms, leaving the shadows untouched.
Step Thirteen Now scan your painting back into Photoshop® for the finishing touches. By using Photoshop® for the last stage, you can finish the illustration much more quickly and have room for experimentation.
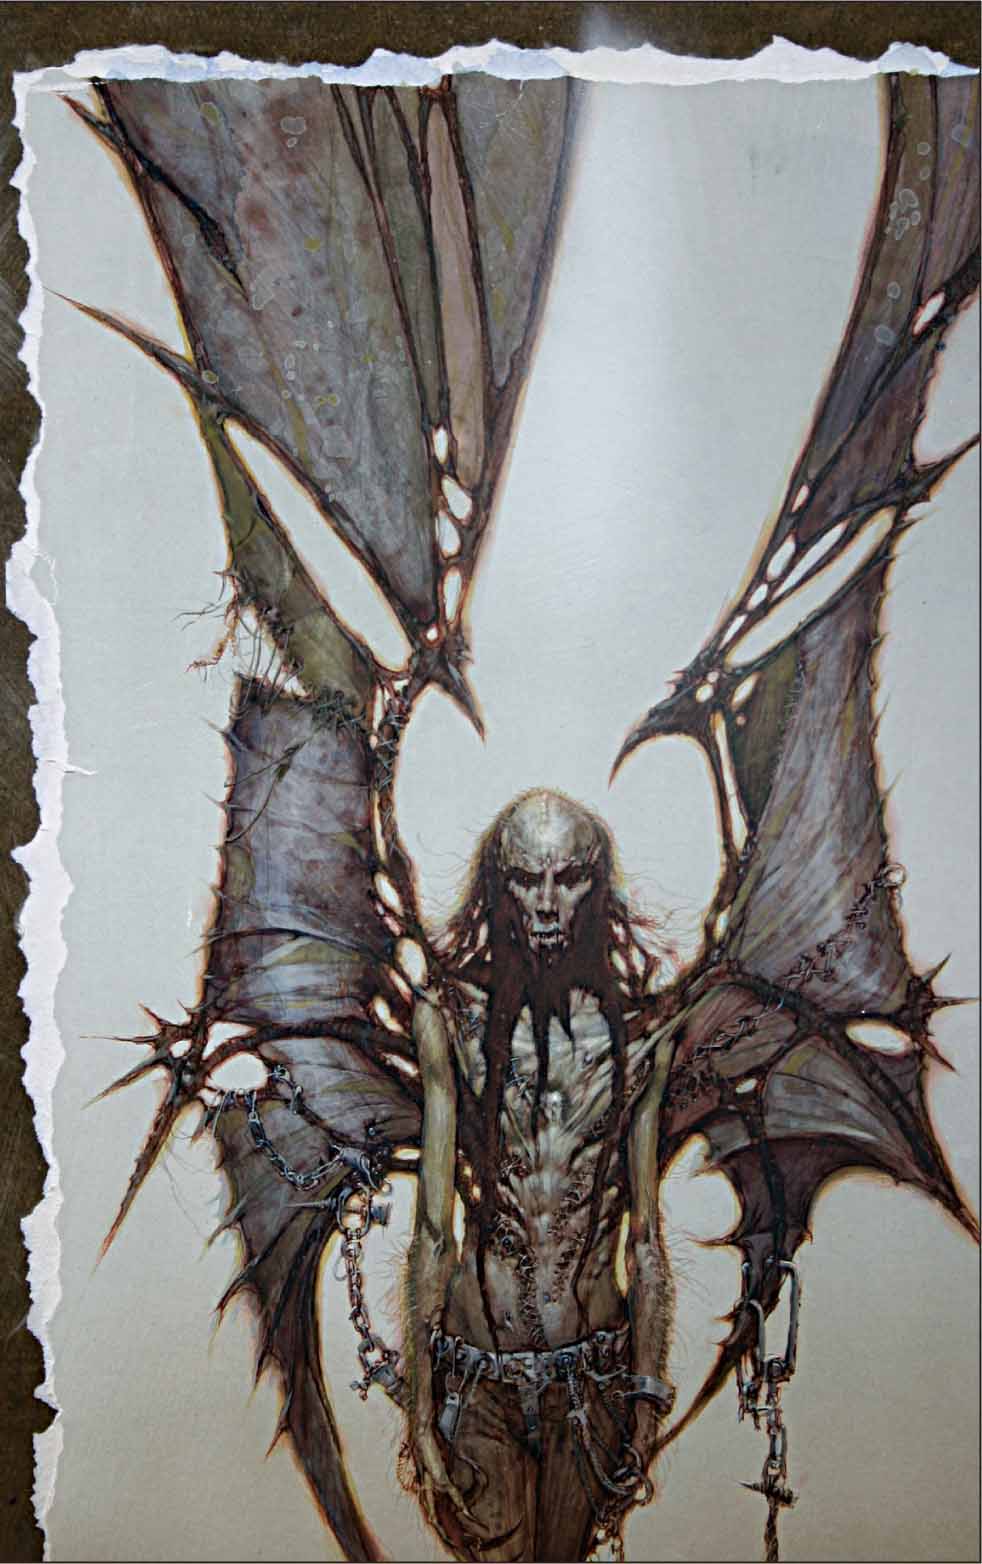
Step Fourteen Here’s where experimentation pays off. Out of curiosity, I started to adjust the color balance and found that I liked this cooler, muted version. These colors seem more appropriate for the creepy vampire’s undead status.
Step Fifteen Select the eraser tool to brighten the highlights on the silver metal and the vampire’s chest. Set the opacity to about 50% and decrease the diameter of the brush accordingly.


Step Sixteen For the final step, we’re going to create a smoky background for our vampire. This will allow the viewer to mentally write their own the story for this image. First, select the dodge tool. Then, set the opacity to about 10% and the hardness to 20%. Use the tool to design swirls of smoke that waft around him. Then, increase the opacity by another 10%, and add some highlights within the smoke to give it dimension.
Hail, brave soul! Despite the rough terrain of fang and claw, you’ve resisted the Fantasy Underground’s most charismatic monster: the vampire. As part of your ultimate survival test, you’ve learned how to draw an entire flock of vampires and their enemies, from an alluring bounty hunter to an insatiable glutton to a vampire queen. Your daring accomplishments now include oil and acrylic painting, pencil illustration, and computer manipulation. The tables have been turned and now the prey has become the predator. You need no longer fear the terror of this blood-sucking beast, for if you have successfully completed your mission and the projects in this book, then you are now as legendary as Van Helsing himself. Hearty cheers for the new Vampire Master! May your reign over the immortals continue until your next journey into the Fantasy Underground.