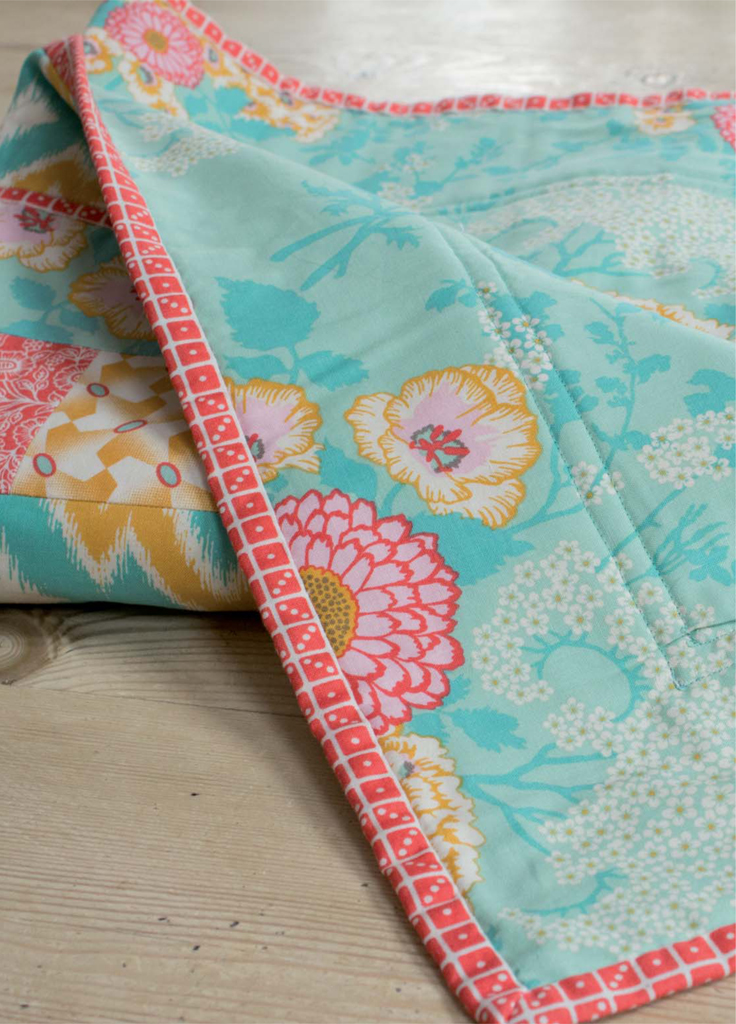

Some days were created for lounging around, and having a selection of pretty quilts to snuggle up in are a must. The simple brickwork pattern in this design is fantastic for showing off a selection of bright and cheery fabrics. Follow the design shown here or get creative and try your own fabric combinations.
Once you’ve made one of these quilts you’ll be making more as gifts or just so that you can have one in every room for extra cosiness!


The finished quilt will measure 96 x 132cm (373⁄4 x 52in).


Domino in Sunset

Mosaic Bloom in Teal

Mosaic Bloom in Sunset

Houndstooth in Butter

Lily Pad in Butter

Provençal in Sunset

Aztec in Teal

Bold Bouquet in Teal

Camelia in Butter
Arrange the blocks in horizontal rows as shown in the plan (Fig. 1). The rows will alternate between having six blocks and five blocks.

Fig. 1
1. Attach each row of blocks together with a 6mm (1⁄4in) seam allowance. When you have 15 complete rows, press the seams open (Fig. 2).

Fig. 2
2. With row 1 right side (RS) facing, place row 2 RS together, so that a vertical seam in row 2 sits between two of the seams in row 1, creating a brickwork pattern. The third row is in the same position as row 1. Keep joining the rows in this sequence until all the rows have been attached. Press all the seams to one side and trim off the excess from the sides (Fig. 3).
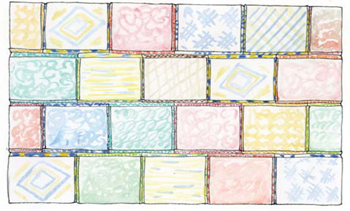
Fig. 3
3. Take the thin Domino borders and pin them to the quilt top, RS together. Do the sides first and then the top and bottom edges. Stitch in place (Fig. 4).
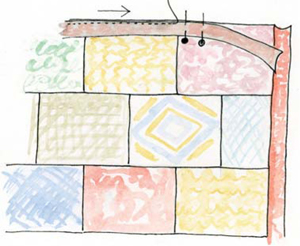
Fig. 4
4. Join the Aztec border strips, matching the pattern at the seams to create the long borders. Attach the borders to the quilt, long sides first (Fig. 5), then the two shorter pieces to the top and bottom. Press the seams towards the middle.

Fig. 5
5. Layer the quilt. Make sure that the grain of each layer is square when you place it down on the worktable. Start with the backing fabric RS down, place the wadding (batting) on top, then the quilt top, RS facing. Hold each layer in place with masking tape.
6. Using small safety pins, join the layers together at regular intervals close to the seams that you are going to quilt. Stitch in the ditch across all the horizontal seams and around the inner Domino border. Trim the wadding (batting) and the backing fabric to the edges of the quilt.
7. Join the Domino binding strips and pin to the quilt (Fig 6). Mitre the binding at each corner and stitch in place (Fig. 7). Press the binding and fold it over the edge of the quilt before pinning, and slip or ladder stitch in place on the RS (Fig. 8).
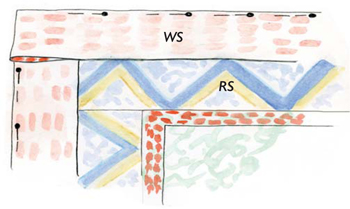
Fig. 6

Fig. 7

Fig. 8
8. Finish off by sewing any loose thread ends into the wadding (batting) in the quilt. Press the quilt, paying close attention to the binding to ensure you achieve a good, crisp finish.
