Chapter 3. Intro to Linux
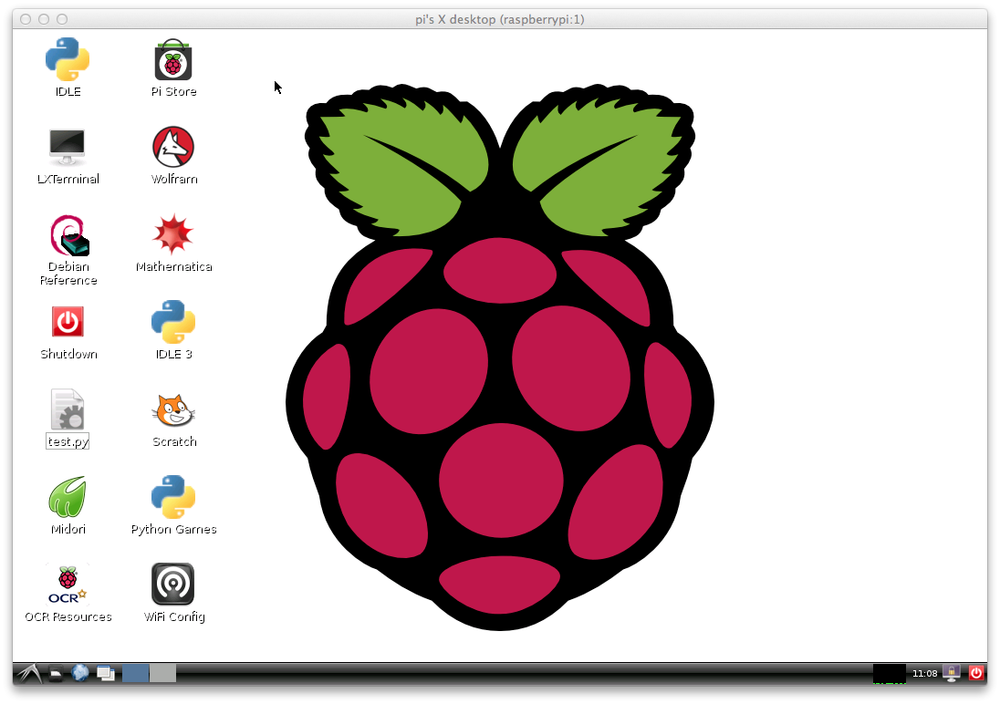
The Raspberry Pi is arguably one of the world’s most popular tiny computers. It’s cheap (around $35), easy to get, relatively powerful for its size and price, and easy to start using: plug in a keyboard, a mouse, and a monitor and start programming by using Python or Wolfram Mathematica or Scratch, the kid’s programming language. Sometimes, you don’t even need the keyboard, mouse, and monitor!
In fact, it’s so easy to get started that many users completely forget (or ignore) that the operating system it usually runs, Raspbian, is based on Debian, a distribution of a powerful operating system, Linux (Figure 3-1). Your programs don’t even have to be written in Python; the Pi’s Linux roots mean it can run C, C++, Java, or even (if you’re particularly masochistic) assembly code.
Because Linux is the base of the Pi’s operating system, let’s do a short introduction to Linux, for those of you who’d like to know more about the OS and how to use it. Since its creation nearly 25 years ago, Linux has been considered the “geek’s OS,” with its proponents being viewed as the stereotypical glasses-wearing, pocket protector–having, socially inept tech crowd. In the past few years, however, Linux has become a bit more popular, and more people than you’d expect are using it. Although there doesn’t seem to be one overwhelming reason for its increase in popularity, some tech experts (including yours truly) suggest that its price point (free, in most cases) and its adaptability are contributing factors. Poking around under the hood of your Windows or Mac computer can be difficult, but Linux allows you to completely rewrite, compile, and install your own kernel, making it uniquely adapted to your needs. It’s also a much smaller OS, with some versions able to be installed on and run from a USB flash drive.
I can’t teach you how to become a power user in a single chapter, but I can definitely make your journey through Linux Land a bit more comfortable. If you’re already a Linux geek, feel free to skip this chapter, but if you’re not, read on for a quick primer.
Linux was first released by its creator, Linus Torvalds, in 1991. It has its roots in Unix, BSD, MINIX, and GNU—all of them successful or unsuccessful attempts to create a completely portable operating system. Linux is written in C, and was originally intended to run on the Intel x86-based architecture. Since then, it has been ported to almost every imaginable device, from Android phones to mainframes and supercomputers to tablets to refrigerators. It’s even running on computers on the International Space Station, as NASA decided it needed something more stable than Windows. In fact, Linux has been placed in so many applications and devices that it is now the most widely adopted operating system in the world.
When you interact with the Pi, you’ll most likely be doing a lot of work in the terminal. With your Pi desktop up and running, double-click the LXTerminal icon to open the Pi’s terminal prompt (Figure 3-2).
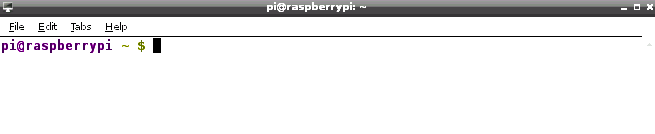
The command line you’re seeing in Figure 3-2 shows that you’re the user pi logged into the machine raspberrypi, and you’re in the home directory. If you were to move to a different directory, by using the cd command, the command line would show that location:
pi@raspberrypi ~/Robotics $
Structure
Linux, like other operating systems, is completely built around files and the filesystem. A file can be described as any piece of information—be it text, image, video, or otherwise—that is identifiable by a filename and a location. The location is also called the directory path, and keeps a file unique because technically the location is part of the filename. In other words, /home/pi/MyFiles/file.txt is a different file than /home/pi/MyOtherFiles/file.txt.
Filenames are case sensitive in Linux, meaning that file.txt is different from File.txt, and both are different from FILE.TXT. There are five categories of Linux files:
- User data files
- System data files
- Directory files, or folders
- Special files representing hardware or placeholders used by the OS
- Executable files
Each user has a default /home directory in Linux, and within that directory you have permission to create, edit, and delete files all day long. However, if you want to edit system files, or those belonging to another user, you’ll need the permissions of a special user—the superuser.
This superuser, also referred to as the root user, can edit any file in the system, including low-level system files. Because of this ability, Linux users don’t log in as root unless absolutely necessary; when they do assume the root login, they log in, do what they need to, and then log out again. There’s a saying among Linux users: only noobs log in as root.
There’s a shortcut to gaining the powers of a superuser while still logged in as yourself: the sudo command. sudo stands for superuser do, and simply tells the system to execute the following command as if it were the root user issuing the command. The system will ask for the root password and then execute the command. You normally need to use sudo when you update or install files (hence the sudo apt-get install command), and when you edit configuration files like /etc/network/interfaces. On the Pi, you also need to be the root user when you access the GPIO pins; this means that any Python program you write that accesses the pins needs to be run as root:
sudo python gpio-program.py
sudo confers great power and thus requires great responsibility. The system does not hold your hand or double-check with you when you issue a command using sudo. It’s up to you to be especially certain you know what that command does before you hit Enter. It is entirely possible to completely erase the contents of your hard drive with one poorly written sudo command!
Commands
To get around in the Linux command-line interface (CLI), you use text commands to display information and run programs. You should be familiar with commands like the following:
-
ls - List files in current directory
-
cd - Change directory
-
pwd - Print working directory
-
rmfilename - Remove (delete) a file
-
mkdirdirectoryname - Create a directory with the name provided
-
rmdirdirectoryname - Remove (delete) empty directory
-
cattextfile - Display contents of a text file in the terminal
-
mvoldfile newfile - Rename a file
-
cpoldfile newfile - Copy a file
-
mancommandname - Display Linux manual of a given command
-
date - Read system date/time
-
echo - Echo (print) what is typed back in the terminal
-
grep - Search program that uses regular expressions
-
sudo - Perform as root user
-
./program - Run a program
-
exit - Quit terminal session
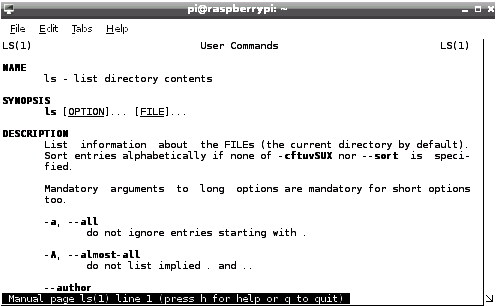
Most of these are fairly self-explanatory, but if you ever get confused, the
man command is undoubtedly the most useful. If you are unsure of what a
particular command does or what parameters or flags it uses, typing
man into your terminal brings up the manual page for that command, with more information than you’d ever want to know (Figure 3-3).commandname
When you first log in to the Raspberry Pi, you’ll find yourself in your home directory, often illustrated in code as ~/. Typing ls will show you all files and directories within that home folder, and you can then cd to go into other directories. If you need to move to a parent directory, you can type cd ../ to move up one level, or cd ../../ to move up two levels, and so on. If you get lost, typing pwd will tell you the full file path of the directory you’re in—useful if you’re several levels deep in a folder path like /home/pi/robots/test/pi/servos/test and you’ve forgotten exactly how deep you are. In any case, if you are truly lost, typing cd with no arguments will always take you back to your home folder—a handy shortcut.
Navigation
Let’s do a quick exercise to give you some practice moving around in the filesystem without using the file explorer graphical user interface, or GUI. (I’ll repeat: if you’re already comfortable in Linux, I won’t be offended if you skip this part and move to the next chapter, where I discuss much more interesting things like rover parts.) Open your terminal, and make sure you’re in your home directory by typing cd ~/.
Now make a subdirectory by typing the following command:
mkdir exercise
Then, to add a subdirectory, type:
mkdir exercise/subdir
Now you can navigate into that directory by typing:
cd exercise/subdir
Once you’re in there, create a text file using the echo command and the
greater-than (>) symbol:
echo "This is a test file" > file.txt
In the icongraphy of Linux, the greater-than symbol looks like a sideways
funnel, and that is essentially its function: it funnels the echo command into a file. Now, if you list the contents of the file with ls, you should see file.txt.
Now let’s rename it. You can do that by typing the following:
mv file.txt file2.txt
file.txt is now gone, replaced with file2.txt. Now let’s copy it to one directory up:
cp file2.txt ../file2.txt
If you now move up one directory with cd ../ and list the contents with ls again, you’ll see two items: file2.txt and subdir. Because subdir still has file2.txt in it, you can’t just do a rmdir on it to get rid of it. You either have to empty it first, or tell the OS to remove it and all files inside it. To remove the file first from where you are, you can type:
rm subdir/file2.txt
Then you’ll be able to remove subdir with a simple rmdir command.
If you prefer to remove the directory and all of its contents in one fell
swoop, use the -r flag, which will promptly delete subdir and all of its contents, including other directories and their files:
rm -r subdir
Use the -r flag with caution: it will delete everything in the top directory and all directories below it! We recommend staying safe and sticking with just rmdir, without the -r flag. That way, you’ll be
unable to delete a full directory, which may save your files from your inattention!
I’d like to conclude with a quick time-saving tip. If you press the Tab
key in the middle of a long filename, the terminal will fill in the rest of the name for you as far as it can, saving you some typing. So, for example, if you need to copy mylongfilename.txt, type cp mylong
and press Tab and the rest of the name will be filled in for you.
If you happen to have another file in the same directory called mylongfilename2.txt, pressing Tab will make the terminal fill in up to mylongfilename, and then you can finish the name with whichever one is applicable.
That is a quick-and-dirty introduction to Linux. The more you work with the Pi, the more comfortable you’ll become, so don’t be surprised if you find yourself switching your other computers to Linux as well.