

A well-made beeswax candle is a beautiful thing! However, making a well-made candle is not an afternoon’s fun. There is a lot of molding and burn testing that needs to be done, before perfection is reached. I hope the directions and hints found in this chapter will make your road to perfection shorter and more fulfilling than mine.
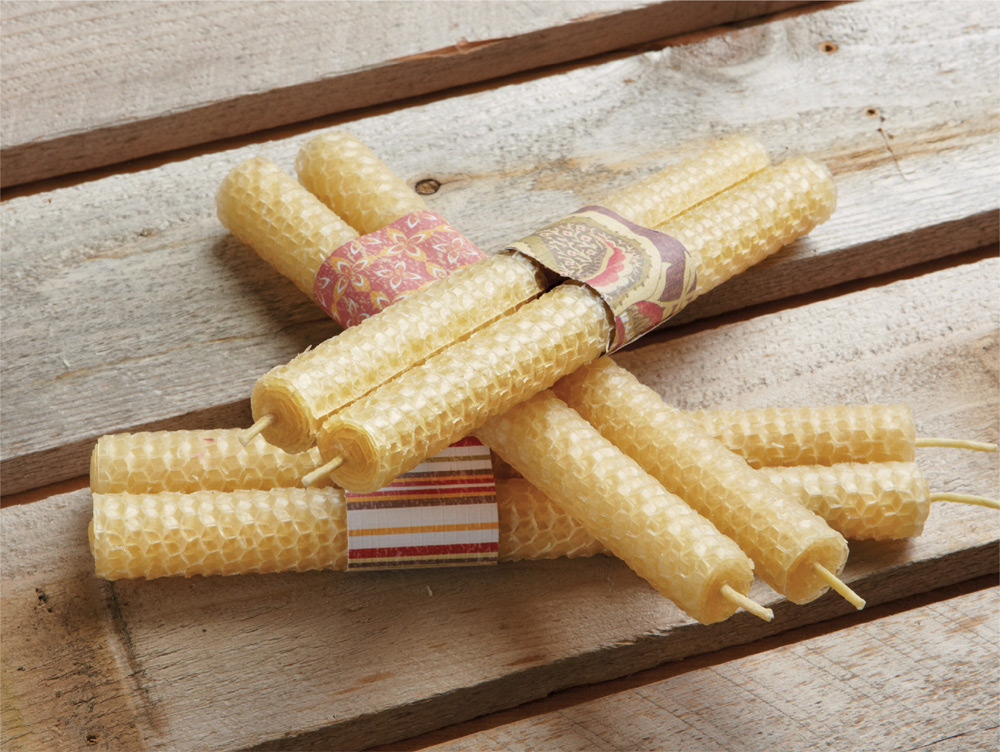
Rolled candles are a great starting point for candle making, since the process requires very few tools and the candles can be made in a wide range of colors. They can be made as tapers, pillars, square, or even as small, thin candles such as birthday candles.
BEGINNER
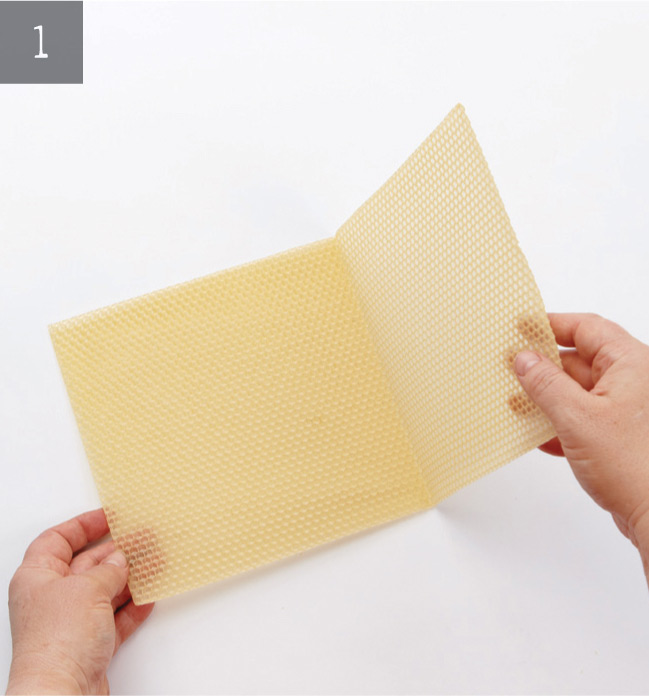
1. Gently fold the beeswax sheet in half, bending it back and forth until it breaks to create two 8" (20.5 cm) squares.
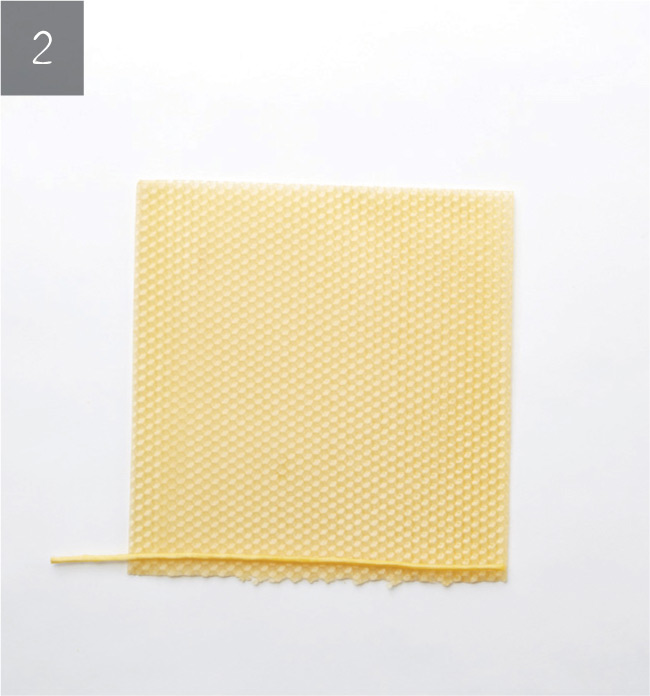
2. Lay a 9" (23 cm) piece of wick along the raw edge of the sheet, with one end of the wick flush with the side of the beeswax sheet and the other extended out.
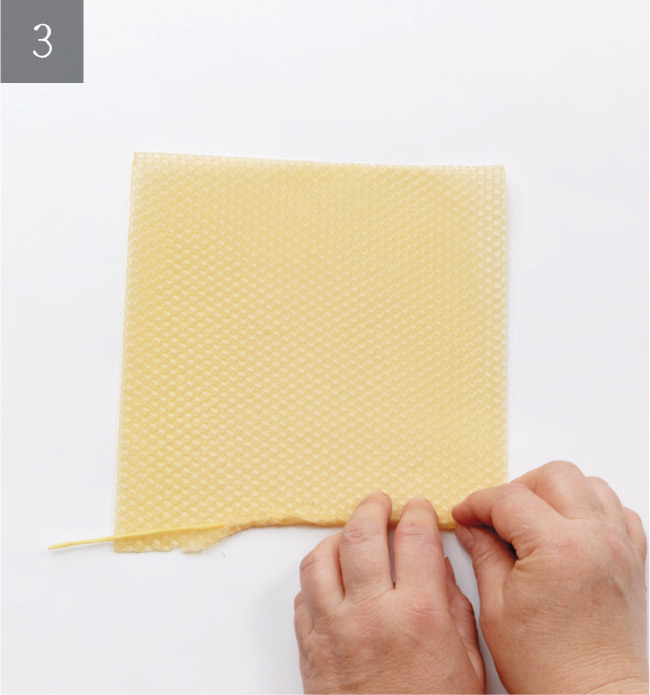
3. Pinch the beeswax over the wick, so that the wax is molded all around the wick from one end to the other.
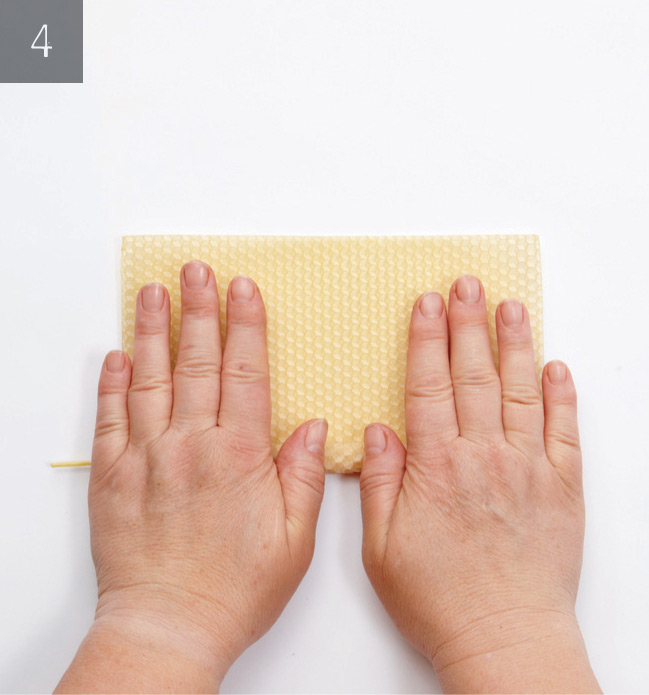
4. Start rolling the candle, keeping even pressure across the width. Don’t crush the beautiful honeycomb pattern on the beeswax sheets, but make sure the candle doesn’t come undone. If one side starts rolling tighter than the other, unroll the candle a bit and try again. It may take a couple tries to get it right.
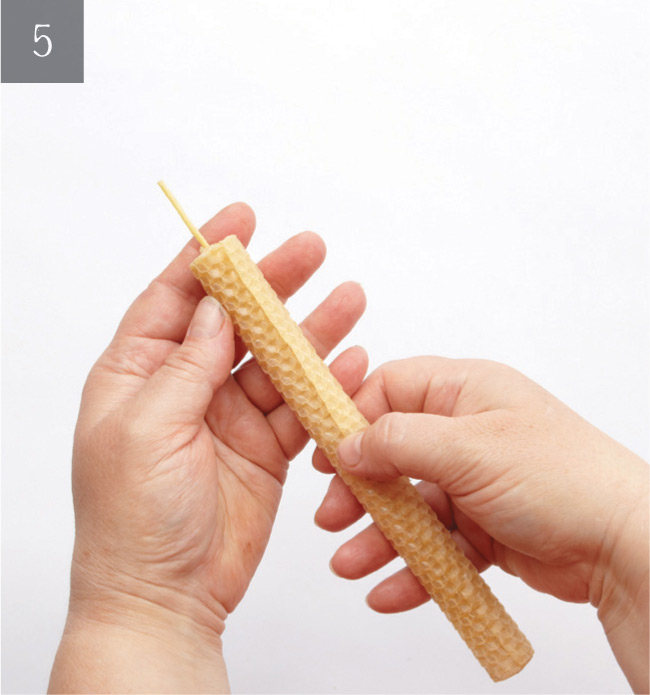
5. Once the candle is evenly rolled, gently press the end edge into the candle to keep it in place.
INTERMEDIATE
Pillar candles can be made in a variety of shapes and sizes. Here is the basic information needed to expand on the rolled taper candle.
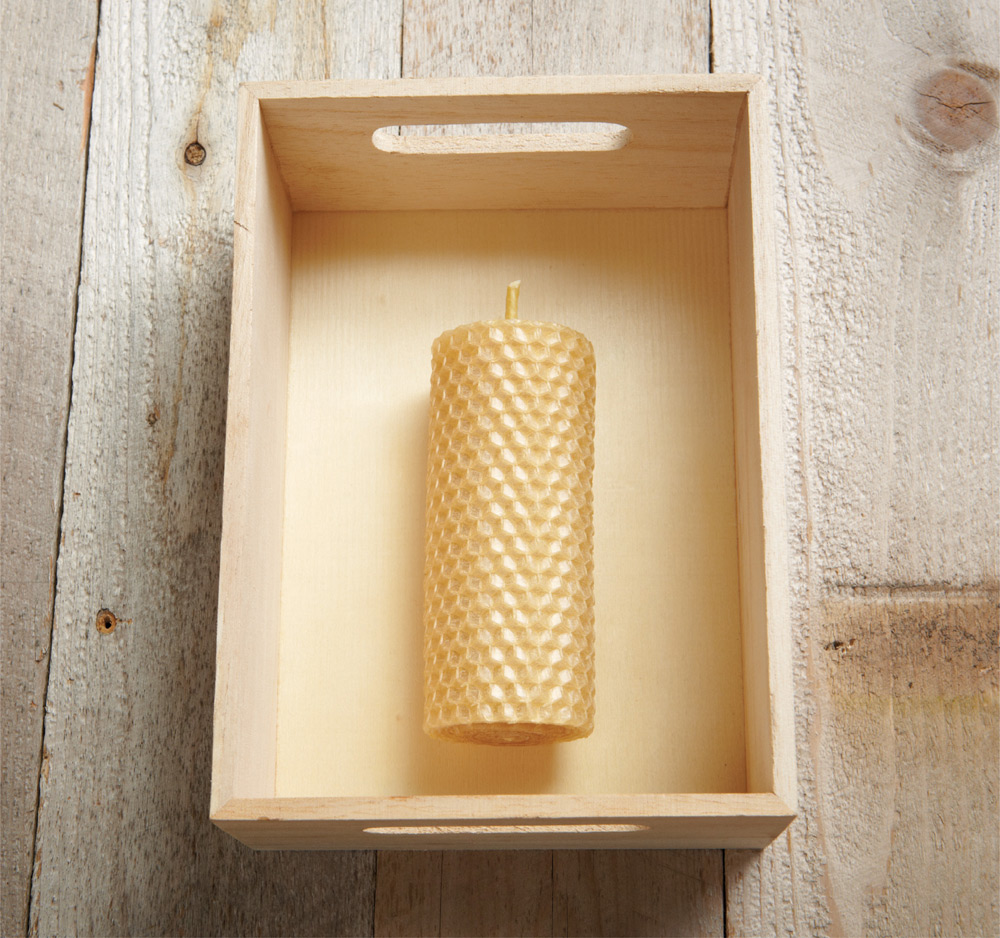
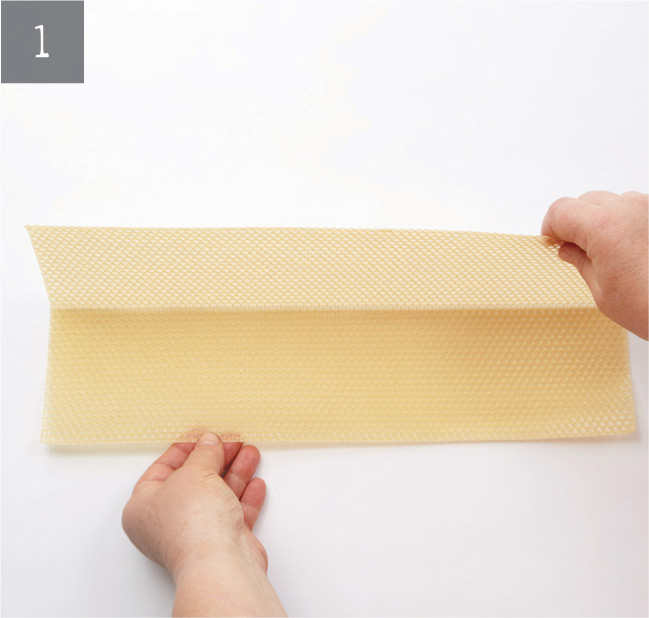
1. Gently fold the beeswax sheet in half lengthwise, bending it back and forth until it breaks to create two 4" × 16" (10 cm × 40.5 cm) pieces.
2. Cut the wick to approximately 5" (10.5cm) and follow directions for Rolled Taper Candles on page 23 to secure the wick and begin rolling the pillar.
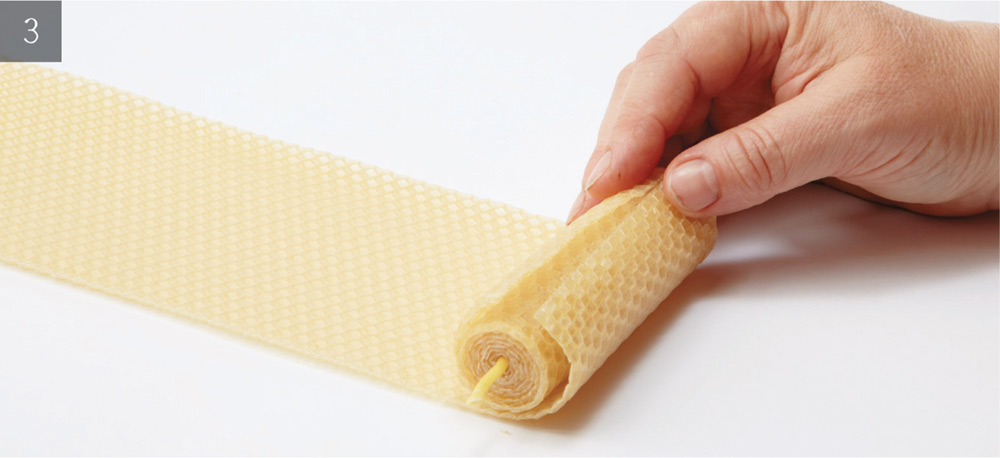
3. When you reach the end of the first sheet of beeswax, lay the second sheet against the edge of the first sheet and continue rolling.
4. At the end of the sheet, gently press the end edge into the candle to keep it in place. The candle should measure approximately 2" (5 cm) across. Do a burn test (page 26) to make sure the correct wick size was used.
Although both taper and pillar candles use a rectangular or square piece of beeswax foundation, the beeswax can also be cut to create other shapes.
To make a candle with a tapered top, cut off a wedge piece from the top of the candle.
Rolling the trimmed off triangular piece of wax will result in a conical shape. For the holidays, I love to make a forest of small short stylized Christmas trees out of green wax using this technique.
A rolled candle can also be compressed into a square by flattening against your work surface then rotating the candle ninety degrees and flattening the next side. Continuing rotating and flattening until the candle has a nice square shape.
Although there are lots of different kinds of candle wicking, for beeswax I like to use square braid cotton wicking. The wick acts as a pipeline that carries the melted wax in the form of a vapor to the flame via capillary action. Some wicks allow lots of fuel to flow quickly through a big pipe, while other wicks pump fuel more slowly through a smaller pipe. If you give the flame too much or too little fuel, it will either burn poorly or sputter out. The balance of fuel and flow needs to be just right.
The nomenclature of square braid wicking refers to the number of bundles, the ply of the wick, and how tightly it is braided. The 6/0 to 1/0 range of wicks, are constructed a bit differently than the larger wicks, but all of them are square, which helps to channel the wax fumes up to the flame. It is important to keep your wicks well-labeled and separated since similar sizes look identical. Often the only difference is the tightness of the braiding.
Square braid wick forms a carbon cap on the top of the wick. The carbon cap radiates heat outward from the flame, which helps melt wax that is further away from the flame. The wick also bends slightly as it burns, minimizing carbon build-up and making for a cleaner burn.

TEST THE PROPER WICK SIZE AND SCALE UP OR DOWN AS NEEDED FOR PILLAR OR VOTIVE CANDLES.
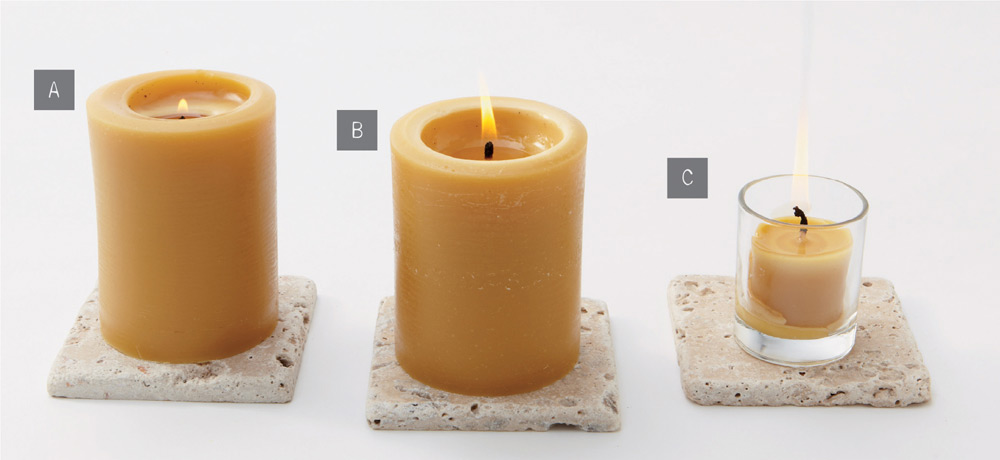
A. This wick is too small. (The flame is drowning in the small melt pool.)
B. Perfect
C. This wick is too large. (The flame is too large, resulting in a lot of smoke.)
1. Trim the wick to a length of 1/4" (6 mm). If you are testing more than one wick, make sure the candles are clearly labeled.
2. Place the test candles on a clean, flat, heat-resistant surface about 3" to 6" (7.5 cm to 15 cm) apart. Be sure to select a draft-free spot that is full view of your workspace. Do not leave lit candles unattended.
3. Light the candles and record the time. It is critical to keep an eye on the candles while they are burning, especially when testing new wicks.
4. If testing pillar candles, allow them to burn for two hours then record the details of the melt pool and wick appearance. Ideally the melt pool will achieve the desired diameter by this point. Although there are individual preferences, I like my melt pool to extend almost out to the edge of the candle, leaving approximately 1/4"–1/2" (6 mm–1.3 cm) of wax around the outside. If the flame has not melted enough of a melt pool, the wick is most likely too small. Note any soot or mushrooming on the wick.
5. Allow the candle to burn for another four hours and record the details of the melt pool and wick again before gently blowing out the flame. At this point the melt pool of a well-wicked candle will have achieved the desired diameter and should be approximately 1/2" (1.3 cm) deep. If the wick is mushrooming, the candle is sooting, or the melt pool is substantially deeper than 1/2" (1.3 cm), the wick is most likely too large.
6. Allow the candle to cool for at least five hours and repeat steps 3, 4, and 5 until the candle is completely burned. The quality of burn will almost always change during the entire burning of the candle. Burn the entire candle before deciding on a wick.
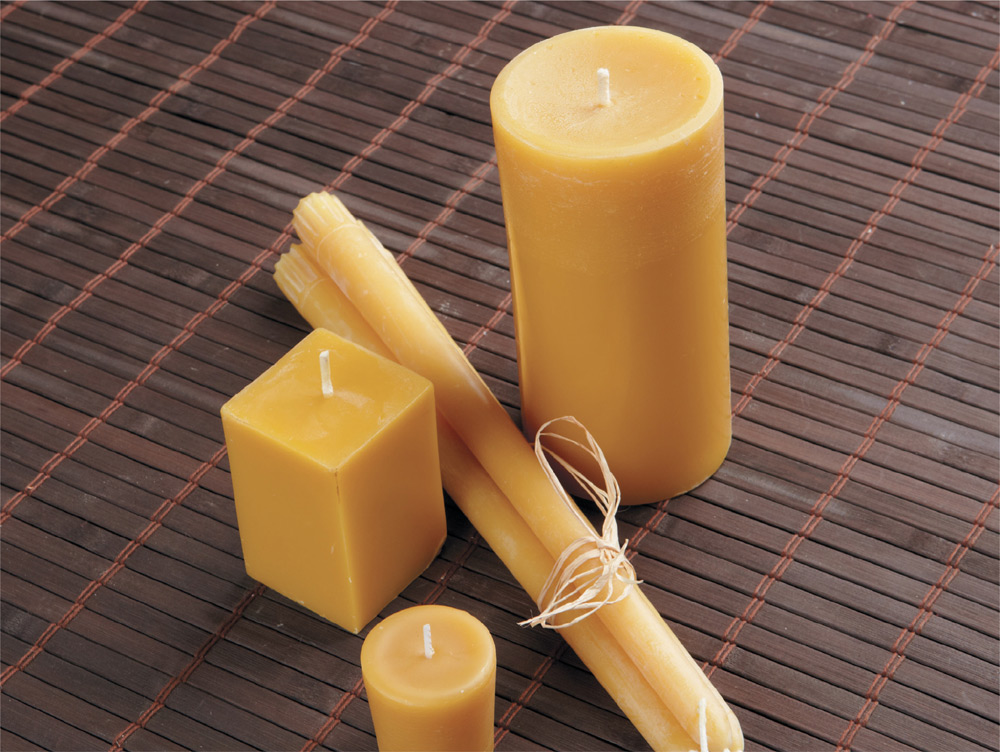
All molded candles are basically made the same way and require the same basic tools, just different molds. It is important to use the cleanest wax possible when making molded candles. Impurities, such as residual honey, will affect the look and performance of the candle.
BEGINNER
Votive candles and tealights are the workhorses of the candle world. Votives are intended to be burned in a votive holder, not on their own. This means that the candle should fit within the holder reasonably well and the candle should be wicked so that the wax is liquid all the way to the edge. Most votives burn for six to eight hours.
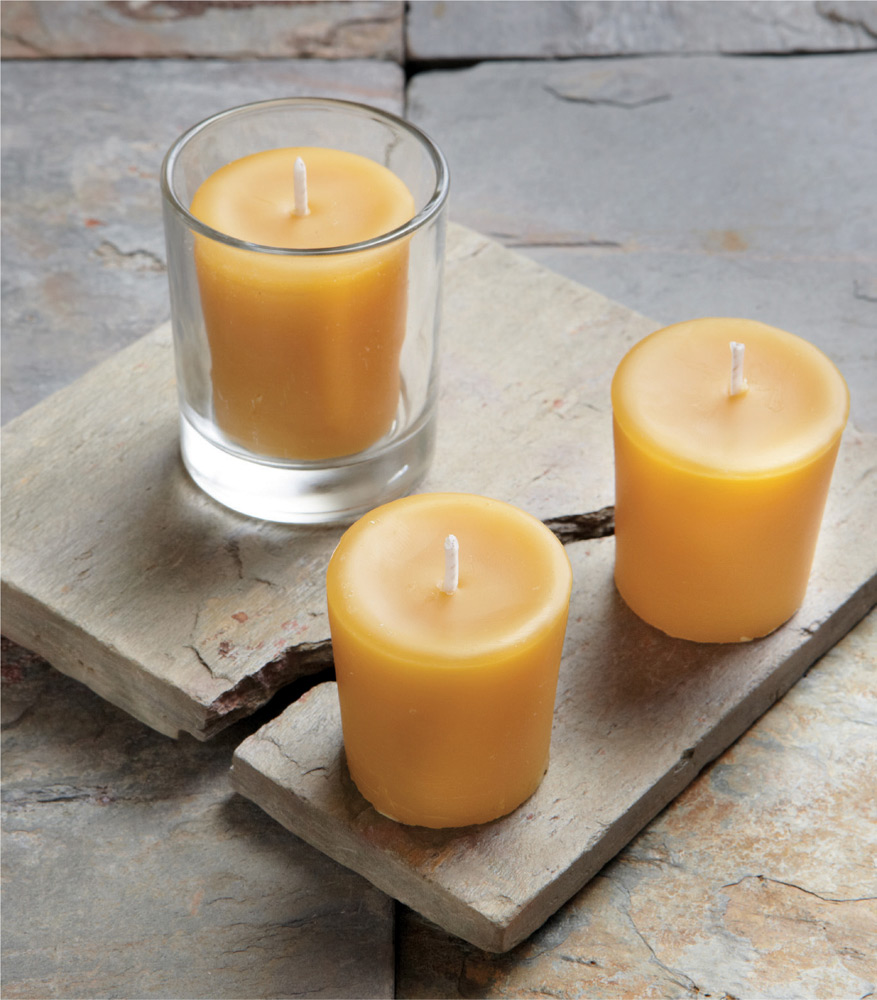
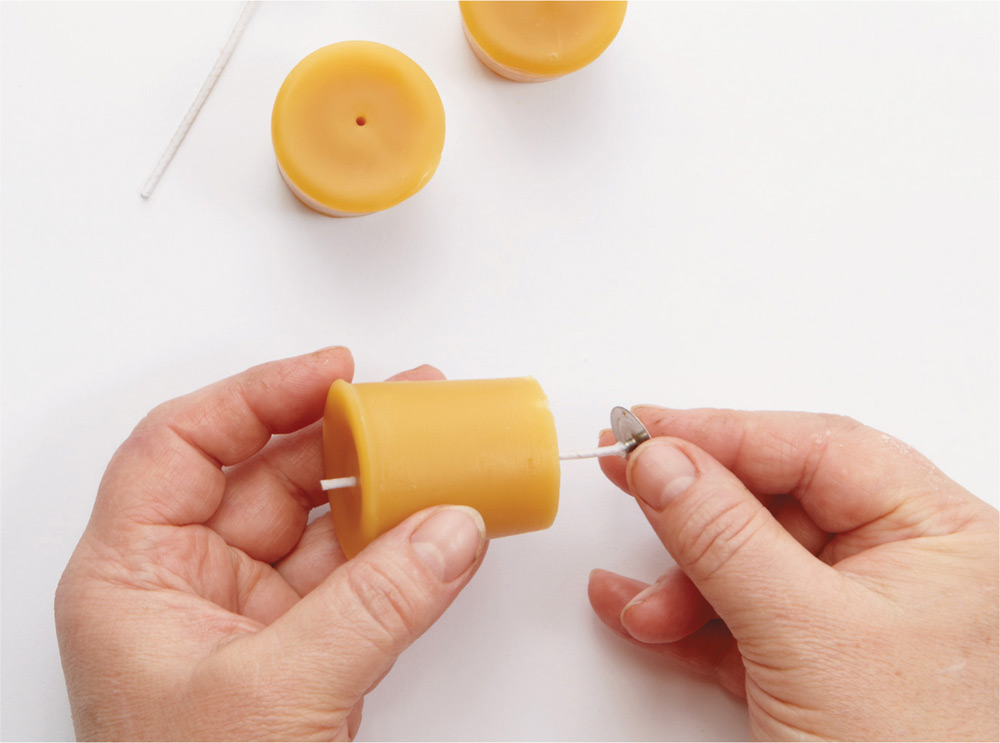
1. Melt the beeswax in a double boiler or a wax melter. Do not melt beeswax directly on the stove without the water bath. When I first started making candles, I used a clean coffee can to melt my wax. Periodically check the temperature of the wax to make sure it isn’t getting too hot.
2. While waiting for the wax to melt, prepare the molds. If using metal molds, spray the inside with a mold release spray (silicone). Spray the wick pins as well and make sure they are properly seated on the bottom of the votive mold.
3. Once the wax is completely melted, use the thermometer to check the temperature of the wax. I like to pour my candles when the wax is in the 165°F–170°F (74°C–77°C) range. If it is hotter than that, let it cool a bit before pouring into the molds.
4. Warm the votive molds with the heat gun then pour the wax into the molds. Let the wax cool completely before trying to remove from the mold. Pull up on the wick pins to remove the candle and then tap the wick pin against a solid surface to dislodge it from the votive.
5. Thread a pre-tabbed wick up the hole left by the wick pin, trim the wick, and let it sit a day or two before doing a test burn.
INTERMEDIATE
Pillar candles are the longest burning candles. Even shorter 3" × 4" (7.5 cm × 10 cm) pillar candles have been known to burn for sixty hours or more, making them well worth the investment in beeswax.

1. Melt the beeswax in a double boiler or a wax melter. Do not melt beeswax directly on the stove without the water bath. Check the temperature of the wax occasionally to make sure it isn’t getting too hot.
2. While waiting for the wax to melt, prepare the molds. If using metal molds, spray the inside with a silicone mold release spray.
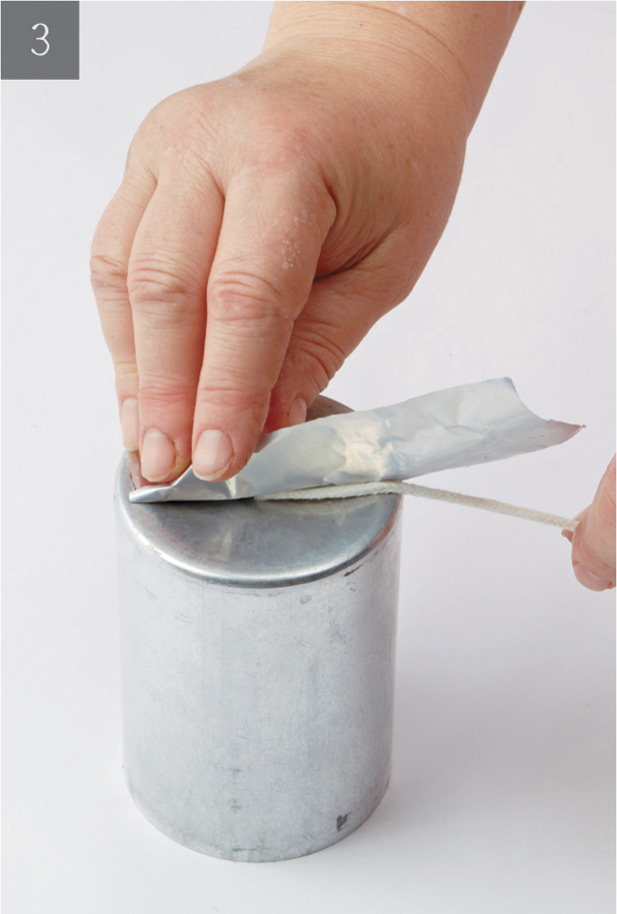
3. Most pillar candle molds come with a hole at the bottom of the mold to insert the wicking. I find it is easiest to dip a part of my wicking in beeswax and let it harden before trimming the dipped end at an angle to make it easier to thread the wick through the hole and far enough into the mold to allow me to retrieve it from the open end. A pair of pliers can help with this if the mold is a bit deeper than can be easily reached by hand.
4. Extend the wick about an inch (2.5 cm) or so above the candle mold. Use a wooden dowel, toothpick or a bobby pin to hold the wick in place and keep it centered. Wrap the wicking around the dowel and make sure it is tight inside the mold, but not stretching the wick. You’ll also need to seal the spot where the wicking extends through the bottom of the mold. There are a number of products that can be used for this. My favorite is high-temperature metal tape, which is available in the heating section of home improvement stores.
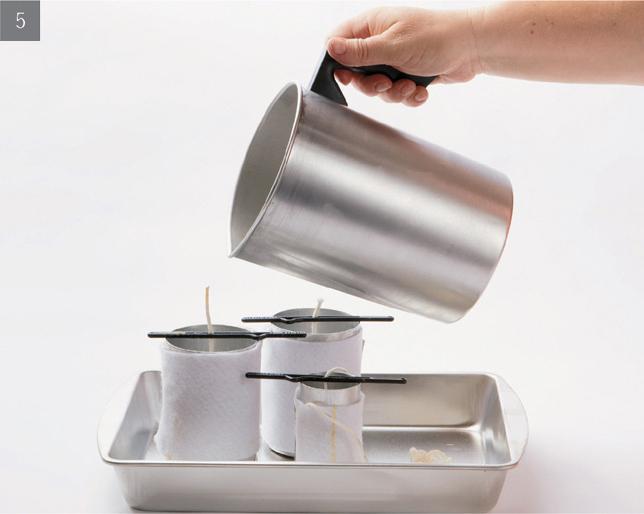
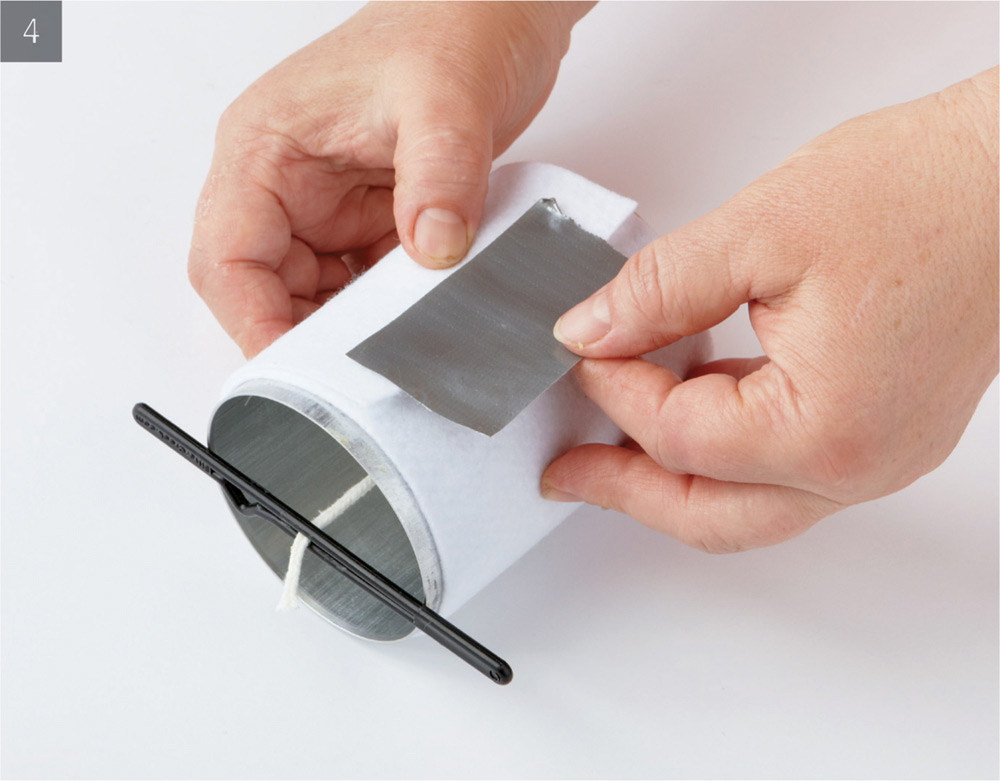
5. Wrap the molds with a layer of felt cloth and configure them close together with taller candles in the center and shorter candles on the outside to make pouring the wax into the candle molds quick and efficient. I like to do a dry run with my pouring pitcher to make sure I don’t have to pour the hot wax from a point that is too high up.
6. Once the molds are prepared, check on the wax. The target temperature should be in the range of 165°F–170°F (74°C–77°C). If it is hotter than that, let it cool a bit before pouring into the molds.
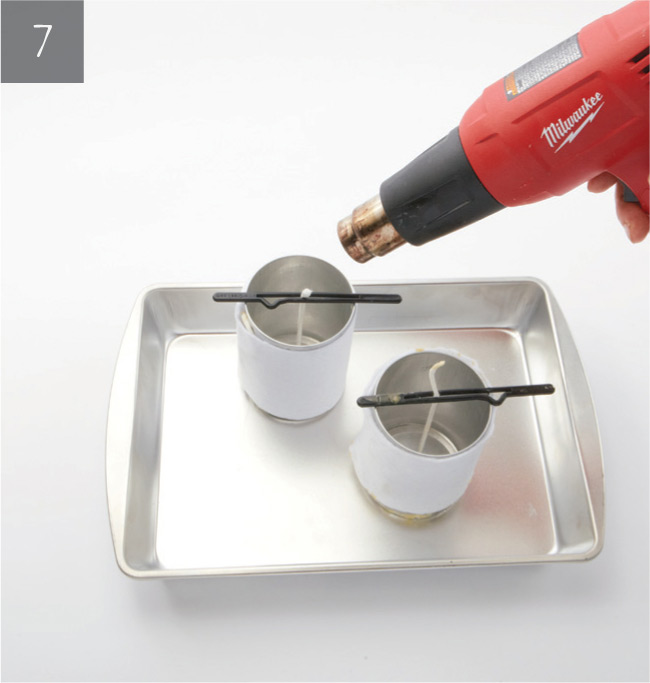
7. Before pouring the hot wax, make sure there is enough wax in the pouring pitcher to fill the mold completely. If the candle is poured in several stages, the line between pours will be visible.
Use a heat gun to quickly warm the inside of all the pillar molds and immediately pour the wax into the waiting molds. Fill the molds to about a 1/2" (1.3 cm) from the top.
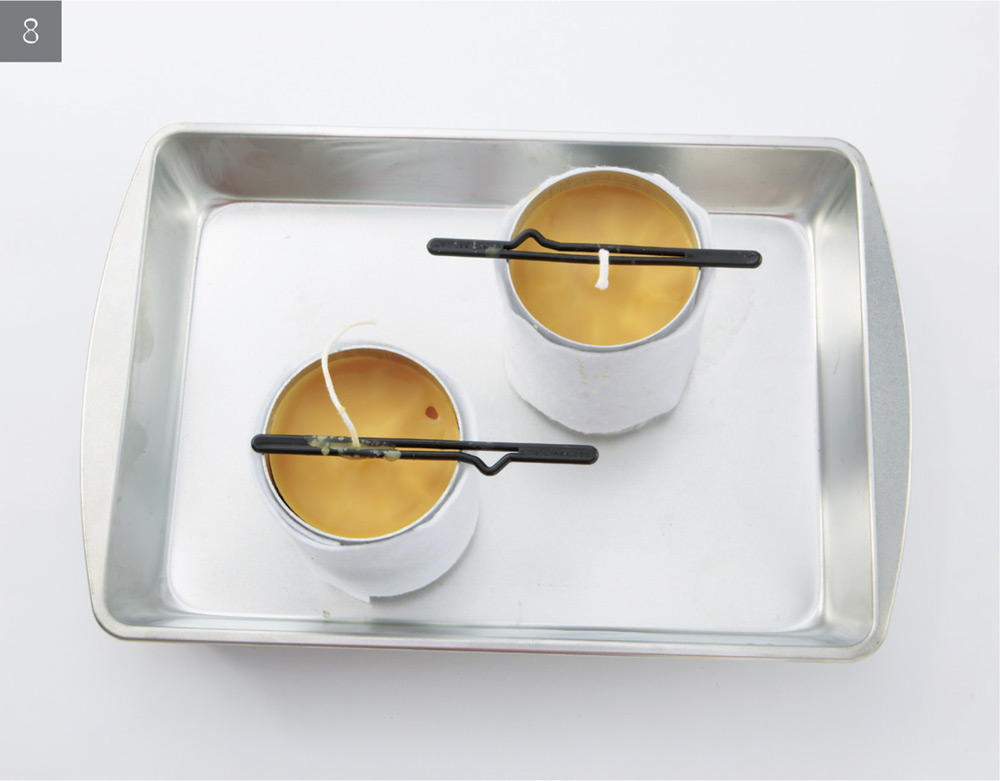
8. The wax will contract as it cools. How evenly the wax contracts depends on the ambient temperature of the room. Cooler temperatures will force the top of the candle to skin over and become a solid mass before the rest of the candle can contract sufficiently. The result is a cavity inside the candle. The bigger the wax mass, the longer it will take for the candle to cool and the greater the potential for a large cavity. This can be dangerous if left as is, since the wick can turn into a torch when it hits the open cavity.
9. Allow the candles to cool completely before trying to unmold. I like to do this the following day, especially if it is a larger diameter candle.
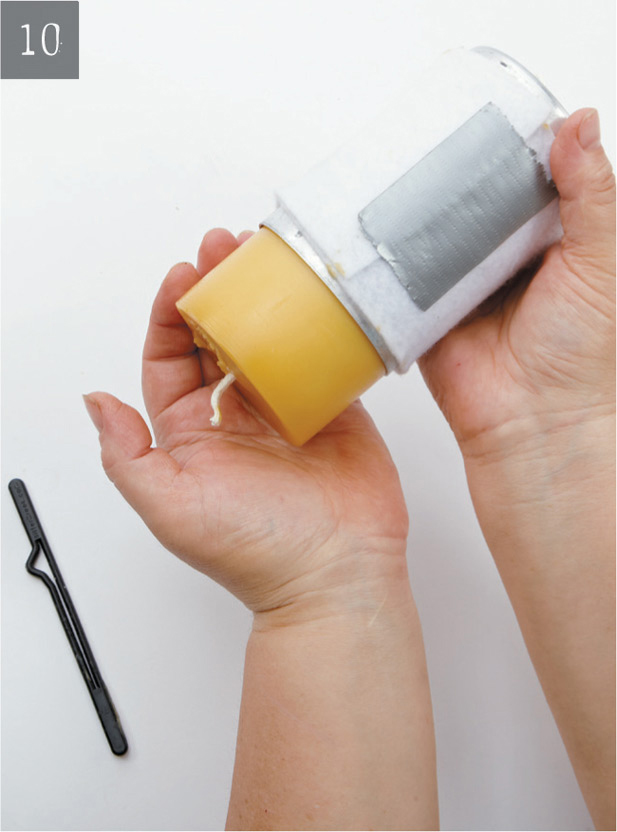
10. To unmold, first remove the tape or wick putty from the bottom of the mold. Then lightly tap the side of the mold against a soft surface, rotating the mold while tapping. Once the candle is loosened from the mold, tug gently on the wick and remove the candle. If it isn’t cooperating, don’t force it. Put the whole works in the freezer and let it cool for an hour or so. Then try again. This trick should work. Trim the wick flush at the bottom and to 1/4 inch (6 mm) at the top.
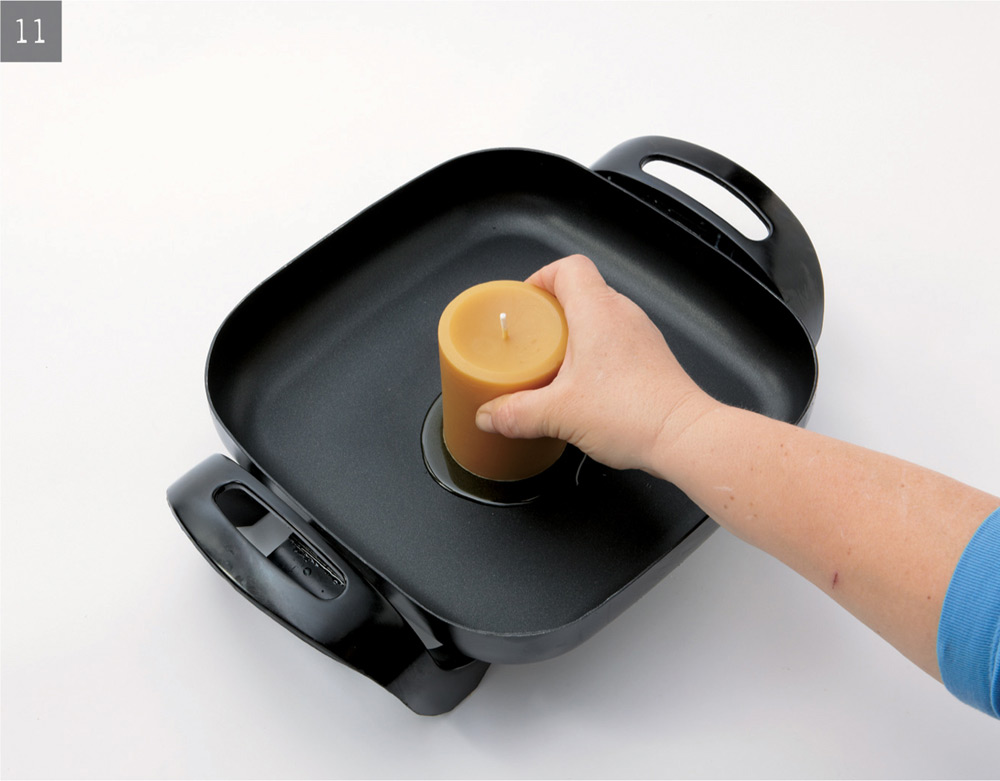
11. The bottom of the candle may be bumpy and uneven. I use a dedicated electric skillet to melt and flatten candle bottoms. Start with the temperature of the skillet on low and see if the wax will melt. Electric skillets vary by manufacturer, so a bit of experimentation is necessary. If low doesn’t melt the wax, increase the temperature until it starts to melt the wax relatively quickly. Place the candle in the skillet and spin it so that the high points in the candle bottom become more evident. Failure to do this will result in a leaning candle that will burn unevenly. Once the bottom is smoothed out and even, let it cool slightly and then clean up the edges with clean fingers.
12. Now the hard part: waiting for the candle to cure. Wait at least a day or two for the candles to cure before lighting them. This time frame allows the beeswax molecules to align and settle down. With pillar candles, a burn test is imperative to make sure that the right wick size is used. It sometimes takes five or more tries to get the wicking right, so don’t get discouraged. Candles that are not burning correctly are not a waste. Simply melt them down the next time you are melting wax. The wick is not reusable.
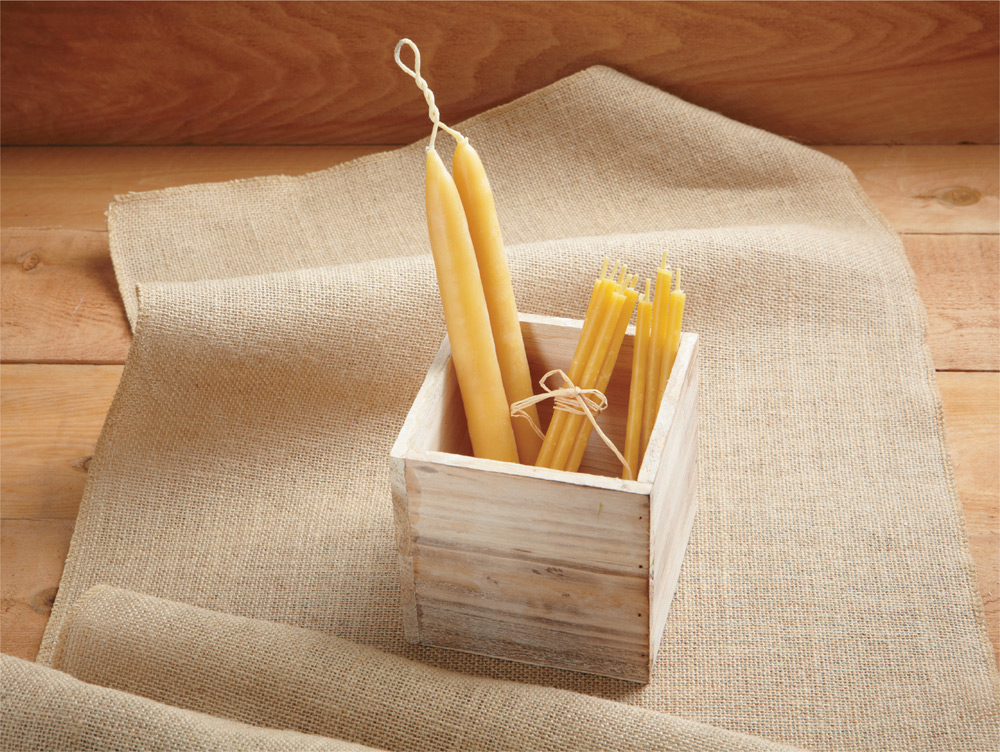
Hand-dipped candles have been around forever, probably because they are easy to make. A leisurely afternoon can yield a couple dozen passable tapers, especially if they don’t have to be perfect. However, if the perfect taper is the goal, there is a bit more craft involved. I will begin with the basics and then delve into the details of creating beautiful candles.
BEGINNER
Hand-dipped taper candles are made from paper-thin sheets of wax that are added one layer at a time by dipping the wick repeatedly in hot wax. Most regular taper candles have twenty or more layers of wax.
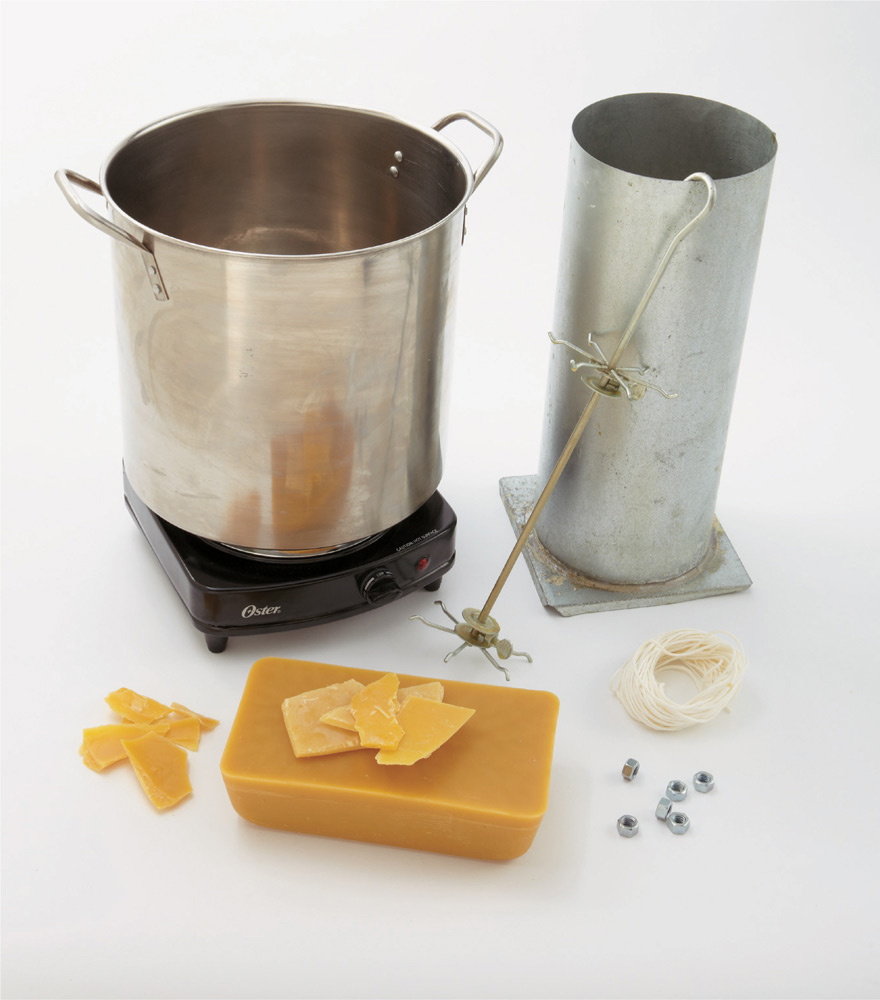
Make sure there is plenty of wax on hand. Remember that every time the wick is dipped in the wax, wax is removed from the pot. This means that once a few candles have been dipped, the wax level drops and candles will not be as tall as the first ones made. To remedy this problem, simply add more wax. I like to keep small pieces and flat wax flakes on hand for these occasions. Unlike big blocks of wax, they melt quickly and keep the process of making candles moving smoothly.
If you are dipping pairs, use the following general formula to cut the wicks into useable lengths:
(Height of desired finished candle + 2" [5 cm] loss on the bottom + 1" [2.5 cm] loss on top + 1/2" [1.3 cm] for wiggle room) × 2.
So to make 8" (20.5 cm) finished-length candles, cut the wick approximately 23" (58.5 cm) long.
In the above formula, I allowed a bit extra to tie a weight such as a washer or nut to the bottom of both wicks. This helps keep the wick straight through subsequent dippings, producing a beautiful, straight candle.
Temperature of the wax is very important. If the wax is too hot, the candles don’t build up properly or build up more at the top than at the bottom. If the wax is too cool, the candles will look bumpy and have an exaggerated cone shape. It is best to play around with different dipping rhythms. How the candles look will depend on wax composition, temperature of the wax, temperature of the room, and individual style. Try dipping slowly on the way down and pulling it back out quickly. Then try the opposite. Also try leaving it at the bottom for an extra second or two. See how the shape of the candle changes with a couple of dips. Experimentation is the key.
1. Prepare a place to hang in-process candles while they cool. I like to use paint sticks, as they are wide enough to allow the candles to hang far enough apart to keep them from bumping into each other and the sticks are long enough to easily place them across a box or between two chair backs, allowing the candles to hang freely.
2. Prime all taper wicks by dropping a good quantity of wick into hot wax and letting it absorb completely before pulling it back out again. Watch for the bubbles and once they stop, wait a bit longer and then remove the wick. As it starts to cool, untangle the mass and start to straighten it out.
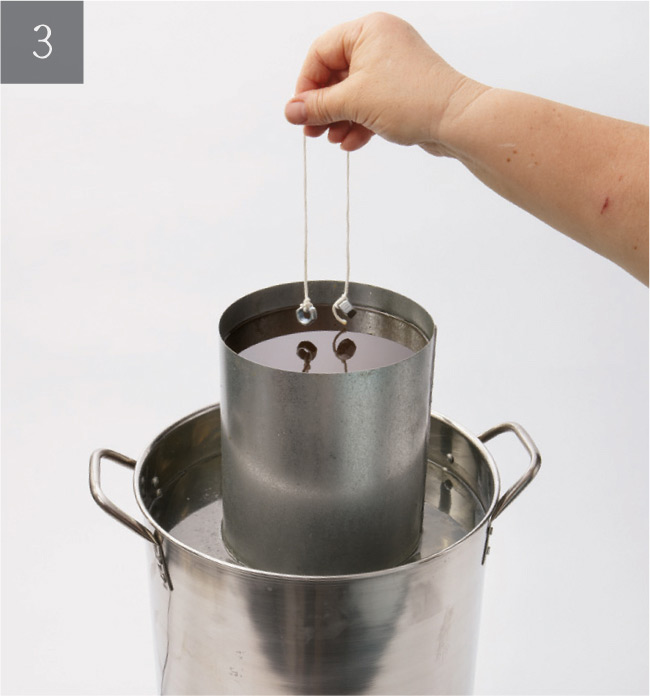
3. Take the primed wick and use the formula above to cut to the desired length. Attach a nut or nail to the end of each end of the wick and bend the wick in half so that both sides are the same length.
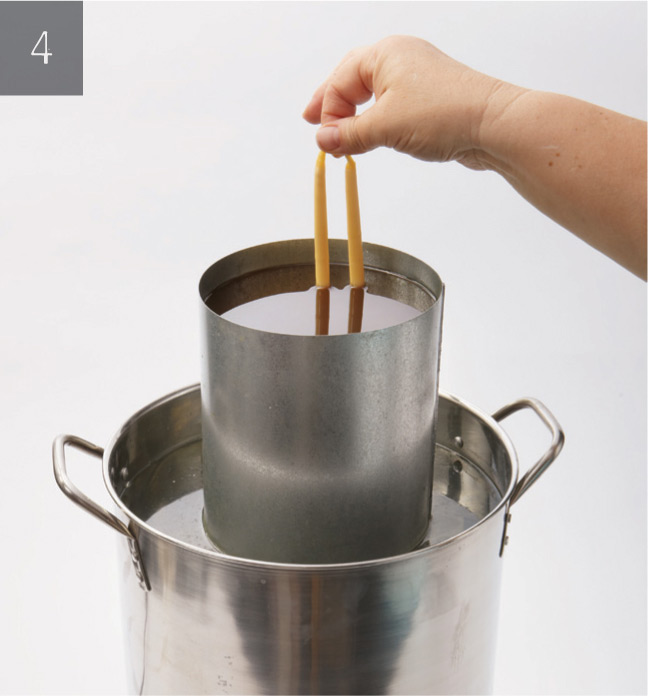
4. Making sure that the wick is as straight as possible, hold the wick at the bend and dip the wick into the wax. There is no need to do this quickly. I dip the wick for about 3–4 seconds—1 second down, 1–2 seconds at the bottom, and 1 second up.
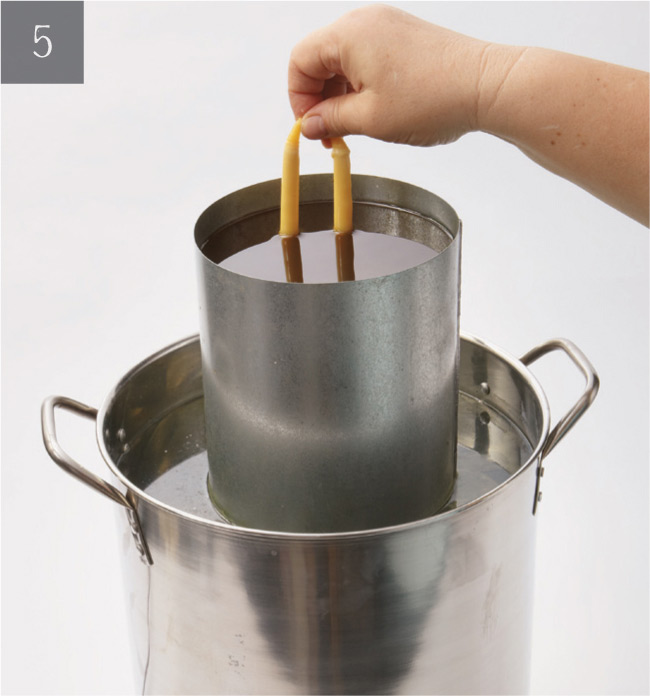
5. Before doing the subsequent dippings, I like to wait until the wax changes color slightly, approximately 3–4 minutes. If I am doing multiples, I hang up one and move on to the others and by the time I have completed one round with all the wicks, the first is ready for round two.
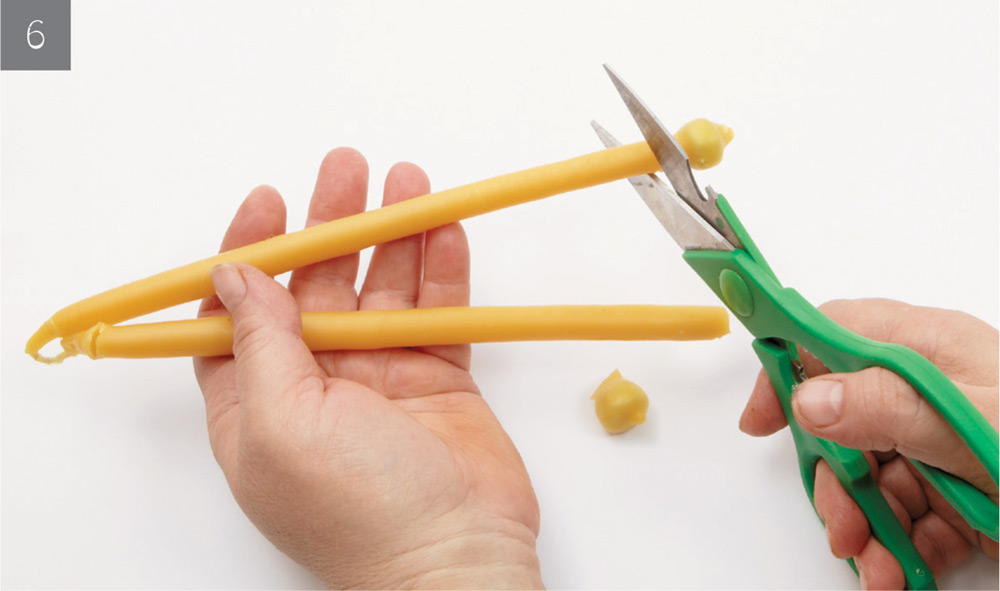
6. Continue dipping until the candles have reached about 75 percent of the desired thickness. Wax contracts as it cools, which means that a freshly dipped candle measuring 3/4" (2 cm) will probably be thinner when it is completely cooled. Take this into account when making the candles. Wait for the wax to cool a bit longer and take a very sharp knife or scissors and cut the nut off the end of the wick.
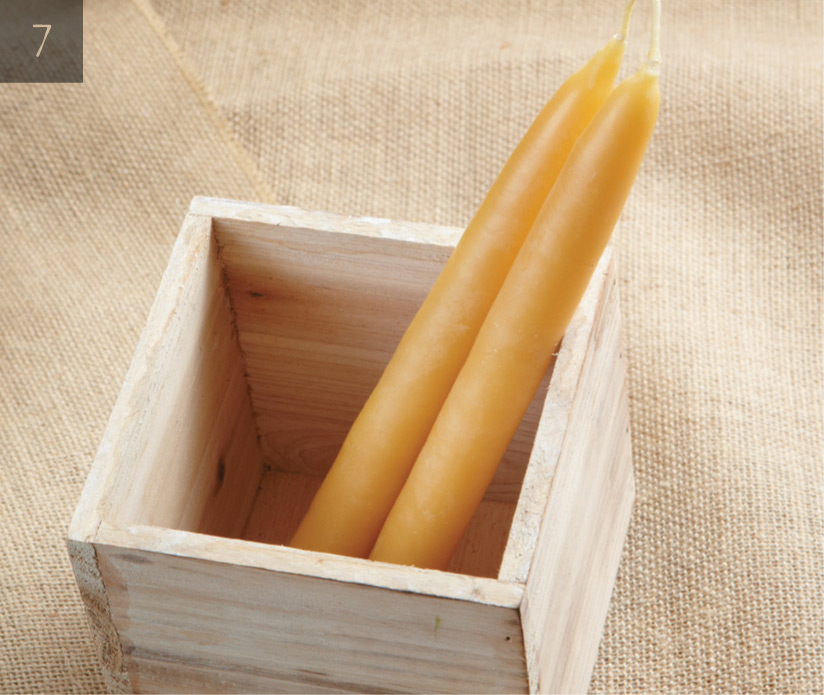
7. Complete a couple more dips to finish the candle and hang up to cool completely. If the dipping vat is on the stove top, make the last dip a slightly hotter one (around 180°F [82°C]). This produces a smoother and shinier candle, enhancing the overall look of the finished taper.
BEGINNER
Birthday candles can be made in a couple different ways. Since they are simply really thin taper candles, they can be made in the same way, stopping when the approximate diameter reaches 1/2" (6 mm). But I prefer to make them look more like the traditional birthday candles—squared off at the top and bottom—so these candles are dipped first to a longer length and then trimmed to the desired length. Here is how I do it.
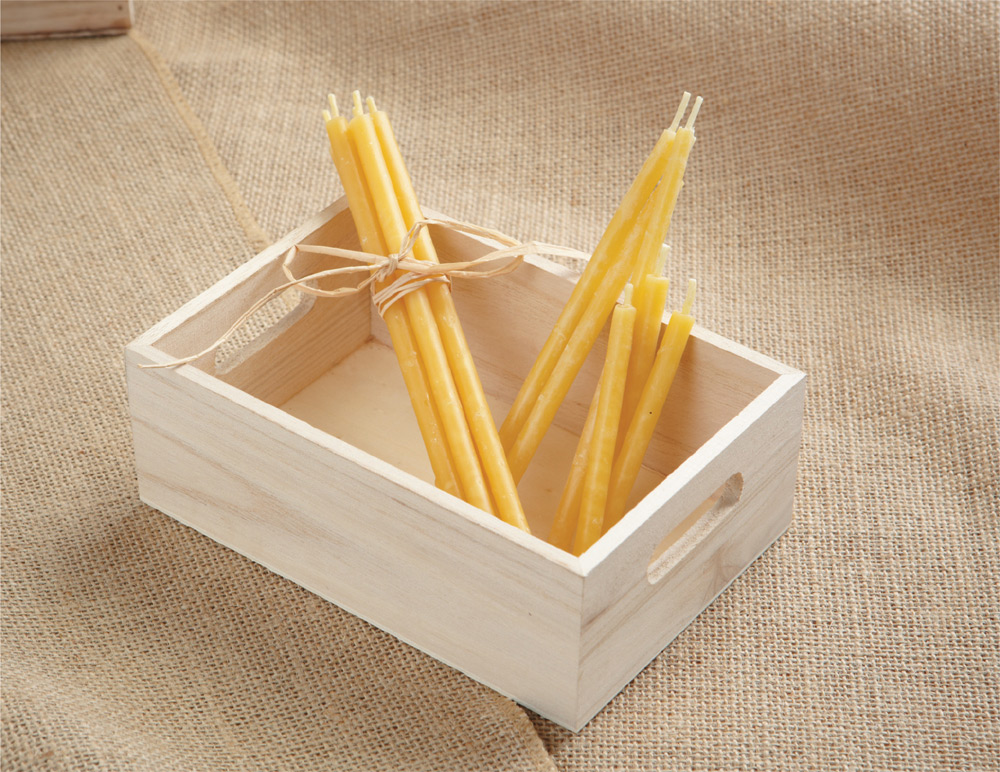
1. Cut and prime the wick, stretching it out as per tapers, page 38. There is no need to bother with a weight, since these candles will only be dipped 6–8 times total.
2. Dip the candles 5–6 times and measure the diameter. If it is close to the thickness desired, dip another time for good measure and let it cool until it just starts to turn from the pastel yellow to the more gold color, but is still a bit warm to the touch. With scissors, cut the wick just above and below the desired length of the candle.
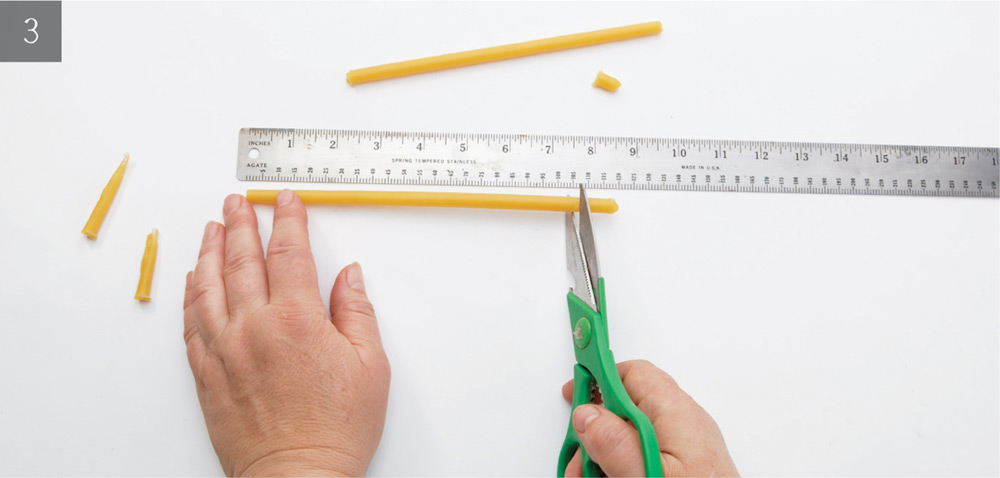
3. To make the 7" (18 cm) candles shown above, cut candles into 71/2" (19 cm) sections with a sharp pair of scissors.
4. Roll the cut sections on the table top between two sheets of waxed paper to straighten and smooth the imperfections. The candles also need to cool a bit more before continuing to the final trimming.