

As hair in the late 1780s continues to be wide and very curly, fashionable caps broaden as well. These fanciful caps were designed to rest atop the amply coiffed head of the lady, an additional adornment to her hairstyle as opposed to a covering to obscure it. We have chosen a common style, simply constructed and heavily be-ribboned, giving it an impressive look similar to the caps worn by Madame Adélaïde and Madame Victoire in their portraits by Élisabeth Vigée Le Brun, 1791, [7] and a couple of portraits by Adélaïde Labille-Guiard. [8]
• ½ yard (0.5 m) silk organza
• #50 silk thread, white
• #30 silk thread, white
• 12 inches (30 cm) candlewicking or narrow cord
• 40 inches (1 m) 2-inch (5-cm)-wide silk ribbon
• #30 silk thread, matching ribbon color
THE CAUL AND BAND

1. Turn up ¼ inch (6 mm) on all edges of the caul and baste. Fold the caul piece in half lengthwise to find the center, and mark above the basted seam at the bottom of the caul. Pierce the fabric with an awl here, then stitch the eyelet open with waxed thread #30. When complete, poke with the awl again to shape the eyelet.

2. Atop the basted seam allowance on the bottom flat edge, secure the narrow tape to the base of the caul piece on each end using a few strong backstitches. Pull the excess tape through the eyelet, using an awl or pin to push it through.

3. Fold up the straight bottom edge of the caul piece over the tape. Finely hem, making sure not to catch the tape in the stitches. Continue to hem the rest of the caul using the fine hem method shown here.
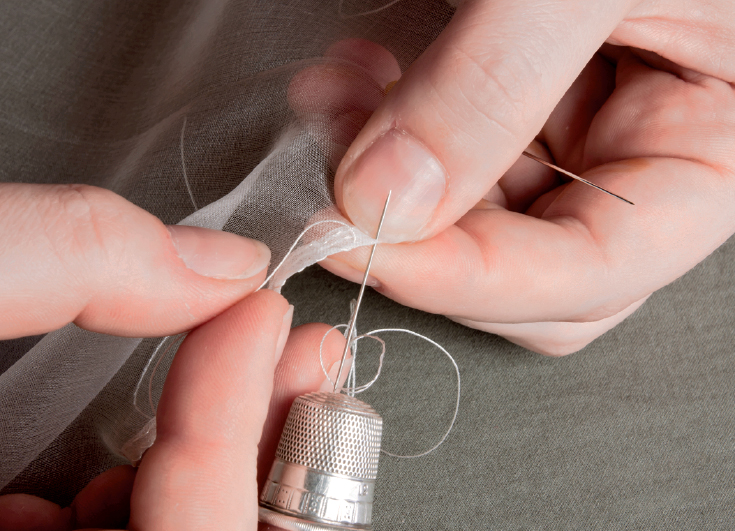
4. Following the pattern, mark where the gathering should start on each side of the caul with a pin. Then fold the caul in half lengthwise to find the top-center point and also mark with a pin. Loosely whip over the curved hemmed edge of the caul from one side to the center point, about 4 to 6 stitches per inch (2.5 cm). Pull up this thread to gather half of the caul to approximately half the length of the band. Repeat for the other side of the caul.
5. Turn up and baste ¼ inch (6 mm) on all sides of the band piece, then turn up again ⅛ inch (3 mm) and finely hem all sides.

6. Turn up and baste ¼ inch (6 mm) on all sides of the ruffle pieces. On the curved edge, turn another ⅜ inch (1 cm) and finely hem stitch.
7. On the remaining three sides, turn up the seam allowance ⅛ inch (3 mm) again by folding the basted edge in half over itself. Finely hem stitch in place.
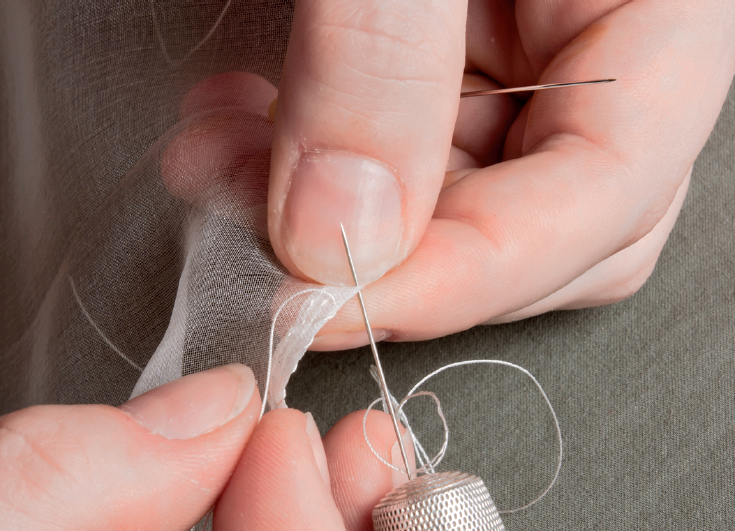
8. Loosely whip over the long straight edge of each ruffle piece.

9. Pull up the thread to gather the ruffles. Then, working each side separately, pin the gathered edge of the ruffle to the curved edge of the band, right sides together, distributing the gathers evenly and pinning as you go.
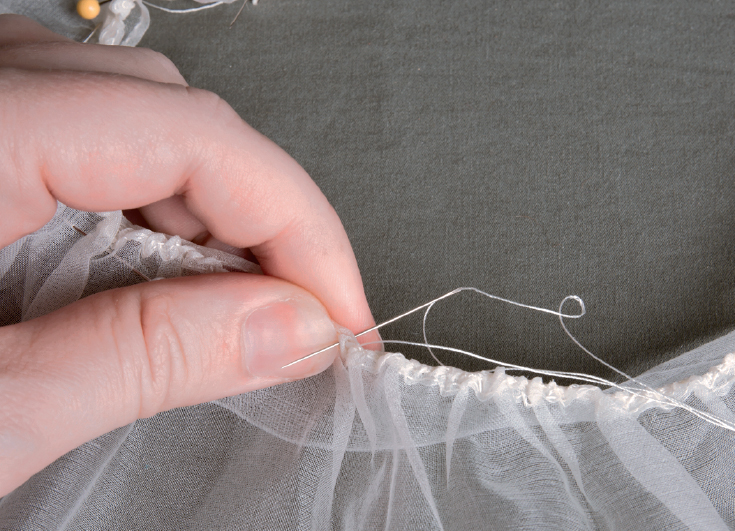
10. Whipstitch the ruffle to the band, catching each bump of the gathers. This is a little tedious, but stick with it!

11. Open the ruffle and band out flat and gently tug the pieces apart to “pop” the stitches into place. Press the open pieces.
12. Fold the caul in half and pin to mark the halfway point at the top.
13. Working one side of the caul at a time, pull the thread to gather the curved edge, then match the gathered edge to the straight edge of one half of the band. Arrange the gathers evenly and pin. Repeat for the other side of the caul and band.
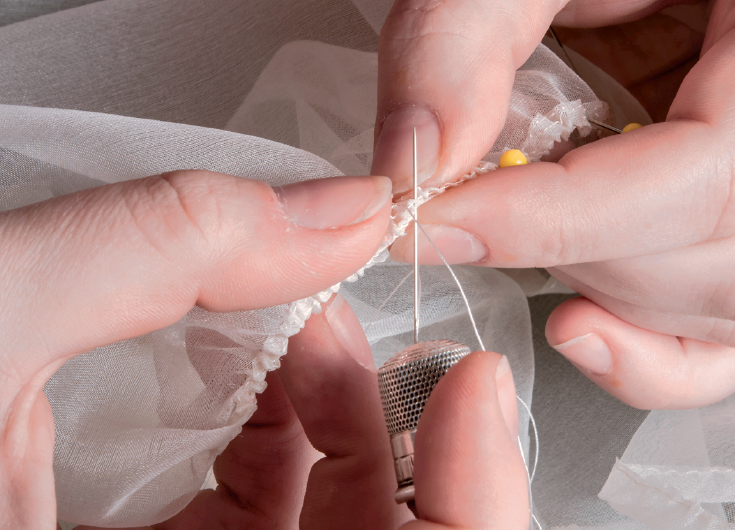
14. Starting from one end, tightly whipstitch the gathered caul and straight edge of the band together, catching every tiny little bump. When done, open the two pieces out and gently tug to “pop” the stitches into place. Press it all flat if needed.
15. Cut a piece of 2-inch (5-cm)-wide silk ribbon about 40 inches (1 m) long. Hem both short ends.
16. Mark the length of ribbon according to the pattern, going by the 4:1 markings with 3¼ inches (8 cm) left at both ends.


17. Starting at one end of the ribbon, match the first mark to the second, forming the first loop. Sew a running stitch across this point, gather up and then tack stitch in place.
18. Move to the next set of marks, bringing the two points together. Sew a gathering stitch, draw up the thread and tack stitch. Repeat these steps for the entire length of the ribbon and all of the marks.

19. On each short end of the ribbon, sew a running stitch, draw up the thread and tack stitch in place.
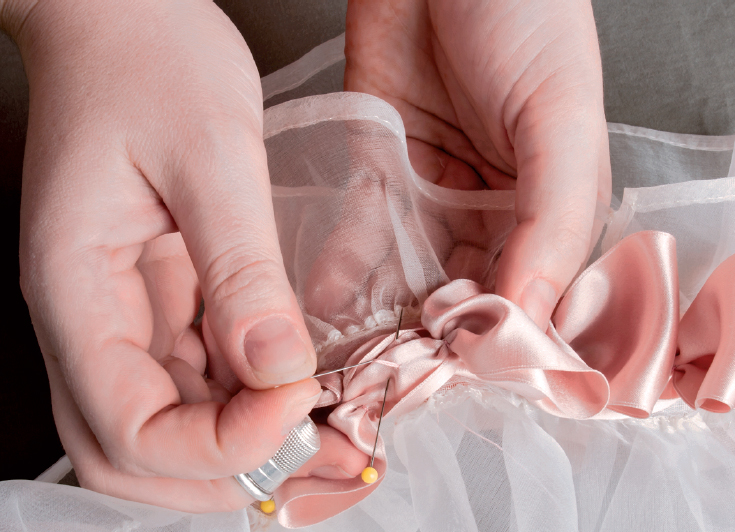
20. Arrange the ribbon floof on the band of your cap and pin in place. On the underside, stitch one end in place. Cut the thread, then start your stitches again at the first loop, moving from loop to loop and stitching each “in-between” portion with a backstitch.
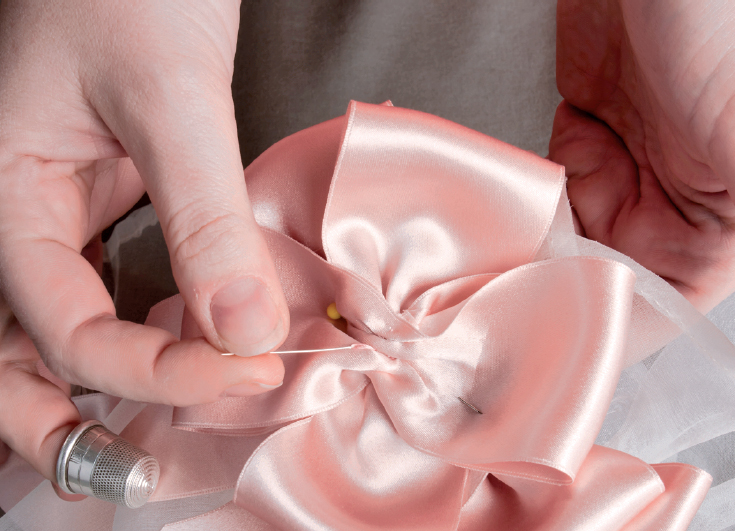
21. At the center front, add a bow in matching ribbon. You can choose a 4-Loop Bow or a 5-Loop Bow with zigzag tails.
This beautiful bit of gauze and ribbonwork adds a fashionable dash of millinery, and it works well into the 1790s.