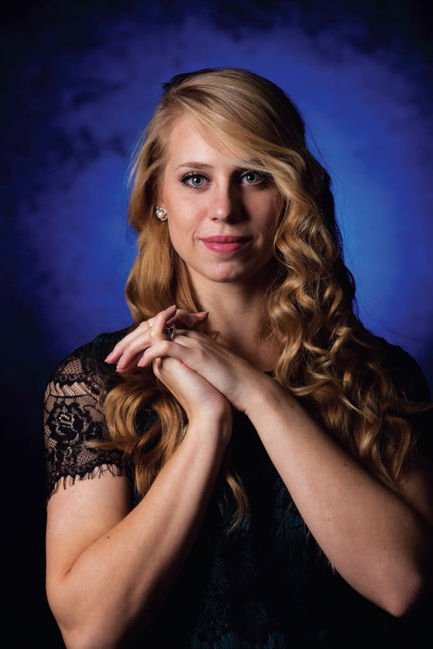
8. One Light, Two Lights, Red Lights, Blue Lights
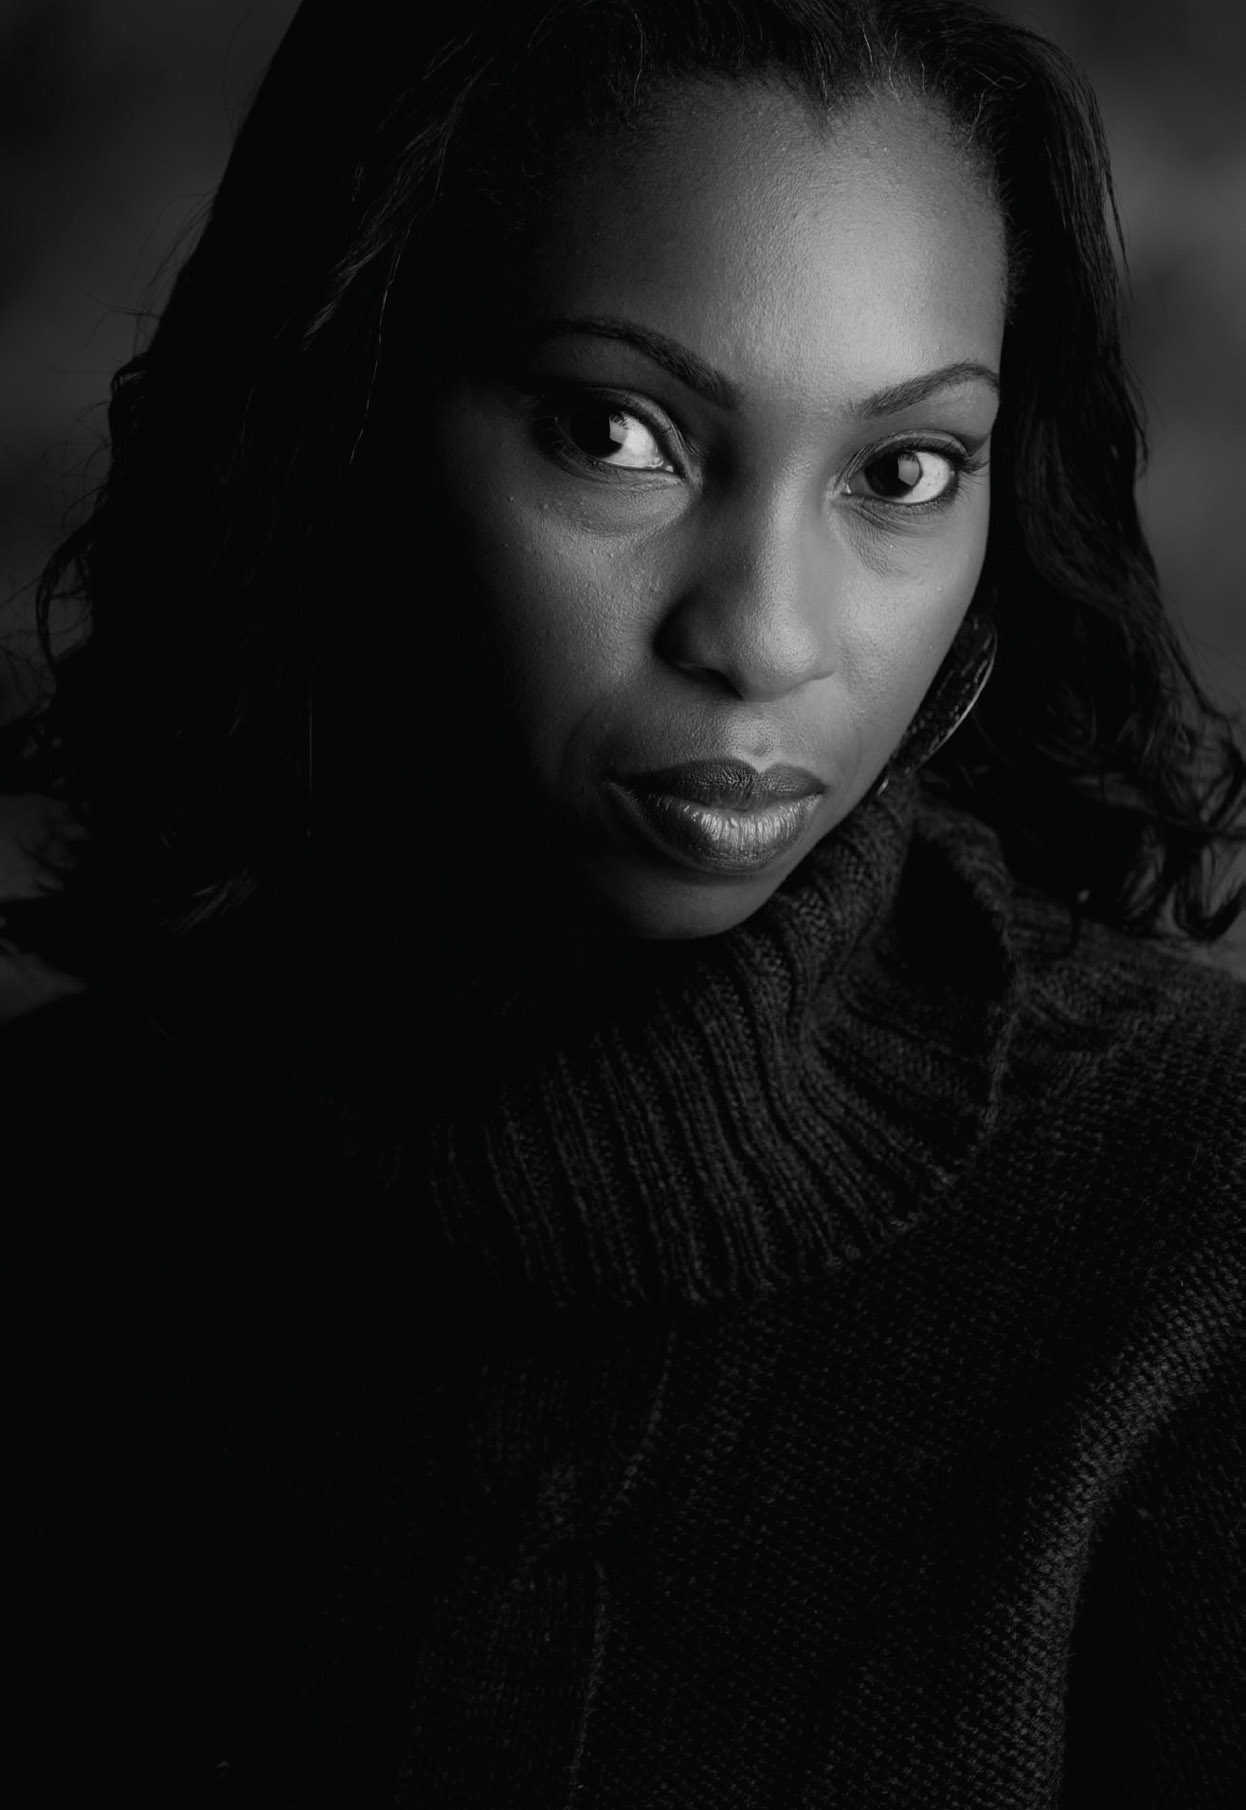
Whether taken on by necessity (you only have one light) or by choice, one-light portraiture can be some of the most beautiful work you will ever produce. The simplicity of spending quality time with your subject, capturing the perfect expression in an almost quiet manner, will always find a way to speak to those who view the portrait. A well-placed medium or large softbox will often be the best choice in one-light work.
![]()
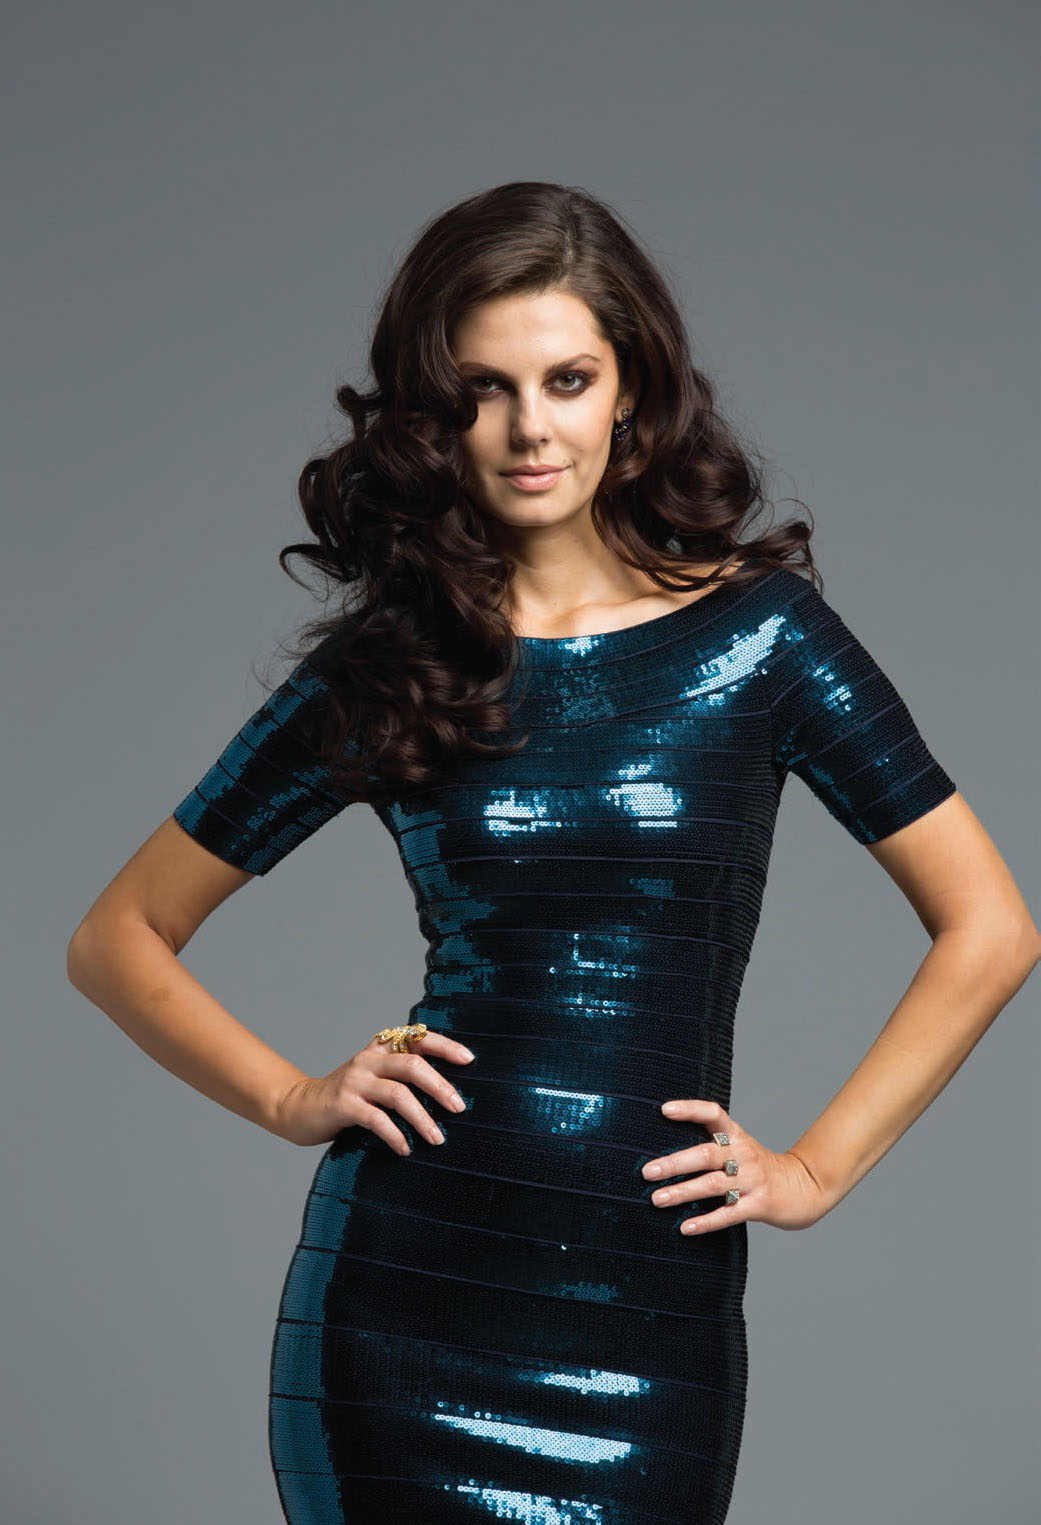
One-light portraiture can be some of the most beautiful work you will ever produce.
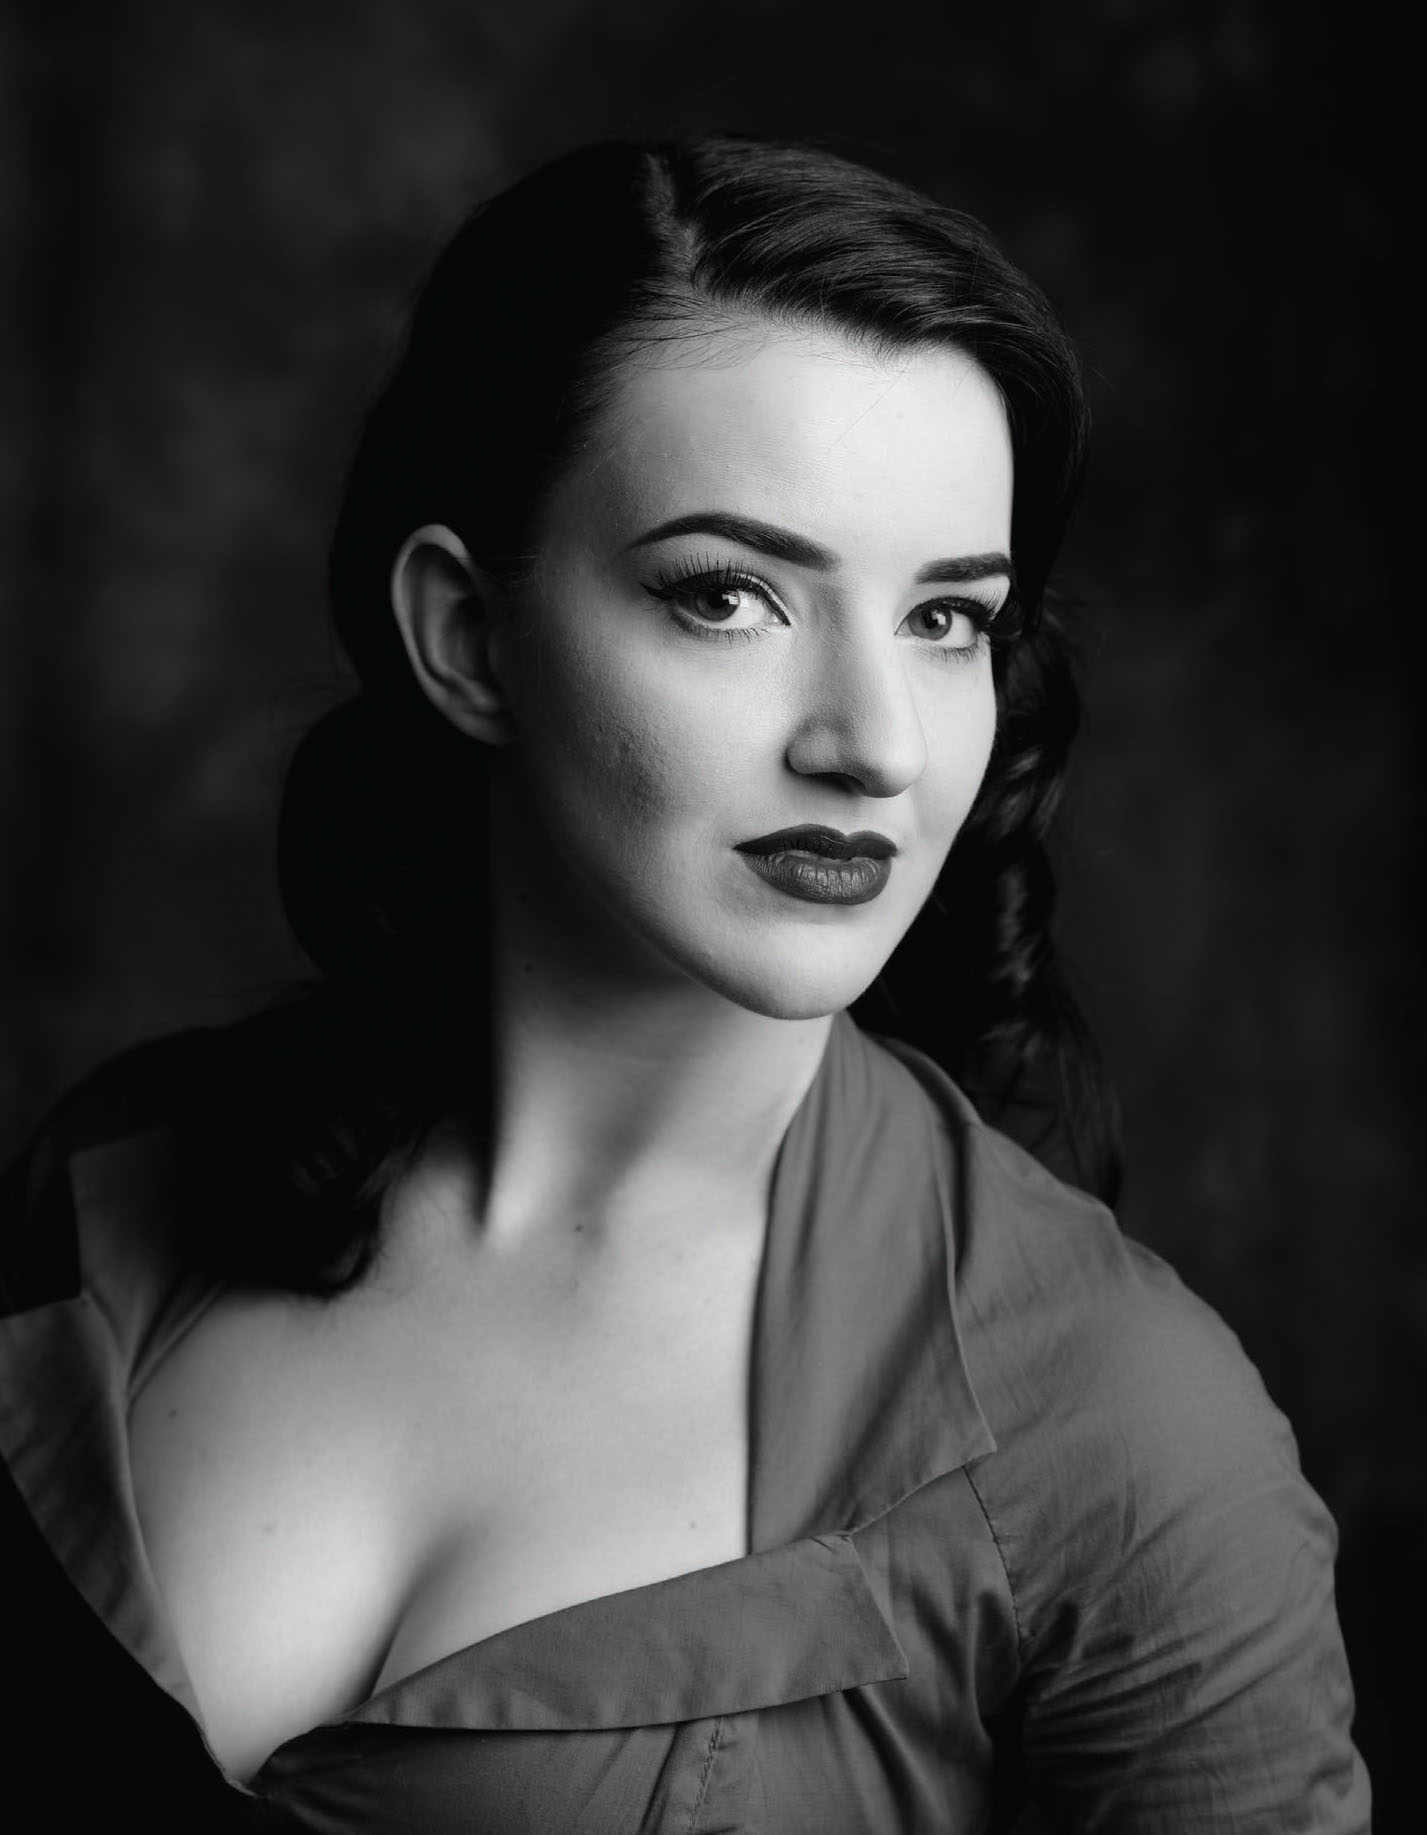
Figures 8-1 and 8-2. Examples of one-light portraits.

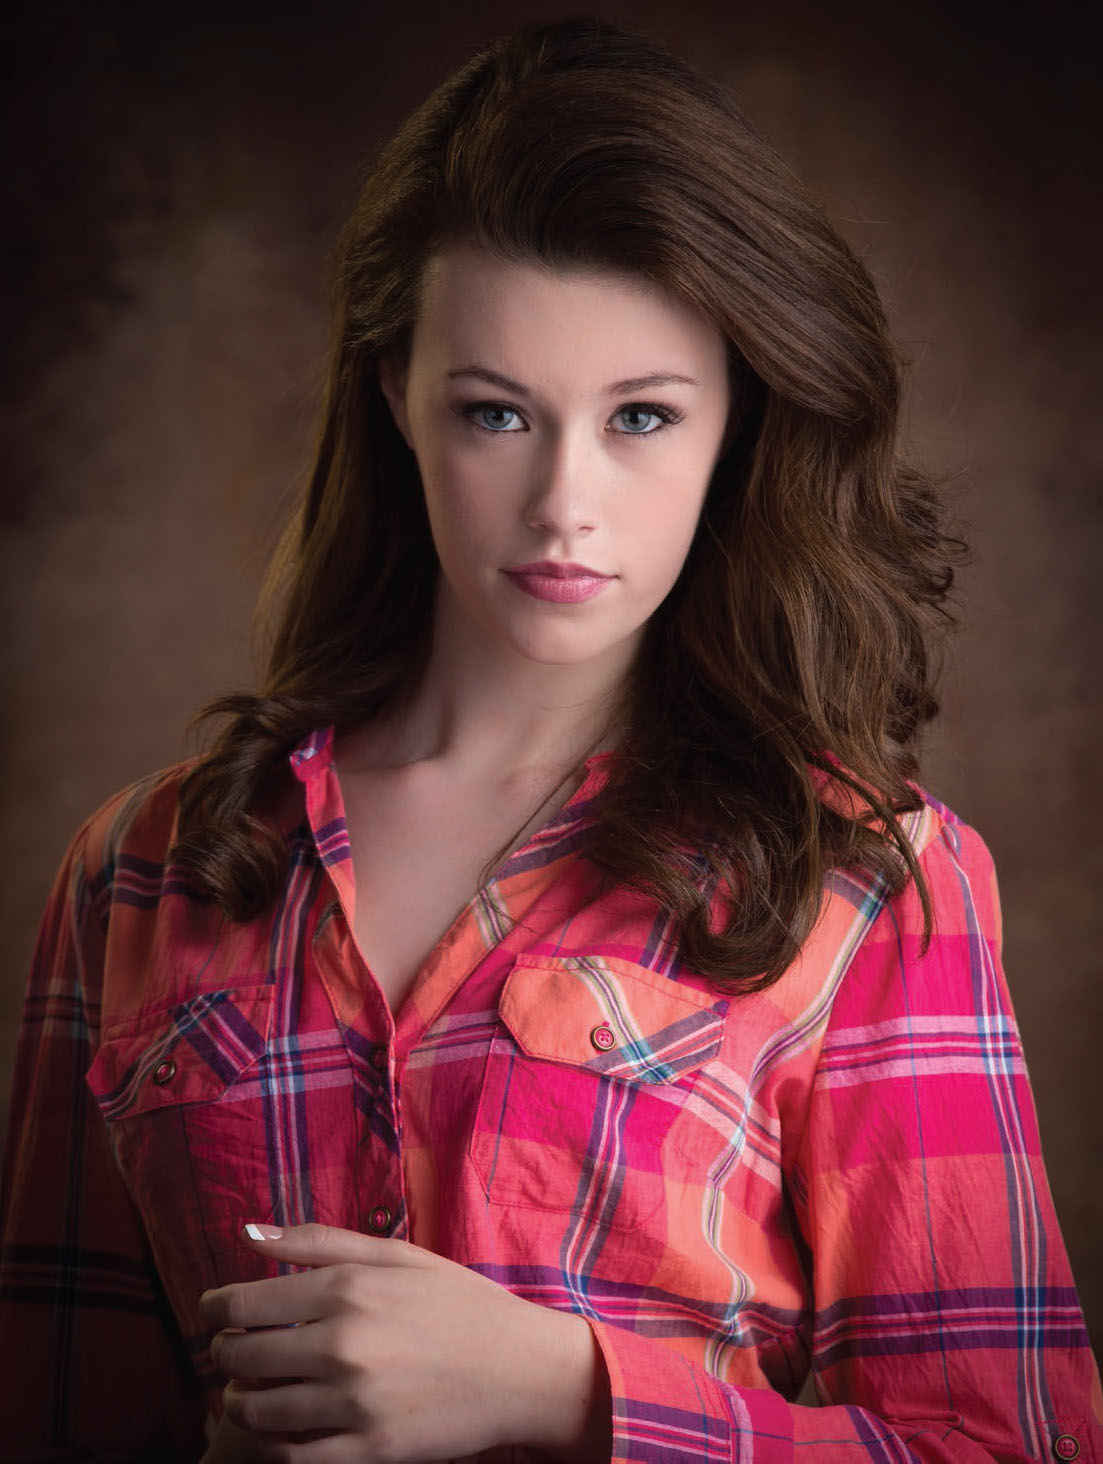
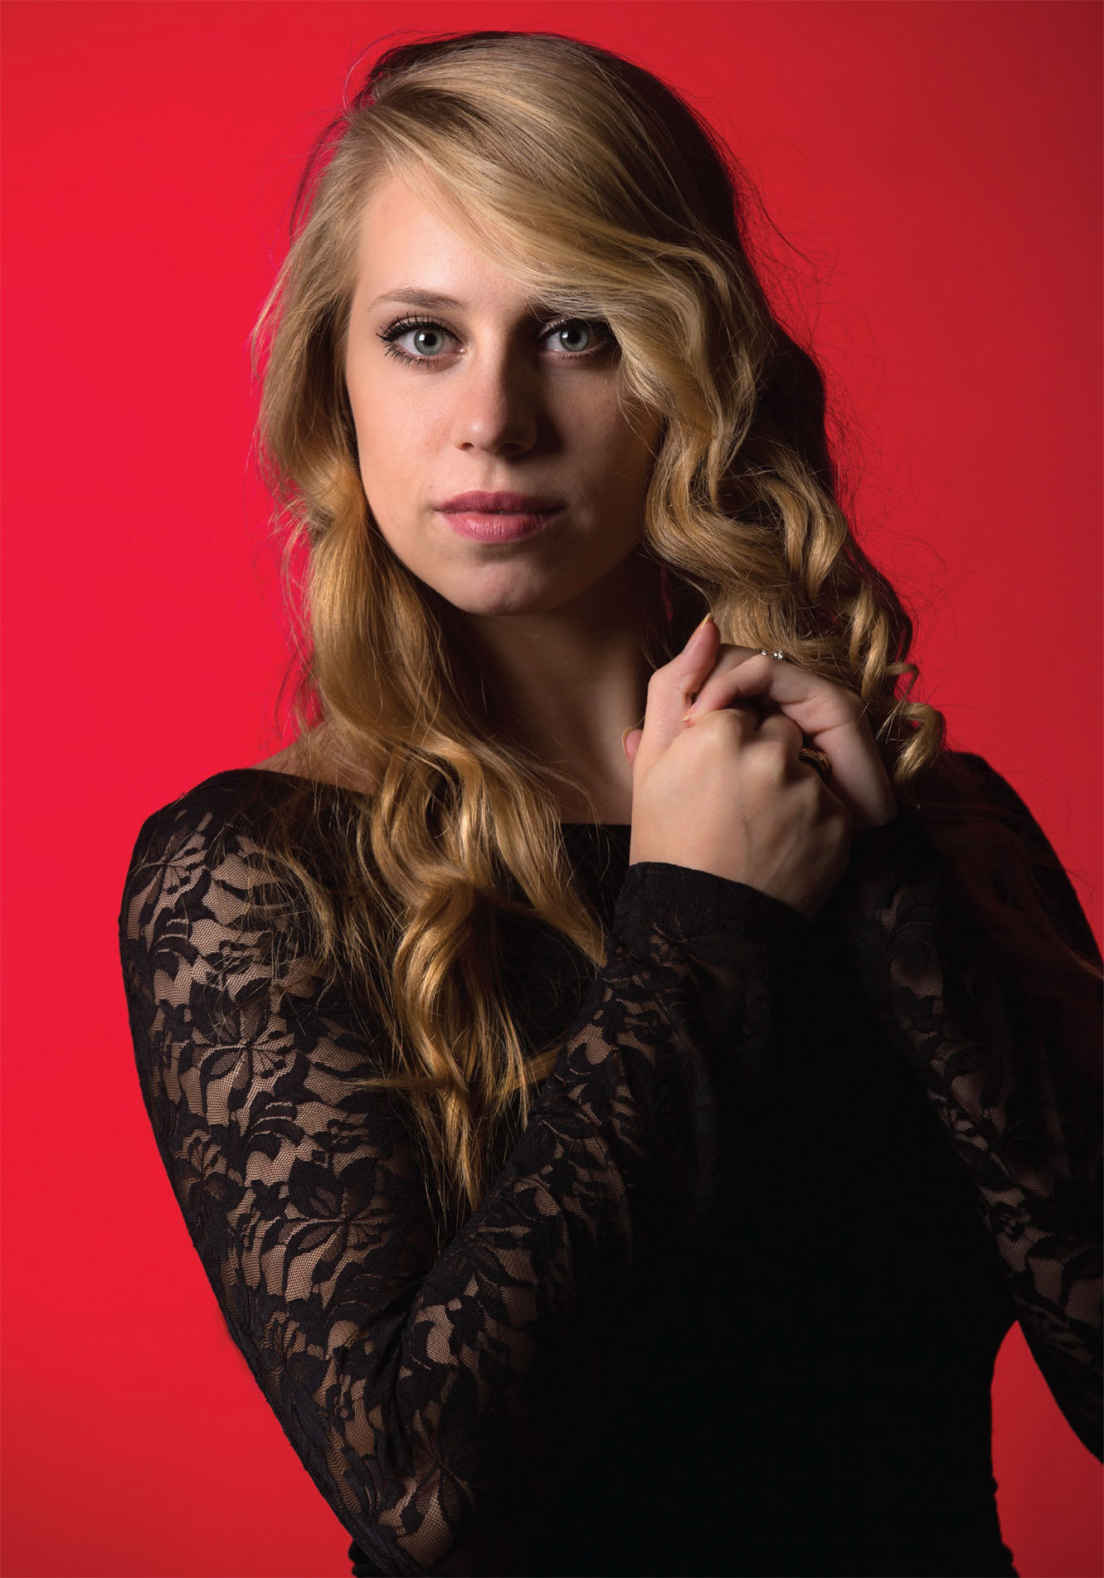
Figures 8-3, 8-4, 8-5, and 8-6. Examples of one-light portraits.
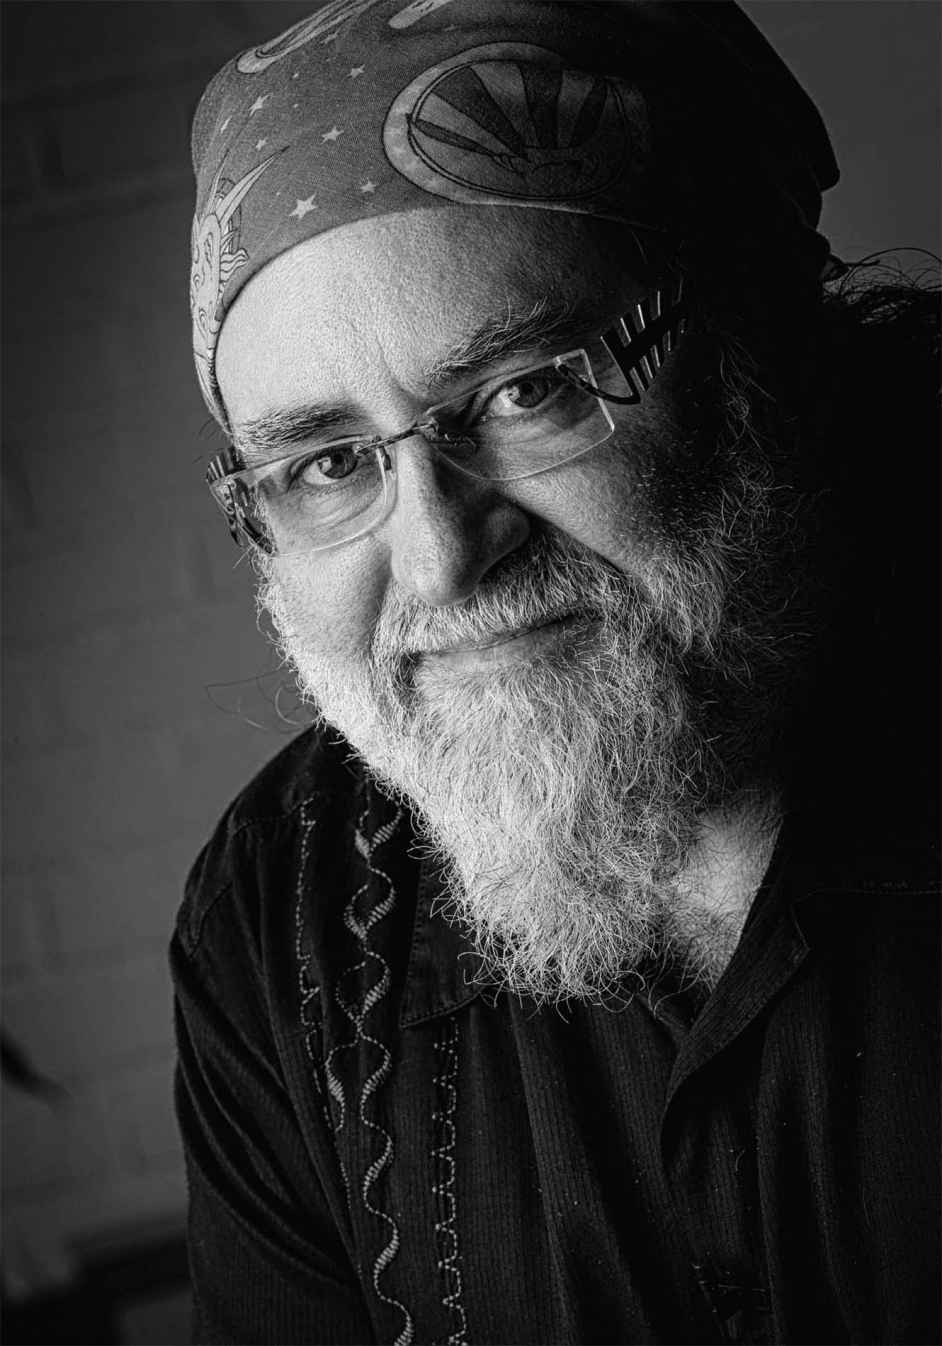
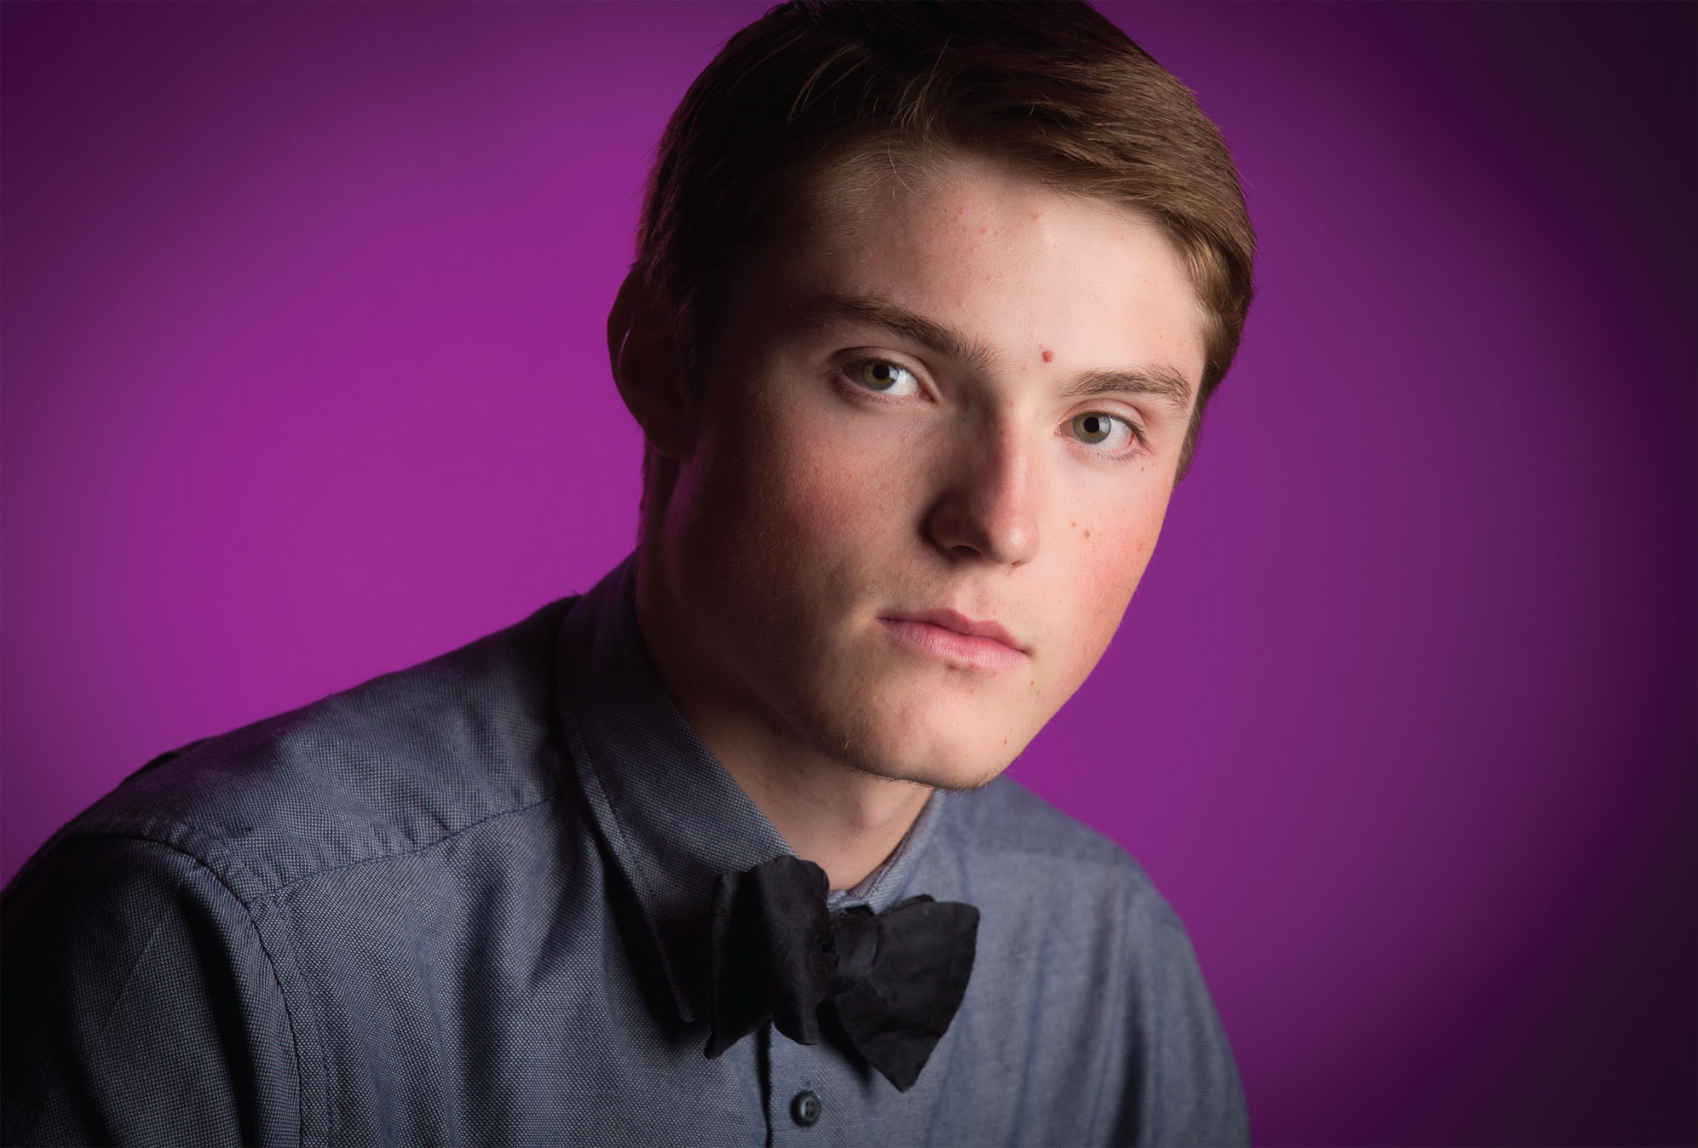
If you want to try something different or maybe more dramatic, classic Hollywood lighting can be accomplished with a smaller light source with a grid spot on the face. The hard-edged shadows from the eyelashes will really draw the viewer in and the spotlight effect can be stunning.
![]()
Classic Hollywood lighting can be accomplished with a smaller light source with a grid spot on the face.
I was always a big fan of master photographer Irving Penn. He was a terrific fine-art photographer but he is probably most remembered for his fashion work in the 1960s and his product photography for Clinique cosmetics. As illustrated in his beautiful book Passage (Alfred A. Knopf, 1991), Penn also did some truly beautiful portrait work with only one light. Often posing a subject in a corner, he would create beautiful images that were simply about the people and the expression. He did not allow complex lighting to get in the way of telling the story.
Contemporary photographers like Chicago’s own Marc Hauser like this trick, too. If you want to try it, a “fake” corner is easy to achieve by painting and texturing two sheets of foam core then taping them together on one side, creating a hinge. Place the subject inside the V-shaped unit and start to experiment with light placement and poses.
You can also create one-light portraits against a flat background. By varying the distance from the subject to the background, you can control how much (or how little) of the main light’s output spills past them onto the background. The brightness, or “key,” of the background will also help to determine its brightness, of course. You can also “feather” the light slightly to one side in order to either lighten the background (by turning the light toward it) or darken it (by turning the light away).
It can be quite useful to add a scrim or diffuser panel to your one-light setup. I can place a light behind a scrim and allow most of the light to go through the diffused fabric. But I can also swivel the strobe head slightly toward the background to control the brightness of the background based on how much or little light I send past the edge of the diffuser. Effectively, I am letting soft light come through the diffuser onto the subject sending direct, less diffused light onto the background.
![]()
It can be quite useful to add a scrim or diffuser panel to your one-light setup.
This opens up some opportunities because it makes one light function basically like two different sources. For example, you could allow undiffused light to go past the top of the scrim, then use a reflector to re-direct this light back down onto the hair, shoulders, or the edge of the face. This basically makes the main light do double-duty as an accent light. It’s a clever trick—and one that can actually be quite useful at times.

Figures 8-7 and 8-8. Examples of two-light portraiture with umbrellas.
Adding a second light to your setup increases your options dramatically ( figures 8-7 and 8-9 ). Virtually every lighting company I know offers a two-head lighting kit in their product offerings. Most kits come with free umbrellas, either silver or white. Instead of thinking these must not be very useful because they were free, let’s find things they are designed to do well.
Silver and white reflective umbrellas have proven to be very similar in my testing, with the silver being slightly more specular and about ½ stop brighter in terms of exposure. As we’ve already discussed, specular highlights are mirrored images of the light source. In most portrait photography, the only true specular highlights are in the eyes (the catchlights). This means we can get away with using just about any size or shape of light source. However, you would have a very difficult time getting away with using umbrellas if your subject happened to be holding a glass of red wine. The highlight would be a huge, distracting reflection on that dark, shiny surface.
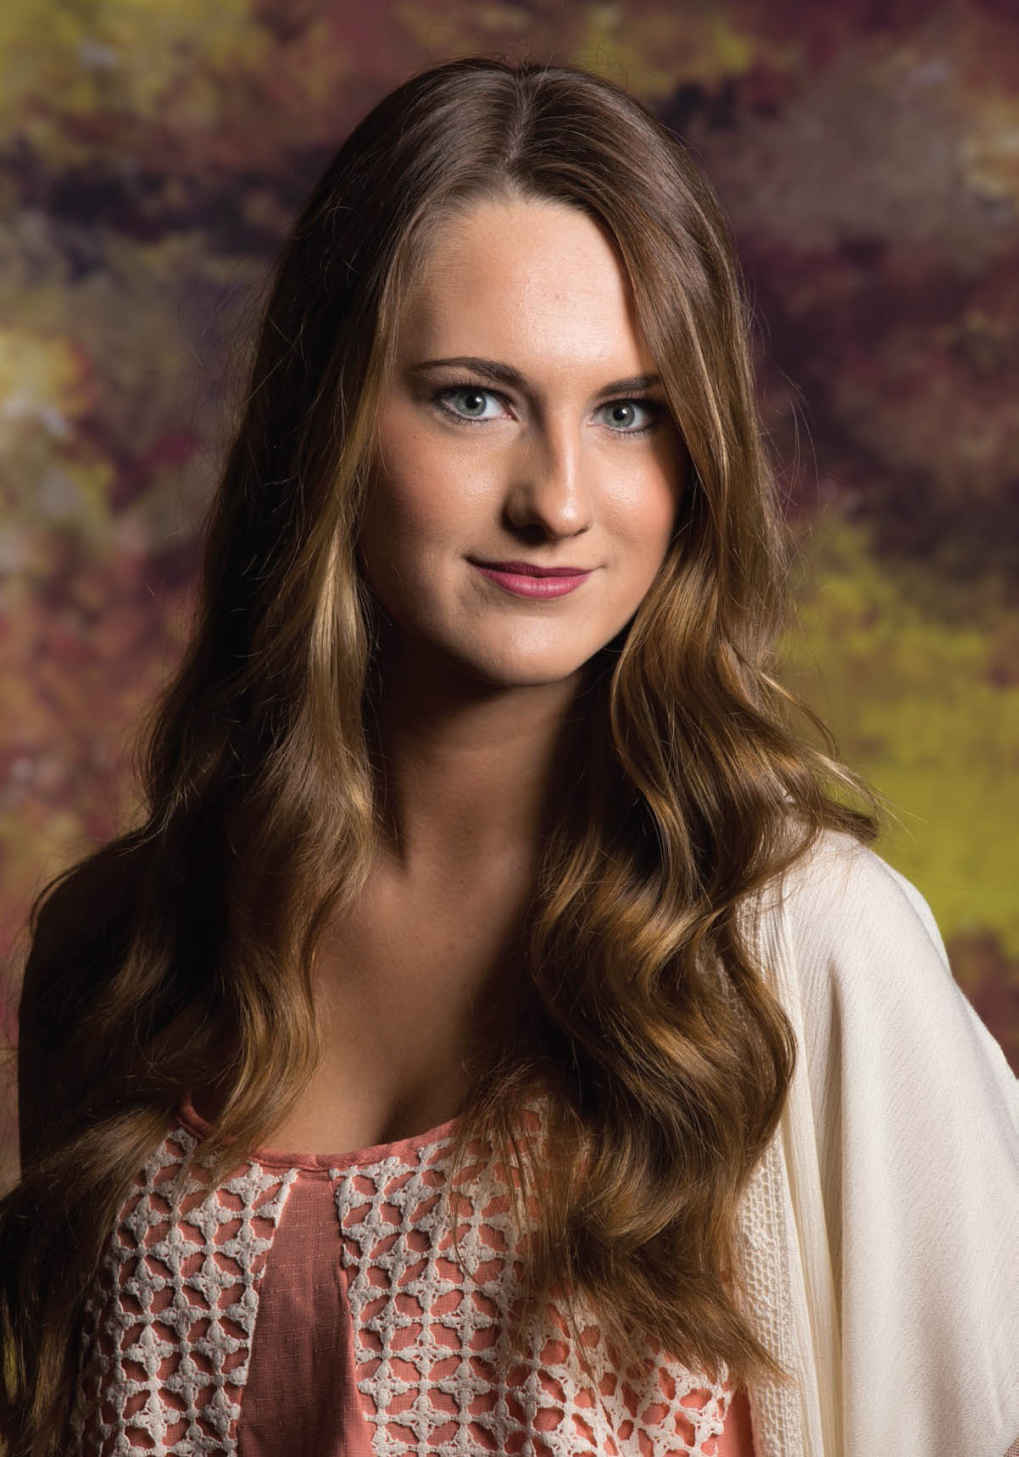
Figure 8-9. Portrait with two umbrellas.
Umbrellas are the right choice for a lot of work that other sources cannot do very well. For example, umbrellas are perfect for large groups, because the spread light over a large area. They are not very good if you’re trying to control the light in a small studio; they just spread too much light.
![]()
Umbrellas are the right choice for a lot of work that other sources cannot do very well.
For the main light in portrait photography, an umbrella will work fairly well ( figure 8-9 ). Remember: the closer you place it to your subject, the softer it will be. Of course, some people worry that it will “blow out” the subject—but we are talking about light quality here. Metering the light quantity will prevent exposure problems.
Placing the second umbrella slightly behind the subject and aimed forward as an accent light is one way to add depth. The side of the subject where you choose to place it will make a big difference. If you put the second light on the same side of the subject as the main light, they will almost take on the appearance of a single light source, especially if the highlights overlap. If you place the second on the opposite side of the main light and slightly behind the subject it will be seen very clearly as a secondary source on the shadow side.
![]()
The side of the subject where you choose to place it will make a big difference.
Working with two lights can also be interesting if you have two softboxes that you can place side by side ( figure 8-10 ). I call it creating a “wall of light.” One of the great music and record producers of the 1960s created what was known as the “wall of sound,” and in many ways it changed the way in which music was recorded. For me, light is the same type of thing; we can create a beautiful, large and soft light quality that is still directional. You have the option of keeping the output brightness of these two lights perfectly even, or you can vary them slightly. If one is less bright, it will function as more of a fill light ( figure 8-11 ). Either way, it makes a beautiful source and is quite easy to do. As my mentor once told me, “It not always the tools that matter, but the knowledge and use of the tools that matter.”
Figure 8-10. A “wall of light” portrait.
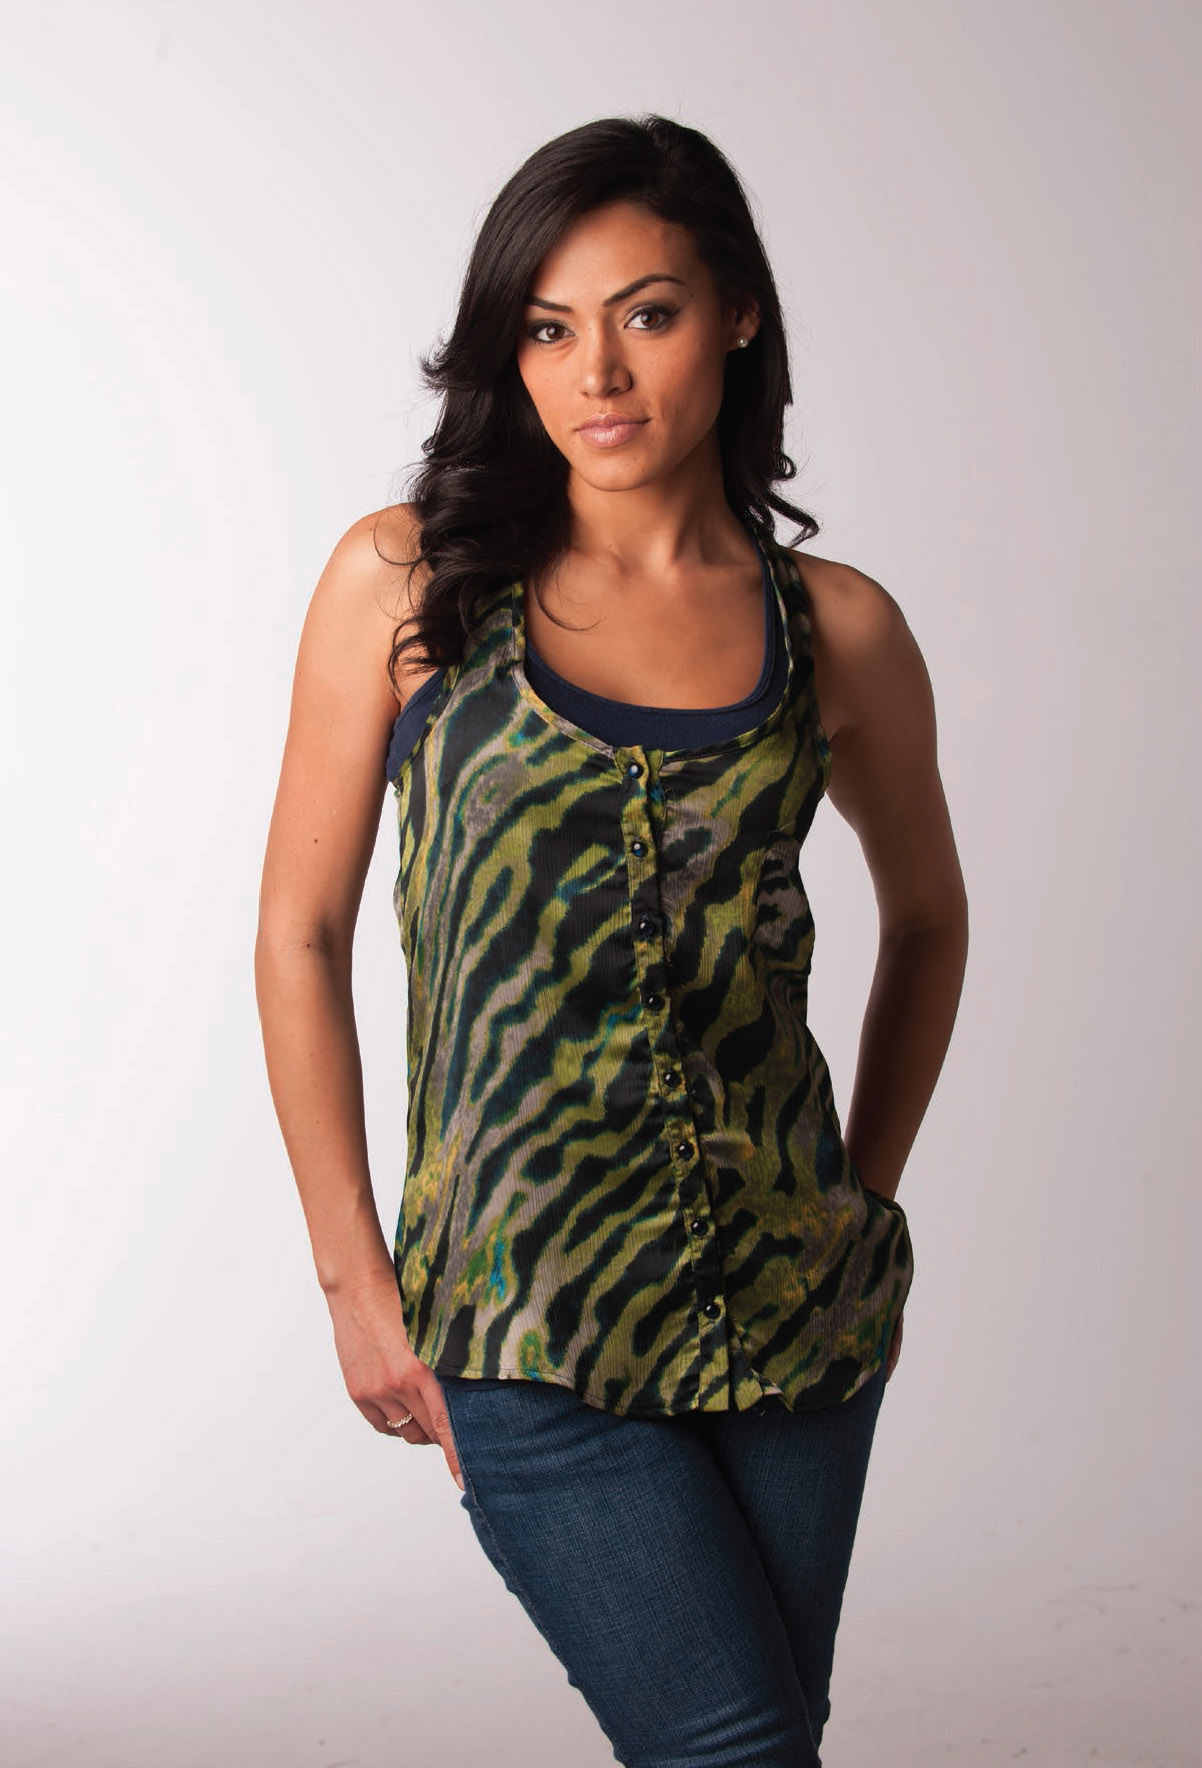
Figure 8-11. Portrait with two softboxes.
![]()
I have recently been using twin umbrellas behind my portrait subjects.
I also stumbled upon another new technique (well, new to me, at least!) when working with a model this year. I have recently been using twin umbrellas behind my portrait subjects, halfway between my subject and the background ( figure 8-12 ). When the two umbrellas are placed on opposite sides of the set, I can literally aim them directly at each other. They will both light half of the background (essentially lighting the entire background) and they give great highlights on the subject’s hair, arms, and shoulders. It has proven to be a very helpful discovery and one that I often use with a third light on the subject’s face. Typically, I will adjust the power output of the umbrellas so that it is slightly less than the main light on the subject. This is also a great way in which to light a white seamless roll of paper as the lighting basically becomes non-directional and even.
![]()
They give great highlights on the subject’s hair, arms, and shoulders.
Figure 8-12. Portrait with two umbrellas.

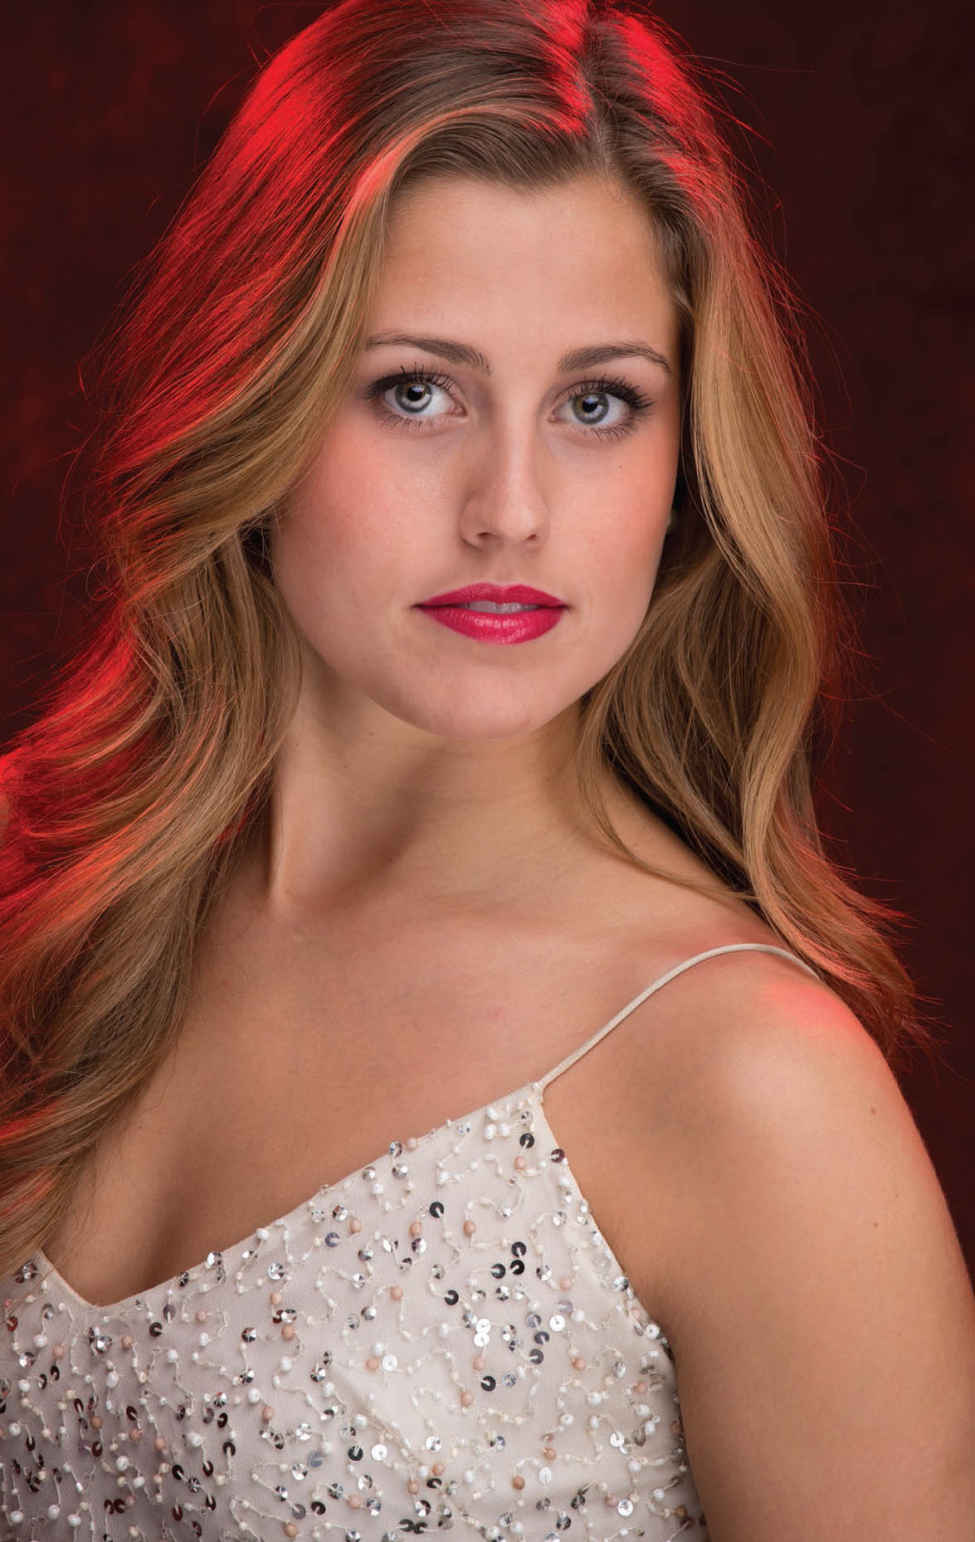
Figures 8-13, 8-14, and 8-15. Portraits with colored gels.
Photographers and cinematographers have used color theatrical gels for many years ( figures 8-13 through 8-15 ). They are made by many different companies, such as Lee Filters and Roscoe, and can offer both creative solutions and color correction options. You can also use gels to direct attention to a subject or to divert the viewer’s attention away from a subject. Some are made with a thicker base density and offer heat resistance for working with “hot” lights; others are thin and ideal for using with strobes.
![]()
You can also use gels to direct attention to a subject . . .
An almost universal issue occurs when trying to re-create the true color of a gel. Often, the color looks darker or brighter and there is a pastel or low contrast look. Let me start by saying that this problem is not caused by too little light going through the gel; rather, there is just too much light hitting the background from other sources. No matter what kind of background you are using, paper or fabric, if you can make the surface appear as black before you turn on the background light with the gel, you will easily be able to control the resulting color. With the background light turned off (and the main and all of the other lights turned on), I make sure there are 3 stops less light on the background than the main light on the subject; then, the background will appear as black. Once the background is black, you can then turn on the background light(s) with the gel and add the color. You will see nothing but pure, rich, true color ( figures 8-16 through 8-18 ). If the aperture setting from the main light on your subject (with an incident flash meter reading) is the same as you get on the background (with a reflective flash meter reading with the gel in place), then the color on the background will exactly match the original color of the gel. Remember that the background tonality can vary from white to gray or even black; using a reflective reading compensates for this and gives you predictable results regardless of the surface color. With my first shot I can always perfectly match the color of the gel.
![]()
I make sure there are 3 stops less light on the background than the main light on the subject . . .

Figures 8-16, 8-17, and 8-18. Start with the background underexposed by 3 stops, then add the gelled background light for bold, accurate color.
If you are in a small or bright studio, it will be harder to bring the background to black before adding the color. You can try switching to a darker background, moving the main light and the subject further from the background, using a egg crate grid on the main light, and even angling it to one side away from the background to prevent it from hitting the background surface.
Figures 8-19 and 8-20. Examples of portraits with colored gels.
Back in the eighties, Dean Collins taught a technique he called “Chromazones.” This involved making a “swatch book” of gel colors, like the paint color swatches at the hardware store. You tested the gelled background results and got the exact color, then made it brighter or darker until you could create a book of colors from which client could select. This is a great tool when used properly.