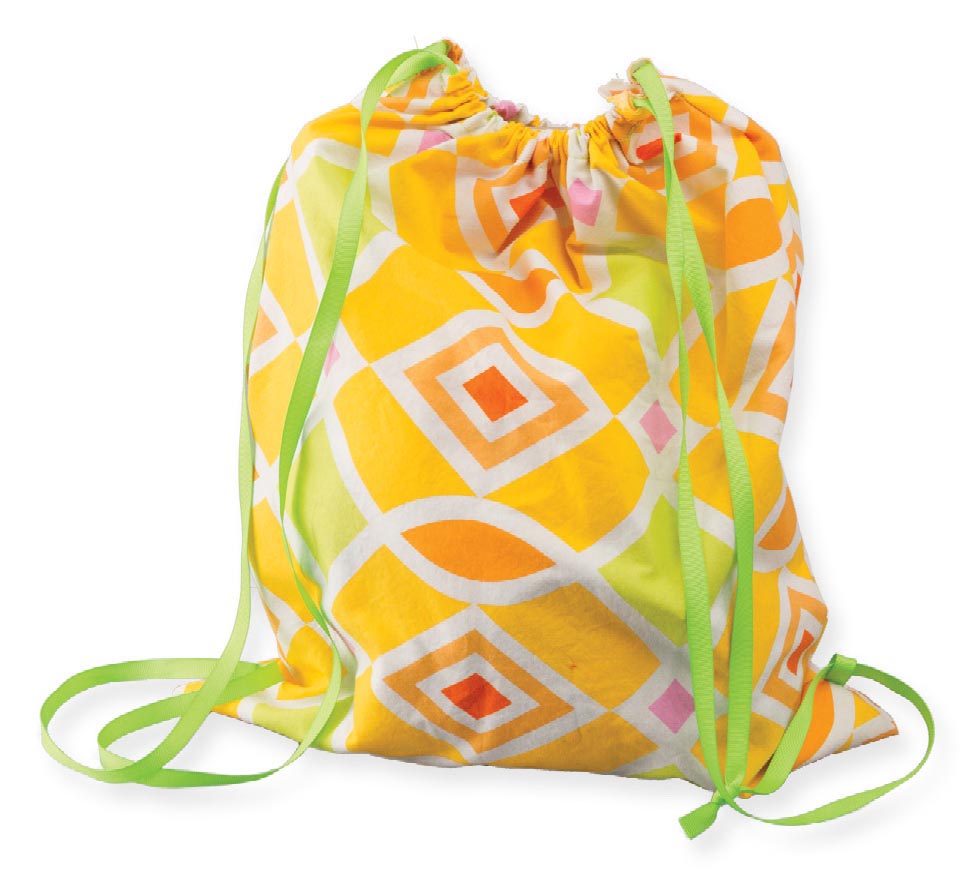
Etc. Backpack

This is the perfect bag to hold your stuff, no matter where you’re going or what you’re doing!
What You Need
- Pattern for Etc. Backpack
- 1⁄2 yard cotton fabric
- 31⁄2 yards of 1⁄2-inch-wide ribbon
- Chalk
- Scissors
- Straight pins
- Safety pin or bodkin
- Iron and ironing board
- Sewing machine and thread
Let’s Review
A Note For Grown-Ups
The construction of the bag is similar to the Water Bottle Holder (page 139). Your sewer might need help adding the tabs at the bottom of the bag and threading the ribbon through the casing and tabs. Also, an iron is needed for creating the casing.
Make It Yours
- Change the size of the bag.
- Add a pocket on the outside of the bag.
- Use the pattern to make a simple tote with ribbon handles.
- Don’t add the tabs and you have a large drawstring bag.


- 1. Fold your fabric in half so the good sides are together. Find the Etc. Backpack pattern in the back of the book. Place the bottom of the pattern along the fabric fold and use chalk to trace it onto fabric one time.

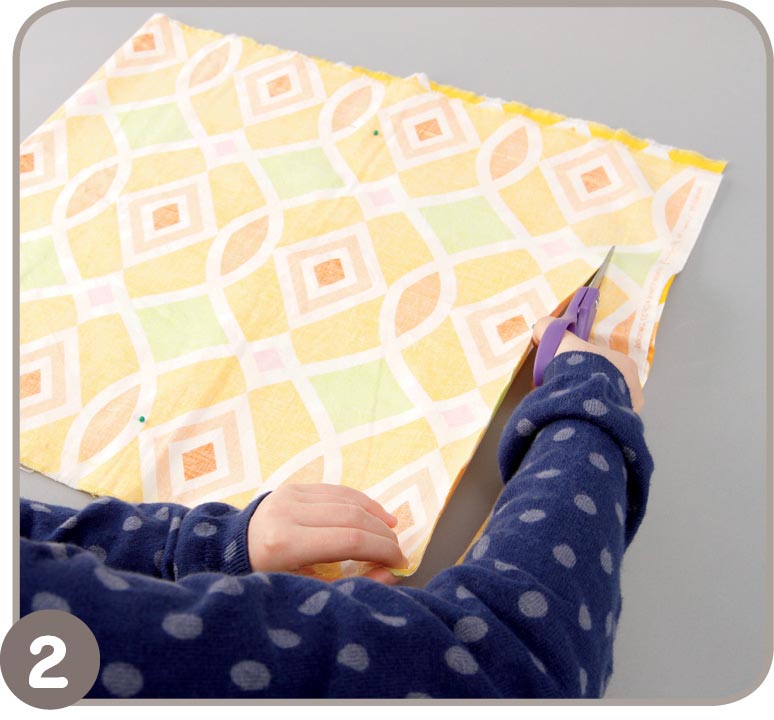
- 2. Place a few pins in the folded fabric so the layers don’t shift. Cut out the fabric. Do not cut along the fold. After cutting, you will have one piece of fabric.
Note: Make a casing on both short ends of the fabric, but don’t put the ribbon in the casings yet. Just turn to page 114 for detailed directions on How to Make a Casing.
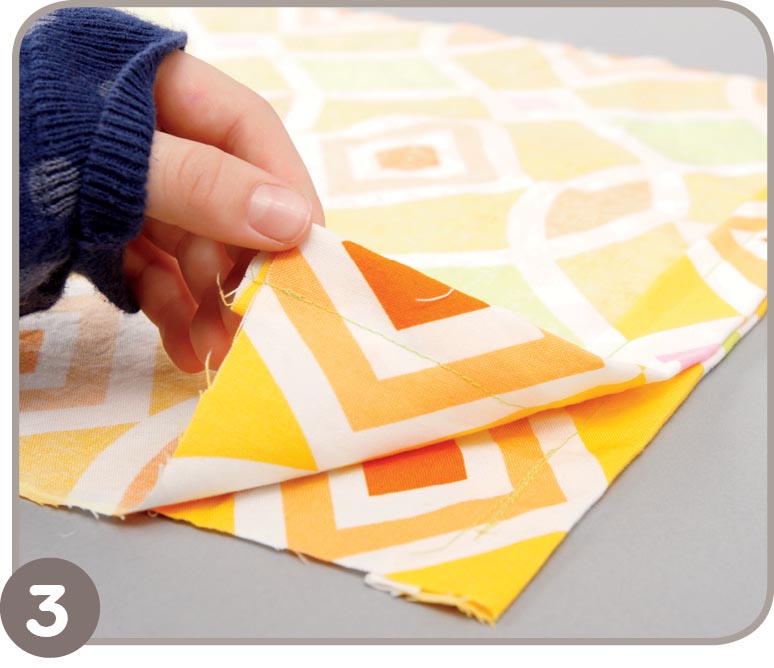
- 3. Make casings as shown on page 114. Then fold the fabric in half with the good sides together so the casings match up. Pin the casings together.
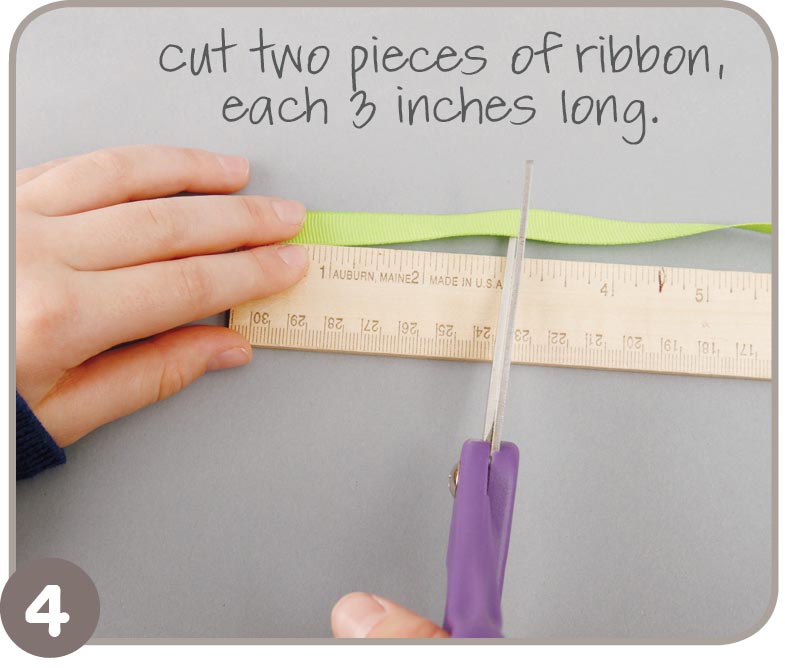
- 4. Time to make the tabs. The tabs will guide the ribbon to make backpack straps. Cut two pieces of ribbon each 3 inches long.
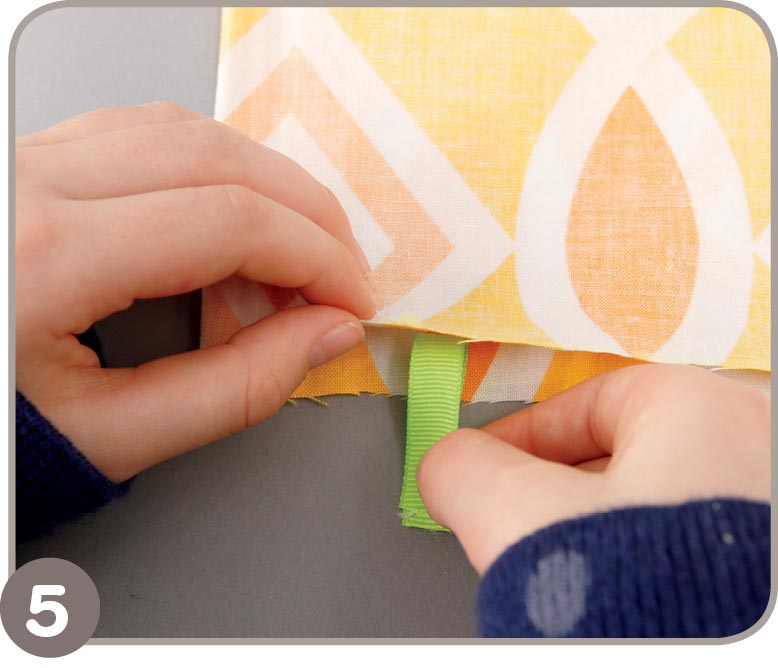
- 5. Fold the ribbons in half and pin each one about 11⁄2 inches up from the bottom fold on each side of the bag. The loose ends of the ribbons should stick out.
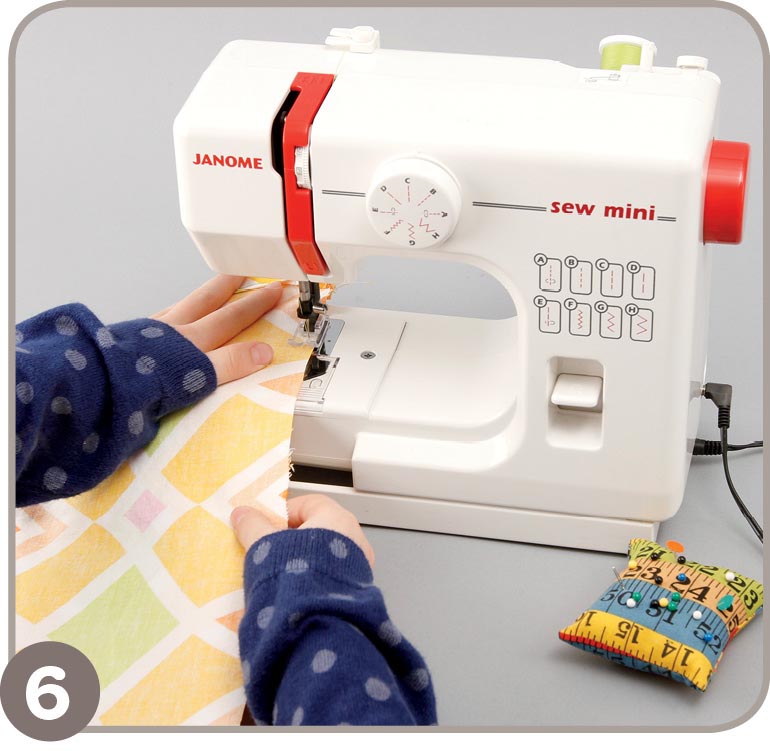
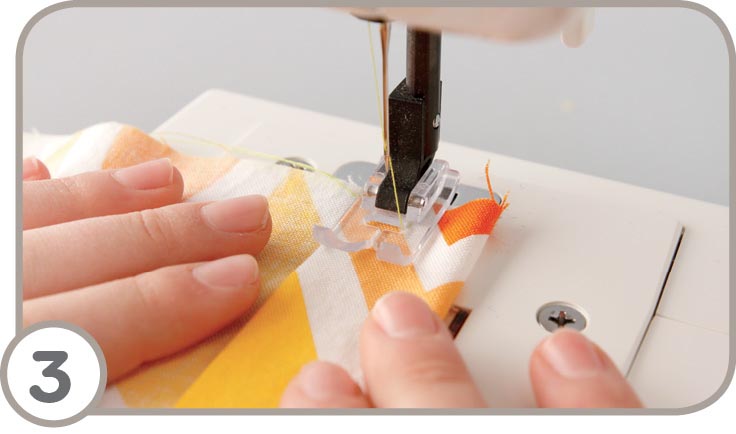
- 6. Machine-stitch the sides closed; begin stitching at the bottom edge of the casing. Be careful not to sew the casing closed. Reinforce stitch at the ribbon tabs.
- 7. Remove any pins. Turn the bag good side out.

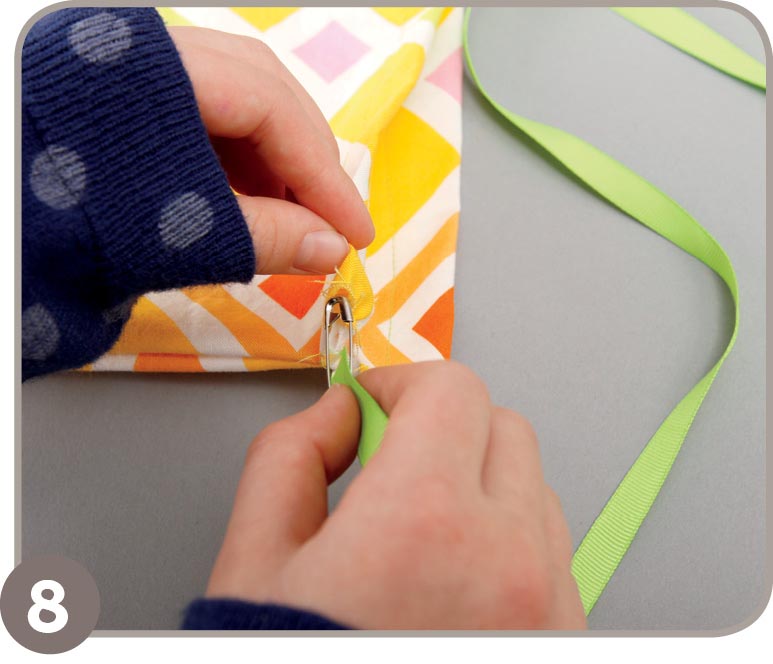
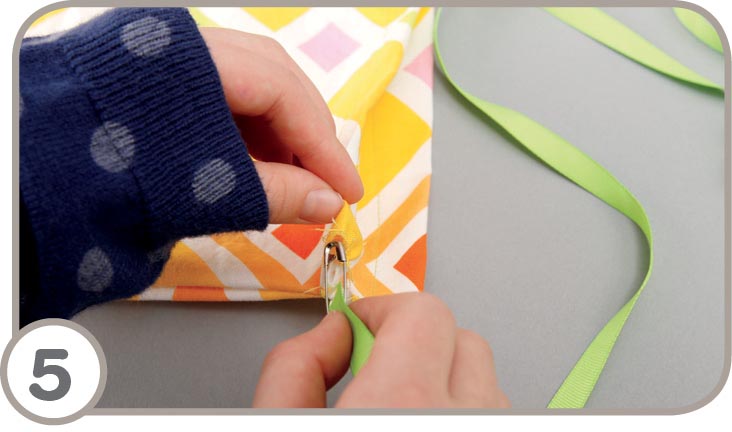
- 8. Time to add the ribbon. Using a safety pin or bodkin, push and pull the ribbon through one of the casings.
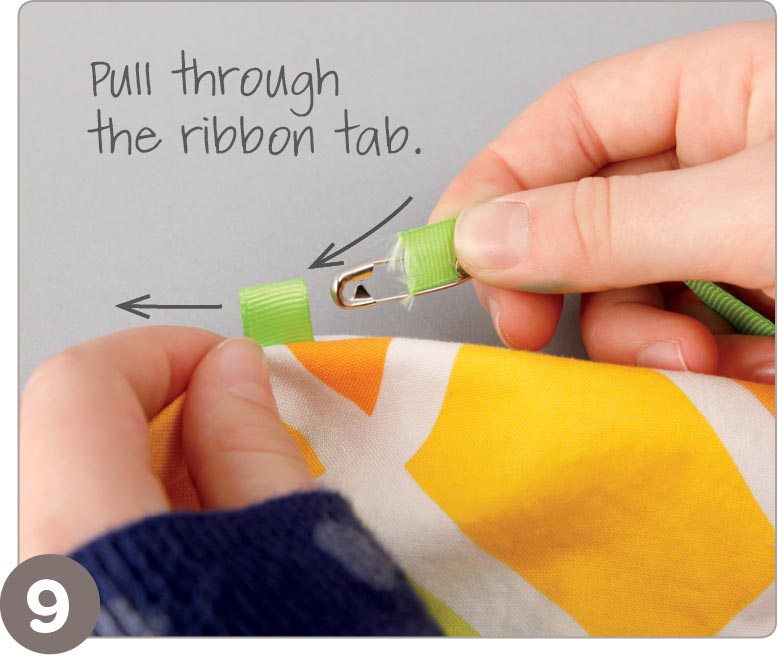
- 9. Now, take the ribbon down along the same side of the backpack and through the ribbon tab and then back up.
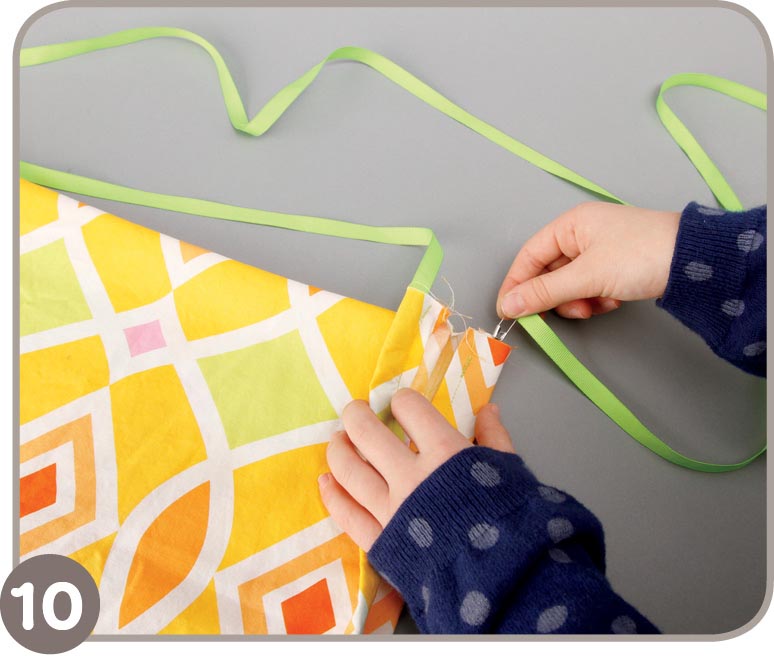
- 10. Push and pull the ribbon through the other casing.
- 11. Take the ribbon down along the other side of the backpack and through the other tab and then back up to the top.
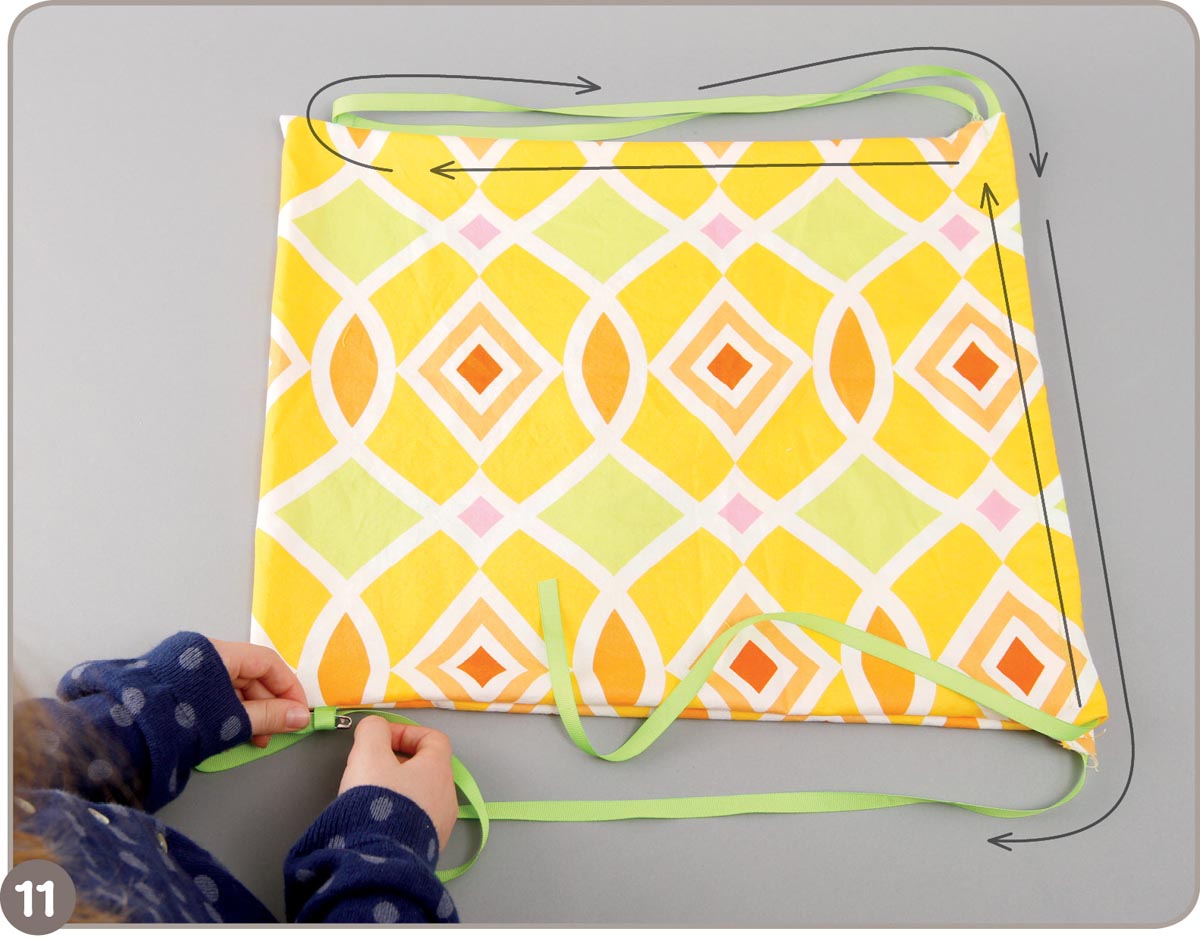
- 12. Tie the ends of the ribbon together in a tight knot. Be sure that the ribbon is lying flat.

- 13. Pull the ribbon straps to close the top of the bag and try it on. If the straps are too long for you, cut off enough of the ribbon so the backpack fits you comfortably and retie the ends.
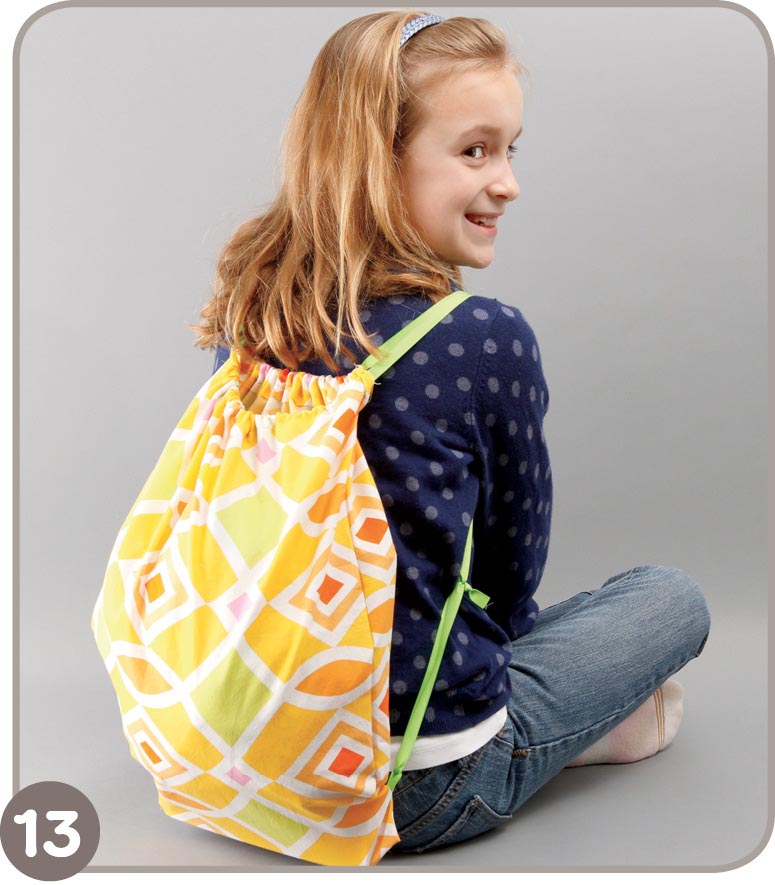
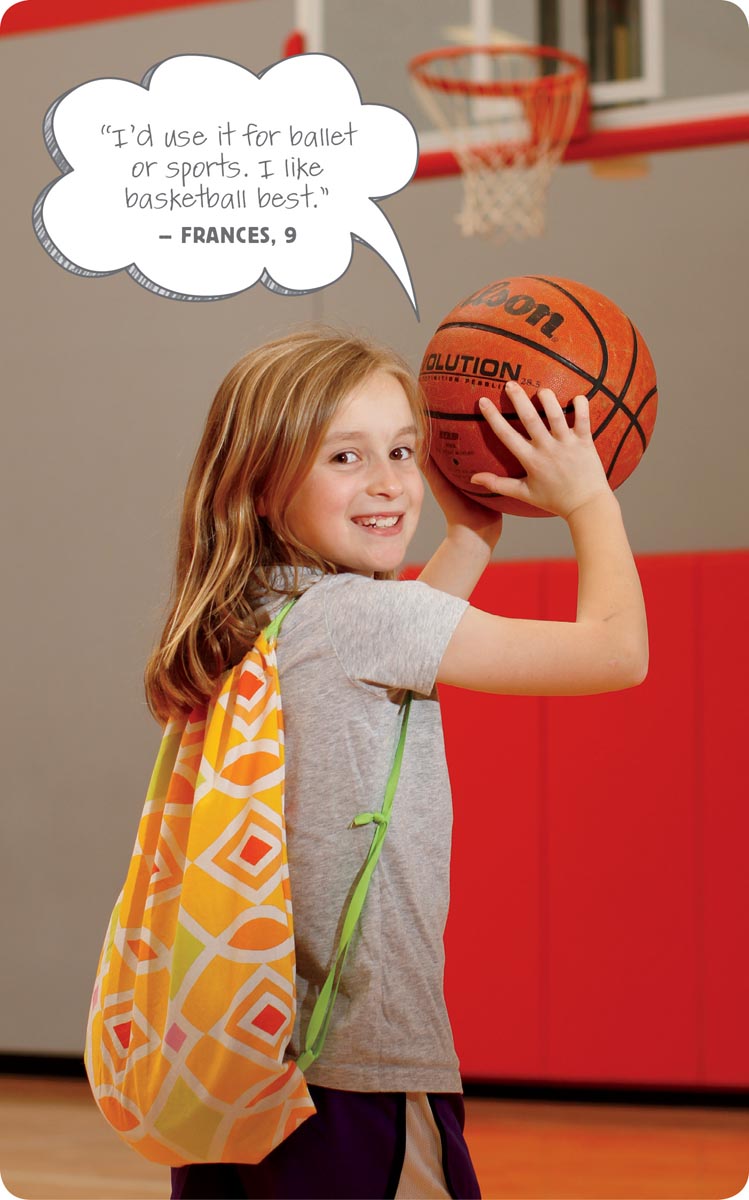
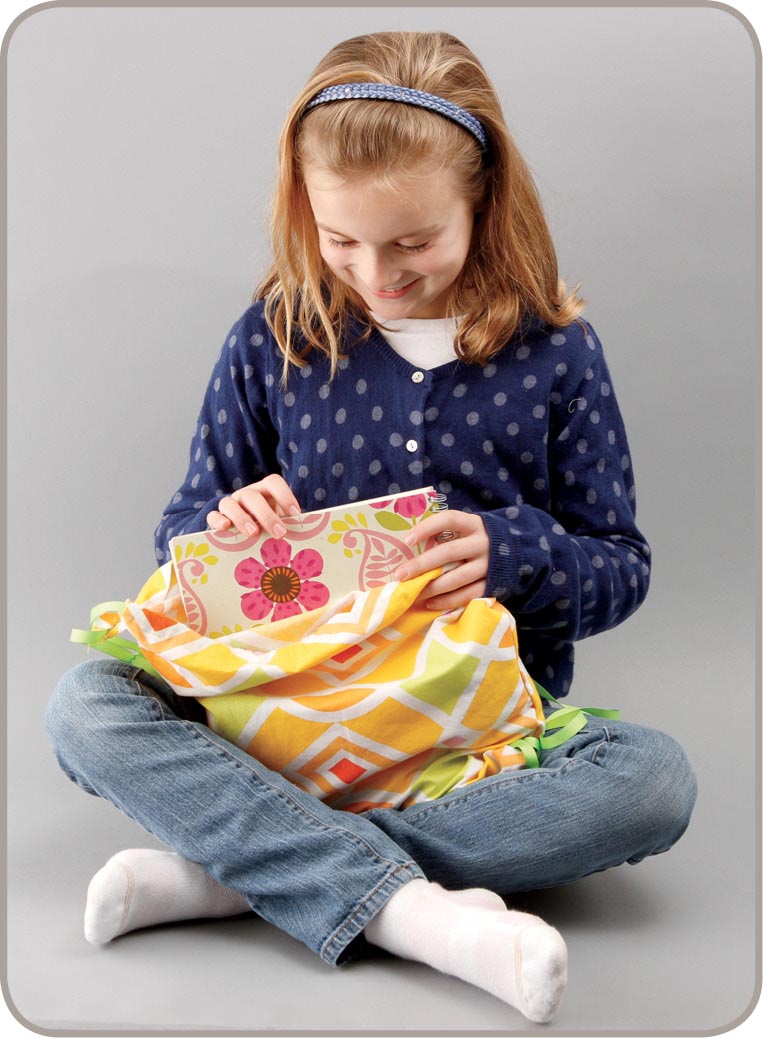
- Fill up your backpack, pull the ribbon straps to close the bag, and head out to have some fun!
Skill Check
How to Make a Casing
A casing is a narrow tube that you can thread ribbon or elastic through to make a drawstring bag or a skirt. It is made like a hem, but the second fold is a little wider so you can thread ribbon through it. Once you can make a simple casing, you can use it for many projects!
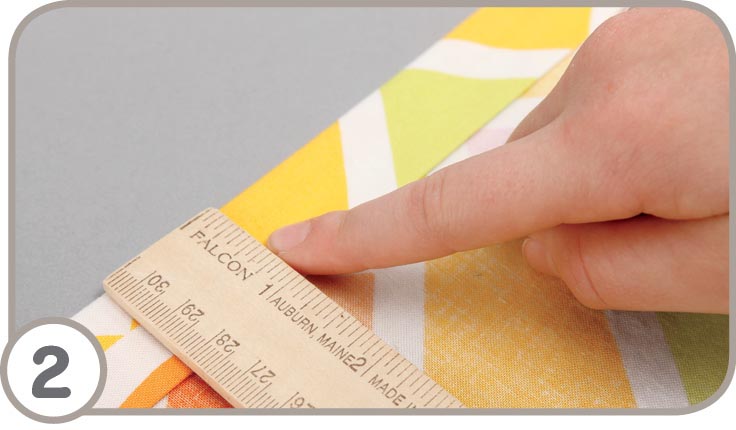
- 1. Lay out the fabric with the good side down. Fold the edge where you want the casing 1⁄2 inch to the wrong side so the good side is showing. Iron it flat.
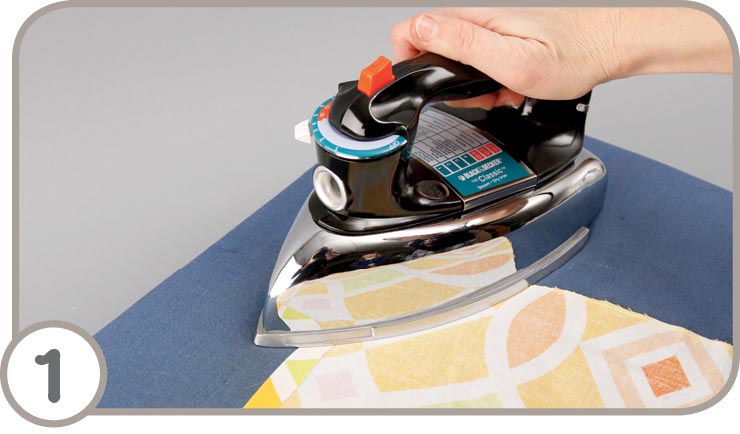
- 2. Fold over the same edge 1 inch and iron.
- 3. Machine-stitch along the inner edge of the fold.
- 4. When it’s time to put in the ribbon or elastic, attach one end of the ribbon or elastic to a safety pin or bodkin.

- 5. Use your thumbs to push the safety pin and pull the ribbon or elastic through the casing until it comes out the other end.
You made a casing!