Water Bottle Holder

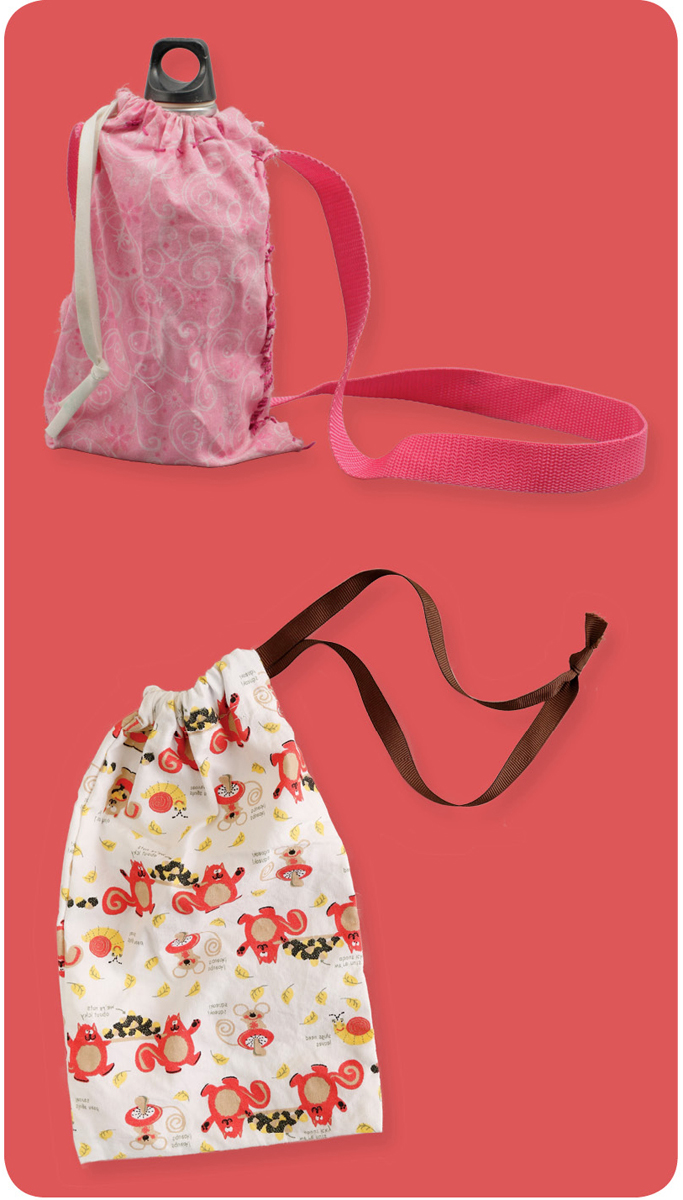
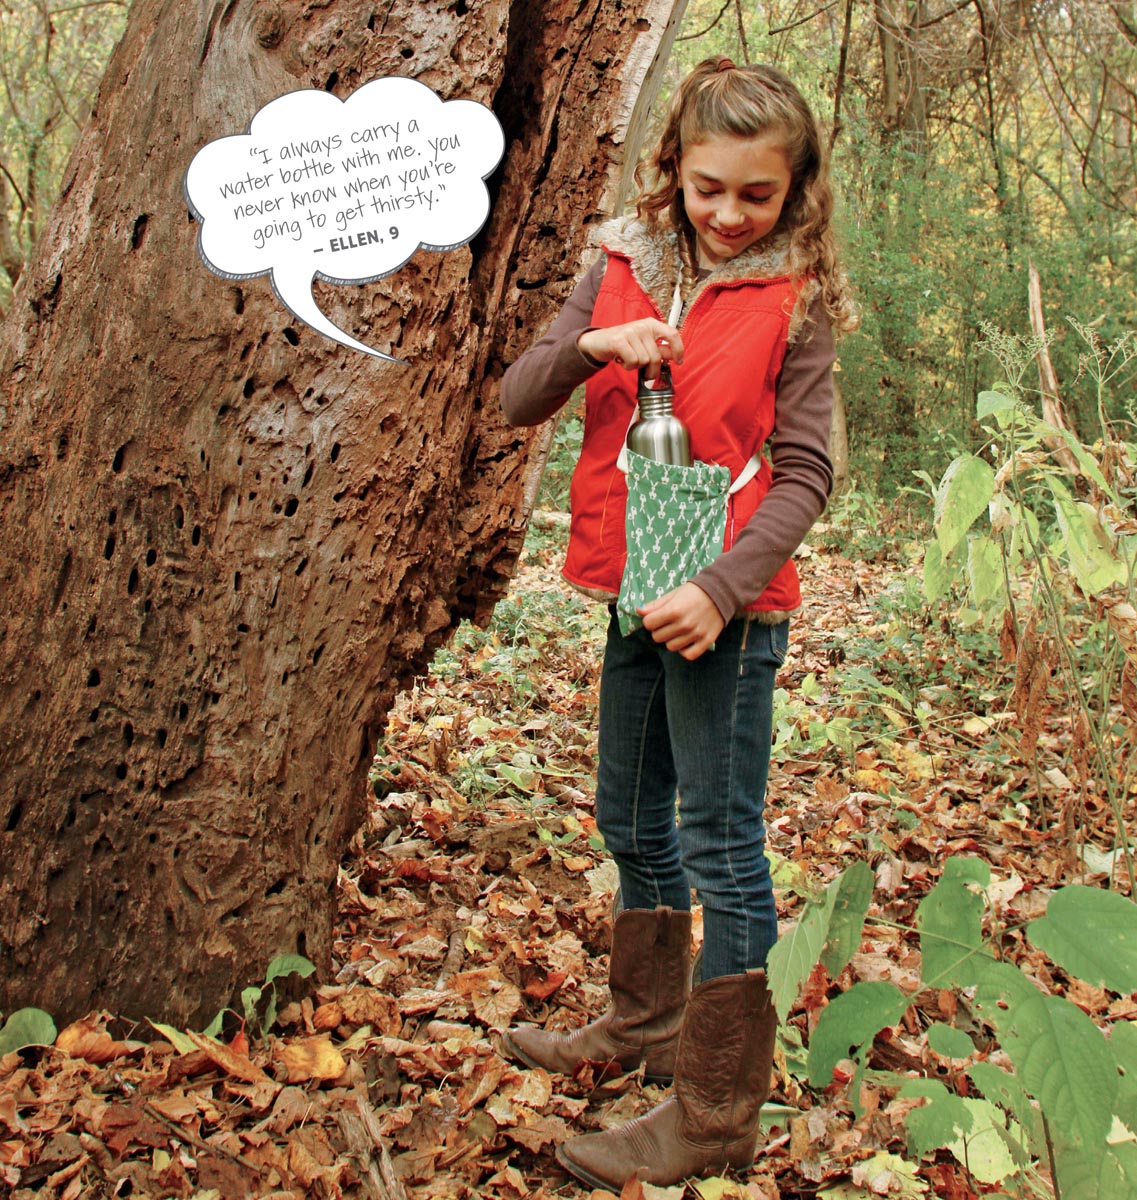
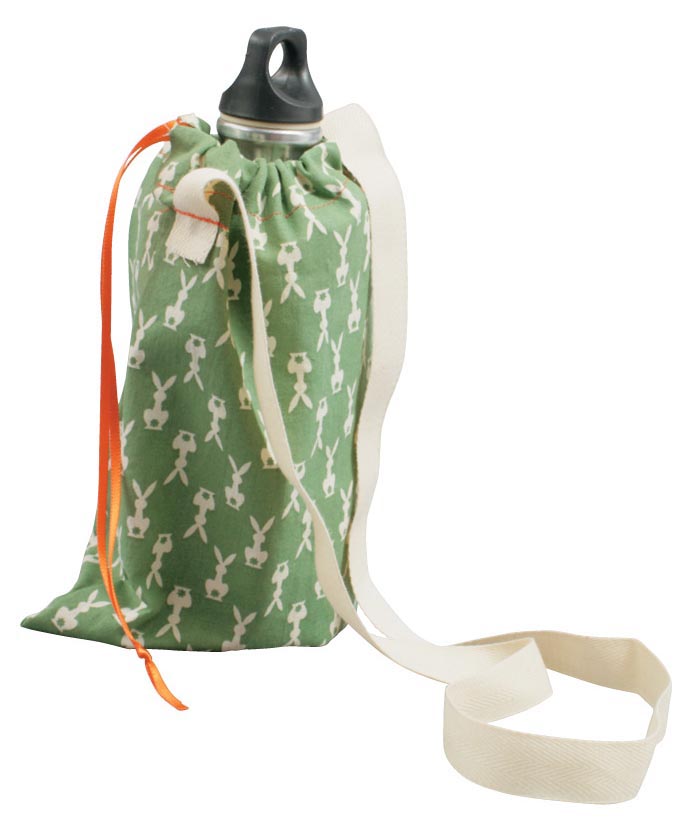
Keep hydrated and your hands free with this clever water bottle holder.
What You Need
- Pattern for Water Bottle Holder
- 1⁄4 yard cotton fabric
- 1 yard of 1-inch-wide ribbon or webbing
- 18 inches of thin ribbon or yarn
- Chalk
- Scissors
- Straight pins
- Safety pin or bodkin
- Sewing machine and thread
Let’s Review
A Note For Grown-Ups
Keeping cool and well hydrated has never been easier than with this hands-free water bottle holder. The construction of the holder is quite simple, but help might be needed making the casing and pulling the ribbon through. Also, sewing on the strap might take some patience.
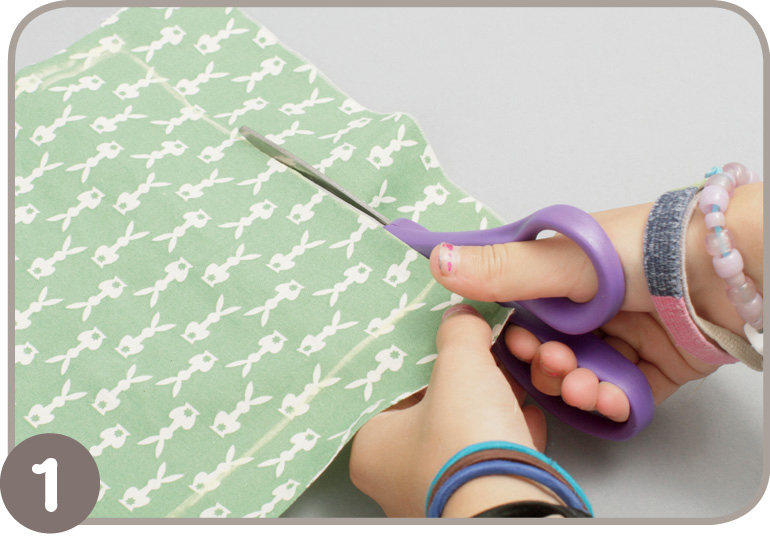
- 1. Find the Water Bottle Holder pattern in the back of the book and use chalk to trace it onto fabric one time. Cut out of fabric.
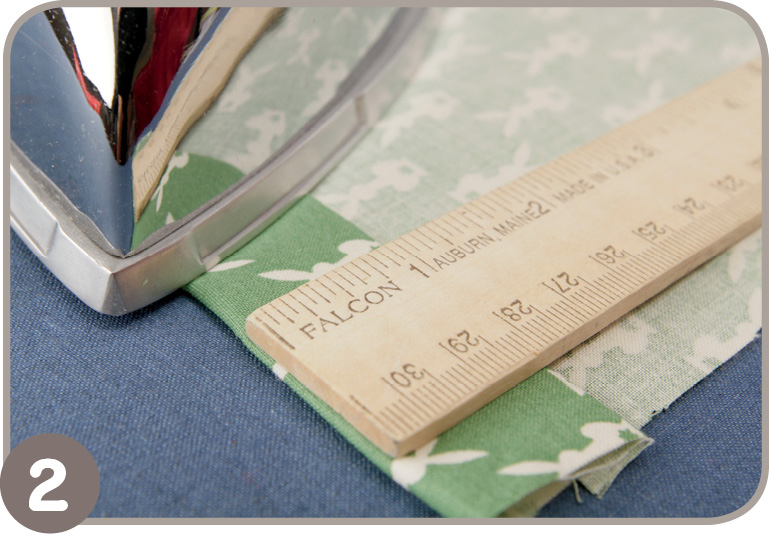
- 2. Time to make a casing. Read the How to Make a Casing Skill Check on page 114 for detailed directions on how to make a casing. For this project, make a casing along each short edge. Fold and iron each short edge 1⁄2 inch to the wrong side. Then, fold and iron the short edges 1 inch more to the wrong side.
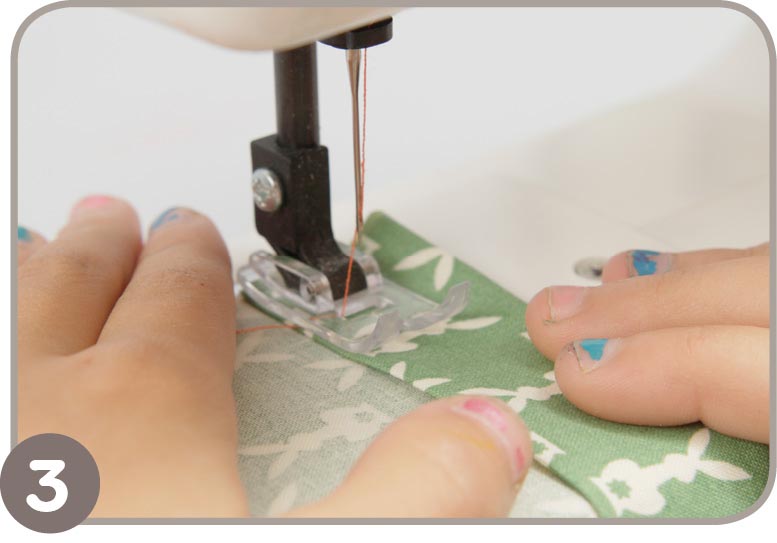
- 3. Machine-stitch the casings on both ends of the fabric. Position the fabric so that the edge of the presser foot runs along the inside of the fold. This way, you will have an opening for your ribbon. Carefully sew along the fold, reverse stitching at the beginning and ending of sewing.
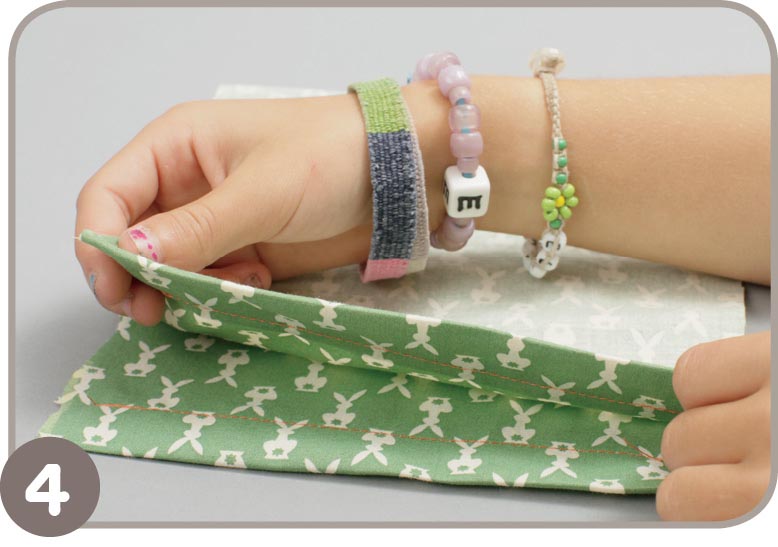
- 4. Fold the fabric with the good sides together and so the casings are matched up. Pin the layers together at the top.
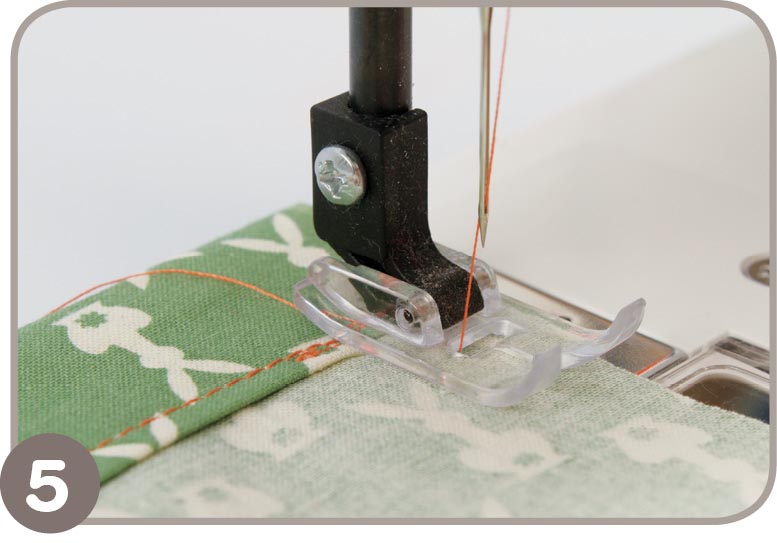
- 5. Machine-stitch the sides, starting just below the casing stitches. You do not want to sew all the way up to the top or you will not be able to thread your ribbon through the casing.
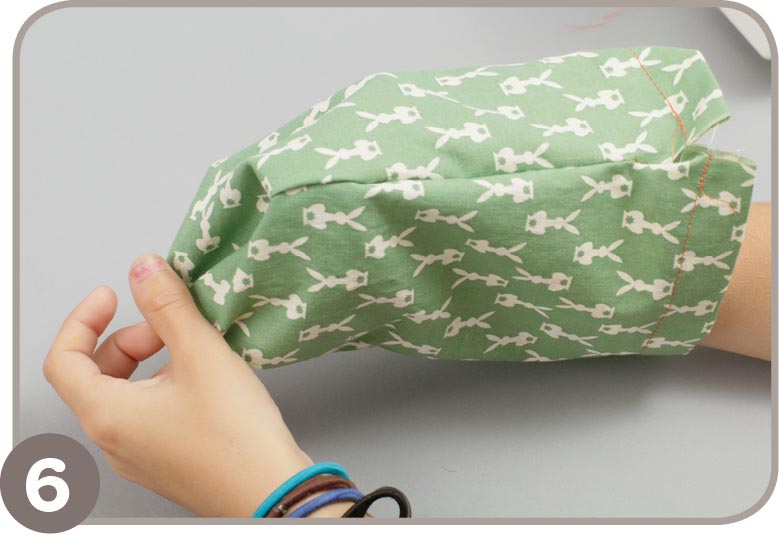
- 6. Turn the holder good side out.
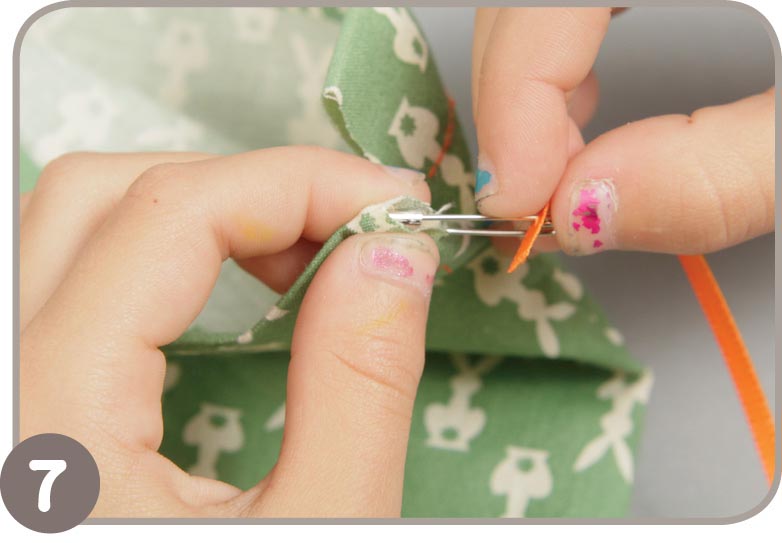
- 7. Now you can thread ribbon through the casing. Use a safety pin or bodkin to push and pull the ribbon through one casing.
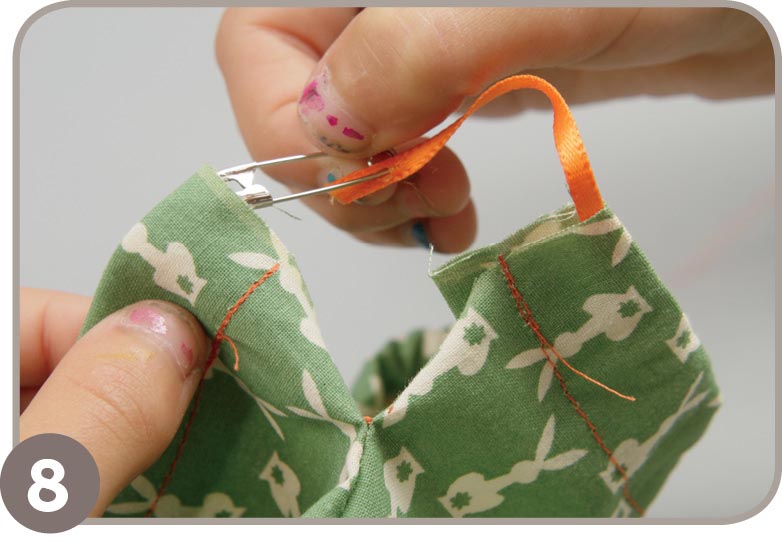
- 8. When you get to the end, continue going through the other casing. Keep pushing and pulling the ribbon through until it has gone through both sides.
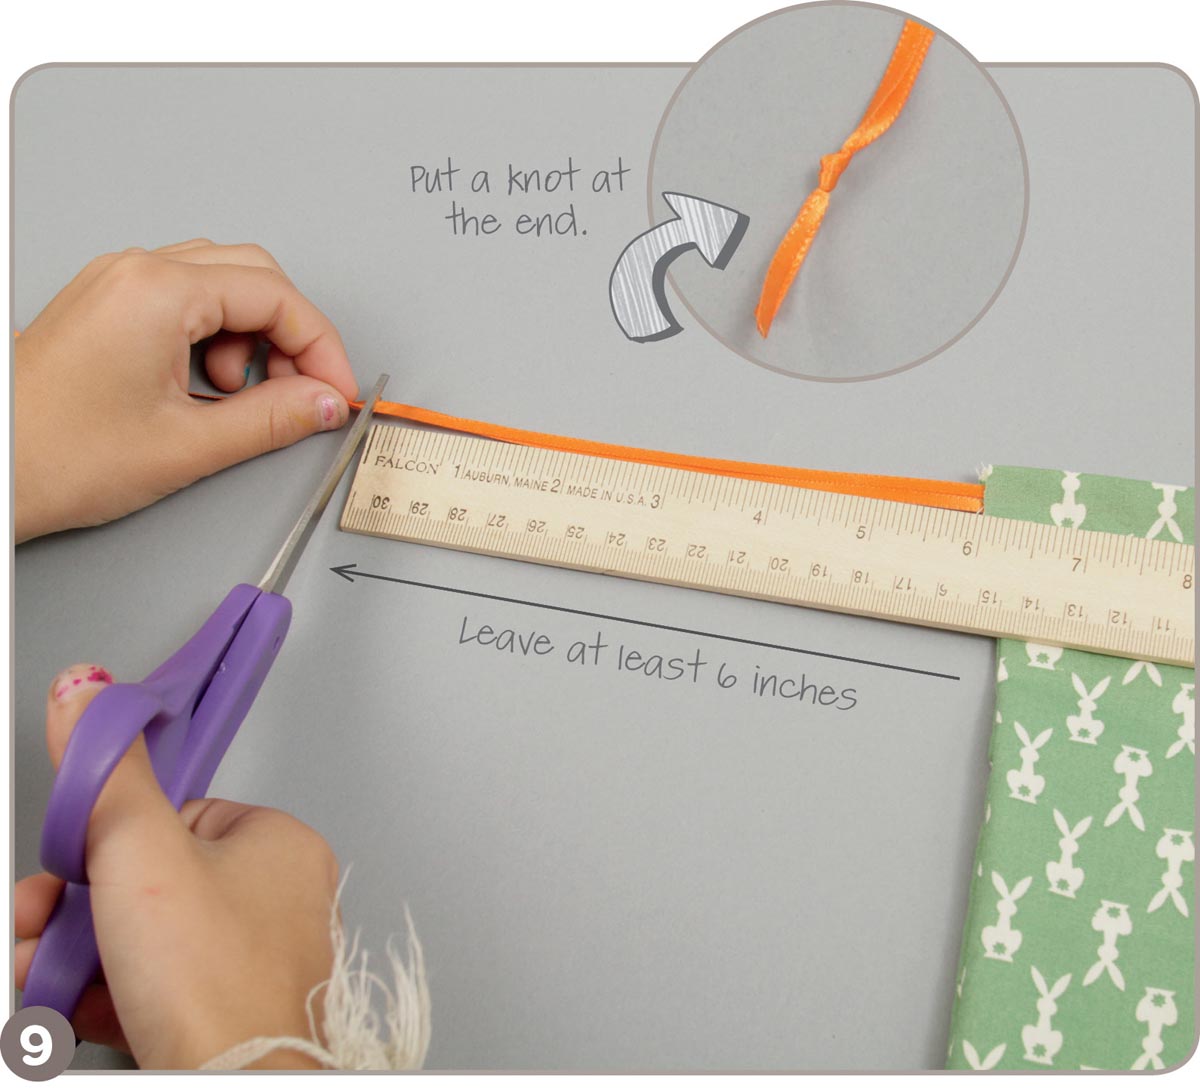
- 9. Once the ribbon is all the way through both casings, cut both ribbon ends so they are at least 6 inches from the bag and tie the ends of the ribbon together into a knot.
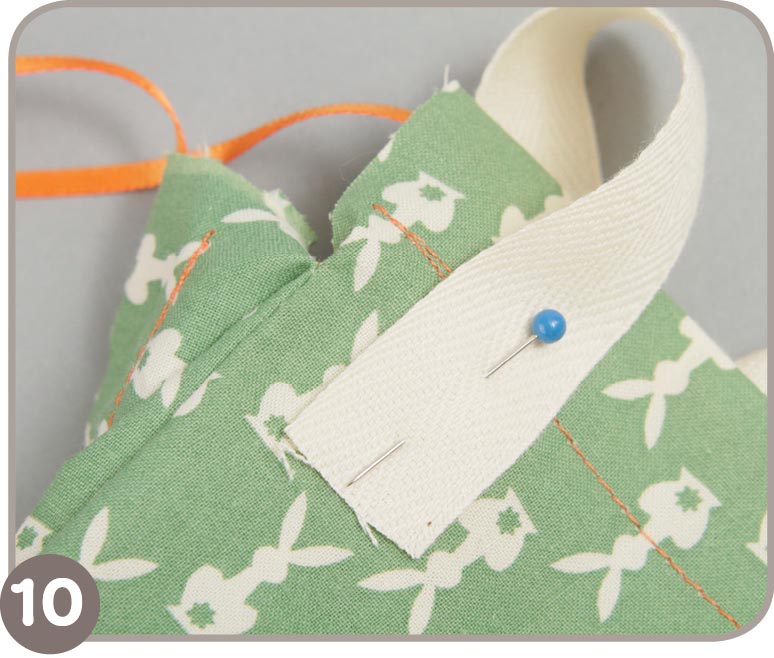
- 10. Let’s add the strap. Pin the ends of the strap on the opposite sides of the water bottle holder for balance. Pin each end of the strap ribbon under the casing about 1⁄2 inch from the side seam.
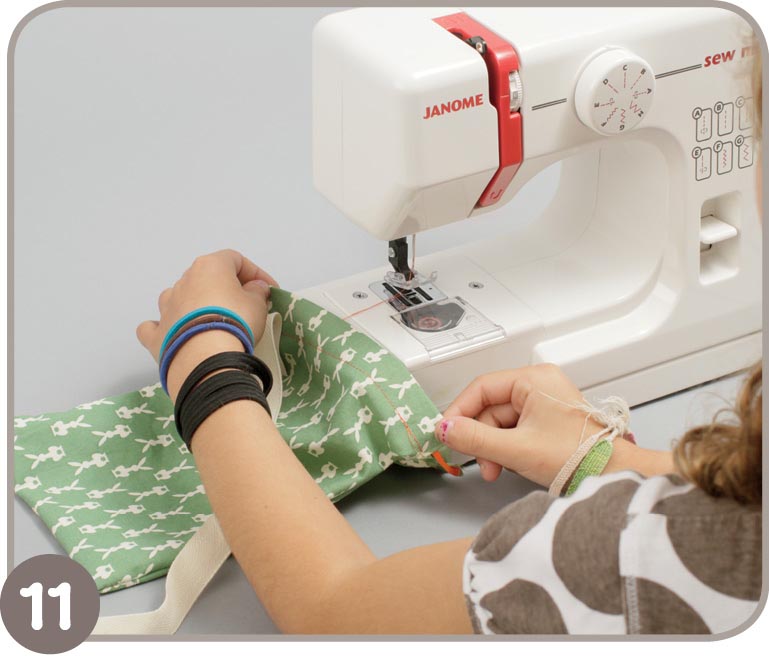
- 11. Open the water bottle holder and slide it onto the sewing machine so that only the top part will be sewn through.
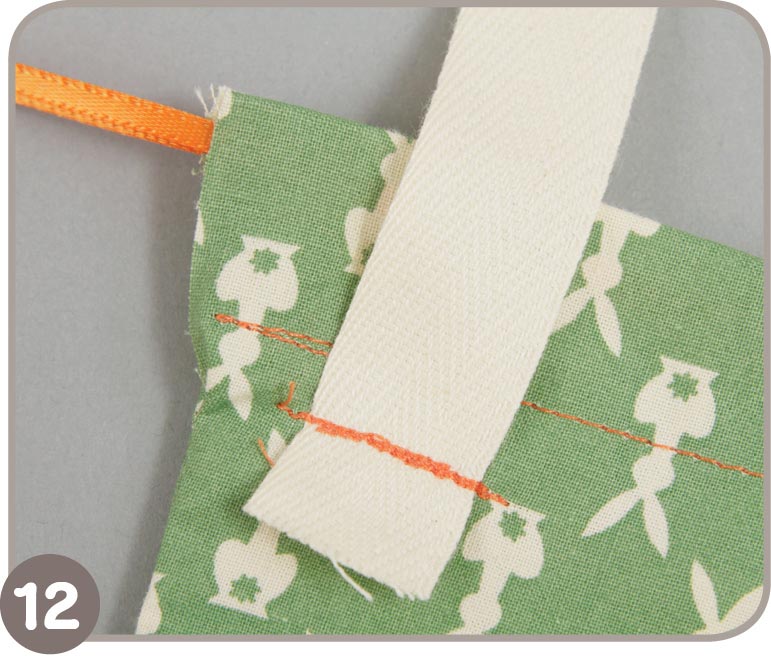
- 12. Reinforce stitch the strap end to the water bottle holder by sewing forward and reverse several times so that it will stay on tight.
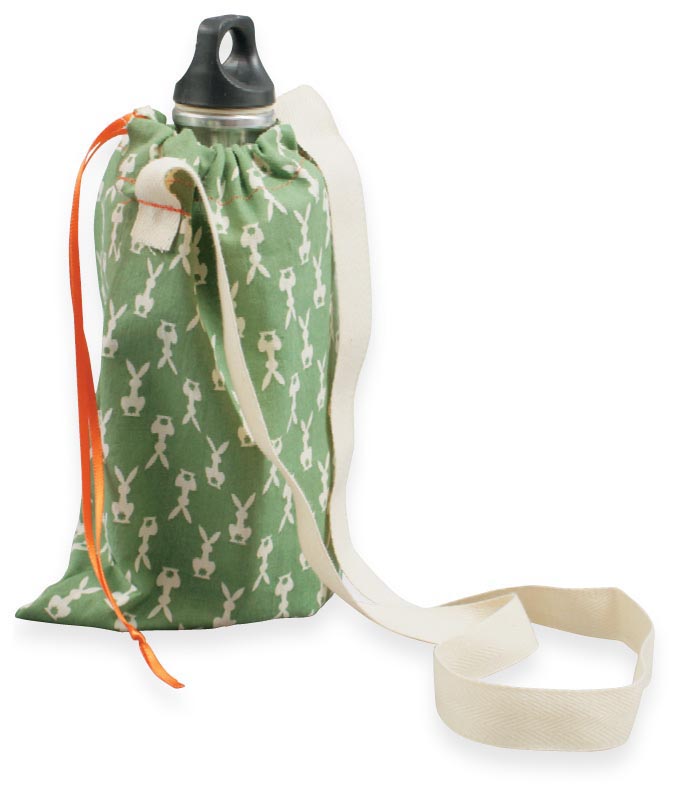
- Fill your water bottle and hit the trail!
Make It Yours
- Change the size of the holder to fit your water bottle.
- Make each side with a different fabric.
- Just use it as a handy tote.
- Let everyone know it’s yours by decorating the fabric before sewing the sides together.
- Sew by hand.
