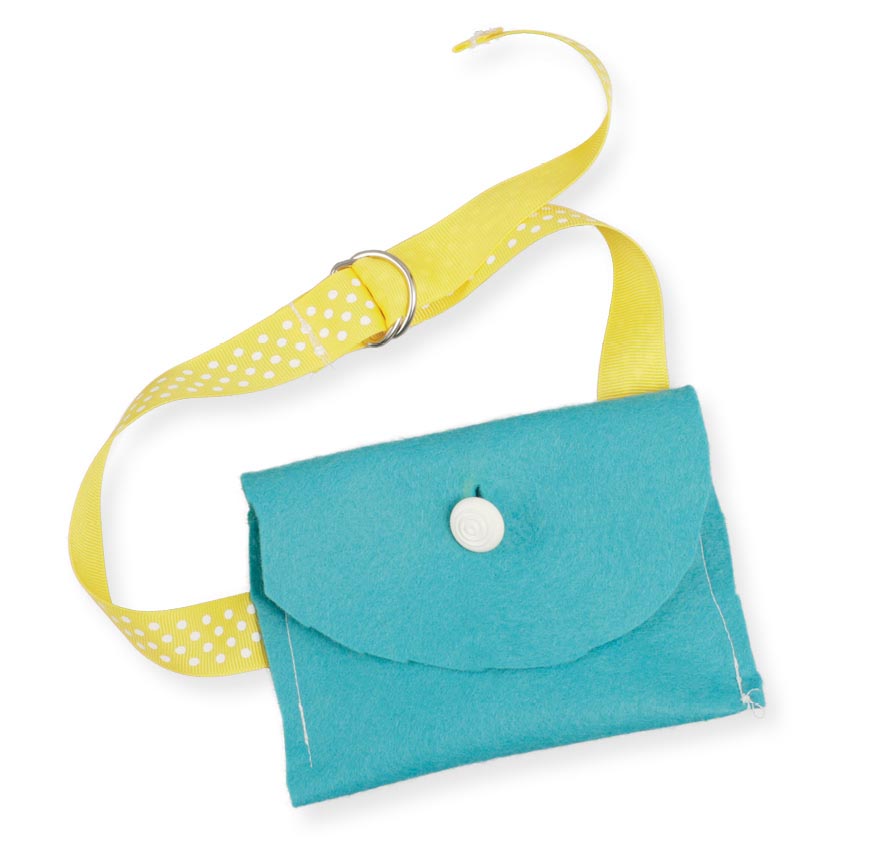
Extra Pocket & Belt

You can always use an extra pocket on your belt!
What You Need
- Chalk
- Scissors
- Straight pins
- Hand sewing thread and needle
- Sewing machine and thread
Pocket:
- Pattern for Extra Pocket
- 1 felt square
- Button
Belt:
- 11⁄2 yards of 1-inch-wide ribbon or webbing
- 2 D-rings, 1 inch wide
Let’s Review
A Note For Grown-Ups
This two-part project is popular with kids of all ages. When making the pocket, new sewers might need help cutting the slit and sewing on the button. Measuring around his or her own waist can also be tricky.
Make the Pocket
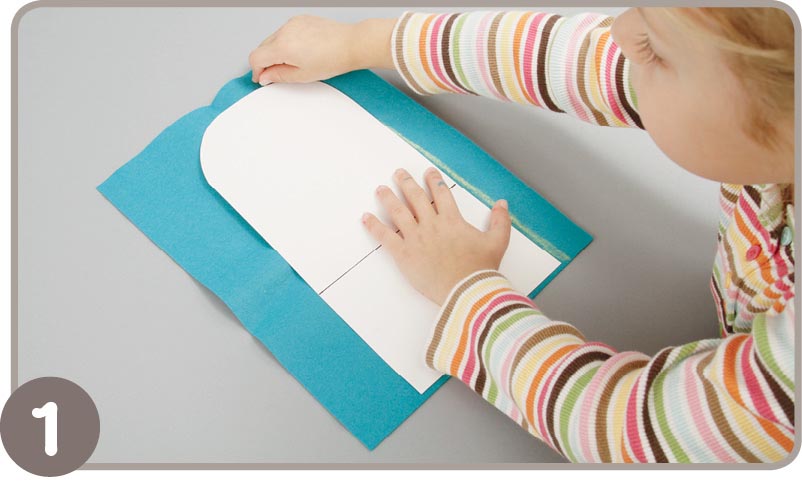
- 1. Find the Extra Pocket pattern in the back of the book and use chalk to trace it onto felt one time.
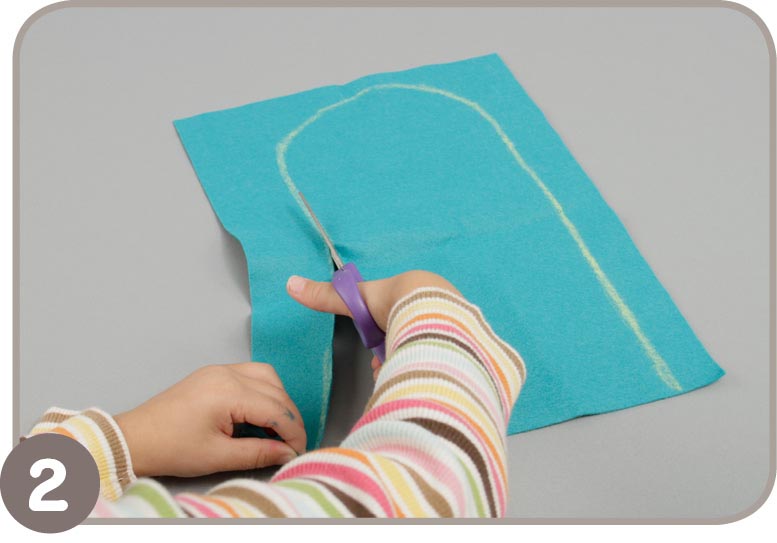
- 2. Cut out the felt piece.
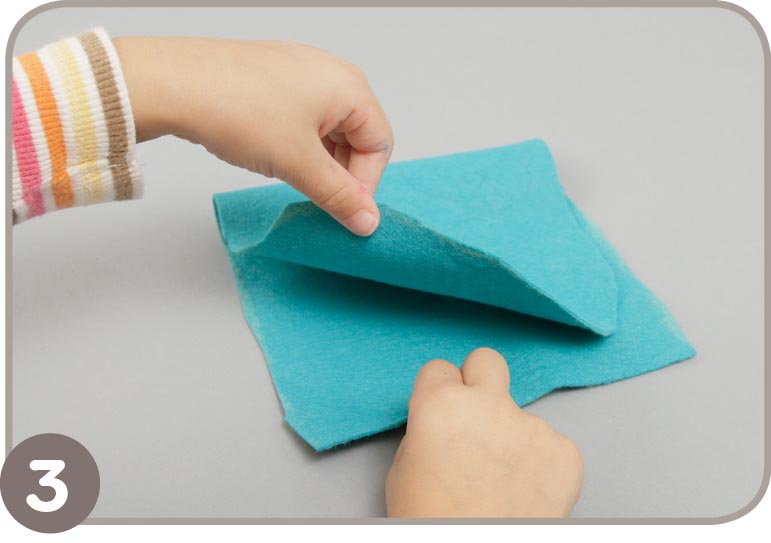
- 3. Fold the felt in half so that the top and bottom match up.
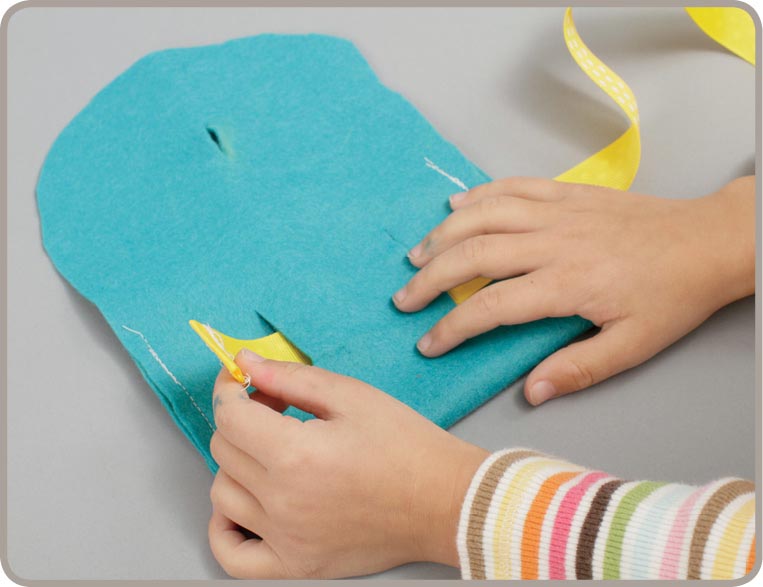
- 4. Cut two slits along the fold about 11⁄2 inches in from each side. The slits should be about 1⁄2 inch long.
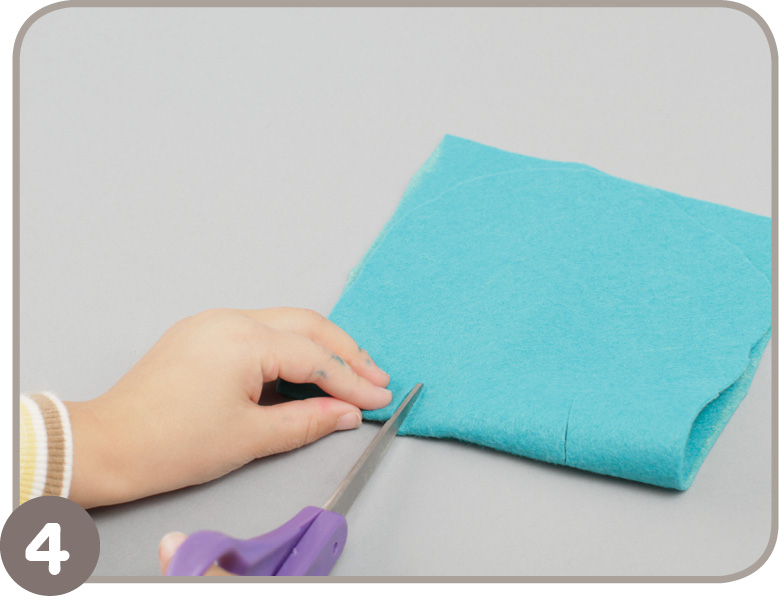
TIP: You can mark the slits with chalk first.
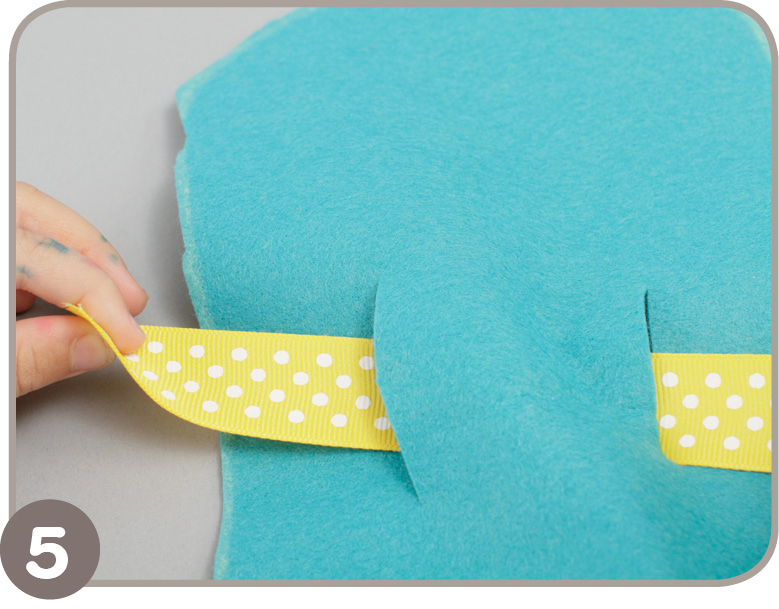
- 5. Check to make sure your belt ribbon fits through the slits. If it is too tight, cut the slits a little longer so the belt will fit.
- 6. Open the felt piece and lay it next to the Extra Pocket pattern with the good side facing down.
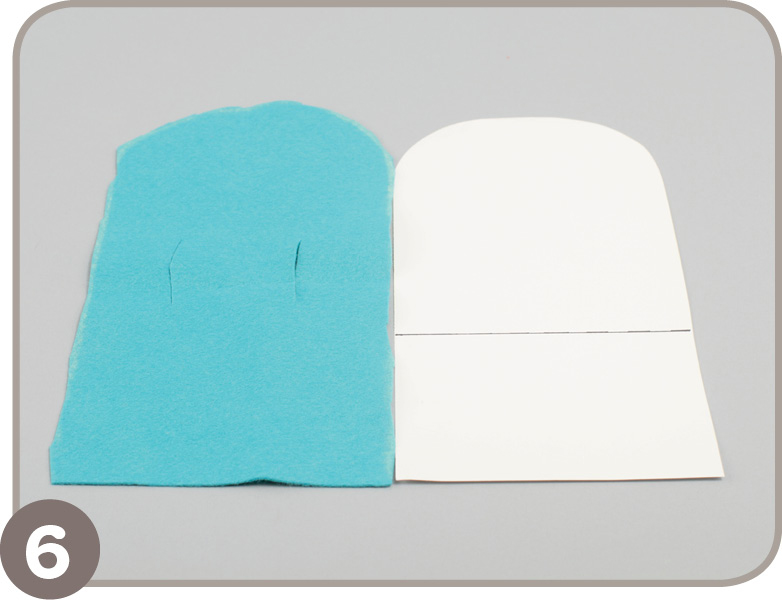
- 7. Fold the bottom of the pocket up so it lines up with the fold line on the pattern. Pin the fold in place.
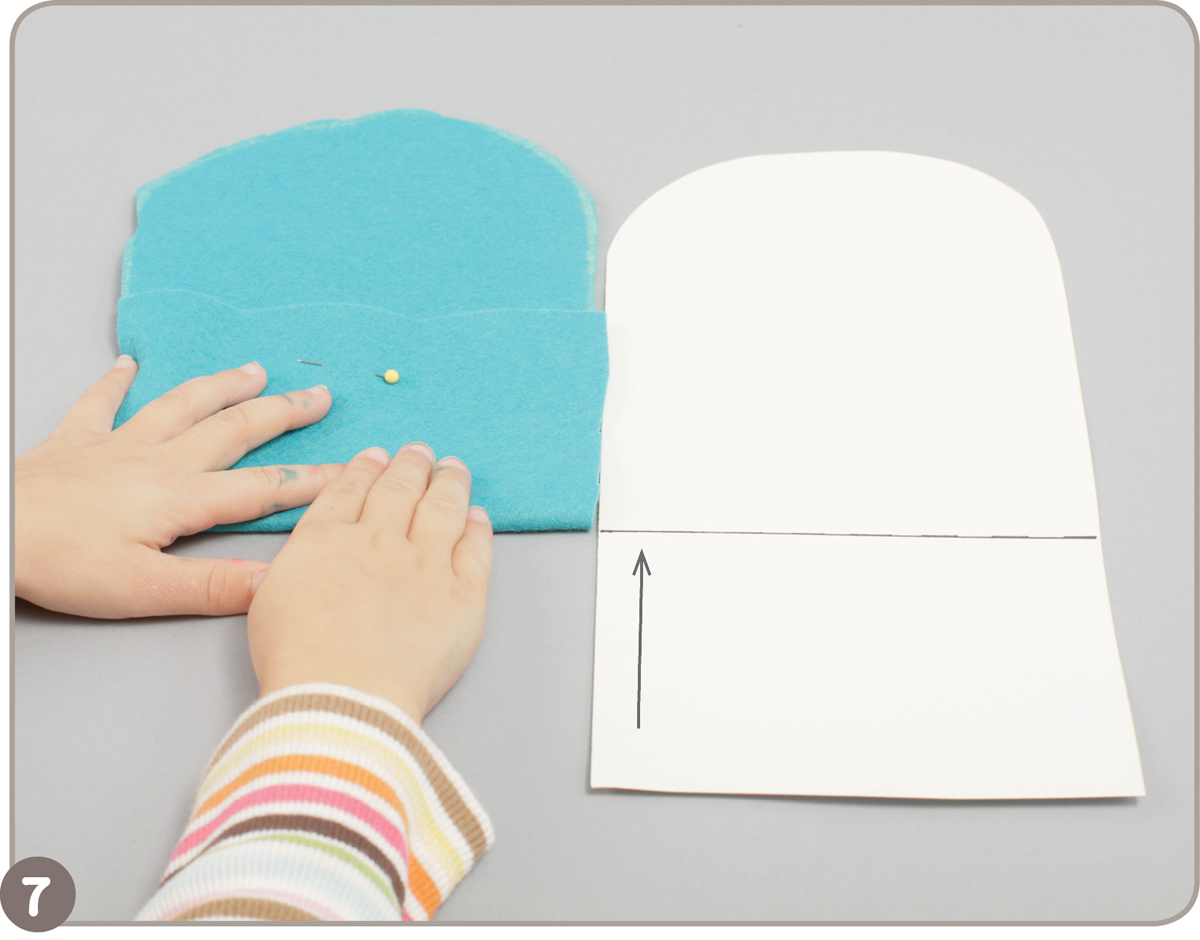
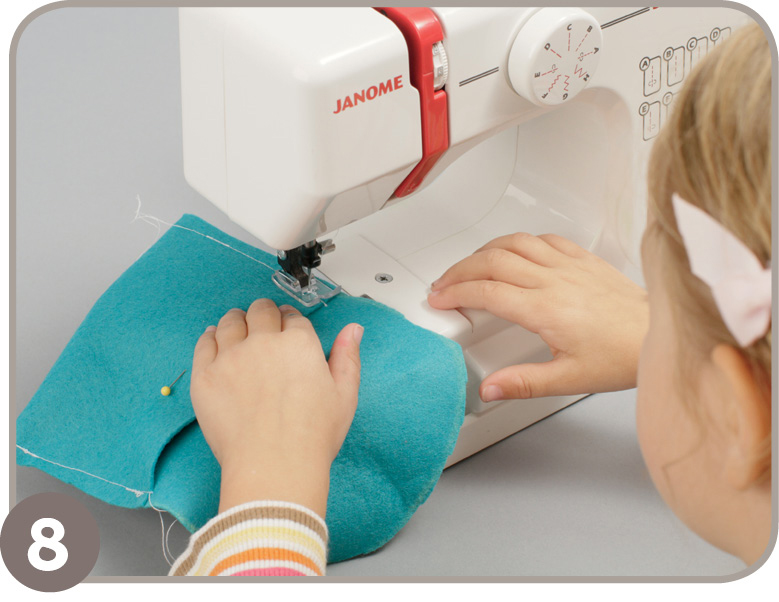
- 8. Sew up each side of the pocket.
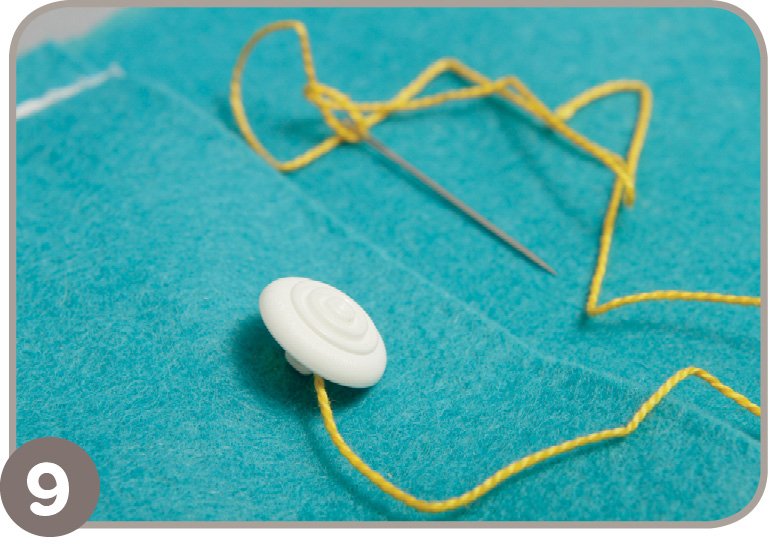
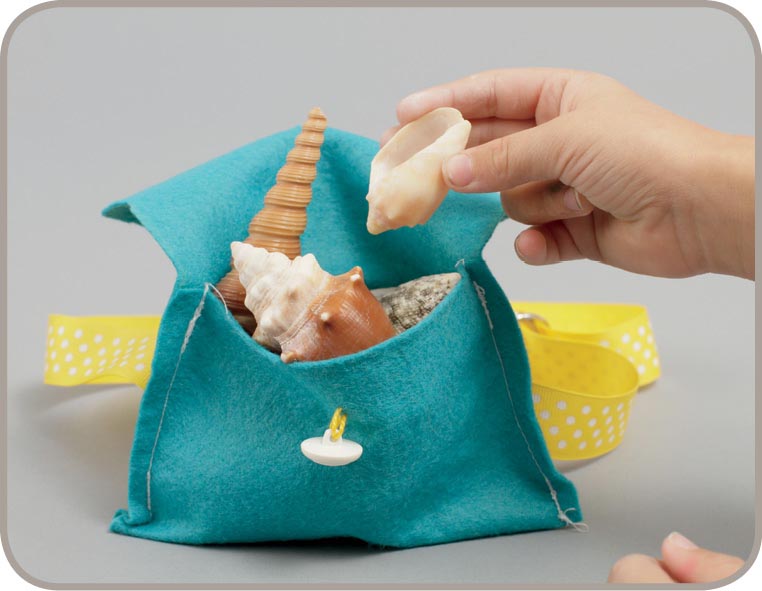
- 9. Now it’s time to add a button. Hand-sew the button to the center of the inside pocket 11⁄2 inches from the top edge. Be careful not to sew the pocket closed! See page 152 for how to sew on a button.
- 10. Make a buttonhole by folding the pocket flap down. Use chalk to mark the fabric where it covers the button. This is where you will make the buttonhole.
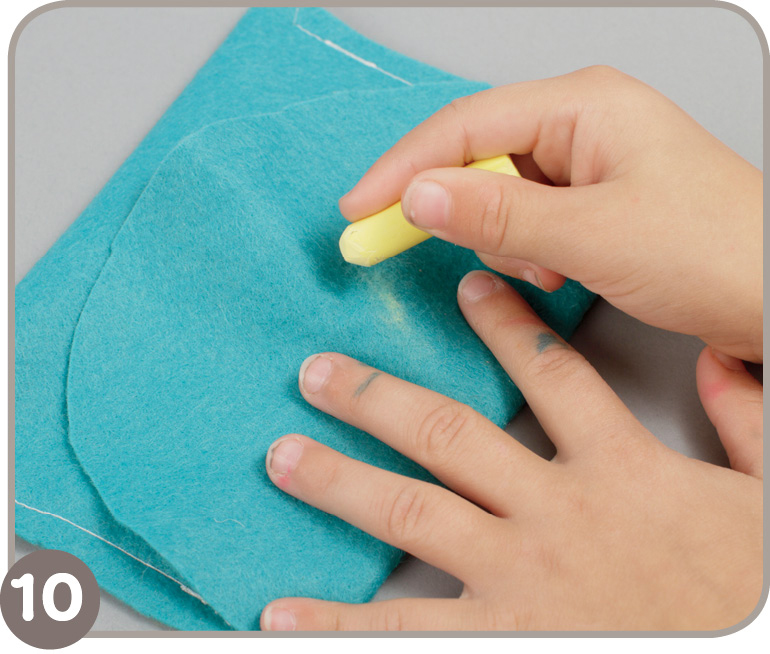
- 11. Fold the felt at the chalk mark. Cut a small slit at the marking to make the buttonhole.
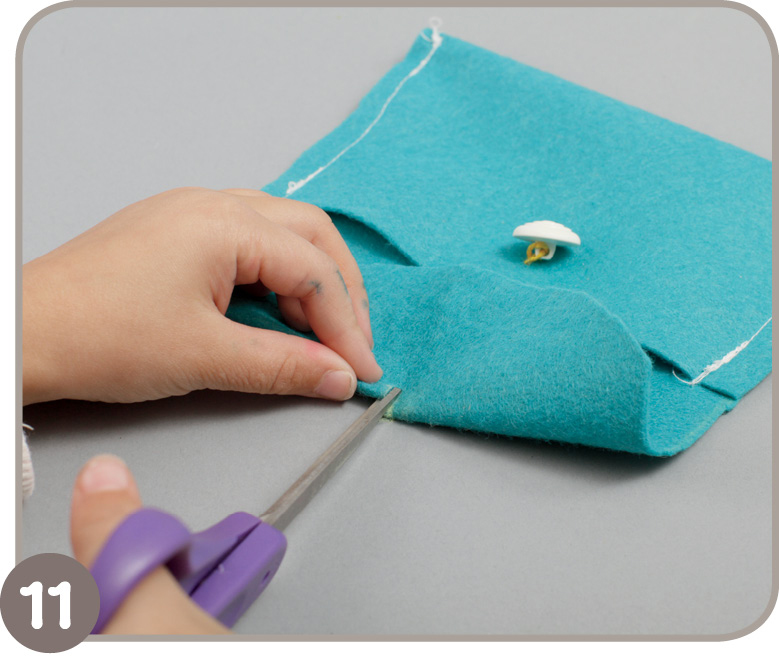
TIP: If you use cotton fabric that frays, you will need to hand-whipstitch around the buttonhole opening.
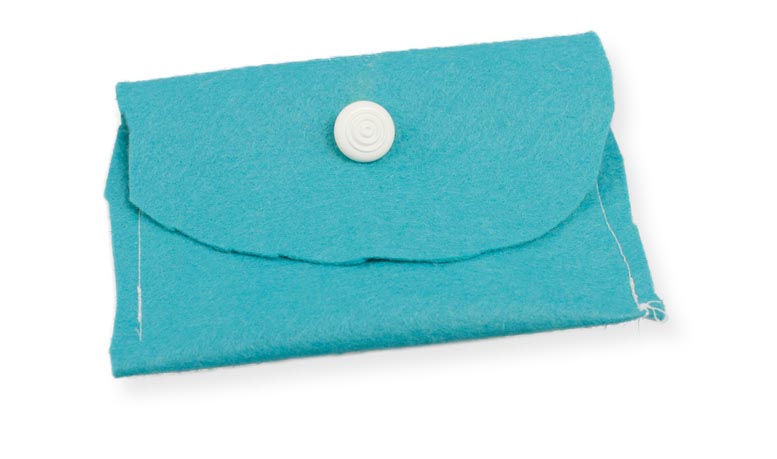
- Button up!
Make the Belt
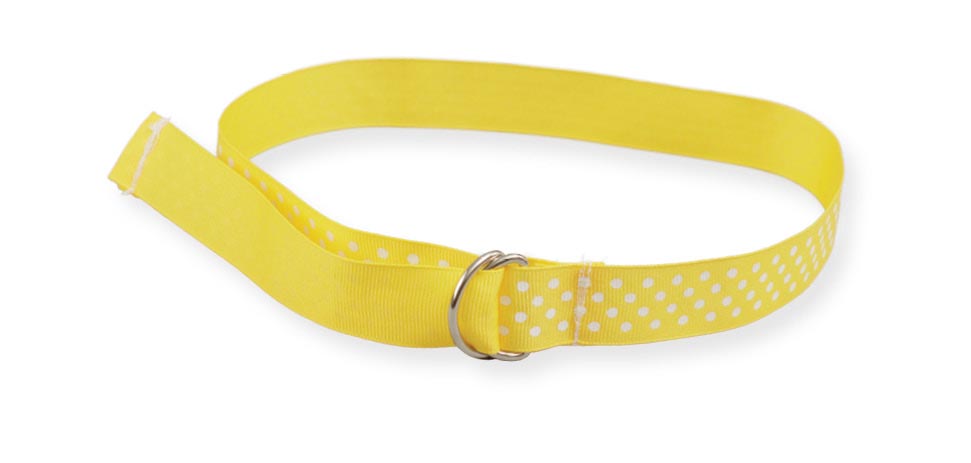
This simple D-ring belt goes great with your Extra Pocket or you can wear it alone.
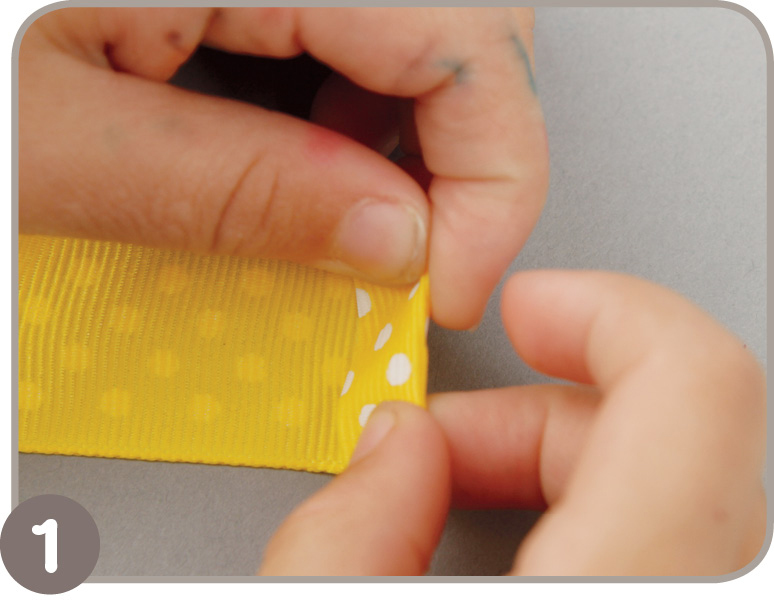
- 1. Fold one end of your ribbon or webbing under two times.
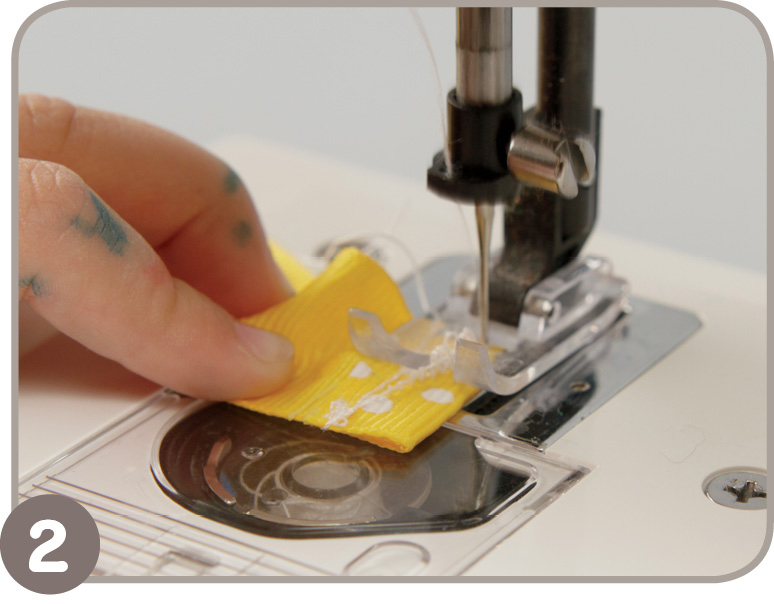
- 2. Machine-stitch along the fold. Reinforce stitch by sewing forward all the way across the fold, then reversing back the entire length of the fold.
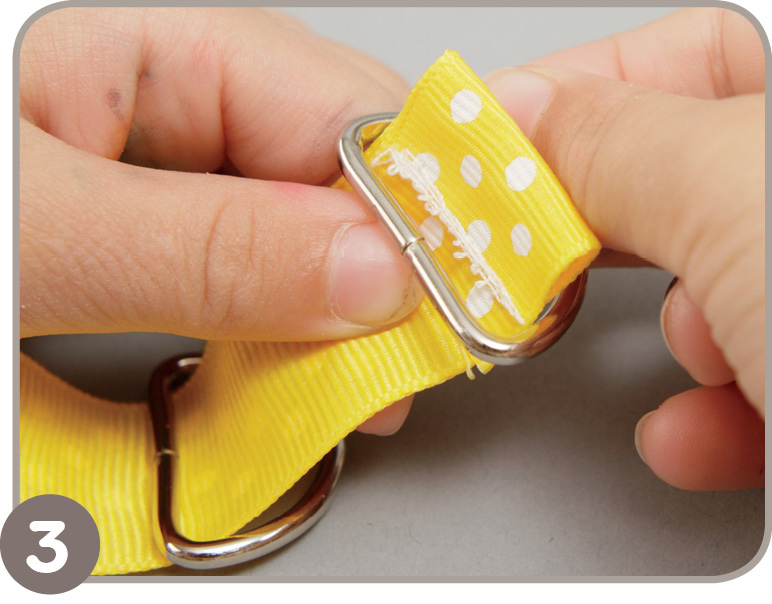
- 3. Slip the two D-rings onto the sewn edge.
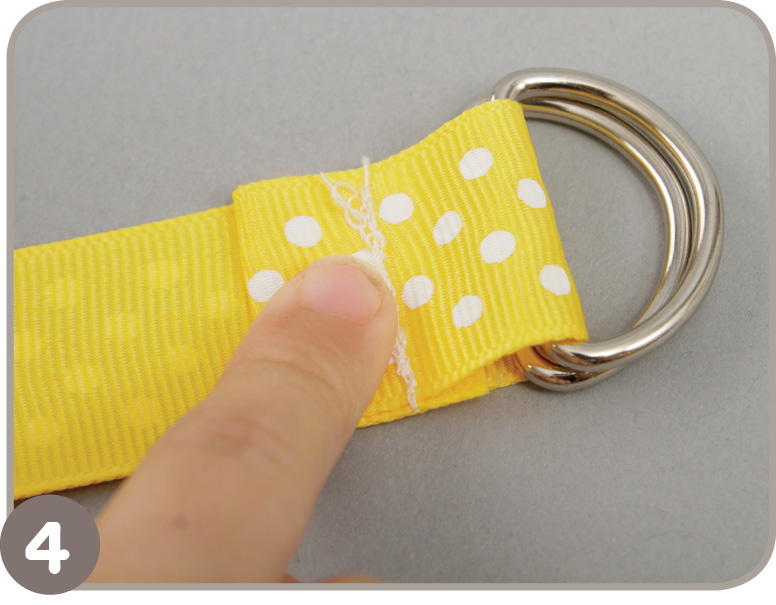
- 4. Fold the belt over about 11⁄2 inches and pin the edge in place.
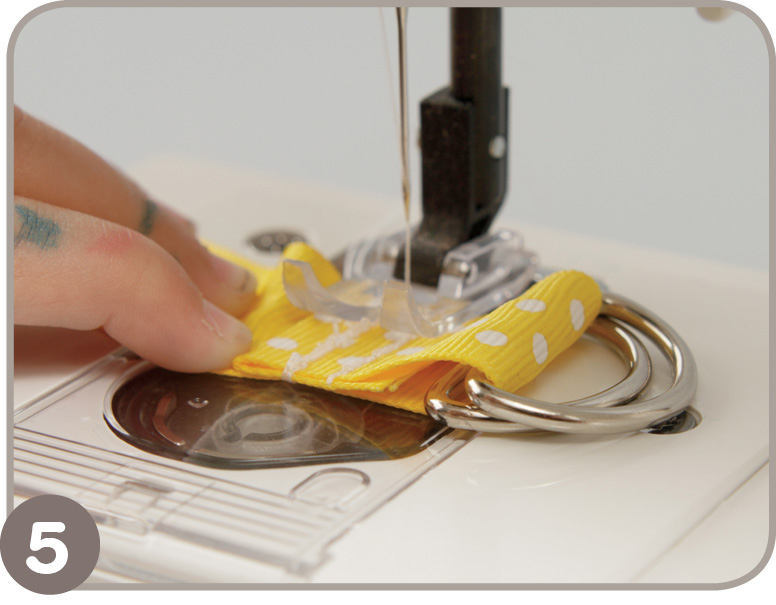
- 5. Machine-stitch the stitched edge down to the belt. Reinforce stitch by sewing all the way across and then reverse back the whole way so that the stitches will be strong.
- 6. The D-rings are sewn onto the belt.
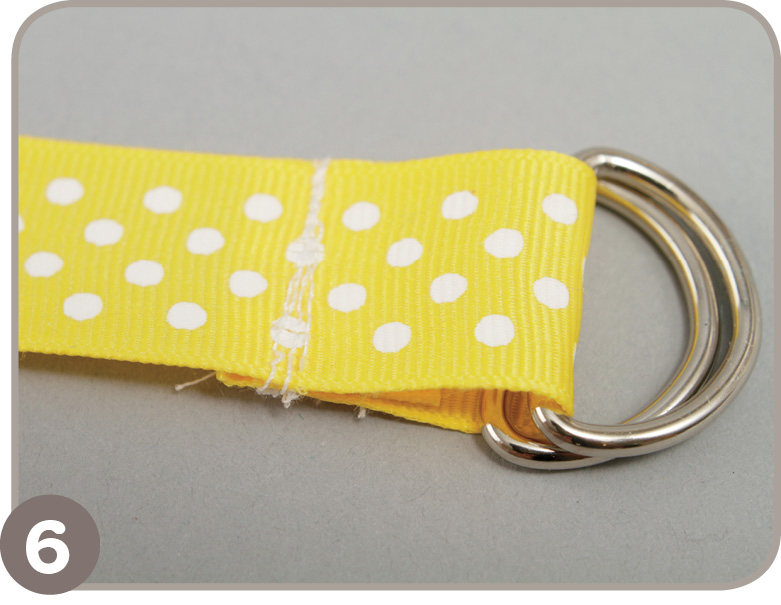
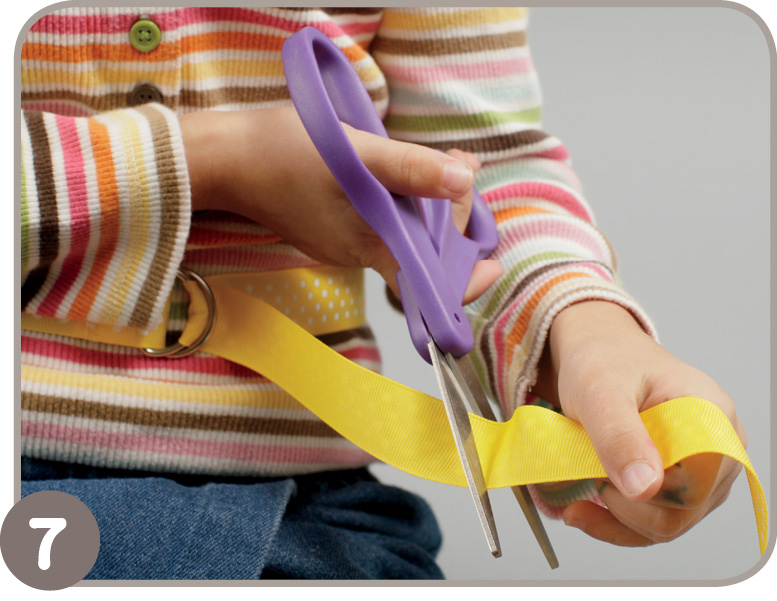
- 7. Try on the belt so that you get a good fit. Pull the belt so it feels good and cut it so that the tail is not too long.
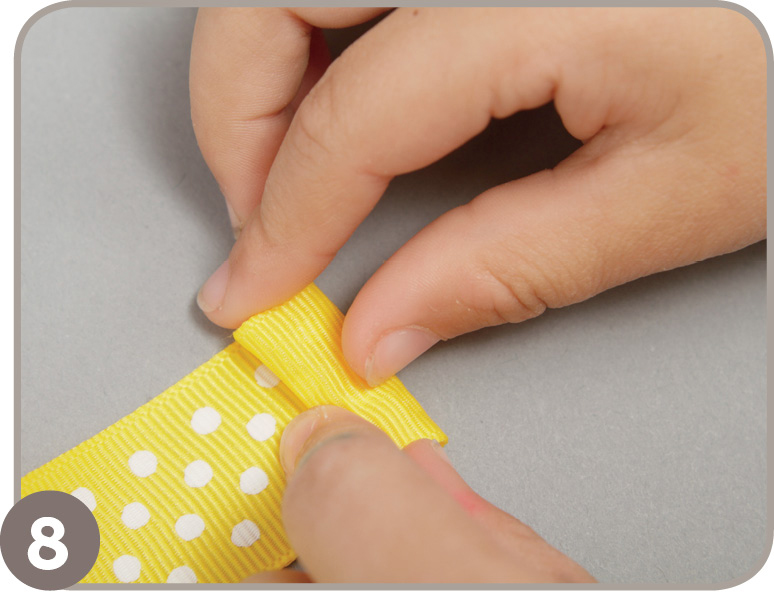
- 8. Fold the cut end of the belt over twice as in step 1.
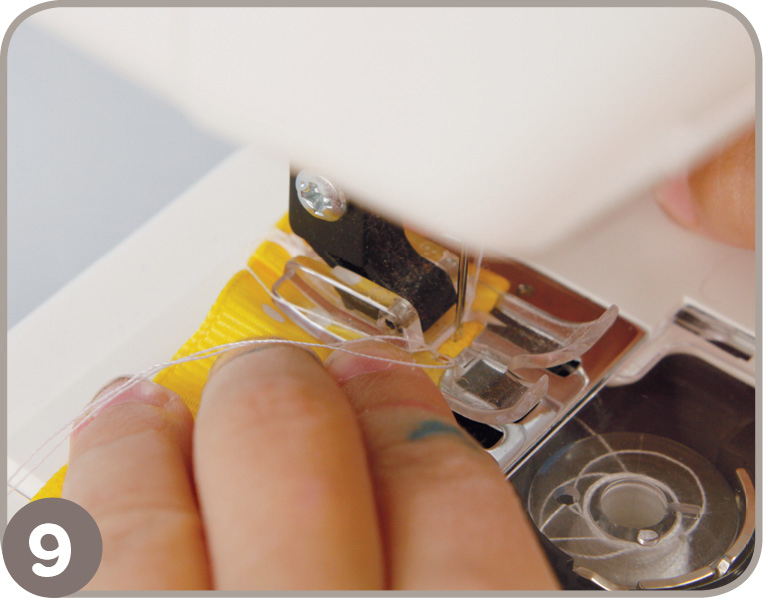
- 9. Reinforce stitch by machine sewing all the way across it and reverse along the fold like you did in step 2.
- To put the belt on the Extra Pocket, weave the end of the belt through the slits in the pocket.
- What will you put in your Extra Pocket?
To put your belt on, slide the end of the belt through both D-rings and then back through the first ring.
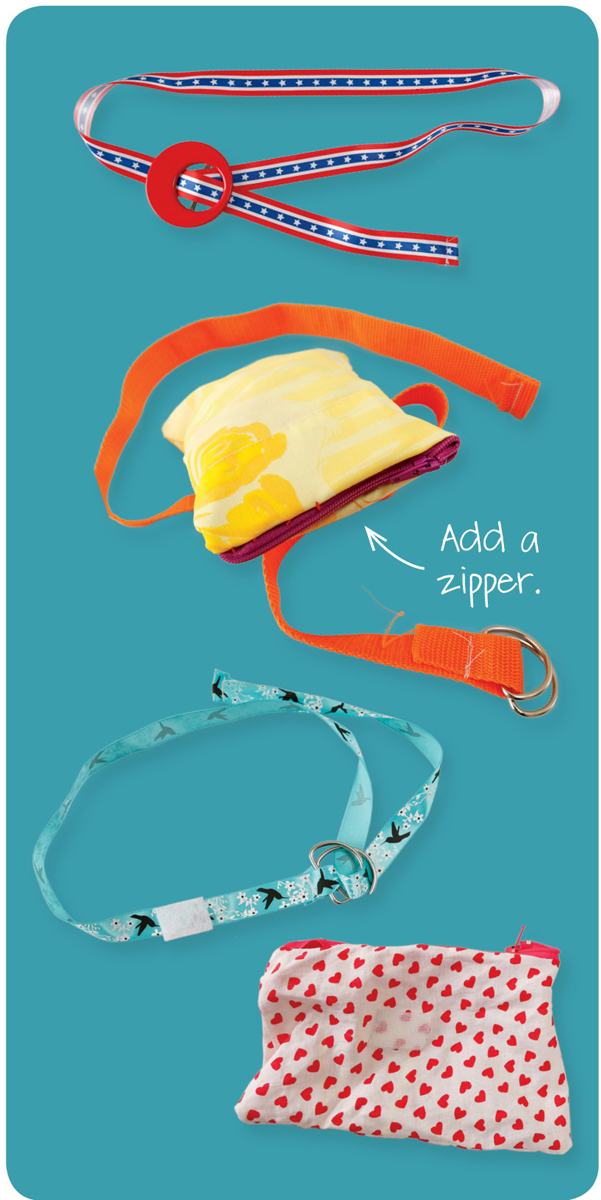
Make It Yours
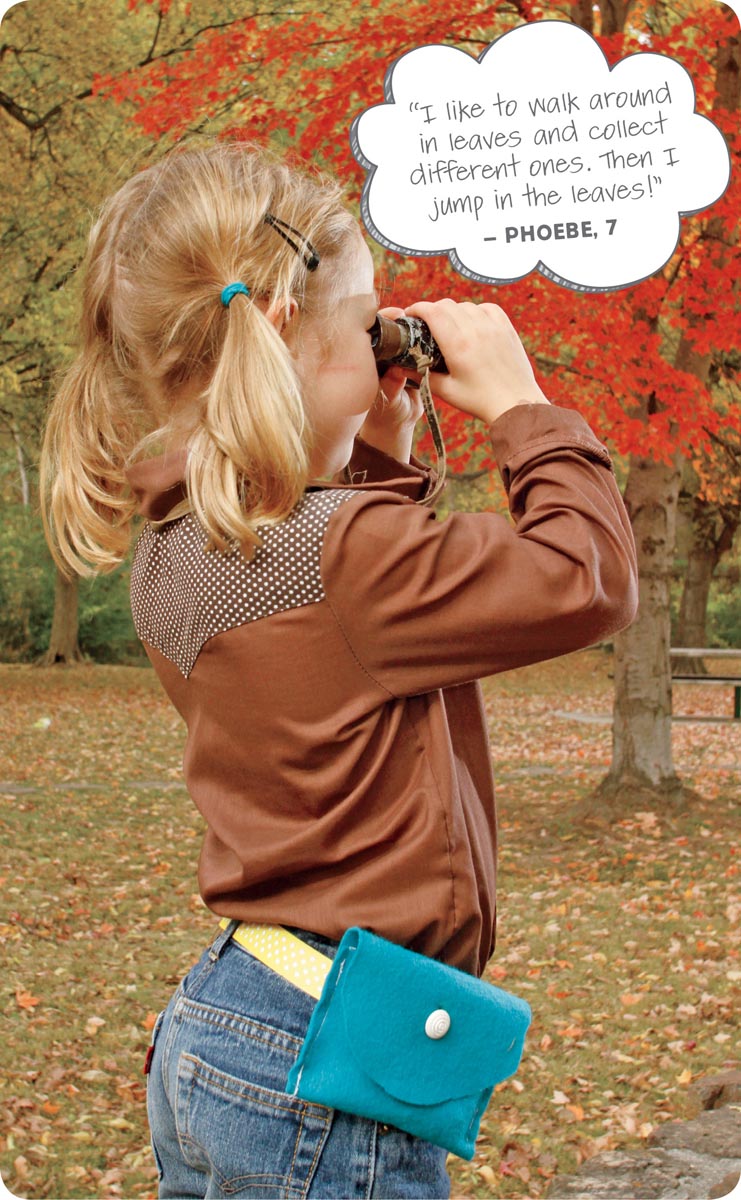
- Make the pocket out of cotton fabric.
- Close it with hook-and-loop tape or a zipper.
- Just make the belt or the pocket.
- Decorate the pocket with your initials or a picture before sewing it.
- Sew by hand.
- Attach the pocket with hook and loop tape or a button.
