UNIT 3
DOWNSHOOT ANIMATION
Animating with your camera facing down toward a tabletop or flat surface is one of the most effective ways to create stop-motion animation. From the perspective of the camera, your animation stage still has a top and a bottom (or sky and ground) and can appear very dimensional, while the animator can easily and methodically move items around on a flat surface, where puppets aren’t affected by gravity.
This camera position also allows for great freedom in experimenting with materials and some classic fine art–based approaches to making animation. In this chapter, we explore methods used to create sets and characters for a narrative film and try our hand at some methods that focus on the material itself and what’s possible when it comes to life beneath the lens!
DOWNSHOOT CAMERA ANGLE
The downshoot angle is used for a wide range of animation techniques, from two-dimensional animation and three-dimensional animation to pixilation (see here) and multiplane animation (see here).
In a downshoot (or “two-dimensional”) angle, the camera is pointed down toward the ground, a tabletop, or any other flat surface. One of the best things about downshoot animation is that you don’t have to fight against gravity. In a world where puppets need to hold precarious poses in space until their picture is taken, gravity is not our friend. By placing puppets and sets on these flat surfaces, the downshoot angle creates the illusion of top and bottom (that is, the sky and ground); is ideal for swimming, running, and flying movements; and can incorporate many types of puppets and art media.
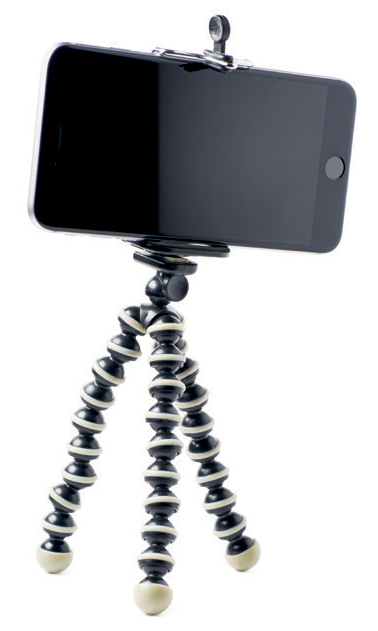
If you’re shooting with a smartphone camera, use a flexible tripod, which will make it easy to shoot from that angle.
Creating a Downshoot Set
Here’s what you’ll need to create a set for your downshoot animation projects:
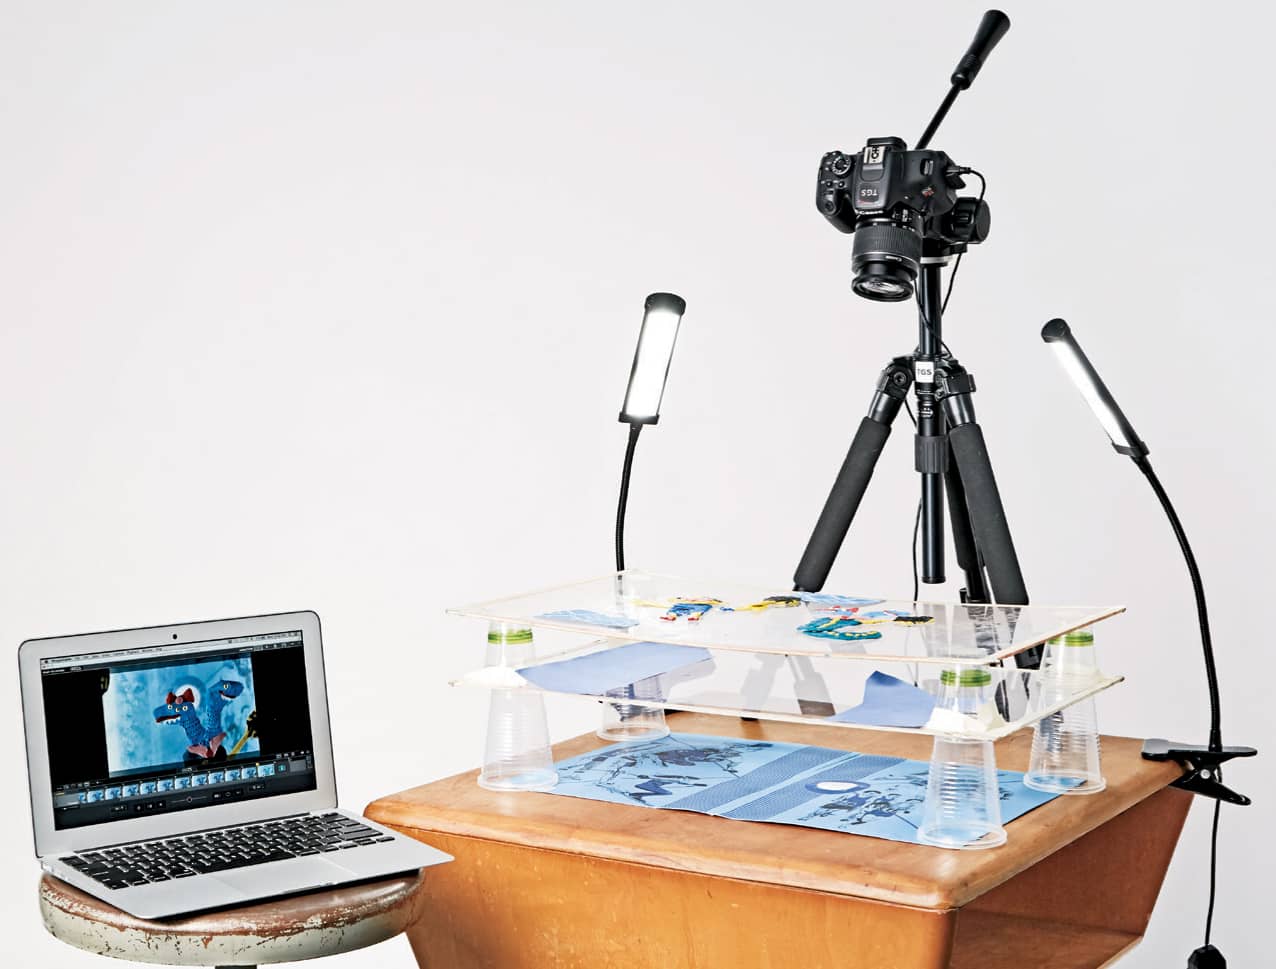
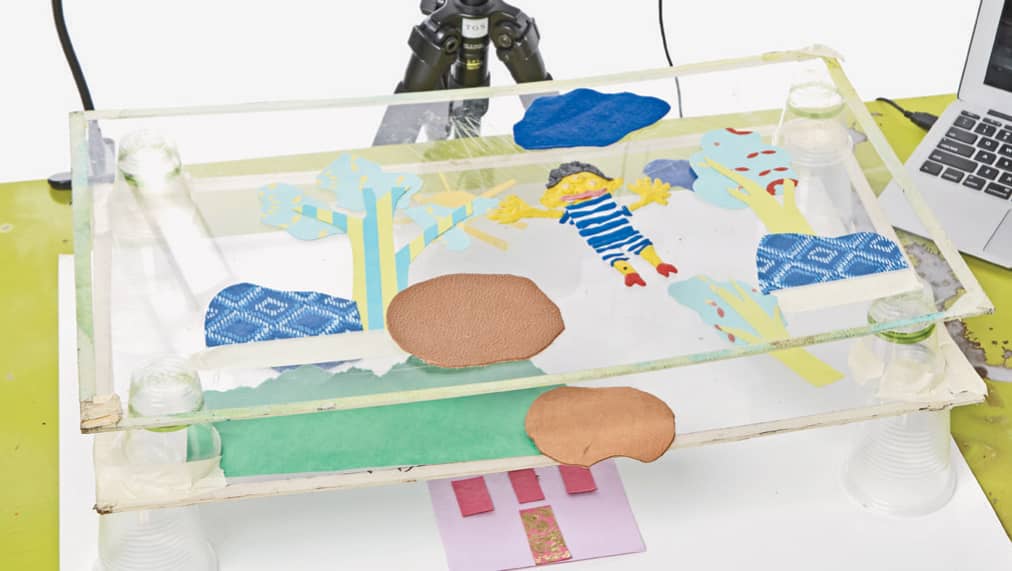
■ Film stage: A no-frills table with a top measuring at least 24 by 12 inches (61 by 30.5 cm) should give you enough room for a basic shooting set. Cover the top with a piece of plexiglass or some other protective covering if you want to avoid damaging it.
■ Lighting: You’ll need at least two direct light sources to make sure the lighting on your set is balanced. An inexpensive pair of clip-on LED lamps will do the job nicely. Be mindful of overhead light shining behind an animator. It can cast unwanted shadows in the animation.
■ Multiplanes: Multiplanes are sheets of plexiglass that are stacked with space between each sheet to give you more than one plane on which to work and create the illusion of depth (see below).
LAB 7
LOOSE AND MESSY CHARCOAL
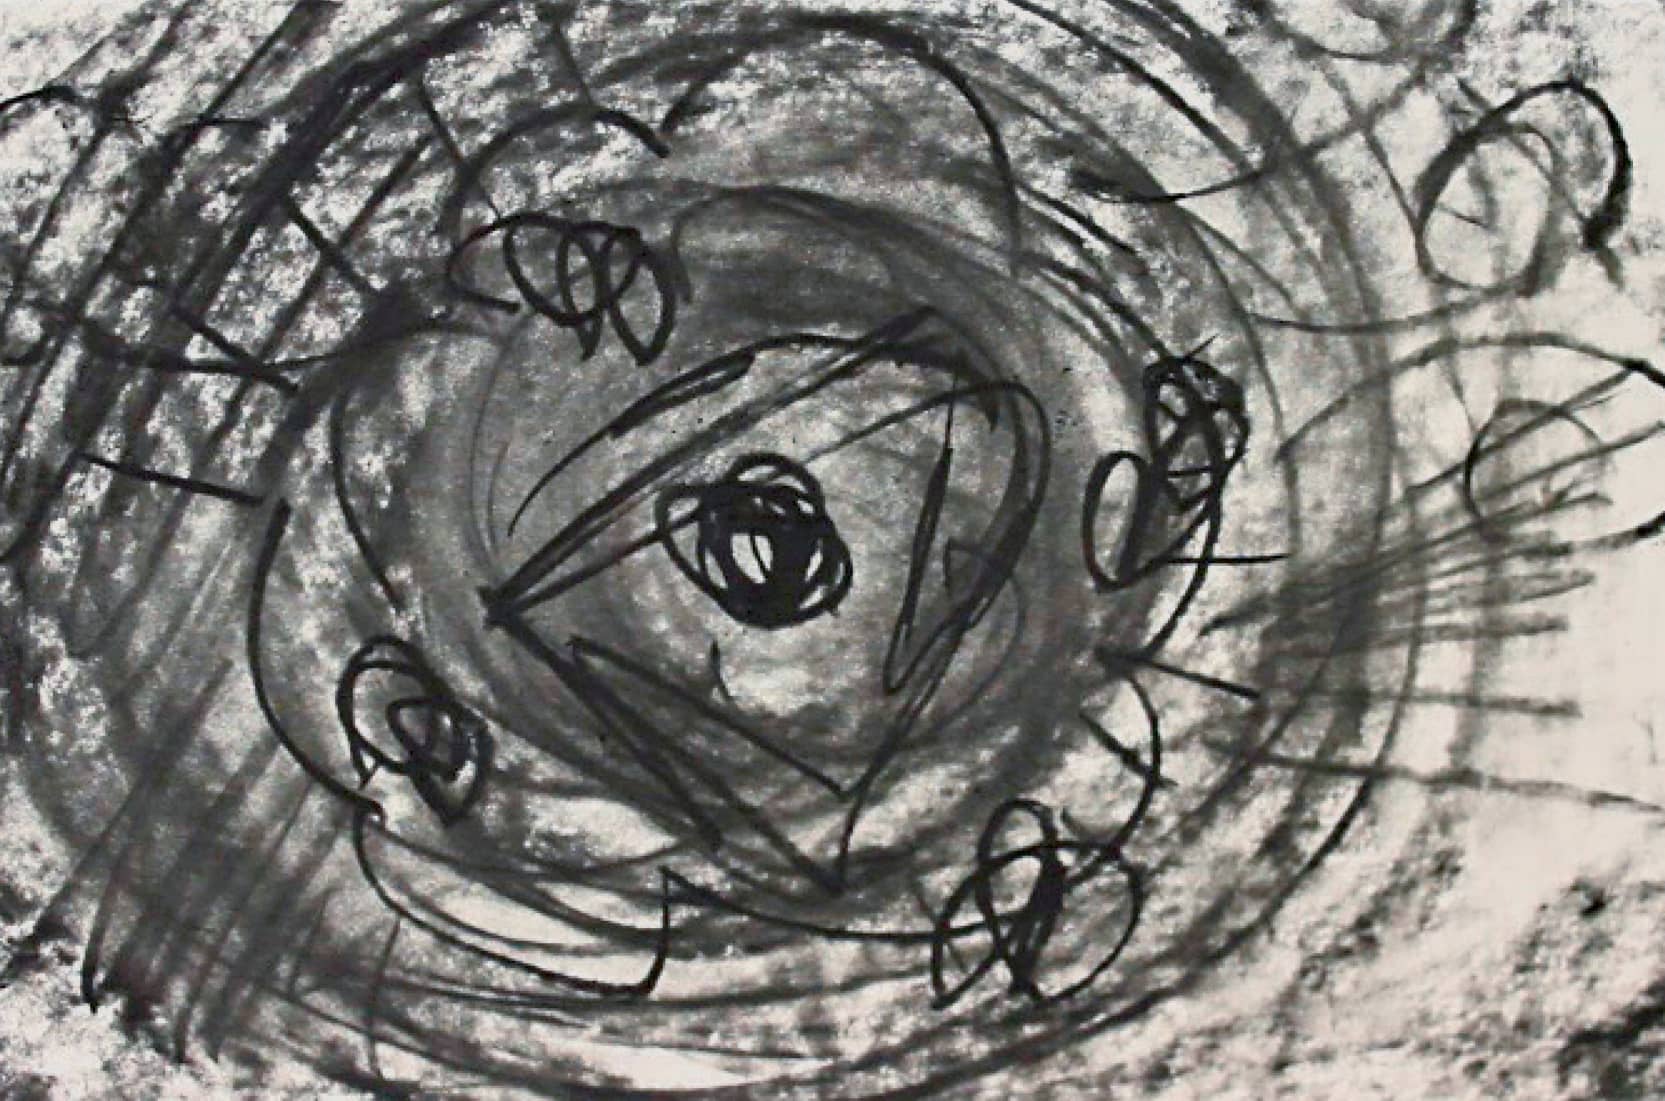
This lab explores the messy fun of charcoal and its potential to create beautiful, abstract stop-motion animated shorts! By using all of the traditional methods that masters might use when creating works of fine art made with charcoal, the animator is able to explore the material while capturing these exciting changes under the lens!
BEFORE YOU BEGIN
■ As with our other downshoot animation setups, thoroughly tape down your first sheet of heavyweight drawing paper on all sides using masking tape.
■ Remember, you will be rubbing and erasing—perhaps vigorously—so you should have a very stable piece of paper to work upon.
MATERIALS
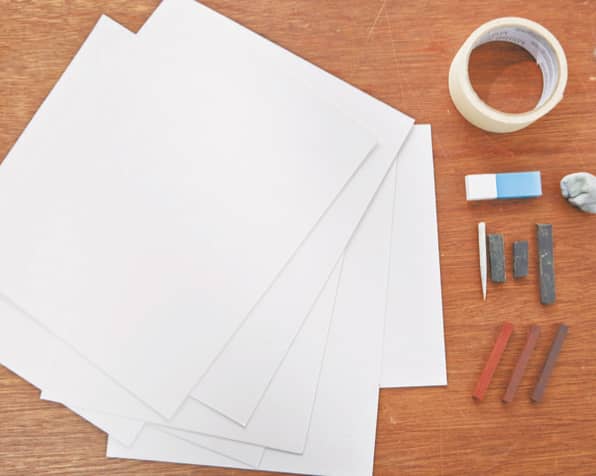
− Several sheets of heavyweight drawing paper
− Masking tape
− Vine charcoal
− Stick charcoal
− Camera or other capture device
− Tripod
− Smudging tools
− Kneaded erasers
ACTION!
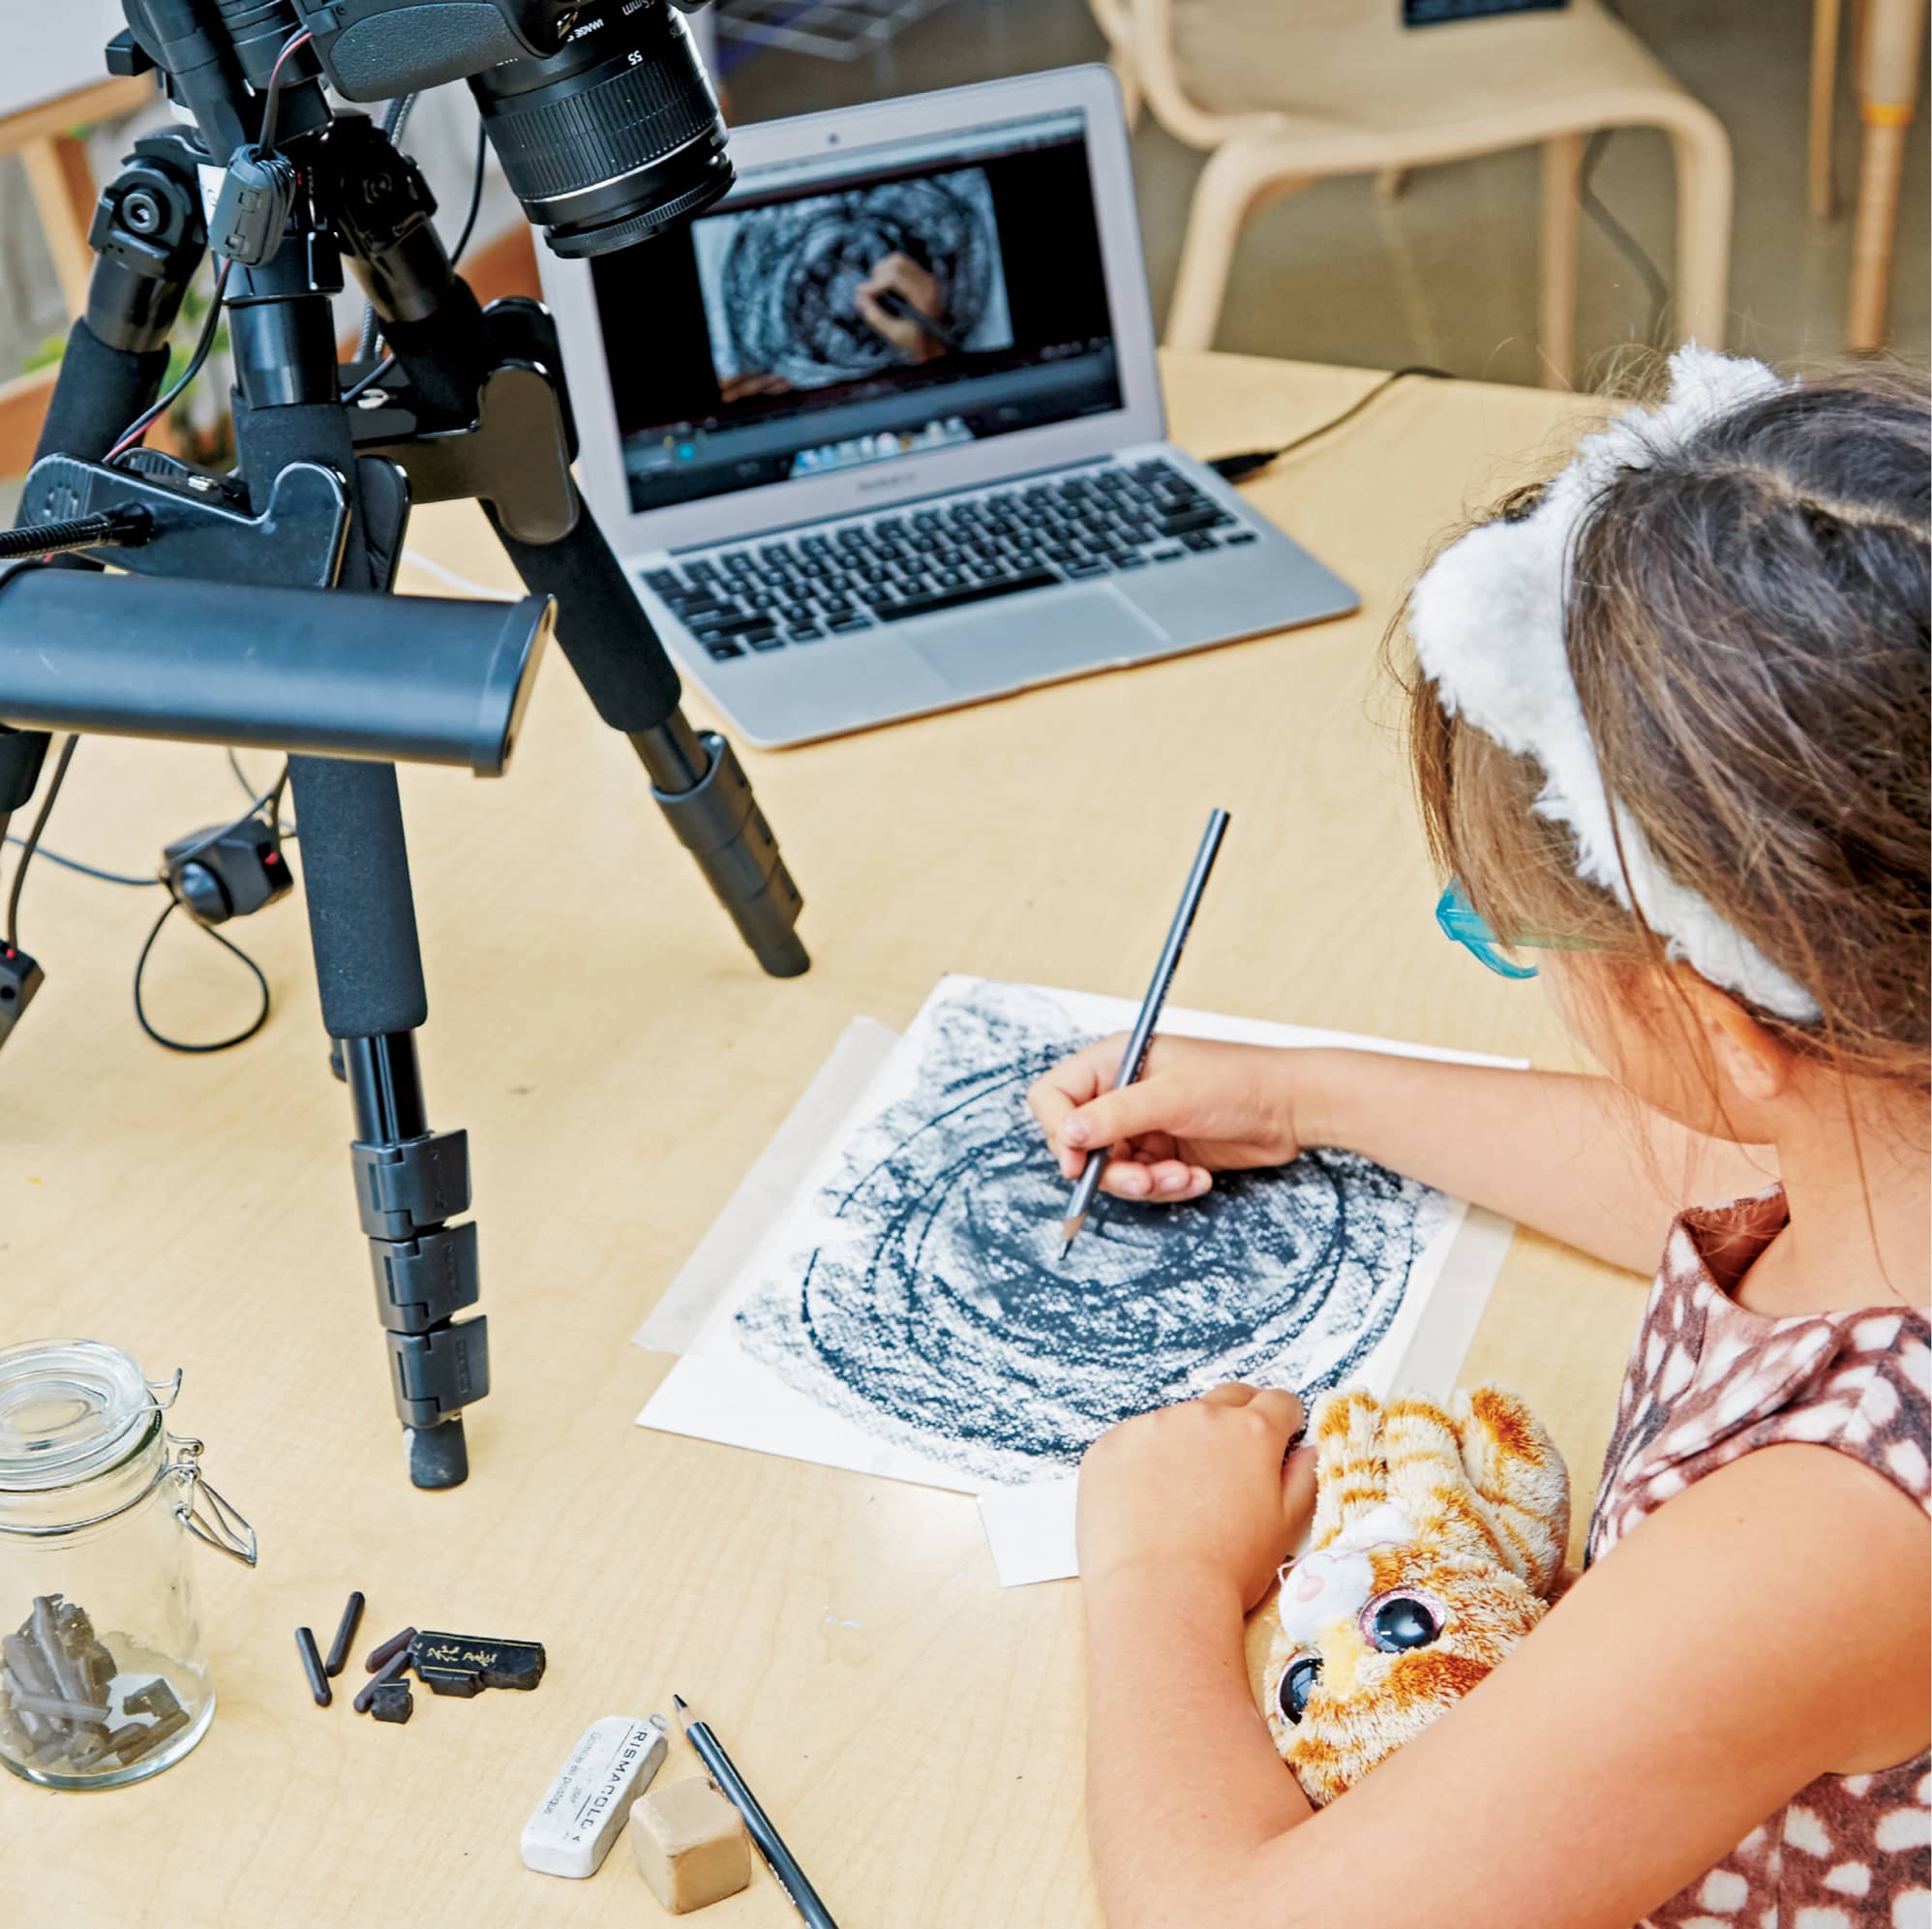
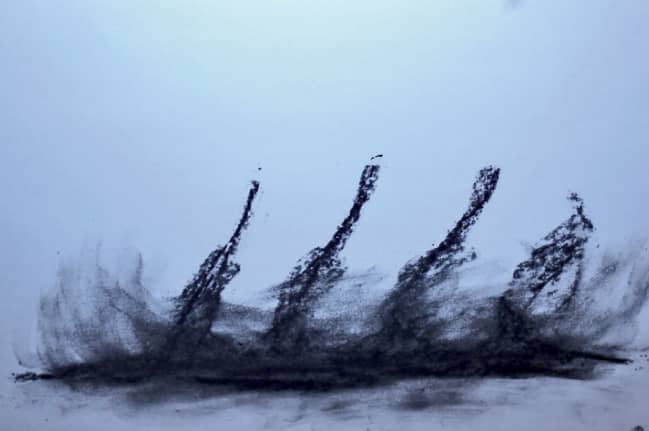
1 Start making small, simple marks on the paper with the charcoal and capture each small change with a photo as you go.
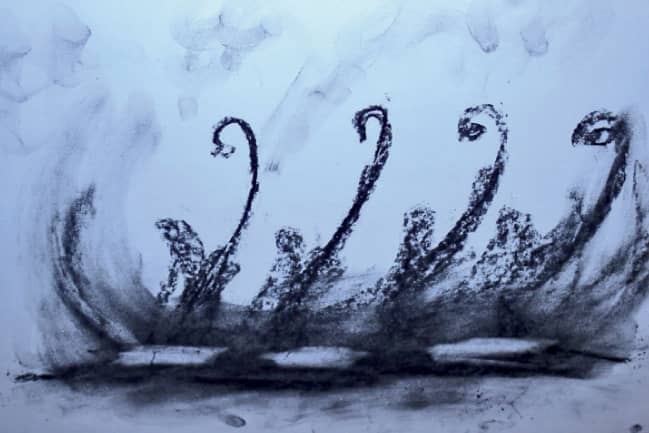
2 Experiment with using the charcoal tools in different ways, smearing and smudging your marks (fig. 1).
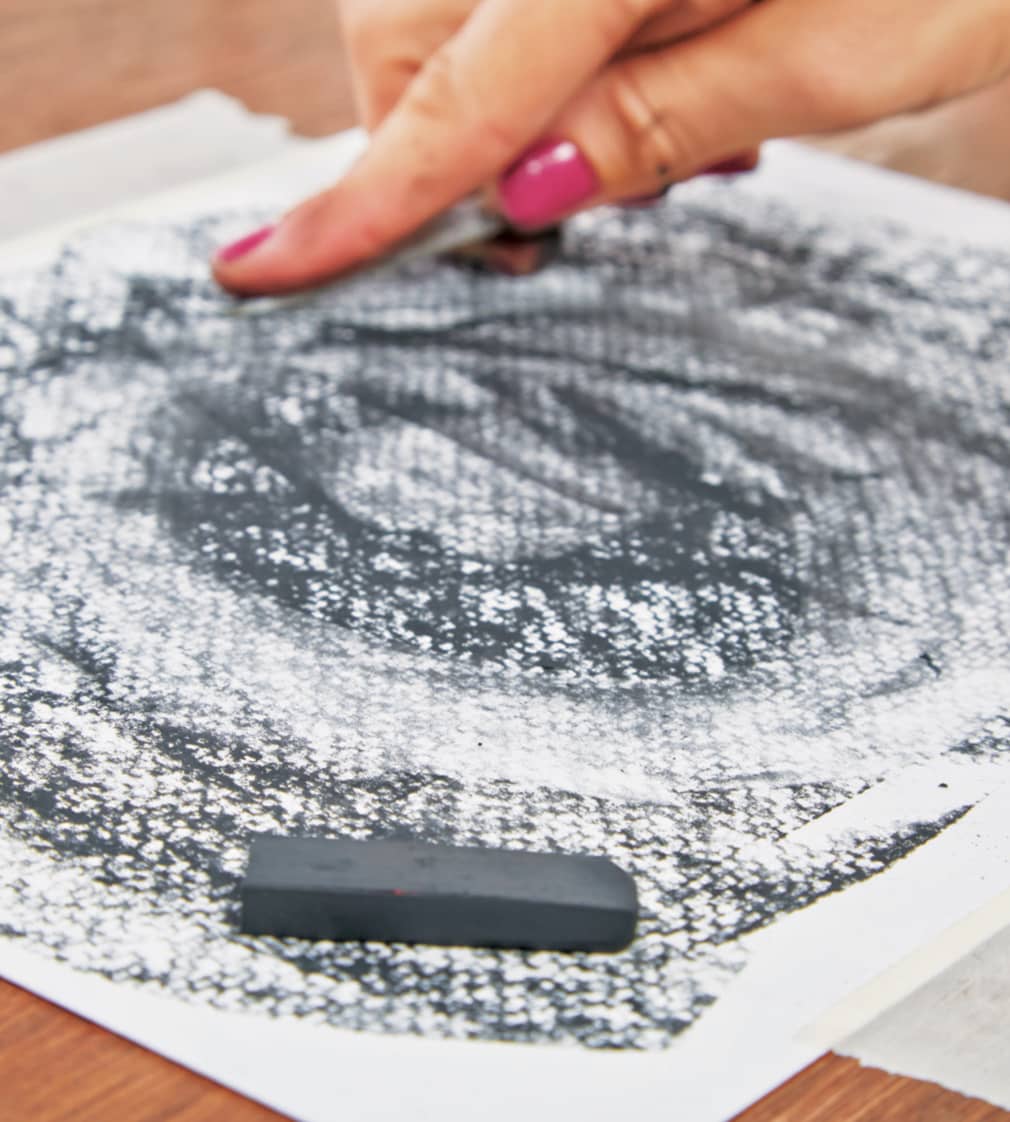
fig. 1. Try smearing and smudging the charcoal.
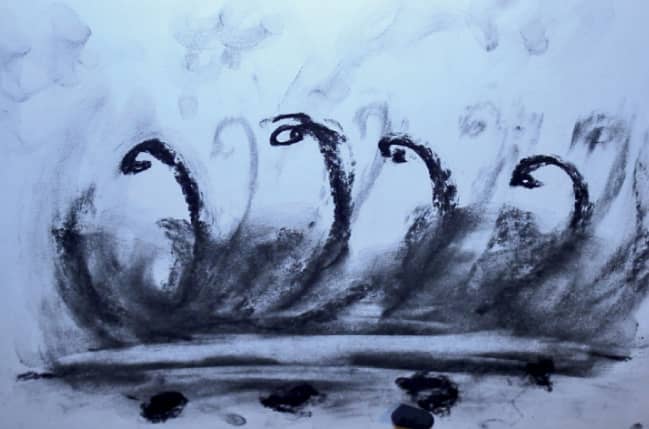
3 Try erasing sections of your drawing (fig. 2).
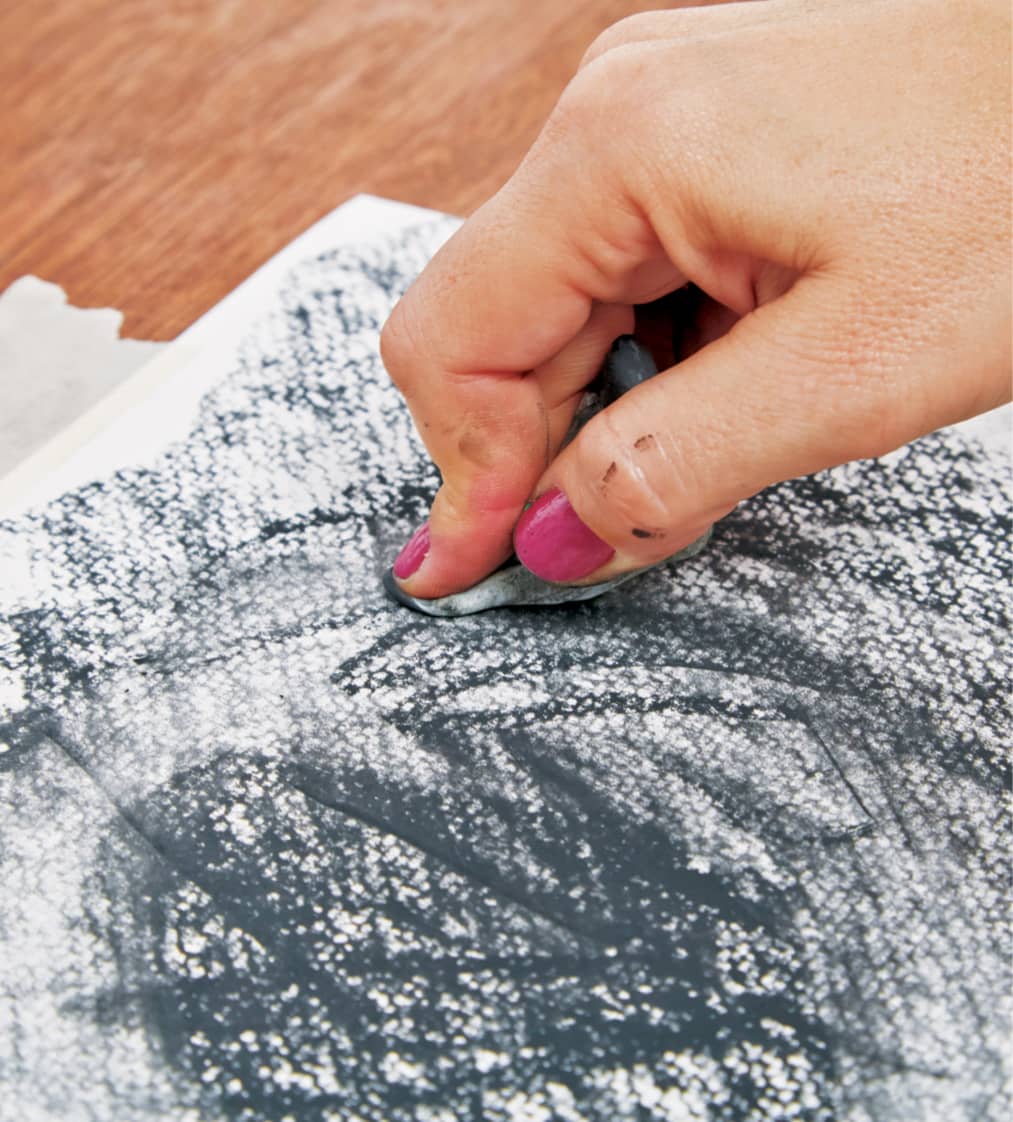
fig. 2. Erase parts of your drawing for a cool effect.
4 Try some of the following prompts to explore the potential of charcoal in animation. You can choose to change your paper for each new exercise, or you can build and build on one page.
■ Explore as many different marks as you can using the same tool. What happens when you use the side of a charcoal stick as opposed to the end? Can you fill the entire page with different marks? This exercise will create a blossoming effect.
■ Try slowly filling up the page with soft, sweeping marks using the side of the charcoal stick. Keep building and building until the page is full. Now try removing marks with an eraser.
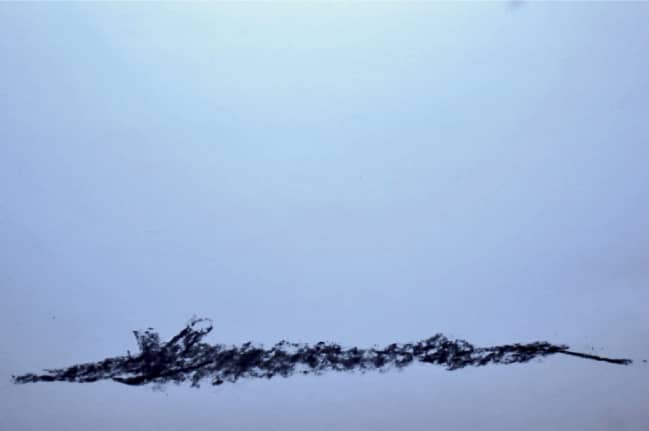
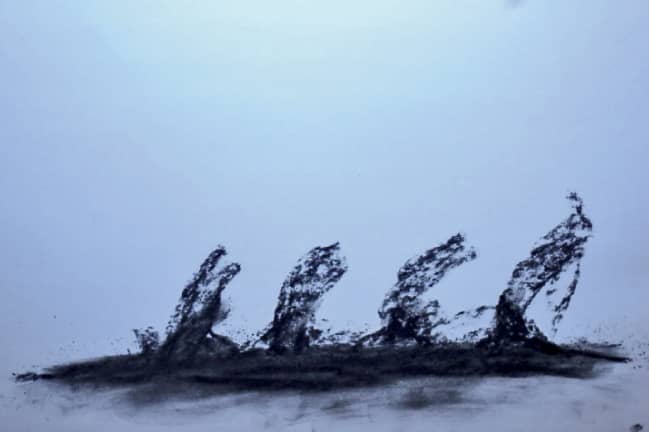
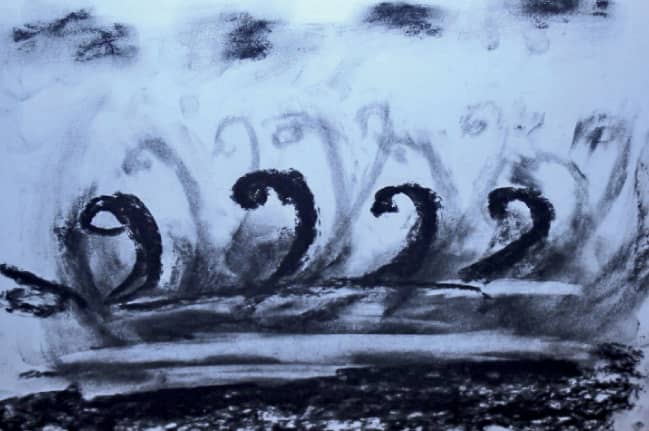
■ Draw a scene on a new piece of paper using charcoal. Fill the page with drawing. Perhaps you will draw from life, or maybe you will create an entirely new reality! Select one area of the drawing that you would like to come to life. Maybe this is a fish in a fishbowl? Perhaps it is a curtain fluttering in the breeze? By erasing and redrawing, change the image a tiny bit for each picture. Experiment with keeping some areas still while others come alive.
LAB 8
RIPPING AND CUTTING COLORED PAPERS
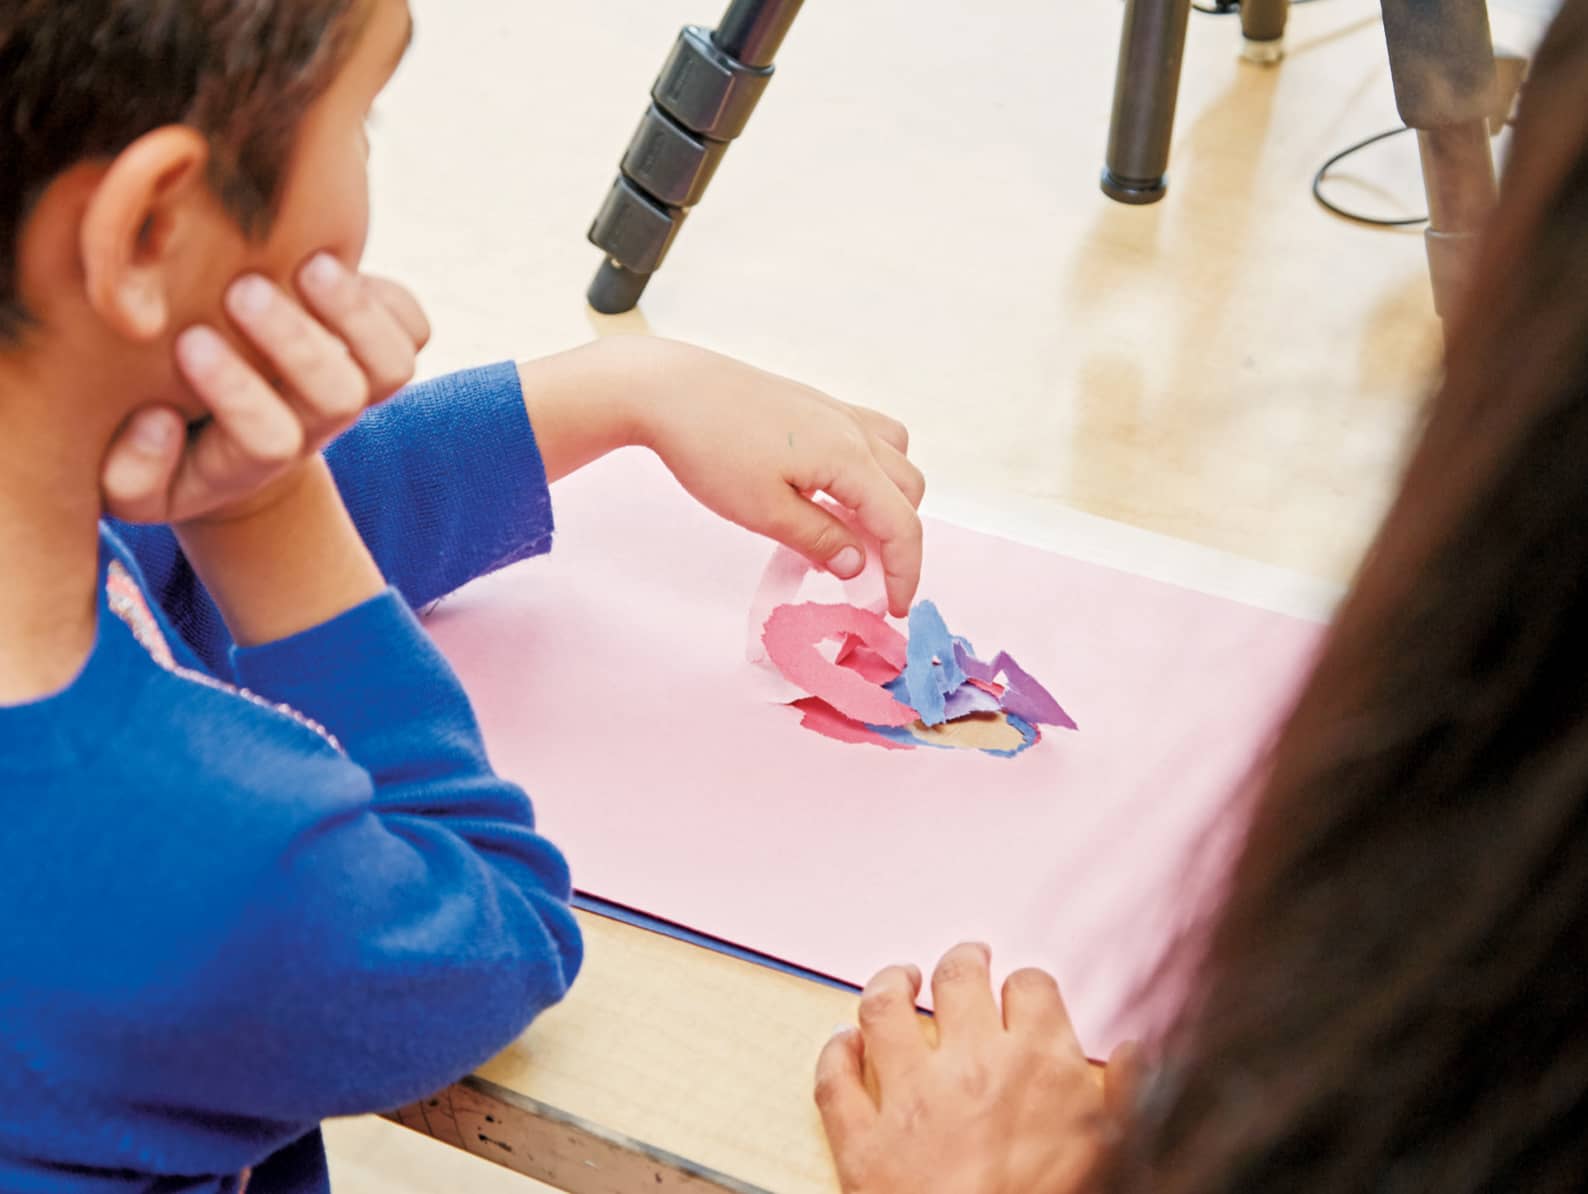
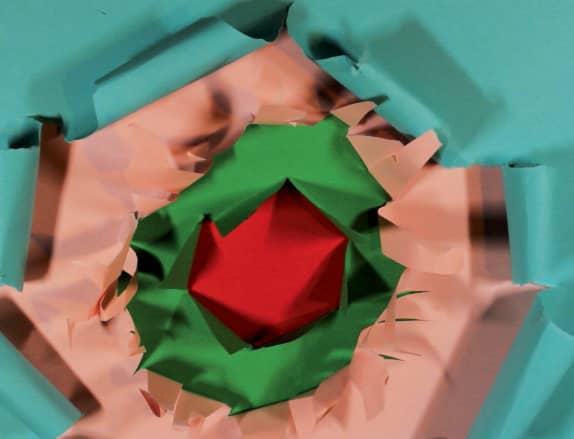
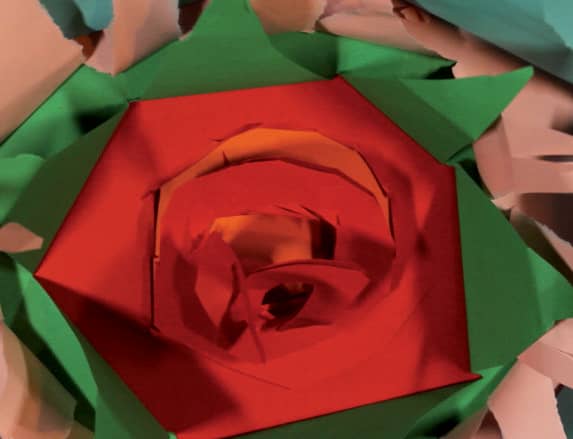
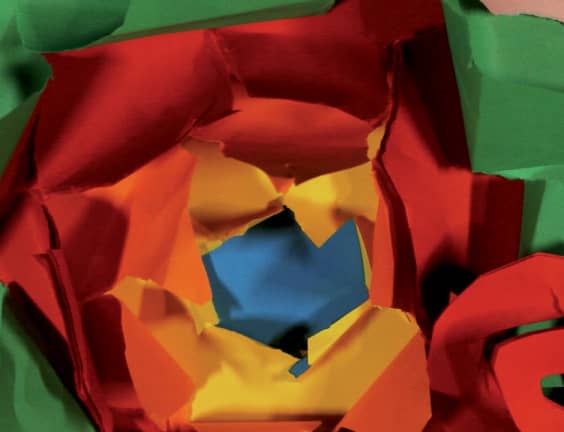
This lab is such fun for adults, children, and really little ones who are practicing their fine motor skills. It uses simple construction paper as its core material. The animator is able to visually leave the one-dimensional realm and stack, cut, and tear to create almost sculptural elements that literally appear to be jumping out of the page!
BEFORE YOU BEGIN
Consider that you will slowly be revealing each new layer under the lens while you are planning your color sequence. For example, would you like to see red revealed underneath green? Should black give way to white?
MATERIALS
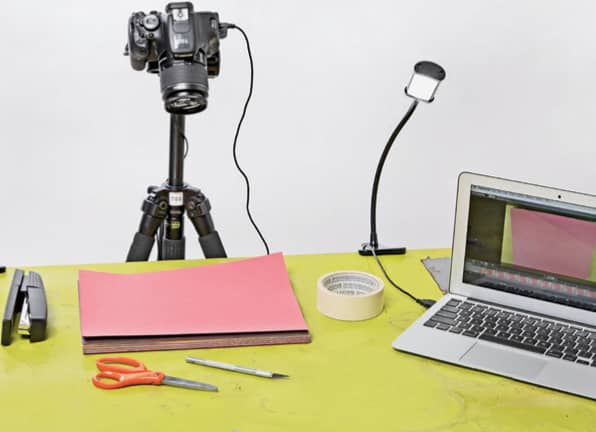
− Pack of multicolored construction paper, either 8 1/2” × 11” (21.6 × 28 cm) or 11” × 17” (28 × 43.2 cm)
− Stapler
− Masking tape
− Scissors
− Camera or other capture device
− Tripod
− Craft knife
ACTION!
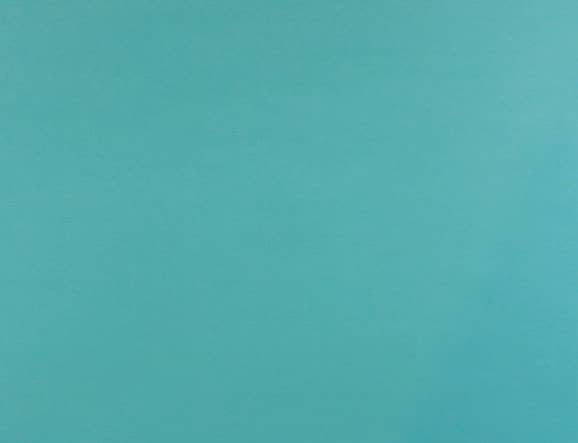
1 To get started, select a stack of multicolored construction paper, layering different colors on top of each other.
2 Once you have stacked 10 to 15 sheets of paper, staple them together on one end and tape that stapled end securely to the tabletop. Set up your camera and tripod. Now you are ready to animate!
3 Use scissors to create a hole in your topmost piece of paper (fig. 1).
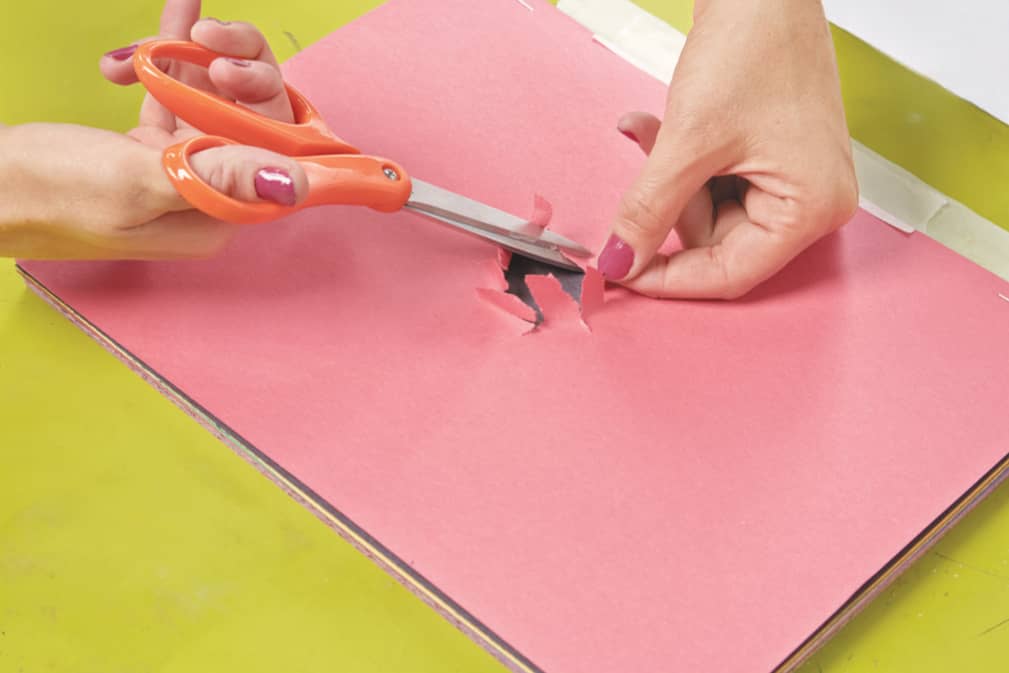
fig. 1. Scissors make an easy access hole into your first page.
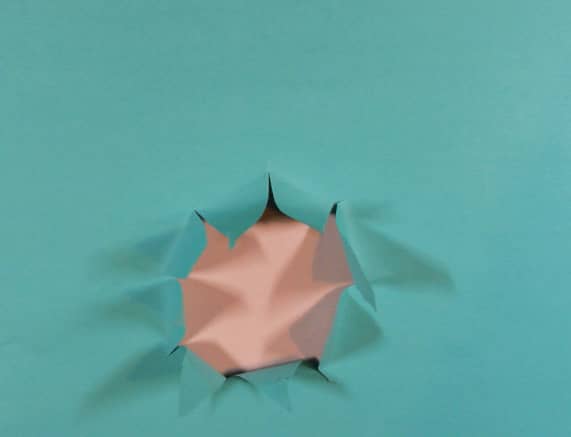
4 Next, capturing each new move using your camera and/or stop-motion animation software, make larger tears in the topmost piece to reveal the paper beneath. Tear more away and then tear from the next sheet to reveal still more below (fig. 2).
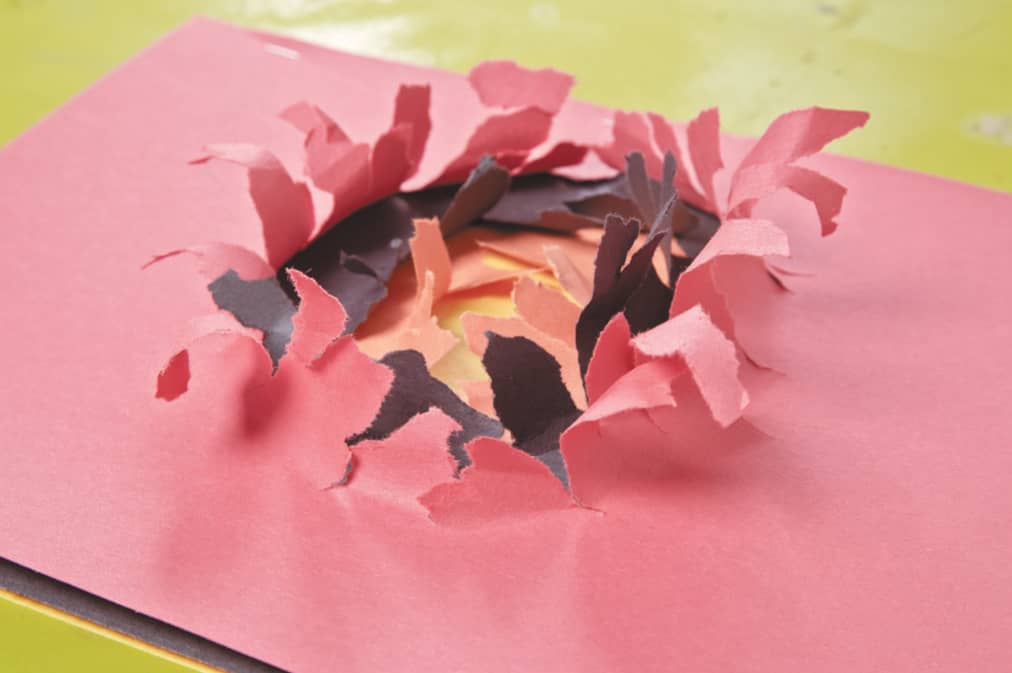
fig. 2. Cut and tear the layers underneath.
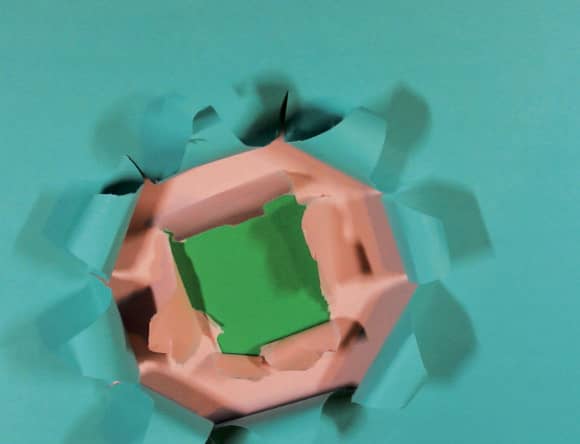
5 Remember that your tools will create different visual effects. Hand tearing makes for a lovely organic edge (fig. 3). Scissors can be used for clean cuts. Craft knives can be used (delicately!) to break into new layers in a very precise way.
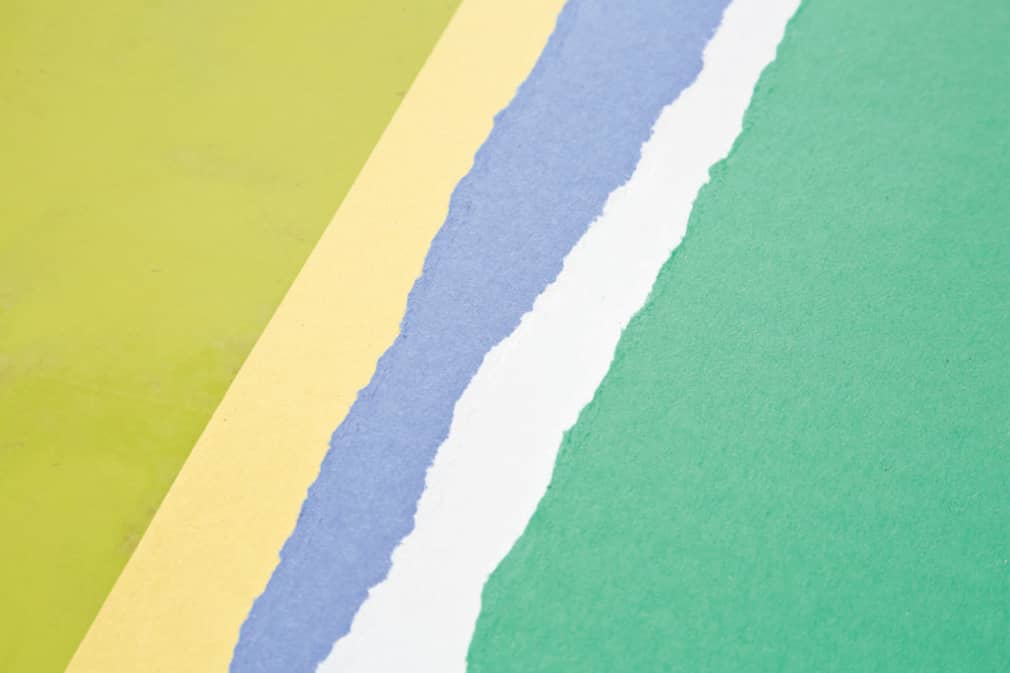
fig. 3. Tearing the edges of the paper by hand makes an organic, natural shape.
6 Try some of these exercises to explore what is possible through this method:
■ Use your hands to tear your paper away from a center point in the topmost sheet of paper. As you capture each new move and as the center point expands, begin to tear away from the center point of the next sheet of paper in the stack. Continue until there is nothing left to tear!
■ Experiment with ripping away from an edge in clean, straight lines. This method is great with scissors.
■ Get sculptural! Following the model of the first exercise above, rip away a shape rather than just a center hole. This way you can emulate this unique shape from layer to layer, repeating it smaller and smaller on different colors of paper (fig. 4).
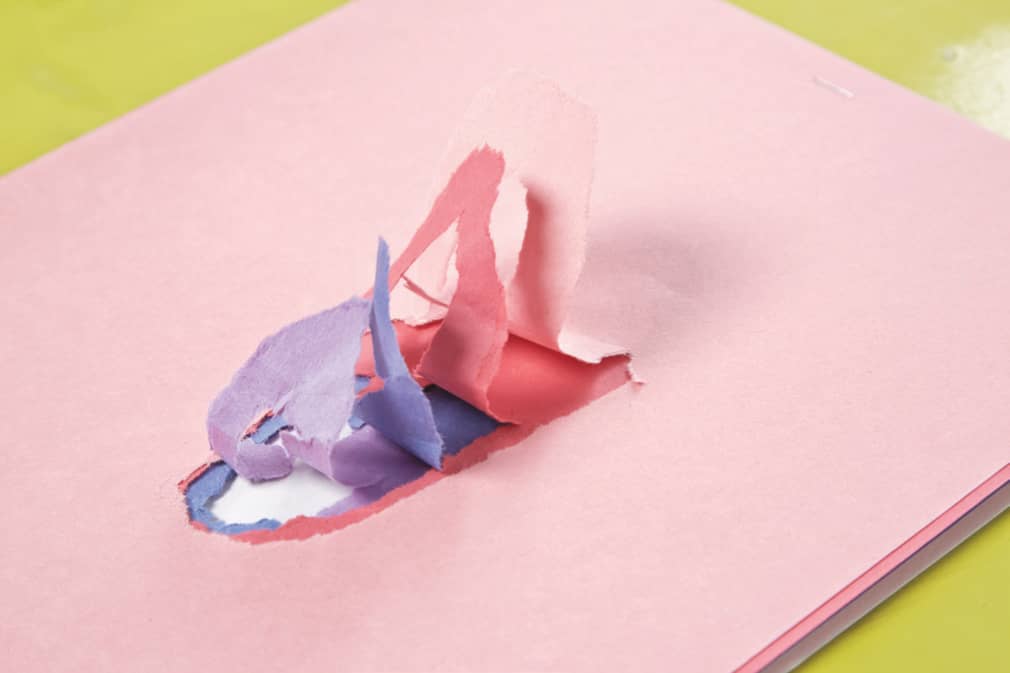
fig. 4. Tear away the same shape but in progressively smaller sizes from each layer of paper.
LAB 9
SMEARING AND SMUDGING CLAY
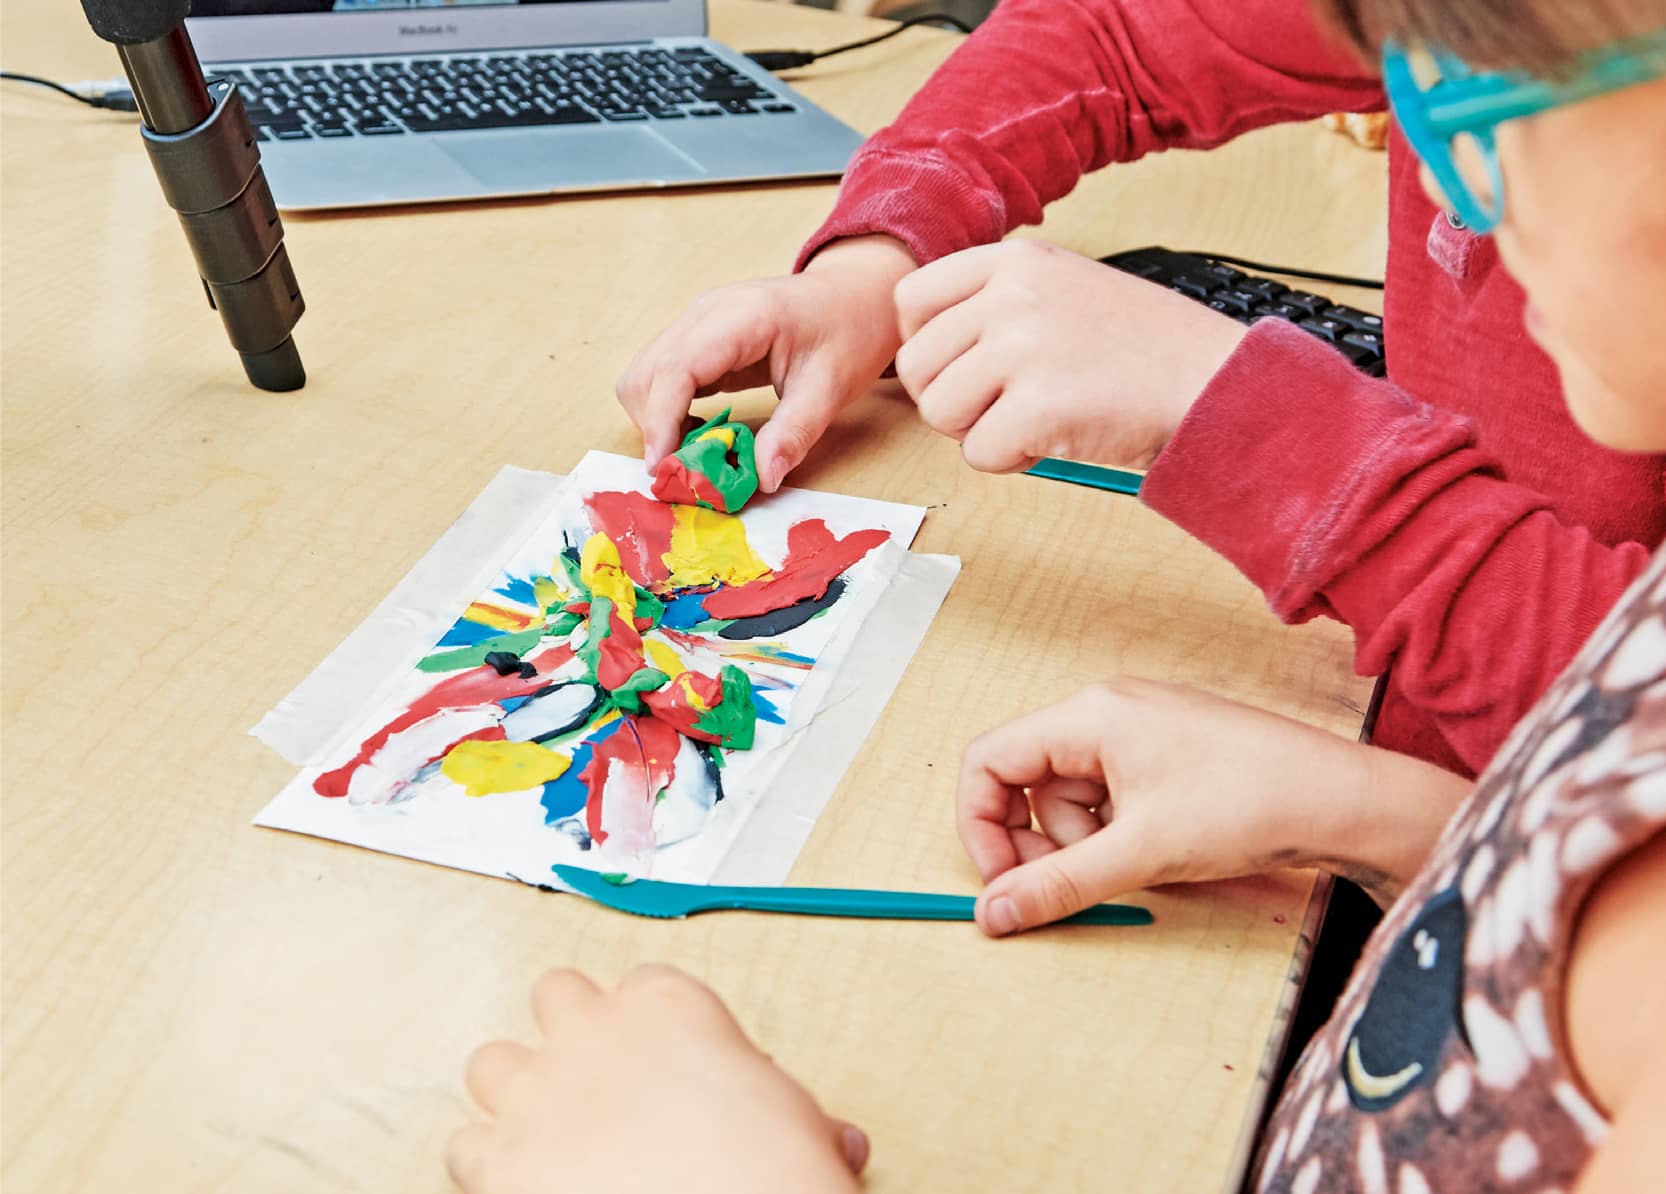
Claymation is a favorite of all the stop-motion animation techniques. Not only is clay great fun to work with, but it also finds a perfect home in stop motion because it’s super easy to manipulate and holds its shape while you capture each little change! In this lab, you’ll experiment with claymation to create beautifully fluid and abstract animated shorts. Clay also provides an opportunity to develop fine motor skills and explore some elements of art: shape, form, color, space, and texture.
BEFORE YOU BEGIN
Be sure to tape your paper down well! Remember that you will be pushing clay around—in some cases, with a bit of pressure—and you want the clay to be moving, not the animating surface!
MATERIALS
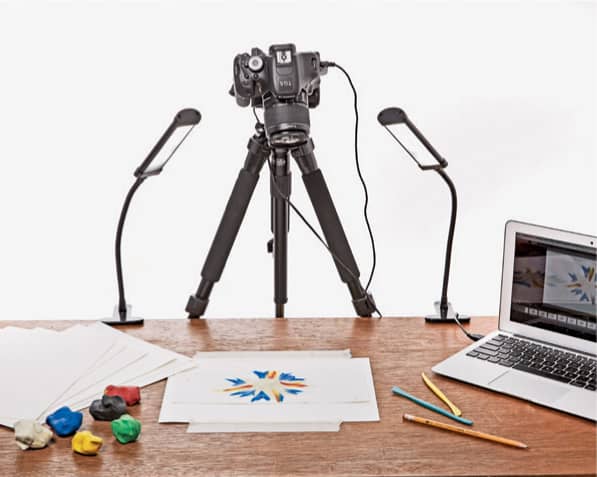
− Camera or other capture device
− Tripod
− Heavyweight drawing or watercolor paper
− Masking tape
− Multicolored non-hardening modeling clay
− Clay sculpting tools
− Pencil (optional, to be used as a sculpting tool)
ACTION!
1 Set up your camera facing in the “downshoot” position and secure your first sheet of paper to the tabletop with masking tape. Then try the following techniques.
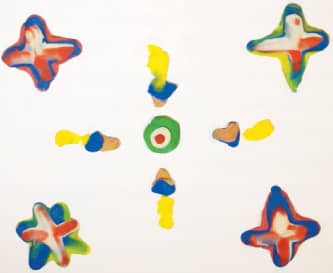
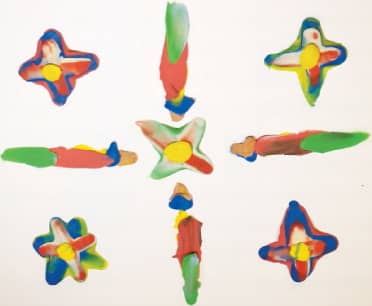
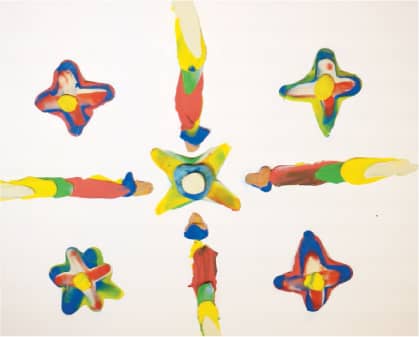
2 Swirl: Start with one color of modeling clay as your base. You can create the base under the lens by adding clay a little bit at a time and capturing photos of each new addition until you have covered a significant area. Start pushing the clay in an arching/circular motion using your fingertip or the flat side of a clay sculpting tool. As you move the clay in this swirling motion, add tiny bits of a contrasting color into the swirl and smear. Keep adding and swirling to create an amazing spiral of shifting colors (fig. 1).

fig. 1. Create a swirl of colors by adding new pieces of clay and smearing it with your fingertip.
3 Expand and contract: Again, after creating a solid clay base (as described above), gradually create a small mound, capturing each slight change as you go. Create a small opening and slowly, picture by picture, stretch that opening to expand outward (fig. 2). You can show the images in reverse to make the opening contract.
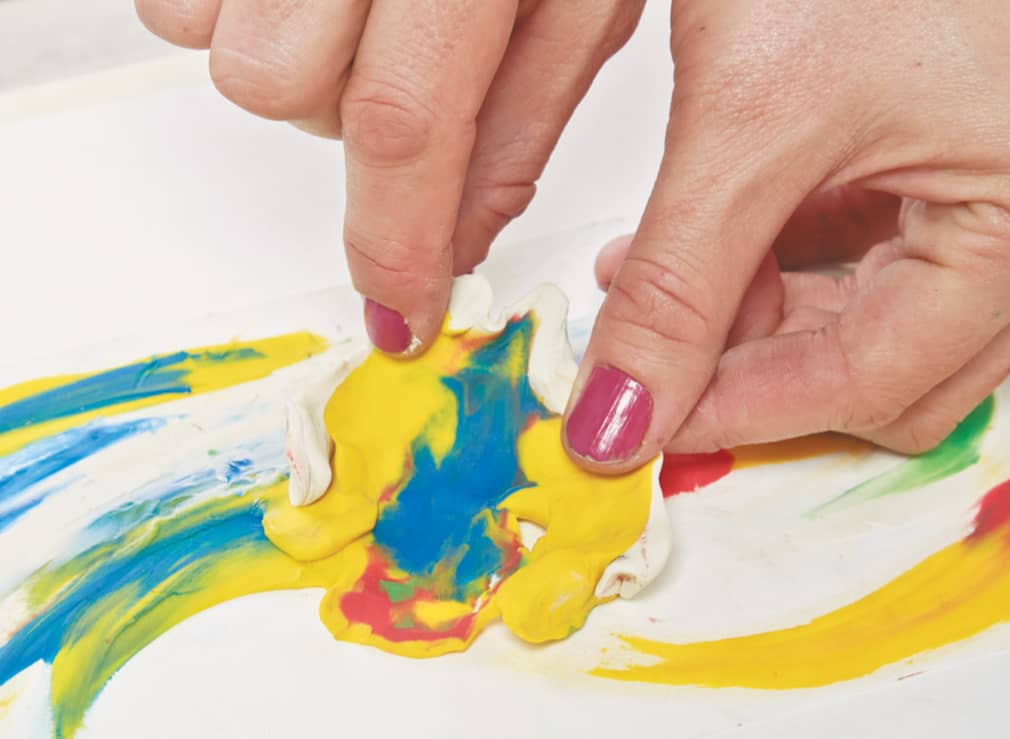
fig. 2. Pull out the mound of clay to create an expanding opening.
4 Smearing waterfall: This activity is inspired by impressionist paintings and uses a bright palate to create beautiful smeared, flowing animations. It also helps simplify the process for very young animators practicing their fine motor skills. It could even serve as a space to learn more about color mixing and color theory. Using a piece of heavyweight paper that is taped down very well, choose one color of modeling clay and create small, smeared smudges on the paper. Now begin animating and capturing a photo of each incremental change as you go. While continuing to smear and add to your original trail of clay, play with adding new colors to that smear and even creating new smears all over the page (fig. 3)! Experiment with adding primary colors on top of other primary color fields, mixing them together to create a new secondary color. The result will appear as a flowing stream of morphing and transforming clay.
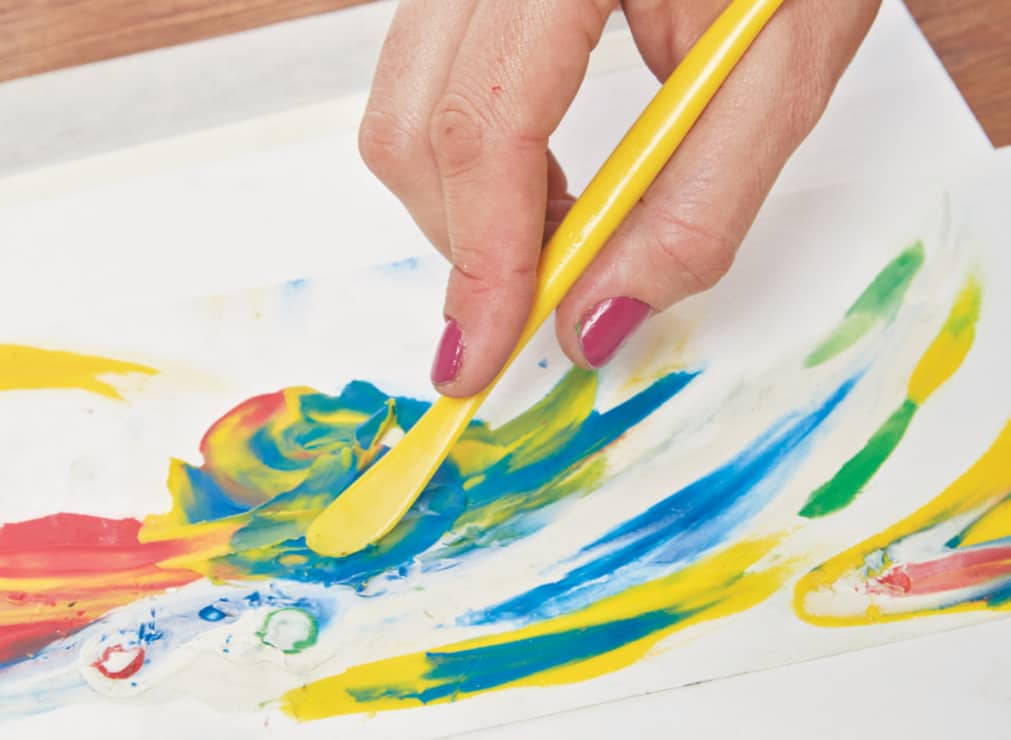
fig. 3. A clay sculpting tool makes a flowing waterfall effect.
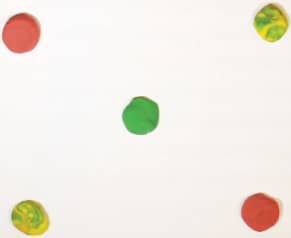
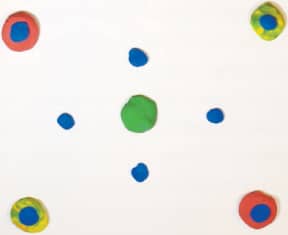
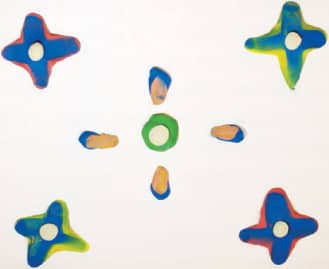
5 Create an abstract design by building up layers and shapes (fig. 4).
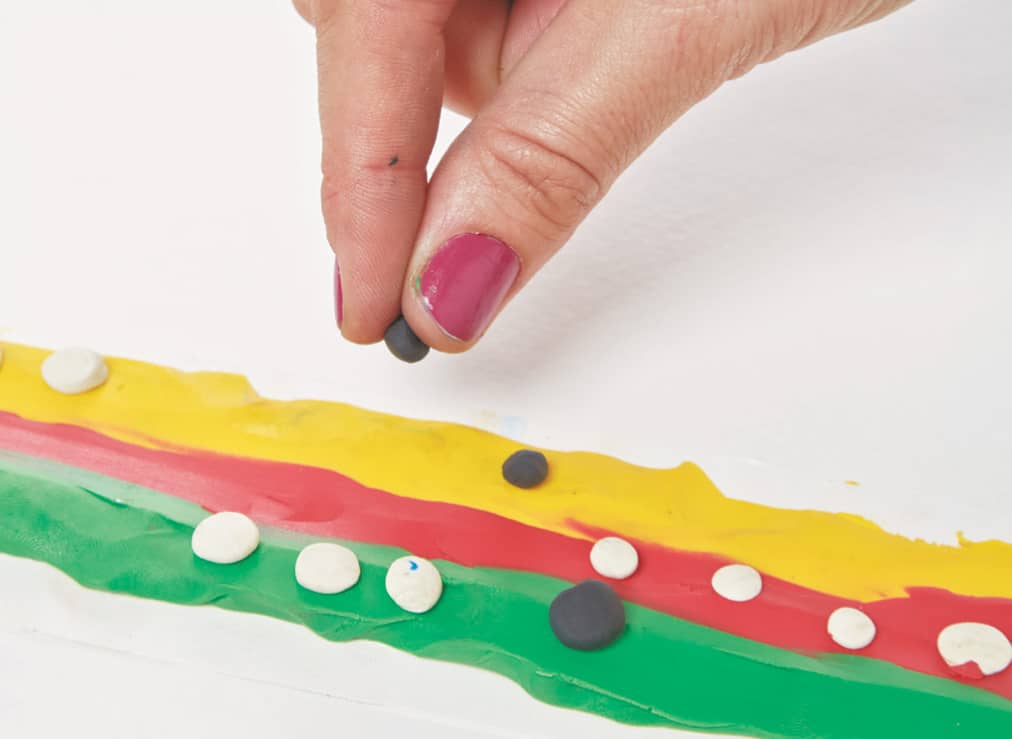
fig. 4. The sticky nature of clay lets you build up layers to make a design.
LAB 10
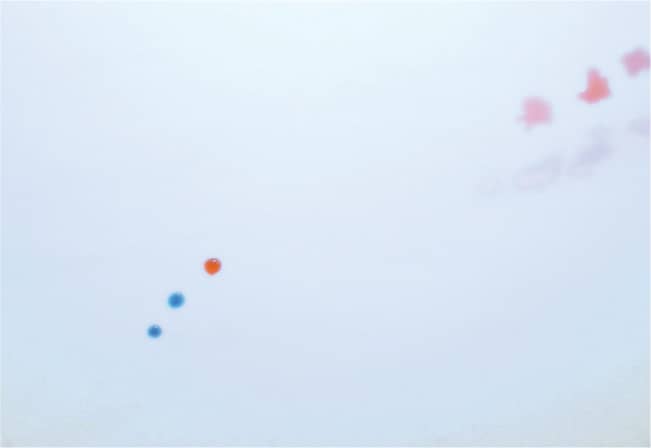
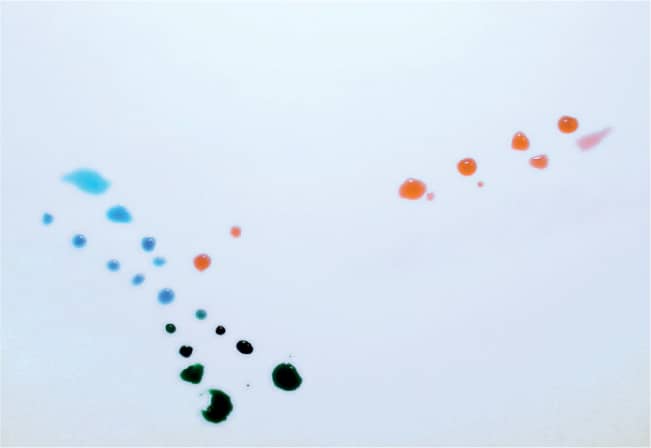
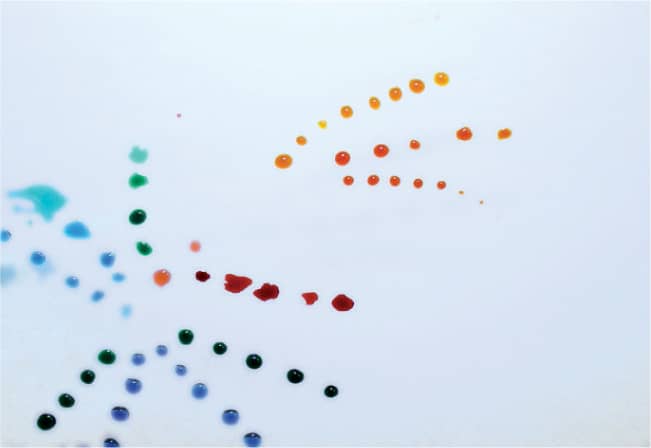
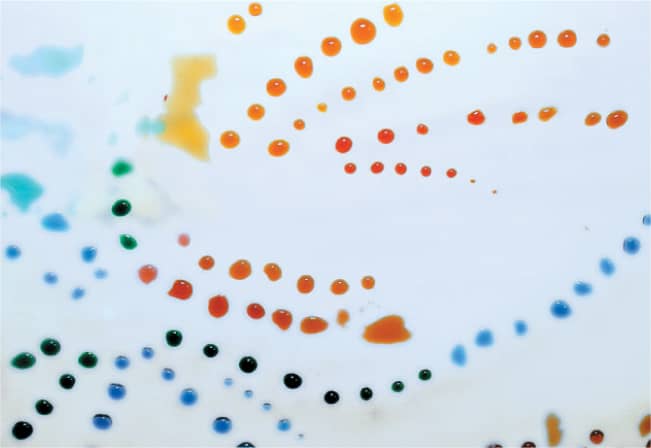
DRIP DROP WATERCOLOR
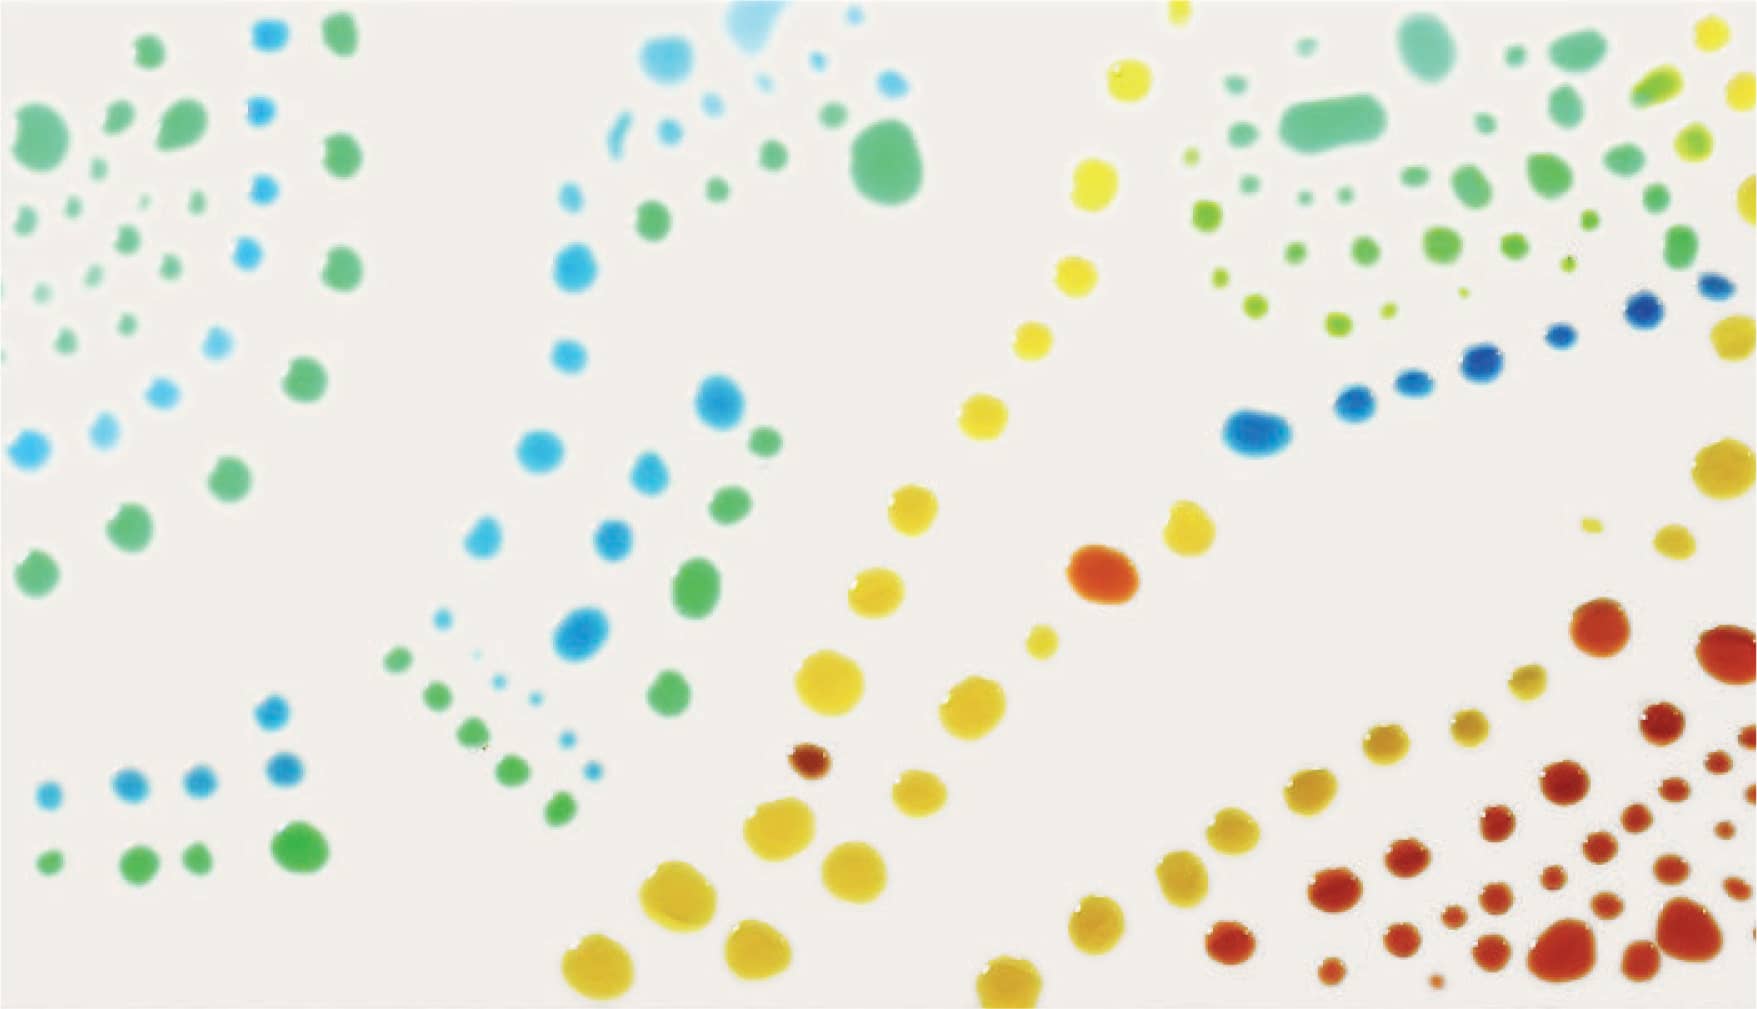
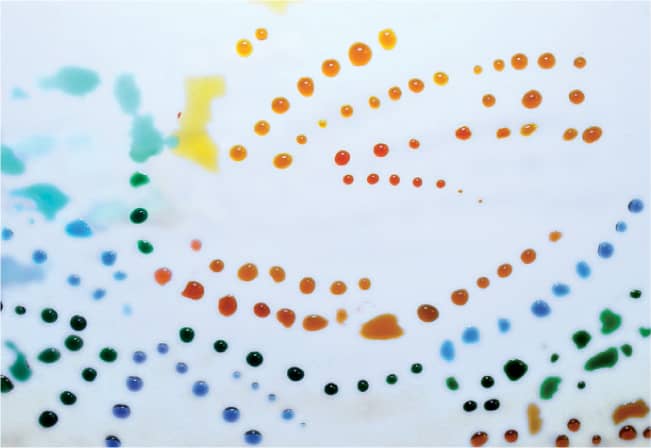
This lab is a fun and freeing way to experiment with mixing color, animating movement, and exploring the beauty and freedom of experimental abstract animation. The jewel-like effect of these illuminated beads of water is just enchanting!
BEFORE YOU BEGIN
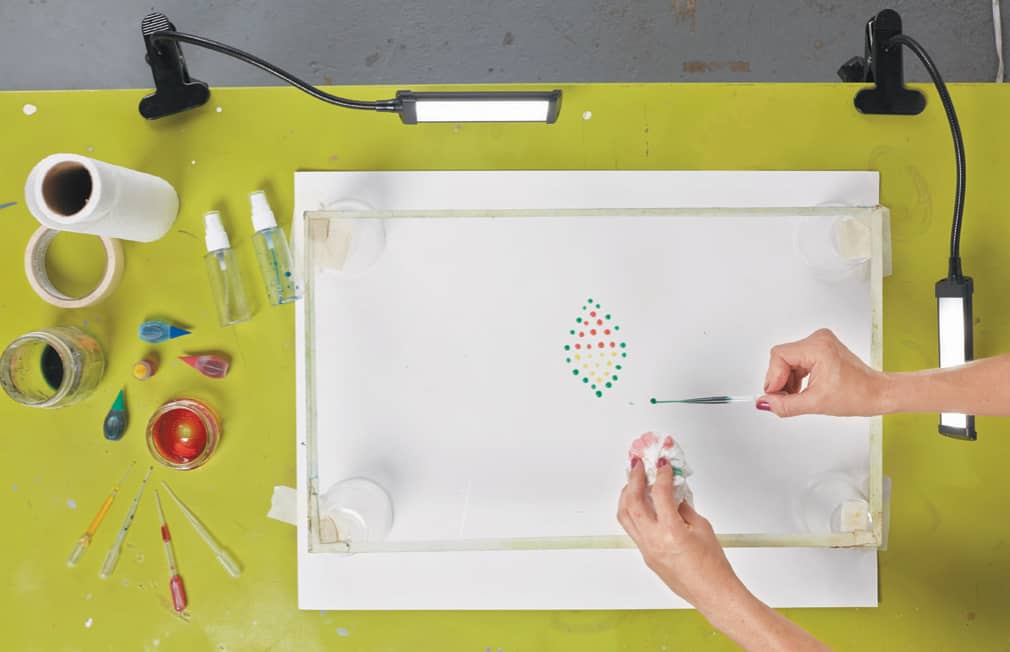
■ Just as with any other downshoot or multiplane shot, it is really important that you take your time in the setup! Make sure that your backdrop paper is aligned correctly by consulting the viewfinder on your camera or animation software view. Tape down the backdrop paper securely. Secure the plastic cups (or alternative spacers) to the multiplane and secure the whole combination to the tabletop. Tape it all down!
■ Now let’s talk lighting. One of the most magical qualities of this lab is the visual effect of the watercolor drops appearing almost luminescent and jewel-like. This is made possible by the strategic addition of lights shining up from beneath the multiplane. Experiment with lighting and see if you can create a lovely luminous environment!
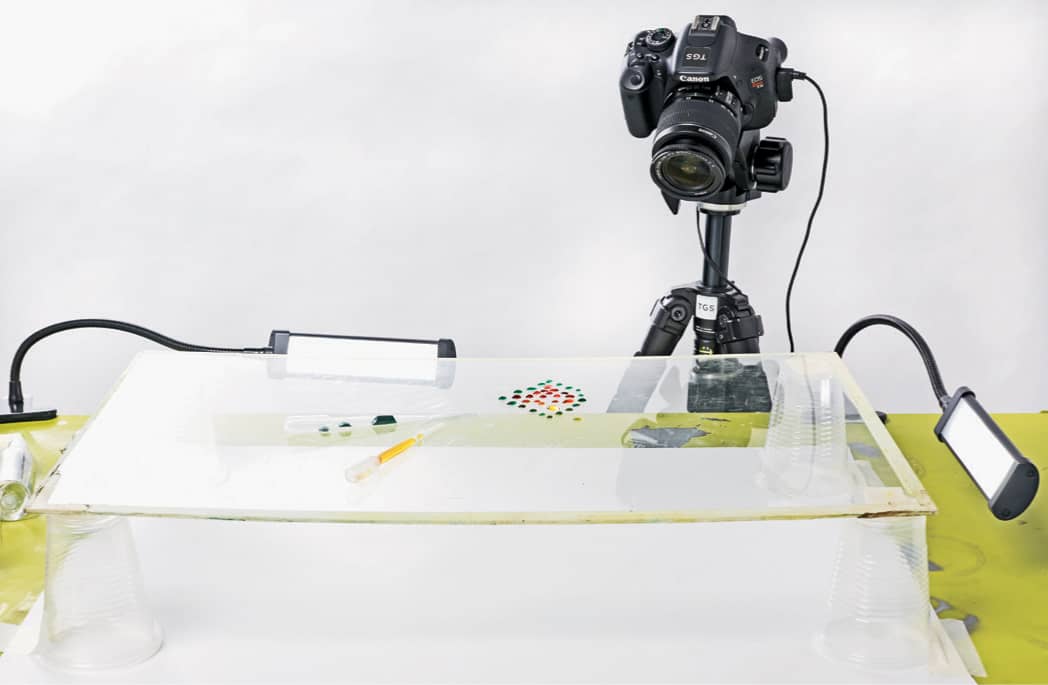
Lighting and multiplane setup
MATERIALS
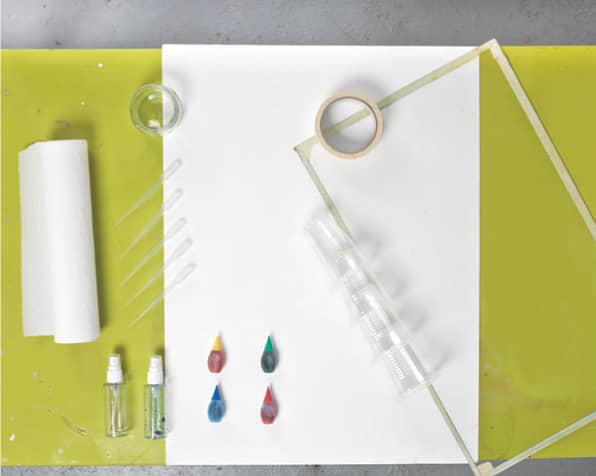
− Camera or other capture device
− Tripod
− Large piece of watercolor paper for backdrop
− Masking tape
− Plastic cups or other same-height spacers to lift the multiplane
− Sheet of plexiglass (for a multiplane)
− Bendable lights (see “Before You Begin”)
− Food coloring
− Glasses or cups for water and color mixing
− Eyedroppers
− Paper towels
ACTION!
1 Using the simple primary colors that come in most food coloring packs, create a range of colors that you would like to animate with! Squeeze a few drops of food coloring into cups filled with a bit of water. Experiment and play. How saturated do you want your color drops to be? Perhaps then you might want less water in your cup. If you want a lighter color, add more water.
2 Using the eyedropper, squeeze a bit of color from your selection and carefully place one drop at a time on top of the multiplane. The plexiglass surface allows for easy application and easy removal of each application using a paper towel. Capture each new addition with your camera (or alternative capture device) and/or animation software.
3 Place one drop down (fig. 1), take a picture, wipe it away (fig. 2), and replace a new drop in a slightly different direction. This will have the appearance of a water drop on the run!

fig. 1. Put down a color drop with an eyedropper.
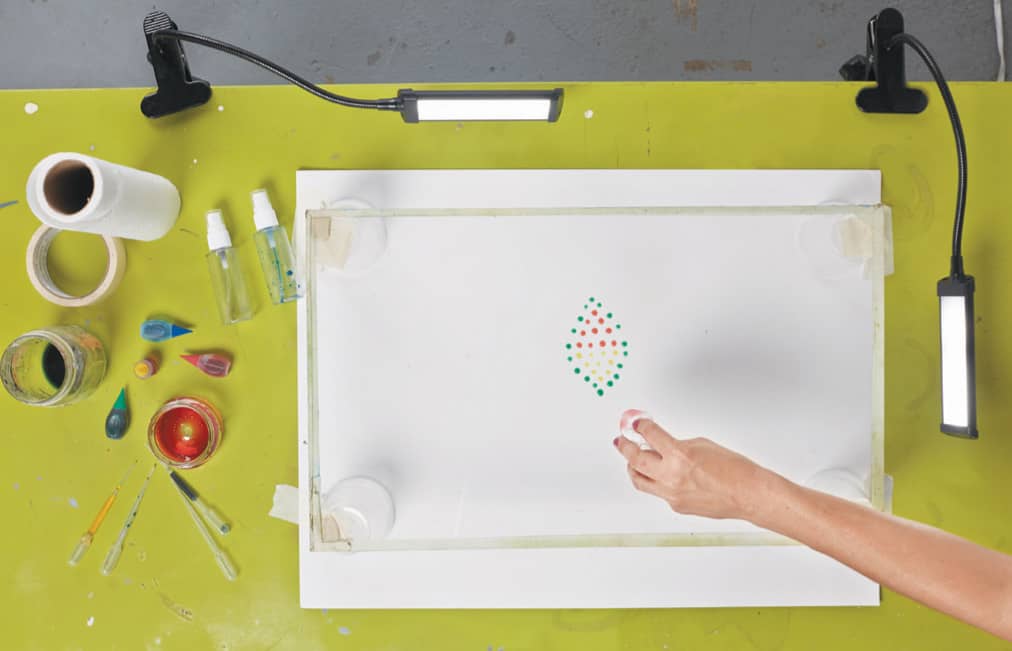
fig. 2. Pick up the color drop with a paper towel.
5 Experiment with different shapes beyond the simple round water drop. Can you create larger and more organic moving shapes? Using more water on top of the multiplane will also allow for some fun with color mixing/spreading under the lens. A larger blob of water with a little bit of color added can be quite magical, too.
LAB 11
SCROLLING BACKGROUNDS
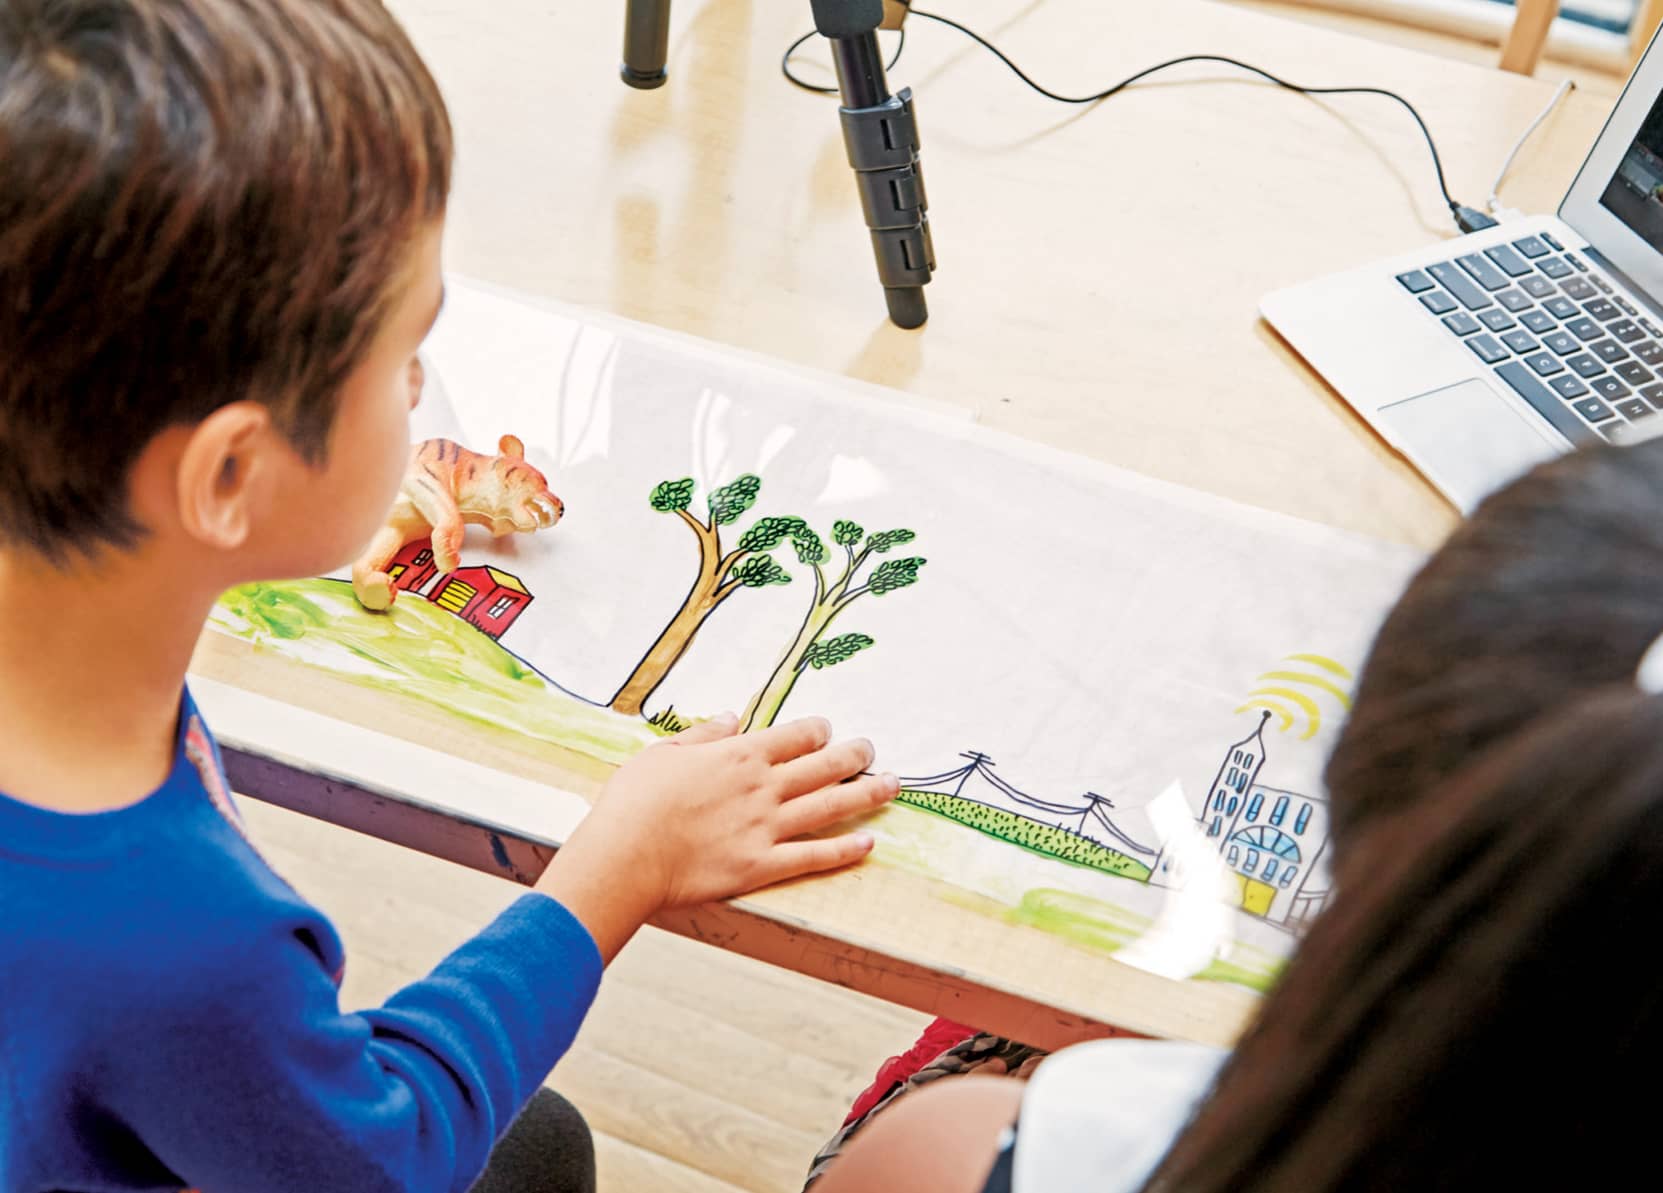
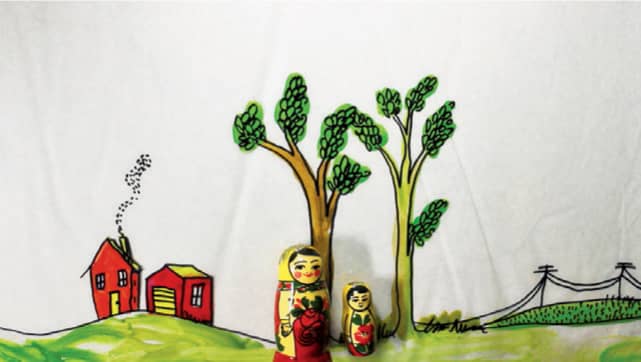
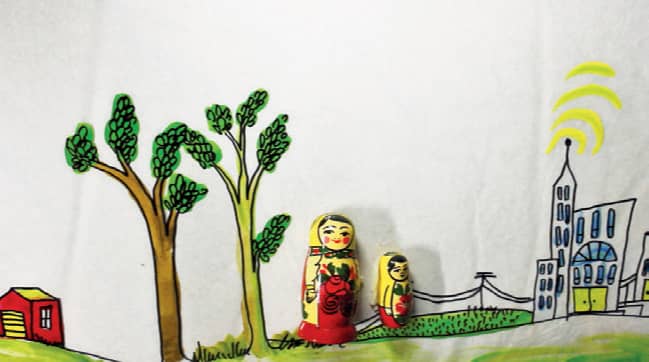
This lab explores the exciting fun of the scrolling backdrop as inspired by old favorite cartoons. While the background slowly scrolls by, a character or vehicle may bob along in one place, creating the illusion of forward motion. A complicated puppet can remain almost stationary while the backdrop itself does the moving! Note: Your camera (or capture device) will be in the “downshoot” style during this exercise (see here).
BEFORE YOU BEGIN
■ Plan your scene. Make a few sketches. Keep it simple to start. Once you have gotten the hang of this simple technique, you can create more complicated scenes and plotlines.
■ What is the environment in which the action is taking place? This lab provides a great space for a character to take a tour through a changing world. Do you start in the desert and end in the city? Is the action taking place along a city street? If so, what kinds of buildings and street elements might we see?
■ Take a moment to design your character or element that will be “moving” through these environments. Anything can be used as the moving element. Even a found object could be employed as the subject on the move (see Lab 12).
MATERIALS

− Fine-tipped and fat-tipped permanent markers
− 2 to 4 long sheets of clear acetate cut to 11” (28 cm) tall by up to 30” (76 cm) long
− Acrylic paint or gouache
− Paintbrushes
− Camera or other capture device
− Tripod
− Masking tape
ACTION!
1 Using the permanent markers, draw your changing landscape in one long row on a sheet of clear acetate (fig. 1). Take time to consider how you will change one space into another. What is the progression of the drawing? What comes next in line? Imagine that you are on this journey yourself. What would you see next? Once you have designed the first scrolling background, perhaps you want to create a few more. Have at it!
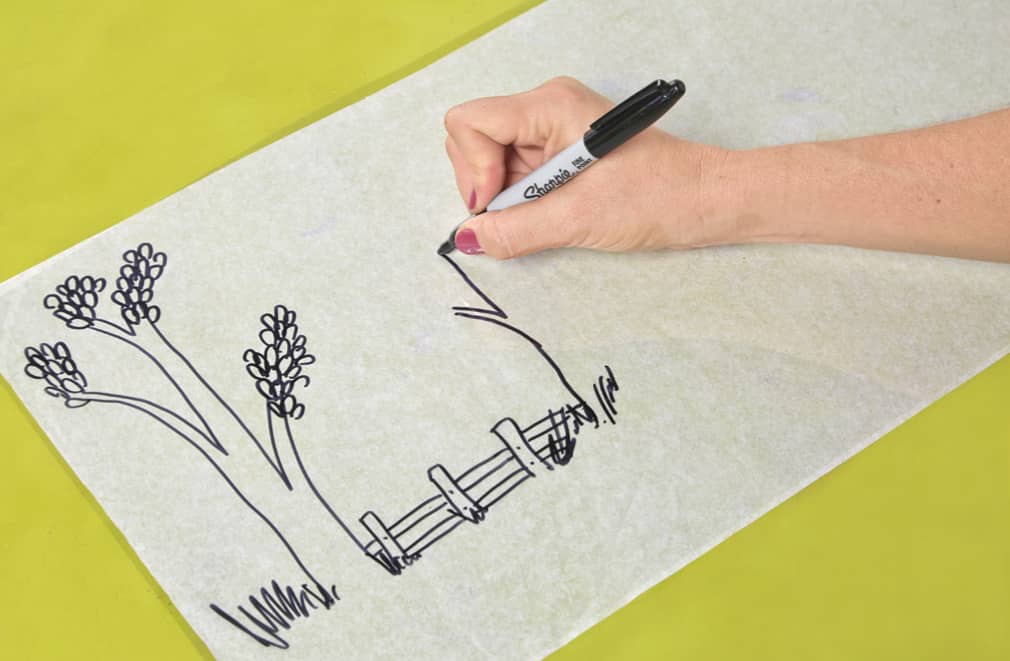
fig. 1. Draw the background on clear acetate using a permanent marker.
2 Now that you have “penned” (drawn in) the lines for your background, you can turn the acetate over and paint on the back from the underside (fig. 2). The permanent marker lines serve as guides that you can fill in using opaque paint. Acrylic paint and gouache (opaque watercolor) are great choices. Let the paint dry for 10–15 minutes.
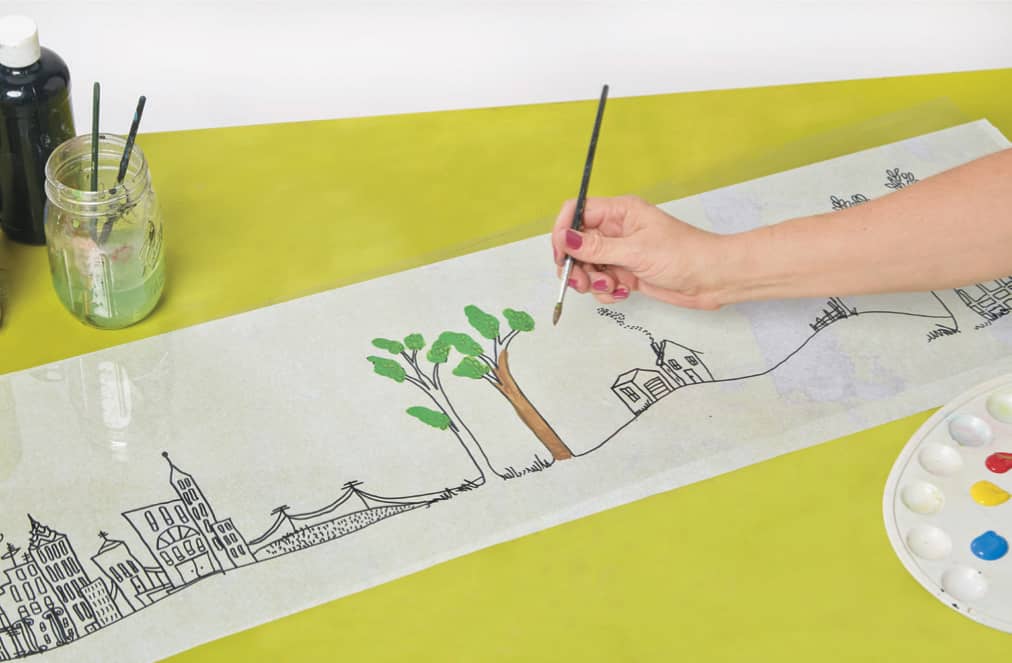
fig. 2. Fill in the drawn lines with paint on the reverse side.
3 Finally, it’s time to set up your shot! Once you have oriented your camera (remember to stabilize your capture device using a tripod or other rigging), use masking tape at the top and bottom of the acetate sheet to create a guideline along which to move the backdrop (fig. 3).
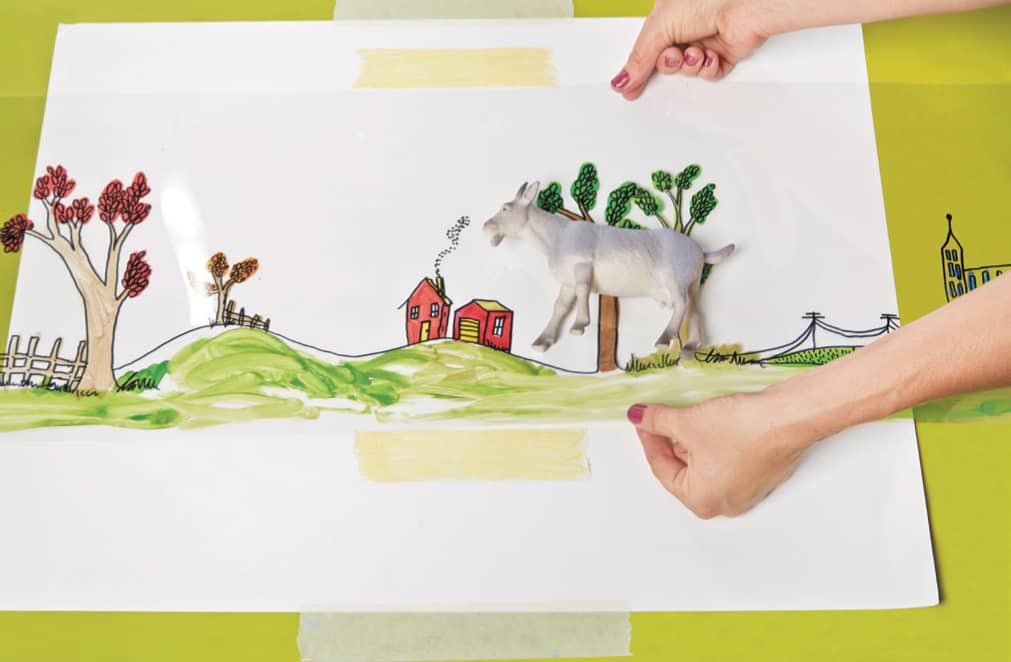
fig. 3. Use masking tape as a guide for your moving background.
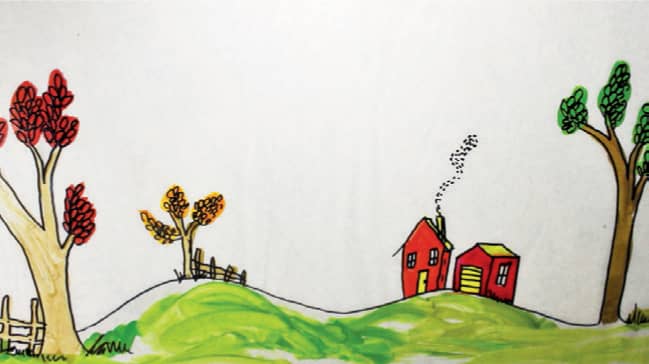
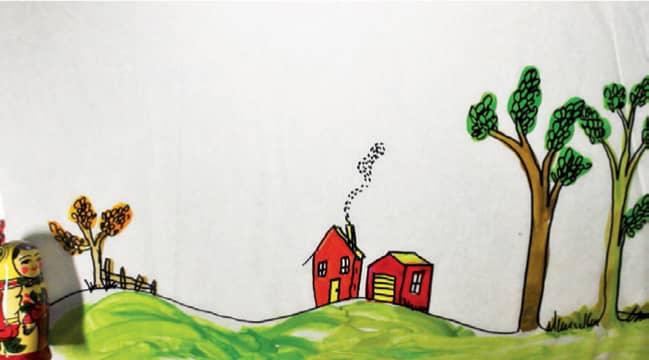
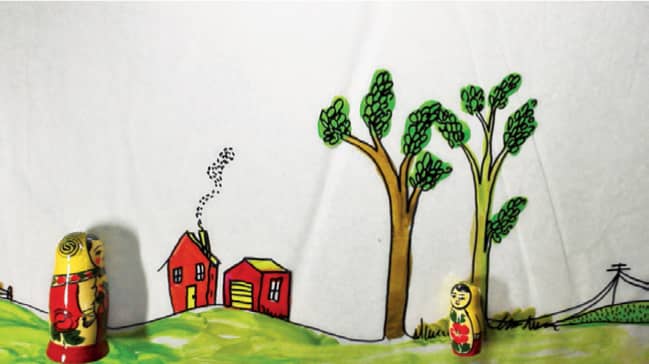
4 Position the backdrop as far as you can on one end with the “moving” element in the middle of the scene. Now carefully pull the backdrop across the scene ever so slightly to reveal the next drawn area. The moving element should remain in relatively the same space in the frame throughout the entire animation, but it shouldn’t simply remain still and lifeless. Try wobbling the subject back and forth slightly with each incremental scroll of the backdrop.
5 When you have run out of backdrop, either feed in another strip or start over at the beginning! What a wonderful loop!

LAB 12
TWO-DIMENSIONAL PUPPETS AND BACKDROPS
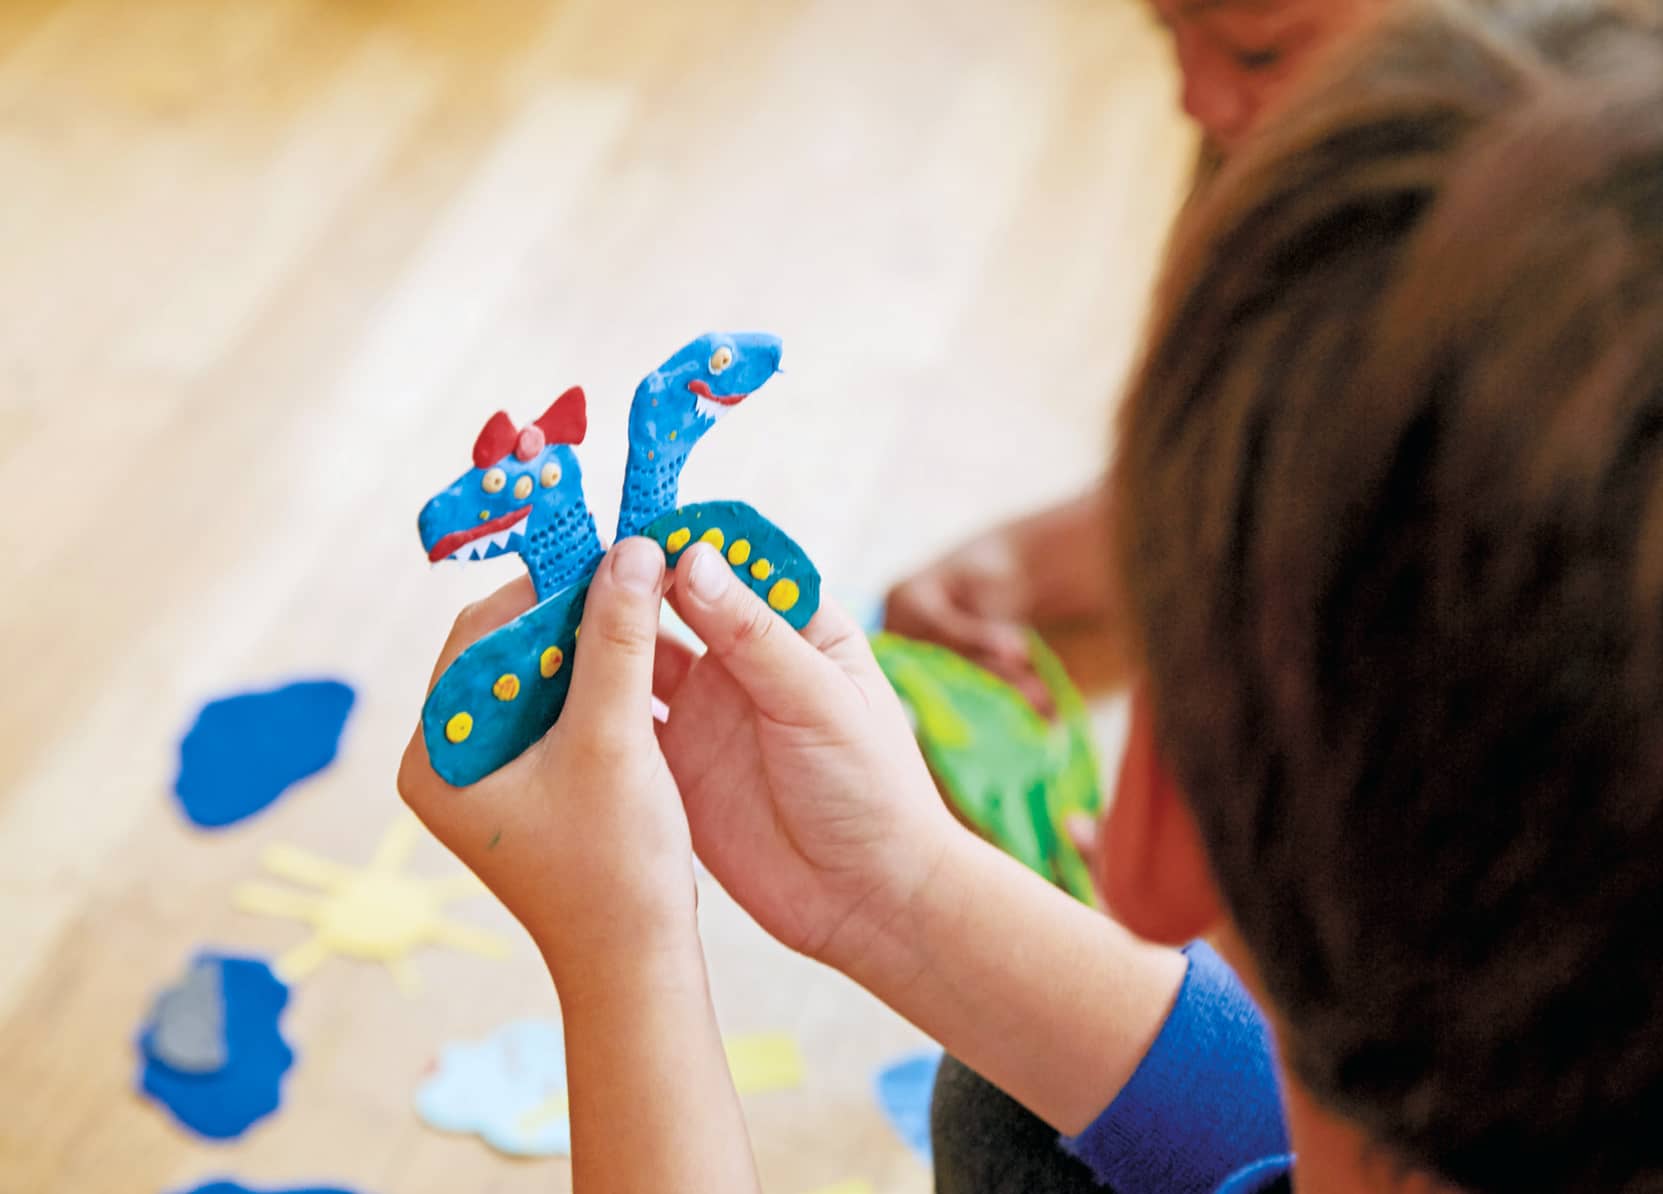
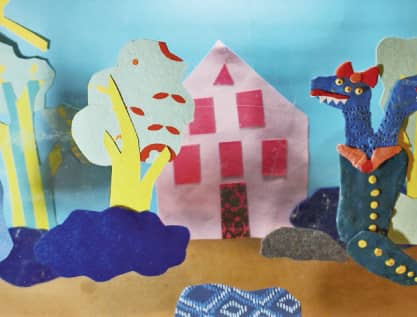
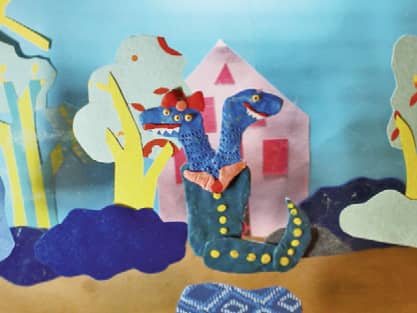
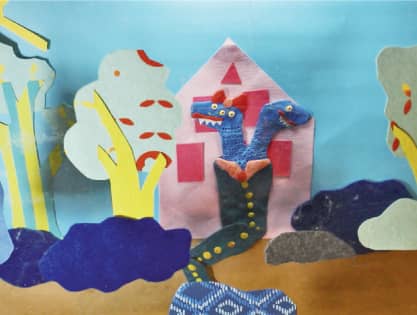
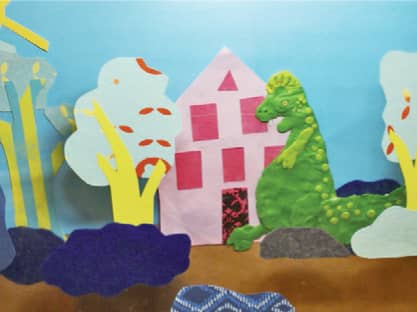
This lab is an introduction to a very versatile and fun way to make two-dimensional puppets for animating on a multiplane or any flat surface. We will also detail simple techniques to build backdrop elements to accompany your wonderful puppet. When you are through, you will have the building blocks to create a multiplane world that is full and multilayered!
BEFORE YOU BEGIN
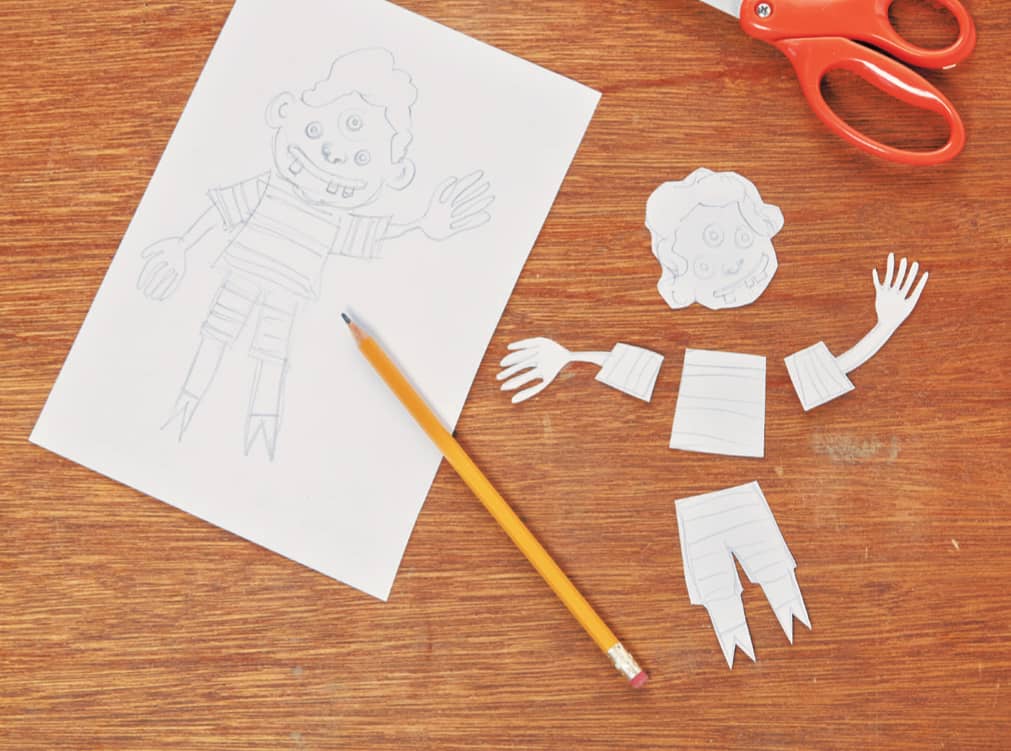
First, design your puppet using computer paper and a pencil. A little sketch will do. This character will take you through your first multiplane animation!

MATERIALS
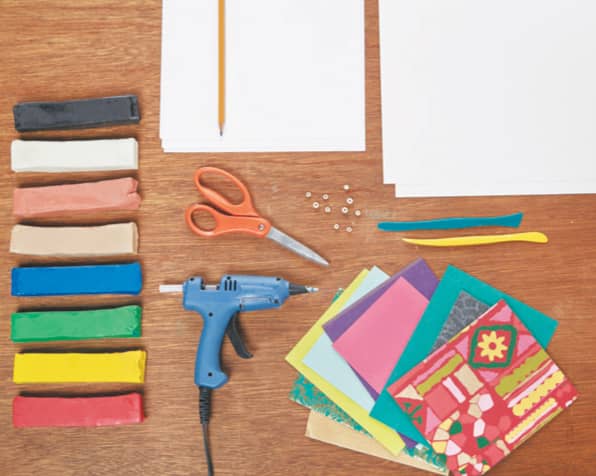
− Computer paper
− Pencil
− Heavyweight cardstock
− Scissors
− Non-hardening modeling clay in a variety of colors
− Clay sculpting tools
− Small round beads (preferably white)
− Patterned paper
− Hot glue gun (or liquid craft glue/glue stick)
− Masking tape
− Sheet of plexiglass (for multiplane)
− Camera or other capture device
− Tripod
ACTION!
1 Once you have designed the puppet, you can begin building it! Using a heavyweight cardstock, draw your puppet again, but in separate pieces, considering which elements you would like to be movable and thus separate from each other. For instance, the arms and legs and head should be separate from the torso for a full range of motion. (Note: Creating too many intricate pieces can make for tricky animating.)
3 This is where the real fun begins! Pinch off a tiny bit of modeling clay at a time and smear it on top of your cutout pieces (fig. 2). The clay can be shaped into lines, dots, squiggles—the sky is the limit! With the help of the clay sculpting tools, you can truly give your character a lot of personality and detail. Finally, add the beads for eyes with the center hole of the bead pointing up as though it were the pupil.
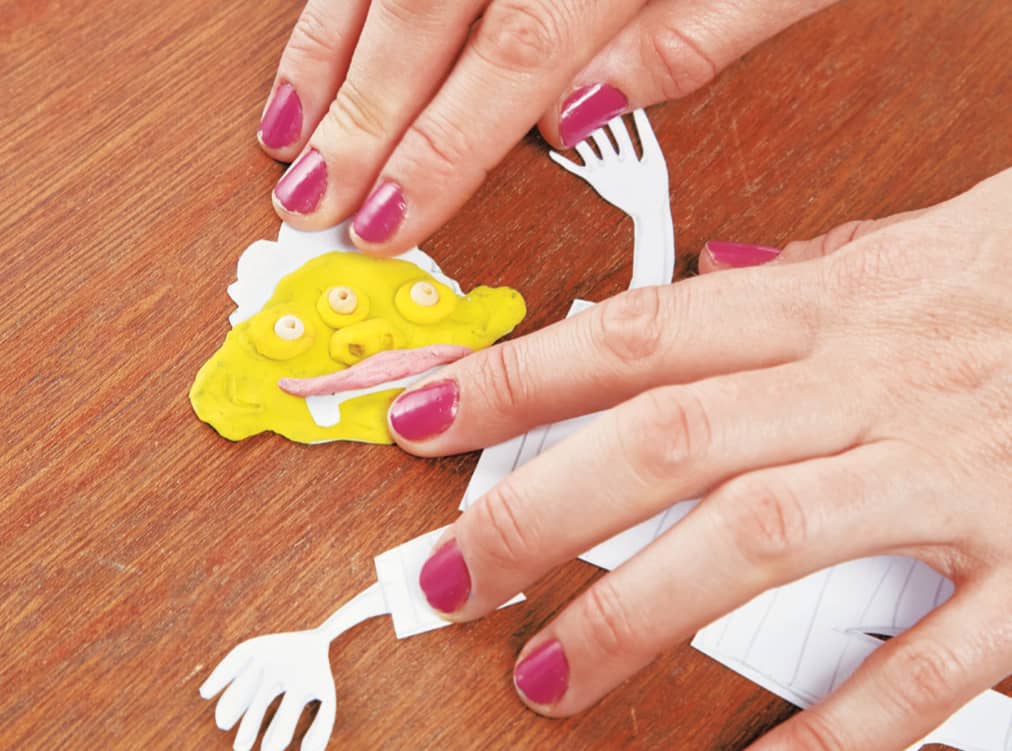
fig. 2. Smear modeling clay on the cut pieces of the puppet.
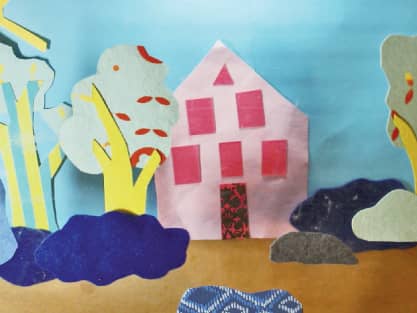
4 Now it’s time to think about setting and environment! Because you will be animating on a flat surface, your set pieces can be flat, too. This frees you up to use a whole range of materials and methods! We love combining patterned papers to create interesting visual textures in our animated world. It also provides a nice contrast to the clay-covered puppet, but you could use any combination of fabric, felt, wire, or found objects, or even copy our clay-covered two-dimensional puppet technique for sets! (Note: Keep in mind the type of material that you are using when you select your glue: hot glue is great for heavier materials and can even be used on paper, though you might prefer a glue stick or liquid craft glue for some lighter materials.)
5 Use scissors to cut out simple shapes and glue them together to create a whole world (fig. 3). Keep in mind the scale of what you are creating: some of our favorite animated scenes have a lot of different sizes of set pieces in play. For example, some are very small for things in the distance (on a back layer of the multiplane) and some are quite large for the foreground (one of the topmost layers of the multiplane).
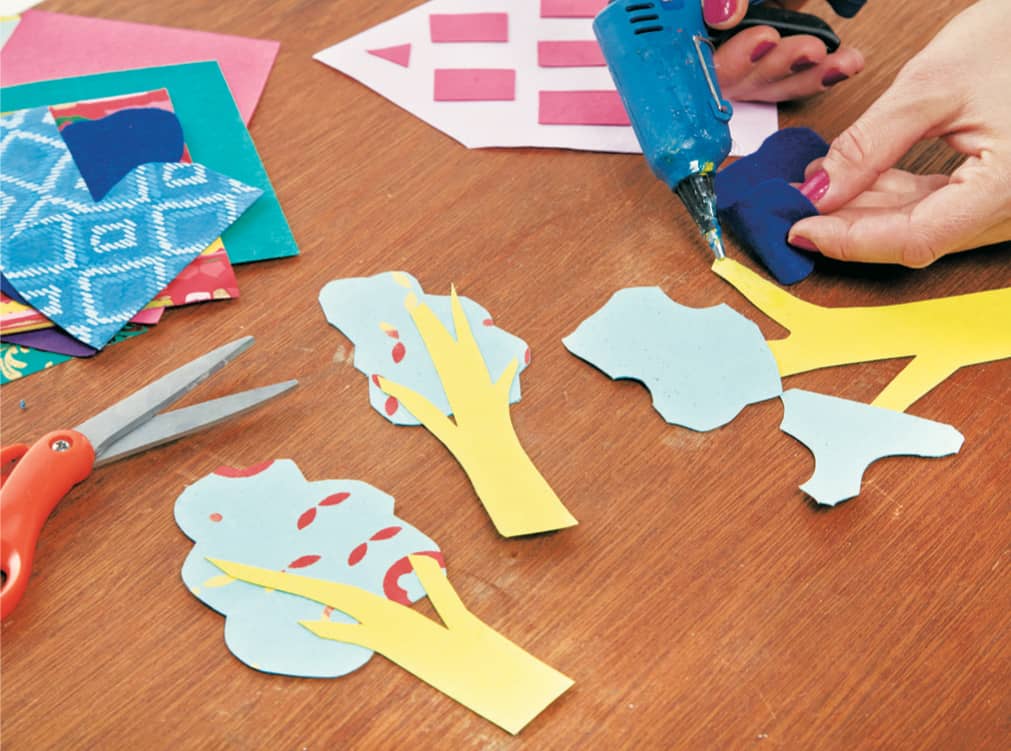
fig. 3. Glue together set pieces for a two-dimensional set.
6 Use masking tape to affix your background to the plexiglass multiplane (fig. 4).
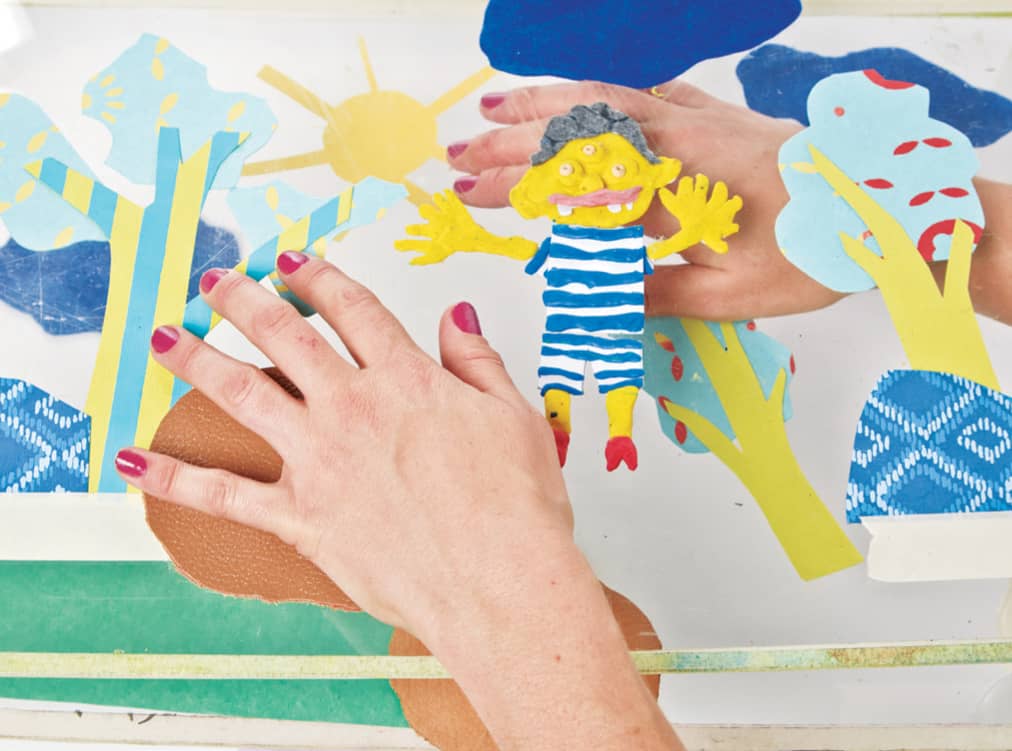
fig. 4. Arrange your background on the multiplane, taping the pieces in place.
7 Set up your camera and tripod in the downshoot angle and have your character act out a scene.
MEET THE ANIMATOR
EMILY COLLINS
Emily Collins is an animation director and partner at Mighty Oak, an animation studio located in Brooklyn, New York. Her animation work explores memory, abstract thought, and humor using cut paper, paint, pastels, and other tactile materials.
Emily was the recipient of a National Board of Review grant in 2015. Over the years, she has shown work at venues such as the Poetry Project at St. Mark’s Church, Anthology Film Archives, Spectacle Theater, and the MUSMA Museum in Italy. She has collaborated on animation works with Penguin Books, the New York Times, Mashable, LEGO, and many others.
In 2013, she founded GirlStories, a free program for teen girls interested in film, comics, and animation located at the Children’s Museum of the Arts in New York City. Emily holds a BFA in Film/Animation/Video from Rhode Island School of Design and an MFA in Integrated Media Arts from Hunter College.
Learn more at www.mightyoakgrows.com.
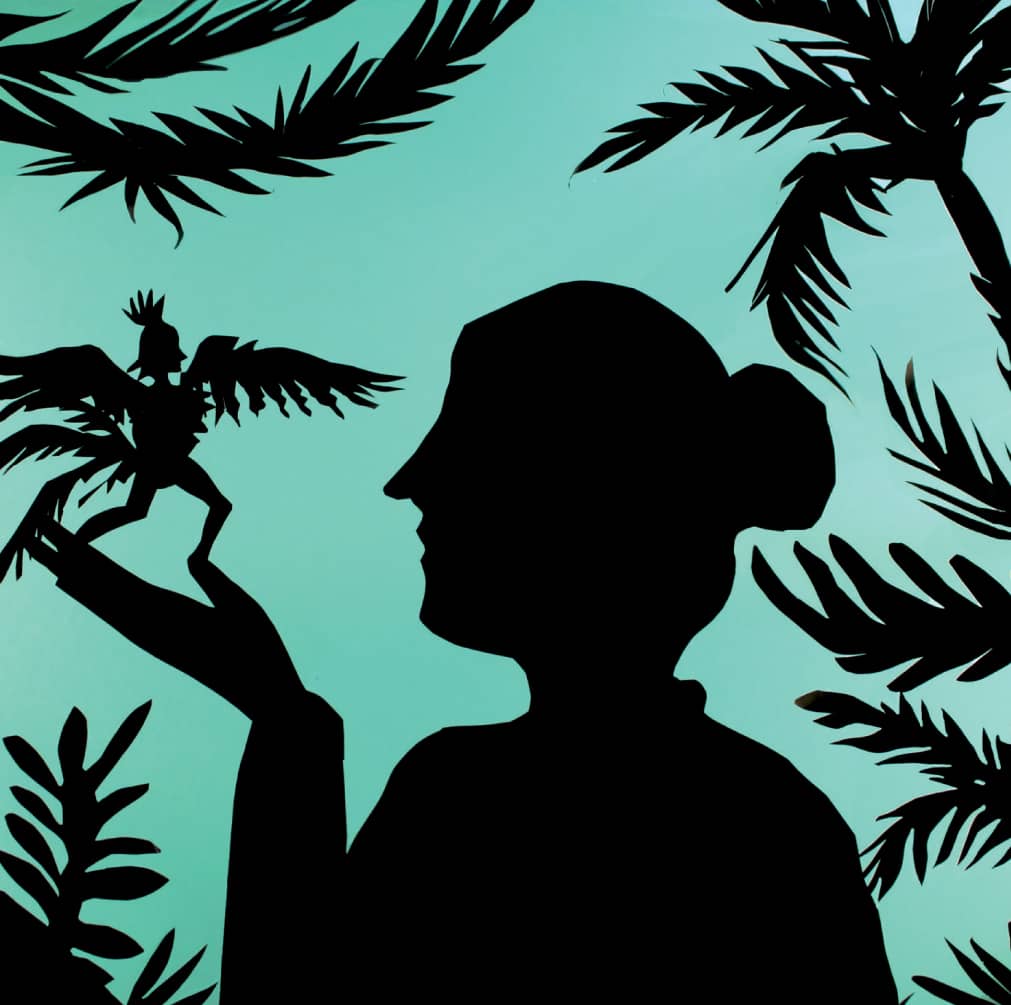
Still from a short tribute to the silhouette animation pioneer Lotte Reiniger. Featured by Mashable during Women’s History Month. Made in 2016 at Mighty Oak.
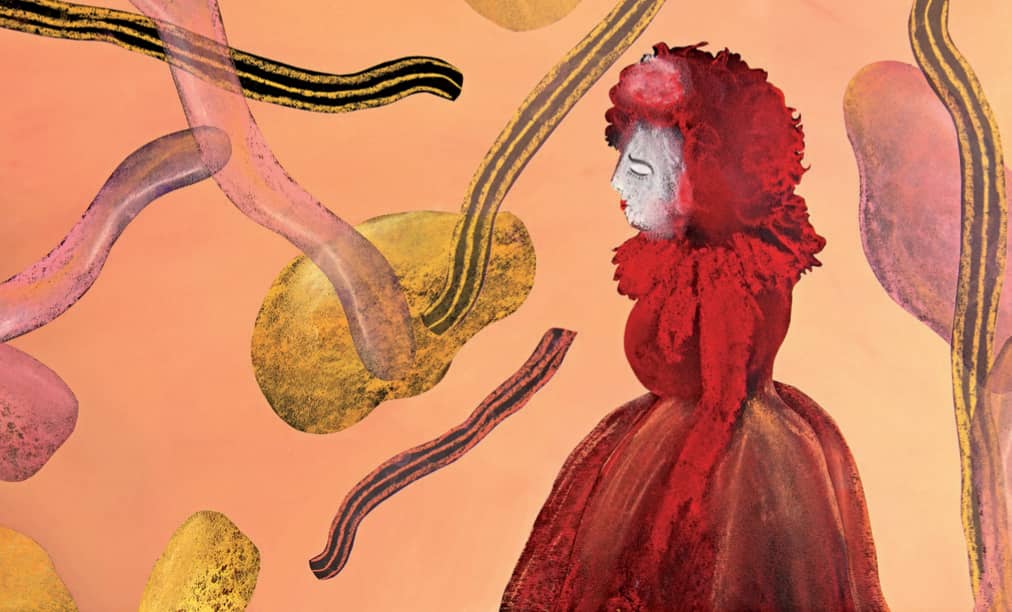
Still from Chula with Invisible Strings, a Mighty Original short film.
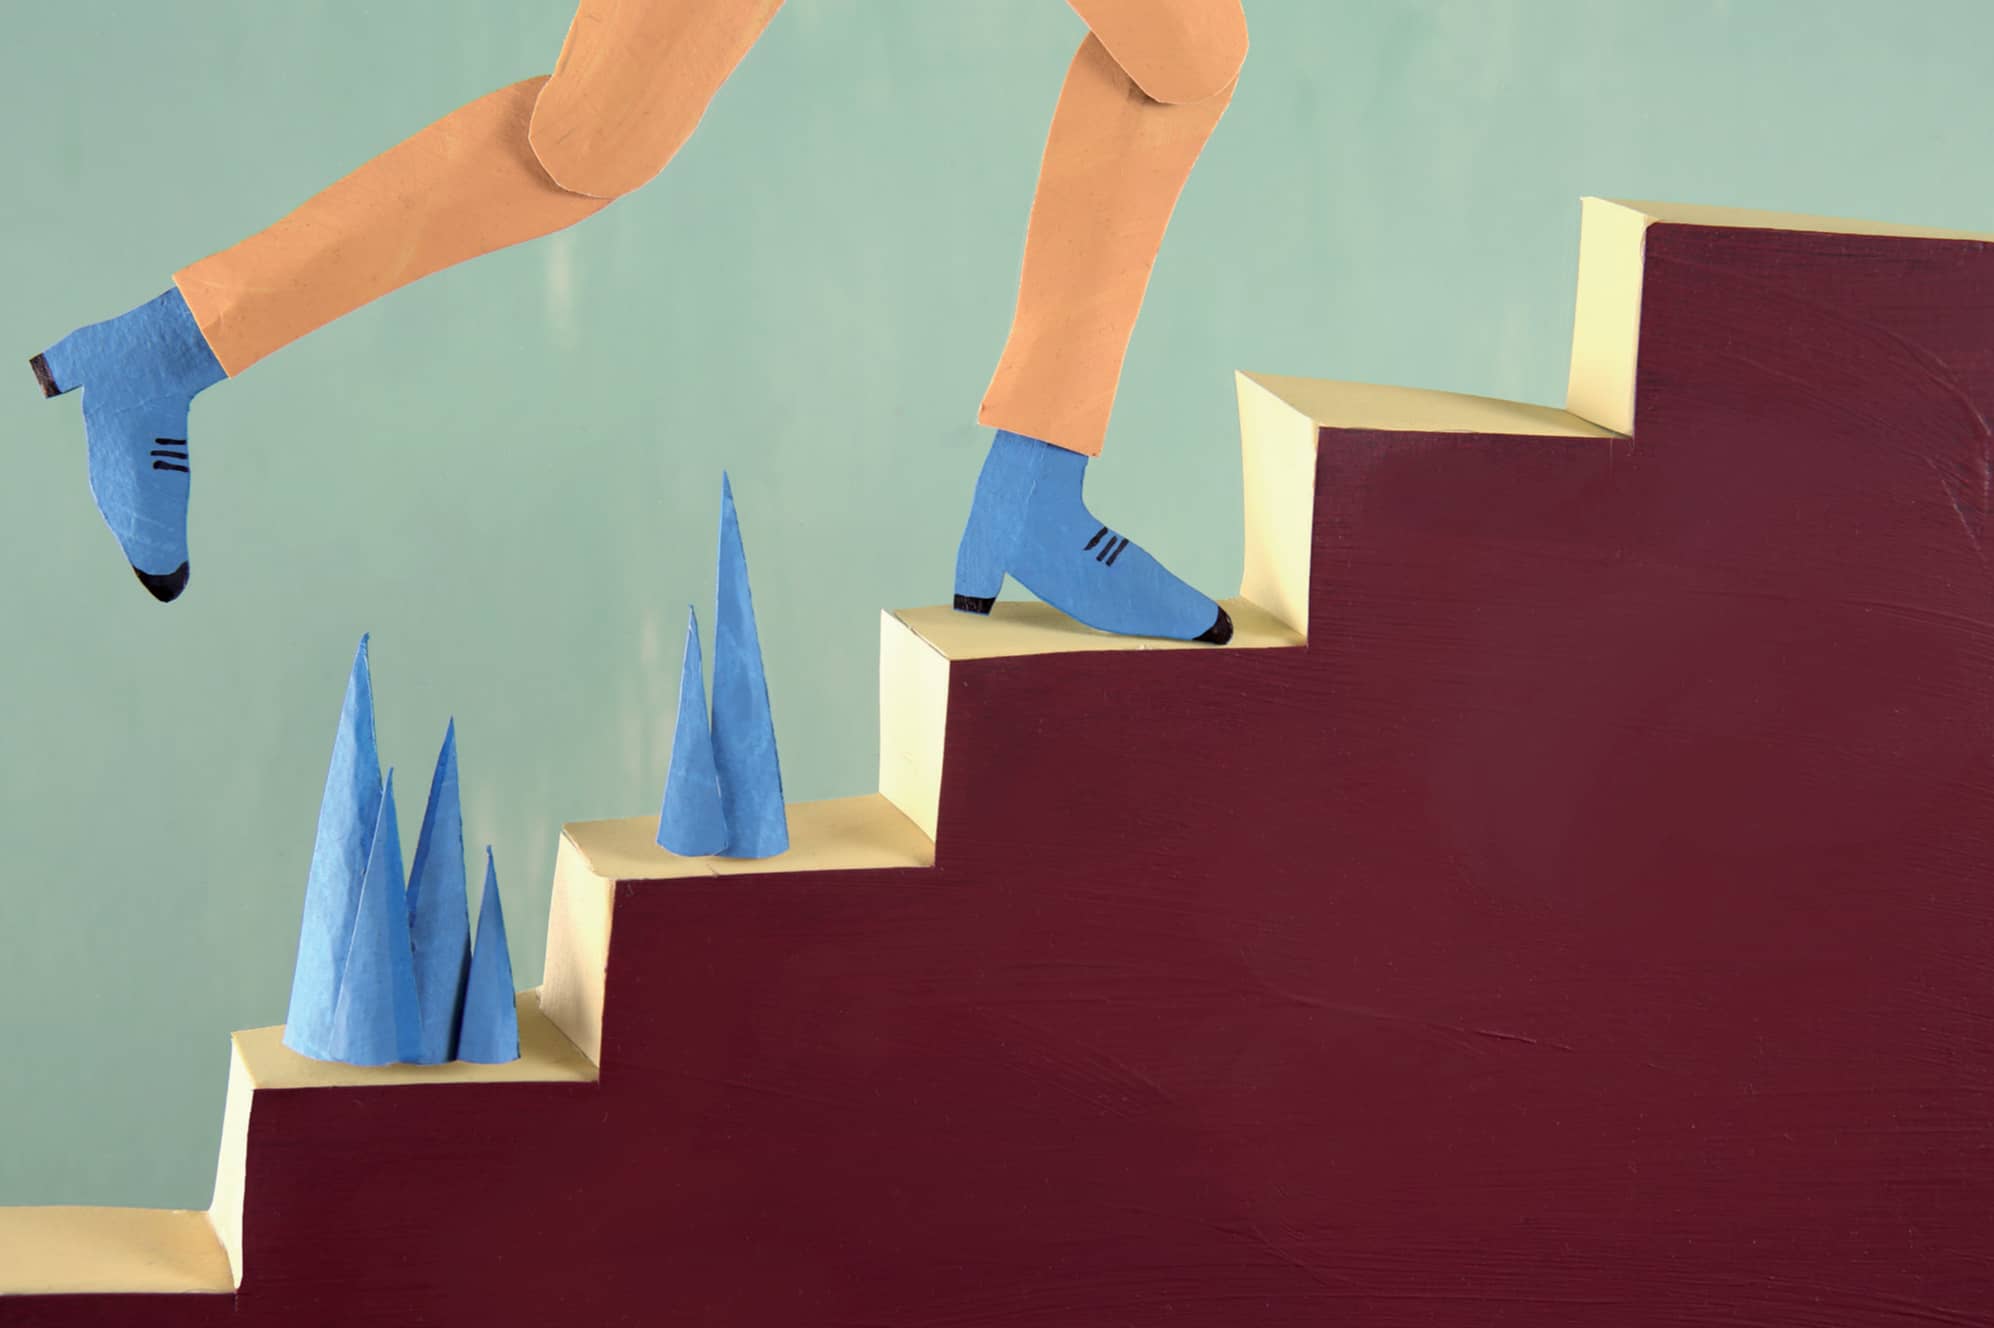
Still from HATCH Stories, an original series about female founders. Made in 2016 at Mighty Oak.
