Compared with the one-sided hopper, the carpentry involved in building the two-sided hopper is a bit more complicated. However, it allows the mob to feed from both sides — certainly an advantage from the birds’ point of view.
MATERIALS
Lumber
1"×12" (6’ length)
Supplies
⅛" acrylic (two 6" squares)
Eight 4d nails
Twenty 1½" screws or 6d nails
Wood glue
15-gauge galvanized wire (3’ length)
Continuous hinge (11" length cut into two 5½" lengths) with screws to go with it
Tools
Tape measure
Pencil
Carpenter’s square
Circular saw
Hammer
Screwdriver
Hacksaw
Power drill
⅜" twist drill bit
Driver bit to match screws
Pliers
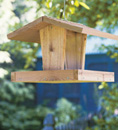
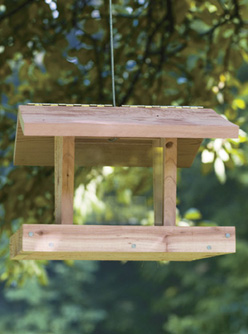
TWO-SIDED HOPPER FEEDER. This feeder provides access from two directions – a feature that will have birds flocking to it in no time.
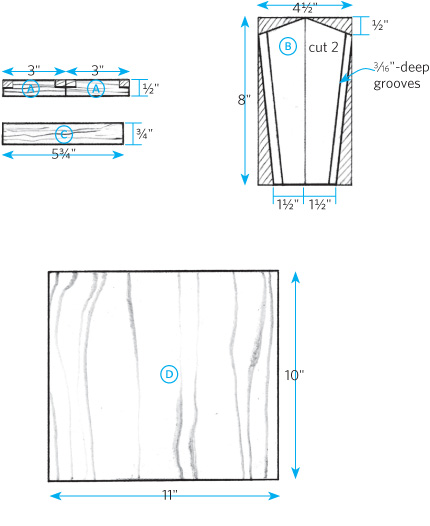
Cutting the lumber. Refer to the cutting diagram to cut all pieces according to the following key:
 stops (cut 2)
 sides (cut 2)
 spacer bar
 floor
floor
 front and back closure strips (cut 2)
 side closure strips (cut 2)
 roof (cut 2)
Cut grooves in the sides as shown.
Cutting diagram

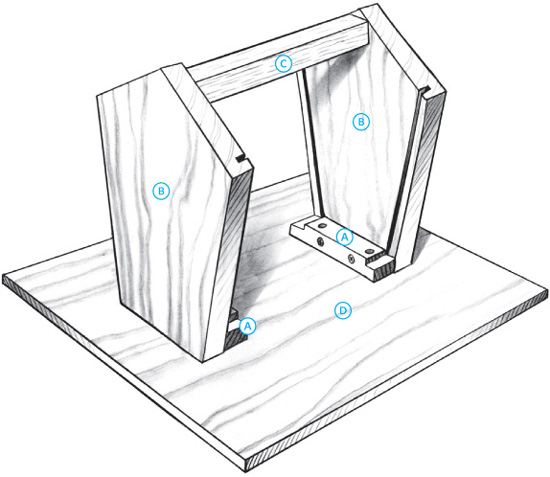
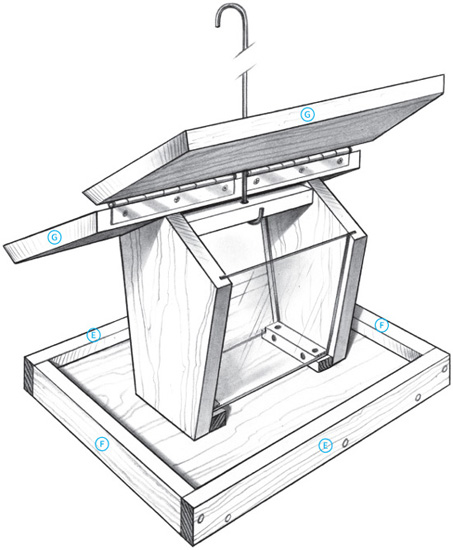
Constructing the feeder. Attach the stops to the bottom of the grooved sides , then connect the sides with the spacer bar . Center the assembly on the floor , and fasten it both from the top and the underside of the floor. Attach the closure strips & to the edges of the floor, and slip the acrylic squares down into the side slots.
Mount the hinge to the edges of the roof pieces to join them together. Place the hinged roof atop the sides, and nail one side of it in place.
For a hanger, drill down through the ridge of the roof between the hinges and through the spacer bar . Insert one end of the wire, and bend it into a hook below the spacer bar to keep it in place. Bend the top of the wire into a hook for hanging. (See fig. 2.)
FIG. 1
FIG. 2