DIY Body Wrap 
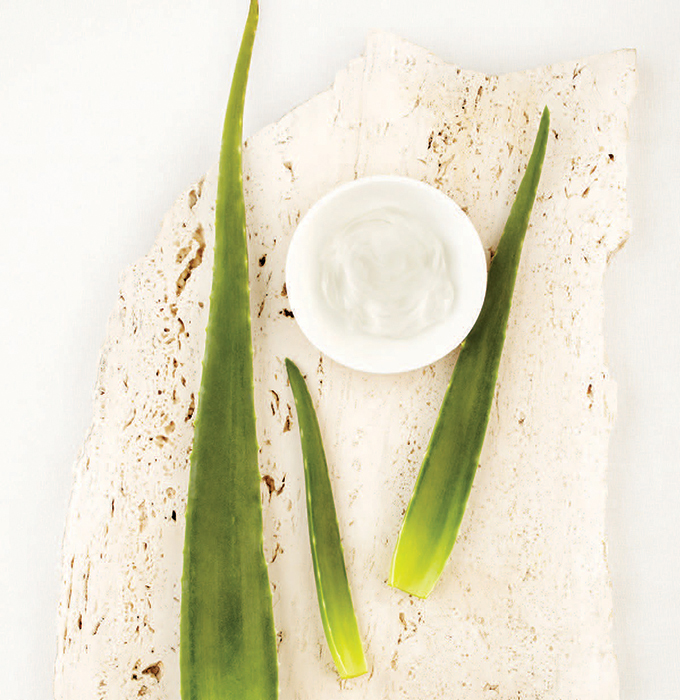
If you’ve ever been to a fancy spa, you’ve seen body wraps on the list of services. In case you’ve wondered, as I did for ages, what the heck is a body wrap?! it’s basically a full-body skin treatment. Like a mask. Except—and here’s the funny part—you’re then essentially rolled up in a fabric and/or plastic sheet like a human burrito. Ridiculous as that may seem (and it sort of is), the benefits are totally worth it. Lots of spas bill their wraps as a weight-loss hack. I have to confess to being a pretty major skeptic on that one (as if wrapping ourselves up like take-out orders from Chipotle was actually the secret!), but I do buy into the notion that it may reduce the appearance of cellulite and help tone the skin, especially when ginger enters the picture to rev up your circulation and draw out impurities. Here, as the body heats up under the wrap, the skin drinks in the ingredients, leaving it super soft, toned, and firm. If you are prone to dehydration or have had kidney dysfunction, you should skip the plastic wrap, but you can still enjoy the skin benefits of this treatment by simply using it as a body mask.
Makes 1 treatment
4 cups plain yogurt
2 cups raw honey
2 cups aloe vera gel
Two 4-inch pieces fresh ginger, grated
1. Mix together all the ingredients in a large bowl.
2. Line your bathtub with a towel, sheet, or soft (washable) blanket. Then, using your hands, spread the mask on your body and wrap each section with a piece of plastic wrap. Cover up, using the towel, sheet, or light blanket you’ve used to line the tub, and relax in the tub for 20 to 30 minutes.
3. Remove the cloth, remove the plastic wrap, rinse off the mask in the shower, and follow with a moisturizer.
Cracked Heel Repair 
I’ve heard about people doing some crazy things in the name of soft, smooth feet, such as sleeping with lemons strapped to their heels and—get this—soaking their feet in tubs of warm water full of tiny fish called Garra rufa that exfoliate the skin by nibbling off dead skin cells. That’s an actual spa treatment that people pay real money for! I kind of get it, though. Our feet go through a ton of wear and tear as we go about our lives, what with all that walking (especially in open-toed shoes), standing, exercising, and . . . merely existing. We’re constantly putting stress on our feet, which is why they’re prone to rebel on us from time to time in the form of flaking, peeling, calluses, and sometimes even literally cracking under the pressure. In addition to being unsightly, cracked heels can be incredibly painful and even dangerous, because they can become infected from bacteria, fungus, or a virus. The good news: This deeply hydrating and revitalizing foot treatment can alleviate symptoms and speed up the process of removing dead skin cells. The curcumin in turmeric increases the production of new blood vessels and connective tissue and helps replace old, craggy skin, protecting your heels from further damage. So, without further ado . . .
Makes 1 treatment
½ teaspoon ground turmeric
2 teaspoons coconut oil
1. Soak your feet in warm water for 10 to 15 minutes to soften the skin.
2. After soaking your feet, use a pumice stone or foot file to scrub the heels, removing dead skin cells and smoothing out the area.
3. Combine the turmeric and coconut oil in a small bowl. Mix well, then apply the mixture to your heels, gently massaging it into the skin. Leave the treatment on for 10 to 15 minutes, then wash your feet with warm water and mild soap. Pat dry. Repeat daily.
Note: If you have chronically dry or cracked heels that don’t respond to self-care, talk to your health-care provider to rule out certain health problems, such as skin conditions, thyroid issues, vitamin deficiency, or weight issues, that could be causing your cracked heels.
Ginger and Mustard Foot Soak 
If the idea of mustard on your feet instead of, say, on a hot dog has you scratching your head, know this: mustard baths have been around for a long time, particularly in England, where they’ve been used forever as a remedy for colds and more. As far back as ancient Rome, people were soaking in mustard for its detoxifying benefits as well as its power to help with stress, sleeplessness, muscle aches, chills, and general fatigue. The one-two punch of ginger and mustard works particularly well as a foot bath because it not only rejuvenates tired feet, it helps relax the mind and detoxify the system straight through the soles. Both mustard and ginger stimulate sweat glands and increase circulation in the body, which helps draw out impurities and toxins. Because your whole being is connected to your feet, taking good care of them, including making this footbath part of your regular routine, does wonders for your overall health. Follow with a thick slathering of rich lotion or a luxurious balm, pull on a cozy pair of socks, and—look at that—you’re a new person.
Makes 1 treatment
1½ tablespoons dry mustard
2 tablespoons peeled and grated fresh ginger
Combine the mustard and ginger in a footbath or basin large enough to accommodate your feet. Add enough warm (not hot) water to cover your feet. Relax and soak your feet for 15 to 20 minutes.
Turmeric Body Scrub 
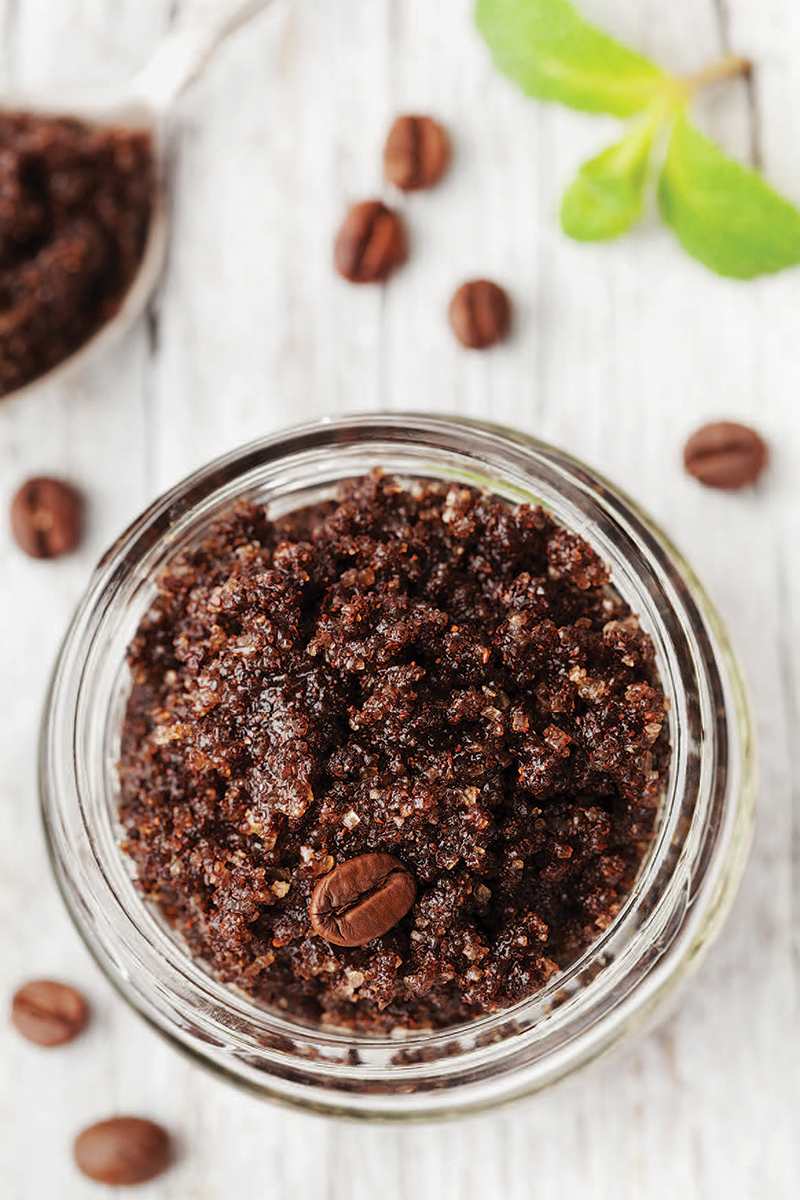
I always used to think that the only reason to use a body scrub was to, you know, scrub your skin smooth, but it turns out that there’s more to the story than mere exfoliation. When you use a body scrub, you’re not just giving your skin a buff for texture’s sake; you’re also taking in vitamins, minerals, and other nutrients that benefit your body in a variety of ways. Who knew? The coffee in this invigorating scrub helps with fluid buildup, because caffeine tones and tightens the skin and, according to research, may also reduce the appearance of cellulite. Plus, coffee is full of antioxidants, which nourish your skin, fight the signs of aging, and may also help release toxins. Sugar, with its natural glycolic acid, helps remove dead skin and acts as a natural humectant, while coconut oil adds vitamin E, essential amino acids, and lauric acid in addition to luxurious moisture. Of course, turmeric also adds extra antioxidant and anti-inflammatory firepower to the mix and helps brighten and even out your skin tone. In other words, if you’re looking for fresh, glowing, smooth, and moisturized skin, then you came to the right place. If, on the other hand, you happen to like your cellulite and dull skin, you should definitely skip this scrub. Definitely.
Makes about 2 cups scrub
½ cup coconut oil, melted and cooled slightly
1 cup ground coffee (preferably organic, unflavored)
1 cup sugar
1 teaspoon ground turmeric
1. Combine the melted coconut oil and coffee grounds in a small bowl. Stir to thoroughly mix the ingredients and set the bowl aside.
2. Combine the sugar and turmeric in a medium bowl. Stir them together to fully mix and get rid of any chunks.
3. Pour the oil mixture into the sugar. Use your hands or a spatula to thoroughly mix.
4. Transfer the mixture into a jar or other container with a tight-fitting lid.
5. To use, apply to wet skin, scrub in circular motions, and rinse off. Be sure to use this with hot water to help the coconut oil move through your pipes so that it doesn’t clog up your drain.
Note: Much as I love to repurpose all kinds of kitchen waste, you’re better off not using spent coffee grounds here. Coffee that hasn’t been previously brewed will be much more potent than used grounds.
Ginger Body Scrub 
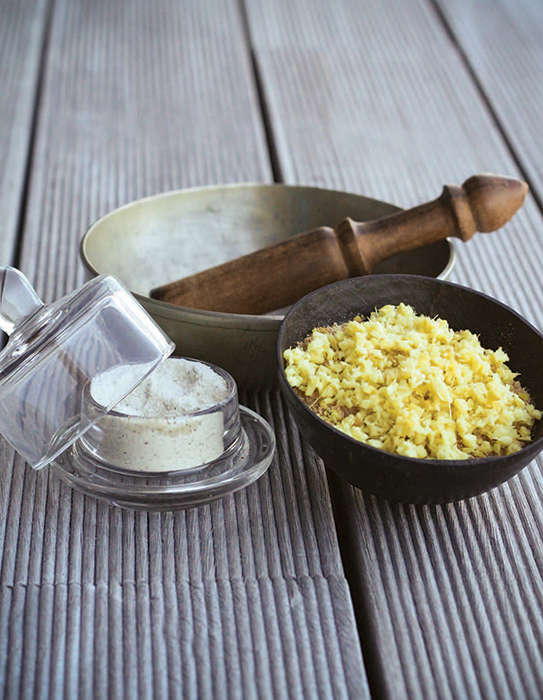
If I hadn’t been the one to write this book and saw it on a bookstore shelf, I would probably have picked it up, flipped directly to the index, and looked to see whether (please please please) there was a DIY version of my most favorite body scrub on earth—one I bought at a fancy cosmetics store for years. It is one of the best-smelling, happy-inducing, calming-yet-invigorating products around. Lucky for us both, I am the one to write this book, so here is a pretty freaking fantastic scrub that I now make myself instead of shelling out for the fancy store-bought version. You’re welcome! With the intoxicating scent of ginger and the combination of sugar, salt, and olive oil, this scrub will leave your skin silky smooth, moisturized, and refreshed. And it doesn’t cost $20 a tub. Bonus!
Makes about 1½ cups scrub
One 3-inch piece fresh ginger, chopped roughly
1½ cups sugar
2 tablespoons olive oil
½ cup very fine sea salt
Juice of ½ lime
1 tablespoon liquid castile soap
1. Combine the ginger, ½ cup of the sugar, and the olive oil in a food processor or high-speed blender. Process until very smooth.
2. Transfer the mixture to a bowl and add the remaining sugar and other ingredients. Stir to combine.
3. Store in an airtight container.
4. To use: Apply to wet skin. Scrub in a circular motion. Rinse.
Warming Massage Oil 
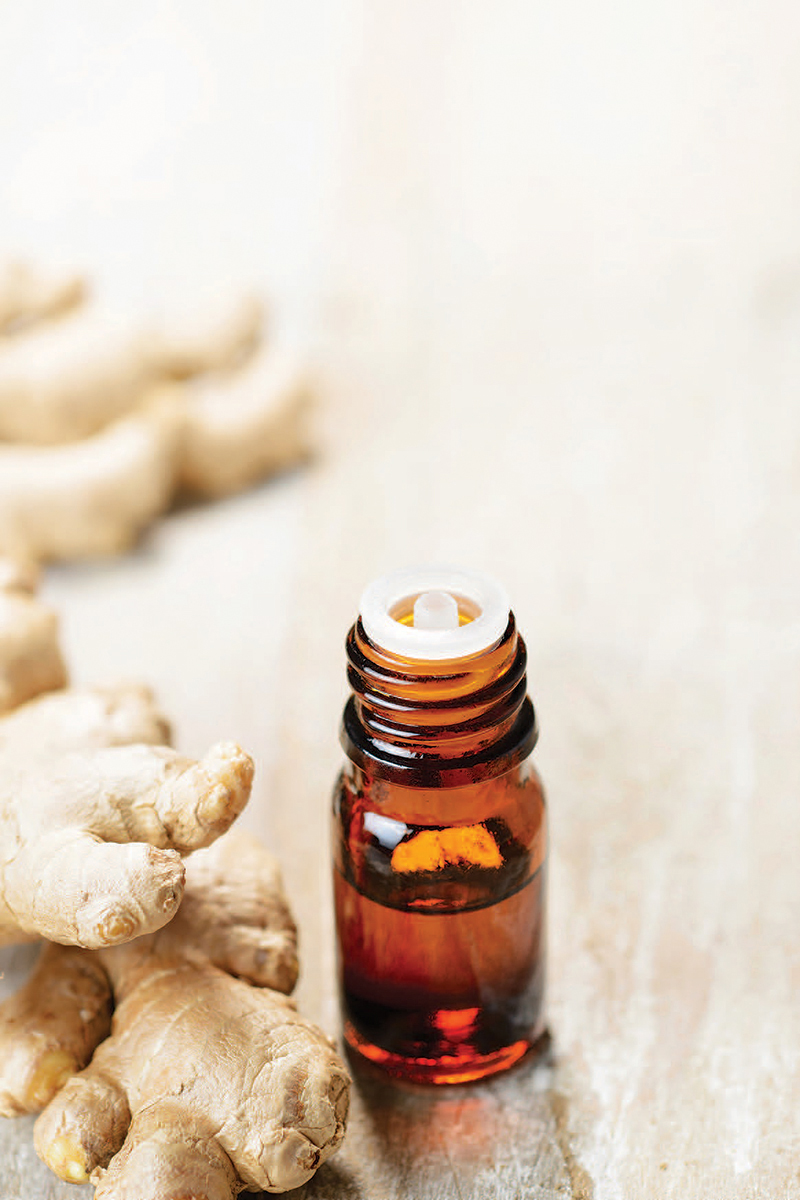
This anti-inflammatory, pain-relieving, yummy-smelling, all-around-soothing balm really couldn’t be simpler to make. With just two ingredients—ginger and oil—it’s a lifesaver for anyone suffering from aches, pains, tension, sore muscles and joints, arthritis, nerve pain, or even menstrual cramps. Gently massage it (or have a loved one lend a hand) into wherever you need it and enjoy luxurious, warm relief. If you want to get fancy, you can add several drops of eucalyptus, peppermint, or camphor oil to the finished product, all of which add a cooling sensation to the oil and further help it boost circulation. To kick up the pain relief yet another notch, consider adding ½ teaspoon or so of cayenne pepper to the mixture. I know! But, see, the funny thing is that cayenne contains a compound called capsaicin, which is a natural pain reliever. When it’s applied to the skin, your brain thinks it’s been exposed to extreme heat, which sends your pain-blocking neurotransmitters into high gear. Pretty cool . . . er hot, actually. I especially like to use the oil straight up, without any of those add-ins, on my feet as part of an at-home pedicure. It’s divine. Before you get started with ginger oil, be sure to do a test on a small area of skin, and don’t use it on broken or irritated skin.
Makes about 1½ cups massage oil
1 cup shredded fresh ginger
1½ cups olive, sesame, or almond oil
1. Preheat the oven to 150°F.
2. Combine the ginger and oil in an ovenproof bowl or casserole dish and place it in the oven. Heat for 2 hours to infuse.
3. Remove from the oven and strain the oil through a cheesecloth-lined funnel into a clean bottle or jar. Allow to cool completely, then seal with a lid.
4. Store the oil in a cool, dark place for up to 6 months.
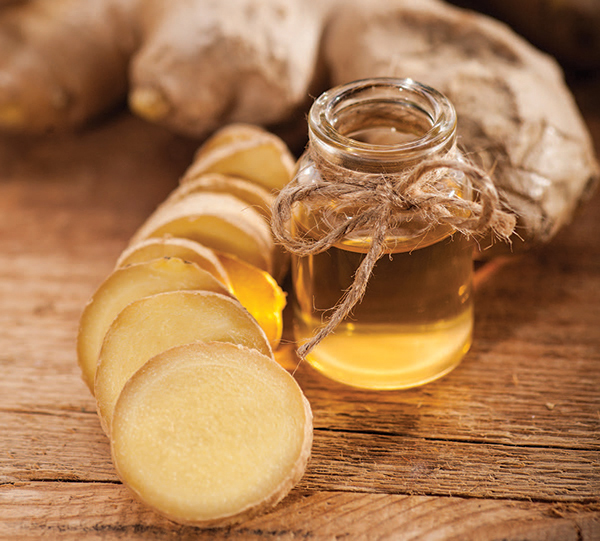
Chocolate-Ginger Bath 
If you’ve ever dreamed of taking a bath in chocolate, here’s your shot! This soothing soak, made with ingredients that not only smell amazing but also have some pretty incredible benefits for your skin, is sort of an East-meets-West or—more exactly—a Willy-Wonka-meets-the-spa-at-the-Mandarin-Oriental kind of sensory experience. With an indulgent combination of ingredients that soften, smooth, detoxify, invigorate, and tone the skin, this is a fabulous recipe to make in bulk for gift giving and/or to keep on hand in case you’re hit with a sudden chocolate emergency. For maximum cuteness, package the salts in little glass milk bottles—it’ll look like chocolate milk.
Makes about 5 cups salts
1 cup Epsom salts
1 cup coarse sea salt
¼ cup unsweetened cocoa powder
2 tablespoons ground ginger
2 cups powdered milk
½ cup cornstarch
½ cup baking soda
1. Combine the Epsom salts, sea salt, cocoa powder, and ginger in a medium bowl. Mix well. Set aside.
2. Mix together the powdered milk, cornstarch, and baking soda in a separate bowl.
3. Layer the ginger mixture and the milk mixture into glass jar(s), cellophane bags, or those adorable little milk bottles.
4. To use: Add ½ cup to warm bath water. Swirl it around the water to mix it in. Relax and enjoy.
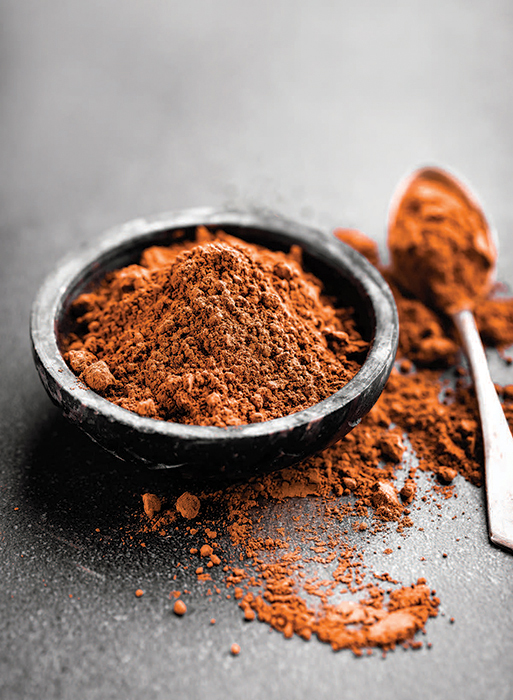
Radiance-Boosting Facial Mask 
Want an easy, DIY ginger face mask that’ll leave your skin feeling clean, moisturized, and downright glowing?! Yeah, you do! With only a handful of ingredients you likely already stock, this mask is easy to whip up in a matter of minutes. And the best part? It smells like a cookie. I’m serious. I probably should have called this Gingersnap Mask, but then you might think about eating it and, well, don’t do that. (Although I suppose you could . . . ) Aromatherapeutic benefits aside, this is a great mask to use once a week. With an ingredient list that is full of antioxidants, anti-inflammatories, and soothing humectants, this stuff stimulates blood flow (there’s that glow), helps draw toxins from the pores, exfoliates the skin’s surface, and generally tightens and brightens everything up. Plus it’s suitable for all skin types. Be sure to use it the same day you make it to prevent any icky bacteria from growing. Growing and glowing—much more than a one-letter difference.
Makes 1 treatment
1 teaspoon raw honey
1 tablespoon plain Greek yogurt
1 tablespoon grated fresh ginger
¼ teaspoon sea salt
¼ teaspoon unsweetened cocoa powder
¼ teaspoon ground turmeric
¼ teaspoon ground nutmeg
¼ teaspoon ground cinnamon
¼ teaspoon ground cloves
Combine all the ingredients in a small bowl. Spread the mixture onto your face and let it sit for 10 to 15 minutes, then rinse off. Pat dry and follow with your usual moisturizer.
Acne-Fighting Turmeric Mask 
I love any product that can multitask, in or out of the kitchen, and when it comes to skin care, well . . . you want a product that simultaneously fights breakouts, wrinkles, acne scars, and oily skin, all in one fell swoop. This turmeric mask is just that—a skin care wizard that is gentle, full of natural ingredients, and most important, effective against acne. With an ingredient list that sounds more like a delicious dressing than a skin care treatment (note to self: turmeric, lemon, and yogurt dressing in next book), this stuff is an antioxidant and anti-inflammatory wonderland that’s ideal for anyone, really, but especially those dealing with acne, as it calms inflammation, kills microorganisms on the skin, and helps fade dark spots. While all of the ingredients in the mask contain antioxidants, yogurt also brings the addition of probiotics to the table, raw honey is naturally antibacterial, and turmeric—of course—takes care of cell damage, inflammation, and dull skin. Use this stuff regularly and you’ll definitely see clearer, brighter skin!
Makes 1 or 2 treatments
¼ cup plain yogurt
1 tablespoon raw honey
½ teaspoon ground turmeric
½ teaspoon fresh lemon juice
1. Mix together all the ingredients in a small bowl until thoroughly combined.
2. Apply the mask to your face, being careful to avoid your eyes, and leave it on your skin for 15 to 20 minutes.
3. Rinse with lukewarm water, pat dry, and moisturize as usual. Repeat once or twice a week.
4. Any leftover mask can be stored in the refrigerator for up to 3 days.
Note: To remove any lingering yellow tint on the skin, simply give it a swipe of witch hazel or your go-to toner on a cotton ball.
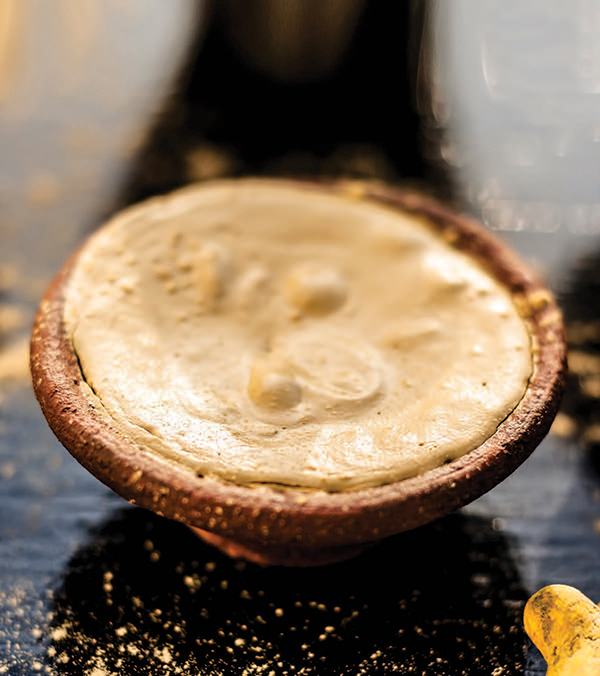
Purifying Facial Mask 
For all the time you spend focused on cleansing your skin, isn’t it funny how one of the most surefire ways to get a clear, glowing complexion is to smear dirt all over your face? Well, kind of. Clay and charcoal (both dirt at the end of the day; see what I’m saying?) are powerful skin purifiers—mainstays, in fact, on the treatment menus at most high-end spas. Why? Because they pull toxins, bacteria, dead skin cells, and oil from your pores in a heartbeat. Pair those bad girls with inflammation-reducing turmeric, circulation-boosting ginger, and moisturizing honey, and you’re looking at one foolproof way to get positively radiant skin. If, by chance, you have a particularly fair complexion and end up with slightly yellow skin after removing the mask, do not panic. Simply give your skin a swipe of witch hazel or your go-to toner on a cotton ball, and I promise you’ll stop looking like one of the Simpsons.
Makes 1 treatment
1 teaspoon charcoal powder
½ teaspoon bentonite clay
1 teaspoon ground turmeric
1 teaspoon raw honey
½ teaspoon ground ginger
1. Combine all the ingredients in a bowl. Add enough water to form a paste.
3. Massage onto your skin and leave on for 10 minutes.
4. Rinse with warm water. Pat dry.
5. Follow with your favorite moisturizer.
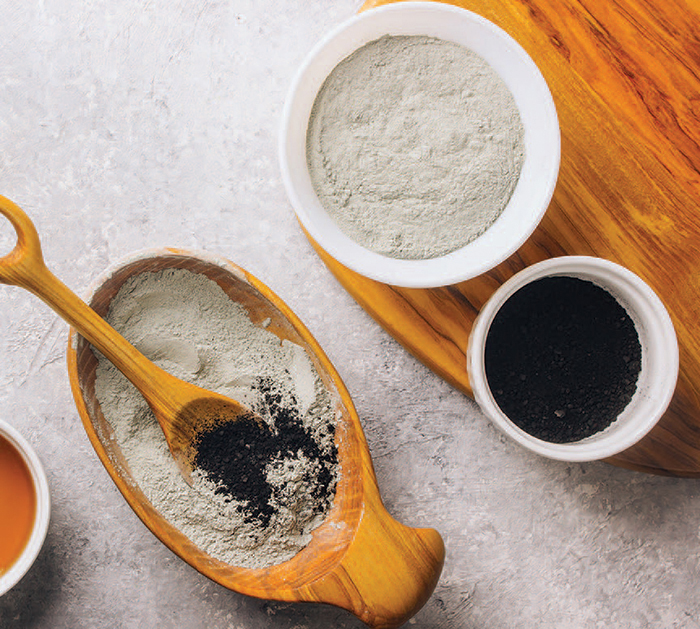
Wrinkle-Reducing Eye Treatment 
When I look in the mirror, I mostly see the same face that’s been staring back at me for my whole life. Somehow, it’s hard to see age on our own countenance. Except for those times when we look in the mirror and that’s all we see! I’ve noticed more lines around my eyes, more furrow in my brow, more sag here and there. And I know it’s inevitable and that there’s something to be said for aging gracefully and being comfortable in our own skin. I try to remember that they’re called laugh lines for a reason, and some of that “aging” around my eyes is just evidence of a life well lived. But is there really any harm in trying to turn back time a little? I think not. When it comes to protecting skin cells from the free radicals that cause fine lines and wrinkles, ginger comes to play: it contains about 40 antioxidants, including vitamin C, curcumin, and farnesol, all of which bring antiaging benefits to skin. When applied directly to the skin around the eyes, it stimulates circulation, bringing a rush of blood to just the right spot. Combined with moisturizing and rejuvenating honey, this treatment is a powerful potion to keep you looking fresh and bright eyed. Just, for goodness’ sake, please use care when applying the treatment, because if you get this stuff in your eyes, it will B-U-R-N.
Makes 1 treatment
1 teaspoon ginger juice (store-bought or squeezed from several tablespoons of grated fresh ginger)
1 teaspoon raw honey
1. Combine the ginger and honey in a small bowl. Mix well.
2. Gently massage the mixture into the skin under your eyes, taking great care not to get it in your eyes. Allow the treatment to sit on the skin for 1 hour.
3. Gently remove the mixture with lukewarm water. Pat dry and follow with an eye cream.
Anti-Inflammatory and Exfoliating Face Powder 
As most people who don’t reside under a rock are well aware, exfoliating is a must for beautiful, healthy skin. And while it’s quite tempting to load up on fancy, beautifully packaged, promise-laden skin-perfecting products, such as peels, exfoliating wipes, glycolic serums, and rejuvenating masks, there’s a super minimalist and unbelievably effective approach to skin care that will renew the heck out of your skin: dry cleansing powders. Sometimes called cleansing grains, powdered facial cleansers are a versatile three-in-one skin care wonder (the three are: cleanser, exfoliator, and mask, in case that wasn’t clear) made from stuff like ground oats, herbs, nuts, clay, or other nourishing ingredients that, when combined with a bit of water in the palm of your hand, will cleanse and exfoliate your face in a flash. Here, oatmeal and almond meal gently exfoliate and moisturize, while turmeric soothes, brightens, calms irritation, and helps to give dull skin a pretty glow. My favorite thing about this stuff, however, is that—because it’s dry—it’ll keep forever, so if you’ve got the bathroom real estate, you can make a really huge batch and keep it around for a good long time.
Makes about 1 cup face powder
½ cup rolled oats
3 tablespoons almond meal (a.k.a. almond flour)
1 teaspoon ground turmeric
OPTIONAL ADDITIONS:
1 to 2 tablespoons chamomile flowers, for sensitive skin
10 to 15 drops essential oils, such as lavender, tea tree, or rose
1. Place all the ingredients in a food processor or clean coffee grinder and process until you achieve a fine powder.
2. To use as a daily cleanser: Put a teaspoon or two into the palm of your hand and add enough water to form a paste. Use as you would any cleanser. Rinse thoroughly and follow with your usual beauty routine.
3. To use as a mask: Place a teaspoon or two of the powder into the palm of your hand and add enough water, plain yogurt (for extra brightening and nourishment), or coconut oil (for a moisturizing boost) to form a thick but spreadable paste. Apply it to your face, being careful to avoid your eyes. Leave for 10 to 15 minutes, then rinse with lukewarm water, pat dry, and moisturize as usual. Repeat once or twice a week.
Invigorating Facial Scrub 
If you make the mistake, as I have, of perusing the Internet to find out how often you should use a face scrub, here’s what it will tell you: Exfoliating daily is a must for perfect skin. Wait—no—daily exfoliating is way, way too harsh on your skin. Do it less often. Do it twice a week. No, twice a month. And use a chemical exfoliator. No, use a granular one. Aaaaaahhhhh! Why so hard? You’d think I’d looked up, “What is the meaning of life?” After digging my way out of the virtual skin-exfoliating rabbit hole, I came to my own conclusion, which is that different skin responds to different beauty routines, and you kind of have to know your skin to know what’s right. Duh. I use a scrub as often as I remember to, which works out to about twice a week. This is the one I use most often. With cleansing and brightening lemon, moisturizing coconut oil, gently exfoliating baking soda, and—of course—antiaging and antioxidant ginger, this all-natural scrub will have you looking and feeling like a million bucks.
Makes about 1½ cups scrub
1 cup sugar or baking soda
½ cup coconut oil or olive oil
1 teaspoon grated fresh ginger
1 teaspoon grated lemon zest
1 or 2 drops ginger oil and/or lemon oil (optional)
1. Place all the ingredients in a small bowl. Mix well to combine.
2. Transfer into an airtight container. Store the scrub in the refrigerator in its container for up to 2 weeks.
3. To use: Wash your face with your usual cleanser. Apply a small amount of the scrub to wet skin and massage gently in a circular motion, being careful to avoid the eye area. Rinse well and pat dry. Follow with a moisturizer.
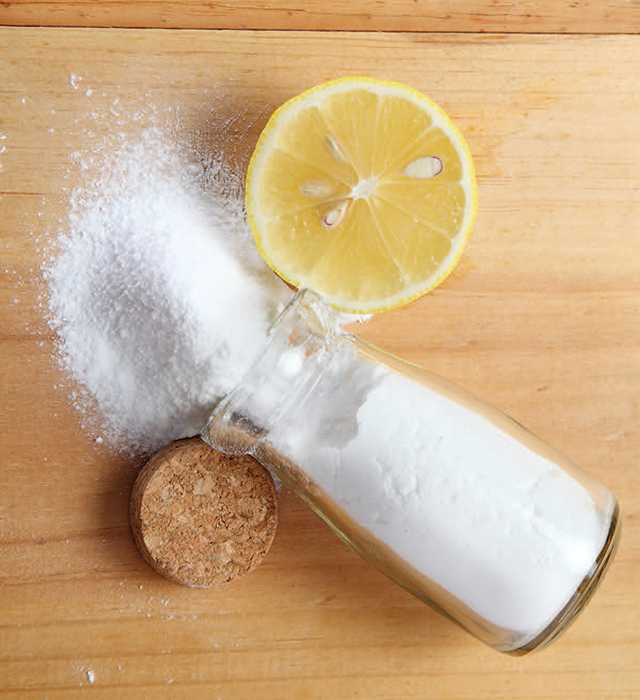
Pumpkin and Turmeric Fade Treatment for Skin Spots 
Whatcha got there—age spots? Sun spots? Acne scars? Chicken pox marks? While there may be more than one reason for the marks on your skin, here’s a surefire way to naturally and comfortably go after them. Like peels and laser treatments that lighten dark spots, turmeric has been shown to treat, fade, and correct the appearance of sun damage and other types of hyperpigmentation on the skin, but without the cost and side effects. Here, pumpkin (an excellent source of zinc, alphahydroxy acids, and vitamins A and C to give skin a radiant glow and even the complexion), honey (to brighten and soften your skin), and turmeric (in this case a skin-lightening genius) work together to resurface and revitalize your skin, giving you a softer, healthier, and more even complexion. You can kiss that spotty situation goodbye!
Makes 1 treatment
1 tablespoon pumpkin puree
½ teaspoon ground turmeric
1 teaspoon raw honey, warmed for a few seconds in a microwave so it is pourable
1. Combine all the ingredients in a small bowl and mix well.
2. Apply the mixture to the affected area (face, neck, chest, or back) with your fingers or a small brush.
3. Leave on for 10 to 15 minutes, then rinse with lukewarm water. To remove any lingering yellow tint on the skin, simply give it a swipe of witch hazel or your go-to toner on a cotton ball, then pat dry and follow with a moisturizer.
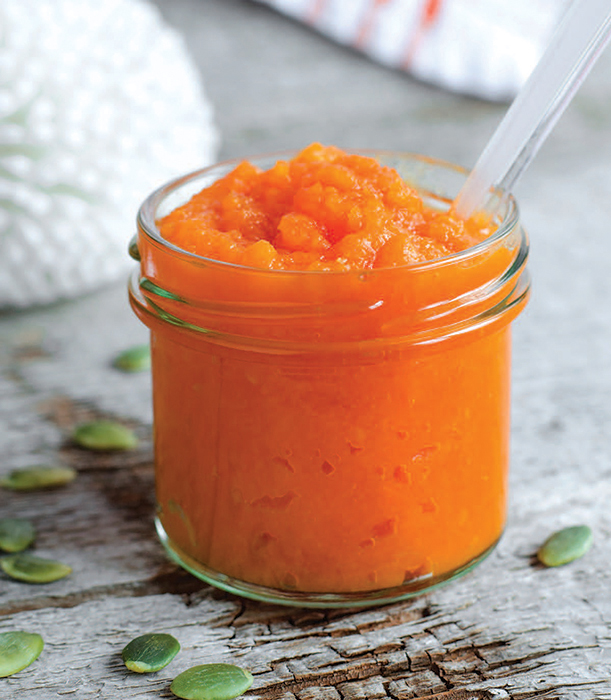
Homemade Whitening Toothpaste 
One indisputable fact about turmeric is that it stains like hell. It’ll stain your clothes, your skin, your counters, and . . . your toothbrush. Yes, your toothbrush! Wondering why and how turmeric would ever end up on your toothbrush in the first place? Well, if you brushed your teeth with it, you’d end up with turmeric on your toothbrush. As it turns out, the one place turmeric doesn’t leave stains is on your teeth. Truth. In fact, it is a pretty fantastic whitening product, thanks to tetrahydrocurcumin, a compound in turmeric that accounts for its lightening properties. Yep, turmeric and coconut oil—probably two of the least likely things you’d instinctively grab when thinking about how to get whiter teeth—can subtly and gently brighten your smile without the chemicals and tooth sensitivity that often tag along with over-the-counter whitening strips or whitening toothpaste. Using a turmeric-based whitening paste a few times a week can help keep stains from coffee, wine, and the like at bay, but don’t expect a blindingly white outcome. Think: Subtle. Think: Understated. Because I like a minty-fresh toothpaste, I add a few drops of food-grade peppermint oil to my homemade concoction. This is an optional step, but one I highly recommend. One final tip: Don’t use your fancy electric toothbrush with this stuff. I’m not sure I’ve mentioned it, but, um, turmeric stains—it’ll stain your fancy brush. Use a cheap one that you can throw away when the bright yellow bristles start to really freak you out.
Makes about ½ cup toothpaste
¼ cup coconut oil
2 tablespoons ground turmeric
2 tablespoons baking soda
5 to 10 drops food-grade peppermint oil (optional)
1. Place all the ingredients in a small bowl and stir well to thoroughly combine. Transfer the mixture to a small mason jar or—my favorite—a squeezable silicone travel tube.
2. To use, squeeze a small amount of toothpaste onto your toothbrush or, using a small spoon or popsicle stick, remove a pea-sized amount from the jar and spread it on your toothbrush. Brush as you would with any toothpaste for about 2 minutes. Rinse and spit. For best results, repeat once or twice a week.
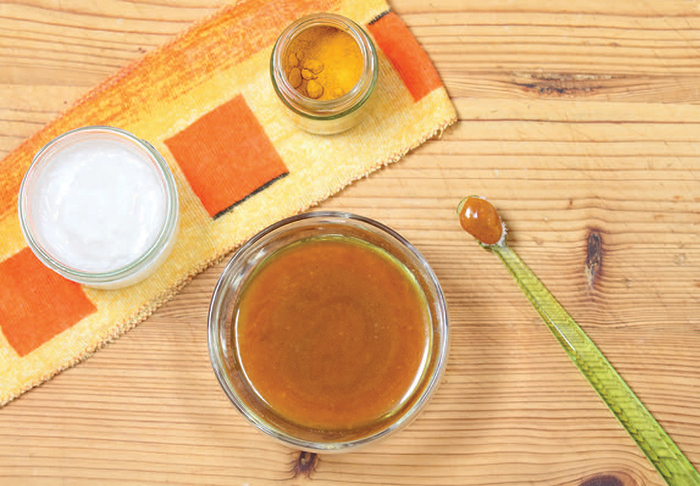
Lip Plumper 
Maybe you weren’t born with Angelina’s pout. Or Kylie’s. (Or Daffy Duck’s?) Or maybe your lips have lost some of their oomph as you’ve aged. Whatever the case may be, getting plump, voluptuous lips that are smooth, soft, and downright kissable is as easy as grabbing a knob of fresh ginger. Well, almost. Just like many of the expensive beauty store products, this DIY plumper relies on spicy ginger, cinnamon, and cayenne—mild (yet safe) irritants—to increase blood circulation in the lip area so that they look puffier. No visits to the dermatologist or needles required! For the perfect pout, use a good lip scrub to remove flakes, moisturize with a hydrating lip balm, then give this tingly DIY plumper a try. Now, pucker up!
Makes about 1 tablespoon plumper
1 tablespoon coconut oil
1 teaspoon olive oil
¼ teaspoon cinnamon essential oil
½ teaspoon ground ginger, or ¼ teaspoon ginger essential oil
¼ teaspoon cayenne pepper
1. Melt the coconut oil in a small bowl by placing it in a microwave on HIGH for 15 seconds at a time. Add the remaining ingredients and stir to combine. Set aside to cool.
2. Once cooled, apply a few drops of the lip plumper to your lips, lightly massaging it in a circular motion. Leave it on for 5 to 10 minutes, and then rinse with cool water or leave it on for a lasting effect. Store any remaining lip plumper at room temperature in a small, airtight container.
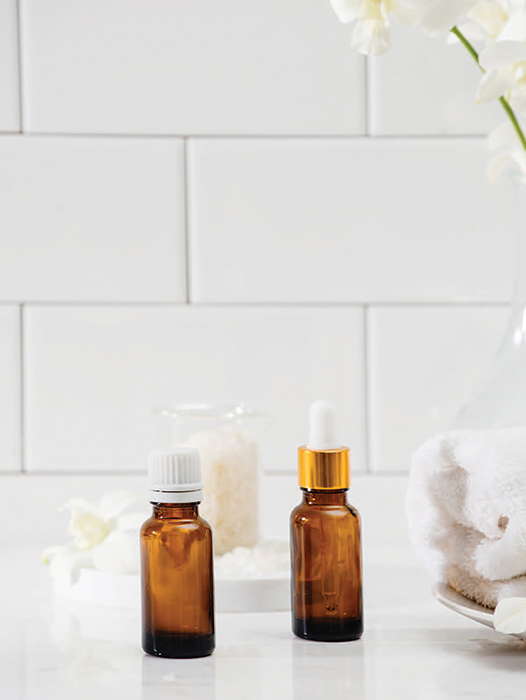
Tinted Moisturizer 
Sometimes DIYing is almost comically easy. Such as when, for example, you throw a few household ingredients into a spray bottle and call it an all-purpose cleaner, which I do often and you can, too! (See The Apple Cider Vinegar Companion and The Baking Soda Companion.) At the far end of the spectrum is stuff like building furniture, tiling a bathroom, doing electrical work, spinning yarn, and raising chickens—undertakings that require a good deal of precision, patience, time, and/or money. These are areas in which I do not dabble. So, even though making homemade makeup may sound like next-level DIYing, rest assured that if it’s something I’m willing to tackle, it’s something you can handle, too. The trickiest part of this makeup making is figuring out the right combination of ingredients to get the best color match for your skin tone, and even that isn’t hard so much as requiring a bit of trial and error. The turmeric here not only adds warmth and brightness to the tint of this light-coverage foundation, it’s nourishing, too. When mixing your color, just remember to go slow—you can always add more of a certain ingredient to get the shade you’re after.
Makes about ½ cup
3 tablespoons almond oil, coconut oil, or jojoba oil
2 tablespoons shea butter
1 tablespoon cocoa butter
1 tablespoon beeswax pellets
1/8 teaspoon vitamin E oil
1 tablespoon zinc oxide powder (optional, for sun protection), cornstarch, or arrowroot powder
¼ to ½ teaspoon unsweetened cocoa powder
¼ to ½ teaspoon ground nutmeg
1/8 to ¼ teaspoon ground turmeric
1 pinch to ¼ teaspoon ground cloves
1 pinch to ¼ teaspoon ground ginger
1 pinch to ¼ teaspoon ground sage (optional; helps correct redness)
1. Place the almond oil, shea butter, cocoa butter, beeswax, and vitamin E oil in a heatproof bowl set over a pot of simmering water and melt, stirring occasionally. Remove from the heat and allow to cool slightly.
2. Whisk in the zinc oxide (if using) or the cornstarch, then start mixing in your pigments, testing the mixture occasionally on your wrist to get a good color match. Start with the smallest quantity of suggested ingredient and add more as needed.
3. Pour into a small metal tin, mason jar, or a handy-dandy squeezable silicone travel tube and allow to cool.
4. Apply the makeup with your fingers or a sponge. Set with powder, if desired.
Homemade Bronzer 
This is one of my most favorite beauty hacks of all time—mostly because it’s so easy, it’s almost stupid. It is literally as simple as starting to mix together the dry ingredients for a cookie recipe. And if you were making cookies and combined these same four or five ingredients, you’d only be halfway through making the dough. So, you see, making your own bronzer is way easier than making cookies, and making cookies can be pretty freaking easy. Other reasons to make your own bronzer? It’s weird-ingredient-free, incredibly inexpensive, and a safe way to get a sun-kissed look without actually having to spend any time in the sun (a.k.a. UVA ray–free). So, even in the dead of winter you can get that bright, fresh, just-stepped-off-the-beach glow that only a good bronzer can deliver. As we’re all different, you’ll have to play around with the proportions a bit to get a shade that’s just right for your skin tone. The measurements below are a rough guide to get you started. Just keep this in mind: Cinnamon = glow. Cocoa = tan. Nutmeg = sun-kissed. Turmeric = brightness and warmth.
Makes a small jar of loose powder
1 tablespoon ground cinnamon
1 teaspoon unsweetened cocoa powder
1 teaspoon ground nutmeg
¼ to ½ teaspoon ground turmeric
2 teaspoons cornstarch or arrowroot powder
1. Mix together all the ingredients—proportions adjusted to complement your skin tone—in a small bowl, breaking up any clumps until smooth. Pass the mixture through a fine-mesh sieve a few times to ensure a perfectly smooth consistency. If necessary, use a mortar and pestle or a coffee or spice grinder to achieve a finer powder. That’s it!
2. Store in a small jar or empty bronzer container that’s been cleaned out.
3. To use: Dip a big makeup brush into your bronzer and lightly dust the areas where the sun would naturally hit your face (cheeks, nose, chin, forehead, etc.).
Note: The above recipe is for a loose powder. To use in a makeup compact, add 10 to 15 drops of essential oil to the bronzer when mixing your ingredients together, then pack into a clean compact. Using the back of a spoon works well to tamp down the powder.
Golden Turmeric Eye shadow 
When I was a kid, I had a friend whose dad was a microbiologist for a major consumer goods company. Their medicine cabinet was a health and beauty wonderland: instead of nail polish remover, they had pure acetone (the active ingredient in most commercial nail polish removers); they had bottles and jars of all kinds of powders, lotions, and unidentifiable goop that had come home from the lab for their family’s personal use. To a couple of eight-year-old girls who’d lost interest in Barbies, this meant hours of entertainment, mixing up oozing, bubbling “potions” in the bathroom, which we’d occasionally try to sell door-to-door around the neighborhood. (I recall getting into trouble for hocking our wares and having to make the rounds, giving money back to kind older neighbors who’d bought our snake oil.) So, given my history, it’s really no surprise that I’ve managed to make a career out of mixing stuff up—that’s cooking, after all. Beyond food, I do still get a thrill out of concocting magic potions in the bathroom, which probably accounts for 80 percent of my motivation to DIY personal care products, such as this amazing DIY eye shadow. Sure, making your own makeup and other beauty products is safer, all natural, better for the environment, better for your body, better for your wallet, yada yada yada, but let’s not lose sight of the fact thatit is also crazy fun to do! This golden eye shadow is easy to mix together, flattering on just about any skin tone, and easily customizable to suit your color and shimmer preferences. Just don’t try selling it door-to-door. My mom will make you give the money back.
Makes about 1 teaspoon eye shadow
¼ to ½ teaspoon arrowroot powder or cornstarch
¼ teaspoon shea butter
1 pinch to 1/8 teaspoon ground turmeric
1 pinch to 1/8 teaspoon cacao powder, unsweetened cocoa powder, or ground nutmeg
Sprinkle of mica powder (optional, for shimmer)
1. Mix all the ingredients—proportions adjusted to complement your skin tone—in a small bowl, breaking up any clumps until smooth. Pass the mixture through a fine-mesh sieve a few times to ensure a perfectly smooth consistency.
2. To use: Dip your fingertip or a small brush into the eye shadow. Tap off any excess and gently swipe across your eyelid as you would any other eye shadow.
3. Remove as you would any other eye shadow, using your favorite makeup remover or good old-fashioned soap and water.
Split Ends Treatment 
I think we can probably agree that few things feel as good as a good hair day. And a bad hair day? Oh my! Pity the fools who cross us on those days! Some hair woes, such as a bad cut or a botched color job, just need time (and perhaps a flattering hat), but when it comes to one of the most common hair troubles—split ends—ginger can really come to the rescue. It penetrates, moisturizes, and—thanks to a plethora of vitamins, minerals, and fatty acids—actually strengthens your hair, sealing those mood-ruining split ends that dare to show up between salon appointments. When your hair is extra-parched, as is the case when you have split ends, this deep-conditioning mask is an absolute godsend.
Makes 1 treatment
1 tablespoon jojoba oil
1 tablespoon grated fresh ginger
1. Combine the oil and ginger in a small bowl. Massage the mixture into your hair, concentrating on the ends. Put on a plastic shower cap or wrap your hair in a towel, if desired.
2. After 30 minutes, rinse and shampoo as usual.
Hair Growth Treatment 
Maybe you chopped your hair into a trendy little bob and now you’re pining for those long, cascading tresses of yore. Or perhaps you’re experiencing that truly unsettling (though normal) postpartum hair loss. Whatever the reason, you want your hair to grow. Like, yesterday. Well, there’s good news and bad news. The bad news is that you’re going to have to be patient. Even with all its near-magical powers, ginger can’t make your hair grow overnight. But it can provide your scalp with some serious TLC, which will set you well on your way to long and luxurious locks. So, whether you’re growing out your bangs or have your eye on some sort of crazy Pinterest braid situation, use this treatment once or twice a month to increase blood flow and bring added nourishment and oxygen to your scalp and hair follicles.
Makes 1 treatment
¼ teaspoon grated fresh ginger
2 tablespoons olive oil
1. Combine the oil and ginger in a small saucepan. Cook gently for about 5 minutes over medium heat until the ginger just begins to brown. Remove from the heat and allow it to cool. Strain out and discard the ginger solids, reserving the oil.
2. Apply to the scalp and leave on for 5 to 10 minutes, then rinse thoroughly. Follow with shampoo and conditioner.
