Summer
Ripe berries, gardens full of flowers, warm breezes—summer is the season of simple pleasures. What better way to enjoy it than by relaxing in a handmade hammock, flying a kite you made yourself, or concocting a potpourri recipe that will remind you of the sweet smells of summer all year round?
Hammocks
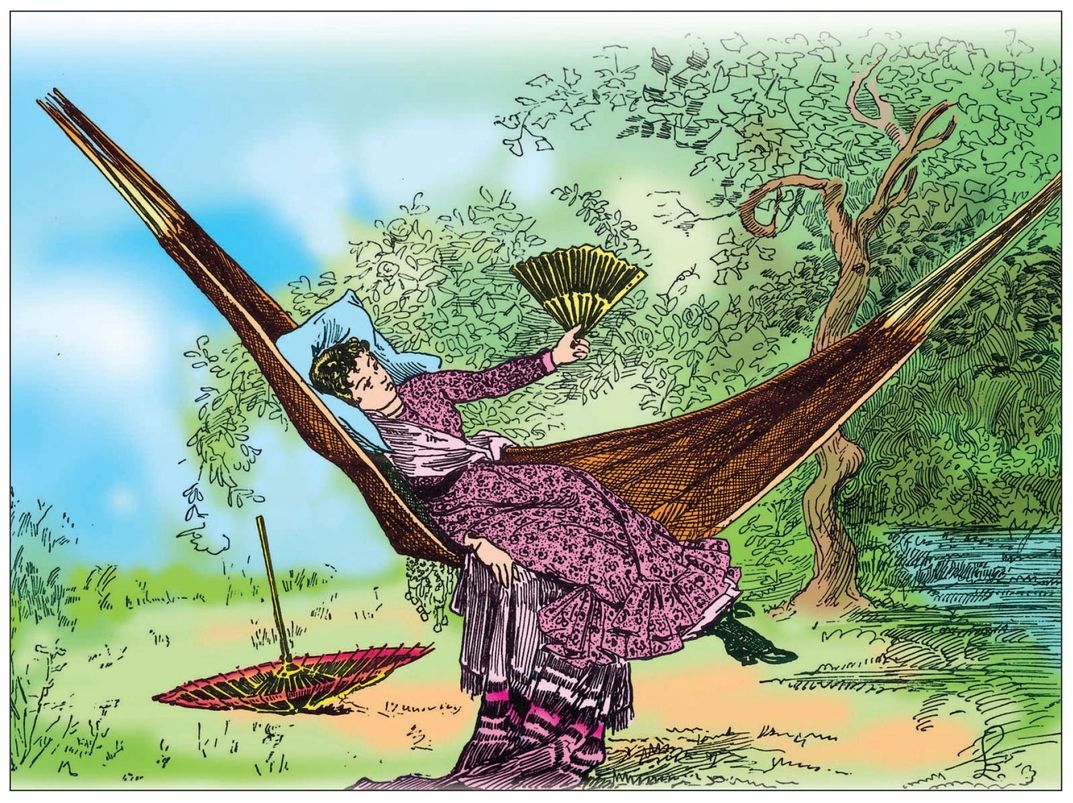
Hammocks are wonderful for relaxing outside with a good book or for taking an afternoon nap in the shade of two trees. Making your own hammock is quite simple if you follow these directions:

Mesh sticks are used to help keep your meshes even. You can easily make them yourself, following the dimensions shown here. The one on the left is 20” x 8” and beveled on both edges. The one on the right is 9” x 2 ½” and beveled on the long edge.
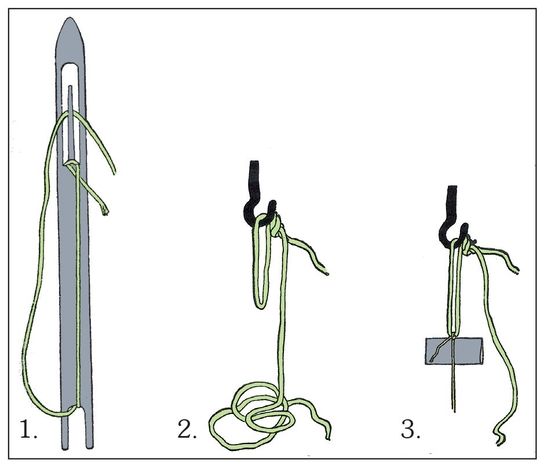
Figure 4 (bottom) shows the first half of the knot. Figure 5 (center) shows the loop as it is being formed. Continue the sequence to create a number of knots, as in figure 6 (top). “A” shows a loosened knot. “B” shows the cord running to the needle. “C” is the cord and “D” is the mesh stick.
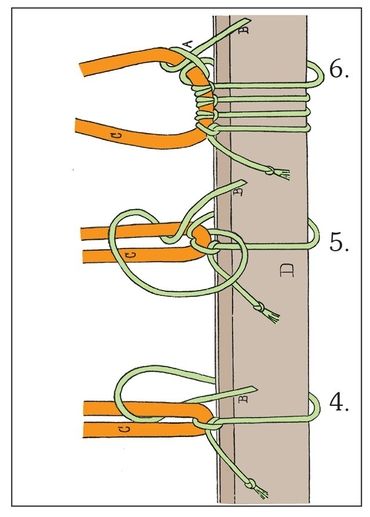
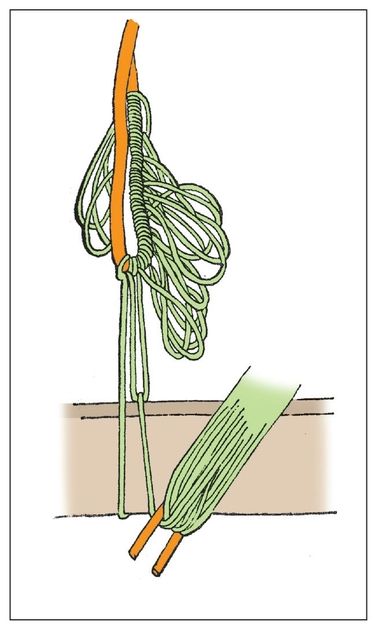
Figure 7. Once 30 meshes are complete, shove them off the mesh stick.
Figure 8 shows the start of the second row.
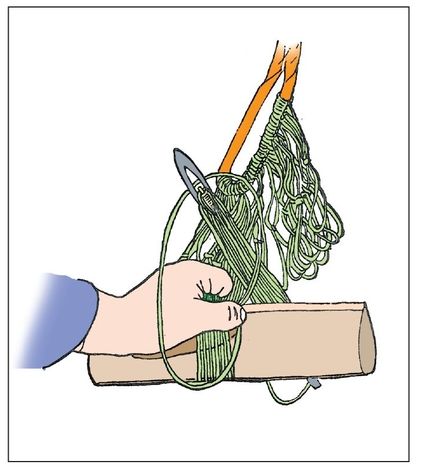

Fisherman’s Knot.
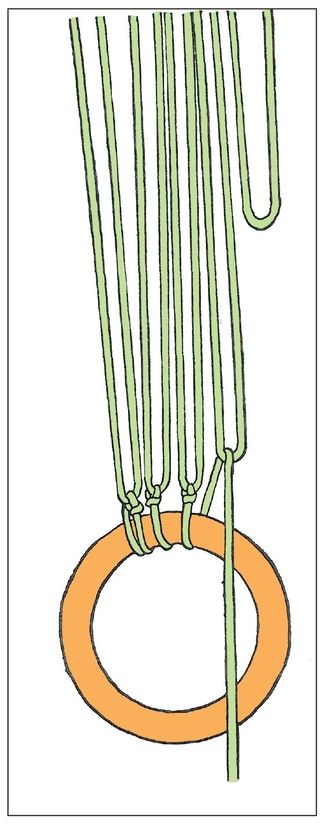
Figure 9 shows the meshes knitted to the ring.
Figure 10 shows the first needleful to the loop.

Materials
1 lb macrame cord, No. 24, or hammock twine
1 hammock needle roughly 9 inches long (you can find this at a craft store)
2 iron rings (each should be roughly 2½ inches in diameter)
2 mesh sticks (one 20 inches long and 8 inches wide; one 9 inches long and 2½ inches wide), edges beveled
Directions
- Wind the cord into balls so it is easier to handle.
- Thread the needle by taking it in your left hand and using your thumb to hold the end of the cord in place, and looping it over the tongue (figure 1). Pass the cord down under the needle to the opposite side and catch it over the tongue. Repeat this until the needle is full of thread.
- Make a loop in a piece of the cord, 2 yards long, and fasten this to any suitable place, such as a doorknob (figure 2).
- Tie the cord on your needle 3 inches from the end of the loop. Place the smaller mesh stick under the cord with the beveled edge close to the loop (figure 3).
- With your thumb on the cord, holding it in place, pass the needle around the stick and, with the needle point toward you, pass it through the loop from the top, and bring it over the stick. This will form the first half of the knot (figure 4). Pull this taut and throw the cord over your hand, forming a loop (figure 5).
- Pass the needle from under through the loops, drawing it tight to fasten the knot. Hold it in place with your thumb and repeat this for the next knot (figure 6).
- When 30 meshes are finished, push them off the short stick (figure 7). Now your hammock will be sufficiently wide.
- Begin the next row by placing the stick under the cord and taking up the first mesh and drawing it close to the stick. Hold it in place with your thumb while throwing the cord over your hand (figure 8). Pass the needle on the left-hand side of the mesh from under and through the loop thrown over your hand. Pull this tight and you’ll have tied the common knitting knot.
- Proceed to carry out the steps in number 8 until the row is finished. When your needle needs to be rethreaded, tie the ends of the cord with a fisherman’s knot and then wrap each end of the cord from the knot securely to the main cord with strong thread to give it a neat appearance.
- Continue knitting until there are 30 rows.
- Using the larger stick, knit one row on the short side first, and then knit a row on the long side. After this is complete, knit the meshes to the ring by passing the needle through it from the top, knitting them to the ring in rotation as if they were on a stick (figure 9). When finished, tie the string securely to the ring and one end of your hammock is complete.
- Cut the loop where the first row was knitted and pass it through the knots. Tie the end of the cord onto your needle to the same piece used in fastening the end of the first needleful to the loop (figure 10). Knit the long meshes to the other ring as described above. This completes the hammock.
In order to use your hammock, attach two pieces of strong rope to the rings of your hammock and secure them tightly between two trees or other sturdy poles. The two trees or poles should be about 12 feet apart and at least 10 feet high, to allow for your hammock to swing freely.
Berry Ink and Feather Pens
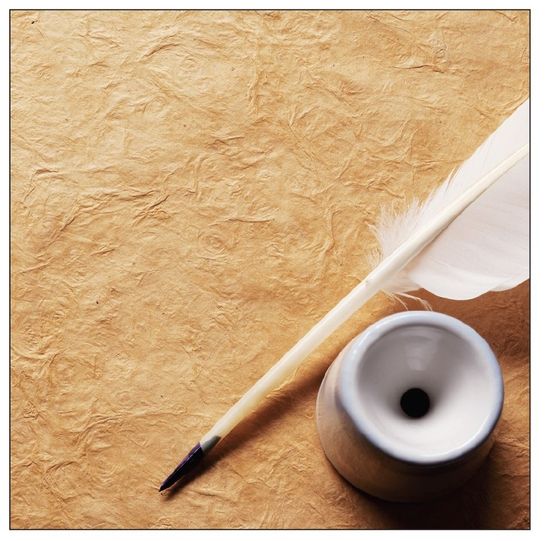
During the Civil War, soldiers made ink out of berry juice and used feathers or corn stalks to write important letters. Use berry ink and a quill pen for special invitations, place cards, or just for fun. The vinegar helps the ink to retain its color and the salt acts as a natural preservative. Store extra ink in an airtight jar.
- Strainer
- Bowl
- Spoon
- ¼ cup berries (raspberries, strawberries, currants, or any other brightly colored berry will work)
- ¼ teaspoon vinegar
- ¼ teaspoon salt
- Bird feather
- Scissors
- Paper
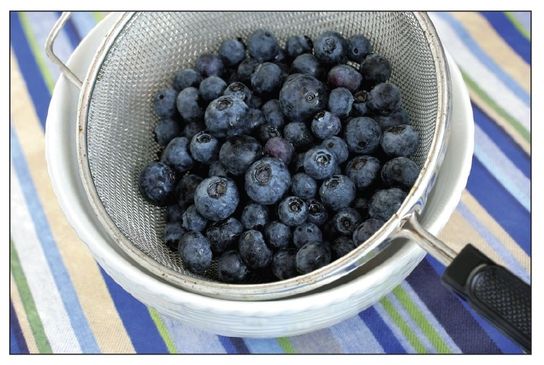
- Place the strainer over the bowl and use the back of a spoon to squish the berries so that the juice runs into the bowl. Once all the juice is extracted, discard the berry remains (or add them to your compost pile).
- Add the vinegar and salt to the berry juice. Mix thoroughly.
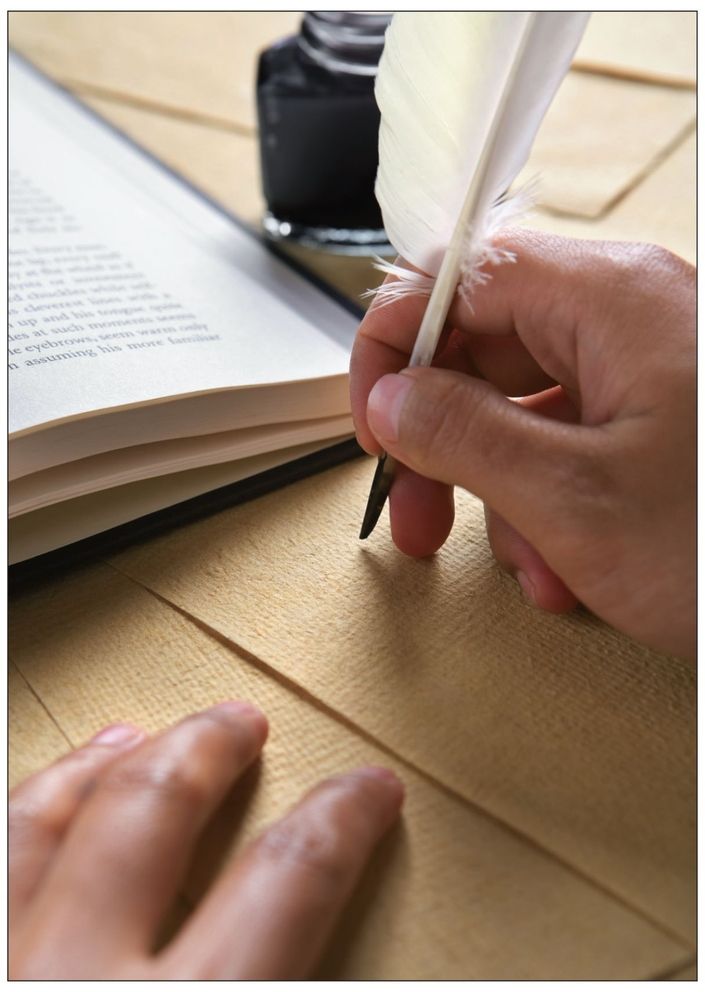
- Cut the sharp tip of the feather off at an angle. Dip the quill into the ink and begin writing. Practice on scrap paper before attempting an important project.
Potpourri from Your Garden
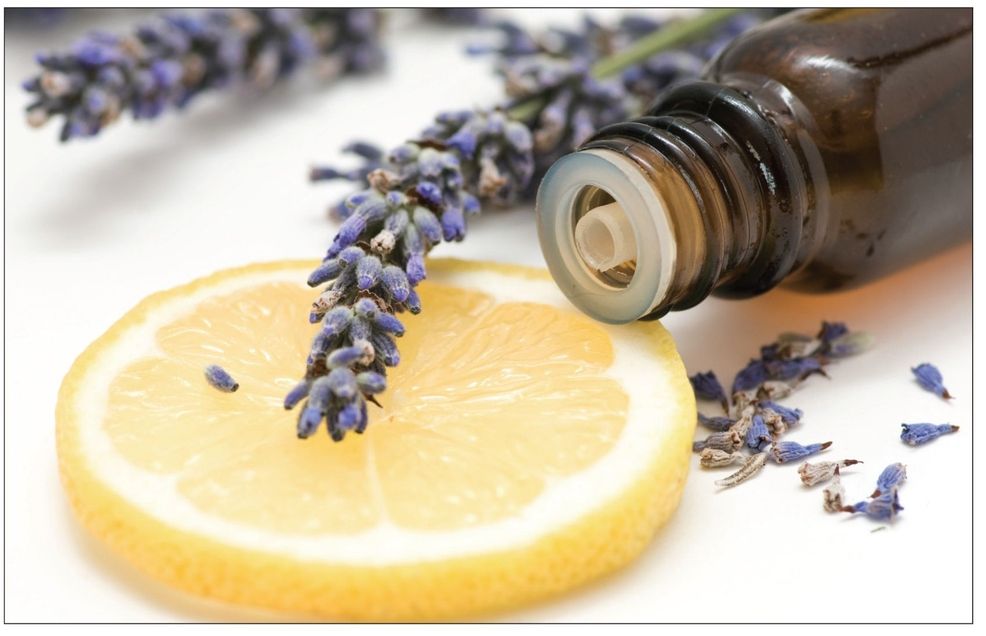
Rose petals and sweet geranium leaves are the primary ingredients in most potpourri. You can also add lavender, sweet verbena leaves, bay leaves, rosemary, dried orange peels, or pine needles. Orrisroot powder will help preserve the scent of the other ingredients.
The best time to collect flowers, seeds, or roots is in the morning, just after the dew has evaporated. Be careful not to bruise flower petals when gathering them, as damaged flowers will lose their scent.
- Flower petals, flower heads, stems, roots, or fruit (see chart below)
- Screen
- String
- Food dehydrator, oven, or solar oven
- Spices and orrisroot
- Essential oil
- To dry individual petals or flower heads, lay them on a screen and leave them in a dry place, out of direct sunlight, for about two weeks.
- For stems or roots, bunch them together, tie with string, and hang upside down for one to two weeks.
- Flowers or fruit (such as citrus slices or peels) can also be dried in a food dehydrator set at its lowest temperature, or in the oven set to 180°F. Drying in the oven takes several hours. Leave the oven door open slightly to allow moisture to escape. Using a solar oven will take longer but is much more energy efficient!
- To enhance the fragrance of your potpourri, add spices and orrisroot (available online or from many florists) to your final mixture. Gather violet powder, ground allspice, ground cloves, ground mixed spice, ground mace, whole mace, and/or whole cloves.
Fragrance Category Ingredients Spicy Allspice Berry, Bay, Cardamom, Caraway, Cinnamon, Clove, Clary Sage, Clove, Coriander, Cumin, Fir, Frankincense, Hyssop, Myrrh, Neroli, Nutmeg, Rosewood, Sweet Anise, Clary sage, Coriander, Frankincense, Geranium, Jasmine, Lavender, Rose, Sandalwood, Vanilla Fruity/Citrusy Bergamot, Berries, Lemon, Orange, Lemongrass, Ylang ylang, Wintergreen, Earthy Cedarwood, Chamomile, Eucalyptus, Fir, Juniper, Myrrh, Patchouli, Pine, Rosemary, Spruce 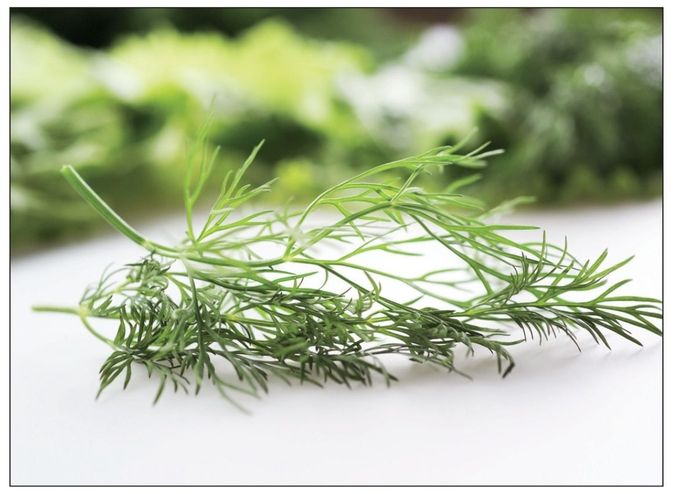
Mint and other herbs can be dried and included in your potpourri.

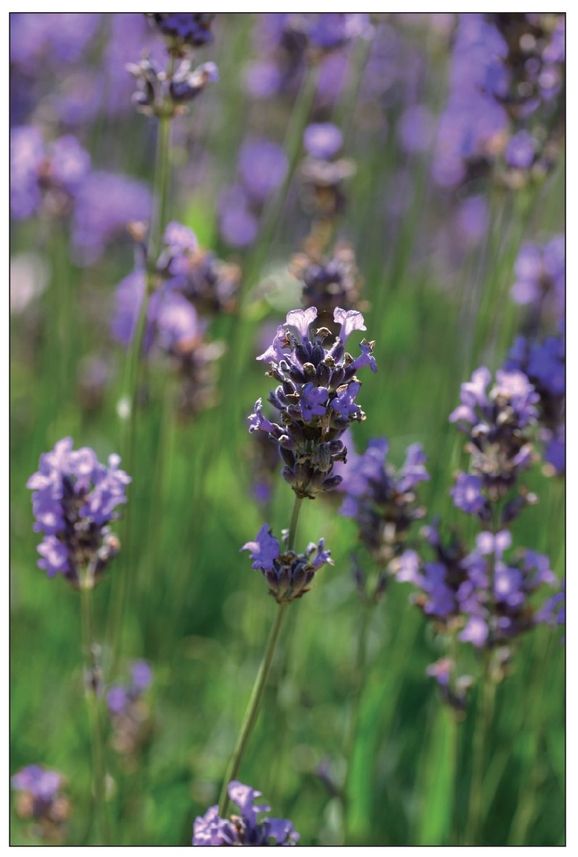
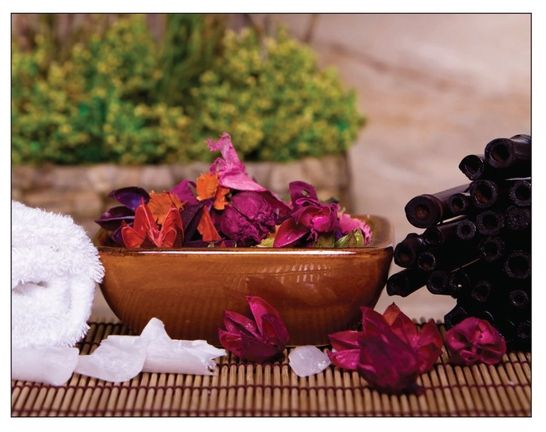
- Once all the components are thoroughly dried, you can mix them together. To make the potpourri smell stronger, you can add a few drops of essential oil and store the mixture in a crock with a tight-fitting lid or a lidded jar for a few weeks or even months. As the mixture sits, the fragrance tends to become much richer.
This chart shows the main types of fragrances and the ingredients associated with them. When experimenting with creating a recipe, first decide whether you want your potpourri to be primarily spicy, sweet, fruity/citrusy, or earthy. Use mostly ingredients from that category and then add smaller amounts from the other categories, if desired.
“You Choose” Potpourri Recipe
Potpourri can be comprised of a mix of flowers, leaves, and herbs—depending on which of these are available to you. The ingredients in this recipe are interchangeable and can all be used together or you can pick and choose which you want to use in making your own potpourri.
Essential Ingredients
1 ounce orrisroot
1 ounce allspice
1 ounce bay salt
1 ounce cloves
Assorted Ingredients (to add as you like)
Rose petals
Lavender
Lemon plant
Verbena
Myrtle
Rosemary
Bay leaf
Violets
Thyme
Mint
Essence of lemon
Essence of lavender
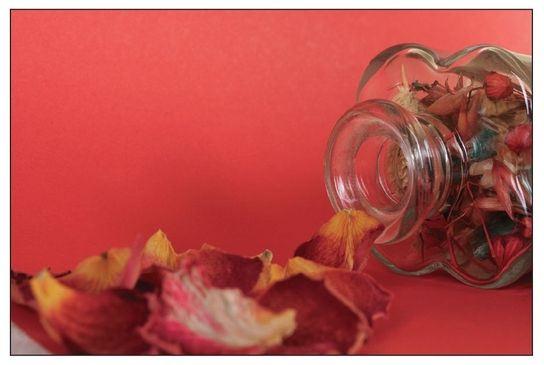
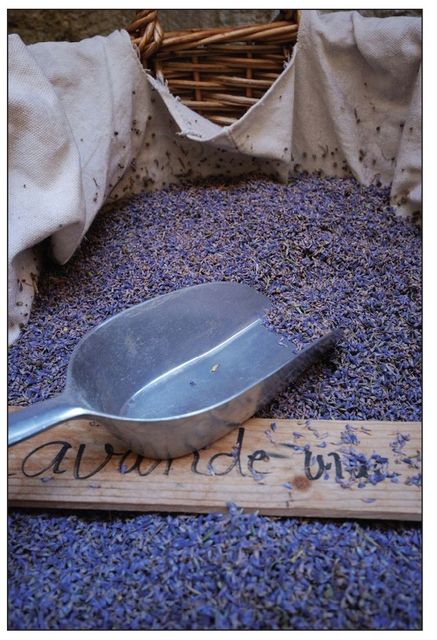
Mix the orrisroot, allspice, bay salt, and cloves together. Combine this with about twelve handfuls of the dried petals and leaves and store in an airtight jar or bowl. A small quantity of essence of lemon and/or lavender may be added but these are not necessary. Let the mixture stand for a few weeks. If it becomes too moist, add additional powdered orrisroot. Once the potpourri is dry and very fragrant, parcel it into bowls to set around the house or give as gifts in jars or sachets.
Rose Potpourri
Ingredients
1 lb rose petals (already pressed and from a jar)
Dried lavender (any proportion you like)
Lemon verbena leaves (any proportion you like)
A dash of orange thyme
A dash of bergamot
1 dozen young bay leaves (dried and broken up)
A pinch of musk
2 ounces orrisroot, crushed
1 ounce cloves, crushed
1 ounce allspice, crushed
½ ounce nutmeg, crushed
½ ounce cinnamon, crushed
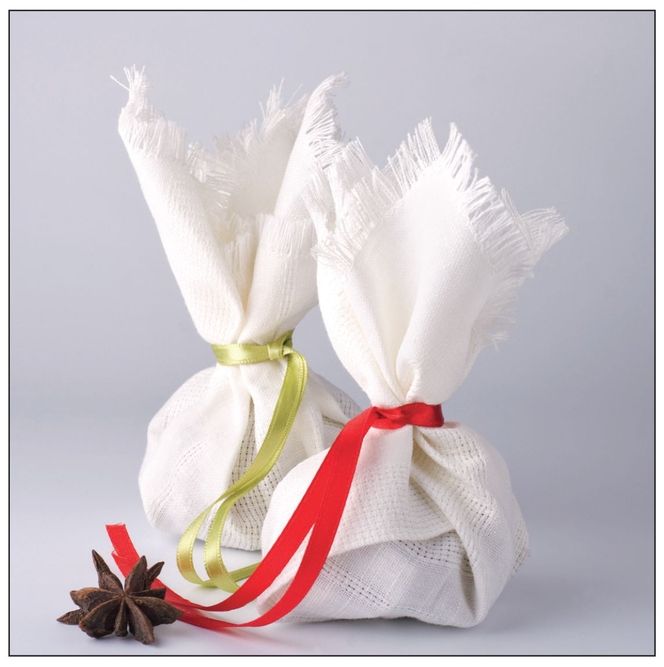
Combine all the ingredients together in a large crock, jar, or bowl with a lid. Seal and allow it to sit for a few weeks, until the aroma is to your liking. Parcel into small bowls to fragrance rooms or give as gifts.
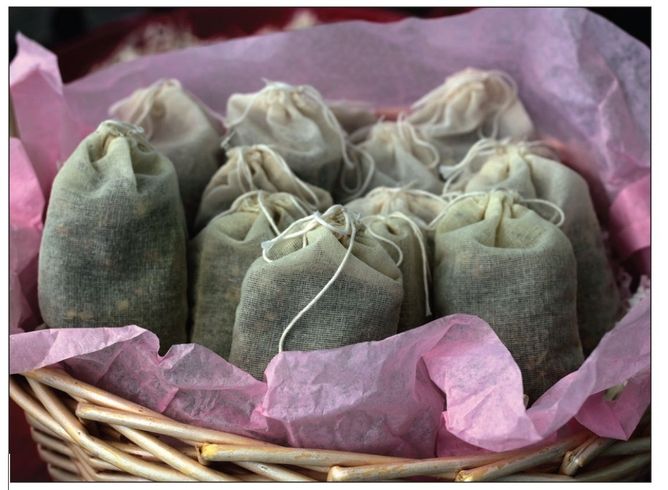
A Simple Recipe for Sachet Potpourri
If you are unable to procure large amounts of petals and leaves, here is a simple recipe, using oils as substitutes, that makes fine potpourri sachets.
Ingredients
2 drams alcohol
10 drops bergamot
20 drops eucalyptus oil
4 drops oil of roses
½ tsp cloves
1 ounce orrisroot
¼ tsp cinnamon
½ tsp mace
1 ounce rose sachet powder
Mix these ingredients together in a large stone crock or in a large glass bowl. When the ingredients are thoroughly mixed, store the potpourri in small wooden boxes or sachets and place them around the house. The potpourri gives off a pleasing fragrance to any room or drawer.
Sachet Bags
Sachets are small bags filled with sweet-smelling potpourri. Hang them in a closet or tuck them in a drawer to lend your clothes a gentle fragrance.
- Fabric
- Scissors
- Needle and thread or sewing machine
- Ribbon or string
- Cut two 3 x 5-inch rectangles of fabric. Hem one of the 3-inch sides of both rectangles. Stack the pieces one on top of the other, placing the hemmed edges together and lining up all sides exactly. The right sides of the fabric should be facing toward each other.
- Sew along three sides of the fabric, about ¼-inch from the edges. Leave one of the 3-inch sides unsewn so that the bag has an opening.
- Turn the bag inside out so that the right side of the fabric is visible and the seams are hidden. Fill the bag half-full with potpourri and tie a ribbon or string around the top.
Preserving Flowers
Pressed Flowers and Leaves
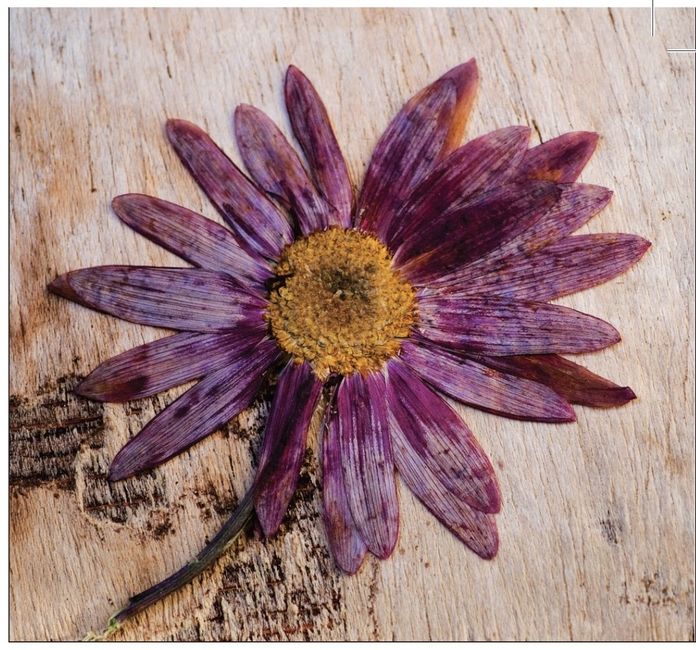
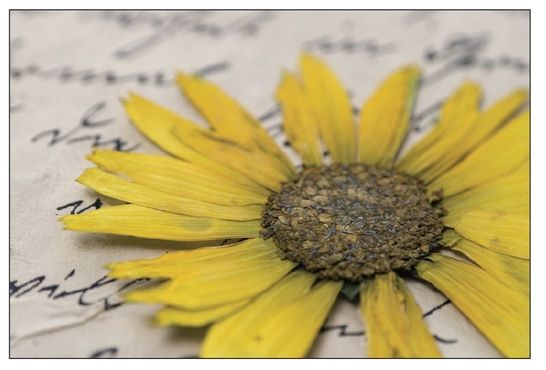
Pressed flowers can be used to decorate stationery, handmade boxes, bookmarks, scrapbooks, or picture frames. Kids can glue pressed wildflowers to a blank book and add species names and descriptions to make their own field guides.
- Large book or newspapers
- Blotting paper
- Weights
- Leaves, ferns, or flowers
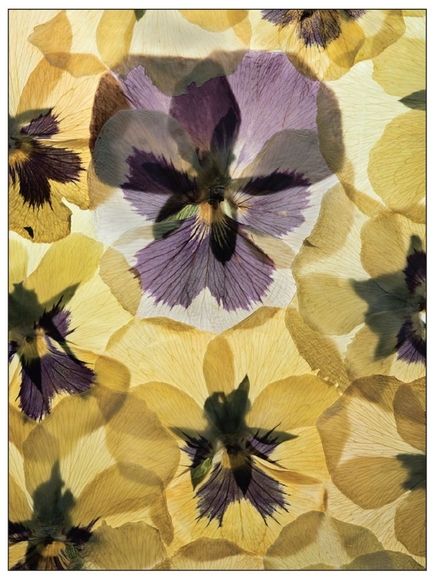
- Have a large book or a quantity of old newspapers and blotting paper, and several weights ready.
- Use the newspapers for leaves and ferns. Blotting paper is best for the flowers. Both the flowers and leaves should be fresh and without moisture. Place them as nearly as possible in their natural positions in the book or papers, and press, allowing several thicknesses of paper between each layer.
- Remove the flowers and leaves onto dry papers each day until they are perfectly dried.
Some flowers, like orchids, must be immersed—all but the flower head—in boiling water for a few minutes before pressing, to prevent them from turning black.
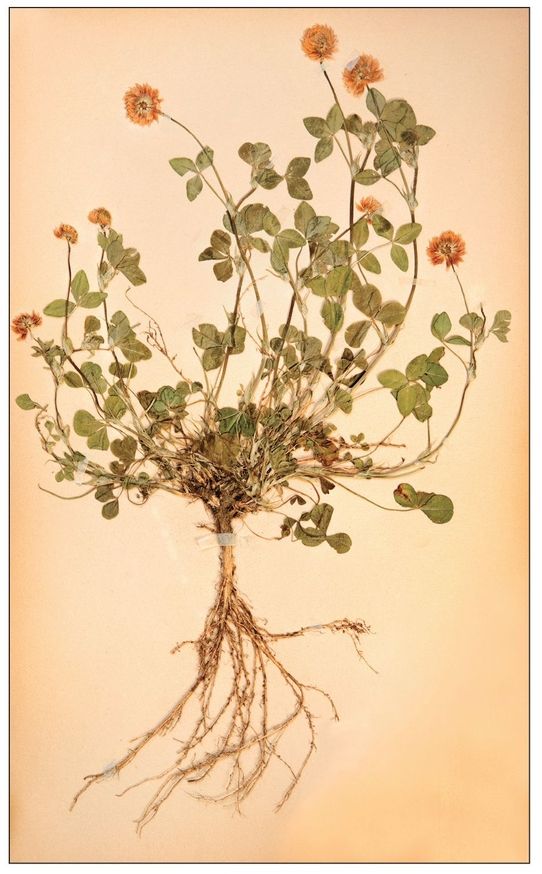
In order to preserve your flowers forever, get a blank book or pieces of stiff, white paper on which to mount your preserved flowers and leaves. You can glue them down to the paper with hot glue or regular Elmer’s glue. The sooner you mount the specimens, the better. Place them carefully on the paper and, beneath each flower or leaf, write the name of the plant, where it was found, and the date.
Natural Wax Flowers
- Paraffin
- Saucepan
- Fresh flowers or leaves and ferns
- Wax paper
- Iron
- To make wax flowers, dip the fresh buds and blossoms in paraffin that is just hot enough to be liquefied. First dip the stems of the flowers. When these have cooled and hardened, then dip the flowers or sprays. Be sure to hold them by the stalks and move them gently.
- When they are completely covered, remove the flowers from the wax and shake them lightly in order to throw off the excess wax. Allow the flowers to dry completely. The flowers will keep their beautiful coloring and natural forms, and even their fragrance for a short while.
- For leaves, ferns, or flat flowers, you can place the plant between two sheets of wax paper and run a hot iron over the paper. Allow the paper to cool slightly and then carefully remove it.
TIP
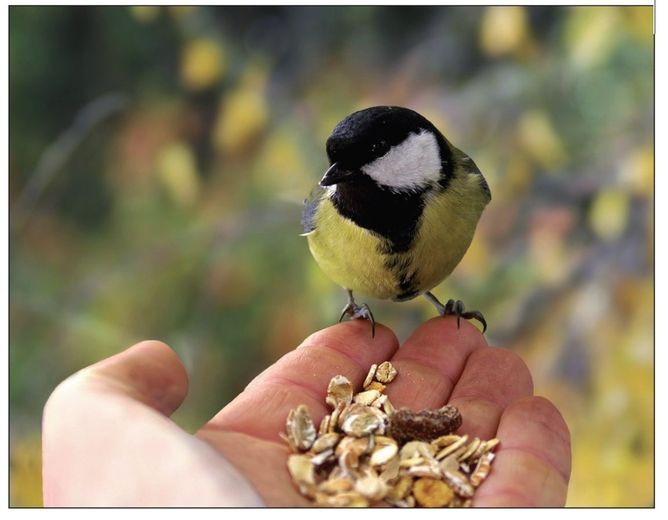
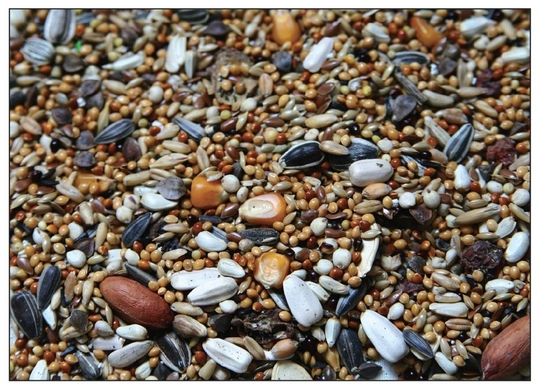
Make your own bird seed mix by combining millet, cracked corn, sunflower seeds, safflower seeds, and thistle seeds. Birds also love bits of stale bread, cereals, dried fruit, and nuts.
Pine Cone Bird Feeder
To attract wild birds to your yard, all you need is a pine cone, a bunch of seeds, and a little peanut butter. Keep in mind that wild animals also enjoy backyard treats, so you may end up attracting bears, raccoons, or other unwanted fauna. But in the meantime, the birds will appreciate your generosity!
- Cord or string (at least two feet long)
- Large pine cone
- Peanut butter
- Birdseed
- Loop the cord around the top petals of the pine cone and tie it tightly. Then spoon a little peanut butter between each layer of pine cone petals.
- Roll the pine cone in the birdseed (you can spread the seeds in a pie dish or on a sheet of waxed paper first) and hang the feeder in a tree.
QUALITIES OF A GOOD KNOT
- It can be tied quickly.
- It will hold tightly.
- It can be untied easily.
Tying Knots
Knowing how to tie a variety of knots is invaluable, especially if you are involved in boating, rock climbing, fishing, or other outdoor activities.
Strong knots are typically those that are neat in appearance and are not bulky. If a knot is tied properly, it will almost never loosen and will still be easy to untie when necessary.
The best way to learn how to tie knots effectively is to sit down and practice with a piece of cord or rope. Listed below are a few common knots that are useful to know:
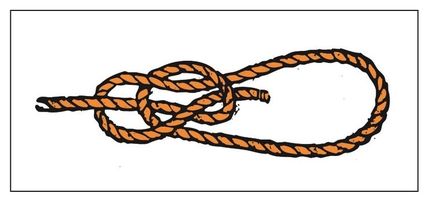
- Bowline knot: Fasten one end of the line to some object. After the loop is made, hold it in position with your left hand and pass the end of the line up through the loop, behind and over the line above, and through the loop once again. Pull it tightly and the knot is now complete.
THREE PARTS OF A ROPE
- The standing part: this is the long, unused part of the rope.
- The bight: this is the loop formed whenever the rope is turned back.
- The end: this is the part used in leading.
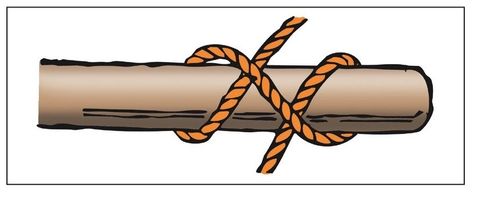
- Clove hitch: This knot is particularly useful if you need the length of the running end to be adjustable.
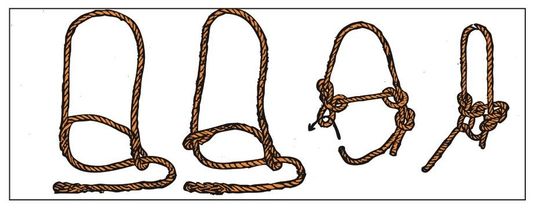
- Halter: If you need to create a halter to lead a horse or pony, try this knot.
- Sheepshank knot: This is used for shortening ropes. Gather up the amount to be shortened and then make a half hitch around each of the bends.

- Slip knot: Slip knots are adjustable, you can tighten them around an object after they’re tied.
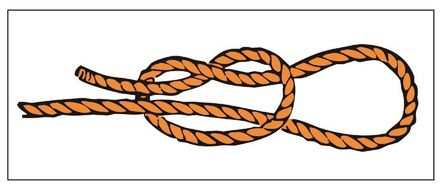
- Square/reef knot: This is the most common knot for tying two ropes together.

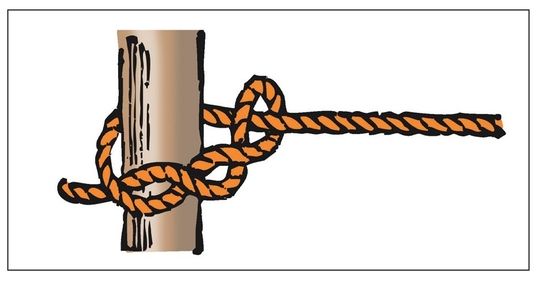
- Timber hitch: If you need to secure a rope to a tree, this is the knot to use. It is easy to untie, too.
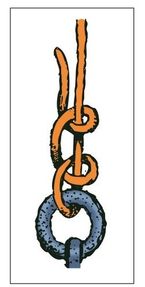
- Two half hitches: Use this knot to secure a rope to a pole, boat mooring, washer, tire, or similar object.
Kites
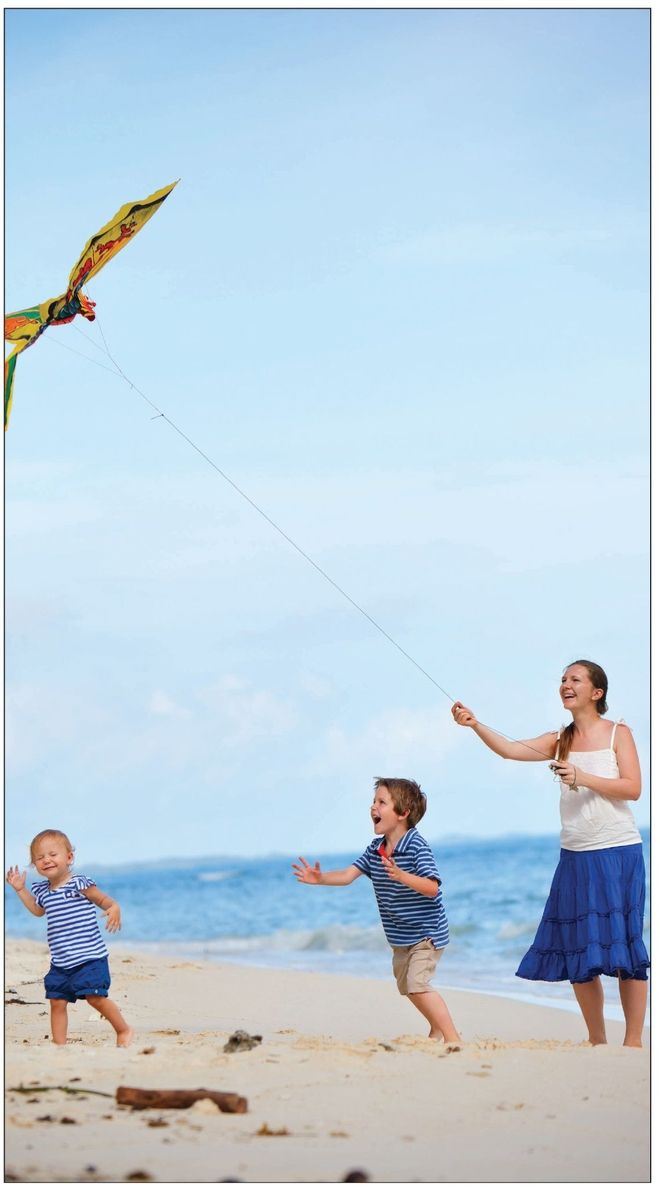
Flying kites is a wonderful way to spend a breezy summer day. Making your own kites is easy and fun and adds to the enjoyment and satisfaction of kite flying. Here are a few examples of kites that can easily be made and are particularly fun for children.
HOW TO PASTE TISSUE PAPER TO YOUR KITE FRAME
Make a good paste out of flour and water by boiling it until it reaches the consistency of starch. Put the paste on with a bristle brush, make the seams hardly more than ¼ inch wide, and press them together with a soft rag.
To adhere tissue paper to your frame, place the tissue paper on the ground and lay the frame over it, holding the frame down with heavy books. Cut the paper around the frame, leaving a ½-inch edge, and make a slit in the edge every 6 or 7 inches and at the angles. With your brush, coat the edge with paste, one section at a time, turn the sections over, and press down with the rag.
Frog Kite
Materials
Two 2-foot-long sticks (with the thinner part bent to form knees)
1-foot, 7-inch-long stick (for the spine)
2-foot, 5-inch-long piece of rattan (to make the body of the frog)
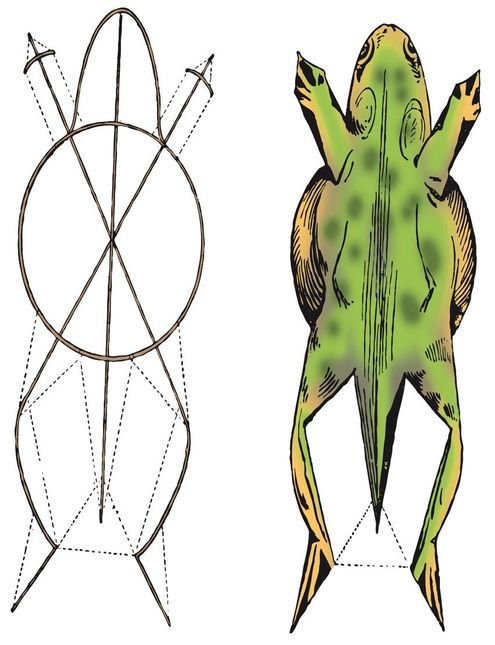
- Place the two leg sticks one above the other and then place the spine stick on top of them. The tops of all three sticks should be perfectly even. Eight inches from the top, drive a pin through all three sticks and carefully clamp it on the other side where the point comes through.
- For the body, bend the piece of rattan to form a circle (allow the ends to overlap about an inch or so—this will help in the binding of the ends to make a joint). The circle, when complete, should be about 8 inches in diameter.
- Take the three sticks that are pinned together, lay them on the floor, and spread them apart to form an irregular star. The top of the spine should be just about halfway between the tops of the legs (5 inches from each). Place the rattan circle over the sticks, with the intersection of the sticks located in the middle of the circle.
- With pins and thread, fasten the frame together. The lower limbs will be spread wide apart and they must be carefully drawn together and held in position by a string that is tied near the termination of each leg stick.
- Cross-sticks for hands and feet may now be added and the strings attached to various points. Cover the kite with green tissue paper and decorate it to look like a frog.
Layout of Frog Kite
Butterfly Kite
- Make a thin, straight stick out of a piece of elastic wood or split rattan. At the top of this, attach a piece of thread or string.
- Bend the stick as you would a bow until it forms an arc or half circle. Then, holding the stick in this position, tie the other end of the string to a point a few inches above the bottom end of the stick. At a point on the stick about one-quarter the distance from the top, tie another string, draw it taut, and fasten it to the bottom end of the bow.
- Take another stick of exactly the same length and thickness as the first and go through the same process, making a frame that is exactly the same as the first. Then, fasten the two frames together (Figure 13), allowing the arcs to overlap several inches, and bind the joints securely with thread.
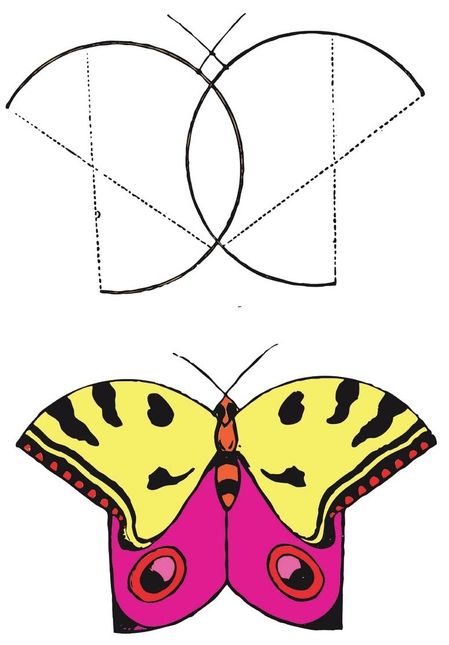
- Make the head of the insect by attaching two pipe cleaners to the top part of the wings where they are joined together. The straws must be crossed and the projecting ends can serve as the antennae.
- Select a piece of yellow or blue tissue paper, place your frame over it, cut it to the correct measurements, and paste. After the kite is dry, draw some markings on the wings with black paint or cut out markings in darkcolored paper and paste them on.
Fish Kite
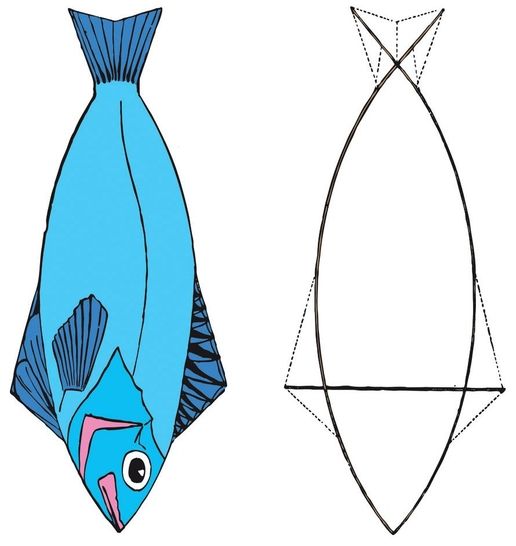
- Cut two straight pine sticks and shave them down until they are thin enough to bend easily. They should be exactly the same length and roughly the same weight. Fasten the top ends together by driving a pin through them.
- Bend each stick to form a bow and hold them in this position until you have secured a third stick across them at right angles about one-third the way down from the top. The kite should now be half as broad as it is long.
- Let the lower ends of the side, or bow, sticks cross each other far enough up to form a tail for the fish and fasten the sticks together at their intersection.
- Before stringing the frame, see that the cross-stick protrudes an equal distance from each side of the fish.
- To make the tail, tie a string across the bottom from the end of one cross-stick to the end of the other and tie another string to this string in the middle. Pass the string up to the base of the tail, draw it taut, and fasten it there at the intersection of the side-sticks. This will make a natural look for the caudal fin.
- The remainder of the strings can be put on—take care that the dorsal and back fin are made exactly the same size. Choose yellow, red, or green tissue paper to cover the kite and decorate as you see fit.
- Tie the strings of the breast-band to the side-sticks near the head and tail, and let them cross each other as in a common kite. Attach the tail-band to the tail of the fish.
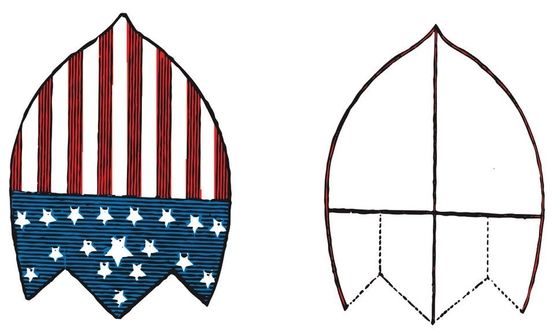
Shield Kite
- Make the frame of four sticks: two straight cross-sticks and two bent side-sticks.
- Cover it with red, white, and blue tissue paper (making it look like a flag) or use any color of your choosing. Make sure to cut the paper so it looks like a shield.
Japanese Square Kite
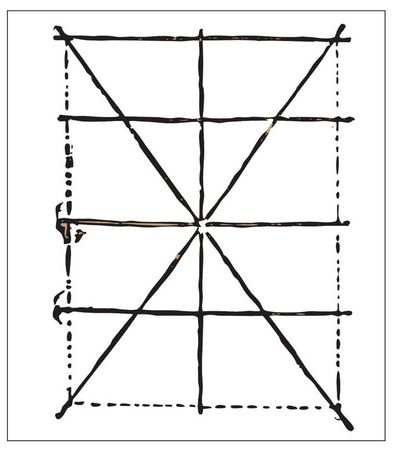
- This kite is not actually perfectly square. It is rectangular and made with a framework of very thin bamboo or cane sticks, bound together.
- The frame should be covered with Japanese paper and all sides of the paper should be glued down well.
- The kite should be bent backwards, making it slightly convex in the front. To hold the kite in this position, use strings that are tied from end to end of the cross-sticks at the back. The breast-band may be attached like any other six-sided kite.
- Instead of a tail band, with a single tail attached, this kite carries two tails, one tied at each side to the protruding ends of he diagonal sticks at the bottom of the kite.
TIP
If you move your sundial from its original location, the time may be off. You’ll need to “reset” it by checking a clock and angling the sundial to the correct position to match the real time.

HOW TO THROW A BOOMERANG
Grasp the boomerang near one end and hold it like a club. Make sure the concave side is turned away from you and the convex side is toward you. Find something to take aim at and then throw the boomerang at the object. If the boomerang is well made, it should return to you after its flight. Be careful not to throw the boomerang when others are close by—it may end up hitting them and it can leave a bad welt. It is best to throw your boomerang in a large, open field by yourself.
Boomerangs
In order to make a boomerang, scald a piece of well-seasoned elm, ash, or hickory plank (free from any knots) in a pot of boiling water. Allow the wood to remain in the water until it becomes pliable enough to bend into a slight V-shaped form. When the wood has assumed the proper shape, nail on the side pieces to hold the wood in position until it is thoroughly dry. After the plank is completely dry, the side pieces can be removed—the wood will keep the curved shape.
Saw the wood into as many pieces as it will allow and each piece will become a boomerang. If the edges are very rough, trim them with a pocketknife and scrape them smooth. You can use a large file to help shape the boomerang. The efficiency of your boomerang (how well it soars and returns to you) will vary in each piece, depending on the curvature.

Sundial
Sundials have been used for well over 5,000 years as a means of telling time based on the sun’s position. The vertical axis, or gnomon (in this case a chopstick), casts a shadow over the horizontal axis (the wooden disk). The shadow moves as the sun travels across the sky. You can tell what time it is by seeing where the shadow falls.
- One wooden disk or rectangle
- One chopstick or wooden dowel
- Drill
- Air-dry clay
- Paint (optional)
- Permanent marker
- Spray acrylic sealer
- Drill a hole in the wood. The hole should be just large enough for the wider end of the chopstick to fit.
- Press the clay into the hole and stick the wide end of the chopstick firmly into the clay. Be sure the chopstick is completely vertical—not leaning one way or the other. Allow the clay to harden. If desired, paint the disk and gnomon (chopstick).
- Place the sundial in a sunny spot outdoors early in the day. Every hour, on the hour, make a mark where the gnomon’s shadow falls and place a number near the mark to indicate the time. You may want to do this in pencil first and then outline it with permanent marker.
- When all twelve hours are marked, spray the entire sundial with a clear acrylic sealer. Allow to dry and then apply a second coat.
TIP
Adults can make their own non-toxic wood sealer using five parts mineral oil to one part beeswax. Children should not attempt this on their own. Heat the mineral oil in a saucepan over low heat. Add the beeswax, being careful not to splash the oil, and allow it to melt. Caution: Keep the heat low and stir slowly. Beeswax is very flammable.
Stir very slowly, being careful not to splash any of the mixture. If it splashes out into the flame, it will ignite. Once all the beeswax is melted, use a funnel to pour the mixture into a mason jar. Once the mixture is cool, use a rag to apply a thin layer to any wood you want to protect from the elements.
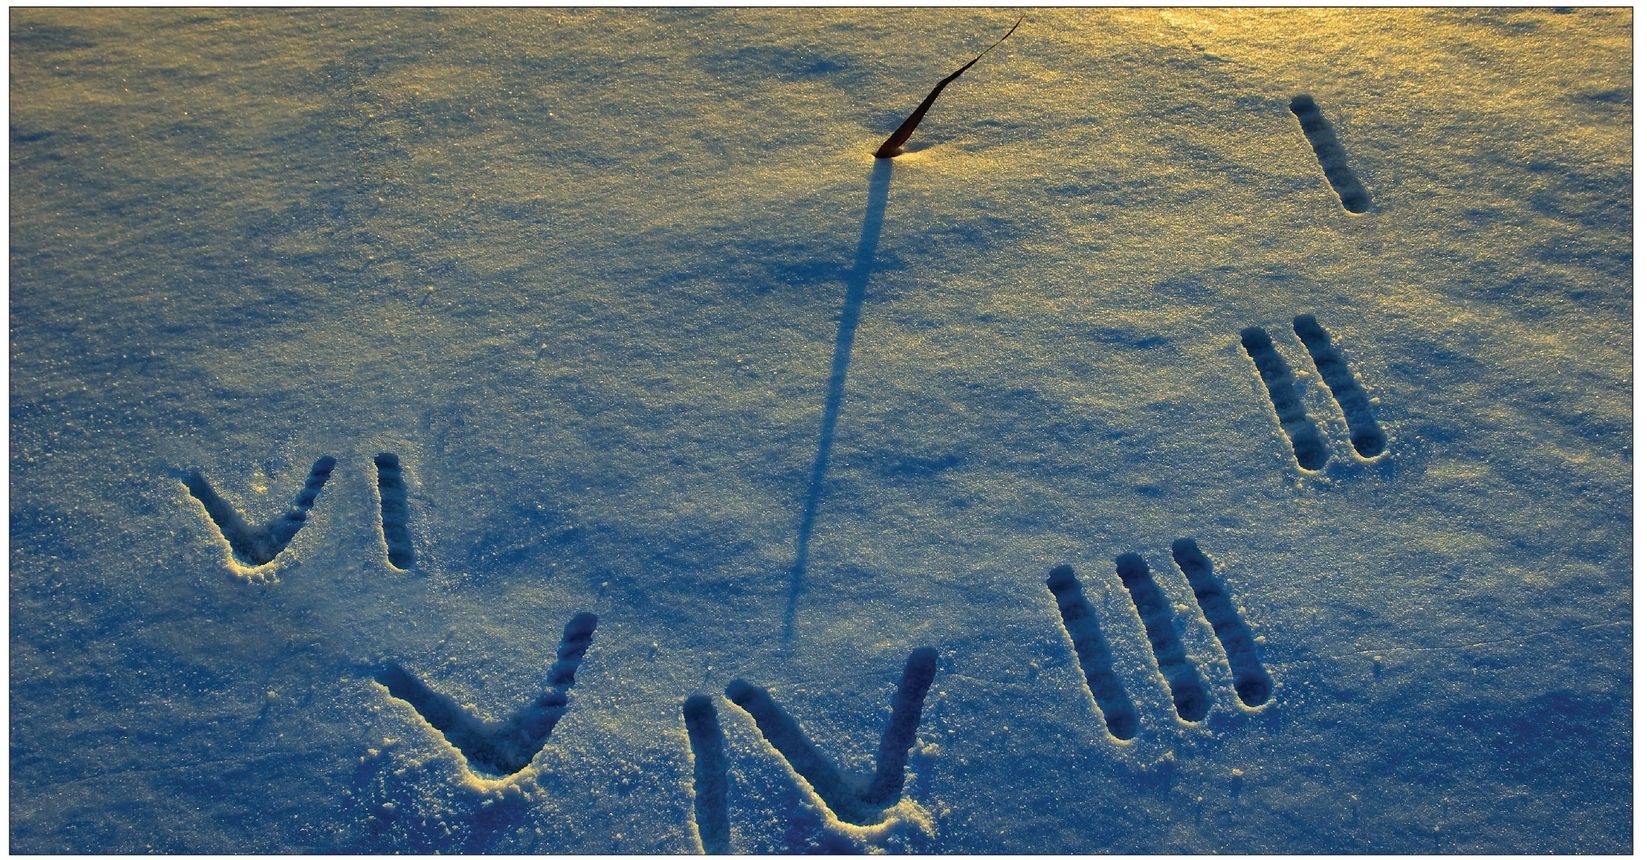
A simple, temporary sundial can be made in snow or sand.
