Autumn
Fall days may be filled with harvesting the gardens and savoring the fleeting rays of sunshine, but a cool autumn evening is perfect for cozy craft projects. Try dipping candles, making fragrant soaps, or weaving baskets reeds or rushes. The kids will have fun making dolls from the husks leftover from late summer corn.
Handmade Candles
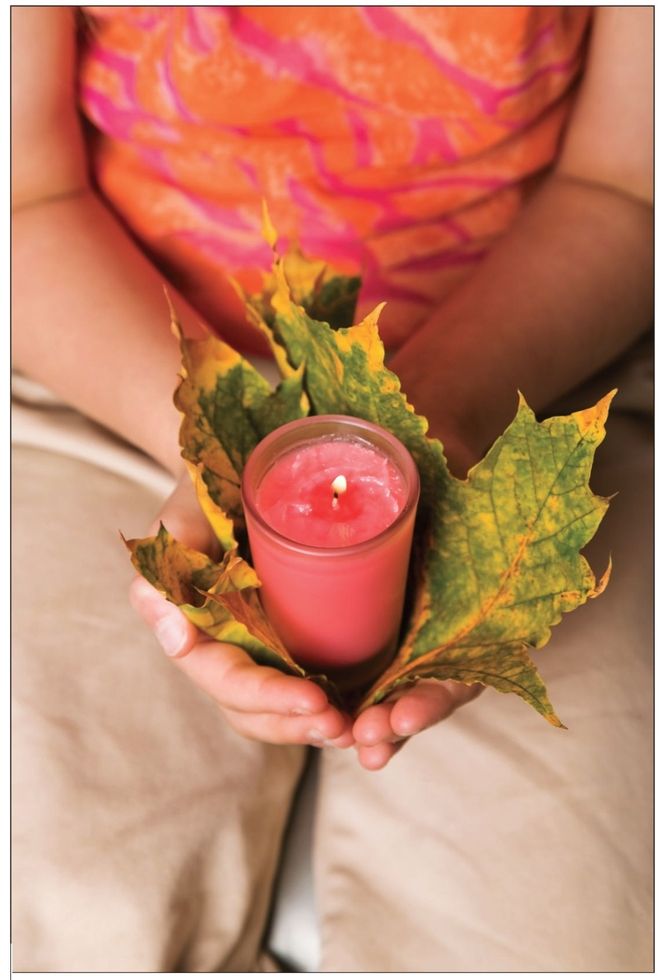
Making candles is a great activity for a fall afternoon. Simple beeswax candles can be completed in a few minutes, but give yourself several hours to make dipped candles. The process is fun, creative, and productive. Give your handmade candles to friends or family or burn them at home to create atmosphere and save on your electricity bill.
TIP
Rather than pouring leftover wax down the drain (which will clog your drain and is bad for the environment), dump it into a jar and set it aside. You can melt it again later for another project.
TIP
When making candles, keep a box of baking soda nearby. If wax lights on fire, it reacts similarly to a grease fire, which is aggravated by water. Douse a wax fire with baking soda and it will extinguish quickly.
Rolled Beeswax Candle
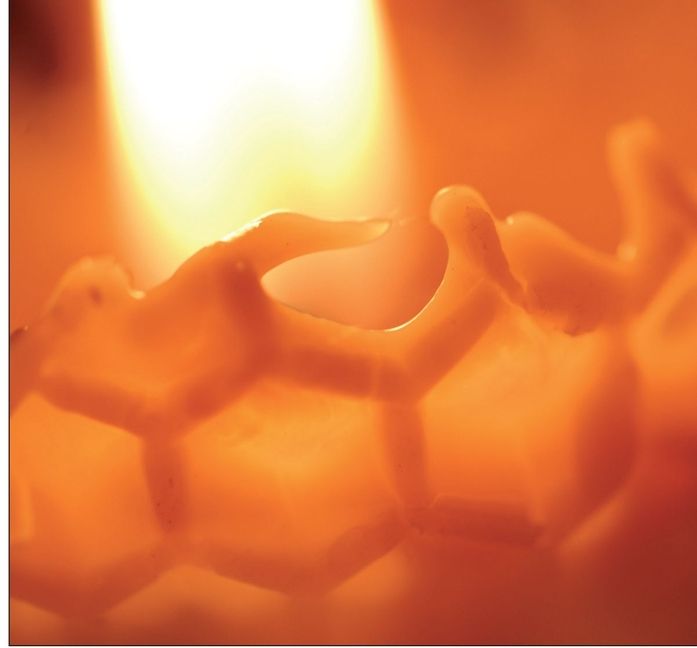
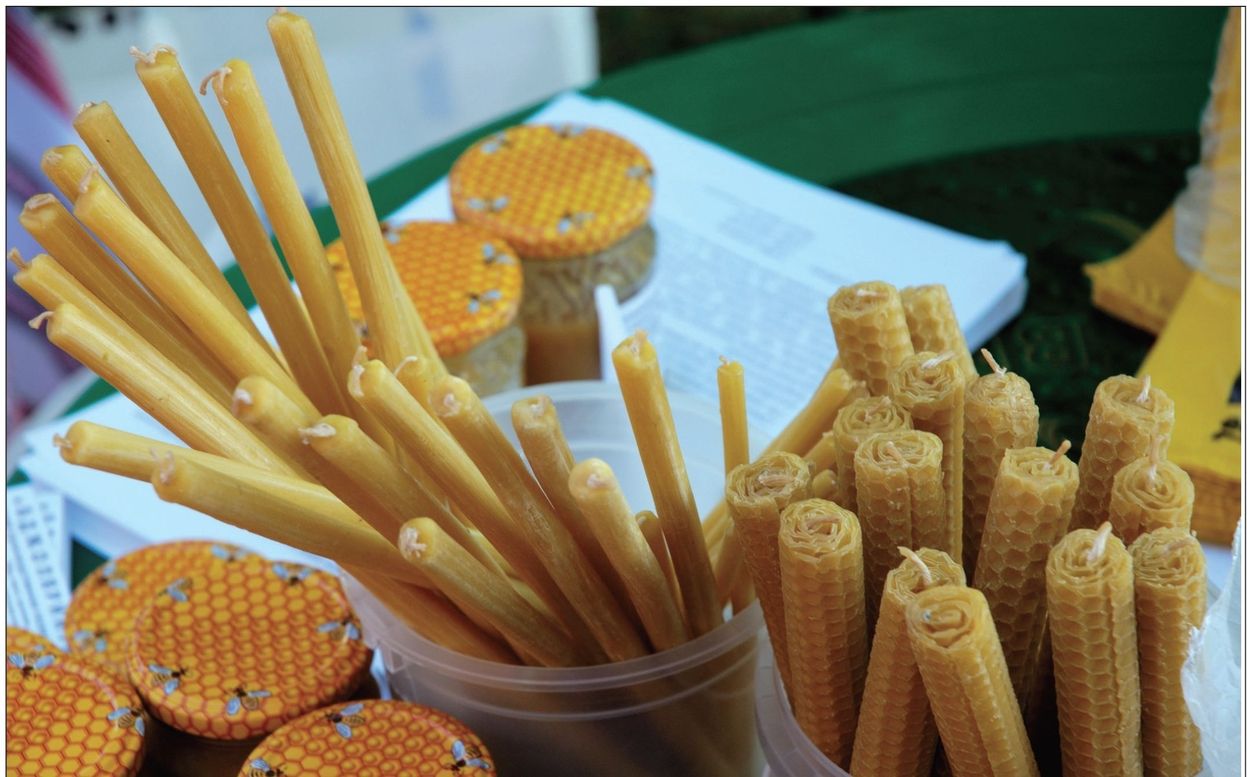
Beeswax candles are cheap, eco-friendly, non-allergenic, dripless, non-toxic, and they burn cleanly and beautifully. They’re also very simple and quick to make—perfect for a short afternoon project.
Materials
Sheets of beeswax (you can find these at your local arts and crafts store or from a local beekeeper)
Wick (you can purchase candle wicks at your local arts and crafts store)
Supplies
Scissors
Hair dryer (optional)
Directions
- Fold one sheet of beeswax in half. Cut along the crease to make two separate pieces.
- Cut your wick to about 2 inches longer than the length of the beeswax sheet.
- Lay the wick on the edge of the beeswax sheet, closest to you. Make sure the wick hangs off of each end of the sheet.
- Start rolling the beeswax over the wick. Apply slight pressure as you roll to keep the wax tightly bound. The tighter you roll the beeswax, the sturdier your candle will be and the better it will burn.
- When you reach the end, seal off the candle by gently pressing the edge of the sheet into the rolled candle, letting your body heat melt the wax.
TIP
If you are having trouble using the beeswax and want to facilitate the adhering process, you can use a hair dryer to soften the wax and to help you roll it. Start at the end with the wick and, moving the hair dryer over the wax, heat it up. Keep rolling until you reach a section that is not as warm, heat that up, and continue all the way to the end.
TIP
Old crayons can be melted and used instead of paraffin for candle-making.
- Trim the wick on the bottom (you may also want to slice off the bottom slightly to make it even so it will stand up straight) and then cut the wick to about ½ inch at the top.
Taper Candles
Taper candles are perfect for candlesticks, and they can be made in a variety of sizes and colors.
Materials
Wick (be sure to find a spool of wick that is made specifically for taper candles)
Wax (paraffin is best)
Candle fragrances and dyes (optional)
Supplies
Pencil or chopstick (to wind the wick around to facilitate dipping and drying)
Weight (such as a fishing lure, bolt, or washer)
Dipping container (this should be tall and skinny. You can find these containers at your local arts and craft store, or you can substitute a spaghetti pot)
Stove
Large pot for boiling water
Small trivet or rack
Glass or candle thermometer
Newspaper
Drying rack
Directions
- Cut the wick to the desired length of your candle, leaving about 5 additional inches that will be tied onto the pencil or chopstick for dipping and drying purposes. Attach a weight (a fishing lure, bolt, or heavy metal washer) to the dipping end of the wick to help with the first few dips into the wax.
- Ready your dipping container. Put the wax (preferably in smaller chunks—this will speed up the melting process) into the container and set aside.
- In a large pot, start to boil water. Before putting the dipping container full of wax into the larger pot, place a small trivet, rack, or other elevating device into the bottom of the larger pot. This will keep the dipping container from touching the bottom of the larger pot and will prevent the wax from burning and possibly combusting.
- Put the dipping container into the pot and start to melt the wax, keeping a thermometer in the wax at all times. The wax should be heated and melted between 150 and 165°F. Stir frequently in order to keep the chunks of paraffin from burning and to make sure all the wax is thoroughly melted. (If you want to add fragrance or dye, do so when the wax is completely melted and stir until the additives are dissolved.)
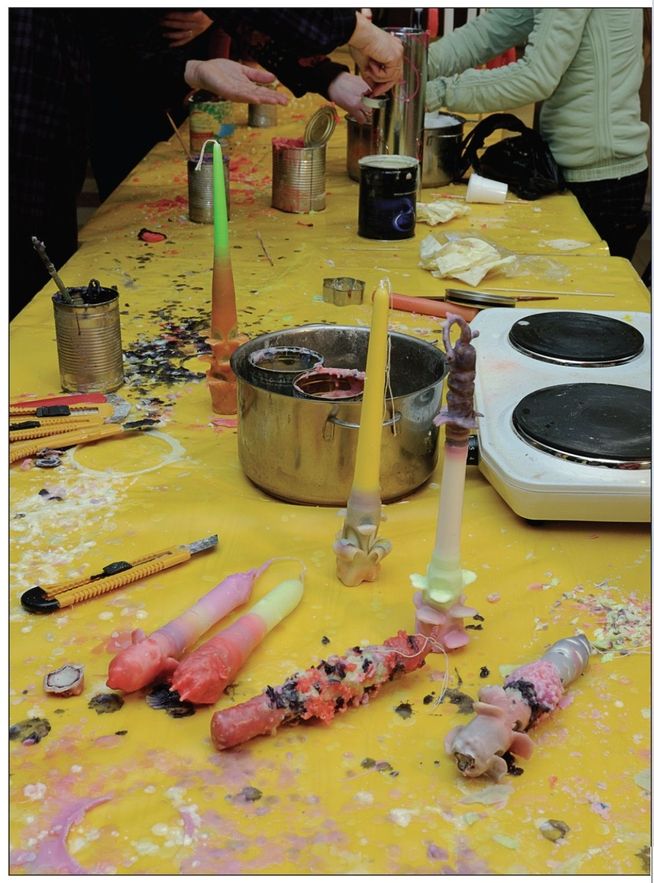
- Once your wax is completely melted, it’s time to start the dipping process. Removing the container from the stove, take your wick that’s tied onto a stick and dip it into the wax, leaving it there for a few minutes. Continue to lower the wick in and out of the dipping container, and by the eighth or ninth dip, cut off the weight from the bottom of the wick—the candle should be heavy enough now to dip well on its own.
- To speed up the cooling process—and to help the wax to continue to adhere and build up on the wick—blow on the hot wax each time you lift the candle out of the dipping pot.
- When the candle is at the desired length and thickness, you may want to lay it down on a very smooth surface (such as a countertop) and gently roll it into shape.
- On a drying rack (which can be made from a box long enough so the candles do not touch the bottom or from another device), carefully hang your taper candle to dry for a good twenty-four hours.
LAYERED TAPER CANDLES
For a more ornate candle, add different shades of food coloring to three or four separate pots of melted wax (or melt down old crayons). Alternate between the different colors of wax as you dip the wick, creating different layers of color. Once the candle is the desired thickness and is mostly cooled, use a paring knife to carefully peel away strips of the wax around the outside of the candle. Allow the wax strips to curl downward as you peel, revealing a rainbow of colors.
GOURD VOTIVES
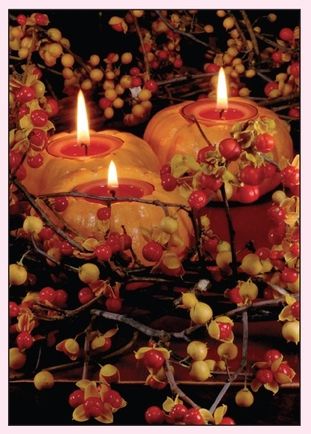
Small gourds make perfect votive candleholders. Carve a circle out of the top of the gourd, making it the same size as the circumference of the candle you intend to place in it. Gently pry off the top and set the candle in the indentation. If necessary, cut the hole slightly larger, but keep it small enough that the candle fits snugly.
- Once the candle is completely hardened, trim the wick to just above the wax.
Jarred Soy Candles
Soy candles are environmentally friendly and easy to make. You can find most of the ingredients and materials needed to make soy candles at your local arts and crafts store—or even in your own kitchen!
Materials
1 lb soy wax (either in bars or flakes)
1 ounce essential oil (for fragrance)
TIP
To make floating candles, pour hot wax into a muffin tin until each muffin cup is about one-third full. Allow the wax to cool until a film forms over the tops of the candles. Insert a piece of wick into the center of each candle (use a toothpick to help poke the hole if necessary). Allow candles to finish hardening and then pop them out of the tin. Trim wicks to about ¼ inch.
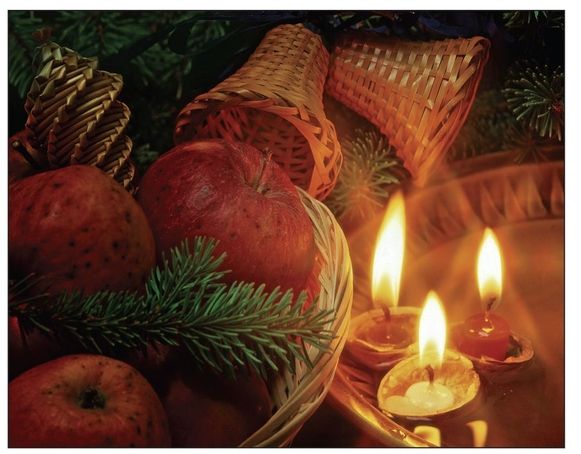
Stubs of taper candles can be melted into empty walnut shells to make unique floating candles.
Natural dye (try using dried and powdered beets for red, turmeric for yellow, or blueberries for blue)
Supplies
Stove
Pan to heat wax (a double boiler is best)
Spoon
Glass thermometer
Candle wick (you can find this at your local arts and crafts store)
Metal washers
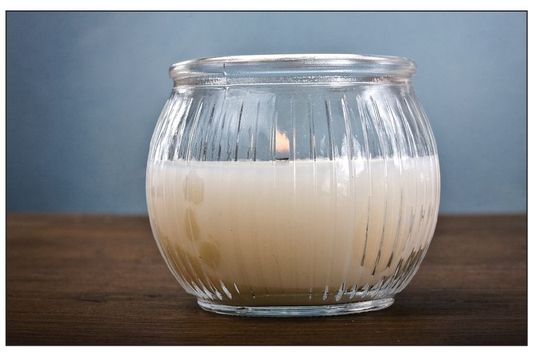
Pencils or chopsticks
Heatproof cup to pour your melted wax into the jar(s)
Jar to hold the candle (jelly jars or other glass jars work well)
Directions
- Put the wax in a pan or a double boiler and heat it slowly over medium heat. Heat the wax to 130 to 140°F or until it’s completely melted.
- Remove the wax from the heat. Add the essential oil and dye (optional) and stir into the melted wax until completely dissolved.
- Allow the wax to cool slightly, until it becomes cloudy.
- While the wax is cooling, prepare your wick in the glass container. It is best to have a wick with a metal disk on the end—this will help stabilize it while the candle is hardening. If your wick does not already have a metal disk at the end, you can easily attach a thin metal washer to the end of the wick. Position the wick in the glass container and wrap the excess wick around the middle of a pen or chopstick. Lay the pencil or chopstick on the rim of the container and position the wick so it falls in the center.
- Using a heat proof cup or the container from the double boiler, carefully pour the wax into the glass container, being careful not to disturb the wick from the center.
TIP
Add citronella essential oil and a few drops of any of the following other essential oils to make your candle a mosquito repellant:
- Catnip
- Cloves
- Cedarwood
- Lavender
- Lemongrass
- Eucalyptus
- Peppermint
- Rosemary
- Rose geranium
- Thyme
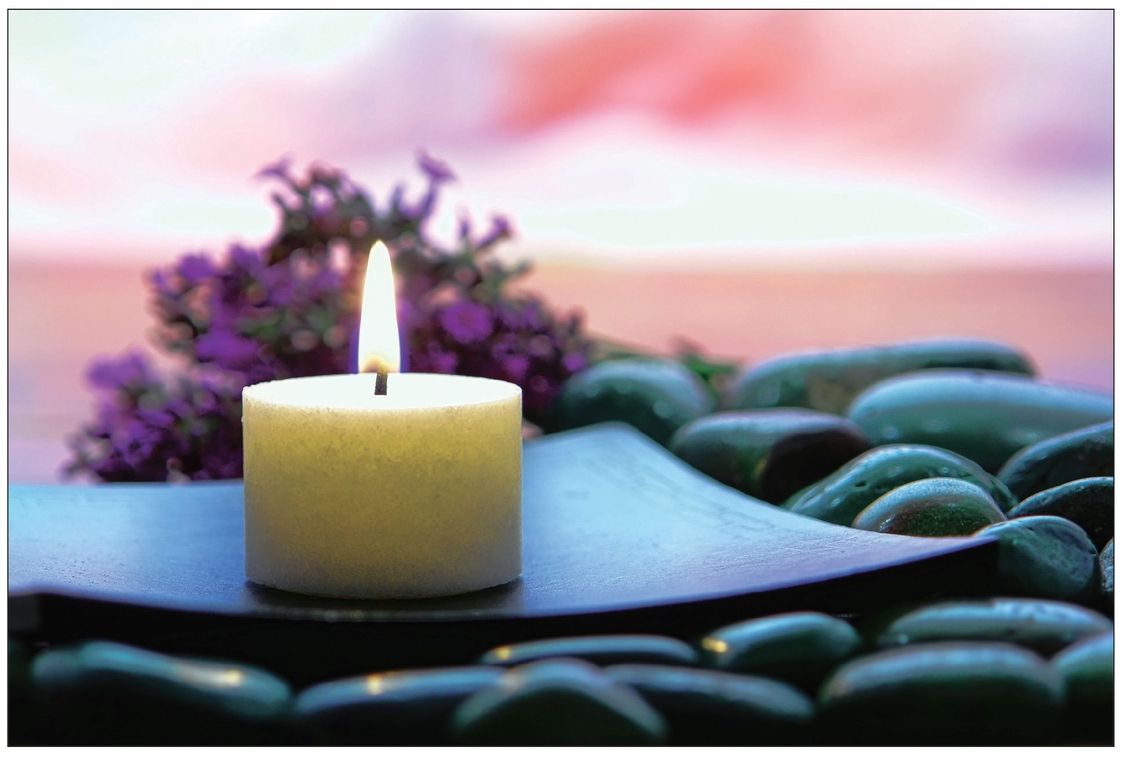
- Allow the candle to dry for at least twenty-four hours before cutting off the excess wick and using.
Soap Making
When you make your own soap, you get to choose how you want it to look, feel, and smell. Adding dyes, essential oils, texture (with oatmeal, seeds, etc.), or pouring it into molds will make your soap unique. Making soap requires time, patience, and caution, as you’ll be using some caustic and potentially dangerous ingredients—especially lye (sodium hydroxide). Avoid coming into direct contact with the lye; wear goggles, rubber gloves, and long sleeves, and work in a well-ventilated area. Be careful not to breathe in the fumes produced by the lye and water mixture.
Soap is made up of three main ingredients: water, lye, and fats or oils. While lard and tallow were once used exclusively for making soaps, it is perfectly acceptable to use a combination of pure oils for the “fat” needed to make soap. Saponification is the process in which the mixture becomes completely blended and the chemical reactions between the lye and the oils, over time, turn the mixture into a hardened bar of usable soap.
Cold-Pressed Soap
Ingredients
6.9 ounces lye (sodium hydroxide)
2 cups distilled water, cold (from the refrigerator is the
best)
2 cups canola oil
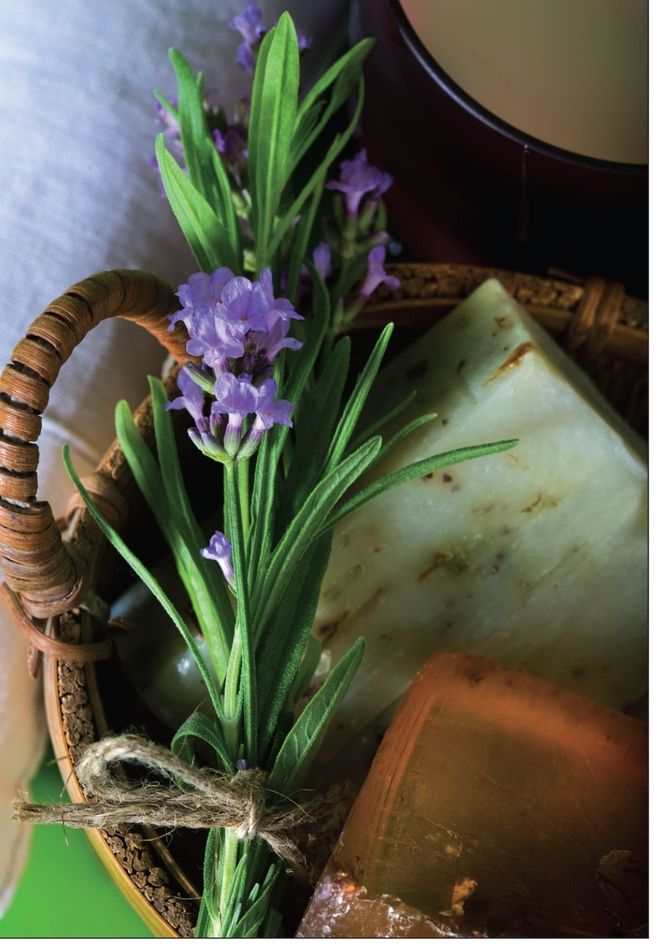
2 cups coconut oil
2 cups palm oil
Supplies
Goggles, gloves, and mask (optional) to wear while making the soap
Mold for the soap (a cake or bread loaf pan will work just fine; you can also find flexible plastic molds at your local arts and crafts store)
Plastic wrap or wax paper to line the molds
Glass bowl to mix the lye and water
Wooden spoon for mixing
2 thermometers (one for the lye and water mixture and one for the oil mixture)
Stainless steel or cast iron pot for heating oils and mixing in lye mixture
Handheld stick blender (optional) Directions
- Put on the goggles and gloves and make sure you are working in a well-ventilated room.
- Ready your mold(s) by lining with plastic wrap or wax paper. Set them aside.
- Slowly add the lye to the cold, distilled water in a glass bowl (never add the water to the lye) and stir continually for at least a minute, or until the lye is completely dissolved. Place one thermometer into the glass bowl and allow the mixture to cool to around 110°F (the chemical reaction of the lye mixing with the water will cause it to heat up quickly at first).
- While the lye is cooling, combine the oils in a pot on medium heat and stir well until they are melted together. Place a thermometer into the pot and allow the mixture to cool to 110°F.
- Carefully pour the lye mixture into the oil mixture in a small, consistent stream, stirring continuously to make sure the lye and oils mix properly. Continue stirring, either by hand (which can take a very long time) or with a handheld stick blender, until the mixture traces (has the consistency of thin pudding). This may take anywhere from thirty to sixty minutes or more, so be patient. It is well worth the time invested to make sure your mixture traces. If it doesn’t trace all the way, it will not saponify correctly and your soap will be ruined.
- Once your mixture has traced, pour carefully into the mold(s) and let sit for a few hours. Then, when the mixture is still soft but congealed enough not to melt back into itself, cut the soap with a table knife into bars. Let sit for a few days, then take the bars out of the mold(s) and place on brown paper (grocery bags are perfect) in a dark area. Allow the bars to cure for another four weeks or so before using.
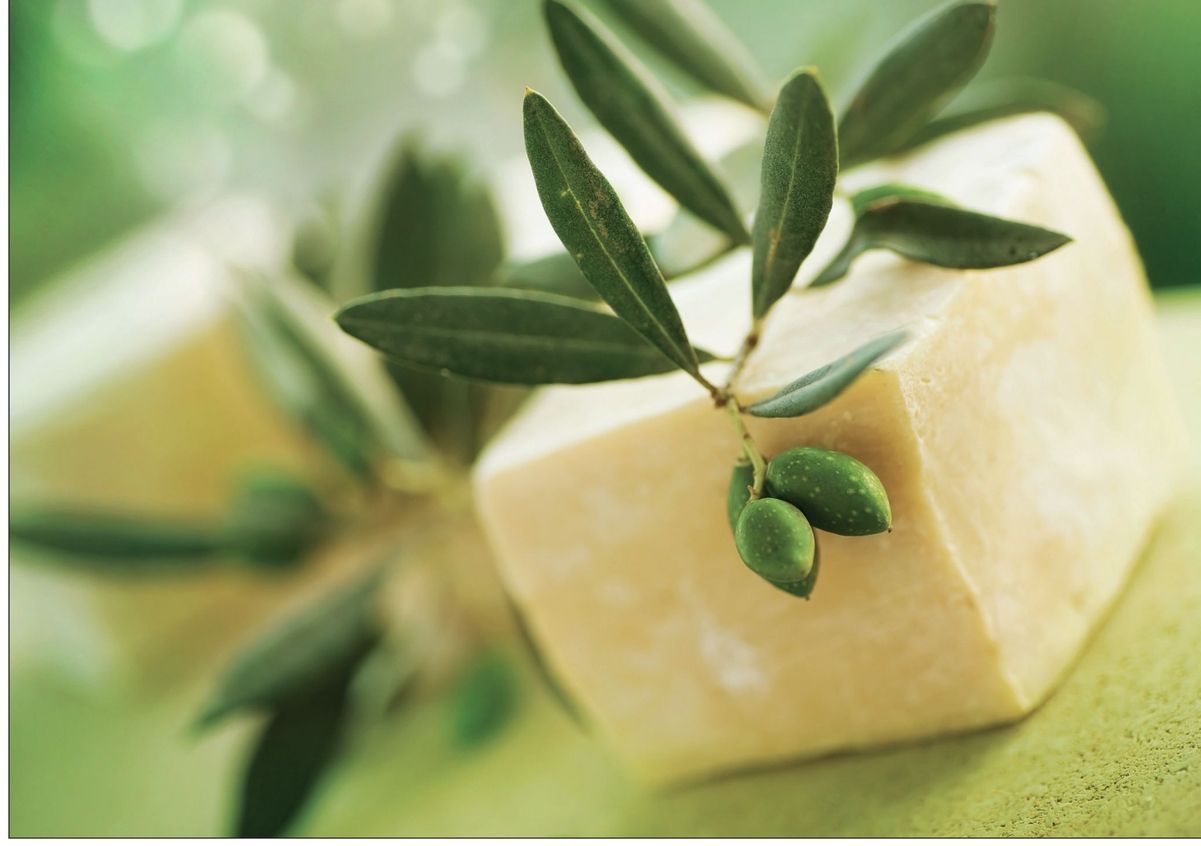
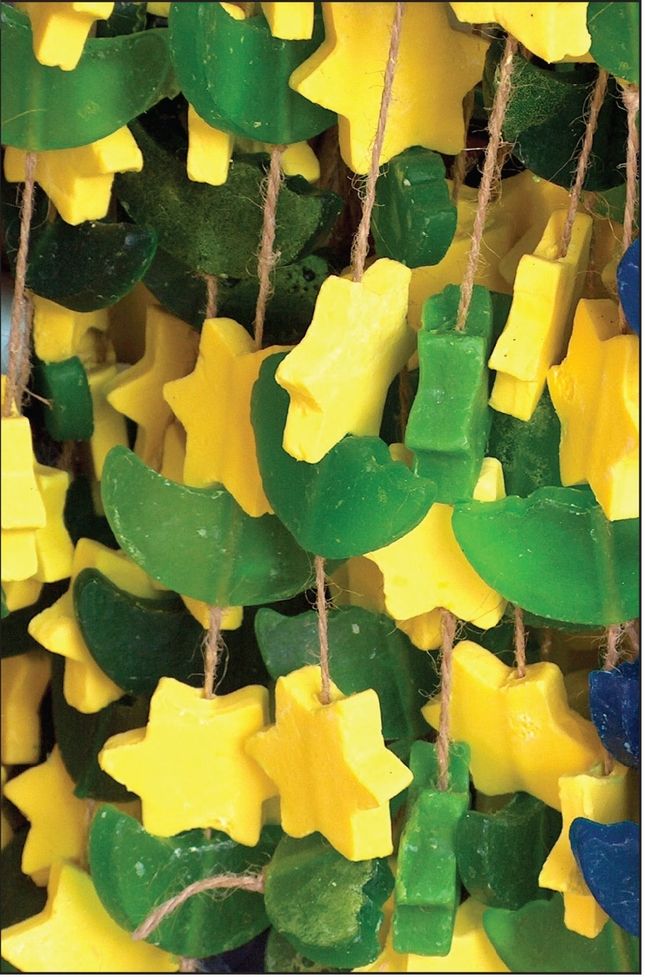
If you want your soap to be colored, add special soapcoloring dyes (you can find these at the local arts and crafts store) after the mixture has traced, stirring them in. Or try making your own dyes using herbs, flowers, or spices.
To make a yummy-smelling bar of soap, add a few drops of your favorite essential oils (such as lavender, lemon, or rose) after the tracing of the mixture and stir in. You can also add aloe and vitamin E at this point to make your soap softer and more moisturizing.
To add texture and exfoliating properties to your soap, you can stir some oats into the traced mixture, along with some almond essential oil or a dab of honey. This will not only give your soap a nice, pumice-like quality but it will also smell wonderful. Try adding bits of lavender, rose petals, or citrus peel to your soap for variety.
SOAP OILS
| Oil | Qualities |
|---|---|
| Almond Butter | Conditioning. Creamy Lather. Moderate Iodine. |
| Almond Oil, sweet | Conditioning. Fragrant. High Iiodine. |
| Apricot Kernel Oil | Conditioning. Fragrant. High Iodine. |
| Avocado Oil | Conditioning. Creamy Lather. High Iodine. |
| Babassu Oil | Cleansing. Bubbly. Very Low Iodine. |
| Canola Oil | Conditioning. Inexpensive. High Iodine. |
| Cocoa Butter | Creamy Lather. Low Iodine. |
| Coconut Oil | Bubbly Lather. Cleansing. Low Iodine. |
| Emu Oil | Conditioning. Creamy Lather. Moderate Iodine. |
| Evening Primrose Oil | Conditioning. Very High Iodine. |
| Flax Oil, Linseed | Conditioning. Very High Iodine. |
| Ghee | Cleansing. Bubbly Lather. Very Low Iodine. |
| Grapseed Oil | Conditioning. Very High Iodine. |
| Hemp Oil | Conditioning. Very High Iodine. |
| Lanolin liquid wax | Low Iodine. |
| Neem Tree Oil | Conditioning. Creamy Lather. High Iodine. |
| Olive Oil | Conditioning. Creamy Lather. High Iodine. |
| Palm Oil | Conditioning. Creamy Lather. Moderate Iodine. |
| Rapeseed Oil | High Iodine. |
| Safflower Oil | Conditioning. Very High Iodine. |
| Sesame Oil | Conditioning. High Iodine. |
| Shea Butter | Conditioning. Creamy Lather. Moderate Iodine. |
| Ucuuba Butter | Conditioning. Creamy Lather. Low Iodine. |
To make soap in different shapes, pour your mixture into molds instead of making them into bars. If you are looking to have round soaps, you can take a few bars of soap you’ve just made, place them into a resealable plastic bag, and warm them by putting the bag into hot water (120°F) for thirty minutes. Then, cut the bars up and roll them into balls. These soaps should set in about one hour or so.
THE JUNIOR HOMESTEADER
How Soap Works
Teach kids how soap cleans with this simple experiment.
- Half-fill two Mason jars with water and add a few drops of food coloring. Pour several tablespoons of oil into each jar (corn oil, olive oil, or whatever you have on hand will be fine). You will see that the oil and water form separate layers. This is because the molecules in oil are hydrophobic, meaning that they repel water.
- Add a few drops of liquid soap to one of the jars. Close both jars securely and shake for about thirty seconds. The oil and water should be thoroughly mixed.
- Let both jars rest undisturbed. The jar with the soap in it will stay mixed, whereas the jar without the soap will separate back into two distinct layers. Why? Soap is made up of long molecules, each with a hydrophobic end and a hydrophilic (water-loving) end. The water bonds with the hydrophilic end and the oil bonds with the hydrophobic end. The soap serves as a glue that sticks the oil and water together. When you rinse off the soap, it sticks to the water, and the oil sticks to the soap, pulling all the oil down the drain.
NATURAL BATH SALTS AND SCRUBS
Follow these recipes to make your own luxurious bath products.
Lavender Bath Salt
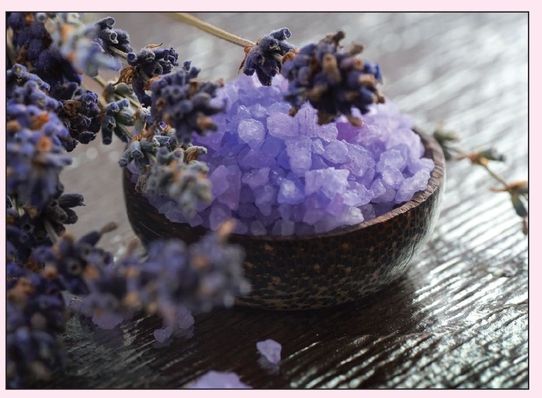
Pour several tablespoons of this into your bath as it fills for an extra-soothing, relaxing, and cleansing experience. You can also add powdered milk or finely ground old-fashioned oatmeal to make your skin especially soft. Toss in a few lavender buds if you have them.
Ingredients
2 cups coarse sea salt
½ cup Epsom salts
½ cup baking soda
4 to 6 drops lavender essential oil
Red and blue food coloring, if desired (use more red than blue to achieve a lavender color)
Mix all ingredients thoroughly and store in a glass jar or other airtight container.
Citrus Scrub
Use this invigorating scrub to wake up your senses in the morning. The vitamin C in oranges serves as an astringent, making it especially good for oily skin.
Ingredients
½ orange or grapefruit
3 tbsps cornmeal
2 tbsps Epsom salts or coarse sea salt
Squeeze citrus juice and pulp into a bowl and add cornmeal and salts to form a paste. Rub gently over entire body and then rinse.
Healing Bath Soak
This bath soak will relax tired muscles, help to calm nerves, and leave skin soft and fragrant. You may also wish to add blackberry, raspberry, or violet leaves. Dried or fresh herbs can be used.
2 tbsps comfrey leaves
1 tbsp lavender
1 tbsp evening primrose flowers
1 tsp orange peel, thinly sliced or grated
2 tbsps oatmeal
Combine herbs and tie up in a small muslin or cheesecloth sack. Leave under faucet as the tub fills with hot water. If desired, empty herbs into the bath water once the tub is full.
Rosemary Peppermint Foot Scrub
Use this foot rub to remove calluses, soften skin, and leave your feet feeling and smelling wonderful.
Ingredients
1 cup coarse sea salt
¼ cup sweet almond or olive oil
2 to 3 drops peppermint essential oil
1 to 2 drops rosemary essential oil
2 sprigs fresh rosemary, crushed, or ½ tsp dried
rosemary
Combine all ingredients and massage into feet and ankles. Rinse with warm water and follow with a moisturizer.
NATURAL DYES FOR SOAP OR CANDLES
| Light/Dark Brown | Cinnamon, ground cloves, allspice, nutmeg, coffee |
| Yellow | Turmeric, saffron, calendula petals |
| Green | Liquid chlorophyll, alfalfa, cucumber, sage, nettles |
| Red | Annatto extract, beets, grapeskin extract |
| Blue | Red cabbage |
| Purple | Alkanet root |
Almost any oil can be used to make soap, but different oils have different qualities; some oils create a creamier lather, some create a bubbly lather. Oils that are high in iodine will produce a softer soap, so be sure to mix with oils that are lower in iodine. Online soap calculators are very helpful when creating your own recipes.
Cornhusk Dolls
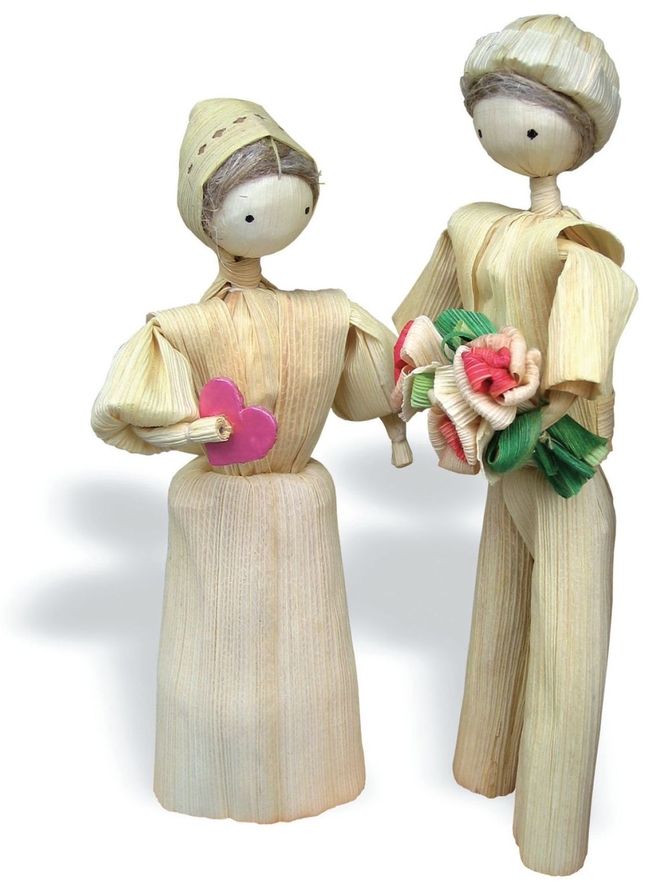
This old-fashioned doll makes a wonderful gift for young children and also a unique, decorative, homemade item for your home or for sale at a craft fair. Cornhusk dolls are quite easy to make if you just follow these simple steps:
- Corn husks
- Thread or string
- Pen or marker
- Natural materials for decorations
- Gather husks from several large ears of corn (you may have these from your garden, if you grow corn, or you might find them at a garden center or a farmers’ market in the fall). Select the soft, white husks that grow closest to the ear.
- Place the stiff ends of two husks together, fold one of the long, soft husks in a strip lengthwise, and wrap it around the ends.
- Choose the softest and widest husk you can find, fold it across the center, and place a piece of strong thread or string round it and tie it tightly in a knot.
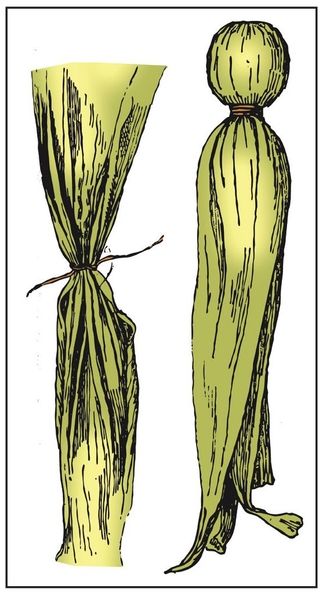
- Bring this down over the already-wound husks and tie it with a thread underneath. This will form the head and neck of the doll.
- To make the arms, divide the husk below the neck into two equal parts. Fold two or three husks together and insert them in the space you’ve made by the division. Hold the arms in place with one hand and use your other hand to fold several layers of husk over each shoulder, allowing them to extend down the back of the figure.

- When the figure seems substantial enough, use your best husks for the topmost layers and wrap the waist with strong thread, tying it tightly.
- Divide the husks below the waist band and make the legs by neatly wrapping each portion with thread. Trim the husks off evenly for the feet.
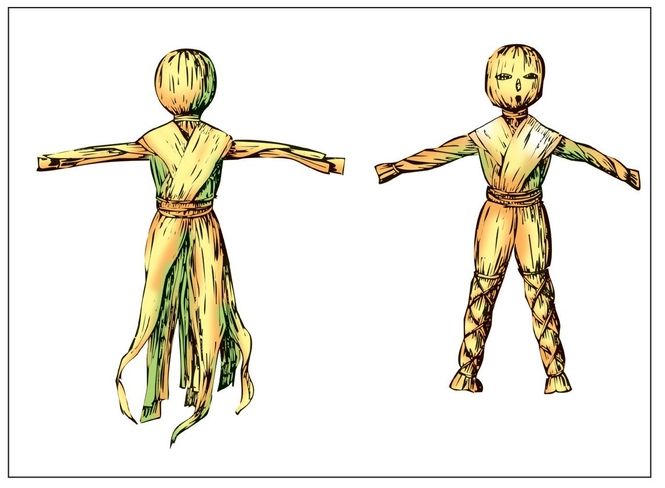
- Twist the arms once or twice, tie them, and trim them evenly for the hands.
- You can draw a face on the doll with a pen or marker or you can glue tiny natural items on the head to make a face.
- If you want your doll to have clothing or a specific “costume,” you can make these from any kind of material and in any way you wish.
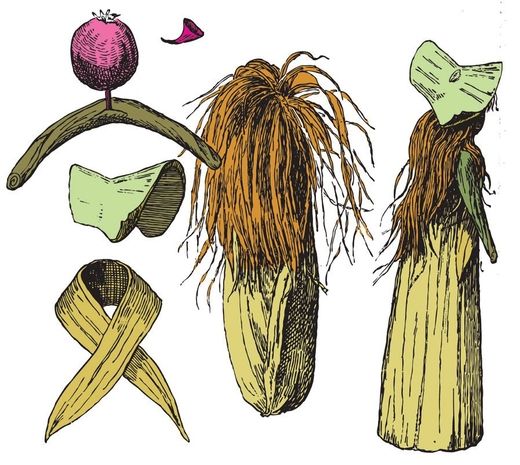
For a variation on a traditional corn husk doll, try the following:
- Gather a young ear of corn (whose silk has not yet browned), a crab apple for the head, and a leaf from the cob for a dress.
- Cut off the bottom of the ear of corn where the husks are puckered and carefully take the silk from the other end, making sure not to disturb the closely wrapped husks remaining.
- Roll part of the leaf (Fig. 120) for the arms and fasten the crab apple to the leaf arms with a small stick. Stick the other end of the twig into the small end of the corncob.
- Now you can dress the doll. The hat for the doll can be made from a leaf (just where it joins the stalk. This can be fastened to the doll’s head with a small twig or thorn. Make sure the silk is placed on the head to form hair before securing the hat (Fig. 121).
- Make a scarf by folding a leaf around the shoulders and securing it with small pins or thorns (Fig. 122).
- Stick tiny thorns into the crab apple to make eyes and a nose.
Once you have the basics down, try adding skirts, costumes, or other details to your dolls.
Basketweaving
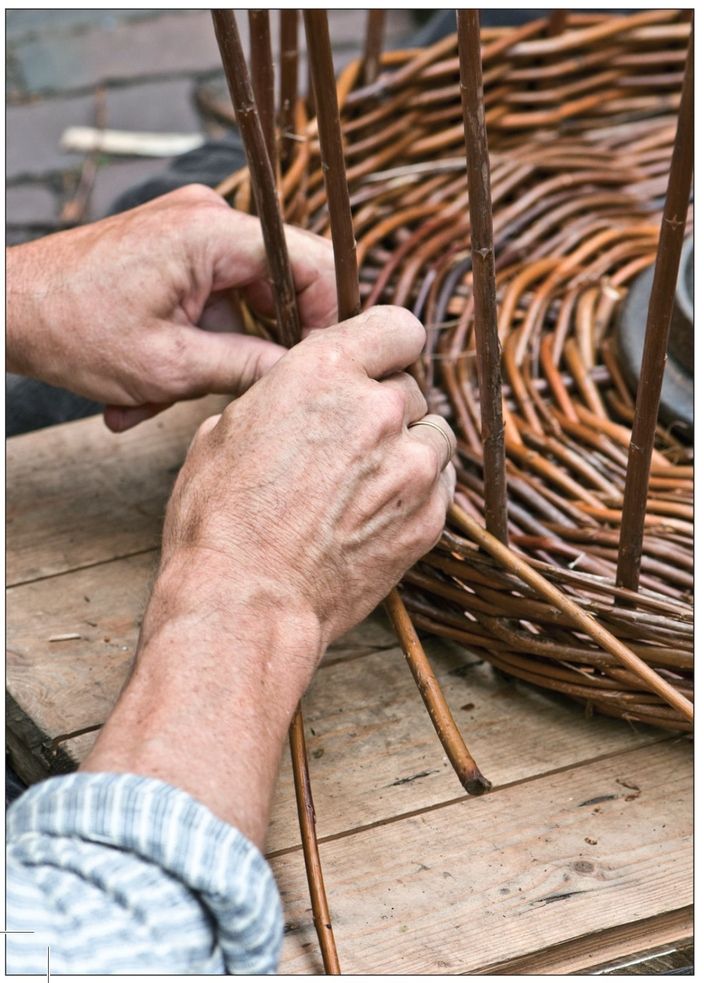
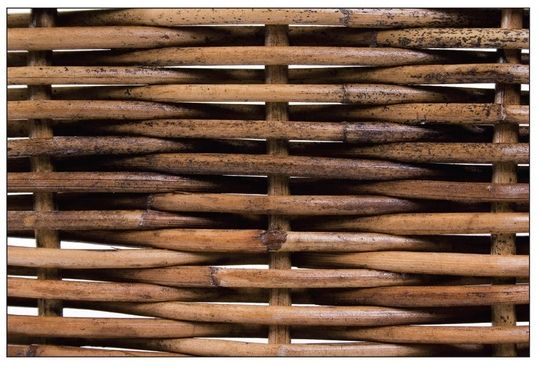
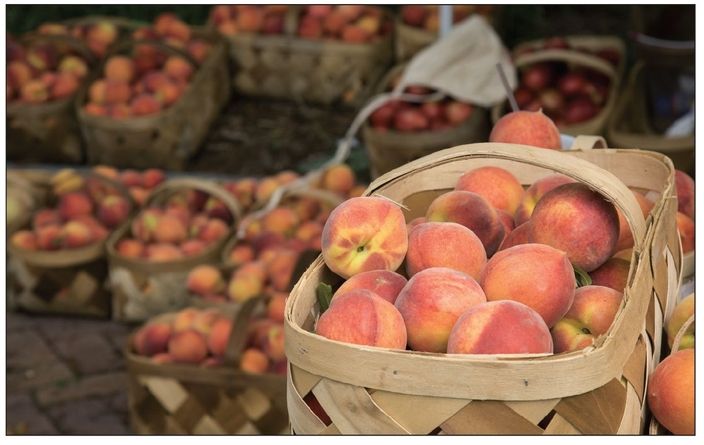
Basketweaving is one of the oldest, most common, and useful crafts. The materials used in making baskets are primarily reed or rattan, raffia, corn husks, splints, and natural grasses. Rattan grows in tropical forests, where it twines about the trees in great lengths. It is numbered according to its thickness, and numbers 2, 3, and 4 are the best sizes for small baskets. For scrap baskets, 3, 5, and 6 are the best sizes. Rattan should be thoroughly soaked before using. Raffia is the outer cuticle of a palm, and comes from Madagascar. Cattail reeds can also be excellent for baskets and may be more readily available, as they frequently grow near ponds or swampy areas. Most basket making materials can also be found at local craft stores.
Small Reed Basket
Most reed baskets have at least sixteen spokes, and for small baskets and where small reeds are used these spokes are often woven in pairs. You can vary the look of your reed basket by combining and interweaving two different colored reeds.
Materials Needed
Sixteen 16-inch spokes, No. 2 reed
Five weavers of No. 2 brown reed
Directions
Separate the sixteen spokes into groups of four each. Mark the centers and lay the first group on the table in a vertical position. Across the center of this group place the second group horizontally. Place the third group diagonally across these, having the upper ends at the right of the vertical spokes. Lay the fourth group diagonally with the upper ends at the left of the vertical spokes.
Soak the reeds well and then start the basket by laying the weaver’s end over the group to the left of the vertical group, just above the center; then bring it under the vertical group, over the horizontal and then under, and so on until it reaches the vertical group again. Repeat this weave three or four times. Then separate the spokes into twos and bring the weaver over the pair at the left of the upper vertical group, and so on, over and under until it comes around again, when it is necessary to pass under two groups of spokes and then continue weaving over and under alternate spokes. At the beginning of each new row the weaver passes under two groups of spokes, always under the last of the two under which it went before and the group at the right of it.
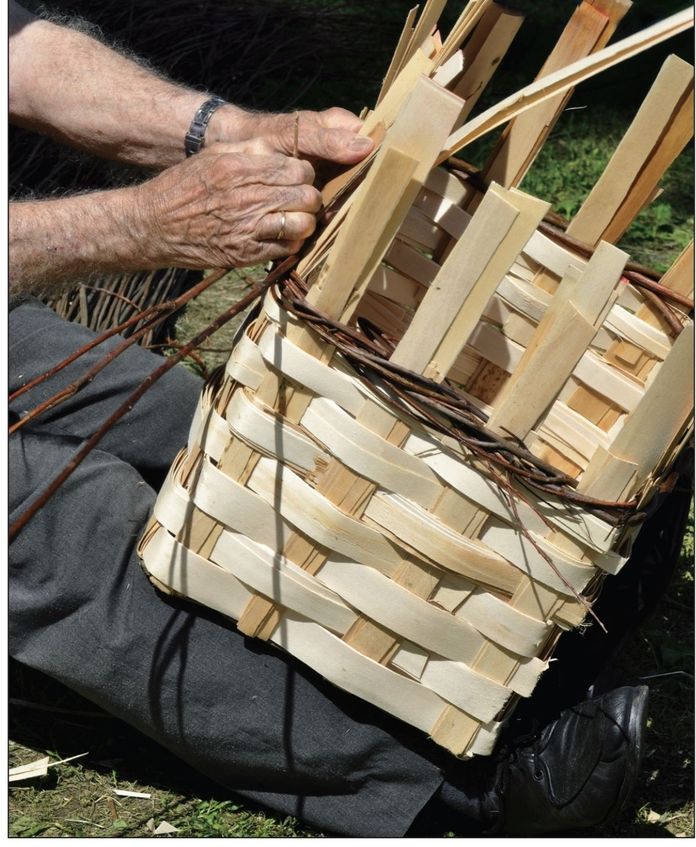
Weave the bottom until it is 4 inches in diameter; then wet and turn the spokes gradually up and weave 1 inch. After that, turn the spokes in sharply and draw them in with three rows of weaving. Now weave four rows, going over and under the same spokes, making an ornamental band; then weave three rows of over- and under-weaving, followed by four rows without changing the weave. Continue to draw the side in with four rows of over- and under-weaving, and then bind it all off. Finish with the following border:
Always wet the spokes till they are pliable before starting the border. Bring each group under the first group at the right and over the next and inside the basket. Finally, cut the reeds long enough to allow them to rest on the group ahead.
Note: Leave the first two groups a little loose so that the last ones can be easily woven into them.
Basket with Triple Twist
Materials
Sixteen 24-inch spokes, No. 1 gray-green reed
8 weavers of No. 1 natural-colored reed
4 weavers of No. 1 gray-green reed
Directions
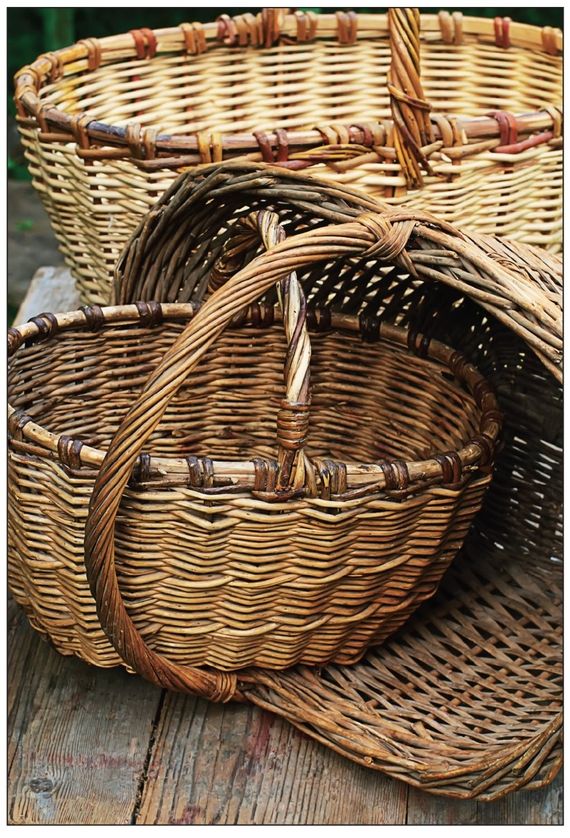
Weave the center as in the small reed basket until it measures 2 inches in diameter. Then, separate the pairs of reeds and weave over and under each spoke separately until the bottom measures 3½ inches. Now turn the reeds up sharply and weave six rows of under- and over-weaving. By this time the spokes should stand straight. Begin the triple-weave by inserting two new weavers in addition to the one already started.
Insert a green weaver between the two spokes to the right of the one already in use. Place another natural-colored reed between the two spokes to the right of the green reed. Pass the first weaver in front of the first two spokes to the right, behind the third spoke and out. Now pass the colored weaver in front of the next two spokes behind the third and out. Do the same with the third weaver, and then with the first one again and continue until the basket is 5 inches tall. Soak the mat and finish as follows:
- Pass each spoke in succession behind the one to its left and out. Press down close to the basket and put the last spoke left standing under the first one and turn it downwards.
- Pass each spoke in succession in front of the one at its left and turn it inward. Put the last one under the first one that is turned in.
- Pass each spoke in succession behind the one at the left and then out. Press down sharply between the outside weave of the border and the basket and cut off the excess reed with wire cutters close to the border.
Coiled Basket
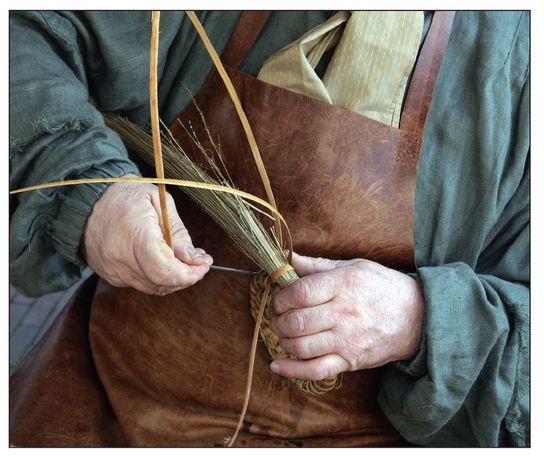
Sweet grass, corn husks, or any pliable grasses can be used for this type of basket, and with a contrasting color for sewing, the basket can be very attractive.
Materials
A bunch of grasses
A bunch of raffia
Directions
- Cut off the hard ends of the grasses and take only a small bunch for the center to start. Split the raffia very fine and use a sharp needle for extra help.
- Hold the grasses and the end of raffia in your left hand, about 2 inches from the end of the coil, and wind the raffia around the coil to the end of the grasses.
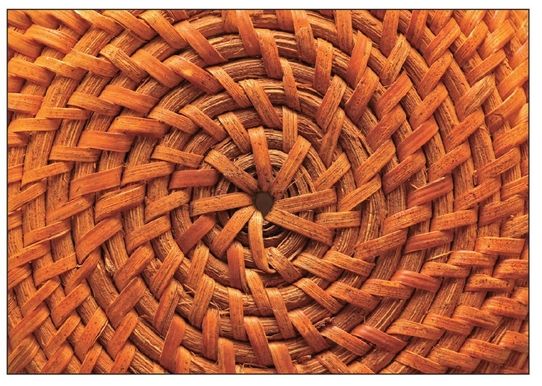
- Bend the end of the coil into a small round center and sew over and under, binding the first two coils very firmly together. The next time around, leave a very small space between each stitch, and take the stitch only through the upper portion of the coil below. It is necessary that the spaces between the stitches be very small in the first few rows—this will determine the regularity of the spirals to come.
BIRCH BARK BASKET
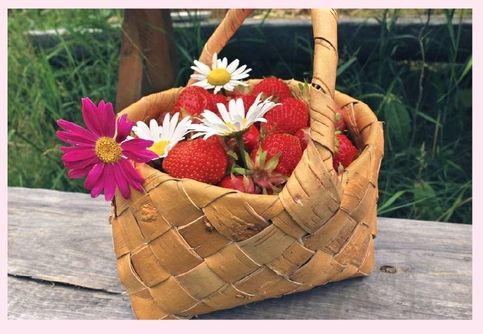
Birch bark baskets are a wonderful way to display dried wildflowers and make nice gifts. Making a basket in the shape of a canoe works very well with the bark. Gather bark strips (do not string directly from the tree; try to find these either on cut wood or from a craft or lumber store) that are 6½ inches long and 4 inches wide. Sew the ends of the bark together with a thick thread (Fig. 34), leaving one side of each strip unstitched. Sew a ribbon on each end of the canoe—these will serve as handles. Now the basket may be filled with dried wildflowers or other things from nature (such as pine cones) and hung on the wall for display.
- In sewing through the coil, place the needle diagonally from the right of the stitch through the coil to the left of the stitch.
- When the bottom measures 4 inches across, begin shaping the sides by raising the coil up slightly on the coil below and continue to bind the coils together as before. When the basket measures about 6 inches across, begin shaping the sides by pushing the coil slightly in toward the center.
- To finish, gradually decrease the size of the coil but do not increase the number of stitches. Fasten the raffia, after the last stitch, by running it through the coil and cut it off close to the border. If necessary, bind the ends more closely by sewing over and over with a thin thread of very fine raffia the same color as the grasses.
Lampshades
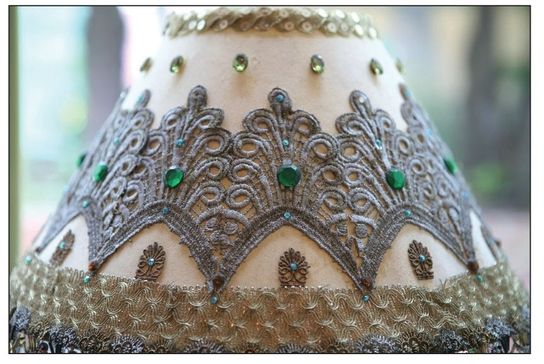
Making your own lampshades will enable you to match or complement the décor of your room. Choose material that is fire-restistant; a 100 watt light bulb can heat up to more than 200 degrees. Keep in mind that lighter-colored, thin fabrics will let more light through than dark, heavy fabrics.
- Newspaper
- Lampshade frame
- Fabric
- Pins
- Scissors
- Masking tape
- Measuring tape or ruler
- Fabric glue
- Measure the circumference of the top and bottom of your lampshade frame. To facilitate this, you can place a strip of masking tape around one circle and then peel it off and use a ruler or measuring tape to determine the exact length of the tape. Next, measure the distance from the bottom, wide circle of the frame to the top, narrow circle. Add 1 ½ inches to all measurements.
- Use your measurements to draw a pattern on newspaper. The pattern will be in the shape of a trapezoid. The bottom of the trapezoid is the length of the bottom circle of the frame; the top of the trapezoid is the length of the top circle of the frame; and the distance between them is the height of your frame.
- Cut out the pattern and lay it on the backside of your fabric. Pin the pattern to the fabric and carefully cut out the fabric. Remove the pattern.
- Cover the backside of the fabric with fabric glue or spray adhesive. Place the frame onto the fabric and begin rolling it, pressing the fabric to the frame as you go. The fabric should hang over the top and bottom of the frame slightly.
- Once the fabric is wrapped all the way around the lampshade, tuck in the raw edge of the fabric to create a seam and glue it down. Then glue and tuck the fabric over the top circle and under the bottom circle of the frame. Use clothespins to hold the fabric in place until it dries completely.
- If desired, add ribbons or tassels to the top or bottom of the shade.
TIP
Fabric with a higher percentage of cotton will adhere to the frame better than synthetic fabrics. Also keep in mind that the darker the fabric, the less light will shine through.