BELIEVE Cupcake Sheet Cake
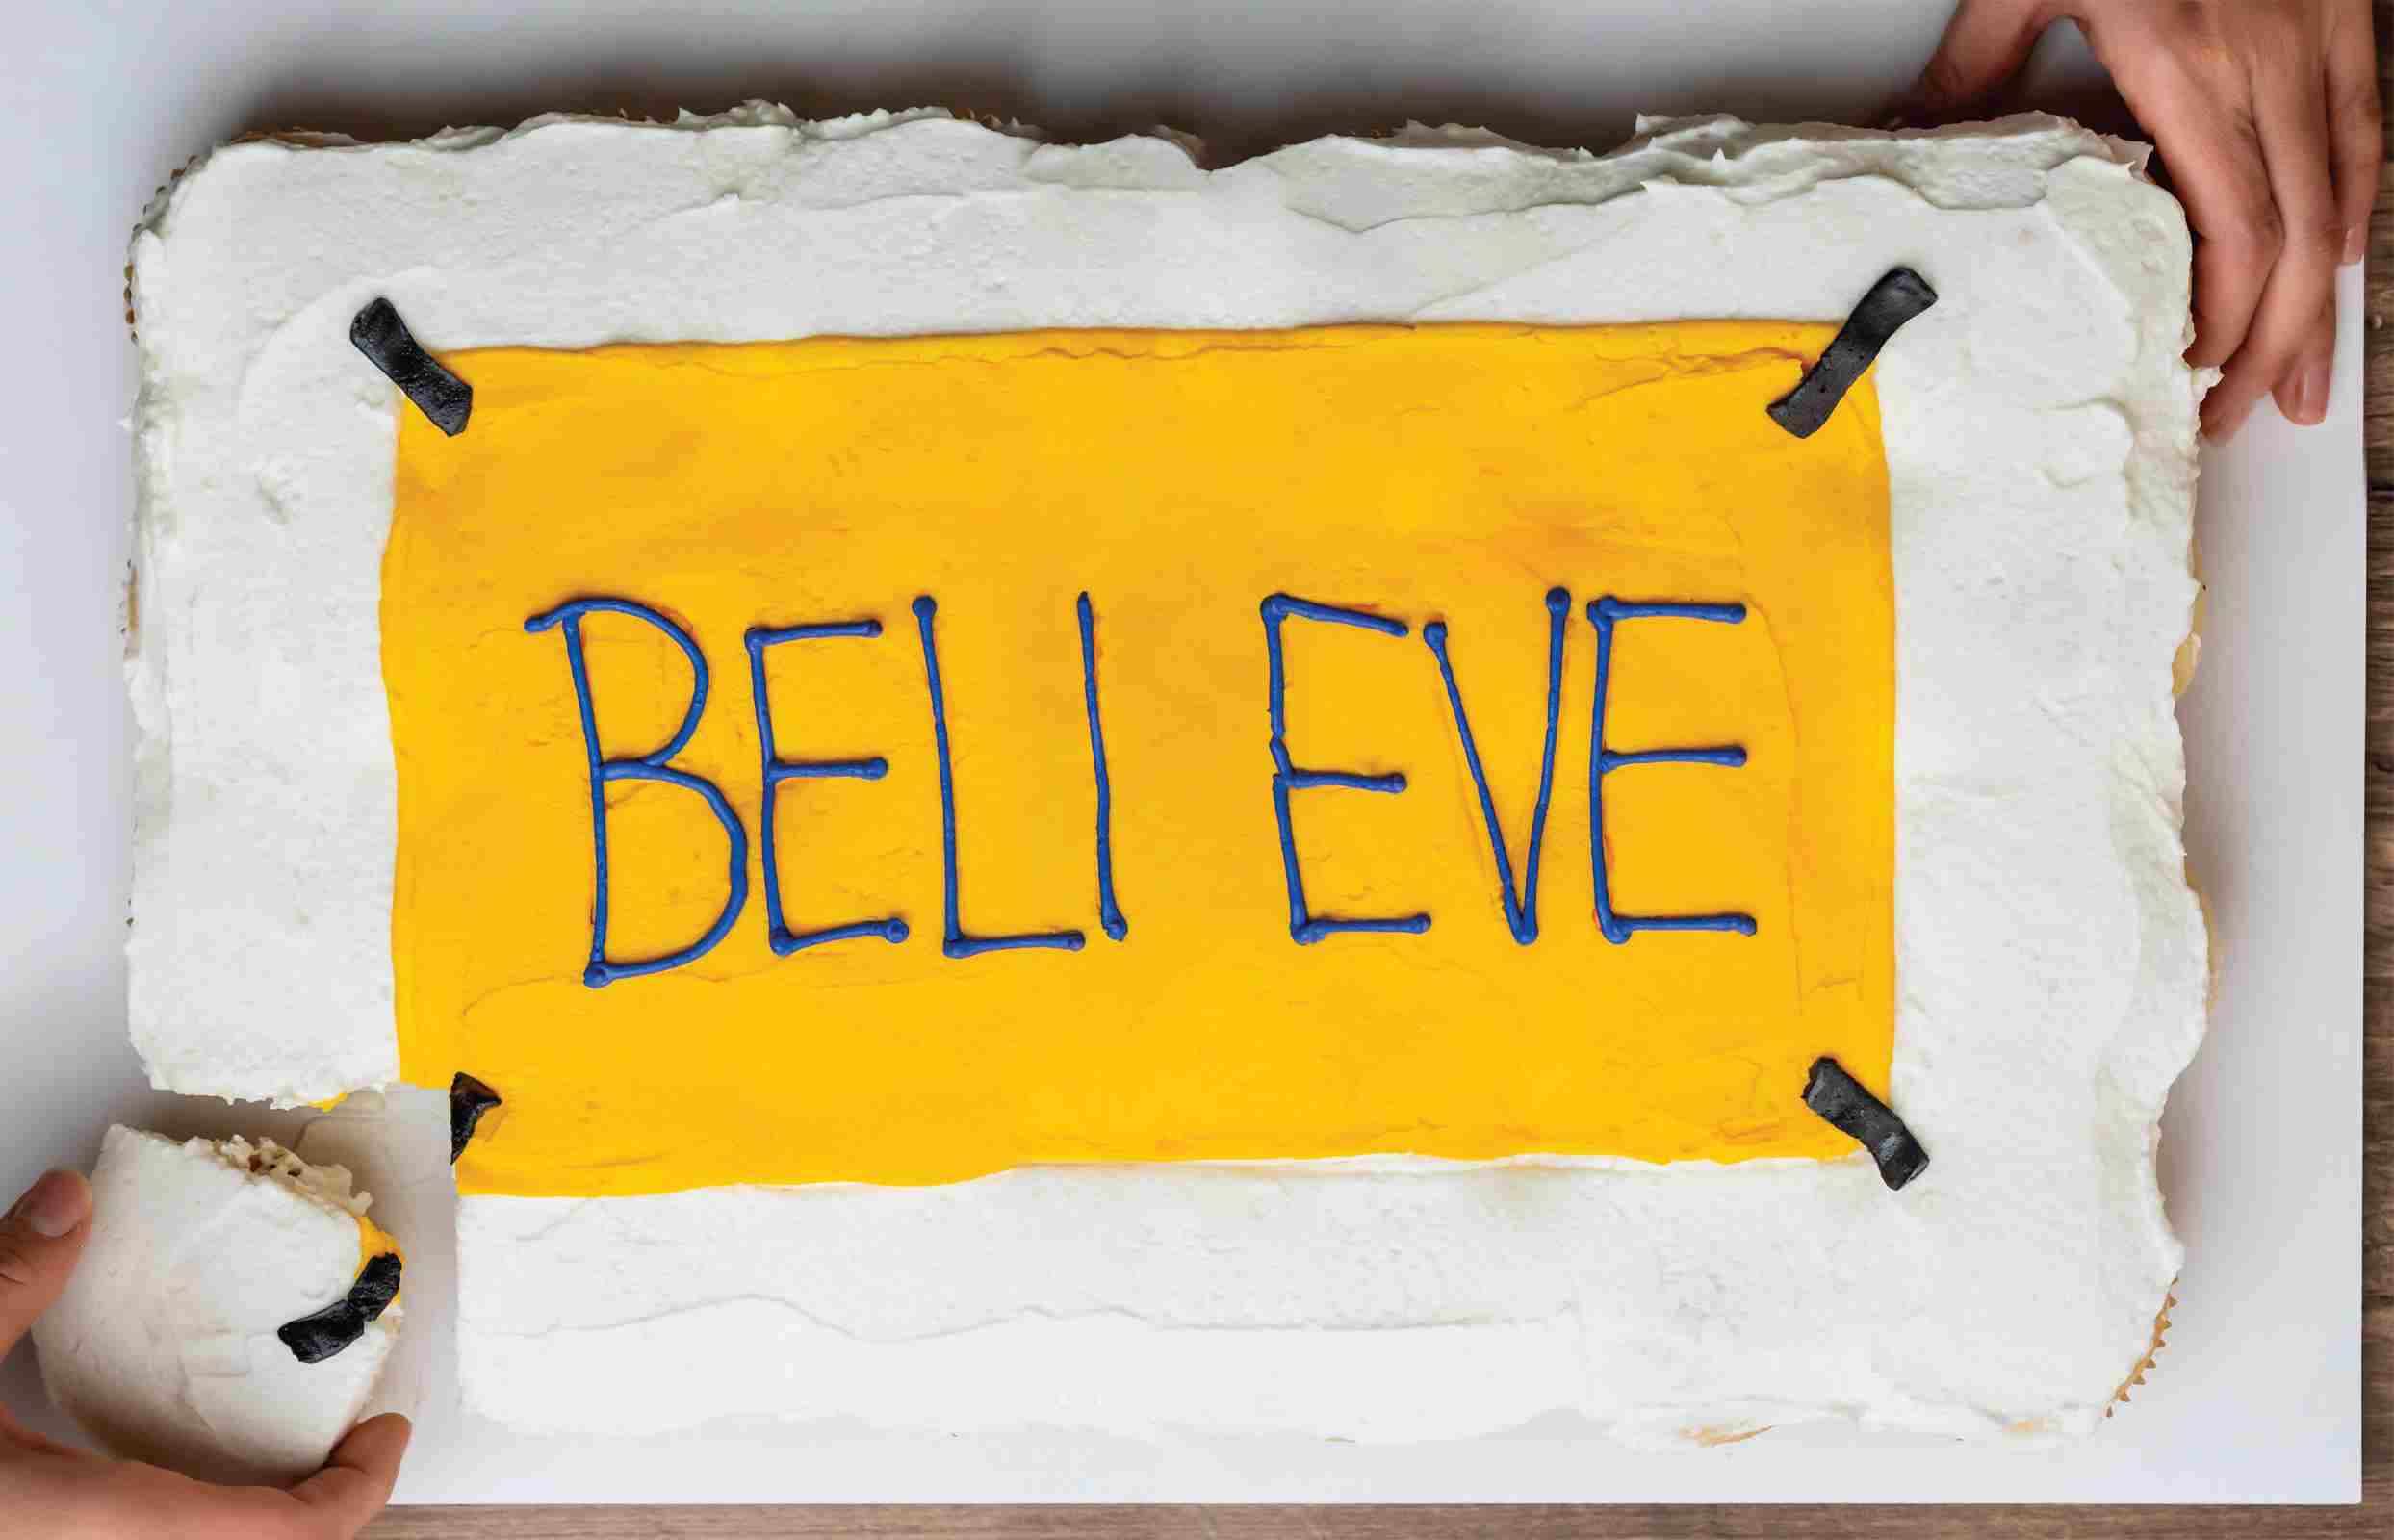
This larger-than-life cupcake sheet cake is big enough to feed a whole football team, and it works like one too. In this recipe, the individual cupcakes work together to create something amazing (sort of like AFC Richmond itself)! Keep it simple with a basic buttercream frosting and store-bought cupcake mix so you can focus on the construction. To keep the prep spaced out, make the frosting 24 hours in advance. This allows the colors to deepen, and it helps break up the tasks into more manageable steps. Before you know it, you’ll have a team of twenty-four sweet treats.
MAKES ONE 24-CUPCAKE SHEET CAKE
- 24 cupcakes, any flavor, baked and cooled
Frosting Base
- 2½ cups (5 sticks) unsalted butter, at room temperature
- 2 tablespoons vanilla extract
- ¾ teaspoon salt
- 10 cups powdered sugar
Yellow Frosting
- 2 cups frosting base
- ¼ teaspoon yellow food coloring
Blue Frosting
- ½ cup frosting base
- ¼ teaspoon navy food coloring
Black Frosting
- ½ cup frosting base
- ½ teaspoon black food coloring
Equipment
- Electric mixer
- 4 small bowls
- 13 × 19-inch cake board or a half baking sheet to hold the cupcakes
- Offset spatulas
- 4 frosting piping bags
- Piping tips (petal tip #104 and round decorating tip #4)
- Several toothpicks
- Ruler
- Small piece of wax paper, to practice piping
- Make the frosting base (see Notes): In a large bowl with the electric mixer on high speed, beat the butter until light and fluffy, 8 to 10 minutes. Add the vanilla and salt and beat on low speed for 1 minute until incorporated.
- Stop the mixer and add 5 cups of powdered sugar. Beat on low for 1 minute until incorporated. Stop the mixer and add the remaining 5 cups of sugar. Beat on low until incorporated. Add ¼ cup of water and raise the speed to high. Beat for 5 minutes until fluffy.
- Divide the frosting base equally among four small bowls. Mix the yellow food coloring in the first bowl, the blue food coloring in the second, and the black food coloring in the third. The remaining frosting, in a fourth bowl, will be your white base.
- Assemble the cake: Arrange the cupcakes in a rectangle on the cake board, 6 rows across and 4 columns down. Make sure the cupcakes are touching one another and that there is as little space as possible between cupcakes. Keep the more uniform-looking cupcakes on the edge of the rectangle and the less pretty cupcakes on the inside of the rectangle.
- Once the cupcakes are roughly positioned in a rectangle, use a small dollop of white frosting to secure each cupcake to the bottom of the board. If some of the cupcakes are harder to work with because of their lopsided shape, then gently peel or cut the part of the cupcake that’s imperfect.
- Begin the base frosting layer with the white frosting: Spread a thick layer of white frosting over all the cupcakes. You can use an offset spatula and directly spread the frosting from the bowl to the cupcakes or you can pipe several thick lines of frosting all over the cupcakes using a #104 tip.
- Apply this layer as evenly as possible to cover any gaps and bumps (it’s okay if it’s thicker in some areas that need more coverage). Once the layer of white frosting is on, let it sit for about 15 minutes to slightly crust over.
- Apply the yellow frosting: Using a clean toothpick and a ruler, gently outline a 6½ × 11-inch rectangle on top of the white frosting. This rectangle will be the base for the yellow “BELIEVE” sign. Keep outlining the rectangle gently in the frosting until you’re happy with the shape.
- Cut a ¼-inch corner off a piping bag and fit it with the #104 tip. Fill the piping bag halfway with the yellow frosting. Practice piping the frosting on the wax paper a few times before you start decorating the cupcakes.
- Trace the outline of the rectangle you made in step 8 in yellow frosting on top of the white frosting. Continue to fill in the shape until the entire rectangle is yellow. With a clean offset spatula, gently smooth the yellow frosting so the piping lines and the toothpick sketches aren’t visible. Let this crust for about 15 minutes.
- Use a clean toothpick to sketch the word “BELIEVE” centered in the yellow rectangle.
- Once you’re happy with the placement of the word, fill a clean piping bag halfway with the blue frosting. Cut a ¼-inch corner off the bag and fit it with the #4 piping tip. Using firm, consistent pressure, apply the blue frosting over the letters you sketched with the toothpick.
- Fill a clean piping bag halfway with black frosting. Cut a ¼-inch corner off the bag and fit it with the #104 tip. Pipe 4 black diagonal lines in all the corners of the yellow rectangle to represent tape.
- Transport carefully and pull apart to share! Store leftovers at room temperature for up to 3 days or in the fridge for up to a week.
Notes: If your bowl isn’t big enough to accommodate the full amount of butter and powdered sugar, then make the frosting base in two batches.
Gel food coloring is incredibly pigmented, which works great for achieving vibrant colors. However, this also means that less is more—so start with a small amount of coloring before adding more. Also, be sure to color your frosting at least 1 day before, as the color will gradually darken over time. Before using the frosting, give it a good stir to remove any pesky air bubbles.