DOUGH: THE FOUNDATION OF GREAT PIZZA
Pizza is made up of three key components: dough, sauce, and cheese. Simple, right? Well, yes and no. If you’re a pizza nerd (and if you’ve found this book, you probably are), dough gets more interesting the more you explore it.
I dabble with fermentation times, add liquids other than water, mess with the amount of yeast, and always find it fun (and delicious) to taste the sometimes subtle, sometimes major flavor differences. In this chapter, I’ll show you how to create a variety of great basic doughs and give you the opportunity to experiment with them.
If you really want to geek out with dough, be sure that you have a digital scale and a microscale (see Tools). It’s what the pros do, and not just because owning two scales sounds cool. It helps you attain the exacting ratios that make crusts work, and that’s how you’ll be able to replicate the finest restaurant pizzas at home.
THE BAKER’S PERCENTAGE: A DOUGH MASTER’S SECRET WEAPON
I have a deep distrust of dough recipes that don’t call for weight measurements. This is not out of pizza snobbery; it’s to prevent lousy, inconsistent results. If you and I each measured four cups of flour, your four cups would actually contain a different amount of flour than my four cups. This depends on a multitude of small but significant factors: the temperature and humidity outside, how long your flour has been sitting, how firmly you pack it in the cup, and so on. Flour does not have a constant density, so measuring it by volume (with a measuring cup) is much less accurate than measuring it by weight (with a scale). But I’m not trying to tell you how to live your life, so all of the recipes in this book include both weight and volume measurements so that you can follow the method that feels natural to you.
Making dough is ultimately a science, and all doughs rely on what is called the baker’s percentage. This means the flour’s relative proportion to other ingredients in bread, cakes, pastries, pie crust, and, yes, pizza dough. Every ingredient is based on its relationship to the flour weight. Take a look at this typical pizza-dough recipe.
500 grams of flour 100 percent (because every other ingredient is in relation to the flour)
350 grams of water 70 percent (because 350 divided by 500 is 0.7, or 70 percent)
16 grams fine sea salt 3.2 percent
1 gram yeast .002 percent
Memorize these percentages and you can scale a batch of dough up or down whenever you like. Take note of the amount of total liquid; this is called the hydration level. And while it seems infinitesimal, it’s important to pay close attention to the yeast portion, that .002 percent. Aren’t you glad you bought that microscale now?
As you get comfortable making dough, start experimenting. Play around with the percentages. Our basic dough recipe has a hydration level of 70 percent, making the dough very sticky and somewhat difficult to handle. Change the hydration level (amount of water) to 60 percent and you may find that stretching the dough is a bit easier, but it will have slightly less spring, bubbles, and buoyancy.
Once you’re familiar with baker’s percentages, you’ll be able to dissect and compare recipes. Pizza dough is always a high-hydration dough—usually between 60 and 70 percent—and we like to keep our yeast no higher than 1 percent, and usually much lower. Any more is just not necessary.
If this all seems intimidating, don’t worry. These are the tools you’ll need to become a pizza rock star at home, but you don’t have to improvise right away.
DOUGH BASICS
Before you start mixing your first batch of dough, there are some things you knead—er, need—to know. With this information and a few basic techniques under your belt, you’ll be prepared to make the perfect crust.
Which Dough Should I Make?
First you need to decide what type of pizza crust you want and when you want to eat your pizza. Because the yeast in pizza dough needs time to ferment (fermenting creates those bubbles in the crust we so admire and causes more complex flavor to develop), time is very important to the process. You can have great pizza tonight, but if you think ahead, you can have unimaginably good pizza three days from now.
As far as the crust goes, in this book you can generally mix and match your favorite recipe with whatever toppings you’d like. While I default to the foundational Seventy-Two-Hour Pizza Dough on many recipes, you can feel free to choose your own adventure; only in certain cases, such as the stromboli or the calzone, will I make specific suggestions. The key differences will lie in how much dough you use and how far you stretch it out. For instance, the Seventy-Two-Hour Pizza Dough ball can be divided into four smaller balls so you can make four small thin-crust pies, but you’ll need the whole dough ball to make a sheet tray of the more robustly crusted Spicy Sicilian Pizza.
Making Dough Balls
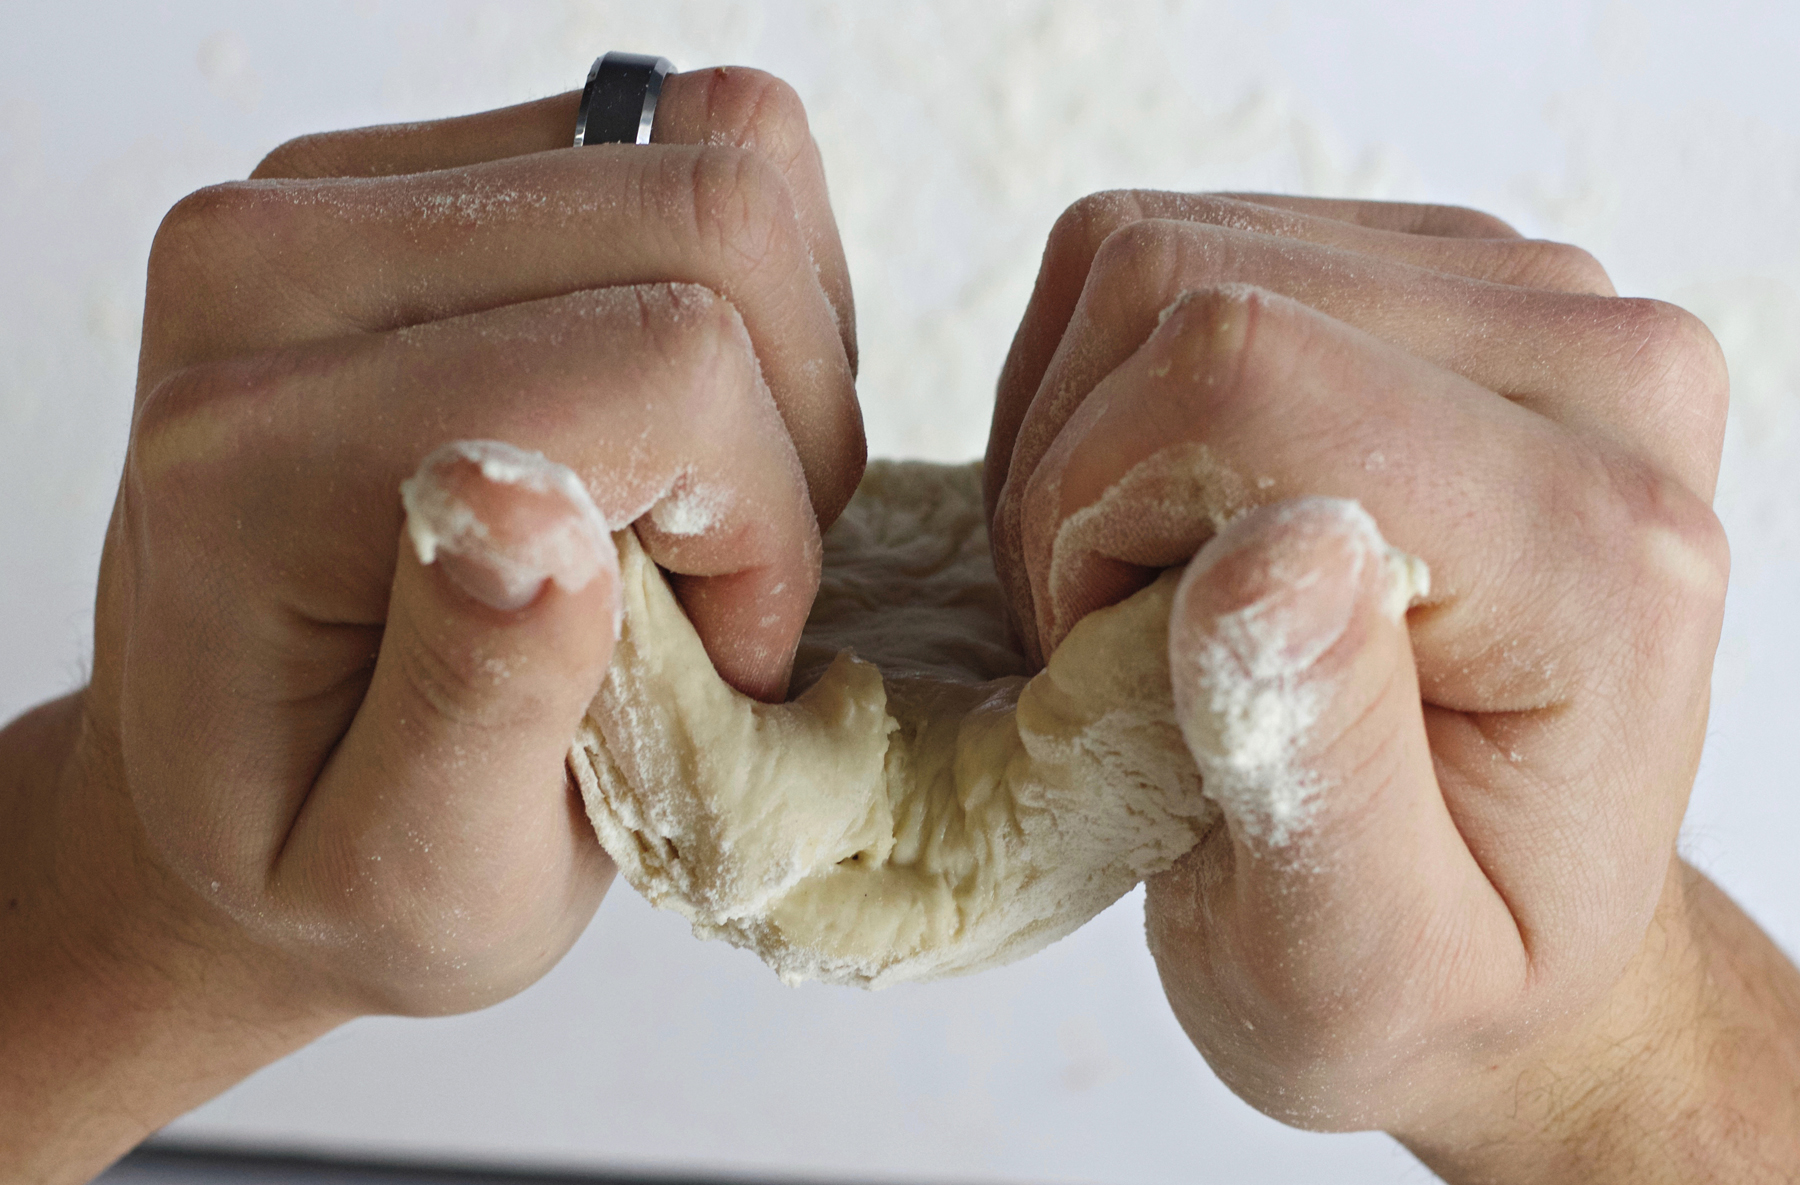
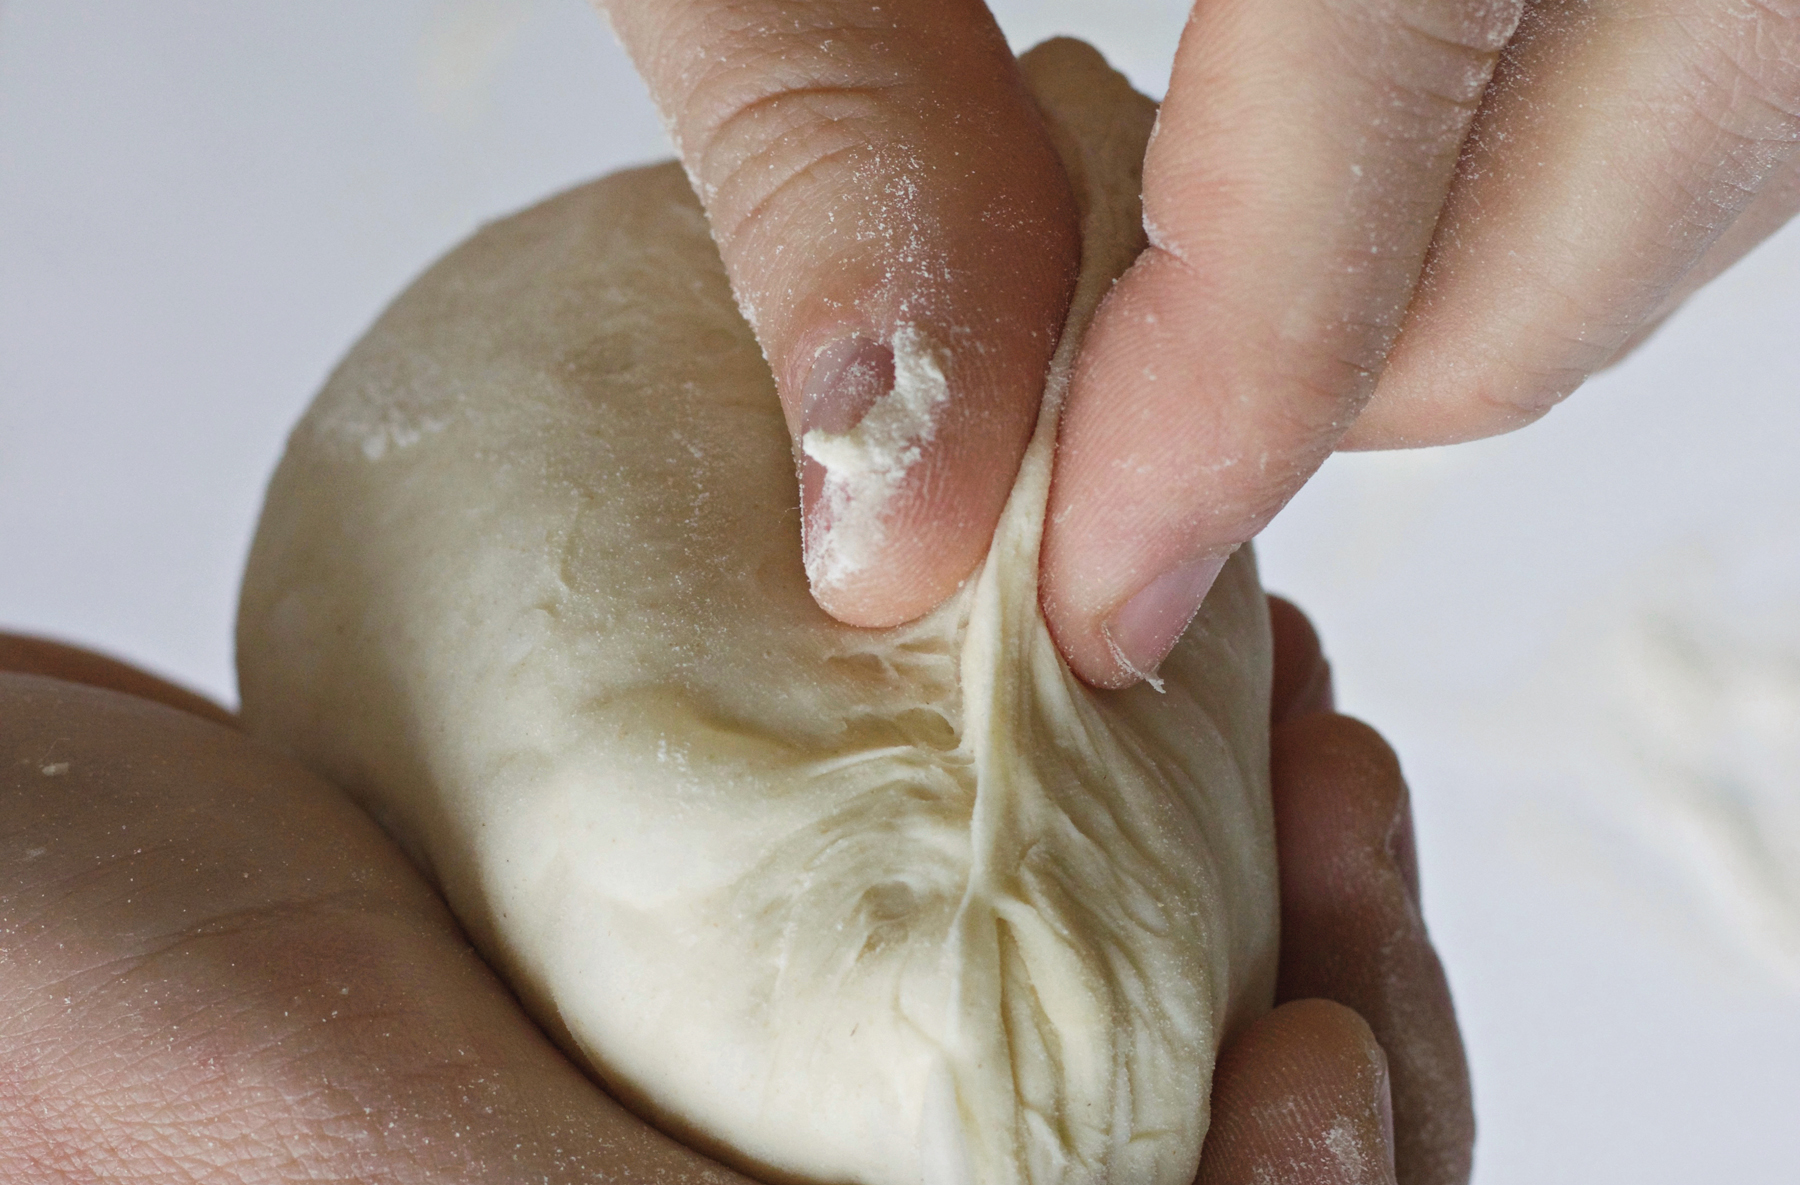

1. Place one dough portion between your hands and fold in the edges by pressing them into the center of the dough. This is going to be the seam side. The opposite side should look smooth and seamless.
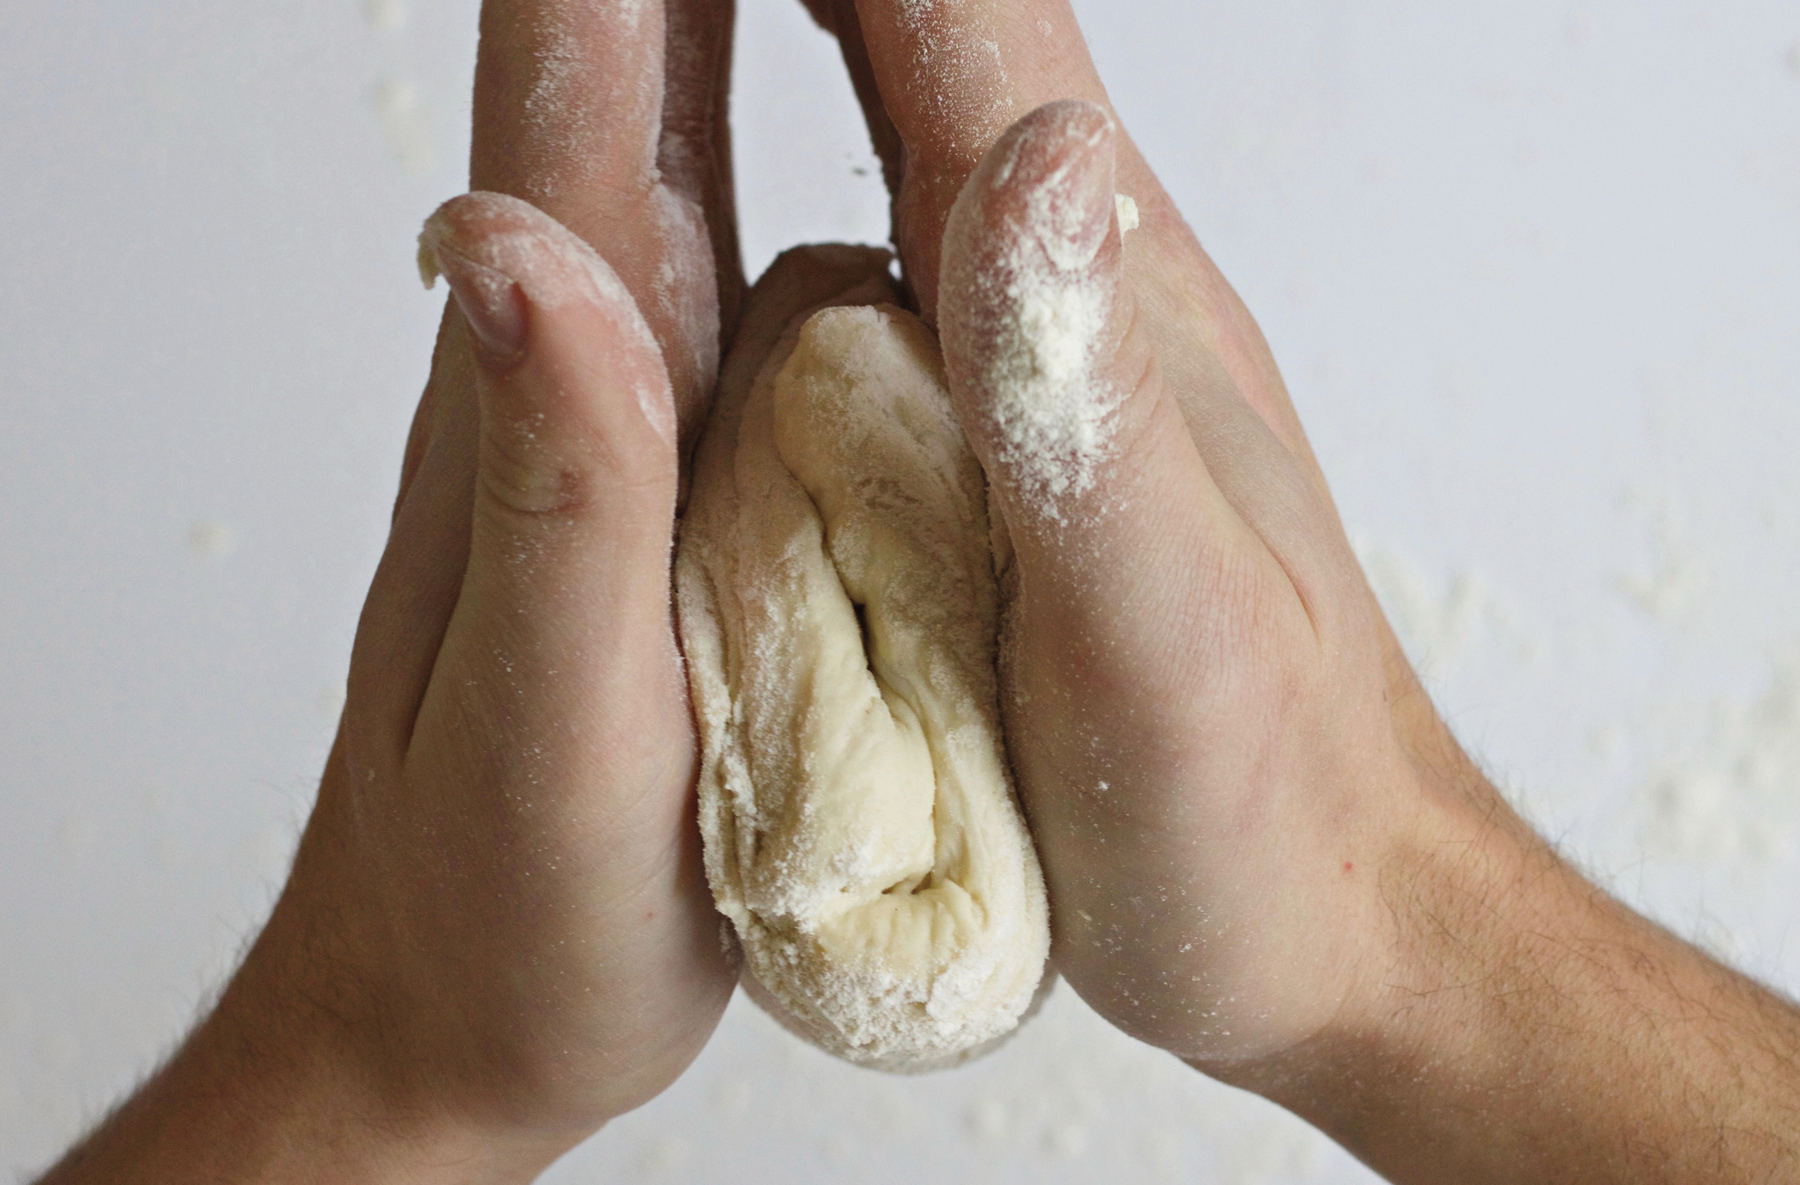
2. With the seam side facing away from you, rotate the ball ninety degrees. Gather and fold the edges into the center of the dough ball again.
3. Repeat this process about fifteen times (that sounds like a lot, but as you get used to it, you’ll work fast).
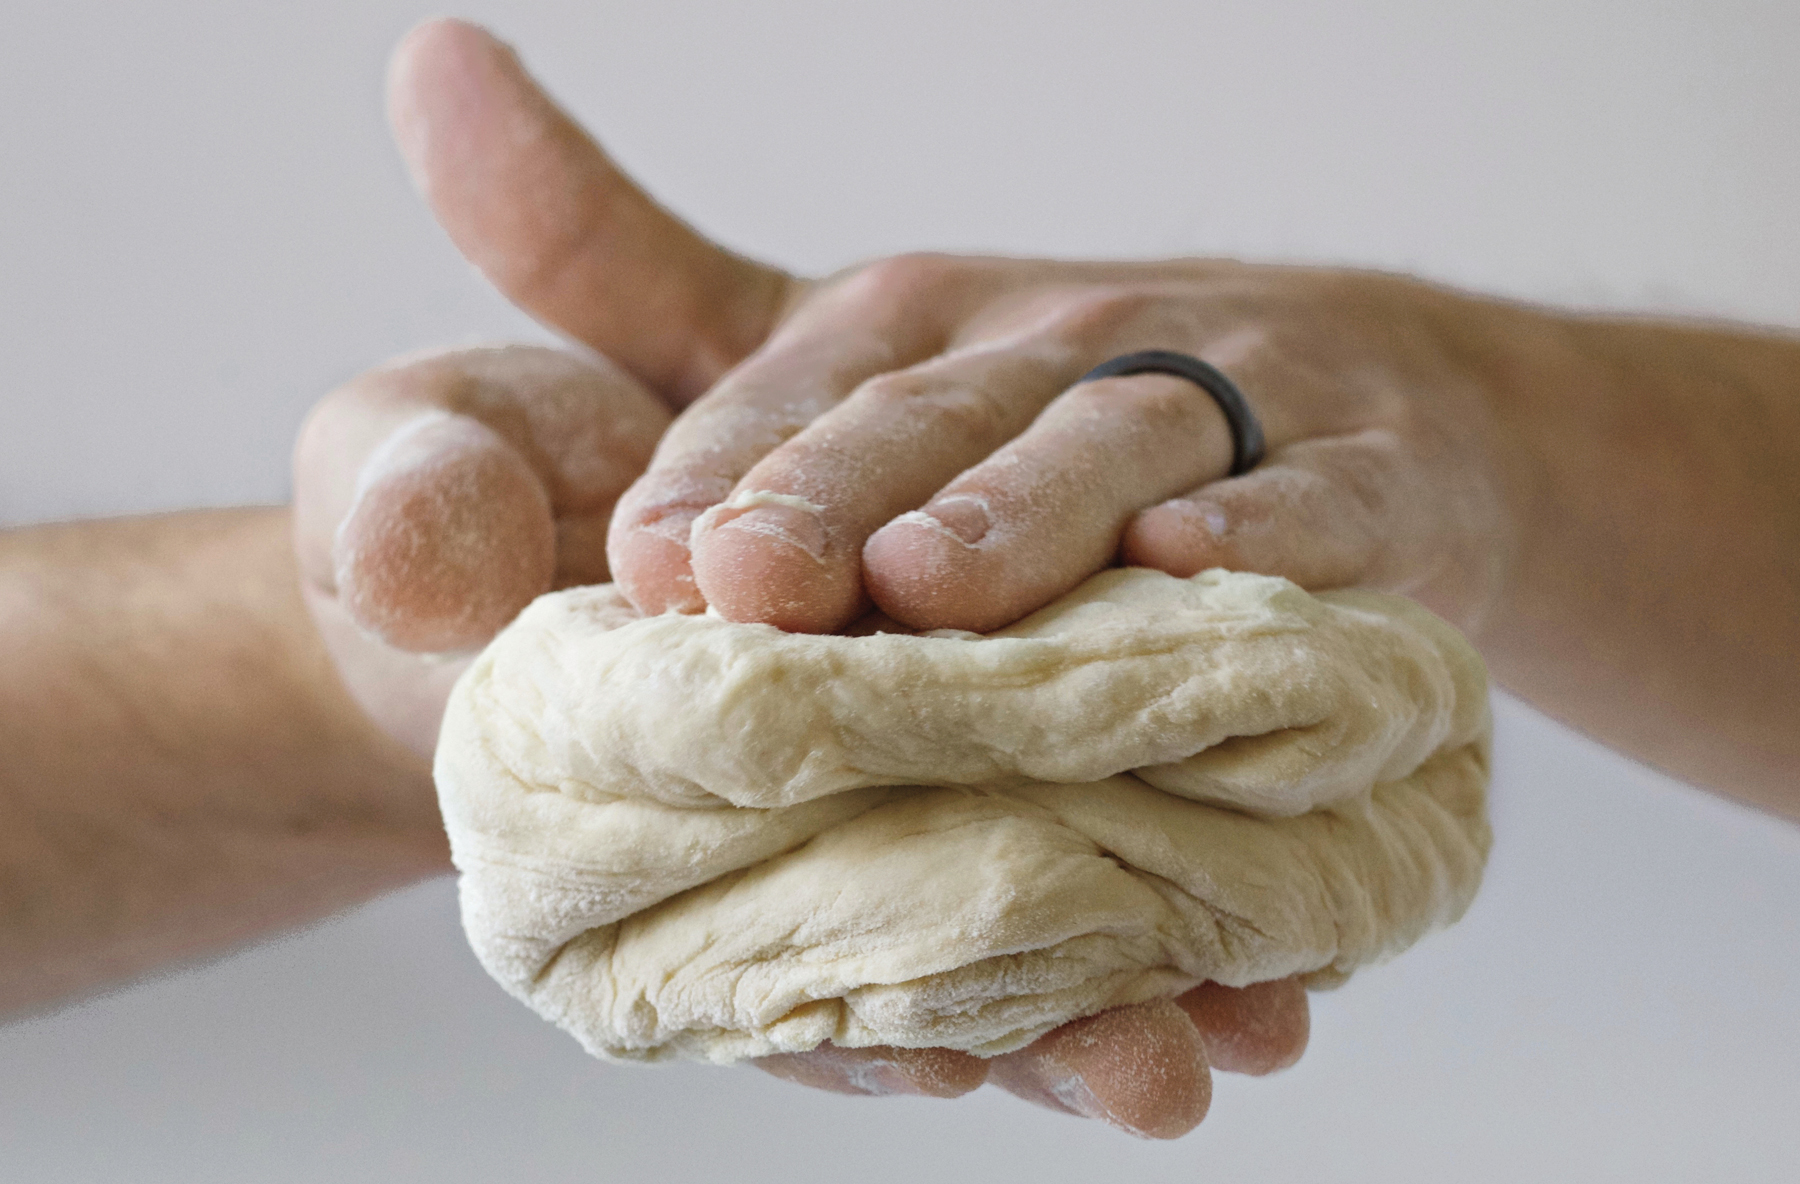
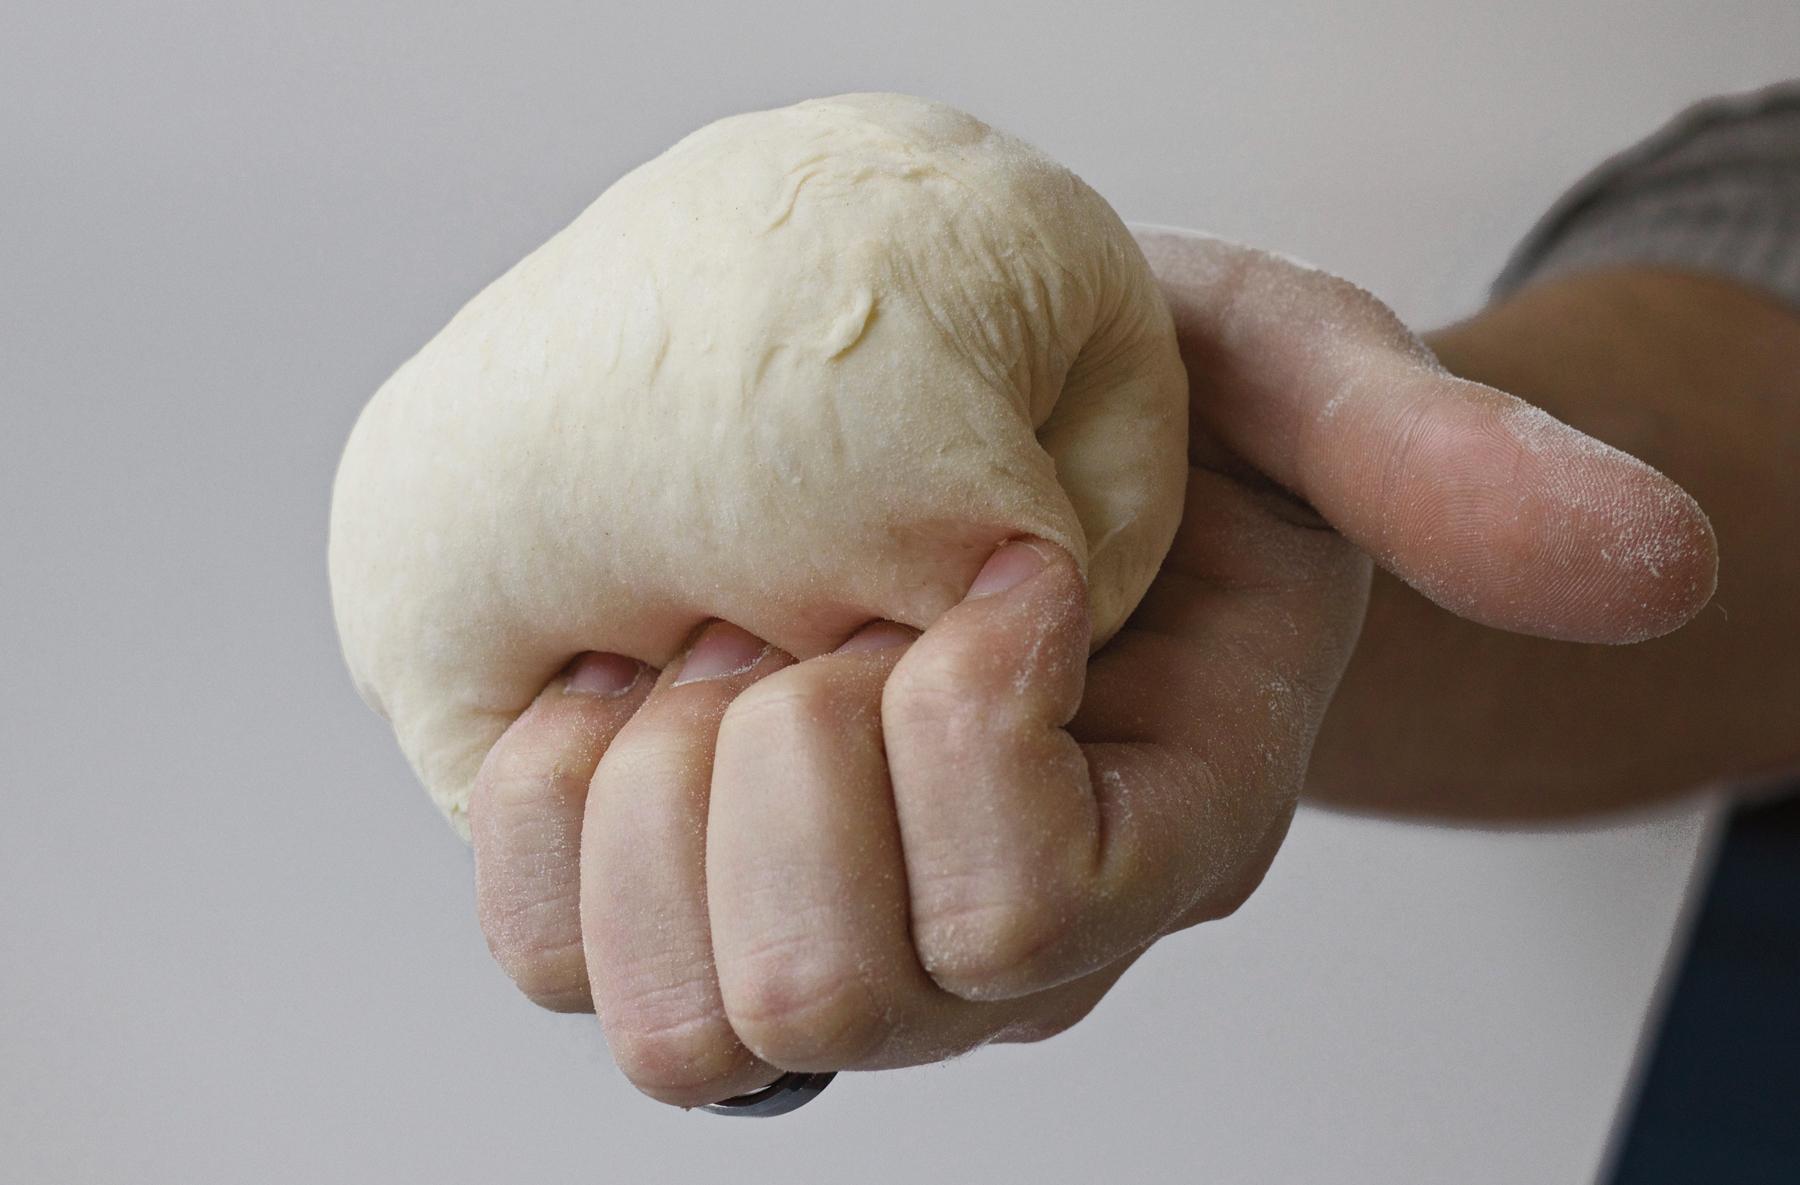
4. Place the smooth side in your palm and swiftly pinch the seam closed. Be aggressive with the pinch.
5. Place each dough ball into an oiled, cylindrical airtight container (deli-takeaway containers are ideal), date it, and put in the fridge for forty-eight to ninety-six hours.
6. Remove from the refrigerator at least one hour before use to allow the dough to come to room temperature; this lets the gluten relax and makes the dough malleable.

Shaping and Stretching Dough
Once your dough is properly shaped into balls, you want to stretch it into the perfect pizza canvas.

1. Remove the dough from the refrigerator about one hour before shaping. Let it rest and come to room temperature so that it is malleable. Err on the side of letting your dough sit at room temperature for slightly too long rather than not long enough, as room-temperature dough is easier to stretch than cold dough.
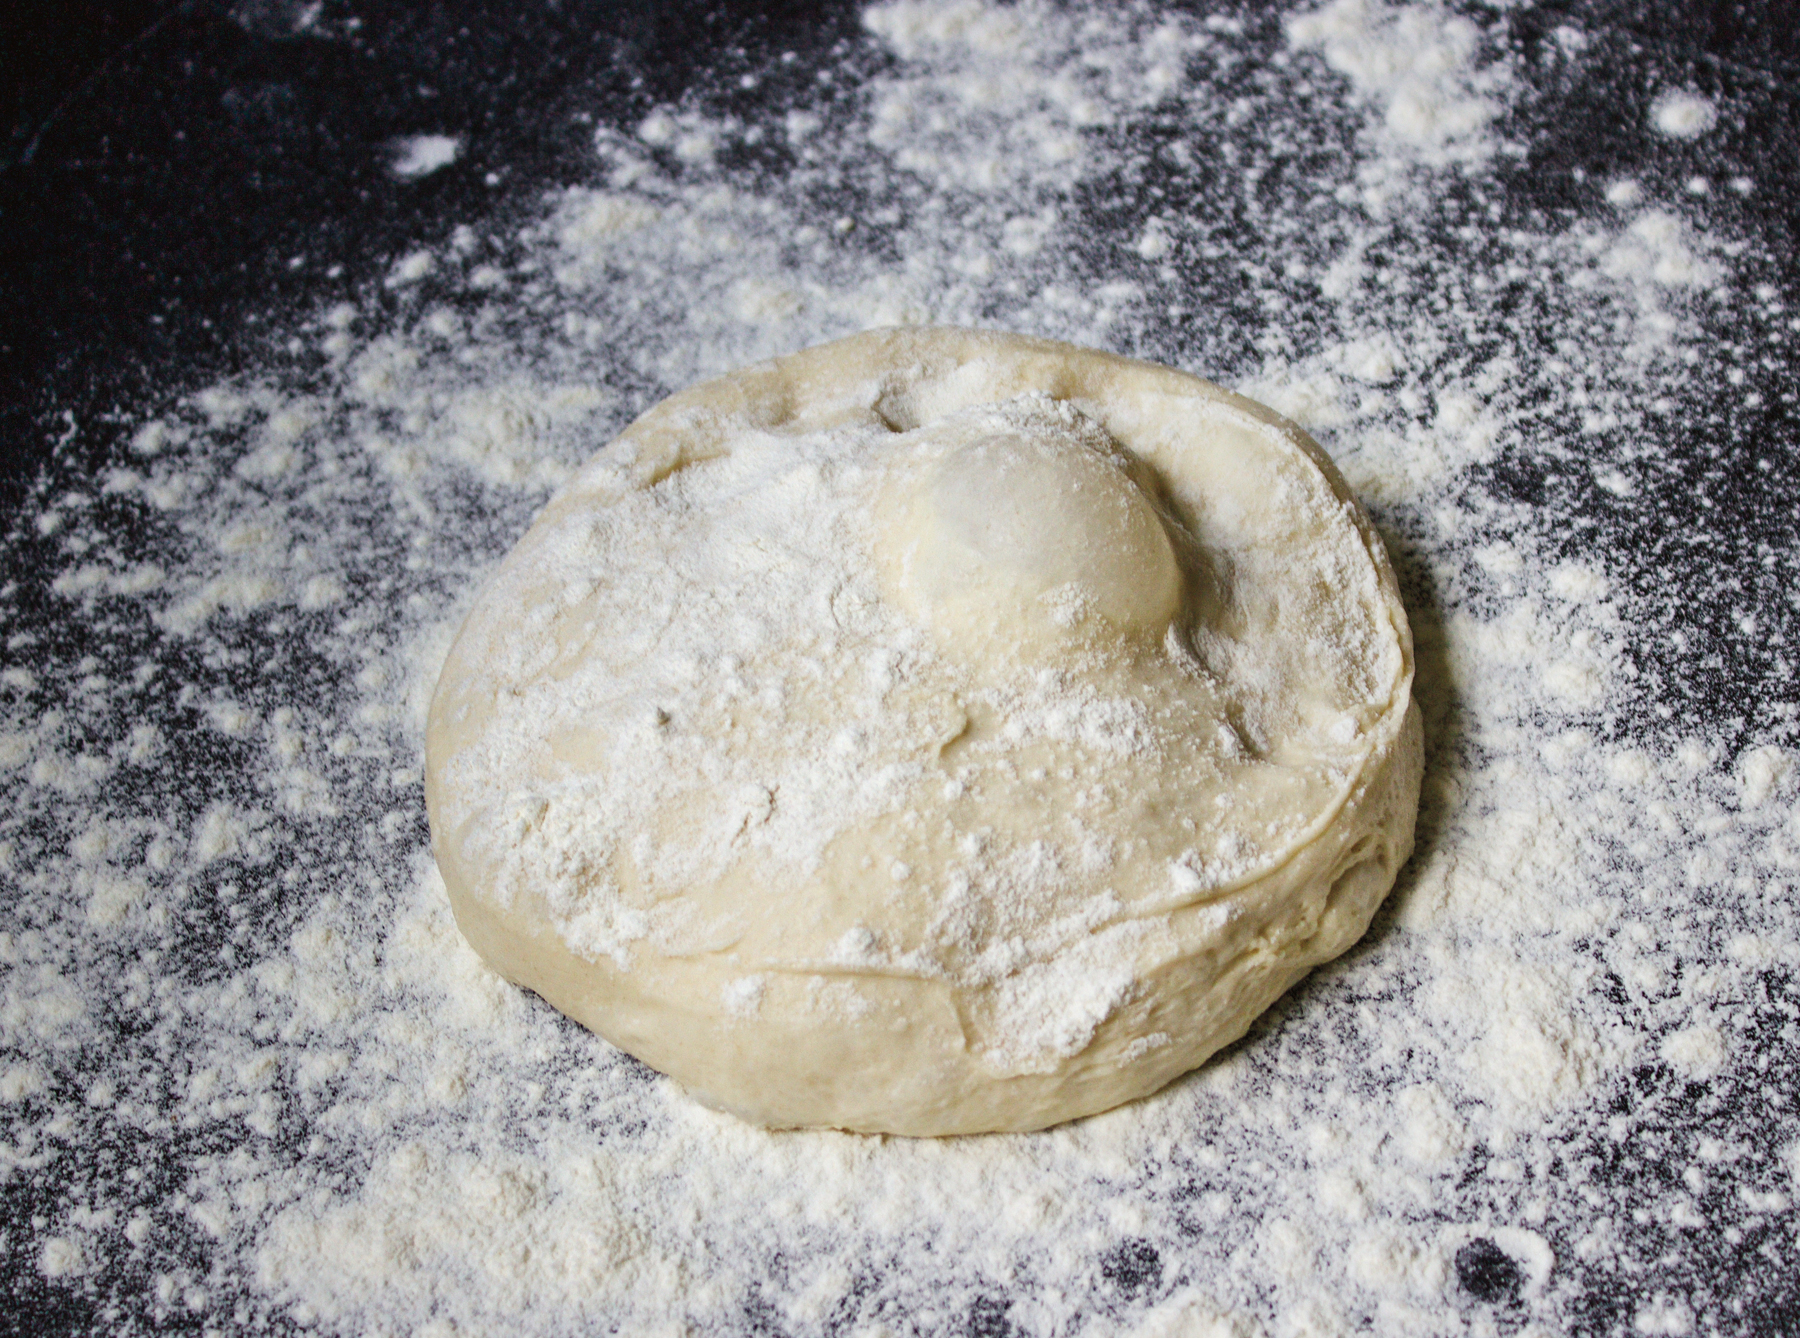
2. Remove any rings with stones or edges that might catch the dough (a wedding band with no stones is fine, though). Generously flour your work surface and your hands. Turn your dough container upside down and, using your fingertips, gently coax it out. The oil in the container will help. Place the dough, oil-side down, in the flour and gently turn it over so that both sides are generously floured.
3. Place the dough ball on your work surface and press down. Work your fingers outward as you press so that the dough expands and flattens but remains circular. Be gentle; you don’t want to knock out all of those precious bubbles, which give your crust buoyancy. Keep working the dough outward until it’s about six inches in diameter.
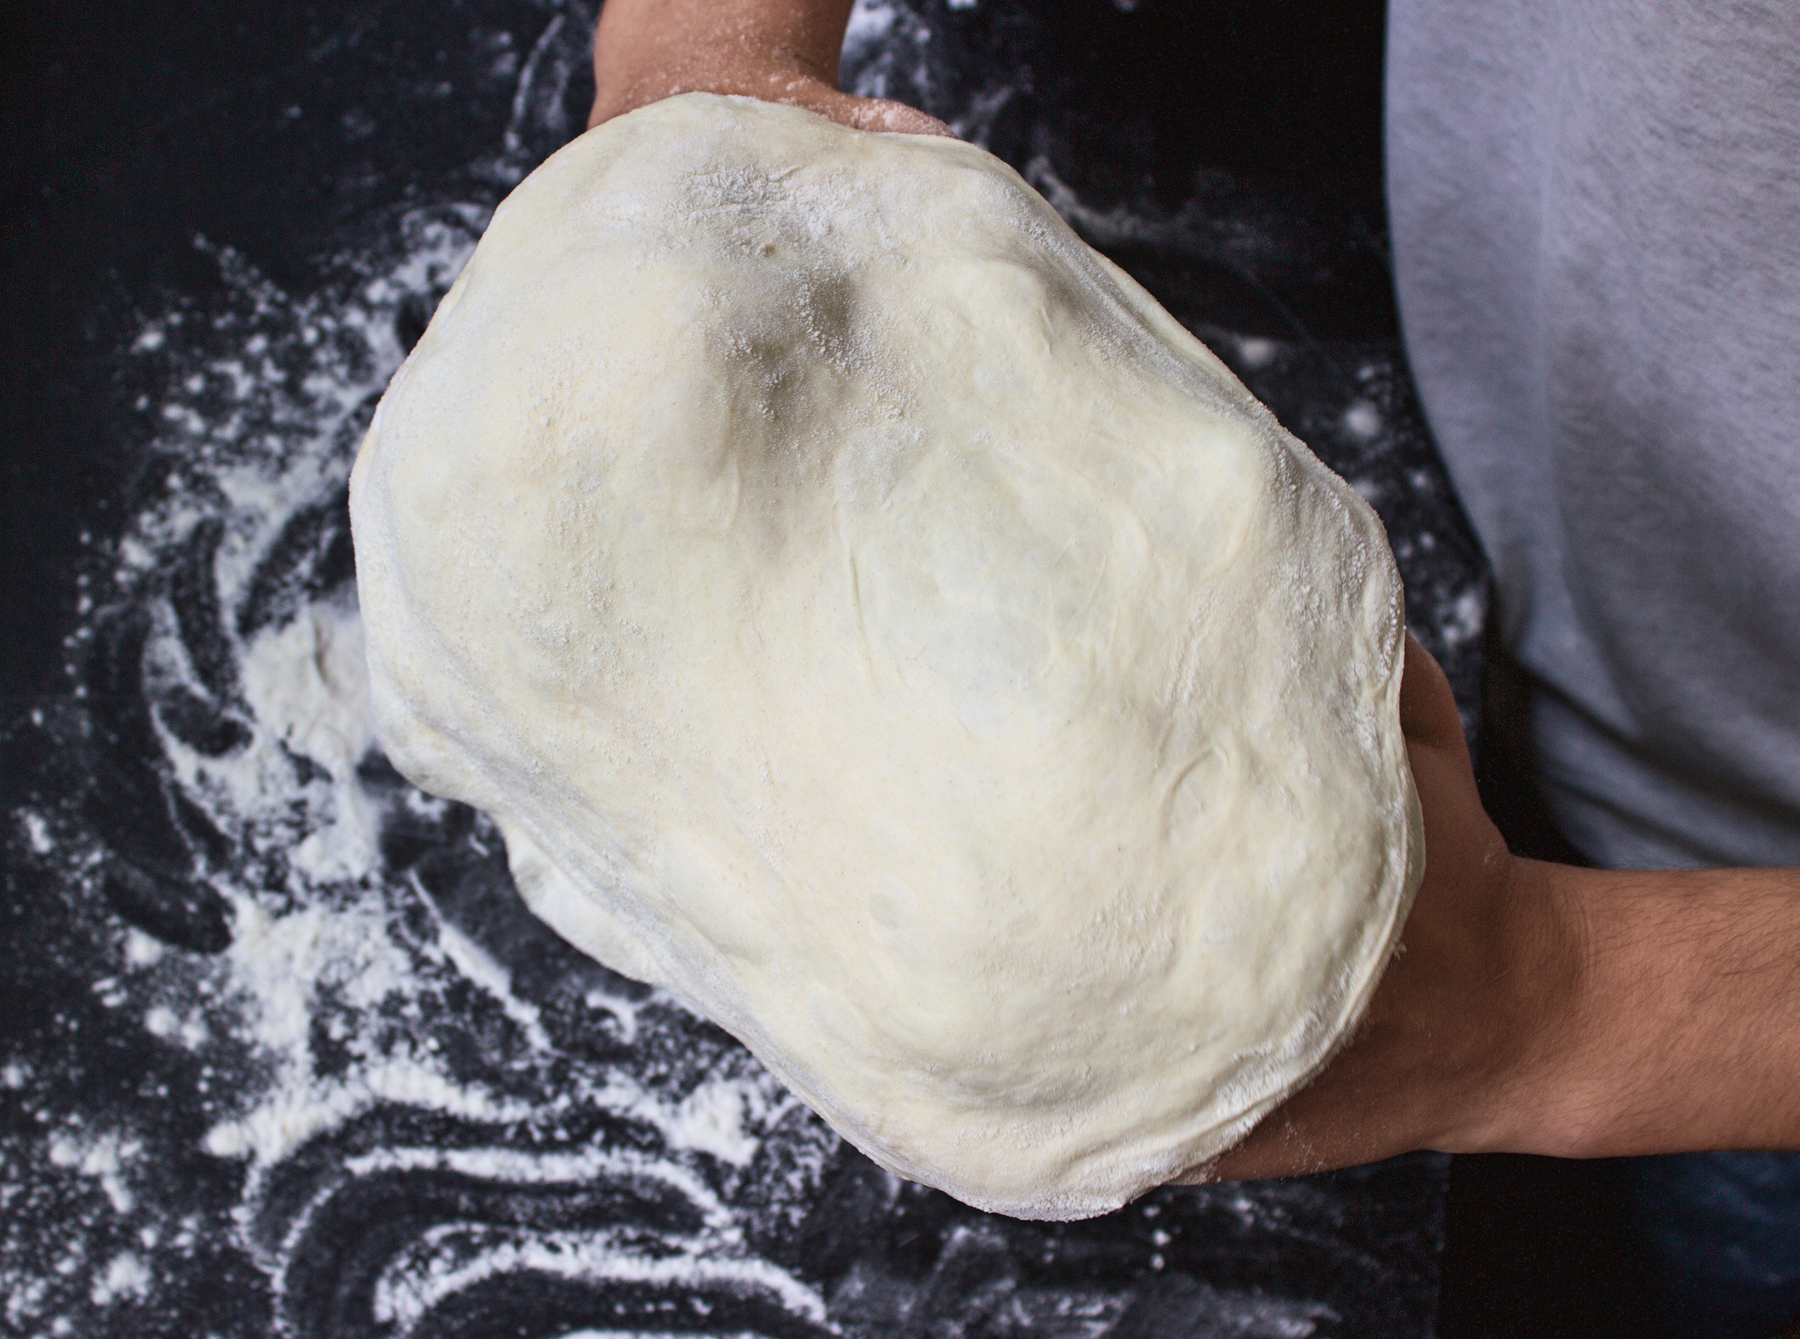
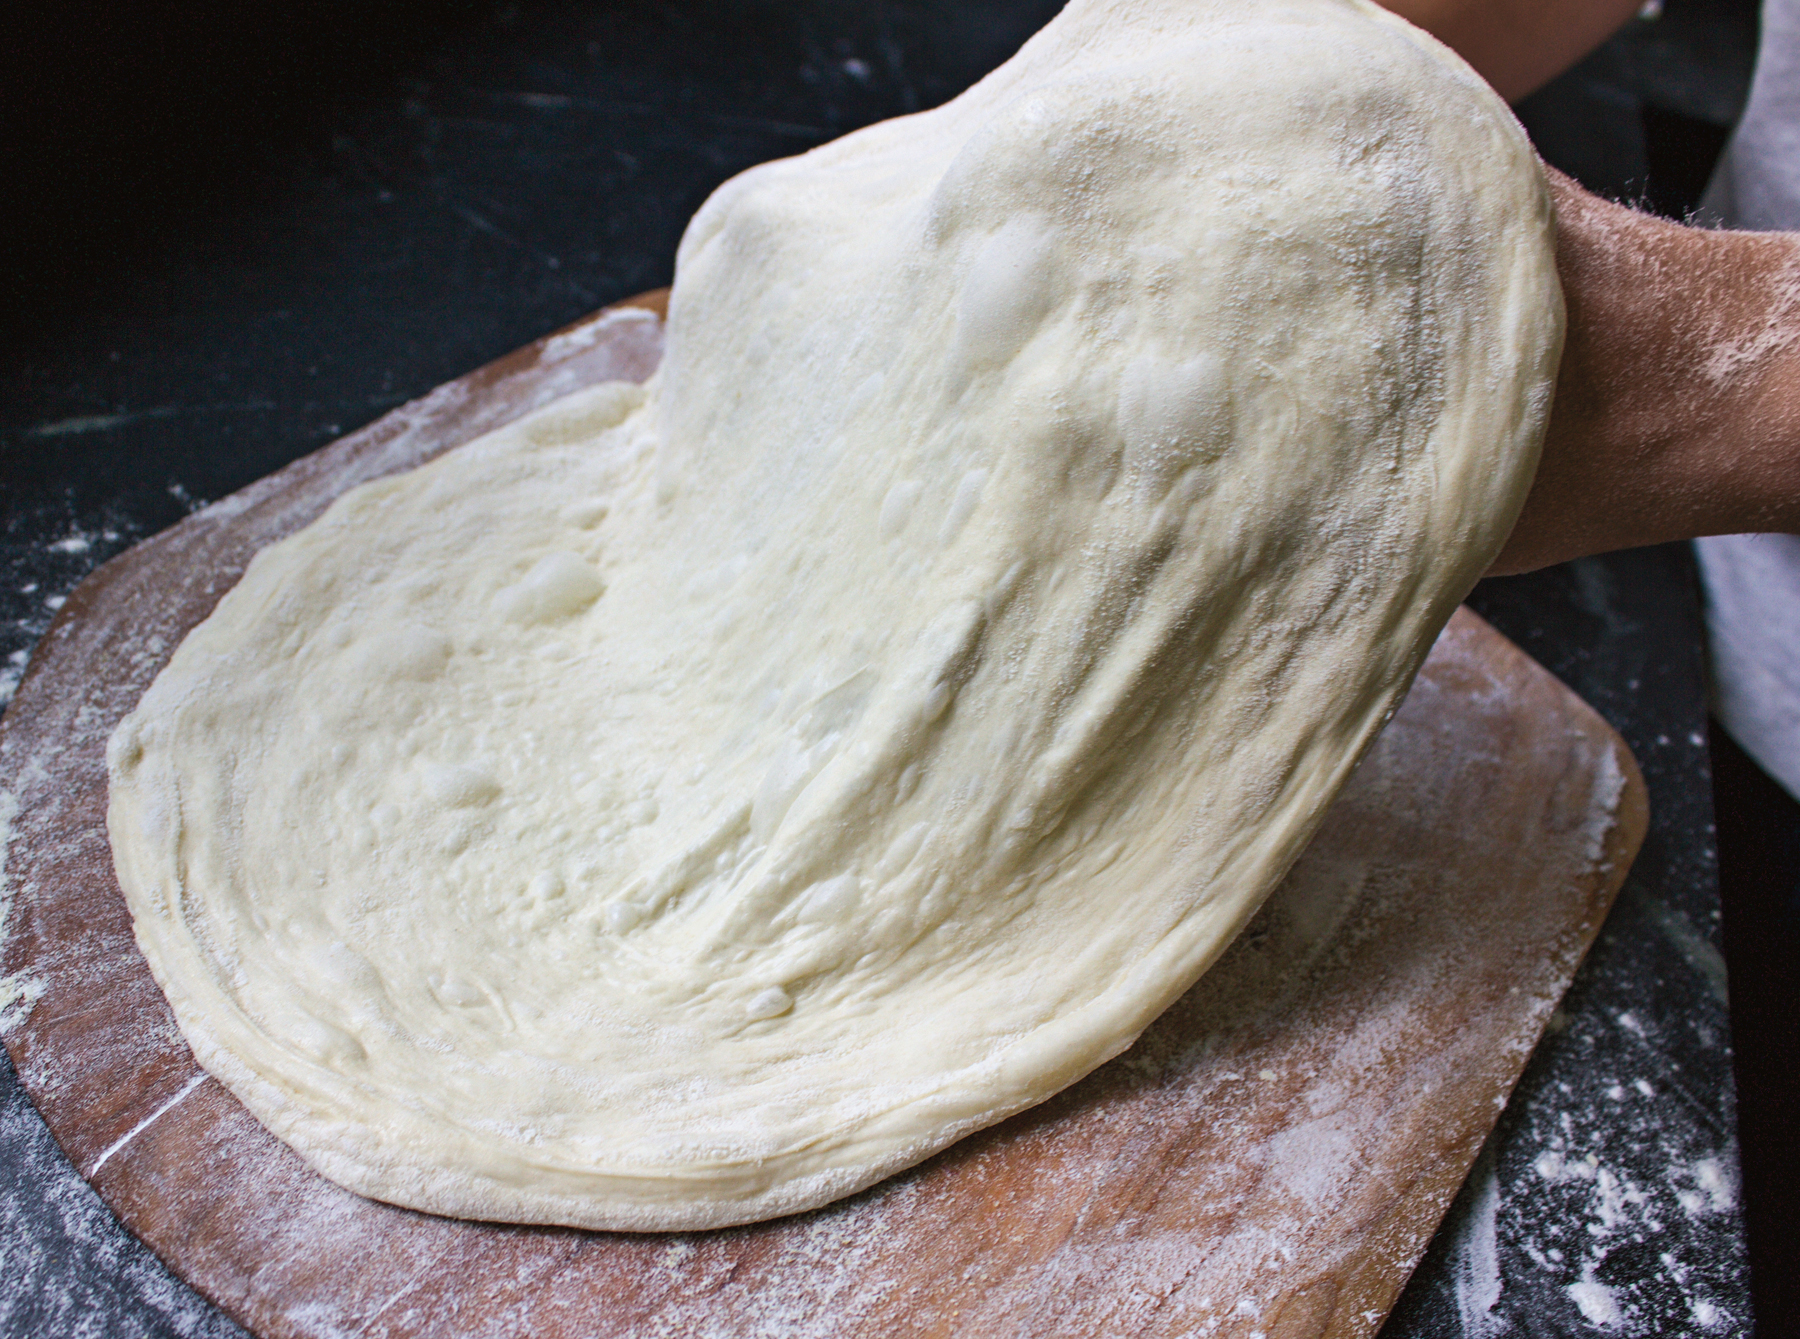
4. Lift the dough off your work surface, form your hands into loose fists, and place the dough on top of your knuckles. Once the dough is in position, rotate and stretch it on the back of your knuckles in one direction. Continue to pull it wider and wider with each rotation, but don’t pull too hard; you’re mainly letting gravity do its thing. Keep going until you’ve reached your desired diameter.
5. Now you’re ready to place the dough on your floured or lubricated peel and assemble your pizza.
Blister, Don’t Burn: How to Attain the Perfect Blistered Crust
The Baking Steel will help you produce the perfect pizza crust all by itself, but with time and experimentation, we’ve figured out some tricks. If you want to get a perfectly blistered crust that is 100 percent Instagram-worthy, try these methods.
If You Have a Gas Oven: Gas ovens are my preferred oven for pizza making. They’re quick to jump to attention; as soon as you turn on the broiler, it’s ready to go. But use caution—if you leave that broiler on for too long, your Baking Steel will hit temperatures upwards of 700 degrees Fahrenheit, which is too hot for pizza dough in a home oven. That’s why we suggest that you don’t turn on the broiler until just before you launch, and that’s why it’s left on for only the first two minutes of baking.
If You Have an Electric Oven: An electric oven is definitely “smarter,” or more regulated, than a gas oven. If you turn on the broiler in an electric oven, it’ll be a few minutes before it’s ready. It might take a while for you to figure out exactly when you need to turn on the broiler before you launch, as the speed of the broiler heating can vary.
If You Have a Bottom-Drawer Broiler: This style of oven is rare these days, but you’ll still see it in some older homes. If you have this type of broiler, we have a hack for making your pizza perfect. You’ll preheat your Baking Steel as suggested in the recipe. Launch your pizza and cook for four to five minutes. Remove the pizza, switch the oven to Broil, and place it in the bottom drawer, under the broiler, for thirty to forty-five seconds. That will give you some nice color on top of your pizza.
Advanced: Use Two Steels
This method comes from a highly reputable source: Tony Gemignani, a twelve-time World Pizza Cup champion. Start by placing two Baking Steels in your oven, one on a higher rack, one on a lower rack, with enough space to launch a pizza onto both. Preheat your oven. Then, before you stretch out your dough (or about five minutes before launching your pizza onto the steel), switch the oven setting to Broil (High Broil, if that’s an option). Launch the pizza onto the top rack and let it cook for two minutes. Then transfer the pizza to the lower rack and change the oven back to regular or convection setting at the highest temperature. Your results will be out of this world.
A Note on Bubbles: Should you pop them? Bubbles will typically rise and get larger under some heat, so they will tend to burn in the oven. I think that adds character to a pizza and makes it unique, so I let ’em stay. If you prefer a more seamless pie, go ahead and pop them when rotating your pizza during baking.