CONCLUSION: STAYING MOTIVATED
After you read and do the exercises in this book, my hope is that you’ll have found your way to your own practice of botanical drawing. Staying motivated may be a challenge, and if so, I encourage you to always be on the lookout for subjects. This is one way to stay inspired and committed to your practice. I’m aware that if I’m feeling stressed, my drawing time is the best way for me to relax. I use drawing as my meditation even if I don’t have something specific to draw. Another great idea is to follow along with nature on a daily or weekly basis and keep a sketchbook journal of your plant process pages. You can also follow one single tree all year and document how it changes and develops. Finding a community of like-minded botanical artists on social media can be inspiring, and having friends to draw with is also great. When I was writing this book, Instagram was my favorite way to share and see others’ work, but by now, who knows what the venue of choice is for this!

Sources for Subjects
Creating your own relationship with nature drawing will motivate you to keep drawing, because you will constantly find inspiration. Sources for inspiration start in your own neighborhood, including friends’ gardens, farmers’ markets, florist shops, u-pick farms, your local grocery store, or when you are on a hike in the woods or a stroll in the park. U-pick farms are a great way to observe food growing and are full of wonderful subjects. Having a regular practice of botanical drawing alerts you to all of nature that’s around you, whether in a country setting or in an urban area. You’ll be tuned in to nature all the time and notice things you’d like to study and draw. Pick these things up, and keep them handy to draw when you can. I keep things for many, many years, and it’s remarkable how well nature preserves itself.
Rare and endangered plants in the wild should not be picked. In a nature preserve or botanical garden, get permission to pick anything. Things that have fallen on the ground are, in my opinion, up for grabs unless noted with a sign. Whenever possible, ask before taking something, and never cut flowers from a planted garden, either in a public park or someone’s yard, without permission. Explain why you want the flower. People are often delighted to offer you samples, especially if you show them your drawings! Suggestion: If you have friends who are gardeners, the best gift you can give them is a drawing of something from their garden. When gathering, be careful of poisonous plants such as poison ivy, poison oak, and flesh-eating philodendrons. Pick wild mushrooms for drawing, but please don’t eat anything unless you are absolutely sure it is safe.
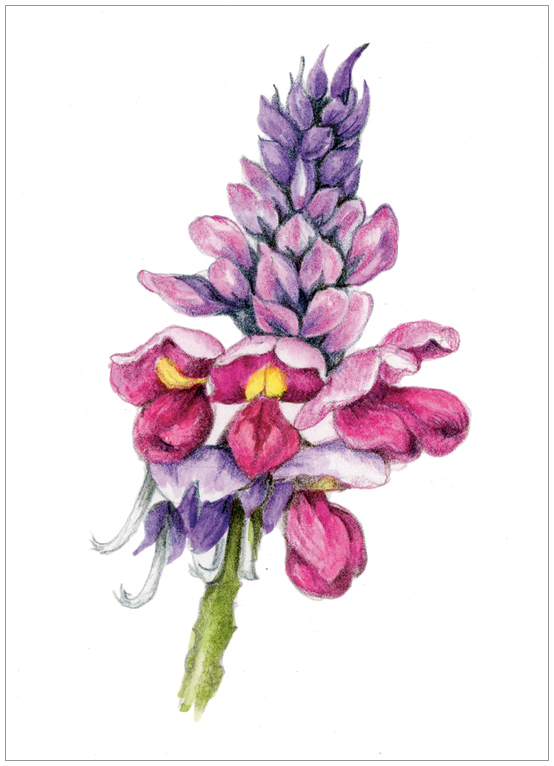
Evaluate the Components of Your Own Drawing
Dealing with feelings of frustration presents one of the greatest challenges to staying motivated. This often happens when you reach a point in a drawing at which you come up against:
-
Not knowing what to do next.
-
Not knowing if the drawing is finished.
-
Knowing something is wrong, but not knowing what to do about it.
This is the perfect time to start to evaluate your drawing. Use the following checklist to help you figure out where to go next with the drawing. If you evaluate your drawing this way, you’ll be able to decide the answers to the three problems above. Give it a try, and see if this self-evaluation process will help you overcome these frustrations that we all feel from time to time.


EVALUATE-YOUR-DRAWING CHECKLIST
❏SIZE: Is the drawing accurate in size, proportion, and perspective?
❏STRUCTURE: Does the drawing show the accurate structure of the subject?
❏OVERLAPPING AREAS: Are overlapping areas of the subject clear? Is it obvious what is in front and what is behind? Is there a defining dark shadow underneath or behind the subject in the foreground?
❏LIGHT SOURCE: Is the light source that illuminates the front of the subject appearing to come from the left or right?
❏HIGHLIGHT: Is the highlight in the correct location? Is there a shimmer to the highlight, not just an empty space?
❏TONES: Is there a complete range of nine tones from light to dark? Do the tones graduate and blend seamlessly on the form?
❏COLOR: Are the colors accurate? Is there a complete range of nine tones maintained in color?
❏REFLECTIVE HIGHLIGHT: Is the reflective highlight believable, not appearing as empty space?
❏CAST SHADOW: Does the cast shadow recede and push the subject forward in space? Does the shadow have soft edges? Do the shadow’s tones graduate from very dark to very light so that the lightest tone fades into the paper?
❏DETAILS: Are the drawing’s details believable and not overshadowing the subject?
❏EDGES AND CONTOUR: Are the edges of the subject sharp without creating a dark outline? Does the drawing appear to be “in focus”? Do your subjects have subtle curves, rather than sharp angles, so that the contour of the drawing is graceful?
❏COMPOSITION: Are the layout, placement, and location of the subject visually comfortable on the page? Is there a clear focal point?

PRACTICE THROUGH THE SEASONS
Here are some things to look for and practice drawing in each season.
WINTER: Dried nuts, curling leaves, branches, and bark.
SPRING: Emerging flowers and leaves, and lots of wildflowers.
SUMMER: Flowers, fruits, and vegetables. Add in a bee or butterfly!
FALL: Colorful leaves, gourds, squash, and root vegetables.
SUMMARY STEPS FOR BOTANICAL DRAWING

Now that you have been following my step-by-step lessons throughout this book, you may notice that I vary my approach depending on my subject, or depending on which way the wind was blowing on a particular day! The important takeaway is to understand the thought process behind these techniques and figure out how you will include them in your own process. There’s room for lots of flexibility. You can choose to vary the order of some of these steps and decide to add watercolor washes before grisaille toning, or to leave some areas of a drawing unfinished. The natural world is now yours to play with and enjoy. Whether drawing becomes your daily meditation practice, your weekly journal entry, or your series of botanical masterpieces, make these steps your own and soon you will just naturally know what to do and won’t have to think about it. But here’s a quick reference that may become a mantra that plays in your head as you work. Many of my students say that they hear my voice in their head as they draw, guiding them along, helping them remember to use a good light source or, most important, to sharpen their pencil!
-
Choose your subject first and always draw from a real specimen. Don’t draw from my artwork or photographs.
-
With a graphite pencil, lightly draw your form life-size. Start with a center axis line, measure with a clear ruler as needed, and then put your graphite pencil down.
-
Analyze your light source—upper left or upper right lighting? Draw a small thumbnail sketch of the geometric form closest to your subject with this correct light-source model. Decide on the placement of the highlight, and outline it on your drawing with a graphite pencil very lightly so that you can erase the placement lines later. Do an optional cross-contour thumbnail sketch to feel how the form bends.
-
Remember to always work with a sharp colored pencil. Never tone with your graphite pencil. Using a dark, neutral colored pencil influenced by the local color of your subject, start to add grisaille toning to your form by first defining the overlapping areas. (For dark subjects, Dark Sepia, Red Violet, or Chrome Oxide Green are good options. For lighter subjects, Earth Green is a good choice.) Do this by lightly toning behind the form in front.
-
Continue to add grisaille toning with colored pencil. Tone light to dark to define the three-dimensional surface of the form with a consistent light source. Build your tones slowly, making sure to achieve a complete range of tones from light to dark. The lightest tone is the color of the paper. Remember, in the beginning, rendering three-dimensional form and structure with correct tones is more important than the local color of your subject. You don’t need to completely tone your form, just do enough to define the shadow side and the highlight.
-
Do some color blends to choose the colors needed to describe your subject’s local or dominant colors. Create a practice straight or curved tone bar to show the color variations with all of their tones from light to dark.
-
Choose watercolor pencils in the main, or local, color of your subject and mix up a color.
-
Wet your subject with water, give it a few seconds to seep into the paper, and paint a watercolor wash, leaving an empty highlight. Always let the watercolor dry before continuing.
-
Choose colored pencils close to the form’s dominant color and layer color on top of the grisaille toning. Keep working between colors and darker tones.
-
Consider adding a reflective highlight if desired, and start to burnish your drawing. Any highlights should be left the color of the paper and later can be developed with lighter tones and colors, filled in as needed so that the highlight doesn’t look like an empty spot but instead a shimmering light.
-
With Verithin pencils, sharpen edges and fine lines in your drawing, and add details. With a Dark Sepia colored pencil, darken where contrast is needed.
-
Step back and look at your work, evaluate your drawing following our checklist (see this page), work on it a bit more, and then give yourself a round of applause!
Thanks for joining me on this journey. Keep up your practice and send me your drawings! Post them at drawbotanical.com/ or on social media with the hashtag #joyofbotanicaldrawing so we can all enjoy seeing each other’s work!

