Communicate Using Mail
Email on the Apple Watch is a curious thing—you’re actually discouraged from engaging too deeply with your mail. The Apple Watch ties into the Mail app on the iPhone primarily to help you read and sort your Inbox, as well as dash off quick replies. That’s not a bad thing. The goal is to stay up to date on your correspondence and engage as needed, saving more extensive communication for your iPhone or a computer.
Read Email
To take a peek at your waiting messages, do this:
Open the Mail
 app from the Home screen.
Your inbox(es) and a couple of messages are displayed. Even in a small space, the app delivers quite a bit of information:
A blue dot indicates a message is unread, while an orange dot notes a flagged message; you may also have an unread flagged message, which appears as blue dot with an orange outline.
Icons in the lower-right corner note whether it’s from a VIP, contains attachments (which in most cases can’t be displayed on the watch), or has been forwarded or replied to (Figure 71).
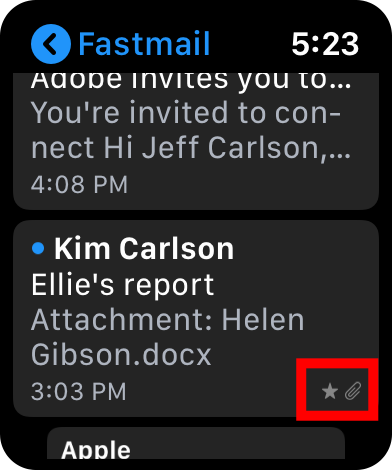
Figure 71: The star and paperclip (highlighted here) let you know that the message is from a VIP and carrying an attachment. The blue dot next to the sender’s name indicates that the message is unread. - A chevron character (») in the top-right corner of a message tells you it’s part of a thread.
Tap a message to read it.
With the message open, force-touch the screen to reveal additional options: reply, flag the message, mark it as unread, or send it to the Trash.
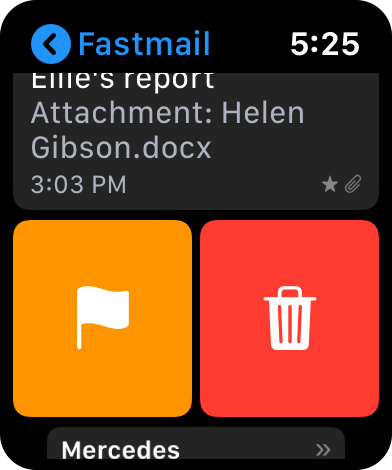
You can also act on a message in the Inbox view by swiping left and tapping either the Trash
 or the Flag
  button (Figure 72). (Depending how your email is set up, Trash may be replaced with an Archive button.)
Reply to a Message
Quickly compose a reply using the following steps:
In a message, scroll to the end and tap Reply (Figure 73). Or, force-press the screen and tap the Reply button that appears.
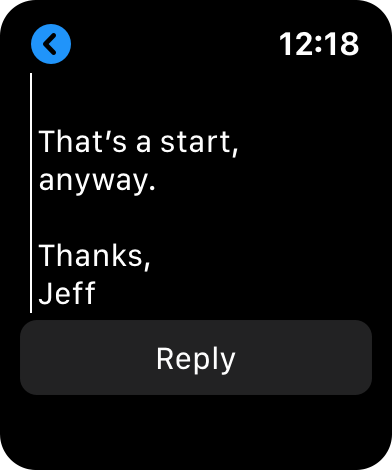
Figure 73: Find the Reply button at the bottom of an email message. If the message has multiple recipients, tap Reply or Reply All.
Select a response from those listed, or tap the Emoji button, the Dictation button, or the Scribble button and compose your response (Figure 74), just as in Messages. (You can customize these responses; see Personalize Mail Browsing, ahead.)
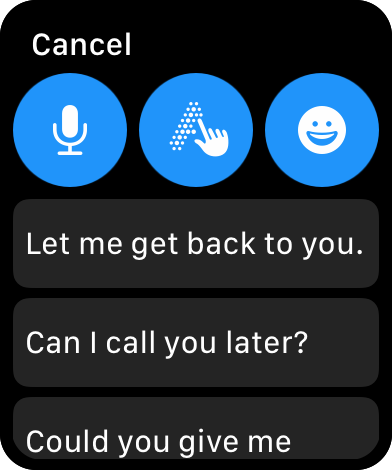
Figure 74: Tap one of these buttons (or scroll down to preset options like “Let me get back to you”) to choose how you’ll reply. Review the reply and tap Send.
To reply on your iPhone to a message that you’re viewing on your watch, switch to your iPhone and swipe up from the bottom to reveal the app switcher; tap the Mail button that appears at the bottom of the screen (Figure 75).
Write Email
To compose a new message on the watch, do the following:
In the Mail app, force-touch the screen and tap New Message to reveal the New Message screen (Figure 76).

Figure 76: A new outgoing message includes the basics. Tap Add Contact.
On the next screen, tap the Dictation
 button and speak the name of the recipient, or tap the Add Contact
  button to scroll your list of contacts. Tap the email address of the person you want. You can choose only one recipient.
Tap the Add Subject field and use dictation, Scribble, or stock replies to write your subject.
Tap the Create Message field and use the same input tools to write the body of the message.
Tap Send to dispatch the message.
Personalize Mail Browsing
In the iPhone Watch app, go to Mail, and optionally adjust the following:
Mirror my iPhone: The default is to use the same settings as on your iPhone where applicable. Tap Custom to configure your watch with different settings than your iPhone.
Notifications: You can turn notifications on or off; and, if on, enable or disable them for each email account on your iPhone, and for VIPs. For accounts with alerts enabled, you can also turn Sound and Haptic feedback on or off. This is also where you can choose to group notifications when several arrive.
Include Mail: The Inbox is the default mailbox shown if you have only one account; All Inboxes is the default if you have more than one. You can also choose from several other options, including other mailboxes (but not smart mailboxes, alas), VIPs, flagged or unread messages, or just those messages where your address appears in the To or CC field (Figure 77).
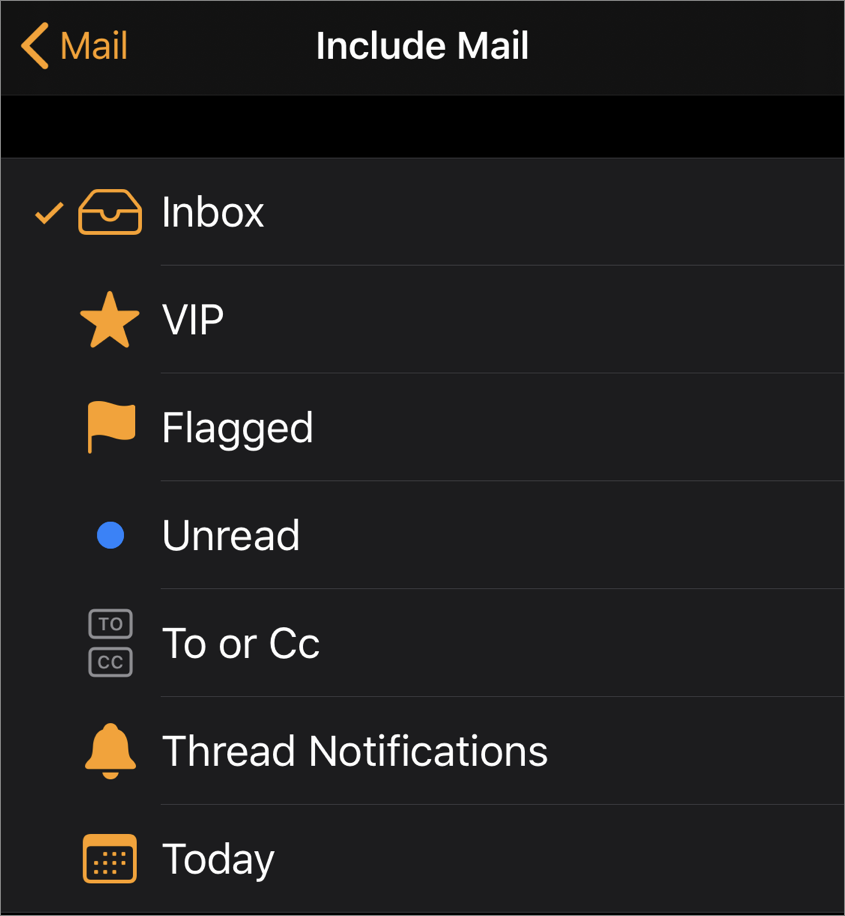
Figure 77: Select which types of messages appear in the Mail app. Message Preview: View one or two lines of text, or select None and see only the sender, subject line, and time of each message.
Default Replies: Tap one of the pre-made responses to change it, or tap Add Reply to write your own. When you reply to a message, these appear as quick alternatives to dictating new text.
Signature: A signature is a bit of automatically added text at the end of an email message. The default is to include “Sent from my Apple Watch.” If you don’t want to advertise for Apple, change the text to anything you like, such as “Cheers!” or perhaps information like your website or Twitter handle.
Ask Before Deleting: With this switch on, you’ll have to confirm when you delete a message.
Load Remote Images: Display images that are linked in the body of the message instead of embedded within the email.
Organize By Thread: Group messages in a thread together (on) or list them separately based on their timestamps (off).