Blue Cheese
Blue Cheese
You either love or hate blue cheese – there is no in-between – and I am a lover. Not only do I love the taste, I love the story of how blue cheese was apparently invented. There are a few different versions of the story, including that it was invented by accident when a drunken cheesemaker left behind a half-eaten loaf of bread in a moist cheese cave. Or by the French shepherd, who left his cheese in a cave while he was in pursuit of the love of his life.
Not only is blue cheese wonderfully delicious, but scientists have discovered that the cheese, known for its mould and blue veins, has specific anti-inflammatory properties – which could explain why the French enjoy such good health despite favouring a diet high in saturated fat. The properties of blue cheese, which is traditionally aged in caves in the South of France, were found to work best in acidic environments of the body, such as the lining of the stomach or the surface of the skin. So cheese is actually really good for you … an even better excuse to make and eat loads!
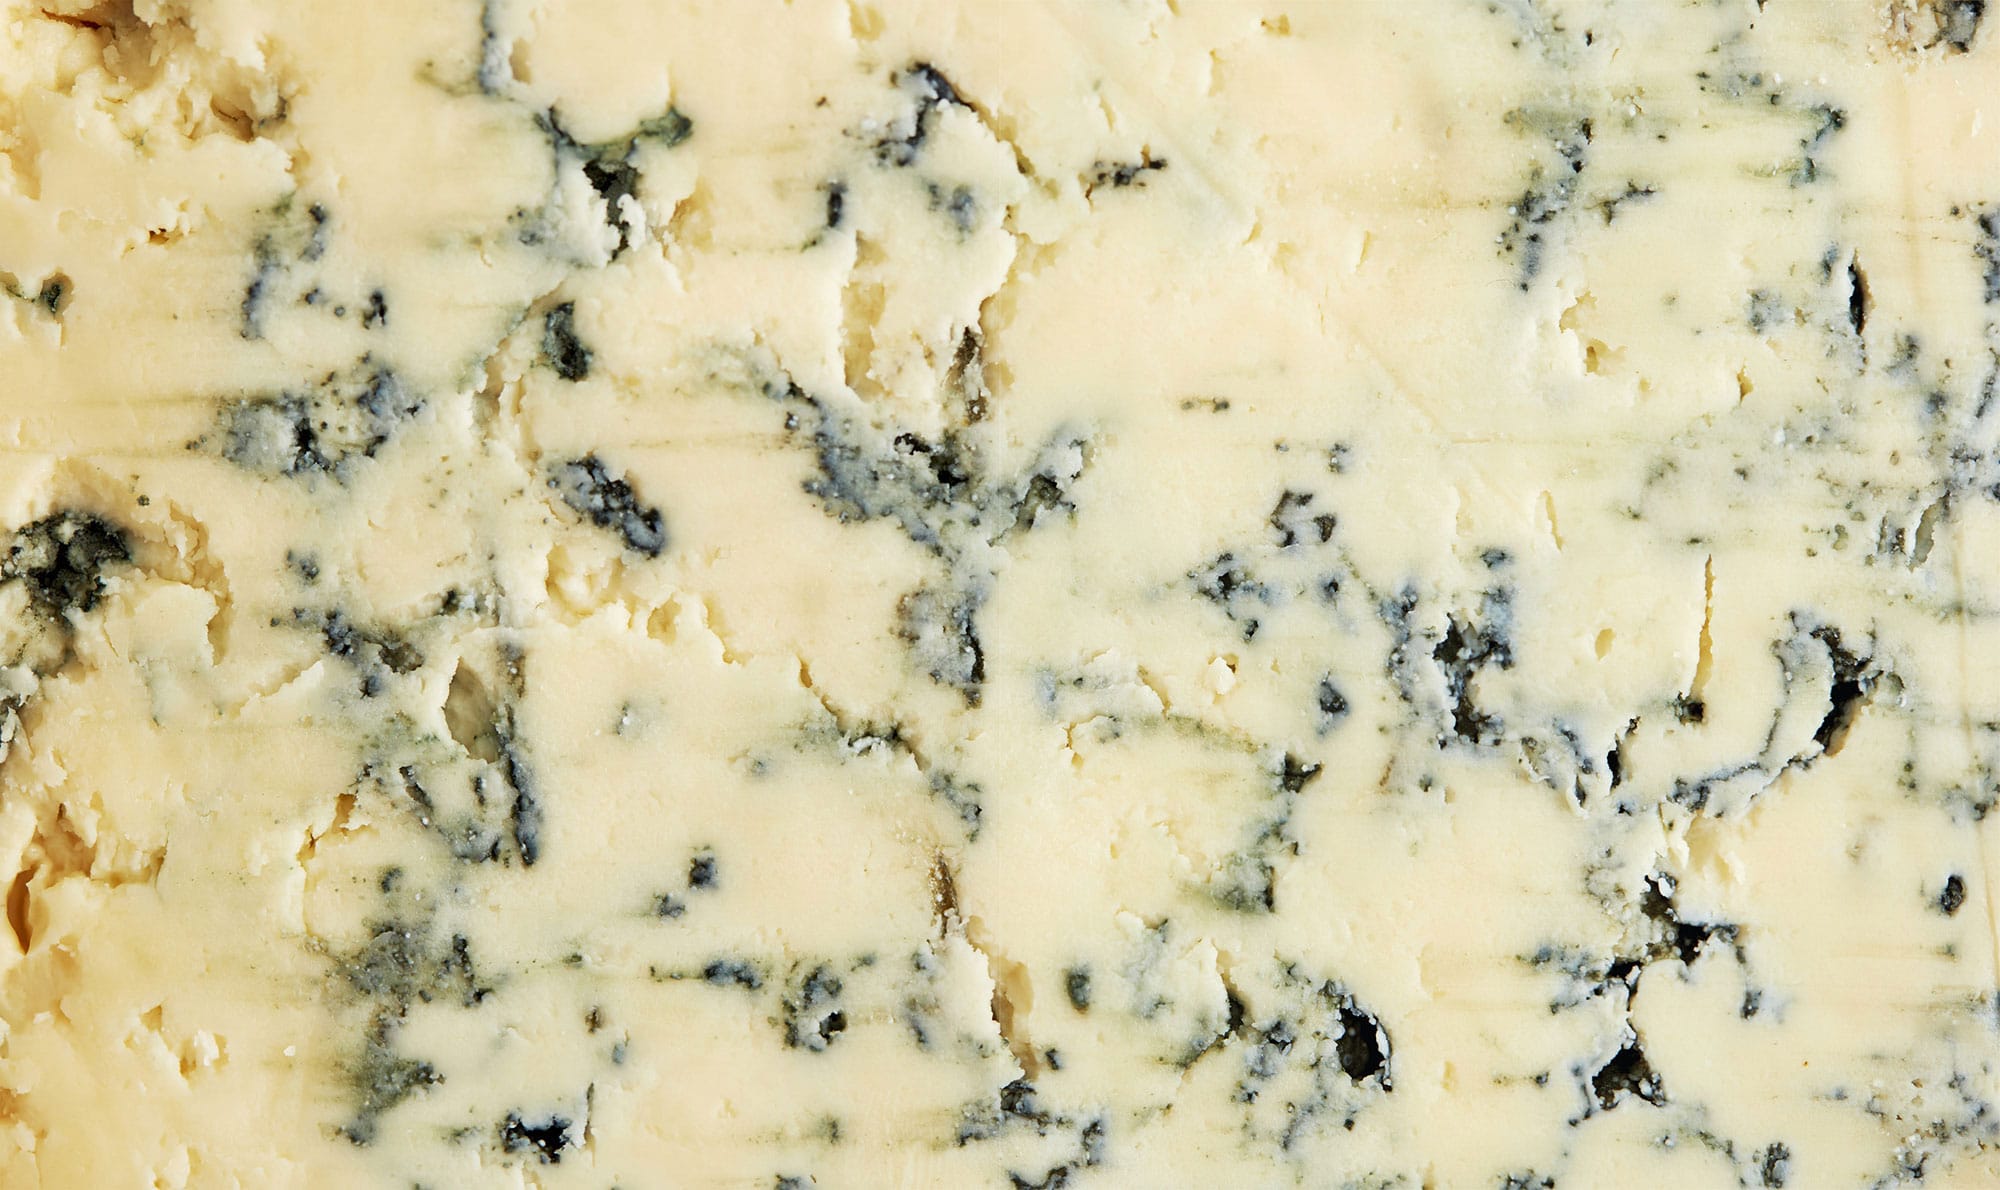
Blue cheese is a generic term used to describe a cheese produced with cow’s milk, sheep’s milk or goat’s milk, and ripened with cultures of the mould Penicillium. Blue cheese has distinct blue veins, which give it its name and, often, an assertive flavour. The moulds range from pale green to dark blue, and may be accompanied by white and crusty brown moulds. These veins are created during its production, when the cheese is ‘spiked’ with stainless steel rods to let oxygen circulate and encourage the growth of the mould. This process also softens the texture and develops the distinctive ‘blue’ flavour.
So here is how you can make your very own blue cheese at home, and some recipes using your homemade blue.
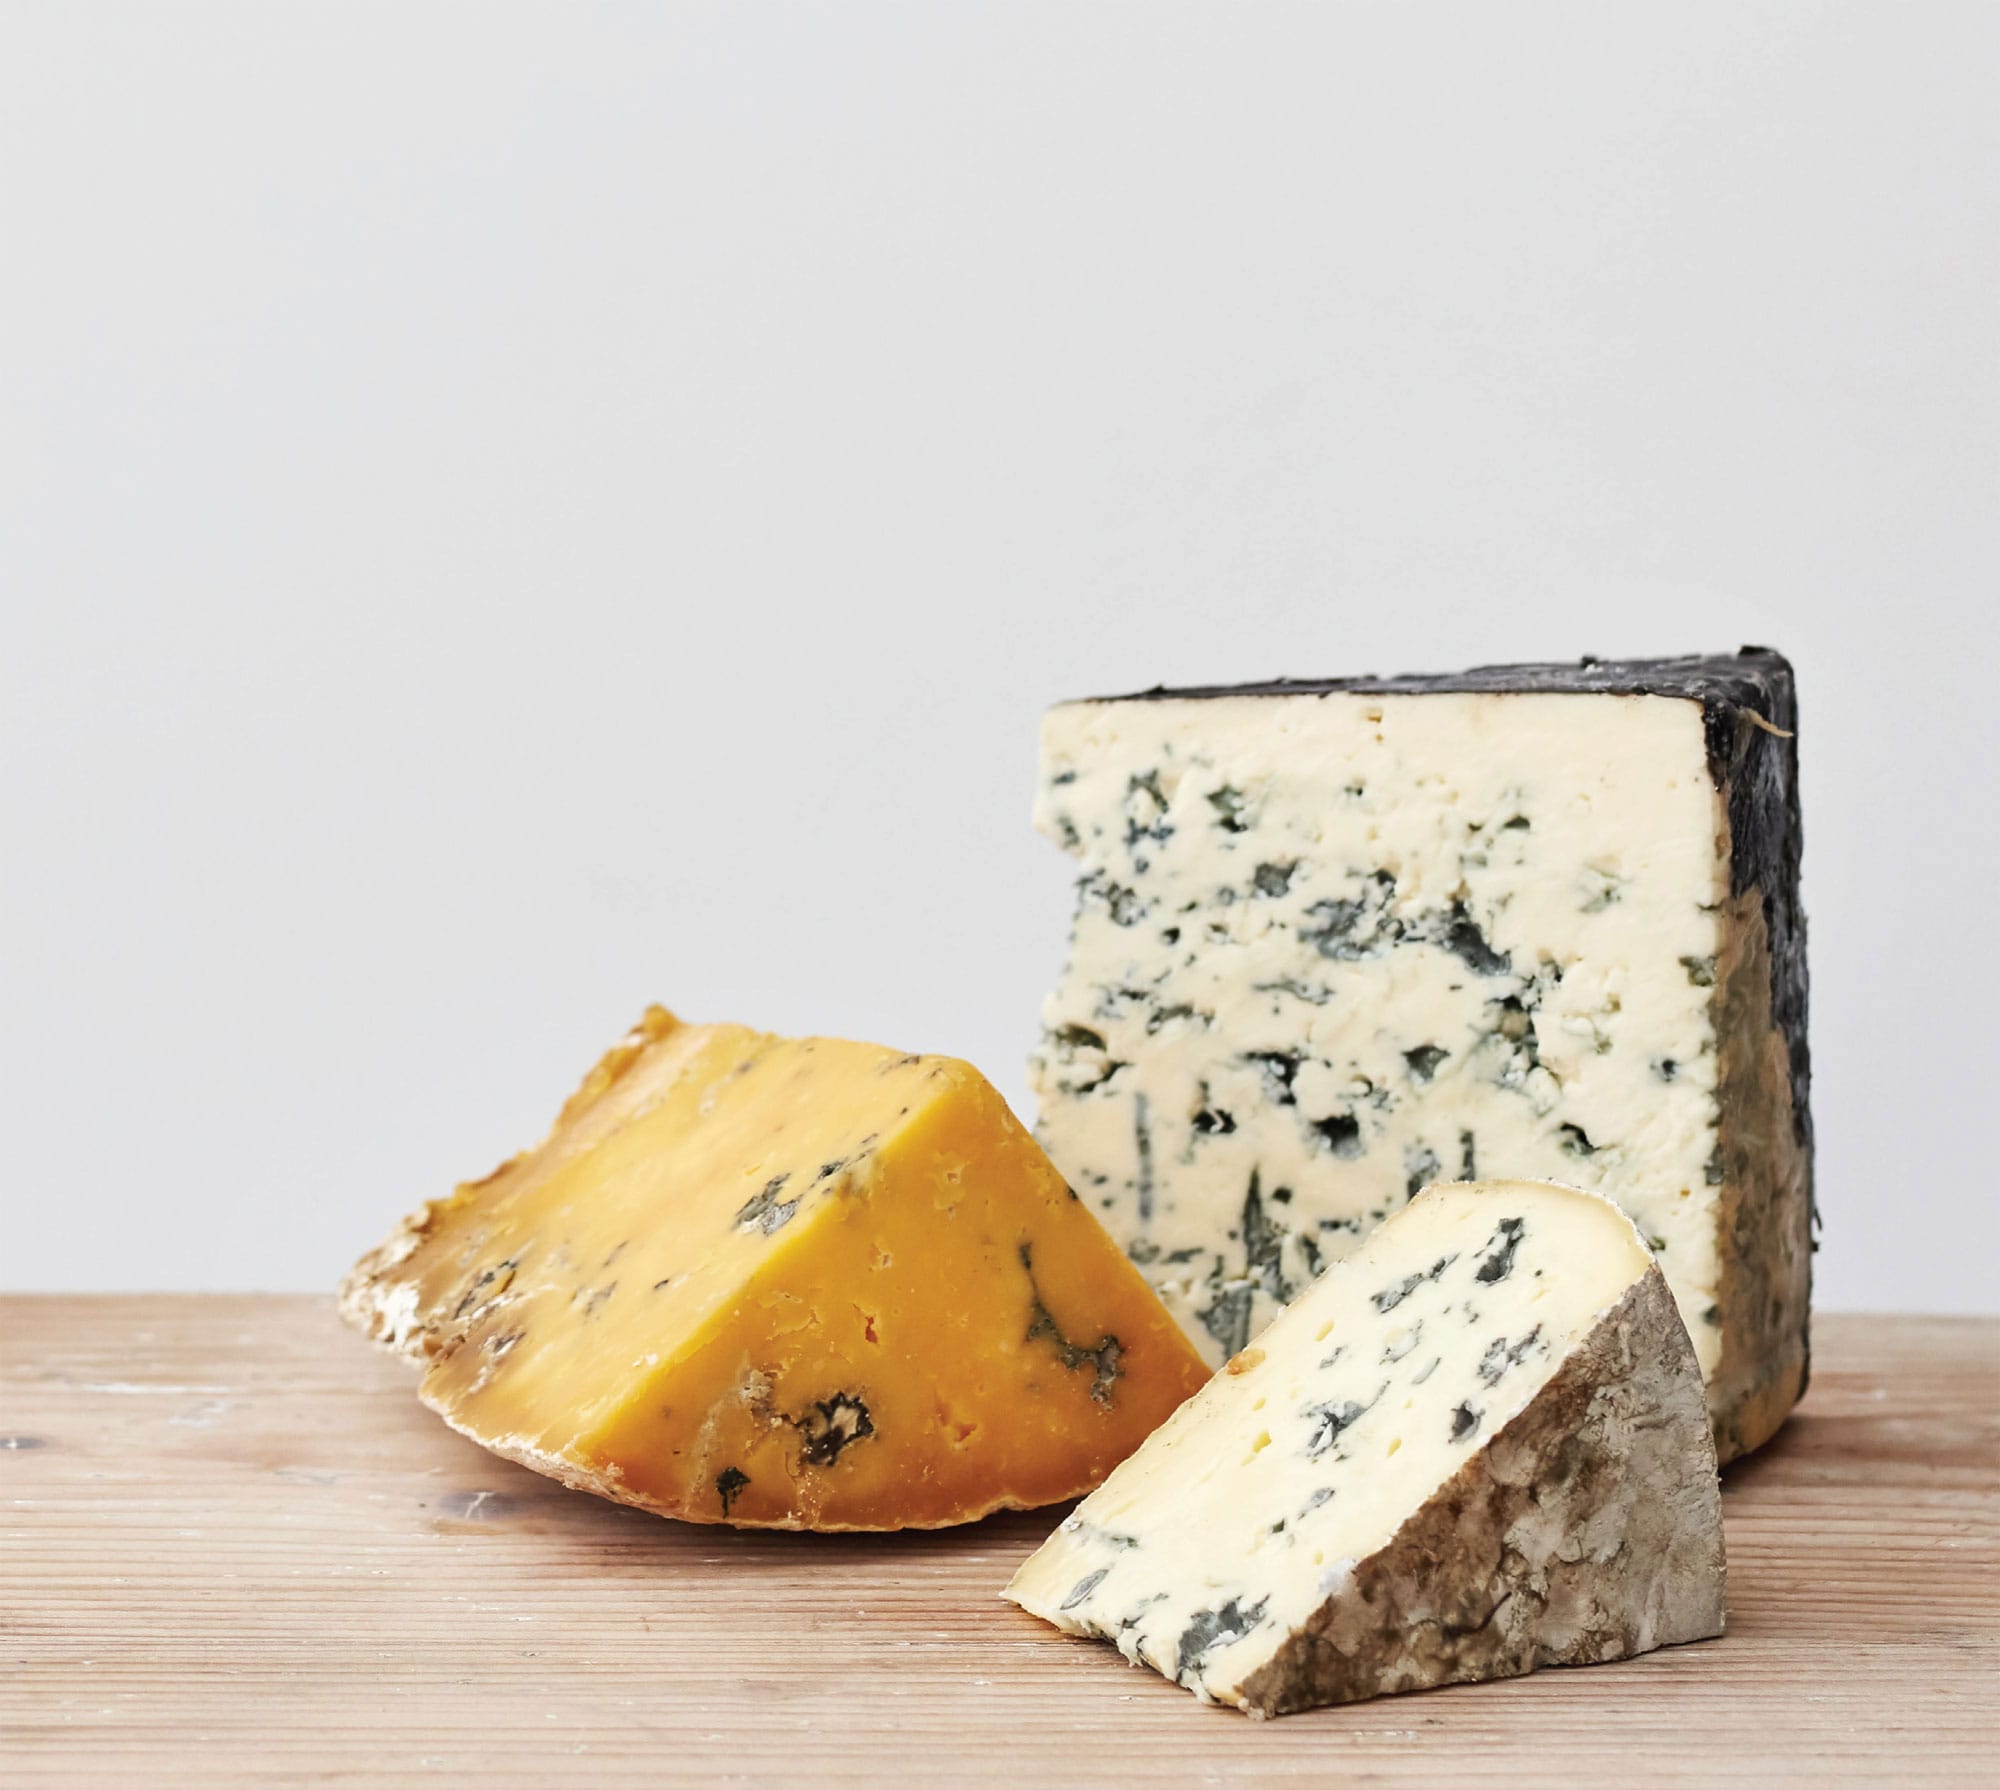
Shropshire blue (left) is a full-flavoured, bright orange blue cheese that is hard to miss. It tastes fabulous, with its smooth texture and sharp, tangy taste.
Morgan’s homemade blue (front) is matured at home – and very yummy, if I say so myself.
Spanish Cabrales (right) is famous for being one of the strongest blue cheeses made. This will numb your gums. The texture and mouth feel is drier than many other blue cheeses, and the sensation is intense.
◁ Blue Cheese
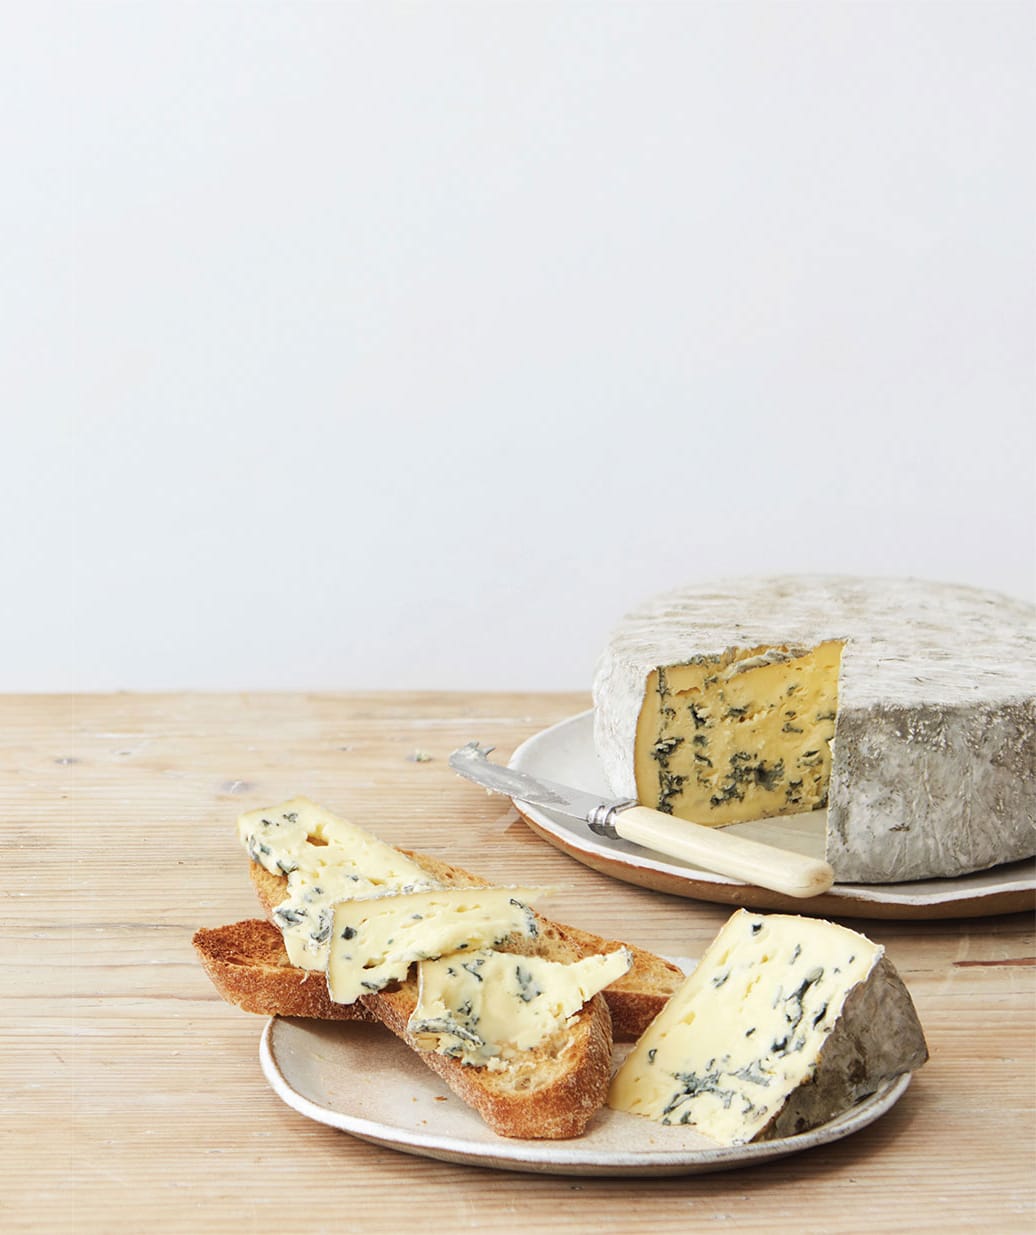
So … blue cheese. Homemade blue is fabulous, but even experienced home cooks are hesitant to try making it. The main ingredients are deceptively basic: milk, culture, rennet. Then comes the Penicillium mould, which can seem scary, but once you have this recipe down the rewards are worth it. Nothing beats it!
7.5 litres (13 pints/32 cups) milk
1/2 tsp calcium chloride, dissolved in 60ml (2 fl oz/1/4 cup) cold water
1/4 tsp Penicillium roqueforti (blue mould)
1/2 tsp MM100 mesophilic culture
1 tsp rennet, dissolved in 4 tsp cooled boiled water
500g (1lb 13/4oz) salt
MAKES 250g (9oz)
You will need: a cheesecloth or muslin sheet, an instant-read thermometer, a curd knife, draining mat and a round cheese mould
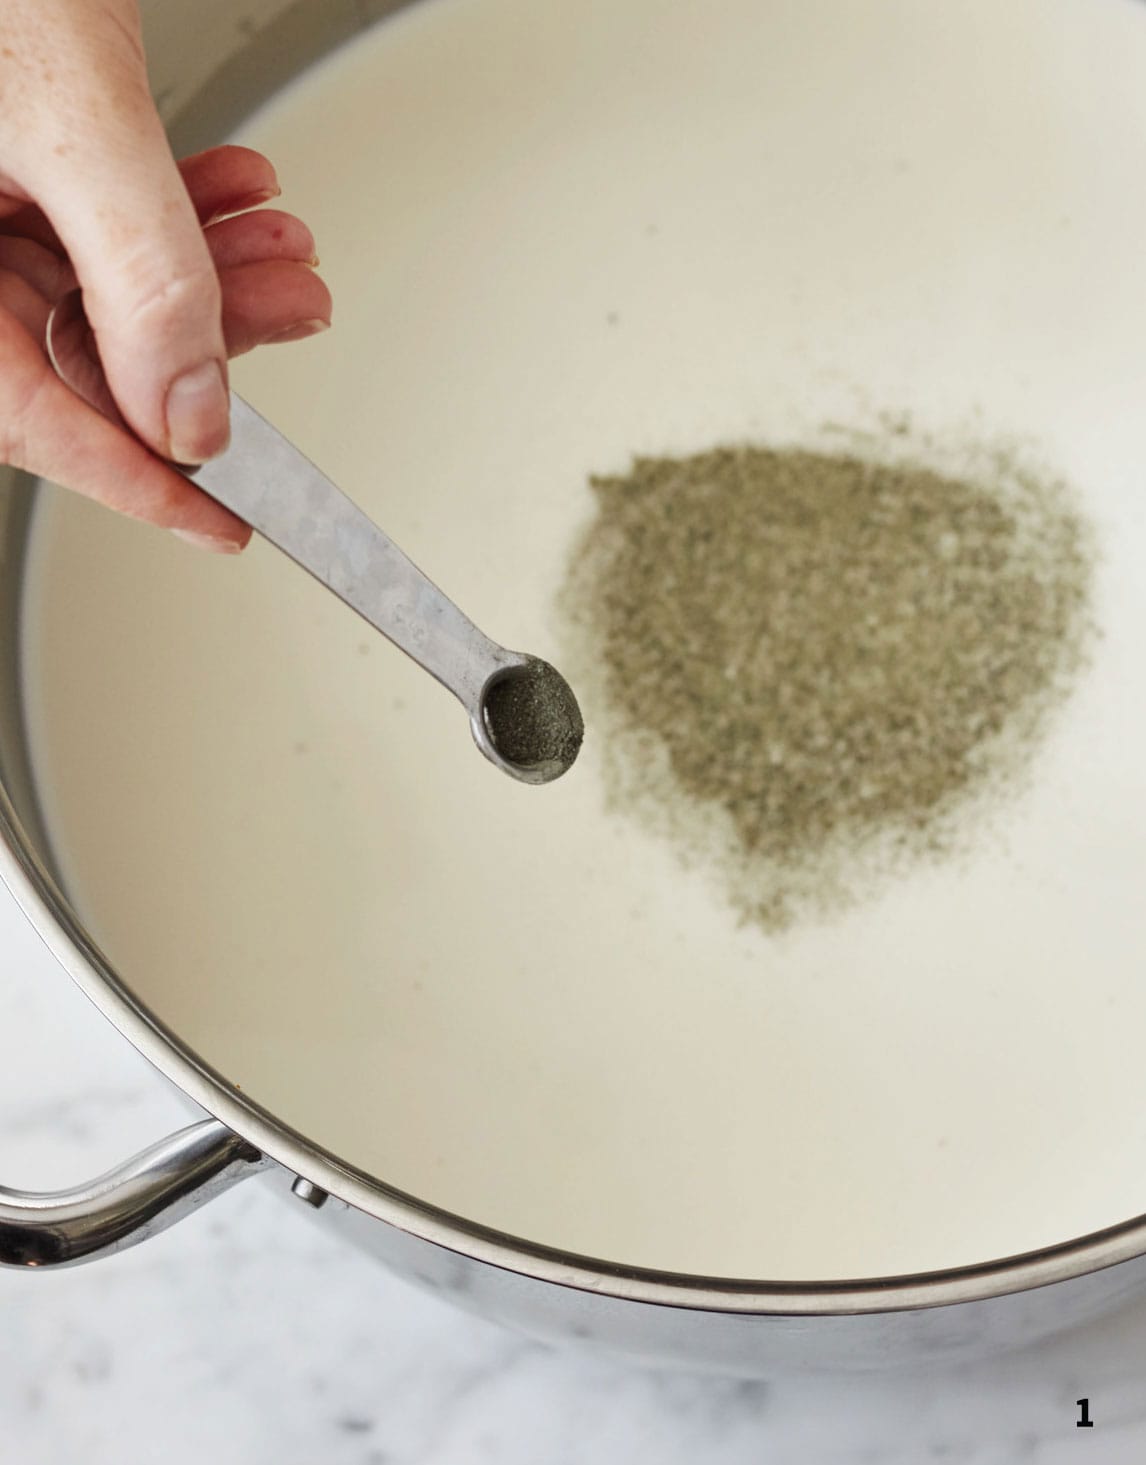
1 In a large pan over a low heat, slowly warm the milk to 32°C (90°F), stirring continuously. When it reaches the required temperature, add the Penicillium roqueforti, the MM100 culture and the diluted calcium chloride. Mix in well, using an across and up and down motion. Remove from the heat, cover and leave undisturbed for 1 hour.
2 Stir in the dissolved rennet, again in an across, up and down movement, to make sure it is mixed in well. Cover and leave for another hour.
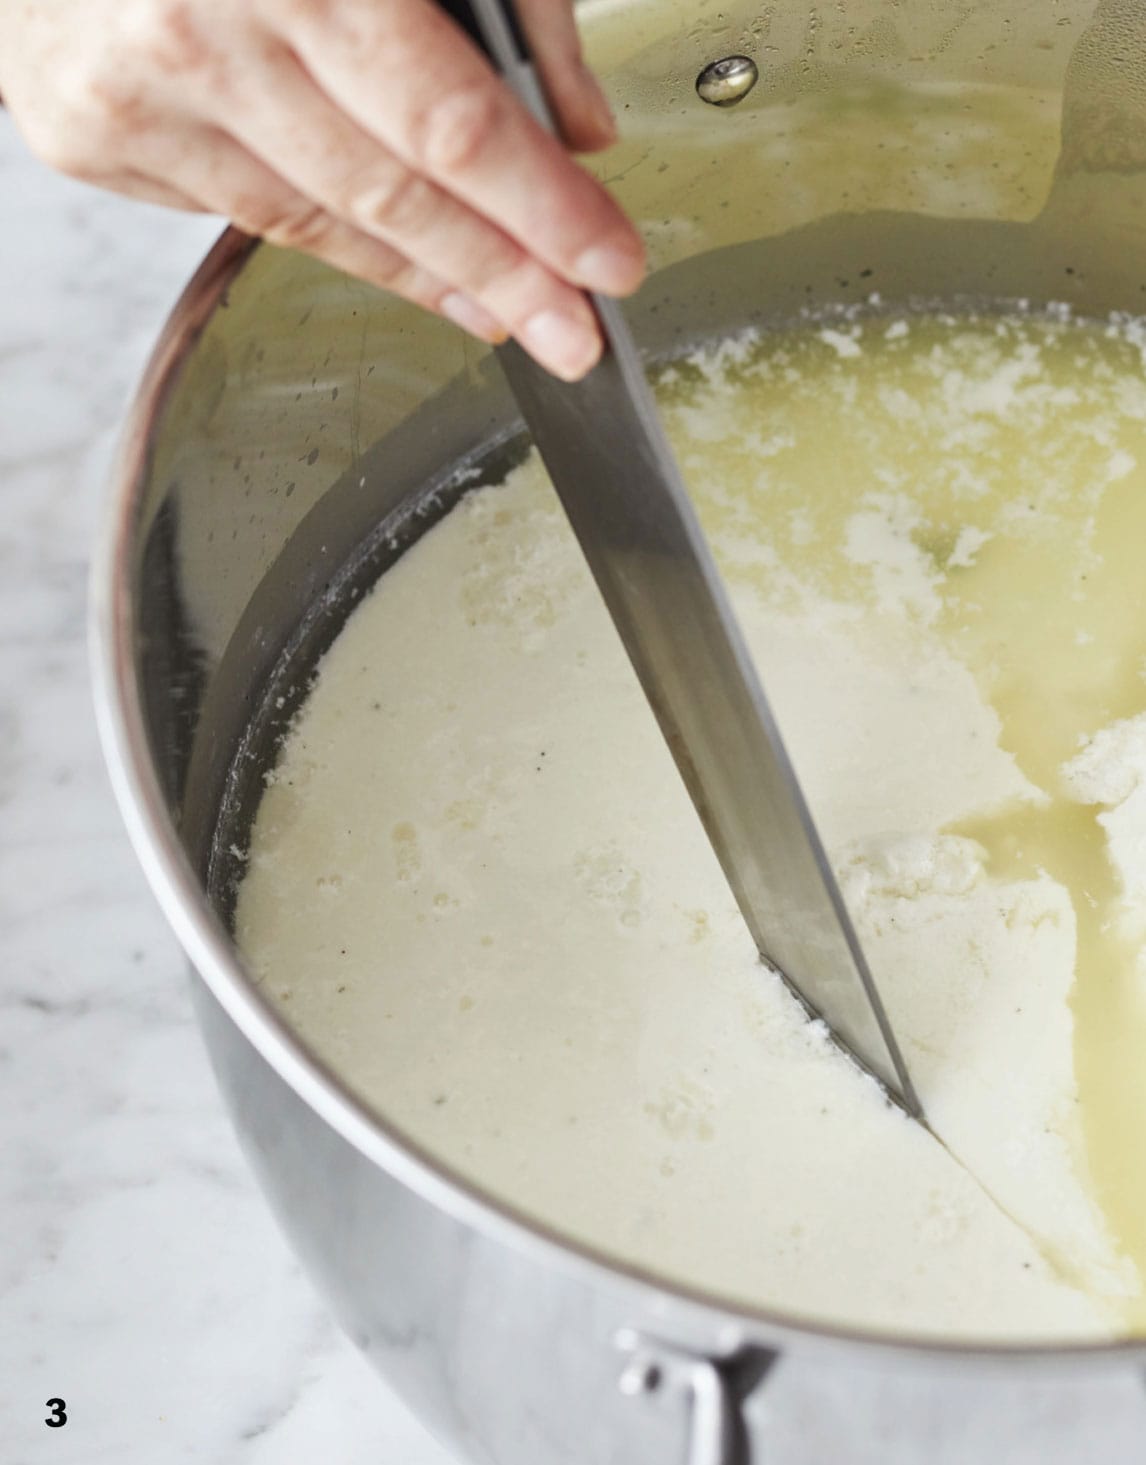
3 At this point you should see the curds separate and float on top. Cut the curds into 3cm (11/4-inch) cubes, then leave to stand for 10–15 minutes.
4 For the next hour, stir the curds gently every 5–10 minutes. After 1 hour, cover and let the curds sit, undisturbed, for 10 minutes.
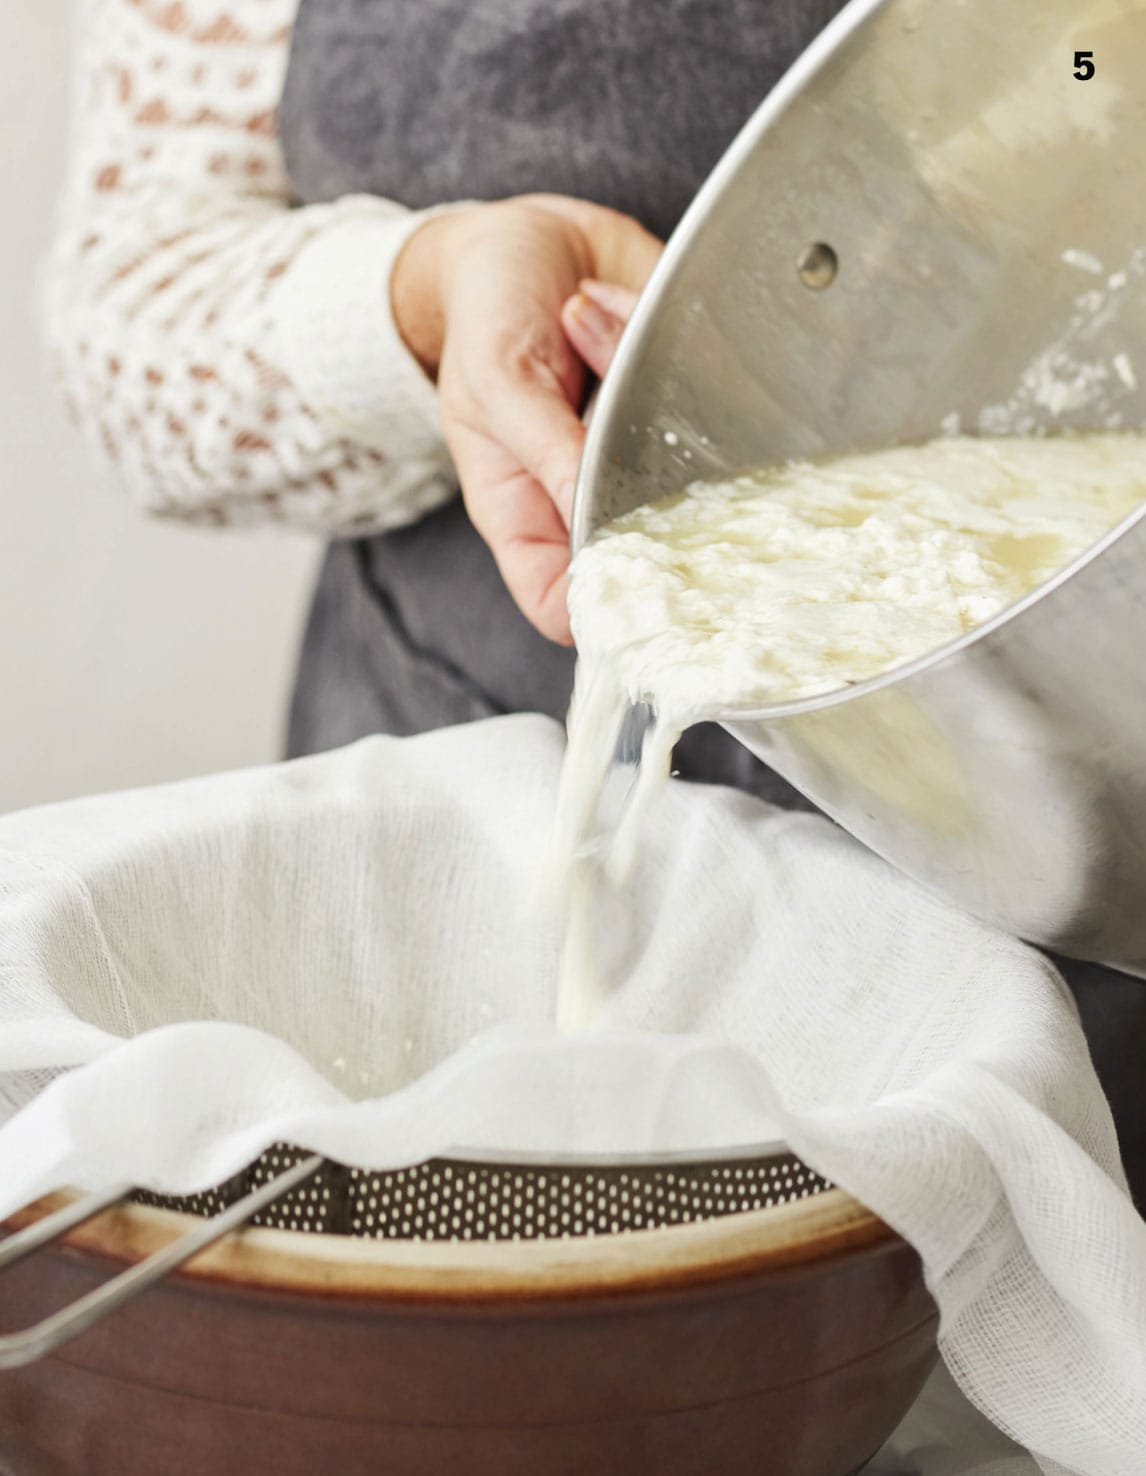
5 Line a sieve (fine-mesh strainer) with cheesecloth or muslin and set it over a large bowl. Carefully pour or ladle the cheese curds in and leave for 10 minutes to allow all the whey to drain away.
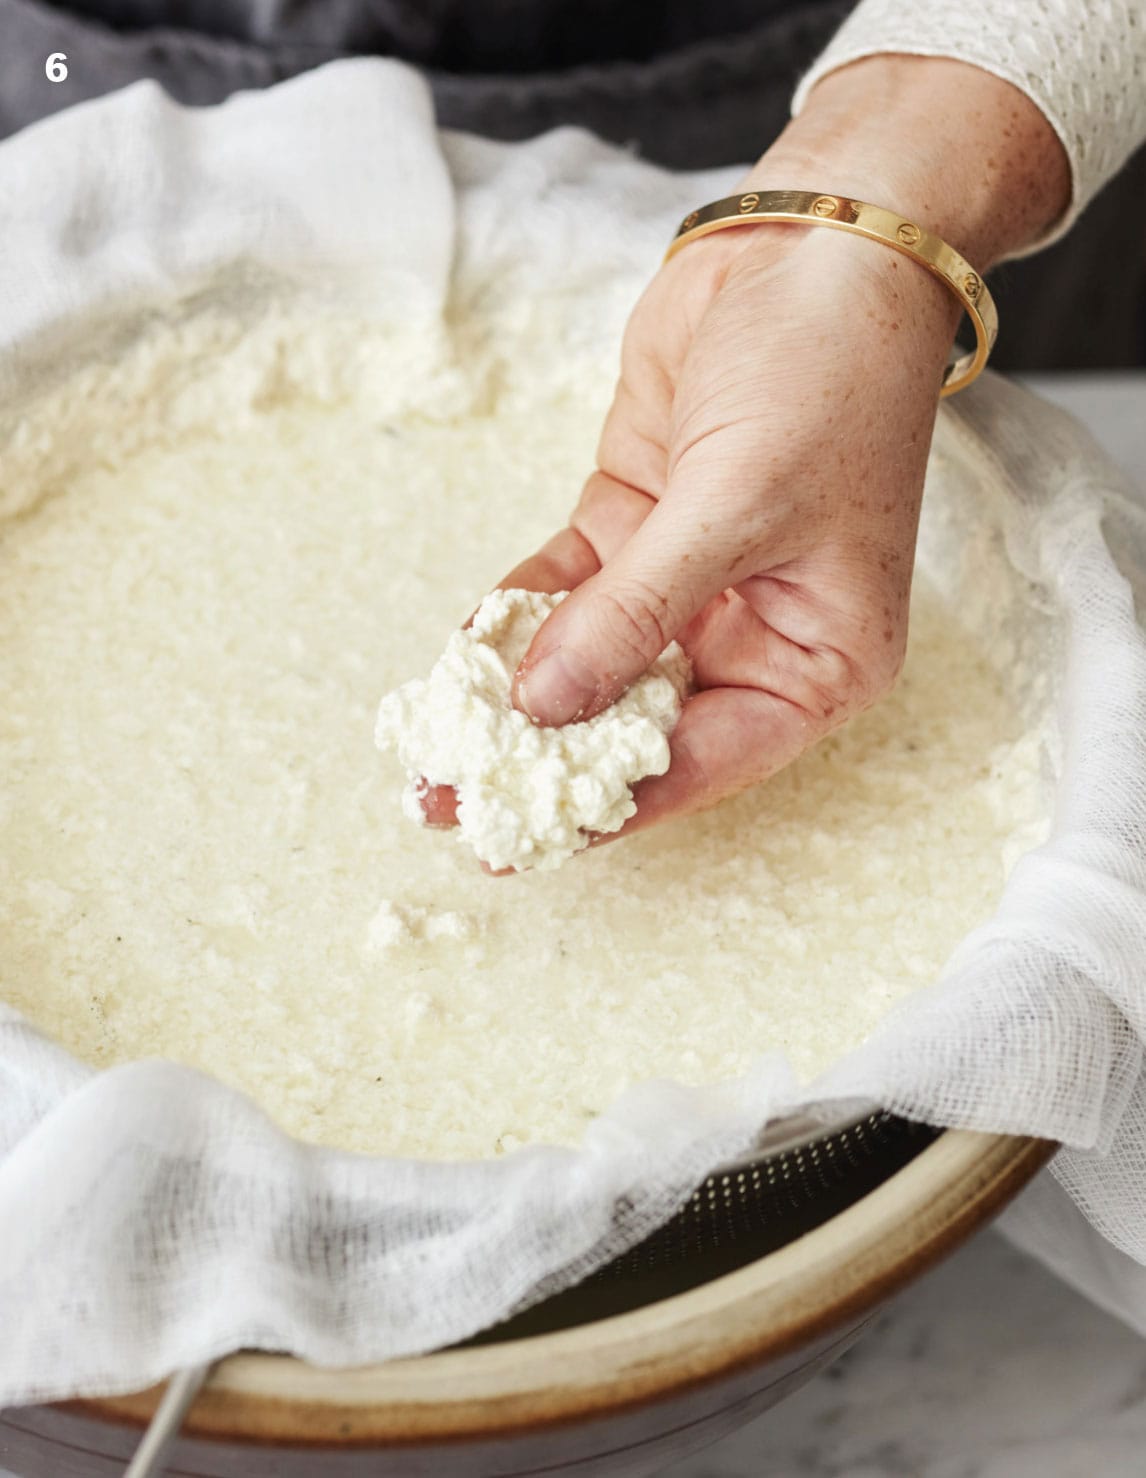
6 Add 3 tablespoons of the salt and mix well, then leave in the bowl for 5 minutes to rest. If you feel the curds they should have a firm texture. Gather the cloth into a bag and squeeze to get rid of all the whey, then return the curds to the strainer in the cloth.
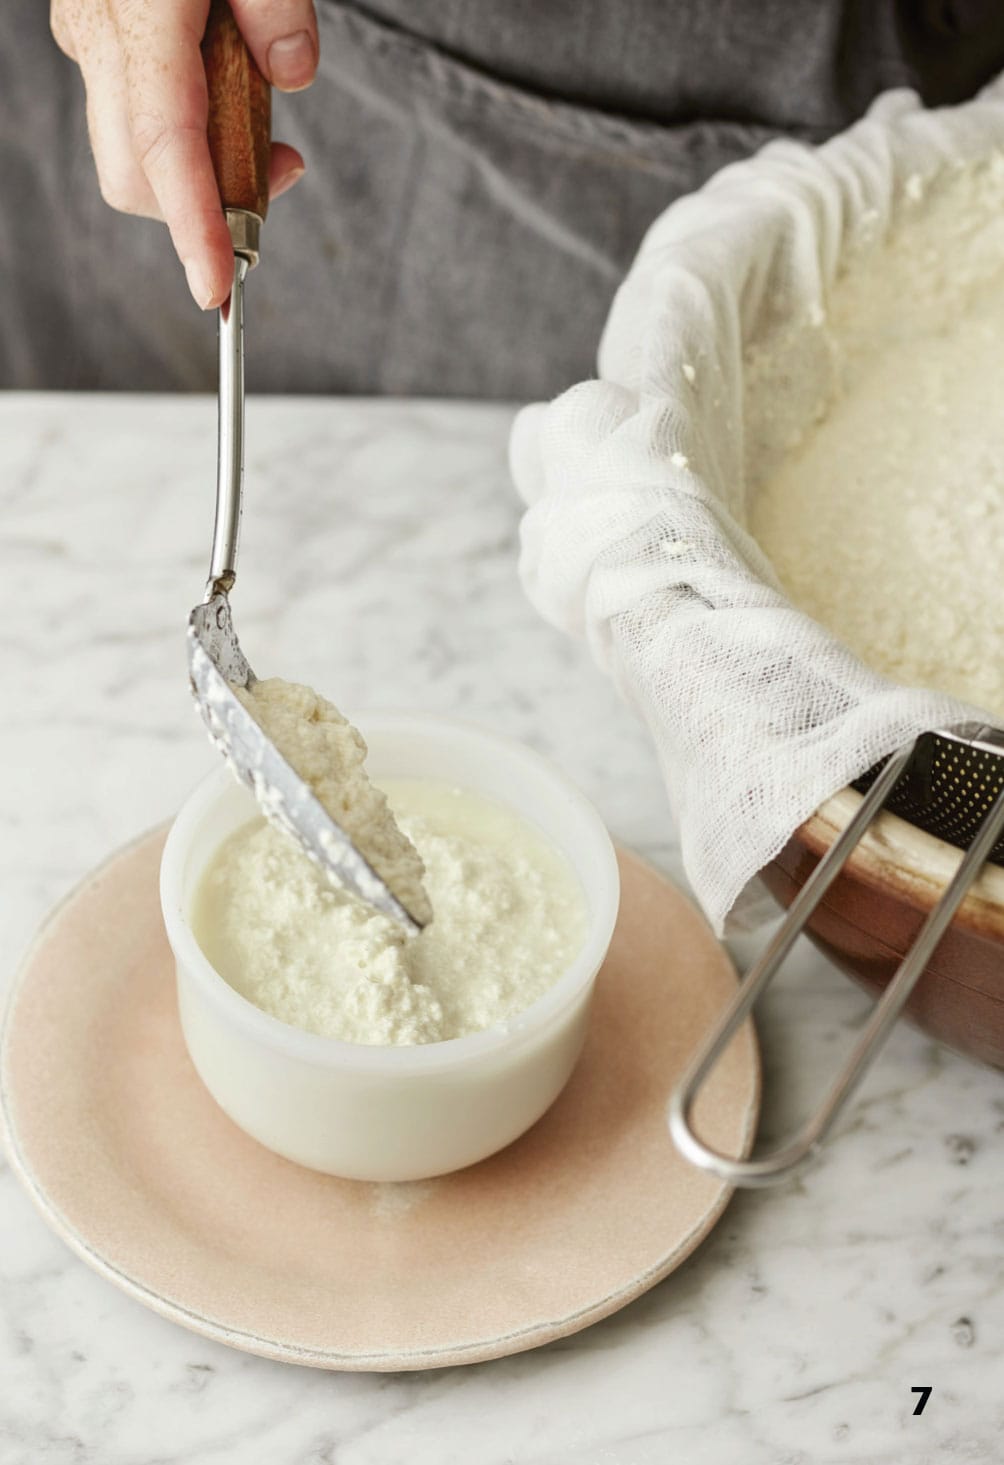
7 Place a round cheese mould on a plate; you can make one large cheese or a few smaller ones, depending on the moulds you have. Fill the cheese mould nearly to the top using a slotted spoon, leaving a little space. Set aside for 15 minutes, then come back to the cheese and turn, placing a board below and on top of the cheese mould. Holding both boards firmly, you should be able to flip it over in one movement. Continue to flip the cheese every 15 minutes for 3 hours. On the final flip, make sure the cheese mould is standing upright and leave the cheese to drain overnight, covered.
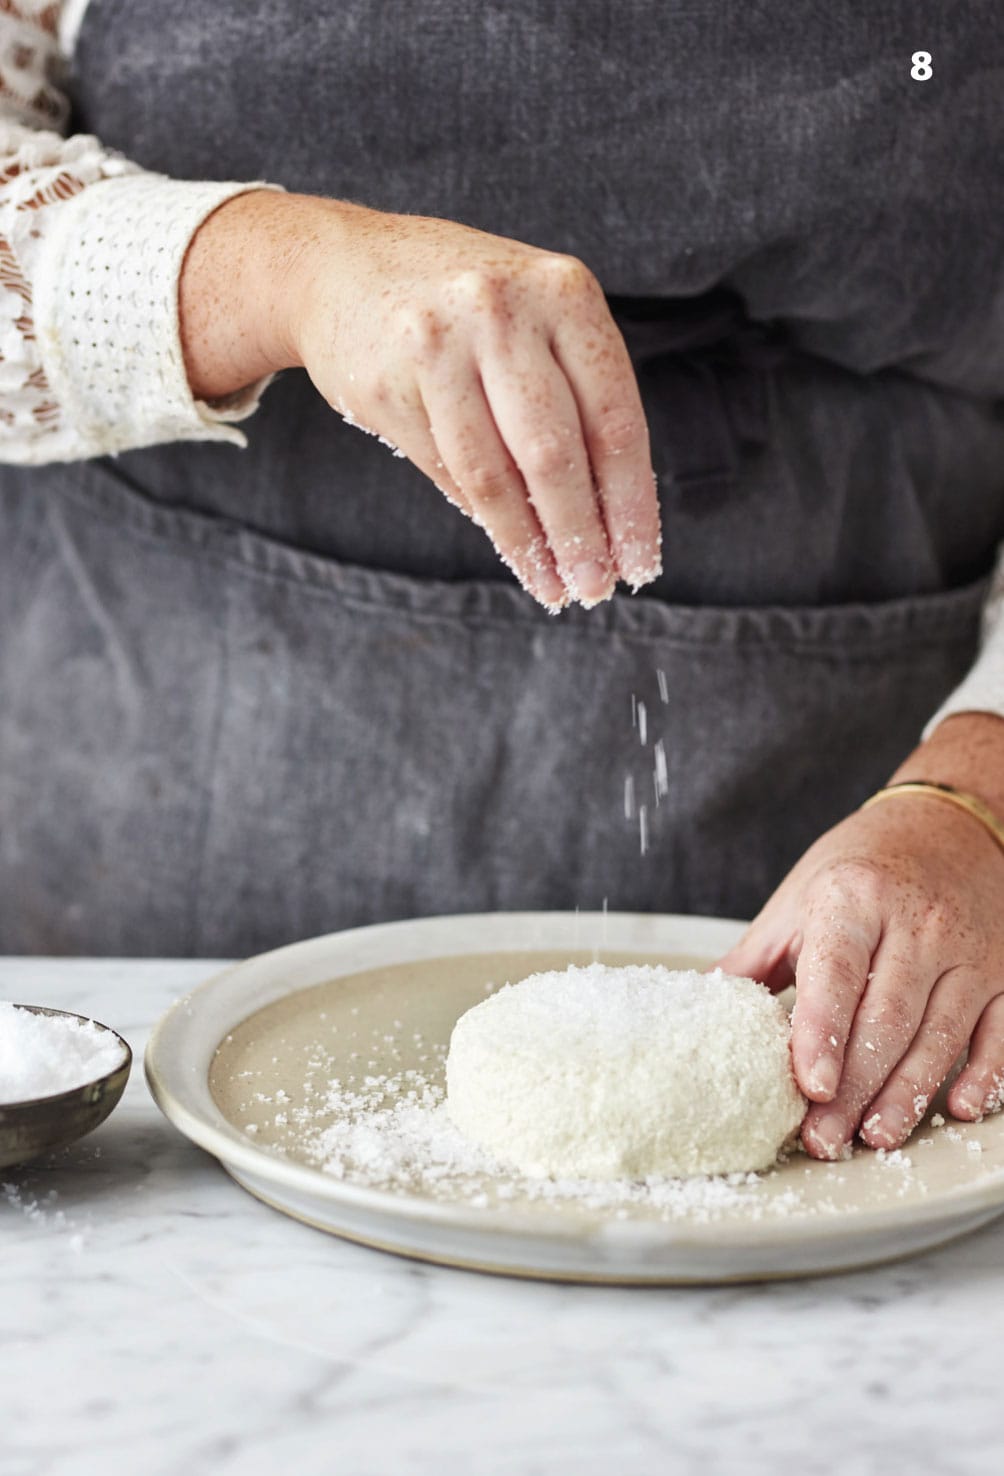
8 The next day, remove the cheese from the mould, place on a shallow plate and lightly sprinkle 5 tablespoons of salt all over the cheese, making sure you cover every surface. Shake off any excess salt and leave the cheese to stand for 4 days, ideally somewhere with high humidity, at about 15°C (59°F). Each day, re-salt and turn the cheese.
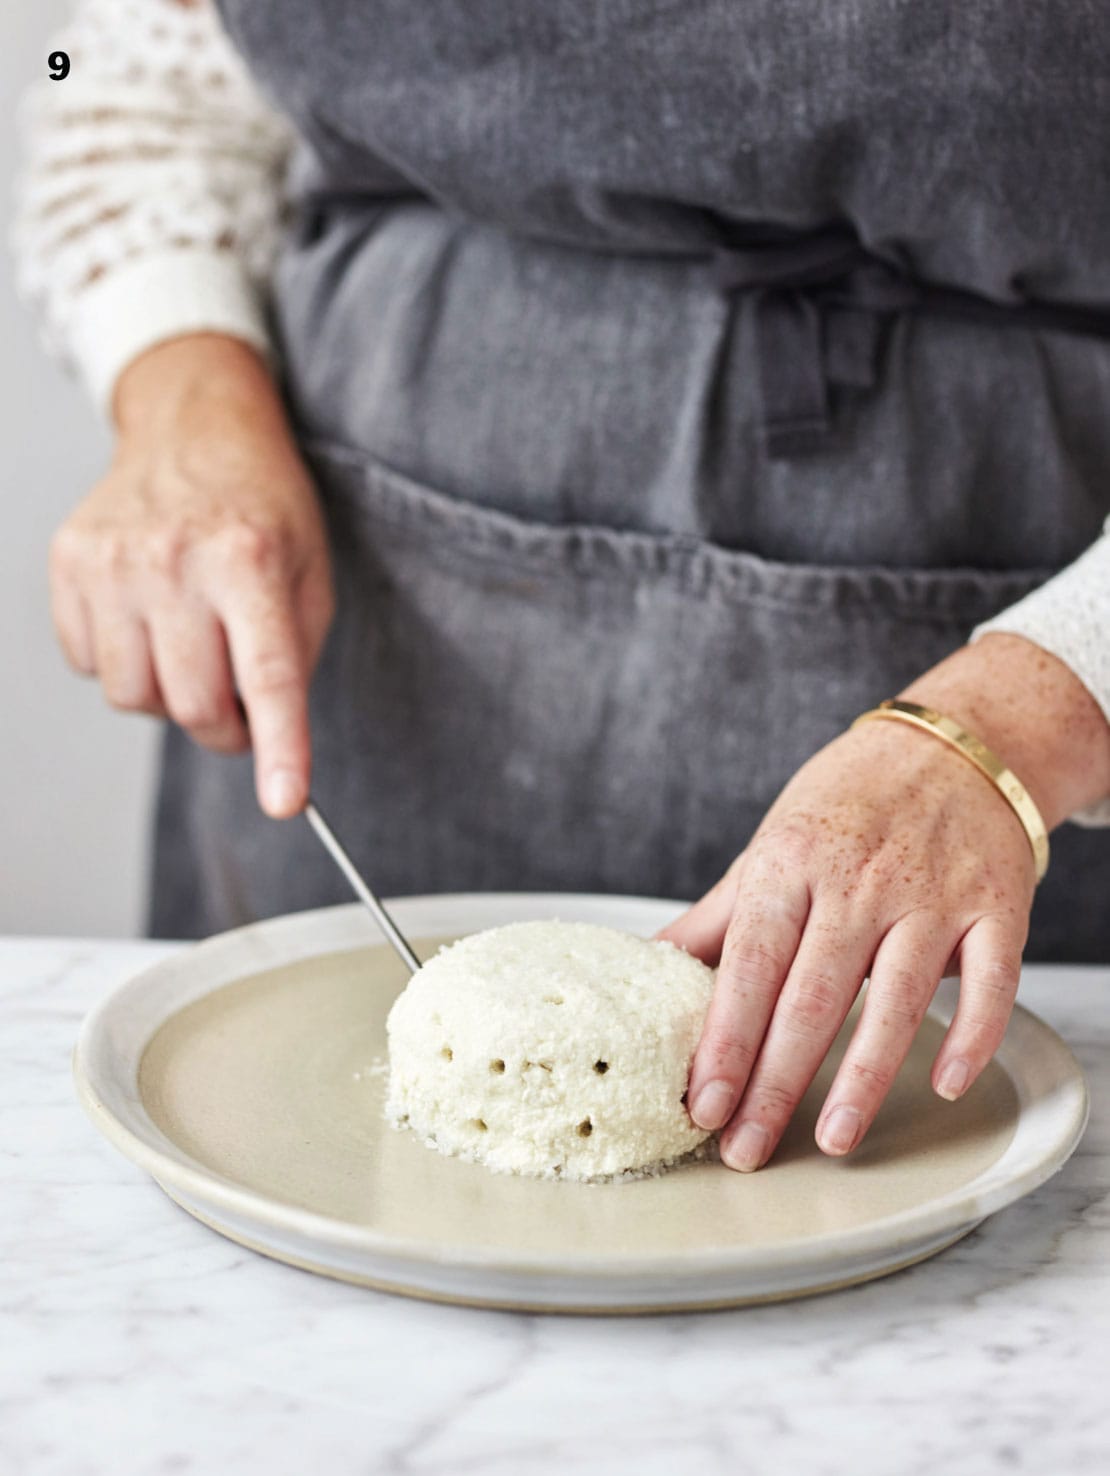
9 After 4 days it is time to spike the cheese. I use the end of my thermometer for this, but any spiked object will do. Poke the cheese every couple of centimetres (1 inch) apart. This allows the mould to start growing.
10 Place some kitchen paper (paper towels) and a sushi or plastic mat in a container, then place your cheese on top. Do not fully close the lid, and place in a cool environment of 10°C (50°F) for about 1 month. Be sure to turn the cheese once a week so all the moisture doesn’t gather at the bottom. Change the paper weekly, too.
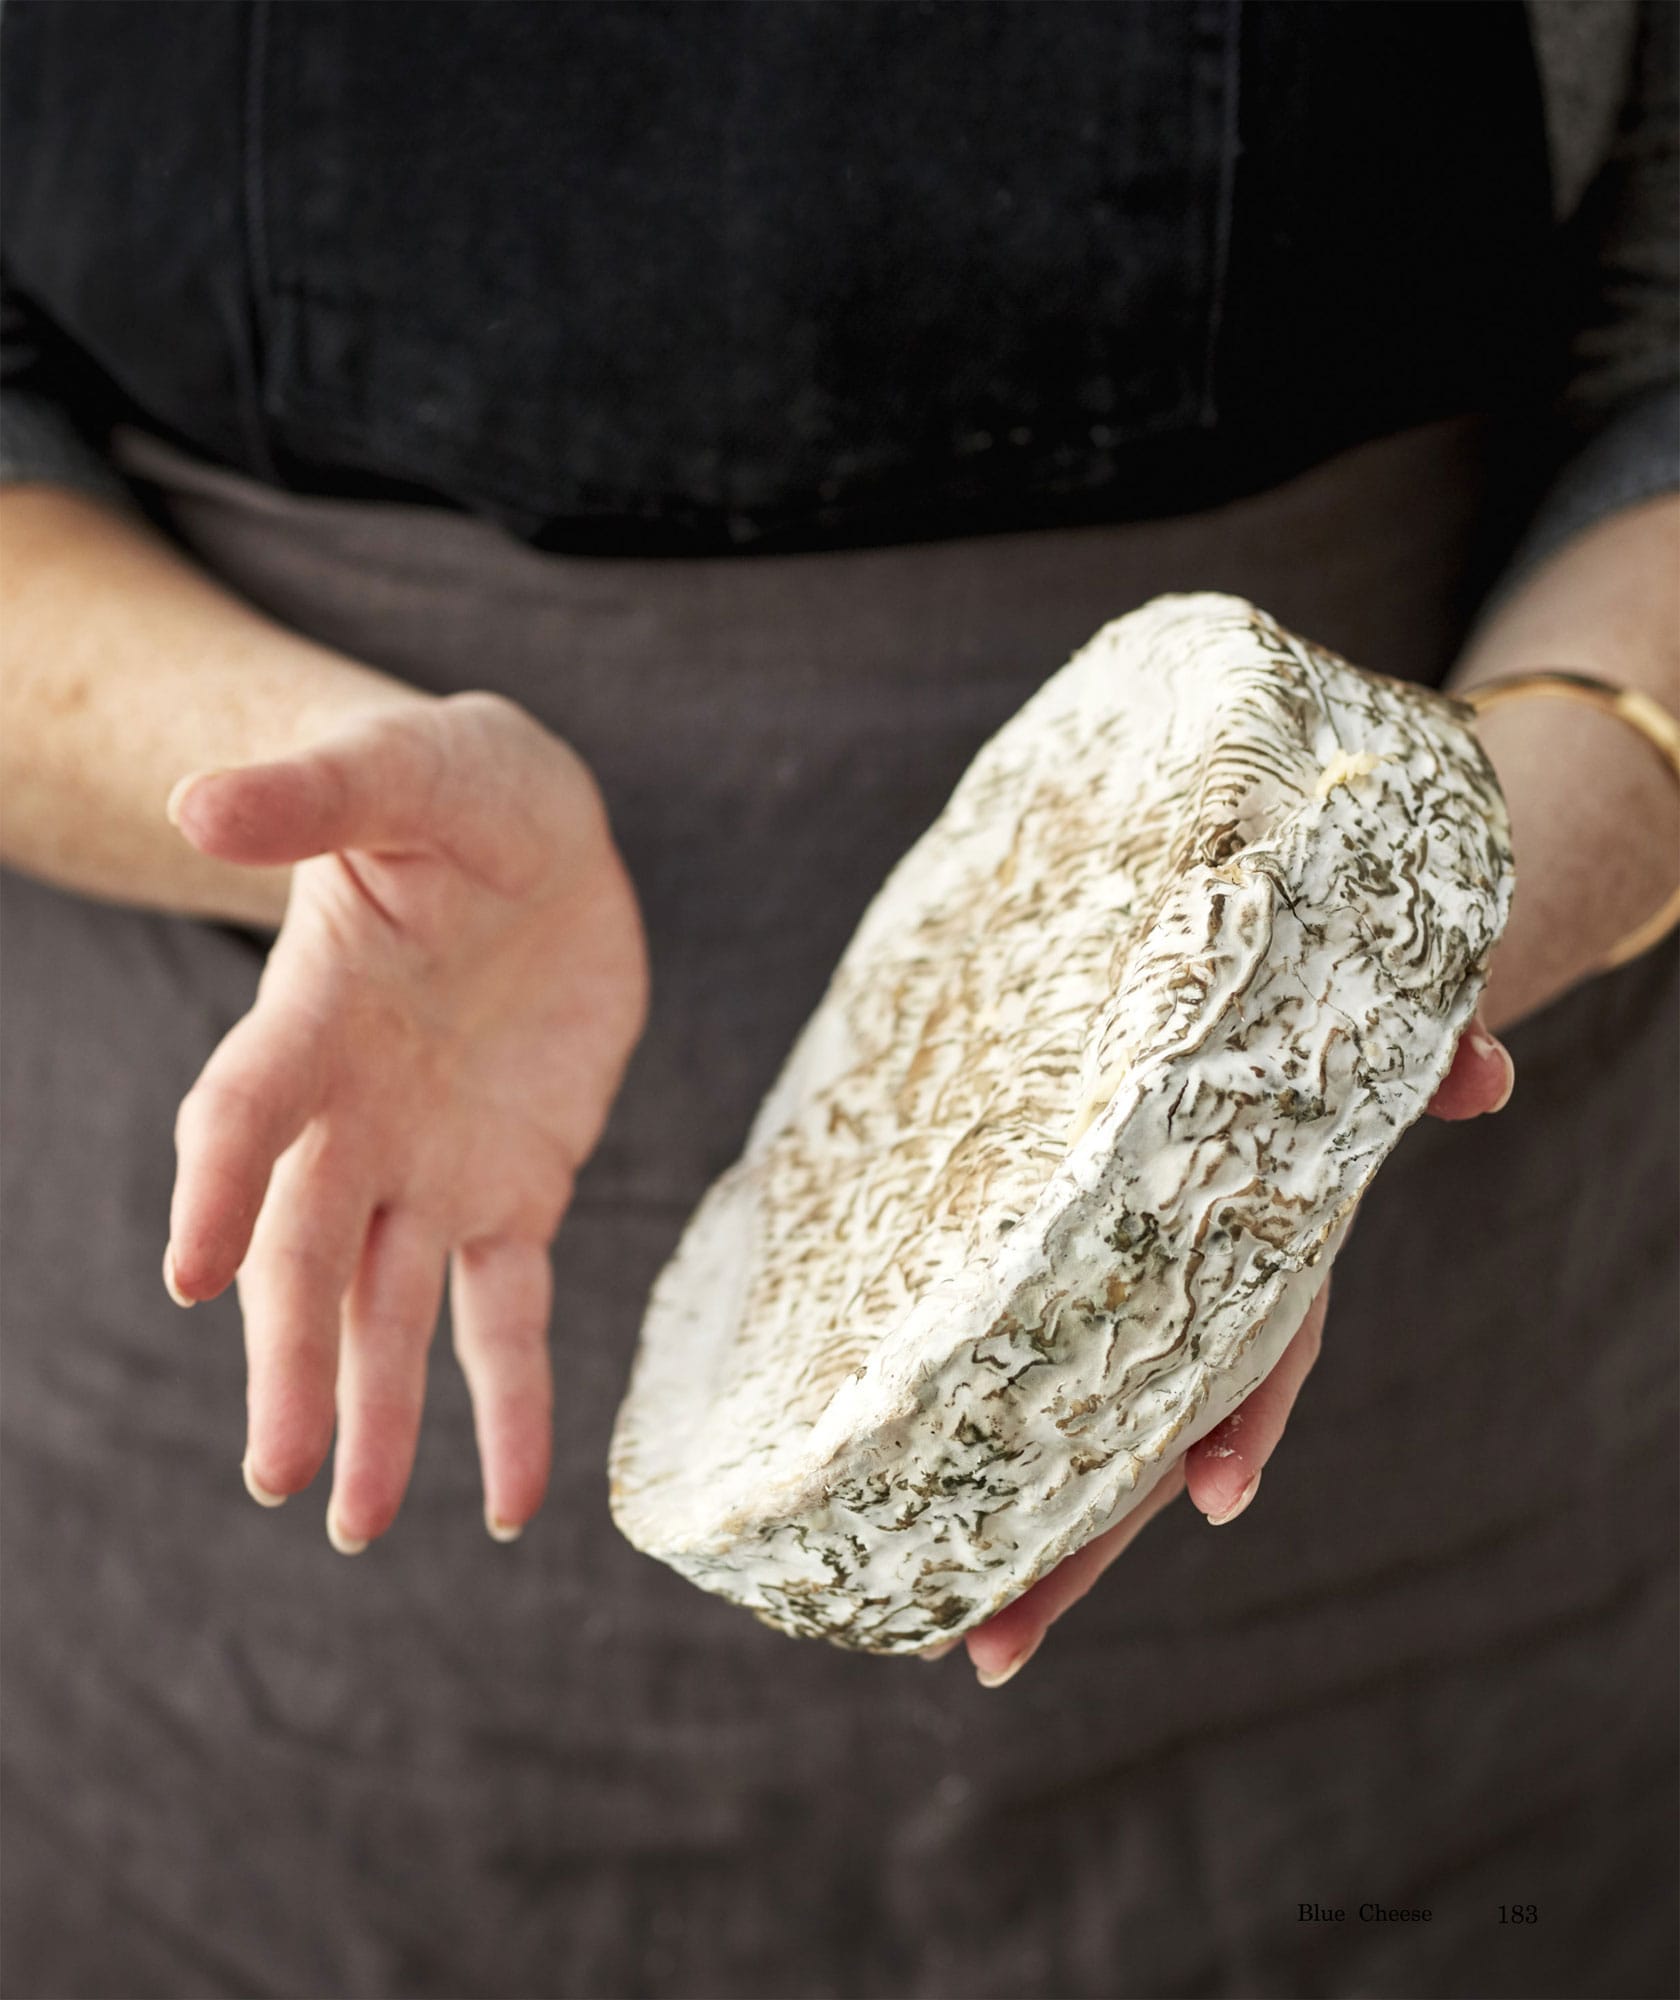
11 Once the month is up, there will be mould on the outside of the cheese. Scrape this off with a knife and leave for a further month, then repeat the process one more time. Give the cheese a total of 3 months maturing.
12 Now you can wrap your cheese in foil, nice and tight to make sure there isn’t any exposure. Place the cheese in the refrigerator and mature for a further 2 months. Be sure to turn the cheese every 2 weeks.
13 After this the cheese will be ready to eat. It will be a mild blue, but for a stronger cheese you can keep maturing it in the refrigerator for a further 6 months.
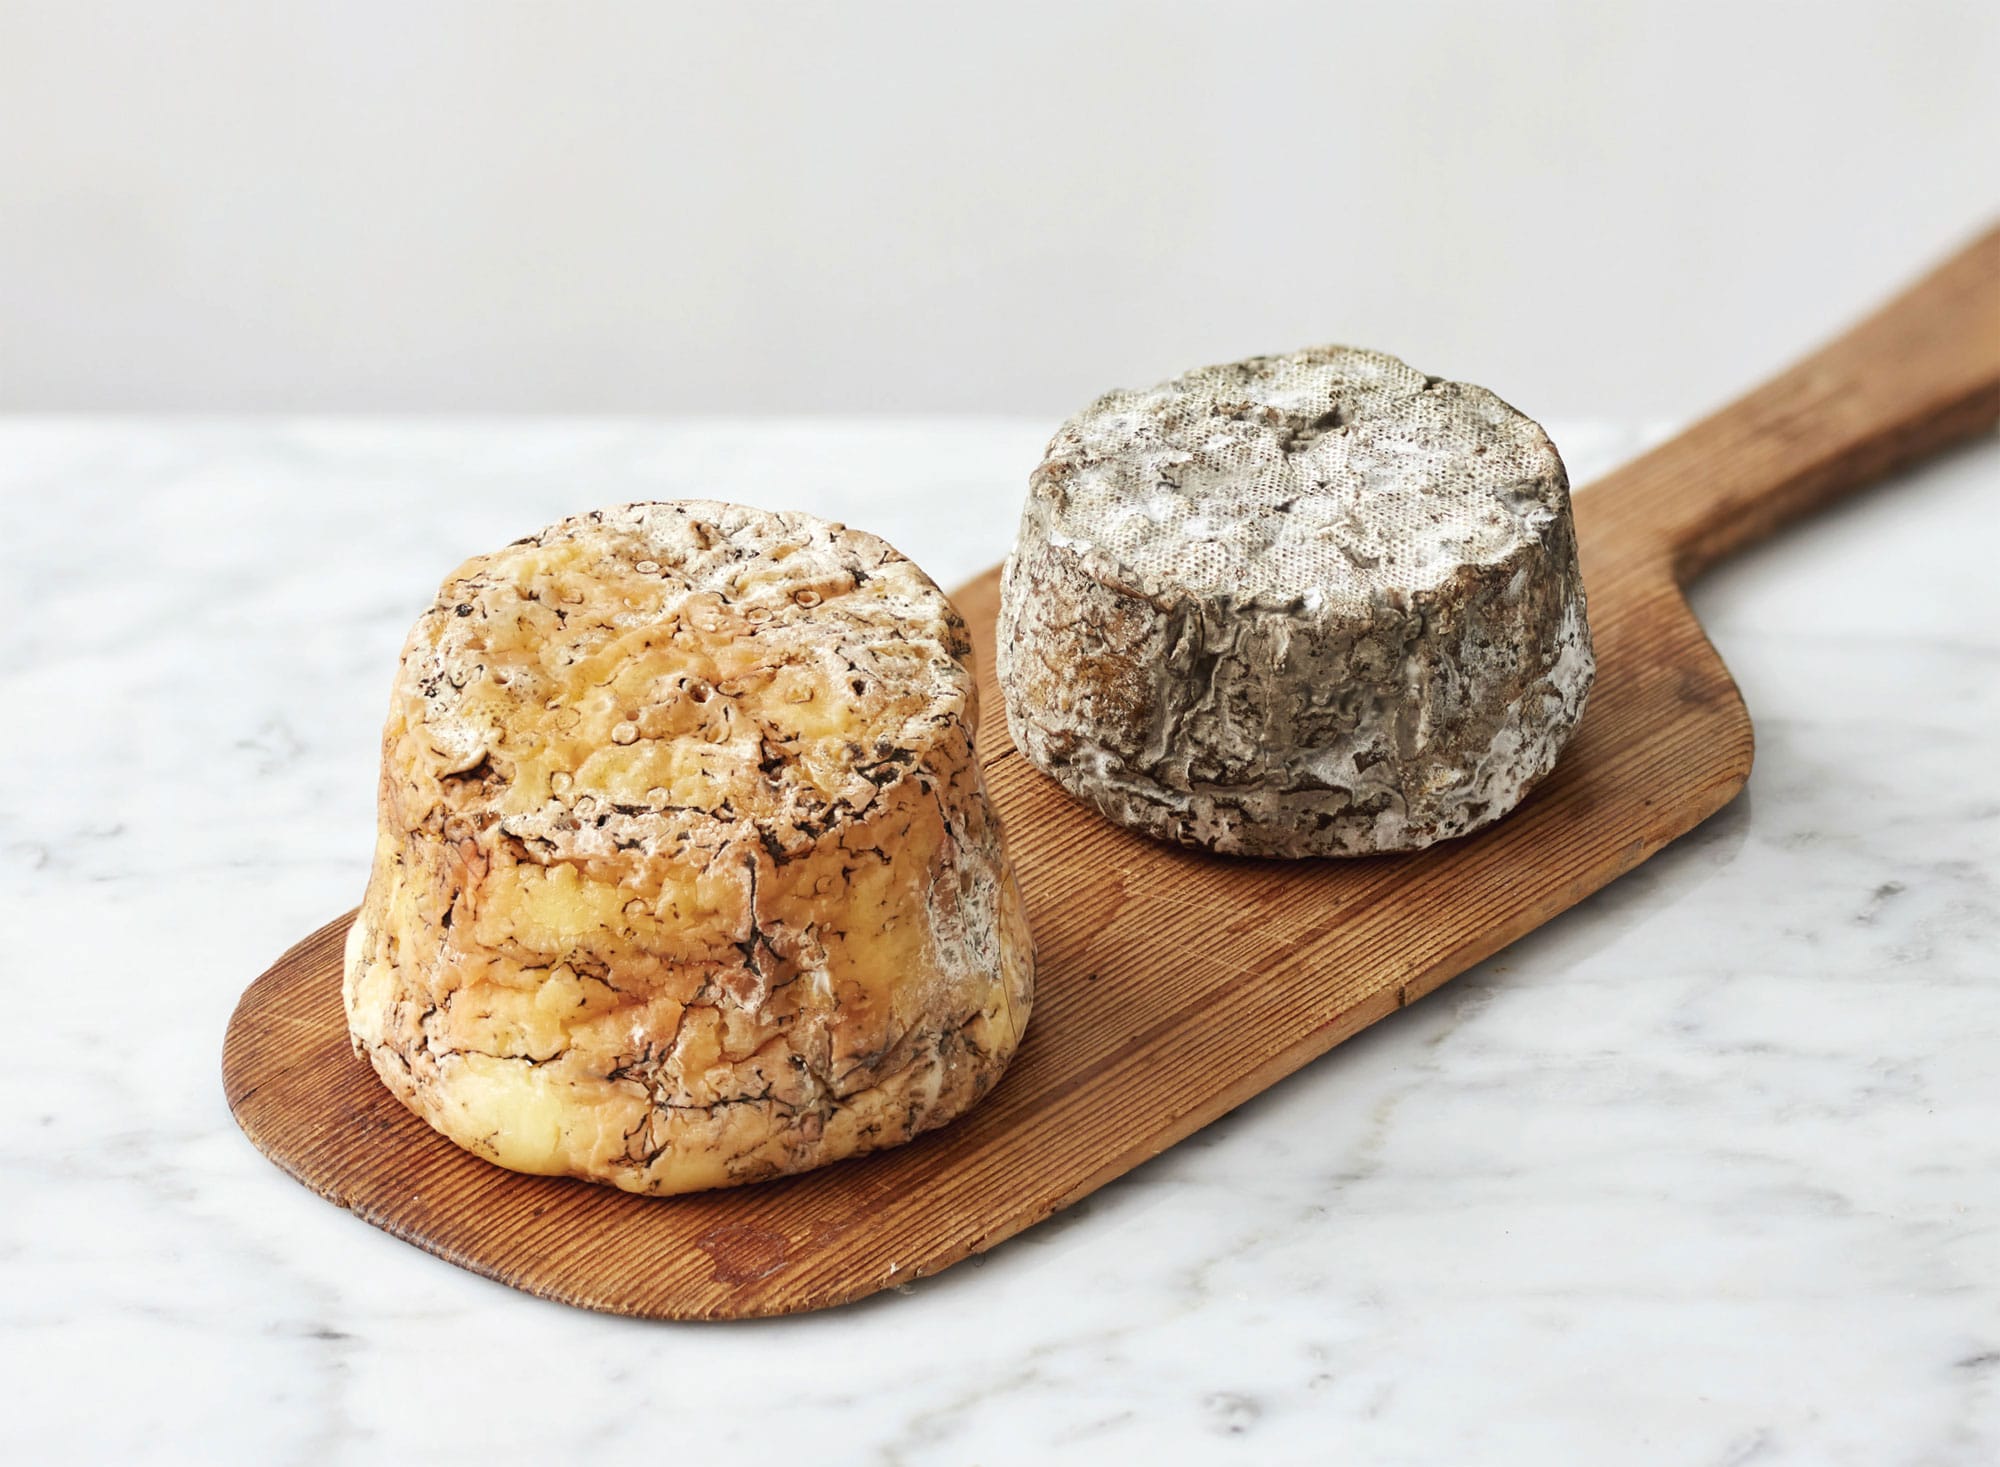
Matured blue cheese at 4 weeks (above) and 9 weeks (below).
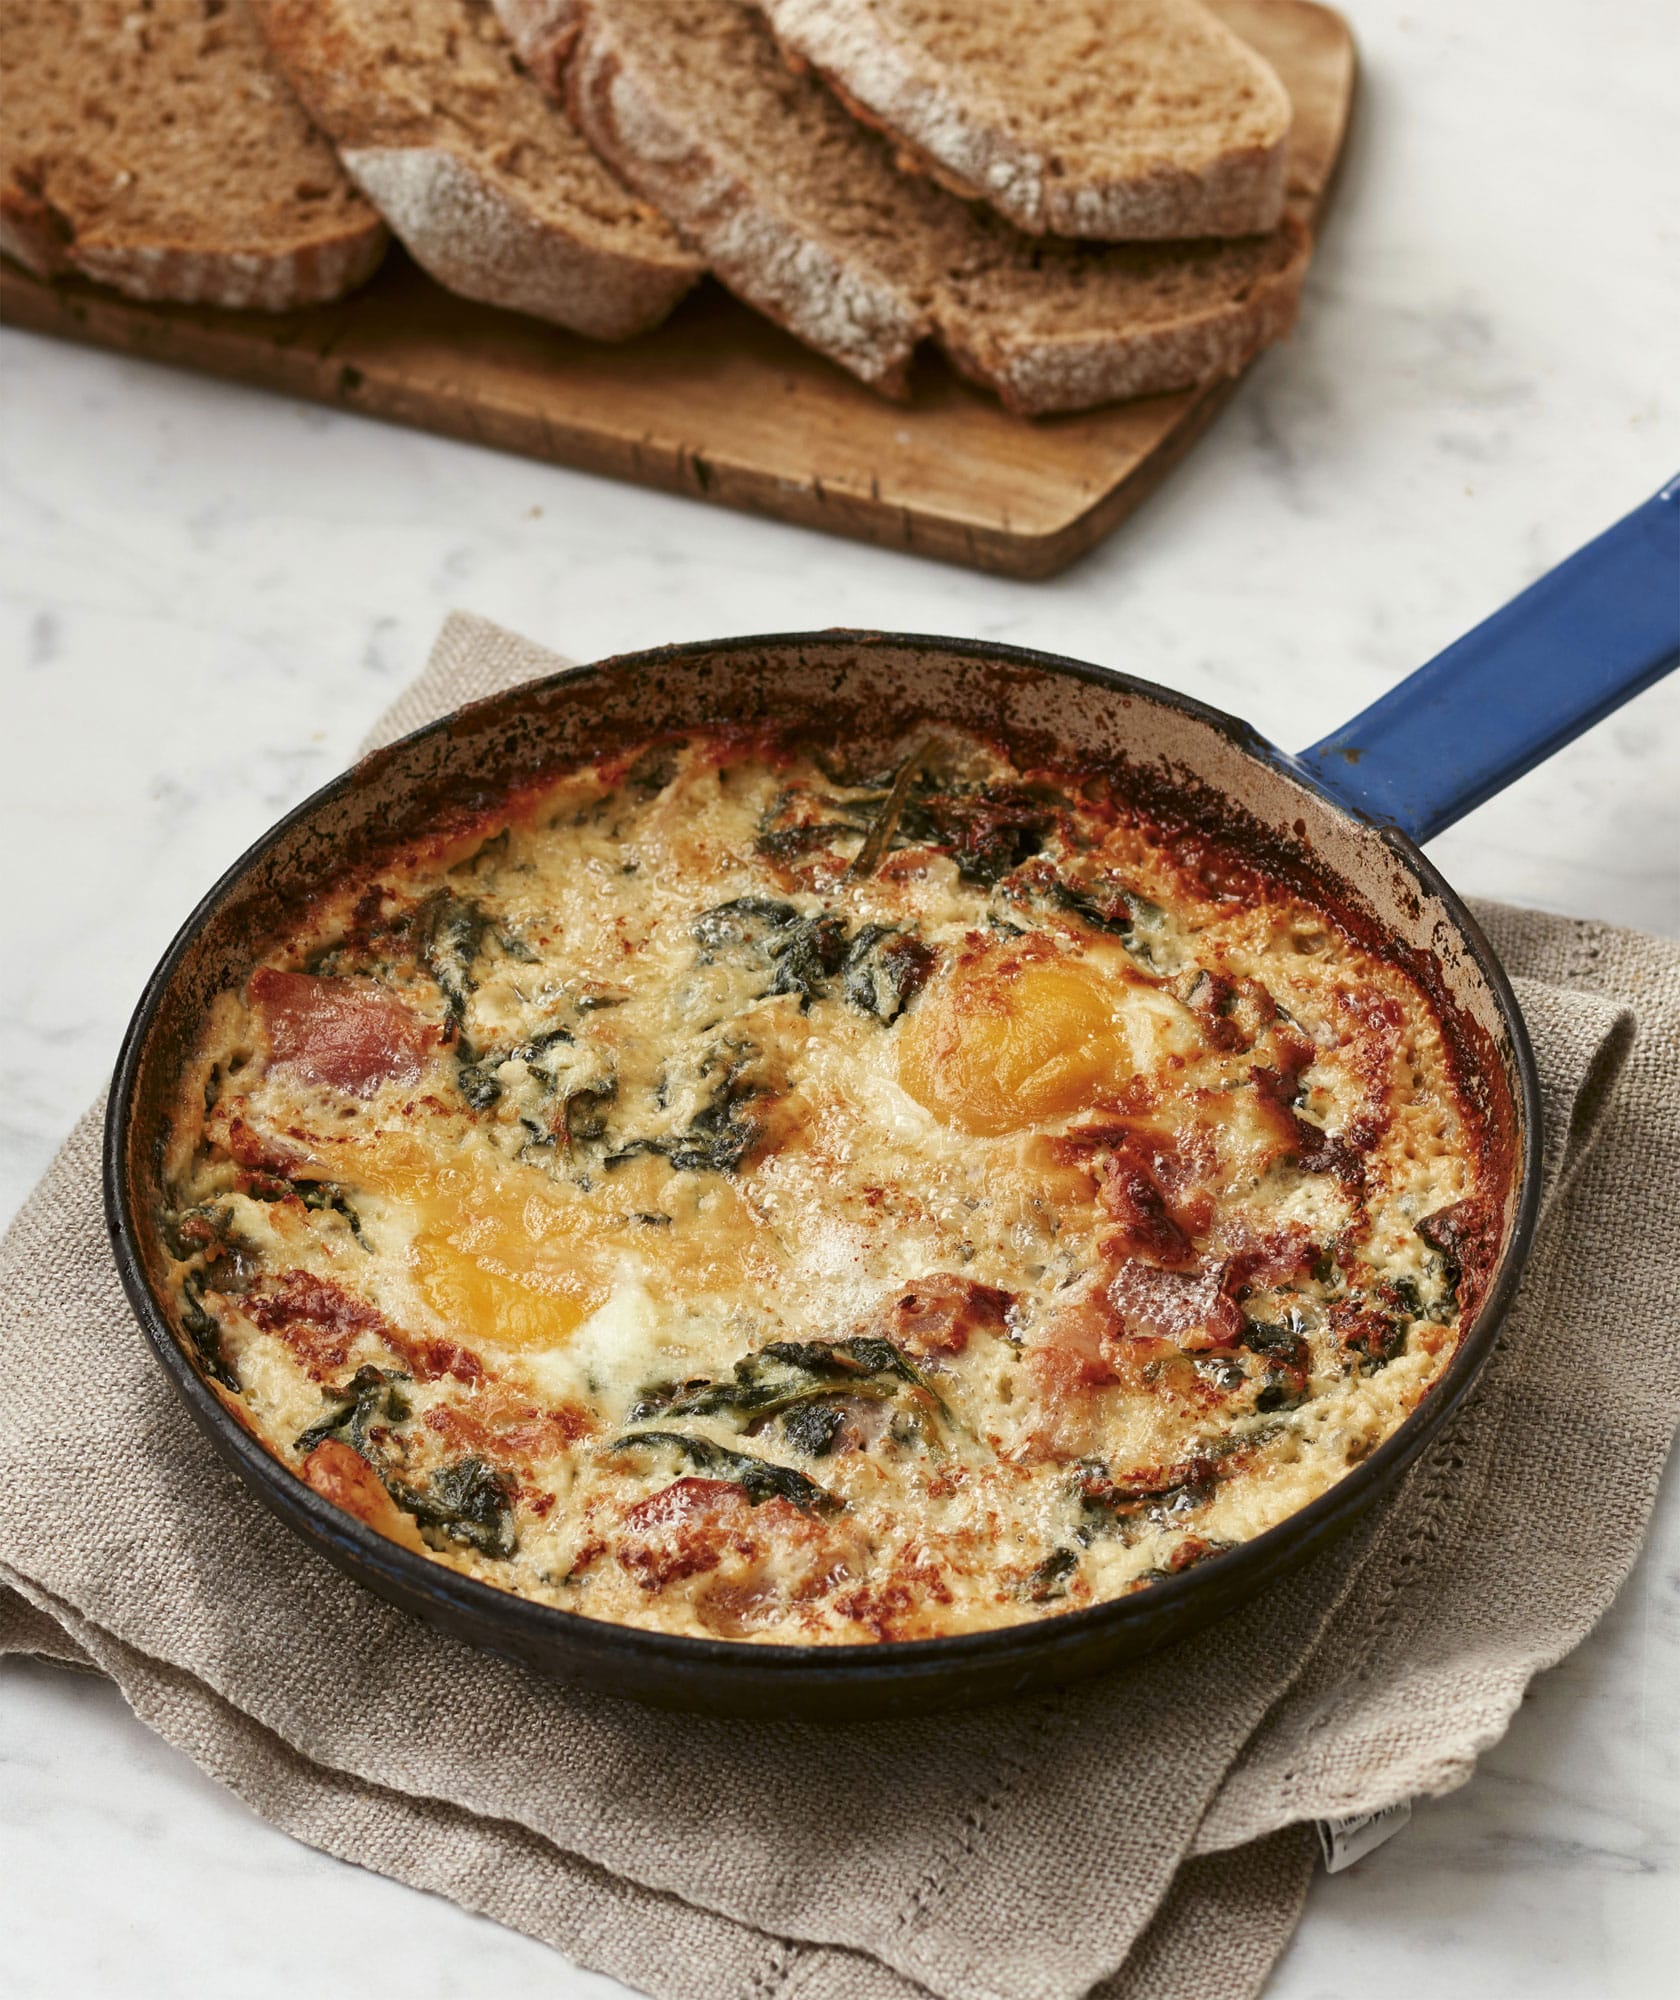
◁ Baked Eggs with Blue Cheese
This easy weekend treat can be tweaked, adding tomatoes, bacon or whatever you fancy. Serve with toast for dipping.
20g (3/4oz) salted butter, for greasing
400g (14oz) spinach, chopped
2 slices of good-quality ham, chopped
250g (9oz) blue cheese (see here), chopped
200ml (7 fl ox/generous 3/4 cup) single (light) cream
2 eggs
salt and freshly ground black pepper
SERVES 2
Preheat the oven to 240°C (475°F/Gas Mark 9). Lightly grease an ovenproof frying pan (skillet) with the butter.
Place the spinach, ham and cheese in the pan, then add the cream. Crack the eggs on top and season with salt and pepper.
Place in the hot oven for 8–10 minutes, or until the whites are set but the yolks are still runny, then serve straight away.
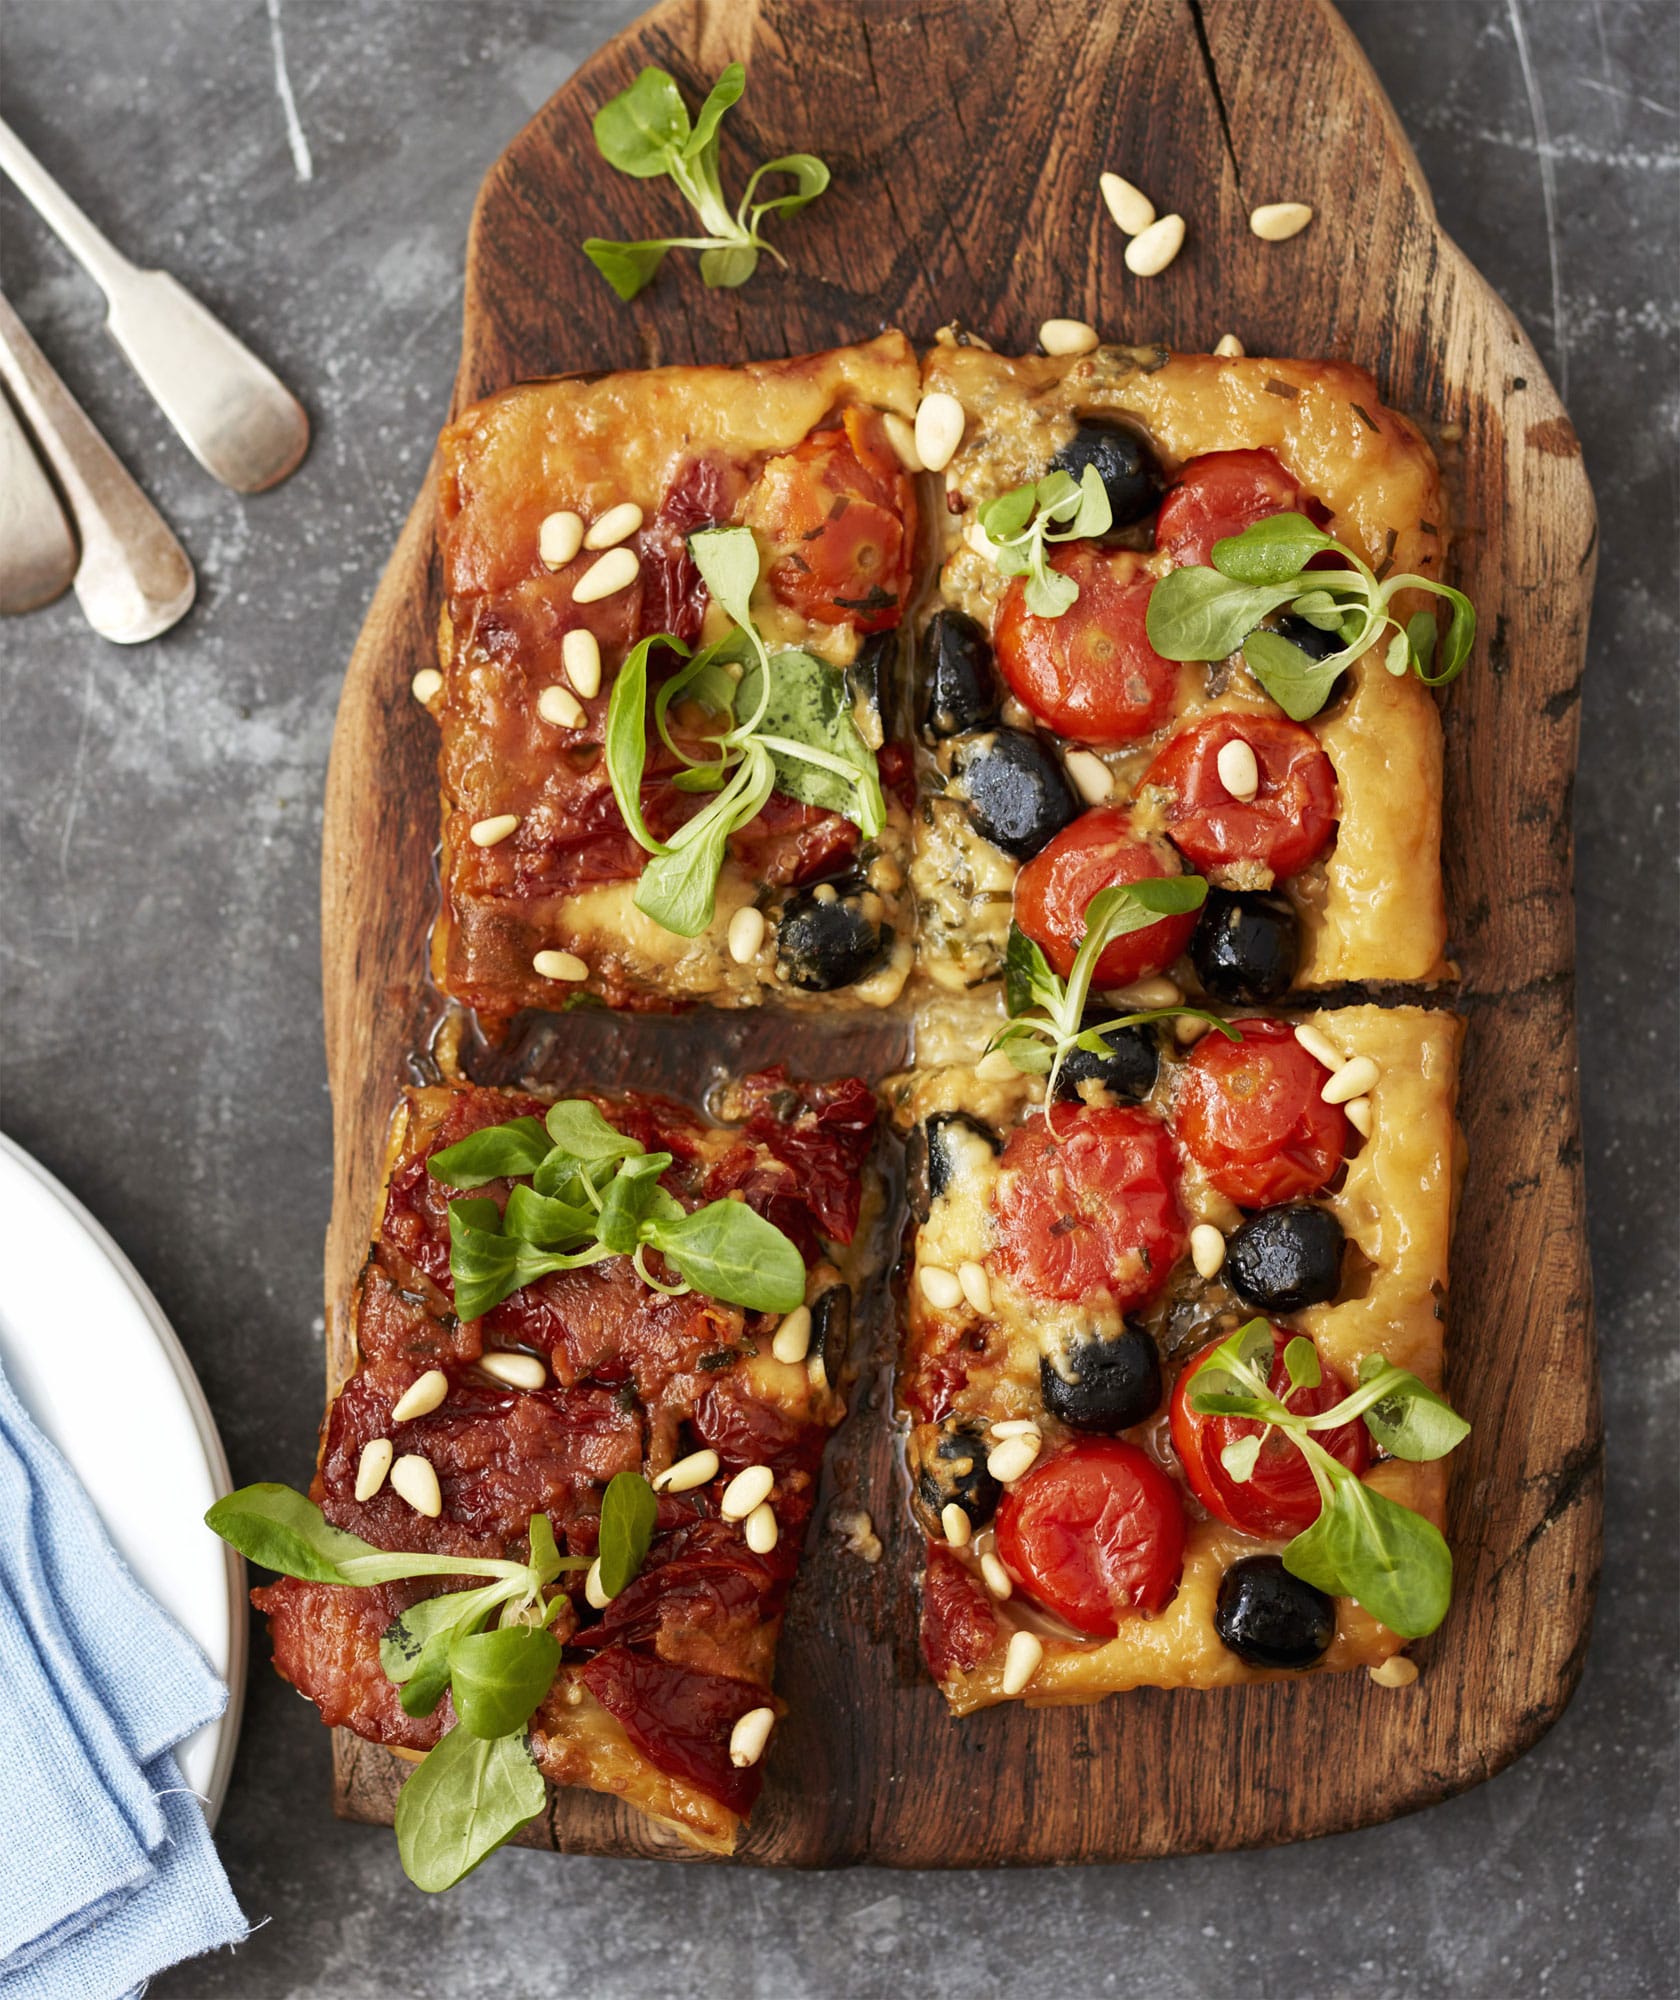
◁ Blue Cheese Tarte Tatin
This is a dish I came up with a few years ago for a New Year’s Eve party. I was going to make a traditional sweet tarte tatin, but decided to attempt a savoury version instead. And the result was this delicious recipe, perfect for sharing.
15 cherry tomatoes
50g (13/4oz) sundried tomatoes
250g (9oz) creamy blue cheese (see here)
1 tsp herbes de Provence
150g (5oz) piquillo peppers, chopped
100g (31/2oz) black olives, pitted
handful of fresh chives, chopped
8 fresh basil leaves
1 tbsp thick balsamic vinegar
2 tbsp olive oil
1 sheet of readymade puff pastry
2 tbsp honey
50g (13/4oz) pine nuts
salt and freshly ground black pepper
SERVES 2
Preheat the oven to 200°C (400°F/Gas Mark 6).
Place all the ingredients except the pastry dough, honey and pine nuts into a large square baking dish. Season with salt and pepper, then lay the pastry sheet over the filling, tucking in the edges. Bake for 35–40 minutes until the pastry is crispy and golden.
Leave to cool in the dish for 5 minutes, then place a flat board over the dish and flip it over. Drizzle with a little honey and sprinkle over the pine nuts, then cut into pieces and serve with lamb’s lettuce.