CHAPTER 14
Populating Presentation Slides
Add and Edit Slide Text
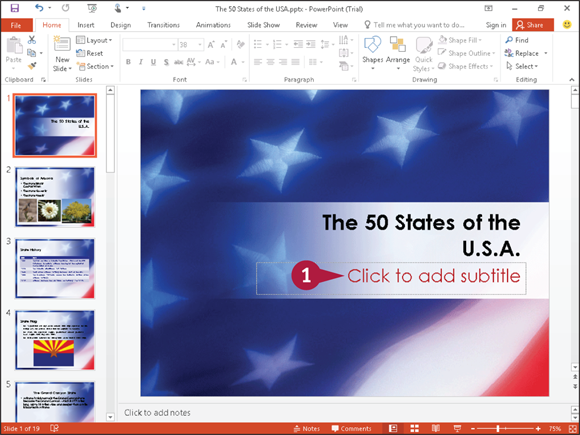
All slide layouts except for the blank slide layout are designed to automatically hold some text. To help you enter text, PowerPoint includes a text box that contains placeholder text, such as “Click to add title,” “Click to add subtitle,” or “Click to add text.” You can replace the placeholder text with your own text by typing directly in the slide.
After you add your text, you can change its font, size, color, and more, as shown in the next section.
Add and Edit Slide Text
Add Slide Text
 Click the text box to which you want to add text.
PowerPoint hides the placeholder text and displays an insertion point.
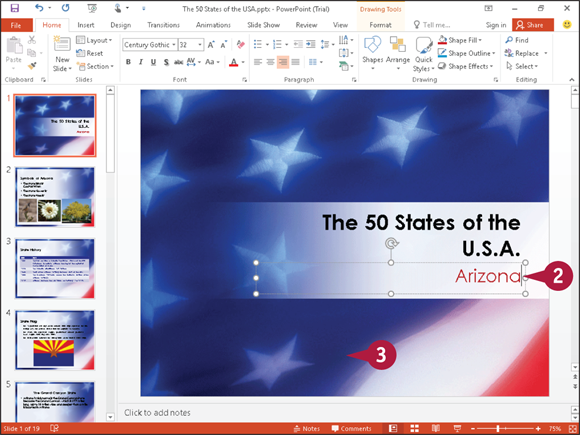
 Type the text that you want to add.
 Click anywhere outside the text box to continue working.
Edit Slide Text
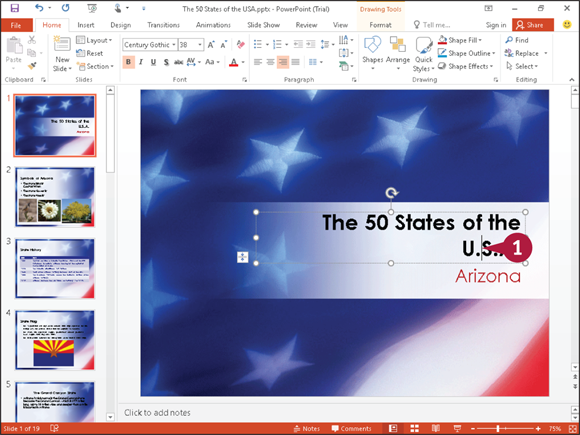
Click in the text box where you want to edit the contents.
PowerPoint selects the text box and displays an insertion point in the text box.
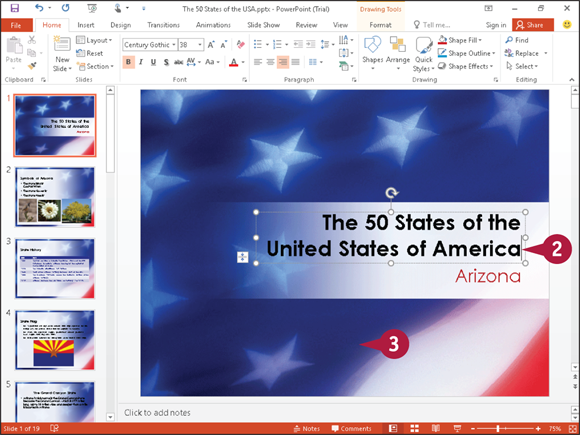
Make any changes that you want to the slide text.
You can use the keyboard arrow keys to position the insertion point in the text, or you can click where you want to make a change.
When you finish, click anywhere outside the text box to continue working.
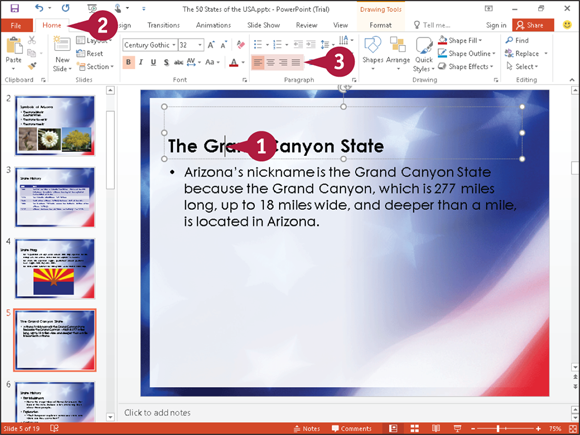
Change the Font, Size, and Color
After you add text to a slide (as described in the previous section, “Add and Edit Slide Text”), you can change the text font, size, color, and style to alter its appearance. For example, you might choose to increase the size of a slide’s title text to draw attention to it, or change the font of the body text to match the font used in your company logo. Alternatively, you might change the text’s color to make it stand out against the background color. You can also apply formatting to the text, such as bold, italics, underlining, shadow, or strikethrough.
Change the Font, Size, and Color
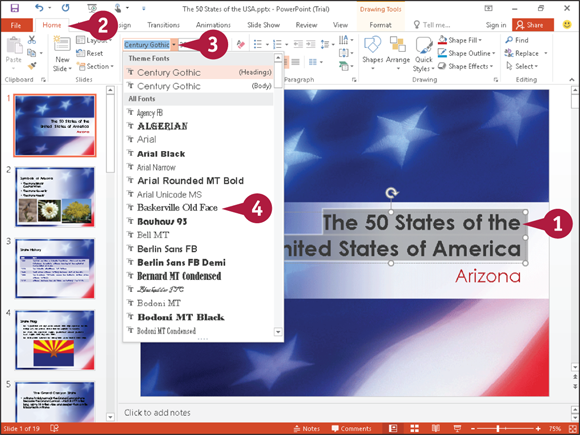
Change the Font
Click inside the text box and select the text that you want to edit.
Click the Home tab.
Click the Font  .
.
 Click a font.
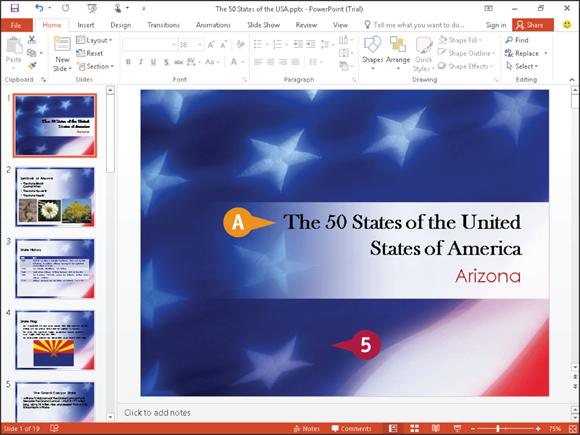
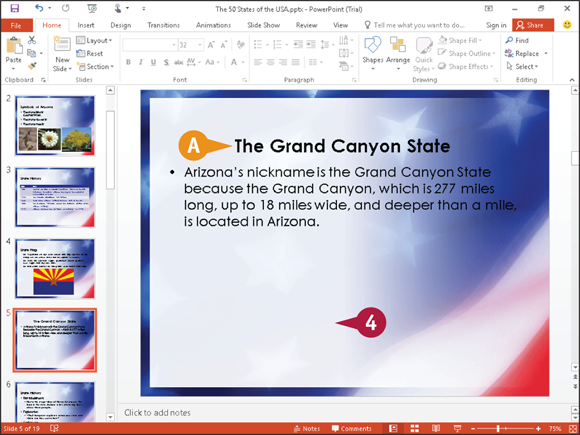
 PowerPoint applies the font you chose to the selected text.
 Click anywhere outside the text box to continue working.
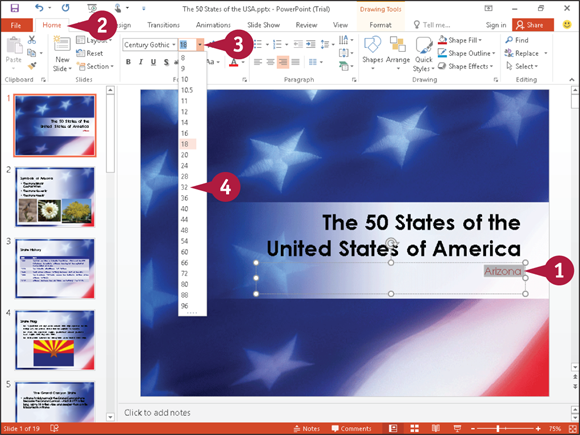
Change the Size
Click inside the text box and select the text that you want to edit.
Click the Home tab.
Click the Font Size .
Click a size.
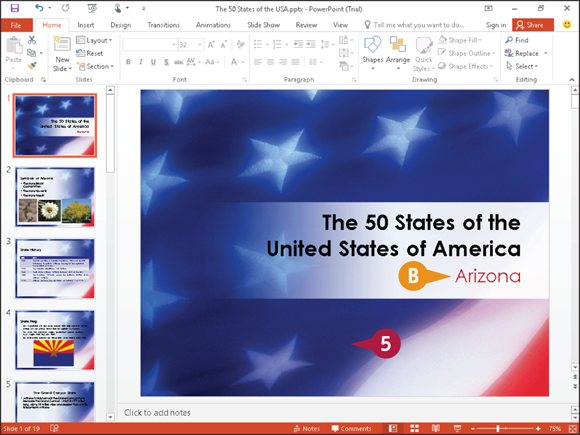
 PowerPoint applies the font size you chose to the selected text.
Click anywhere outside the text box to continue working.
In addition to changing the text’s font and size, you can change its color. You might do so to make the text stand out better against the background, or to coordinate with colors used in other slide elements such as photographs.
You can change the text color in a few different ways. For example, you can select a color from the Font Color button on the Home tab, or you can open the Colors dialog box and select a color from the palette that appears. In addition, you can apply your own custom color to text.

Choose a Coordinating Color
Click in the text box and select the text that you want to edit.
Click the Home tab.
Click next to the Font Color button ( ).
).
PowerPoint displays coordinating theme colors designed to go with the current slide design.
Click a color.
PowerPoint applies the color you chose to the selected text.
Click anywhere outside the text box to continue working.
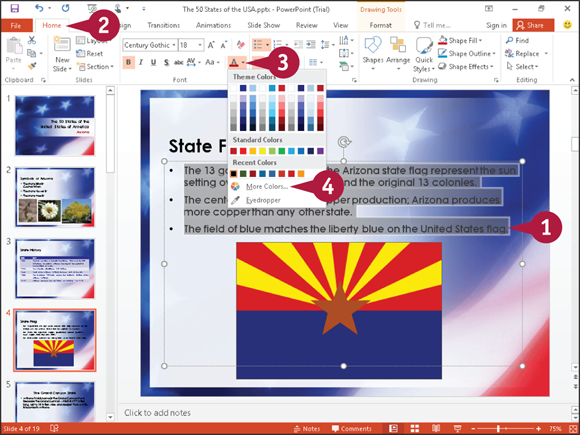
Choose a Color in the Colors Dialog Box
Click in the text box and select the text that you want to edit.
Click the Home tab.
Click next to the Font Color button ().
Click More Colors.
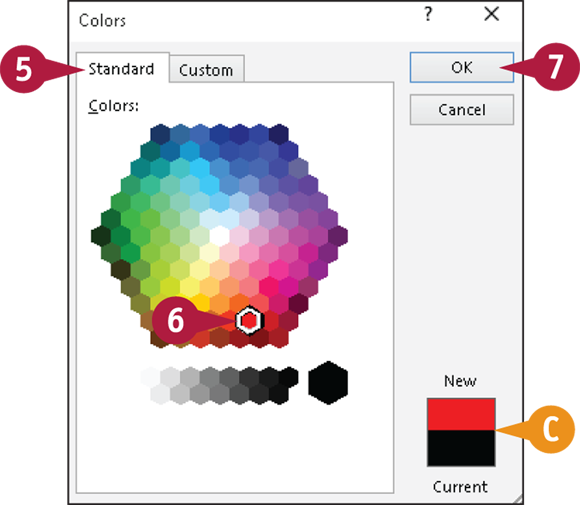
The Colors dialog box appears.
Click the Standard tab.
 Click a color.
 A comparison between the current and new colors appears here.
 Click OK.
PowerPoint applies the color you chose to the selected text.
 Click anywhere outside the text box to continue working.
Apply a Theme
PowerPoint includes a variety of preset designs, called themes. A theme is a predesigned set of colors, fonts, backgrounds, and other visual attributes. When you apply a theme to your presentation, you give every slide in your presentation the same look and feel. Alternatively, you can apply a theme to selected slides in your presentation. After you apply the theme, you can use controls in the Design tab to change various aspects of the theme.
Themes are shared among the Office programs; you can use the same theme in your PowerPoint presentations that you have applied to worksheets in Excel or documents in Word.
Apply a Theme
Note: To apply a theme to selected slides, press and hold  as you click each slide thumbnail in Normal view. To apply a theme to all slides, simply select any slide.
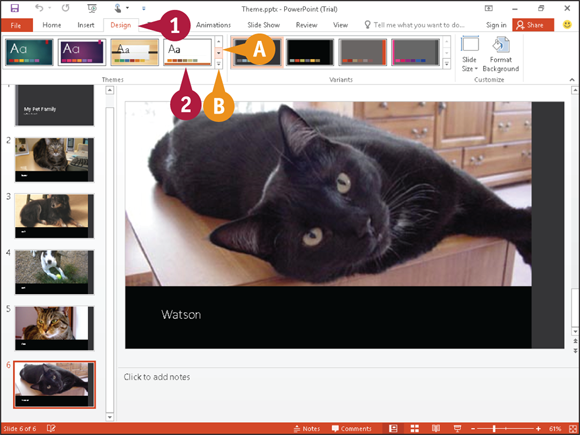
Click the Design tab.
In the Themes group, you can click  and
and  to scroll through the palette of themes.
Alternatively, you can click the More button ( ) to view all available themes.
Click a theme.

PowerPoint applies the theme. Any slides you add will use the same theme.
 You can use these controls to select a color variant of the theme.
Set Line Spacing
You can change the line spacing in a PowerPoint slide to create more or less space between lines of text. For example, you can increase line spacing from the 1.0 setting to a larger setting to make the text easier to read. If, after increasing the line spacing, your text does not fit in the text box, you can reduce the line spacing or increase the size of the text box, as described in the tip in the section “Add and Edit Slide Text.”
Set Line Spacing

Click in the text box and select the text that you want to edit.
Click the Home tab.
Click the Line Spacing button ( ).
).
Click a line spacing amount.

PowerPoint applies the line spacing. This example applies 1.5 spacing.
Click anywhere outside the text box to continue working.
Align Text
By default, PowerPoint centers most text in text boxes (bulleted lists are left-aligned). If you want, you can use PowerPoint’s alignment commands, located on the Home tab, to change how text is positioned horizontally in a text box. You can choose to center text in a text box (using the Center command), align text to the right side of the text box (using the Right Align command), or justify text and objects so they line up at both the left and right margins of the text box (using the Justify command).
Align Text
Click in the text box containing the text that you want to align.
Click the Home tab.
Click an alignment button:
Click the Align Left button ( ) to align the text to the left side of the text box.
Click the Center button ( ) to align the text in the center of the text box.
Click the Align Right button ( ) to align the text to the right side of the text box.
Click the Justify button ( ) to justify text between the left and right margins.
PowerPoint applies the formatting. In this example, the text is centered between the left and right margins of the text box.
Click anywhere outside the text box to continue working.
Add a Text Box to a Slide
Typically, you insert slides containing a predefined layout. You can customize the slide layout by adding a text box, a receptacle for text in a slide. To add text to a text box, see the section “Add and Edit Slide Text.”
When you add a new text box to a slide, you can control the placement and size of the box. (To move and resize text boxes and other slide objects, see the sections “Move a Slide Object” and “Resize a Slide Object,” later in this chapter.)
Add a Text Box to a Slide

In Normal view, click the slide to which you want to add a text box.
Click the Insert tab.
Click Text Box.
When you move the mouse over the slide,  changes to
  .
.
Click at the location where the upper left corner of the text box should appear, and drag down and to the right ( changes to  ).
).
As you drag, an outline represents the text box.
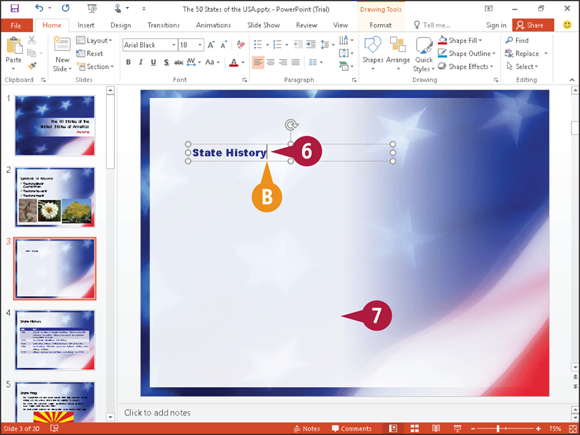
Release the mouse button to complete drawing the text box.
The insertion point appears in the new text box.
Type your text.
Click anywhere outside the text box to continue working.
Add a Table to a Slide
You can customize the layout of a slide by adding a table to it. You can add tables to your slides to organize data in an orderly fashion. For example, you might use a table to display a list of products or classes. Tables use a column-and-row format to present information.
After you add the table to your slide, you can control the placement and size of the table. (For help moving and resizing tables and other slide objects, see the sections “Move a Slide Object” and “Resize a Slide Object,” later in this chapter.)
Add a Table to a Slide
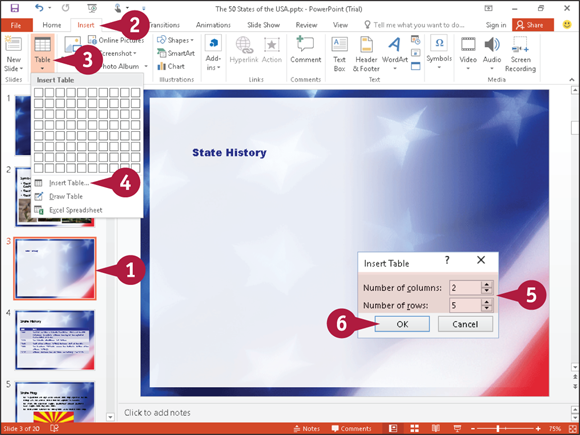
Click the slide to which you want to add a table.
Note: If an Insert Table icon ( ) appears in your slide, click it and skip Steps 2 to 4.
Click the Insert tab.
Click Table.
Click Insert Table.
The Insert Table dialog box appears.
Type the number of columns and rows that you want to appear in the table.
Note: If you need more rows, just press  in the last table cell, and PowerPoint automatically adds a row.
Click OK.
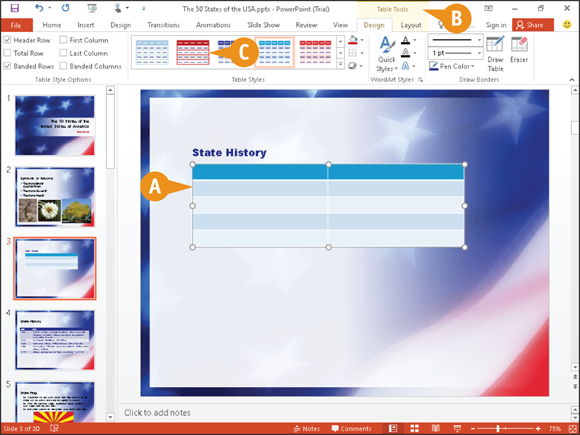
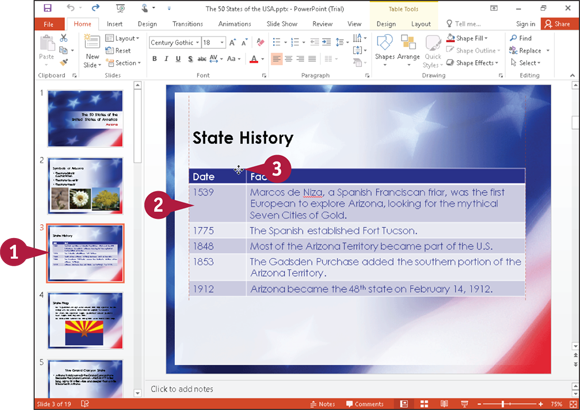
PowerPoint inserts the table into the slide.
PowerPoint displays the Table Tools tabs.
You can change the table’s appearance by clicking a style in the Table Styles group.
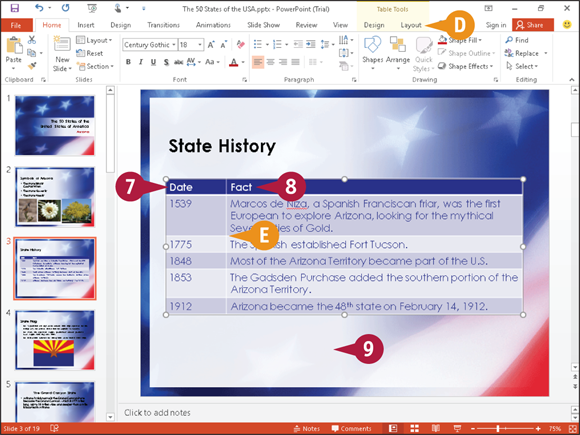
Click inside the first table cell and type your data.
You can press to move to the next table cell.
Continue typing in each cell to fill the table.
You can use the tools in the Layout tab to merge or split table cells, change alignment, add borders, and more.
 You can resize columns or rows by dragging their borders.
 When you finish typing table data, click anywhere outside the table to continue working.
Add a Chart to a Slide
You can customize the layout of a slide by adding a chart to it. You might add a chart to a PowerPoint slide to turn numeric data into a visual element that your audience can quickly interpret and understand. When you add a chart, PowerPoint launches an Excel window, which you use to enter the chart data. After you add a chart to a slide, you can control the placement and size of the chart. (For help moving and resizing charts and other slide objects, see the sections “Move a Slide Object” and “Resize a Slide Object,” later in this chapter.)
Add a Chart to a Slide
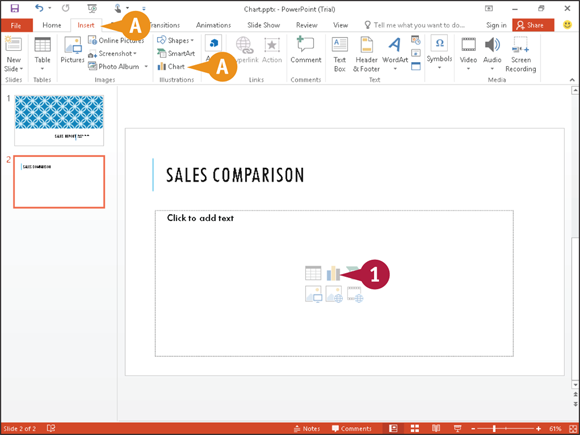
If an Insert Chart icon ( ) appears in your slide, click it.
If an Insert Chart icon does not appear in your slide, click Chart on the Insert tab.
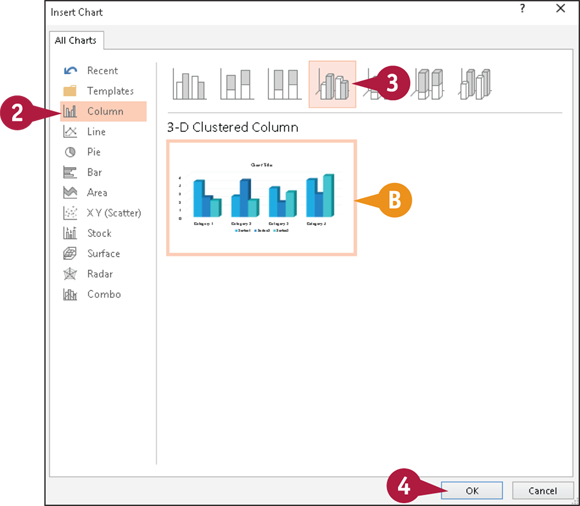
The Insert Chart dialog box appears.
Click a chart category.
Click a chart type.
A preview of the chart appears here.
Click OK.
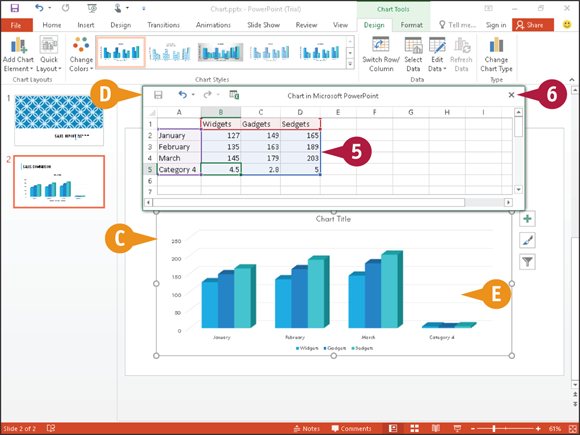
PowerPoint displays a sample chart on the slide.
The Excel program window opens.
Replace the placeholder data with the chart data that you want to illustrate.
You can press to move from cell to cell.
PowerPoint updates the chart to reflect the data you enter.
Click the Close button ( ) to close the Excel window.
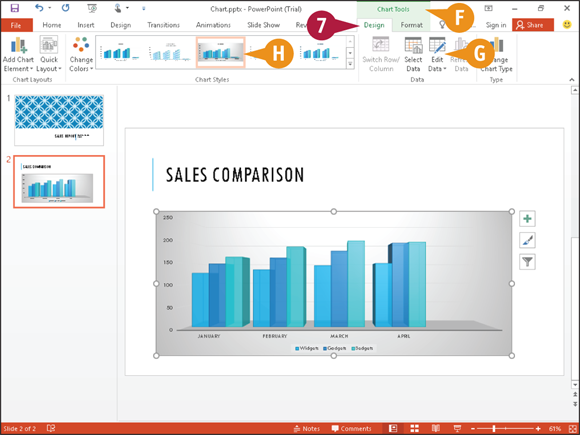
 As long as the chart is selected, PowerPoint displays the Chart Tools tabs.
Click the Chart Tools Design tab.
 To edit the chart data, you can click Edit Data.
 You can click a Chart Styles option to change the chart style.
Add a Video Clip to a Slide
You can add video clips to your PowerPoint slides to play during a slide show presentation. For example, when creating a presentation showcasing the latest company product, you might place a video clip of the department head discussing the new item.
After you add a video to a slide, you can control the placement and size of the video. (For help moving and resizing video clips and other slide objects, see the sections “Move a Slide Object” and “Resize a Slide Object,” later in this chapter.) You can also perform certain edits to the video from within PowerPoint.
Add a Video Clip to a Slide
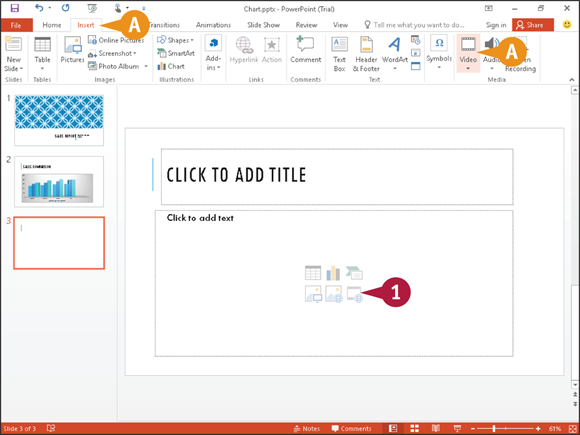
If an Insert Media Clip icon ( ) appears in your slide, click it.
If an Insert Media Clip icon does not appear in your slide, click Video on the Insert tab and choose Online Video or Video on My PC.
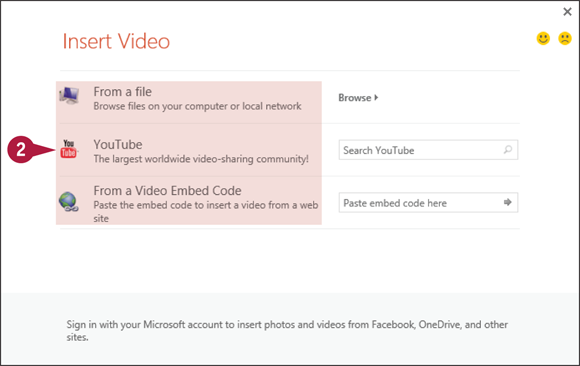
The Insert Video window appears.
Note: You can browse for videos on your computer or on YouTube, or you can supply an embed code for a video stored on a website. If you sign in using a Microsoft account, you can browse your OneDrive, Facebook, and other sites. This example browses your computer.
Click a location containing the video clip.
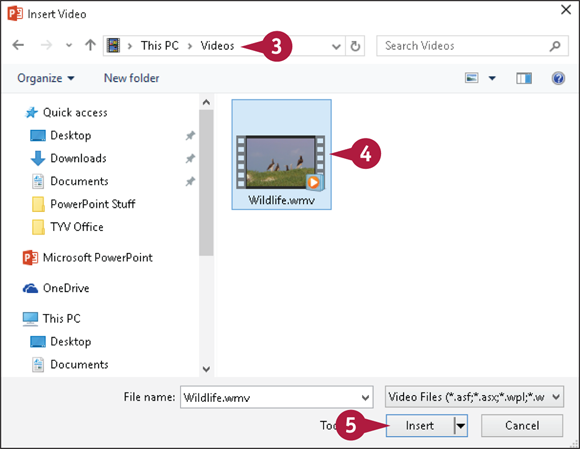
The Insert Video dialog box appears.
Navigate to the folder containing the video file.
Select the video.
Click Insert.

PowerPoint inserts the clip into the slide.
PowerPoint displays the Format tab of the Video Tools tabs.
You can click an option in the Video Styles group to change the appearance of the video.
You can use the options in the Size group to adjust the size of the clip on the slide.
You can click the Play button ( ) to play the clip.
Move a Slide Object
You can move any element on a slide — a text box, table, chart, picture, video clip, or graphic — to reposition it. These slide elements are often referred to as objects. For example, you might move a text box to make room for a video clip or reposition a picture to improve the overall appearance of the slide.
You can move a slide object using the standard Office Cut and Paste buttons, discussed in Chapter 2. Or, you can drag and drop the object, as discussed in this section.
Move a Slide Object
Click the slide containing the object that you want to move.
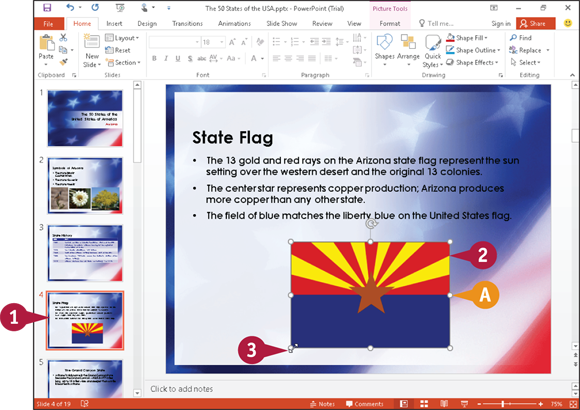
Select the slide object by clicking it ( changes to  ).
).
Note: To select a table or a chart, click anywhere in the object; then, slide the mouse () along any of the object’s edges. Click when you see the mouse ().
Drag the object to a new location on the slide. As you drag, changes to  .
.
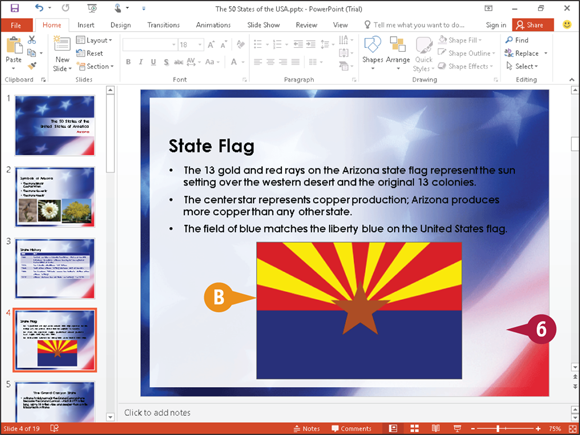
Release the mouse button.

PowerPoint repositions the object.
Click anywhere outside the slide object to continue working.
Resize a Slide Object
After you insert a slide object — a text box, table, chart, picture, video clip, or graphic — you may find that you need to make it larger or smaller to achieve the desired effect. For example, you might want to resize a text box to make room for more text or resize a picture object to enlarge the artwork. Fortunately, PowerPoint makes it easy to change the size of a slide object.
 ).
). ,
,  ,
,  , or
, or  .
.
 .
.